
This work is licensed
under a
Creative Commons
Attribution-NonCommercial-
ShareAlike 4.0
International License.
This week students should:
Show how you made your project.
Described problems and how you fixed them.
Included your design files and "hero shot" photos of the project.
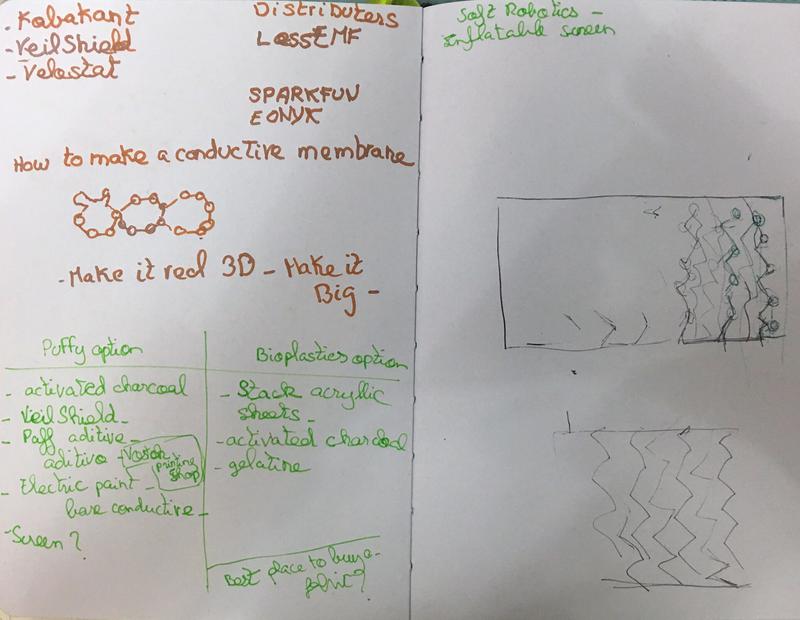 Materials to look at:
- Conductive bioplastics - First laser cut and engrave in acrylic the shapes of the graphene (or maybe even
amorphous carbon - or my own picture that is 3D engraved) so that the plastic can dry on top of it. Look at
engraving acryllic with the laser cutter. Activated Charcoal or graphene.
- Look at making more three dimensional shapes instead of just a flat surface.
- PlayDoh
- Conductive paint
- Conductive 3D filament
- Conductive crystals
- Screenprint an image of the fire on gauze and then mix it with puffy ink. Following this tutorial and:
After asking around, I decided to go for the Puff sensor as that is the most feasible option. In the section below, I outline the process.
Materials:
Puffy ink (additive)
Activated Charcoal (preferably use "Bare Conductive Paint")
Gauze
Squeegee
Screen
Transfer paper
Vinyl.
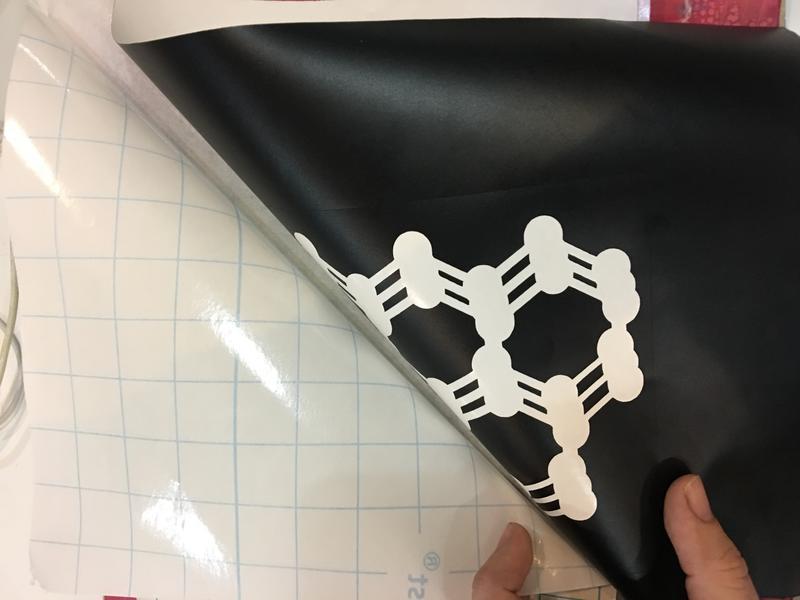
1. Cut the shape to print using the vinyl as done on Week 3.
2. Remove the positive cut of the design. Keep the negative on the protection paper.
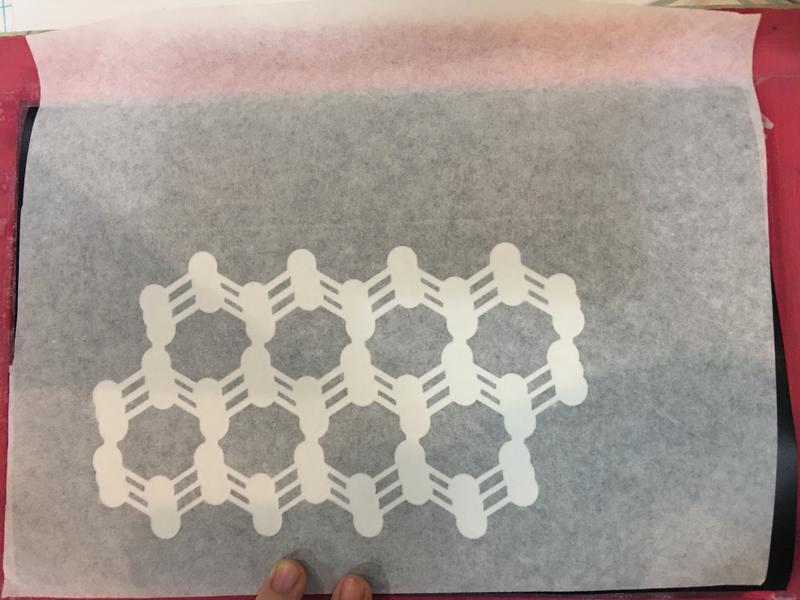
3. Prepare the transfer paper by removing the back paper. Then place the sticky side on the vinyl negative.
4. Remove the vinyl protection paper and slowly place the vinyl sticky side on the screen. Gradually, press the material down with a squeegee or spatula so that there are no bubbles in between the vinyl and the screen.
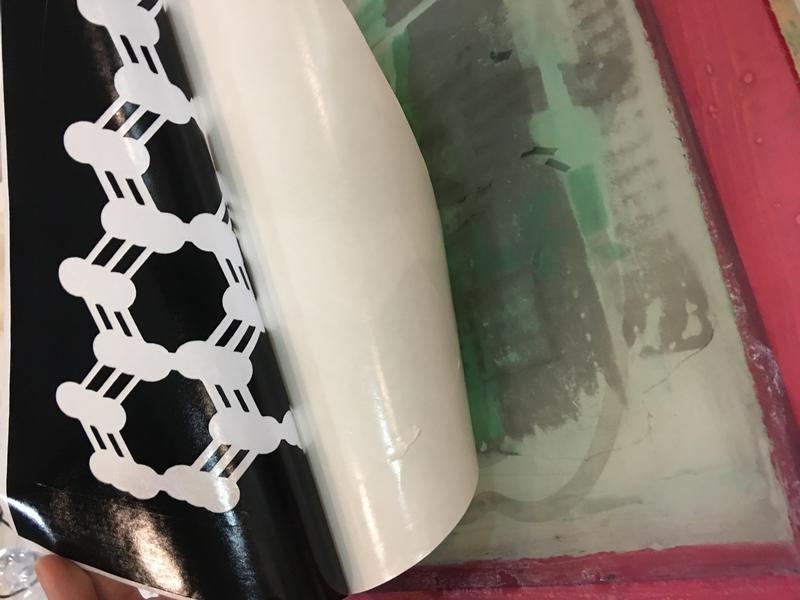
The screen should look somewhat like this:
3. Mix the additive with the activated charcoal as desired.
4. Turn the screen over and place two strips of cardboard on each side of the screen's width (on its flat side). This will keep the mesh from sticking to the fabric when making the print.
5. Secure the destination fabric on a flat surface.
6. Pour some of the material on the hollow side of the screen.
7. Place the screen on the fabric, the side of the vinyl facing down. Spread the ink over the screen's area with the help of the squeegee while firmly pressing down.
8. Release and make print elsewhere on the fabric.
9. Let the ink dry and apply heat.
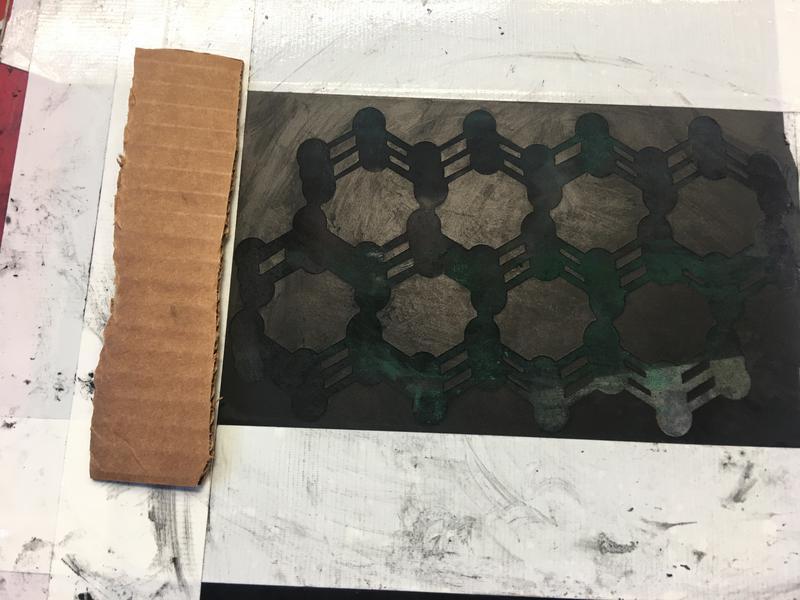
The puffy additive is very dense and the screen in our fablab had a
huge thread count. The ink would therefore get stuck and would not transfer properly.
I wasn't using any medium or any other material that would slow down the drying process of the ink. The ink would rapidly dry on the screen thus blocking the fiber holes and preventing the wet mixture from going through.
My fabric wasn't fully secured so everytime I tried to release the screen, it would stick to the fabric. I solved that by offsetting it a bit: I taped two stripes of cardboard to each side of the design on the screen. By doing so, the screen's mesh would only touch the fabric when I pressed down the graphic squeegee from the other side.
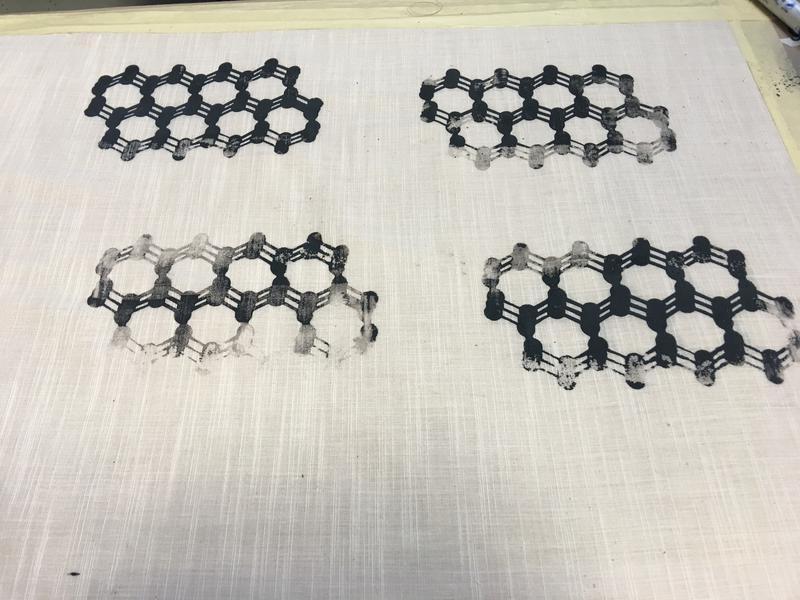
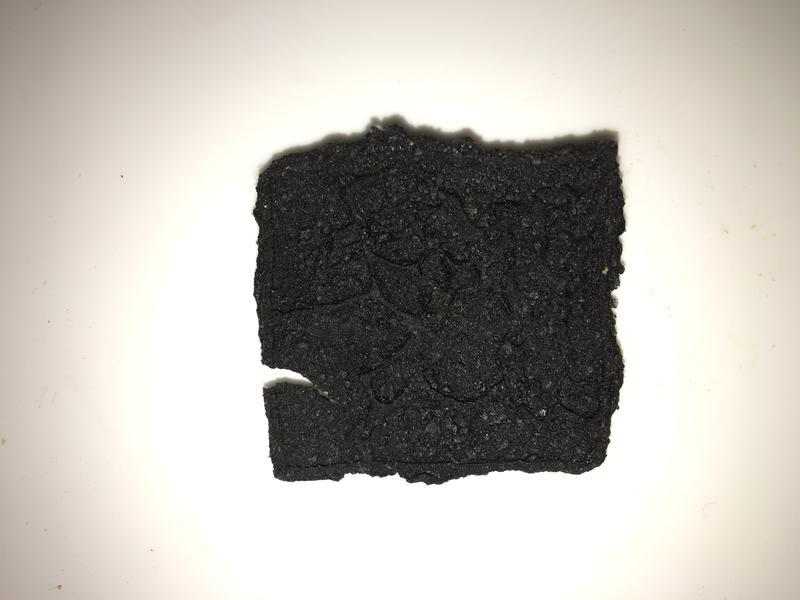
The heat gun at our lab had too much power. That is why the result looks grey and not black and the puffy ink kept peeling off.
It is highly likely that the final product will not be conductive as I had issues keeping the proportions between the additive and the activated charcoal consistent. Next time I will use instead conductive paint and hopefully that will help. But seeing how complex this process was. I think that my best bet will be screenprinting on conductive fabric.
UPDATE: After going through this process, I realized that the activated charcoal I used is not conductive since it is the one used for teeth whitening. Before screenprinting, I did test the material with a multimeter. I did not get any readings but I did not make much of it since I thought it was an issue of the charcoal being in powder form. This is the material I used:
 In order to warrantee conductivity, it is best to use conductive paint like the Bare Conductive tutorial does. Otherwise, activated charchoal for filters will work as well.
:max_bytes(150000):strip_icc()/activated_Carbon-56a3300e5f9b58b7d0d0e00d.jpg) However, the main issue with this type of activated charcoal is that it comes in granular shape. It has to be ground and then thoghrougly mixed with the additive material. As mentioned before, by doing this, it is hard to predict whether the result will be conductive or not.
However, the main issue with this type of activated charcoal is that it comes in granular shape. It has to be ground and then thoghrougly mixed with the additive material. As mentioned before, by doing this, it is hard to predict whether the result will be conductive or not.
We also tried bioplastics as a material to cast molds. The main ingredients that can be used are the following: glycerol, gelatine, agar agar, casein. We experimented with different recipes but we used mostly glycerol as a solvent and then either gelatine or agar agar and water. The main difference between agar agar and gelatine is that the latter is of animal origin.
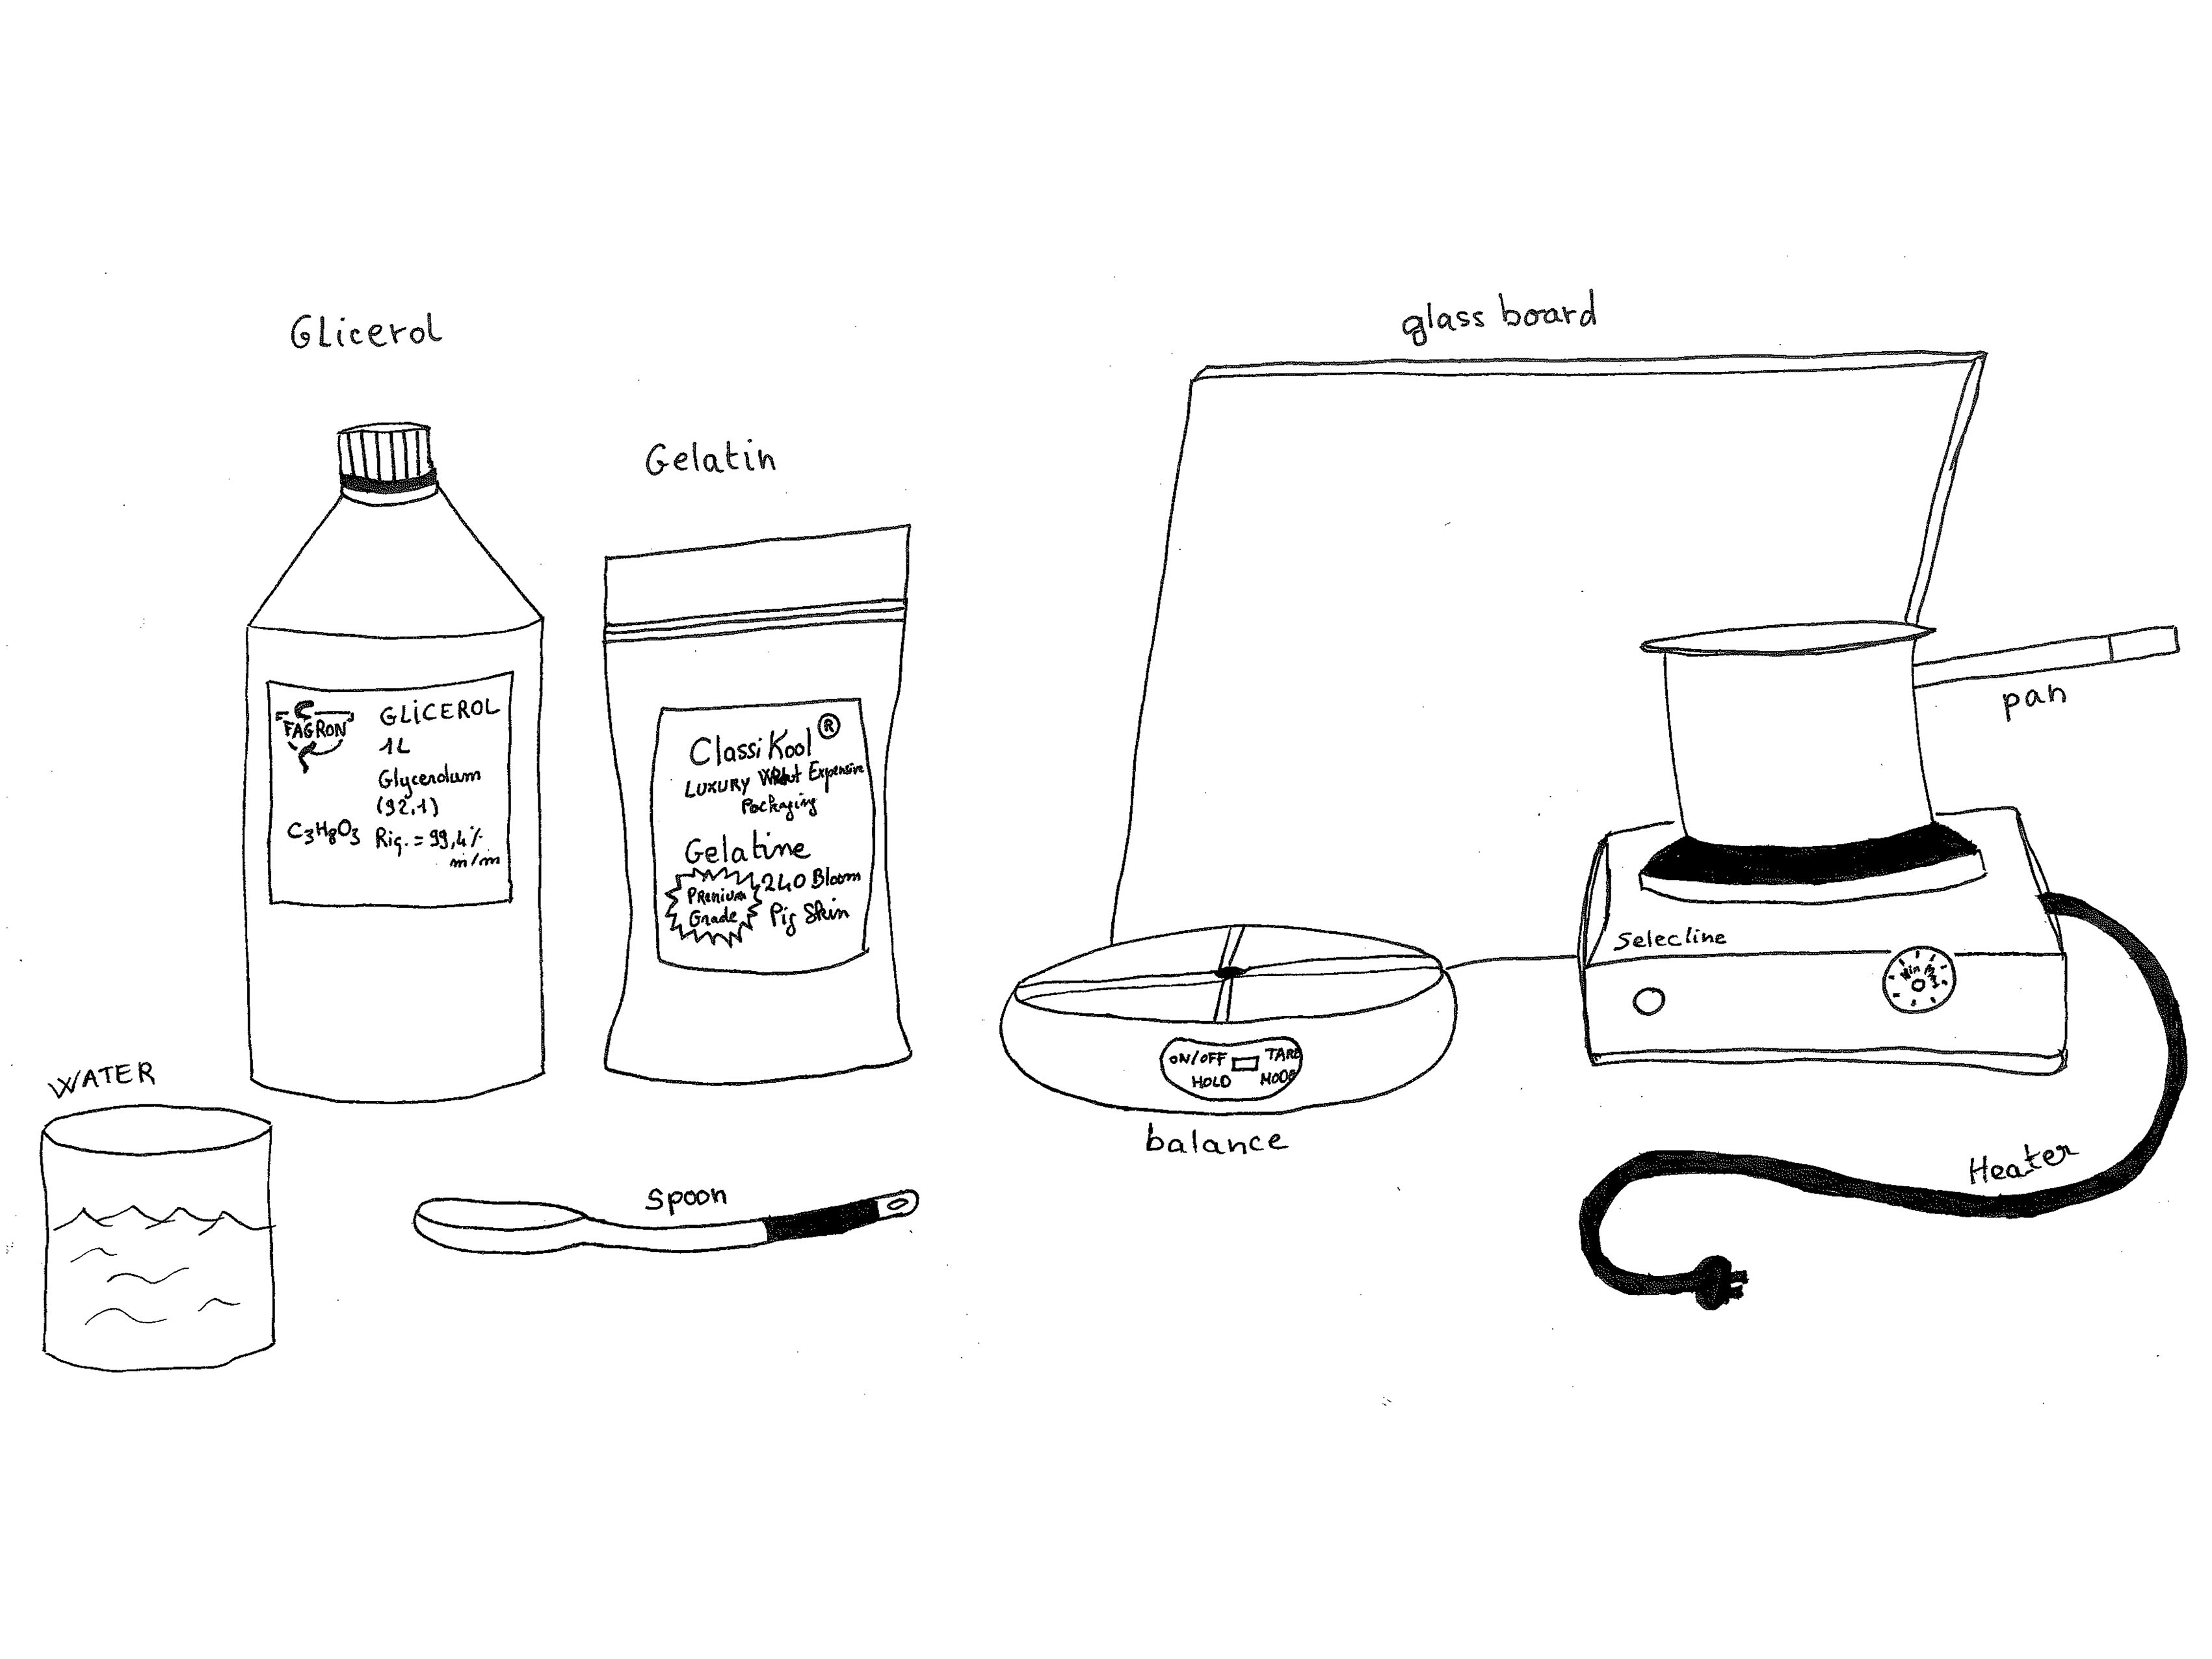
Image by Clara Davis who also created the booklet below with extensive information about bioplastics.
In this case we worked mostly with agar agar. We started with mixing in spirulina to add a touch of green to the pieces. By adding different quantities of glycerol, we made the object more flexible. However, this also increases the drying times. The measurements we used are the following:
- 15g of Agar Agar
- 22g of vegetable glycerol
- 200ml of water
- Spirulina
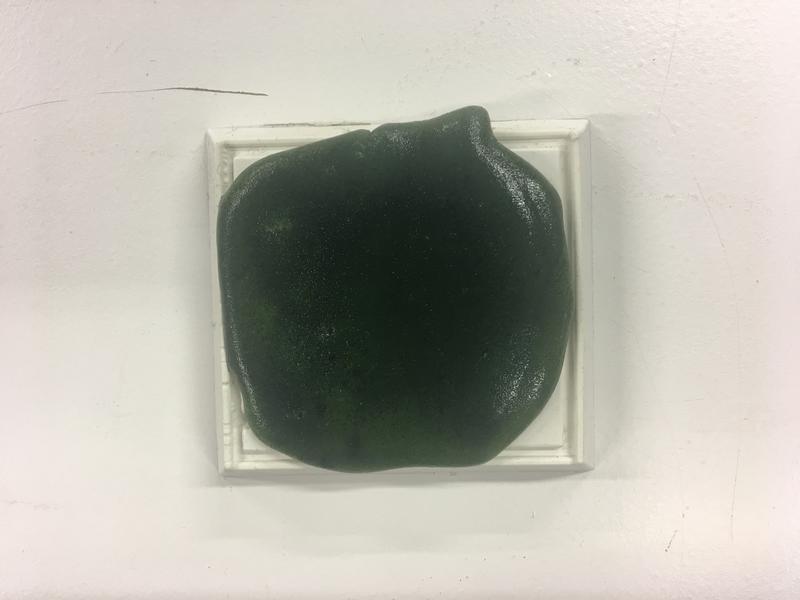
In the video below, you can get a sense of the flexibility of the material.
However, as the drying process continued, mold began growing because of the spirulina.
 15
18
22
15
18
22
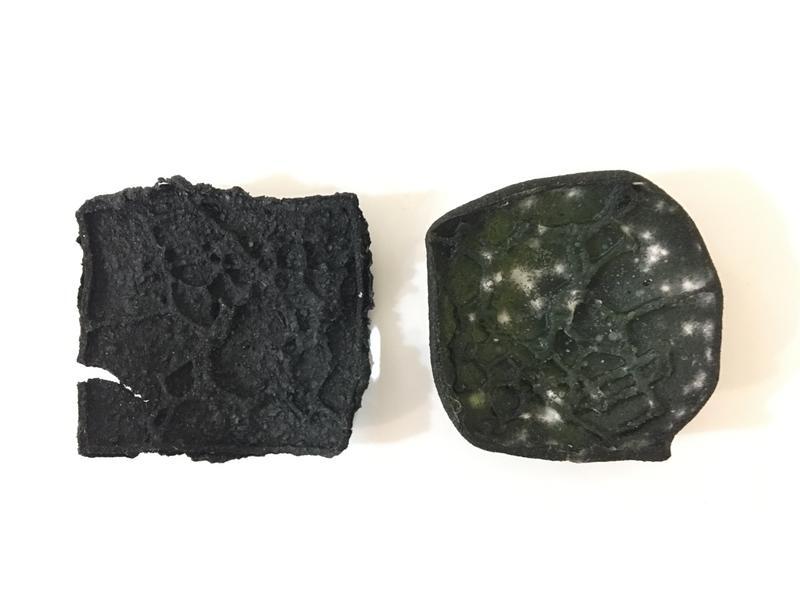
Below are the results I got after trying out different recipes with different amounts of glycerine.
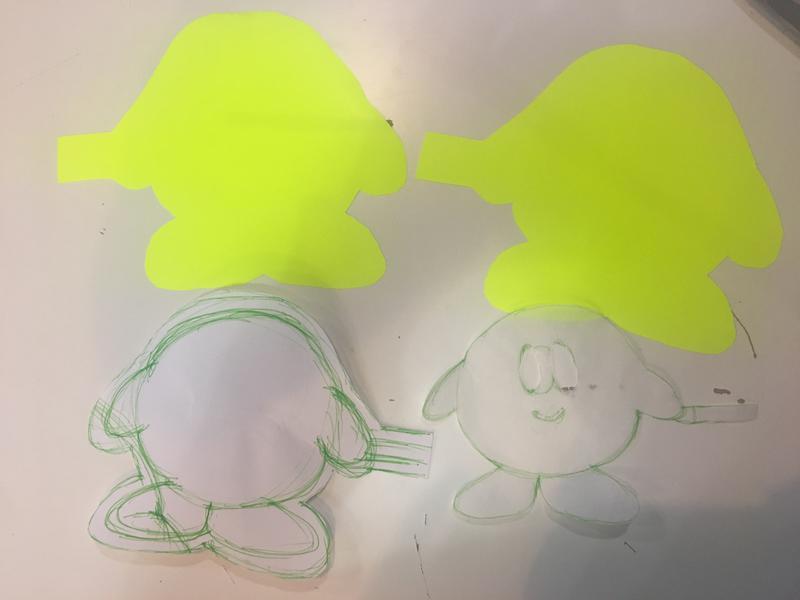
I also did a small prototype to understand soft robotics. I cut by hand a character on an adhesive vinyl.
I reproduced that shape at a smaller size on baking paper.