Week 5: 3D scanning
This week we followed the 3D scanning and printing class (see video here)
This page is about the individual assignment for 3D scanning.
Skanect + Microsoft Kinect
For the first 3D scanning technique I decided to try a Microsoft Kinect device.
Initially I tried to search for Linux based alternatives to use Kinect. Unfortunately the Oen Kinect project has slowed down in the recent years and only a library freenect or a gesture and skeleton recognition software are available. Other linux based solutions have a more complicated setups so I decided to discard this idea.
Finally I setup the Skanect software on Mac.
The initial step in the process is to define a scan area size, do the actual scan moving around the object to scan and then post-processing the result.
(screenshots)
I attempted a couple of scans. These were both exported in low resolution (5000 polygons).
The first object was a guitar positioned on a stand. I struggled a lot moving around the object and get a full good scan without big holes.
At the end I decided I had to post process anyway the object with blender which took me a lot of time.
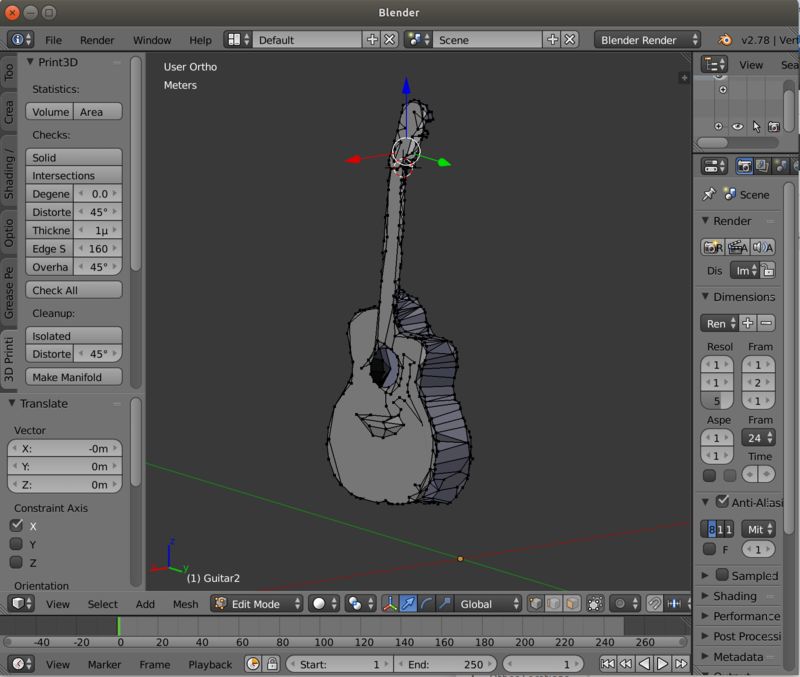
Download guitar scan postprocessed (.stl zipped)
After that I tried scanning the object putting it on a ritating chair and obtained much better results.
The last object I choose is a ‘room’ to try scanning the inside of concave surfaces.
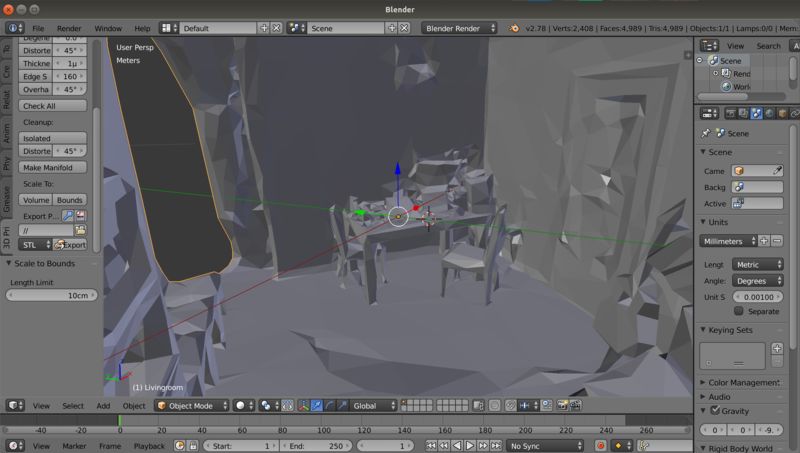
Download room scan not postprocessed (.stl zipped)
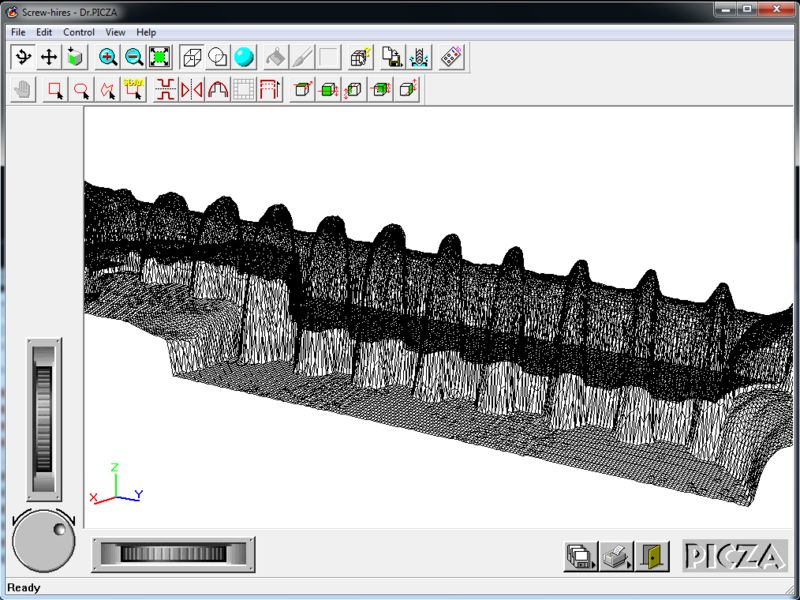
Picza + Roland Modela CNC machine
For the second 3D scanning technique I decided to try the Roland Modela MDX-15 milling machine with an ‘Active Piezo Sensor’ (RAPS) and Dr. Pizca software.
I decided to search for an object with a shape that could be difficult to reproduce and I choosed a screw.
The process involves in defining a scan area and resolution setting and then starting the scan process.
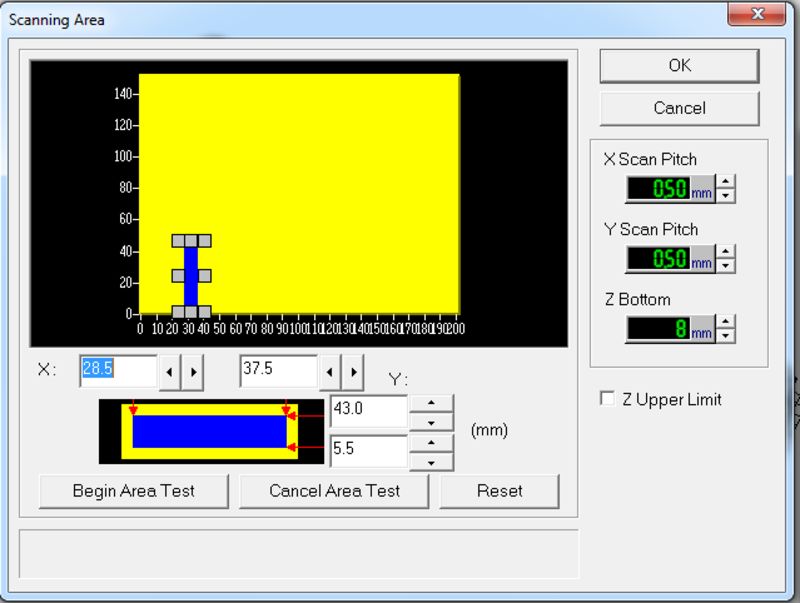

Fist I tried with a low resolution (0.5mm) scan and changing the screw orientation 90 deg to check if there were differences in the result quality.
This process took 30min and gave me a first estimation of how long would take a high resolution scan: …it is going to be very SLOW! :)
I couldn’t find any relevant difference but the horizontal scan seemed to be a bit faster so I went for this last option.
Download screw scan file (.stl zipped)
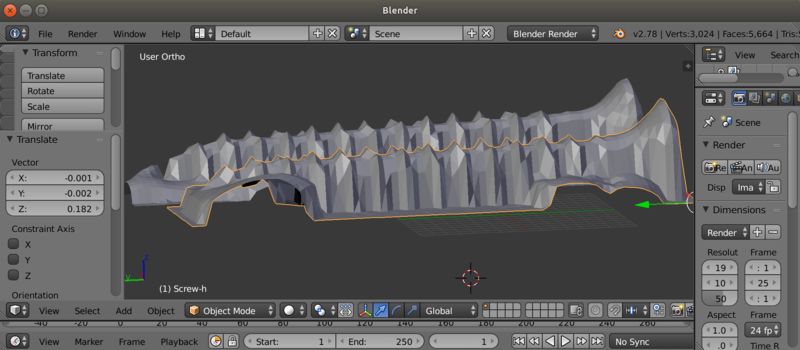
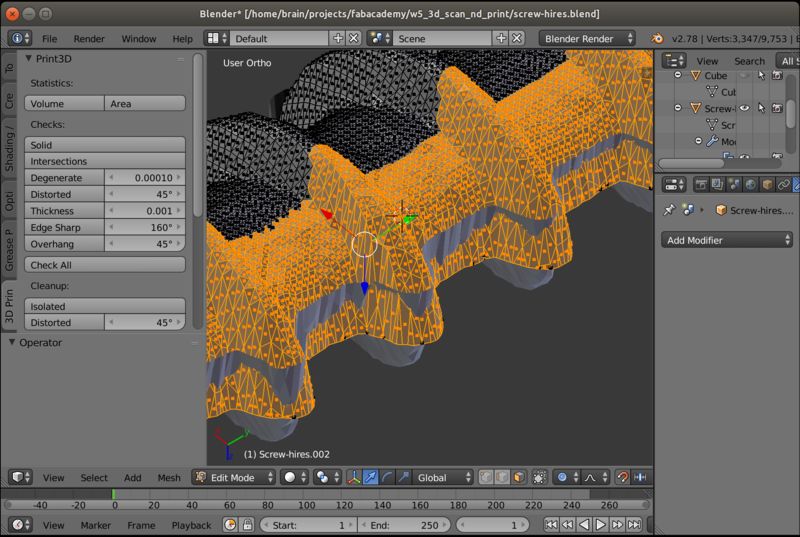
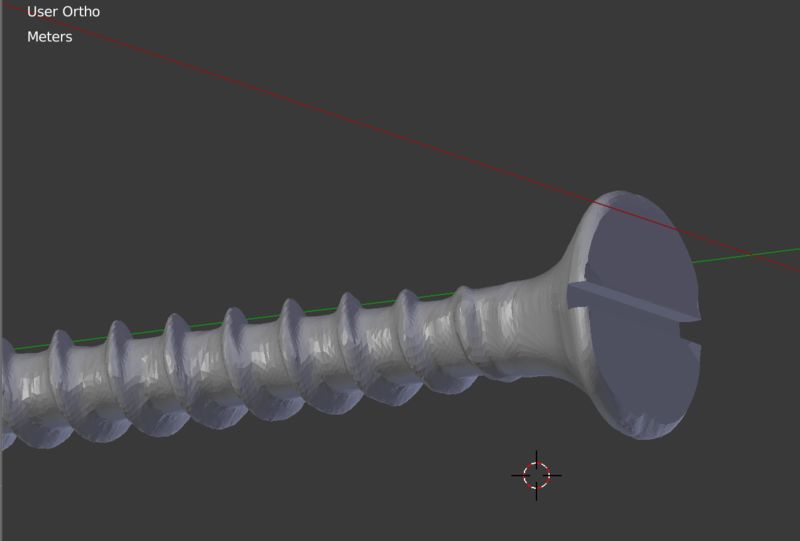
Finally I did a high resolution scan at 0.1mm (file too big to upload).
I post processed the file with Blender to replicate the other side of the screw. It actually took more time then expected because the screw surface is not simmetric.
Lessons learned
It is easy to generate a big amount of poligons or points, often more than needed. An adequate postprocessing of the mesh is important to get good result more than a high resolution scan.
- When using Kinect 3d scan
- it is better to have a rotating platform to scan the object and keep the camera fixed.
- it is difficult to capture flat reflecting surfaces
- When using CNC scaning
- the process is much slower but can be more precise (small or big CNC machines can both do this process)
- only one side of an object can be captured at a time
Happy 3D printing! ![]()