week 5 - 3d scanning and printing
-group assignment: test the design rules for your 3D printers
-individual assignment: design and 3D print an object (small, few cm3, limited by printer time) that could not be made subtractively
3D scan an object (and optionally print it)
For this assignment, we will learn how to use the 3D printers and 3d scanners. This guide compiles all you need to know about 3d printing.

In group my classmates Eve, Baptiste, Marta and Carolina , we will first check the design rules for our printer. We downloaded a test file from Thingiverse that has several aspects for testing the printing quality of the machine. We used two FDM RepRapBCN printers with different nozzle diameters (0.4mm and 0.6mm), but same material (PLA), layer height, printing speed and temperature. The line width' setting was set accordingly to each nozzle (0.4mm and 0.6mm).
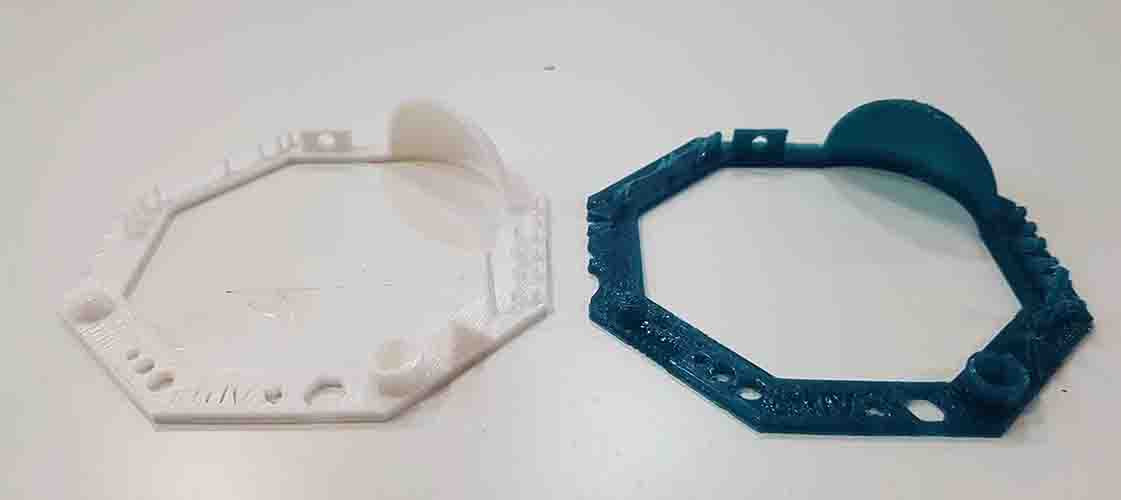
0.4mm (left) and 0.6mm (right)
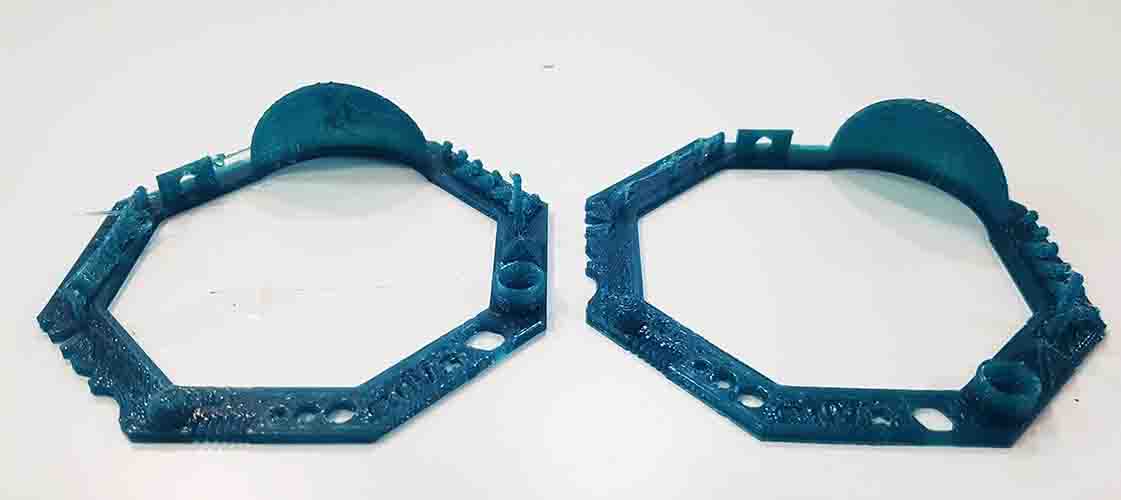
0.6mm with supports (left) and 0.6mm without supports(right)
Looking at the results, we can state that the smaller the nozzle, the better the printing resolution.
As for the supports, the test without supports ended up looking better. So we can say that they are not always necessary, even if it looks like your piece can't be done without them. The printer can actually print further than vertical if the angle is not too steep. Usually an angle of 45º should be perfectly printable. We can go further to an angle of 70º but the quality of the lower face will not look very good.
On the z-axis, the machine is quite accurate over the height of the printed result, which makes sense according to the 3d printing process. Both the digital file and the 3Dprinted object have identical heights.
On the XY plane, we measured the spacing between two printed areas (hexagon gaps) and we realised there is some loss of definition due to the line width. The prints tend to thicken the dimensions and the gap ended up being around 1 mm smaller than in the initial digital file.

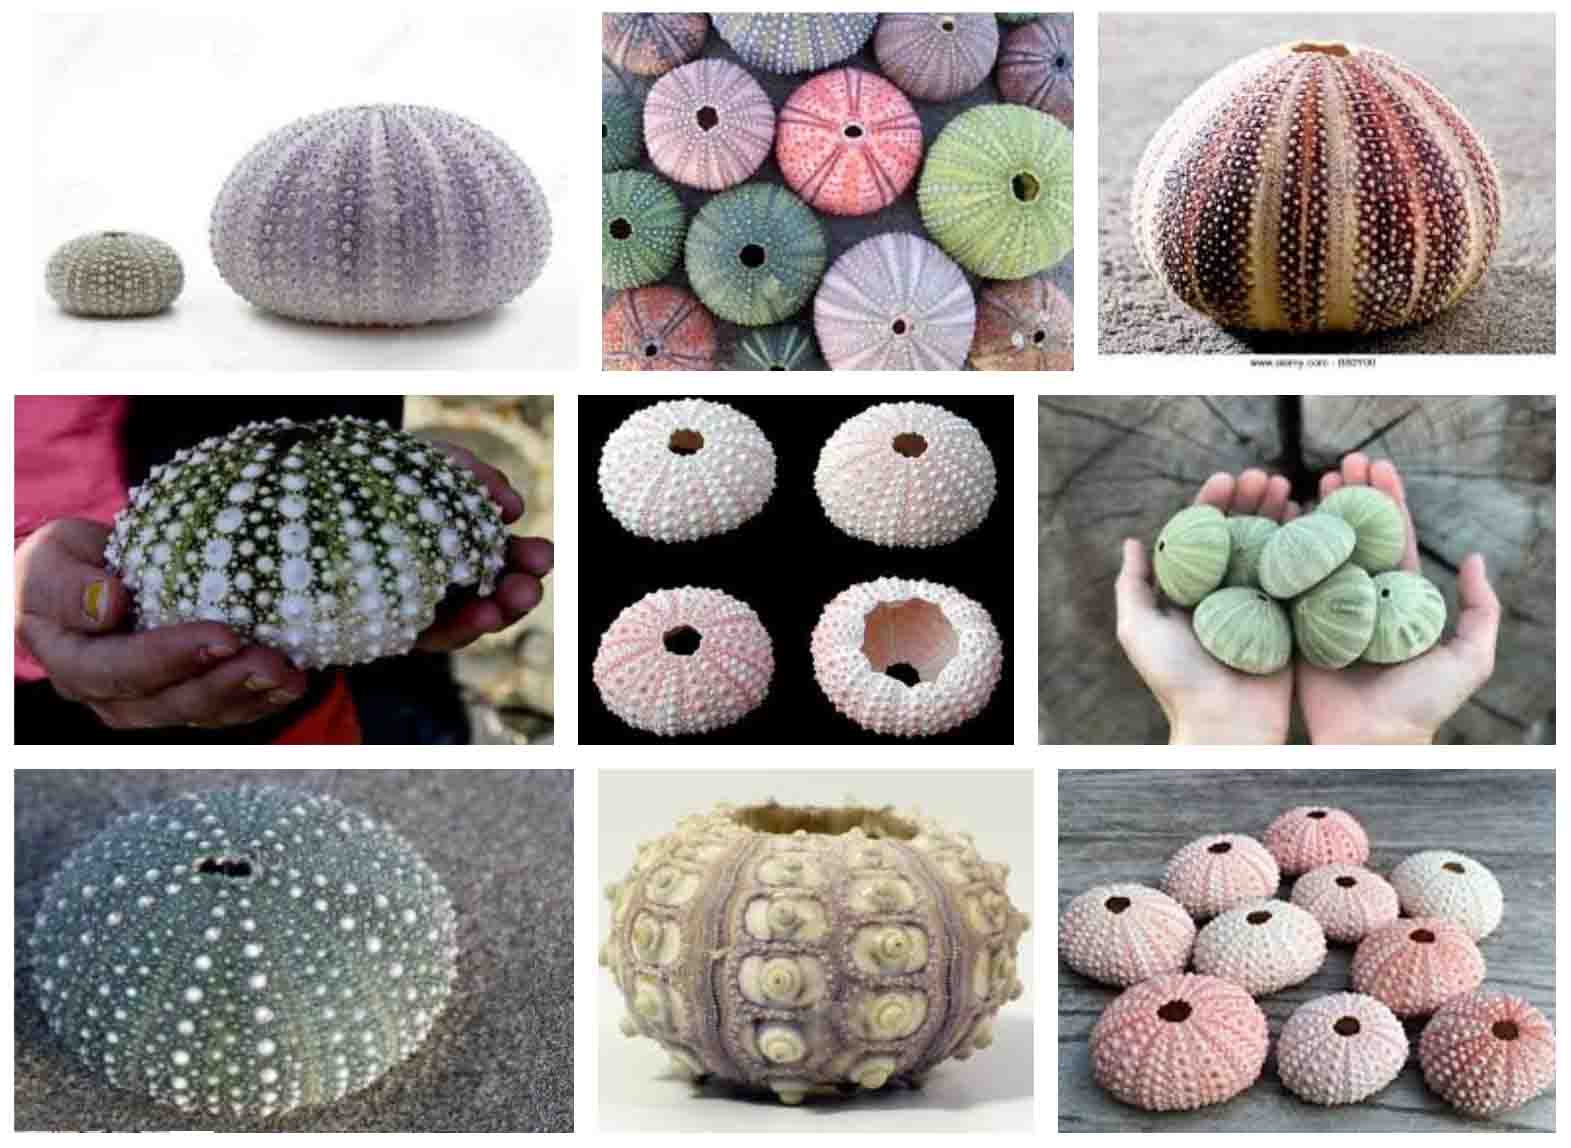
For the individual assignment, I decided to print a small prototype of my final project machine, the smoke signal machine. I am thinking of it as a 'breathing' object. My idea is that this volume will contain the smoke, which will be pushed through the hole by contracting the volume itself, forming a smoke ring. I still need to figure out how the volume will be contracted. Flexible 3d printing could be an option? What will make it contract? I still don't know how big it will be but I want it to have a very neutral appareance, so it looks nice on a desk or in any place of the house.
I took some inspiration from sea urchins:
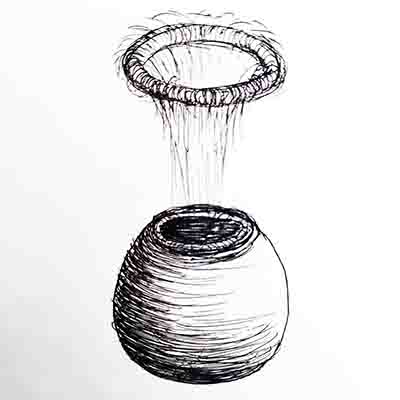
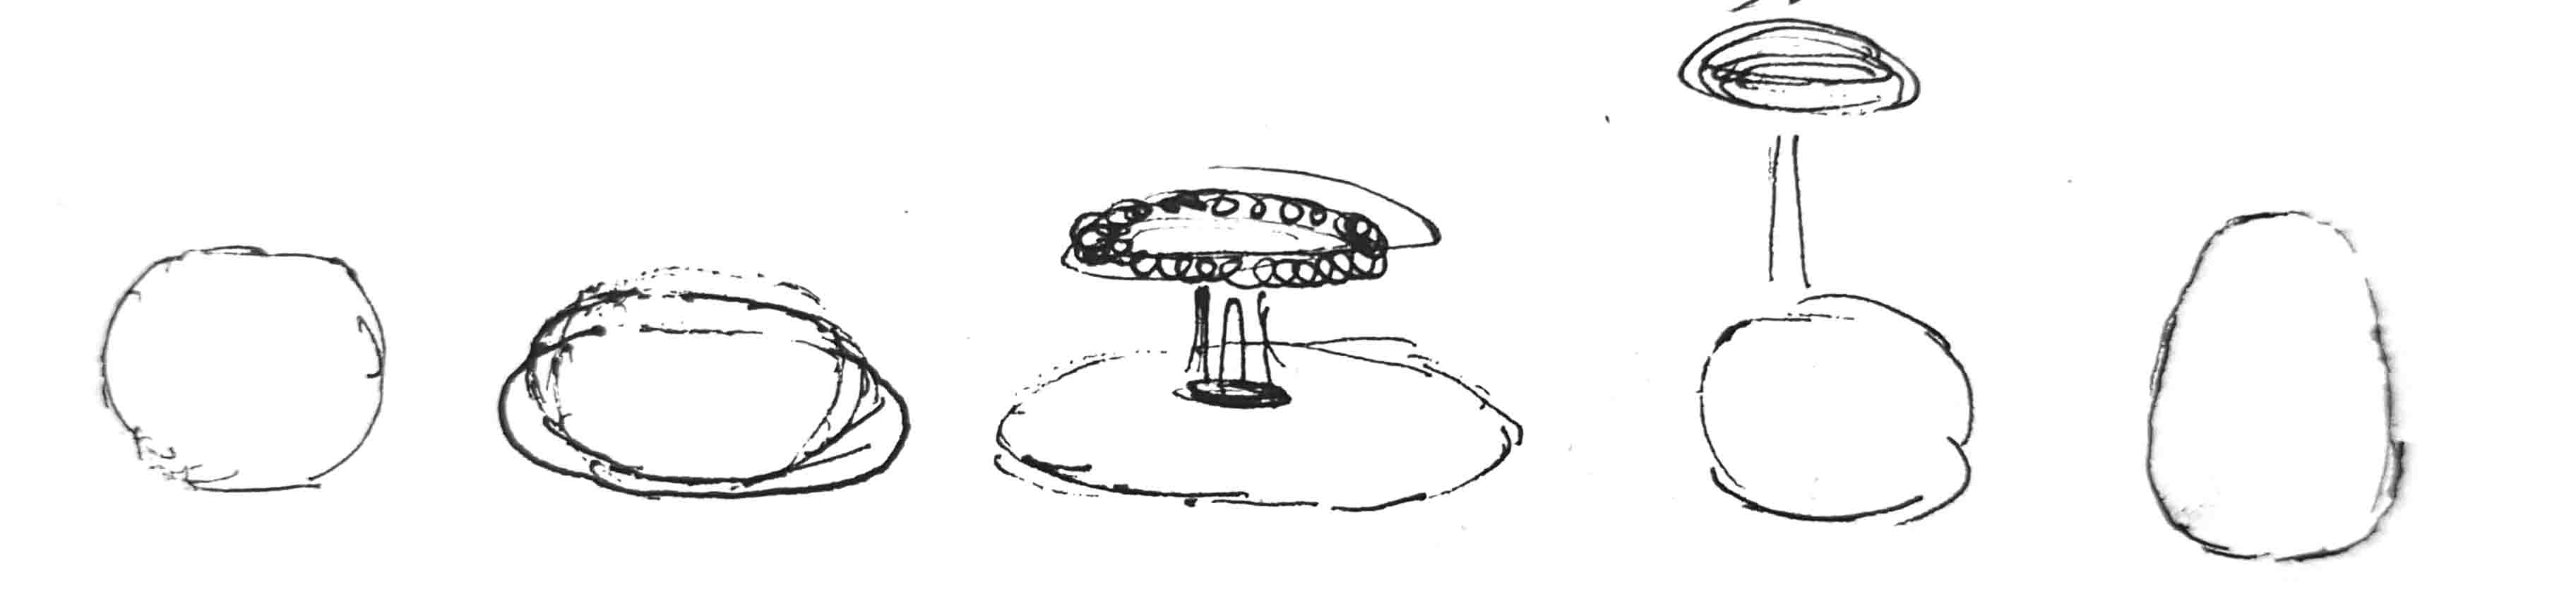
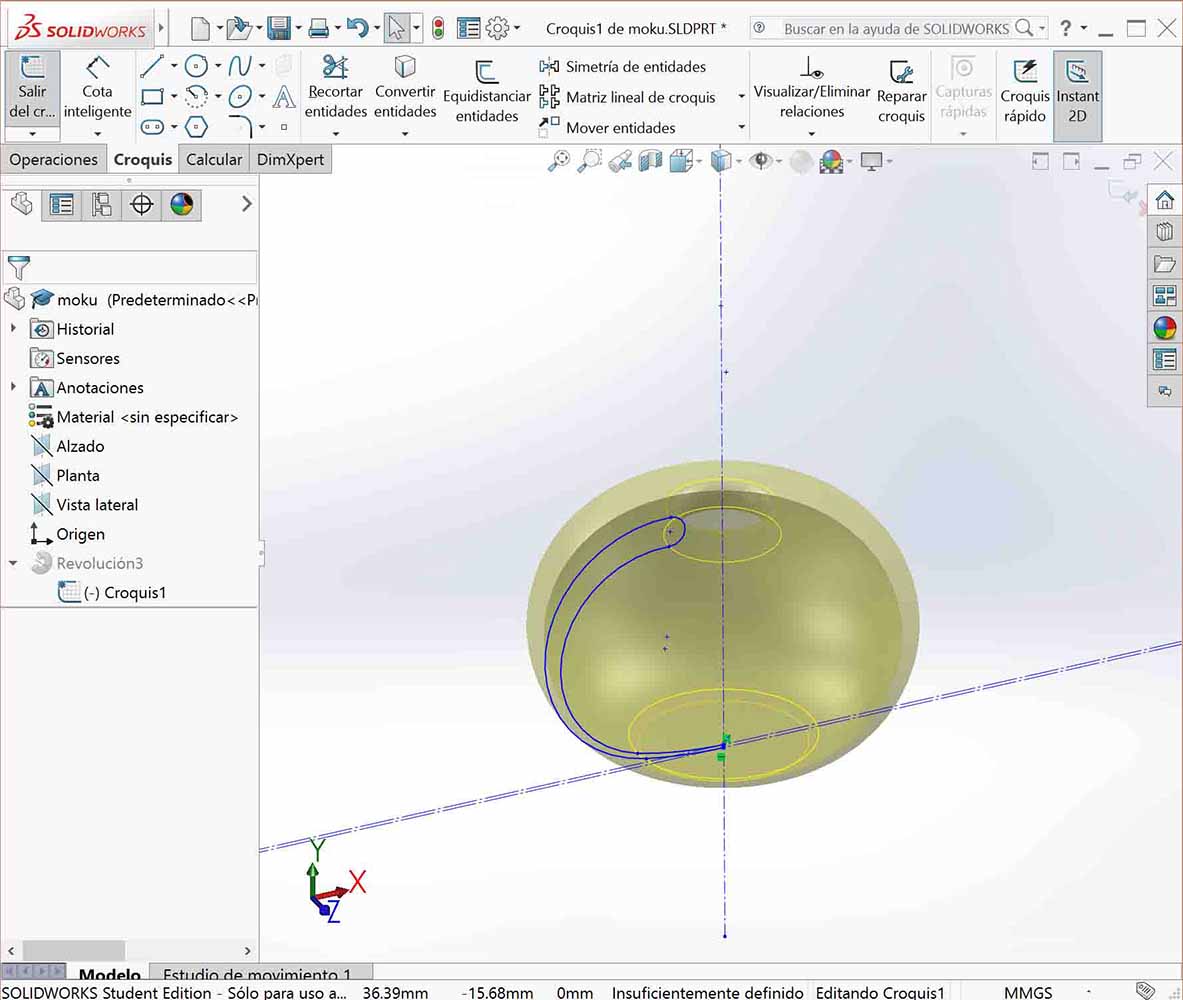
I didn't want to do anything too complicated because I wanted to try Solidworks, which I had never used before. However I wanted to design something that could not be possible to make subtractively due to its geometry, unless using an additive method like 3d printing. I basically did a series of curves which I rotated around an axis to form some kind of sea urchin shell. I tried to give some motion to the 3d model with Blender, but I still need to keep learning, since I haven't managed to control the Modifiers...
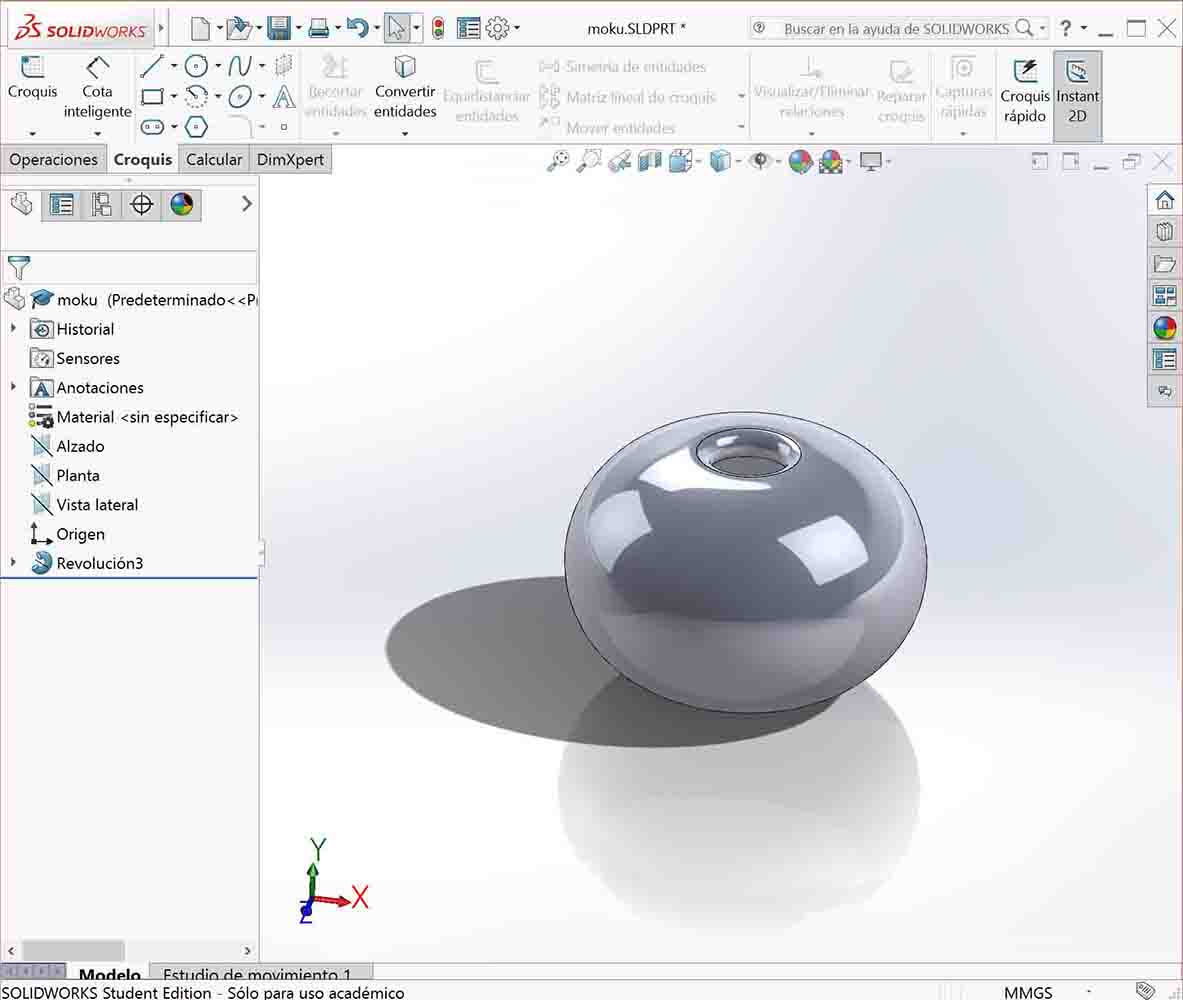
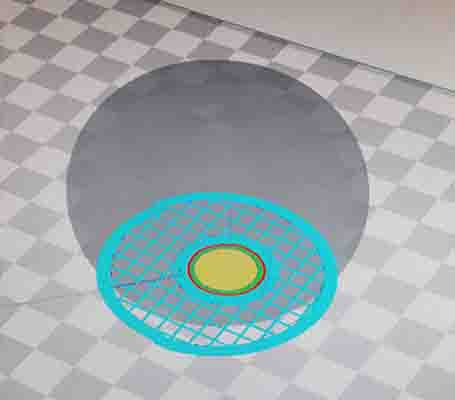
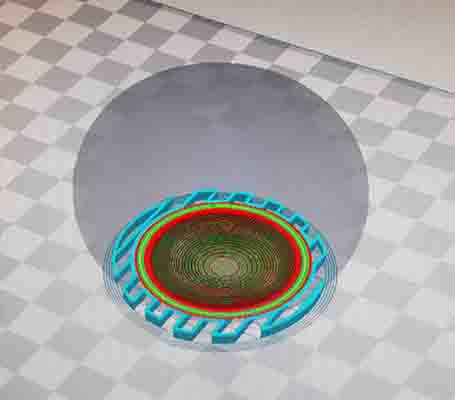
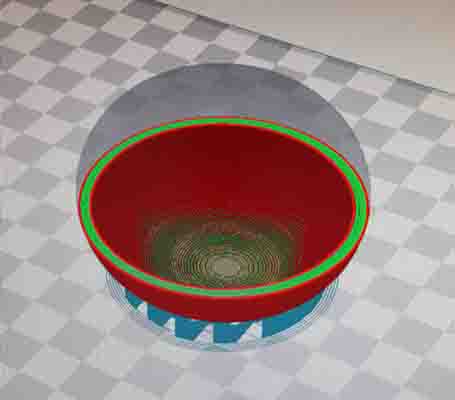
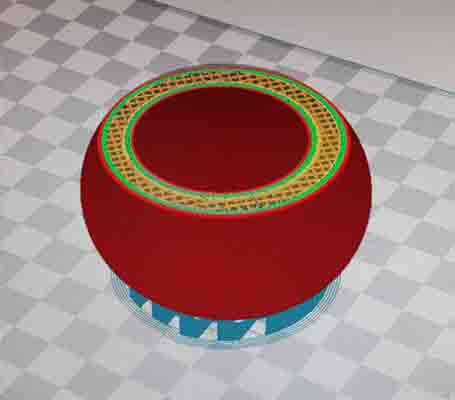
Once I was happy with the shape , I exported it from Solidworks as a .STL file. Then I opened it in Cura and chose the following material (PLA) and settings:
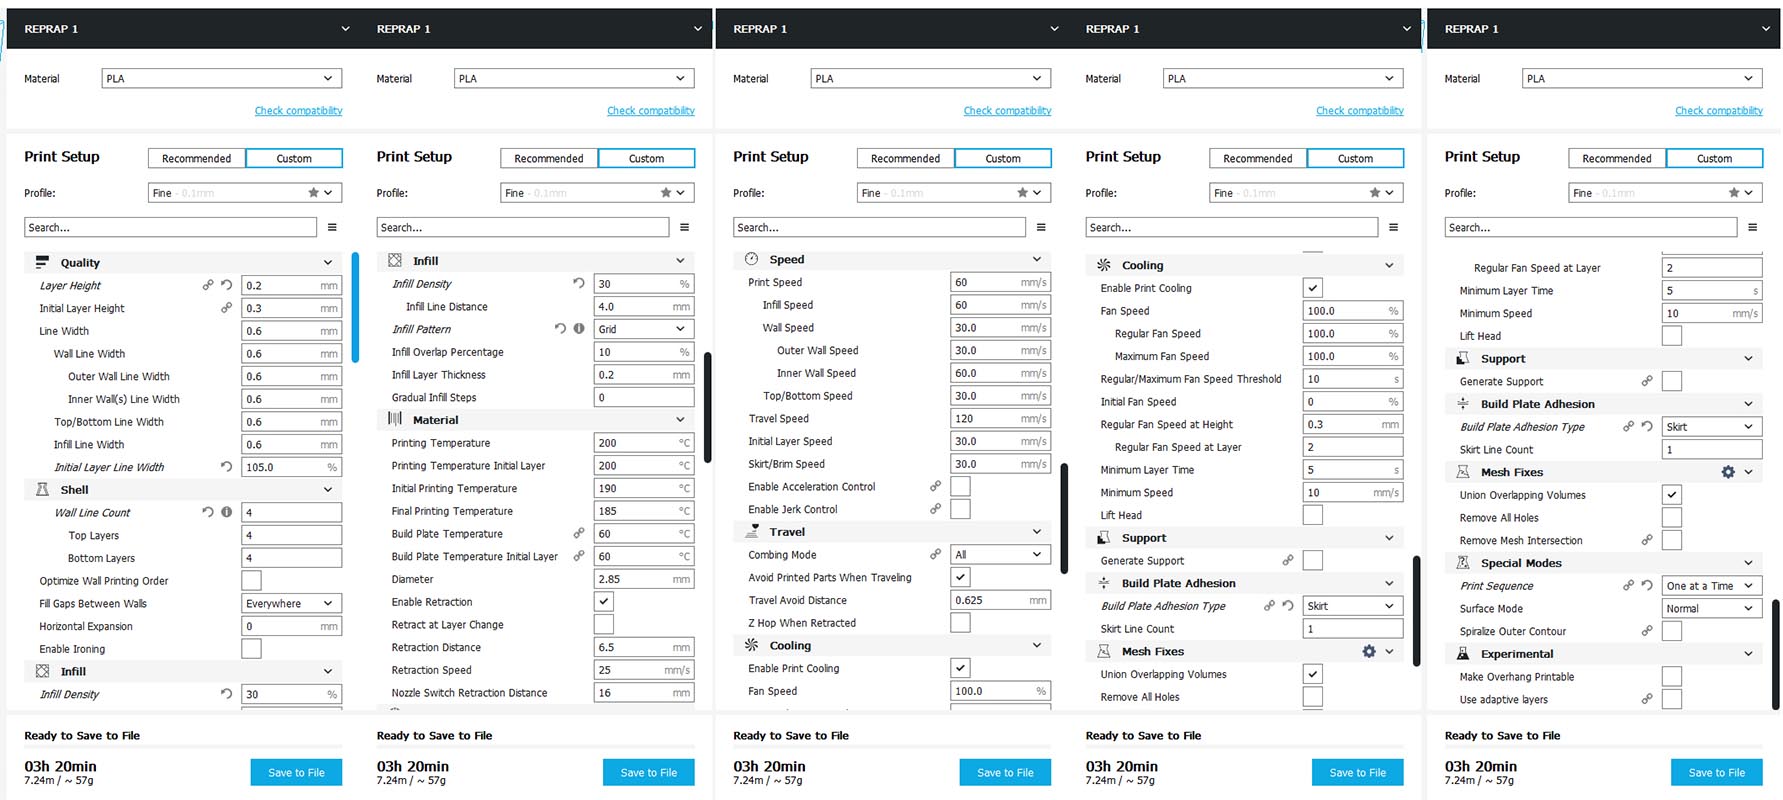
You can check the settings you are choosing by looking at the 3d previsualization. That way you will see better things like the type of infill pattern, the walls width, the supports or the build plate adhesion type.
Then I saved the file (gcode) and dragged it into RepRap1 printer software Octoprint. Once uploaded you can press on Print and the gcode will be sent to the printer via wifi. The 3d printer bed and extruder will start to warm up until it reaches de right temperature for the chosen printing material.
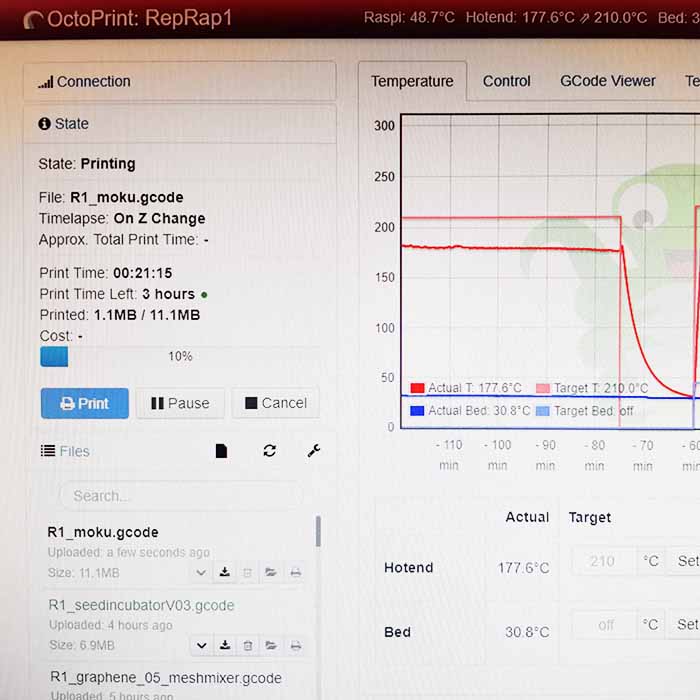
I left the machine printing overnight since it was late and they had to close the Fab Lab. What I had seen printed so far looked ok, but I was a bit sceptical about it being able to print the upper half without supports...
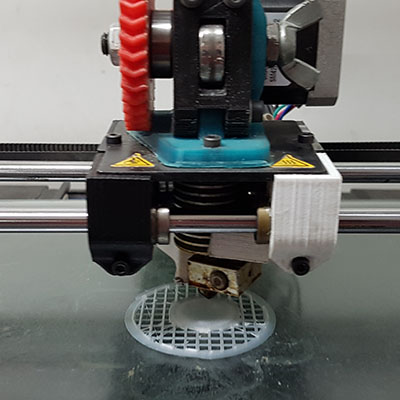
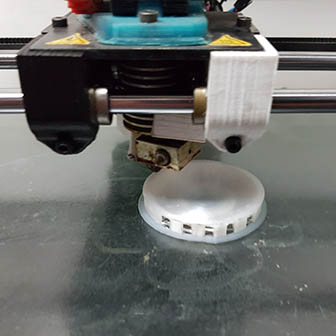
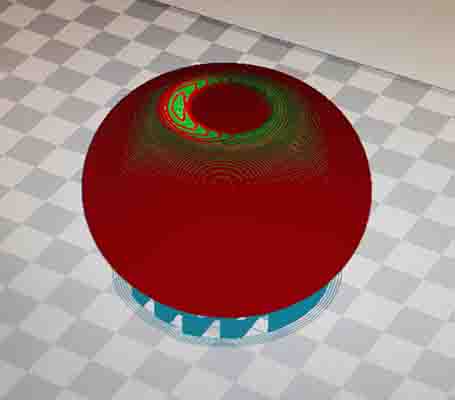
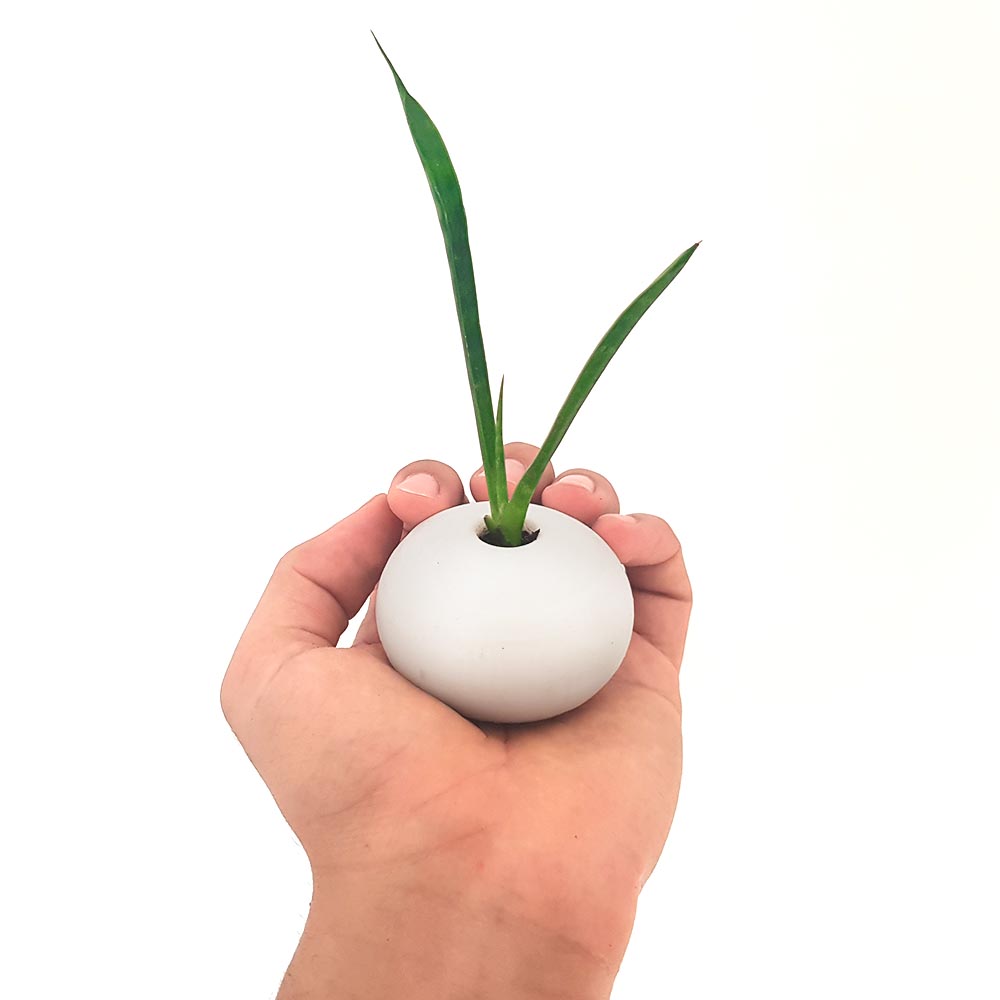
But what I found the day after was a perfectly printed result. The support for the lower part was easily removable. The resolution is quite satisfactory and the strength of the printing is much higher than I thought. It is also very pleasing to feel the texture of it.
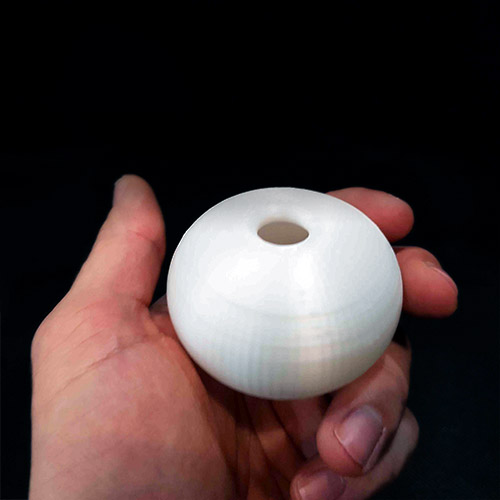
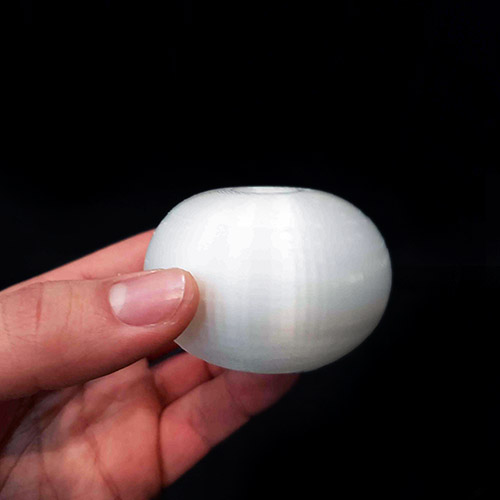
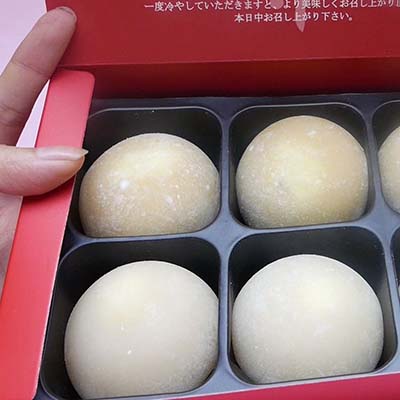
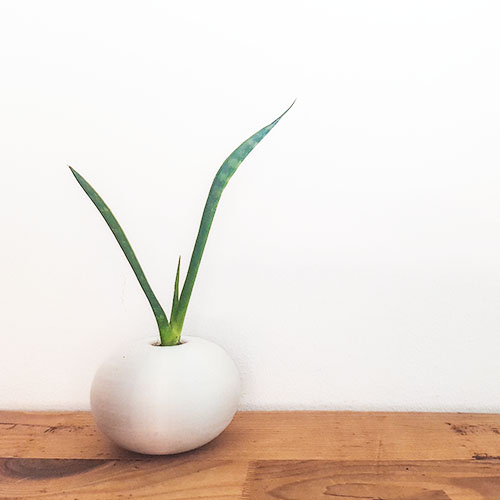
I guess my smoke signal machine can't be this small... Now that I see it printed in this white PLA, it really reminds me to a japanese mochi. I wonder if you can print with rice paste and design customized mochis... Anyway, I decided to turn my printing into a little plant pot. Now it looks like my mochi has suddenly come to life like a sprouting seed...I'll call it Mochi Sprout.
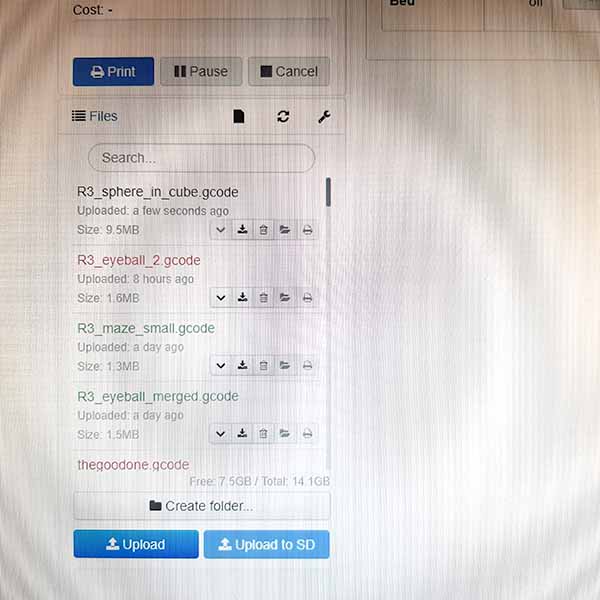
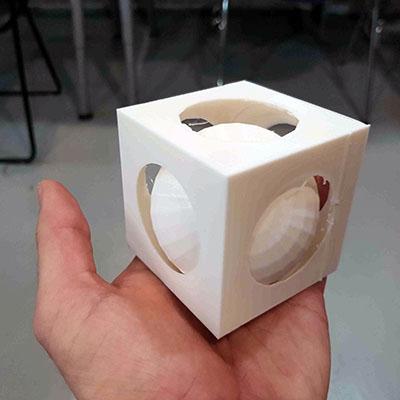
Since there was another printer not being used, I decided to do a second print. This time I downloaded a 3d model from Thingiverse. I also wanted to print something that could not be possible to make subtractively due to its geometry. I found this simple design which consists of a sphere inside a cube. Pretty cool!
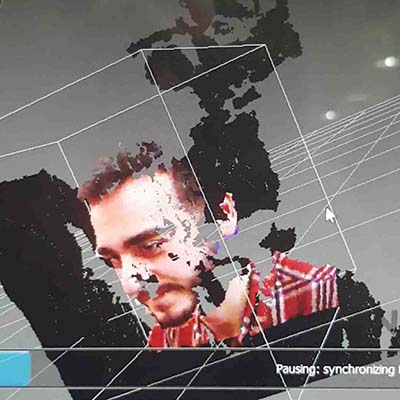
3d scanning
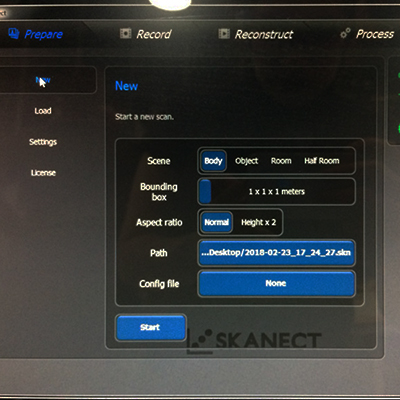
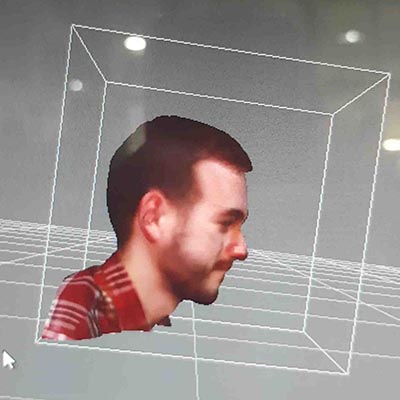
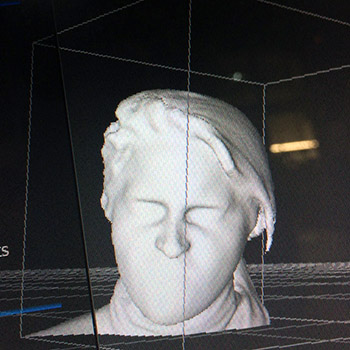
For the 3d scanning assignment I decided to use Kinect (1414) and scan myself. We used the software called Skanect. Before scanning, you need to define the volume of the object to be scanned. To proceed with the scan, my mate Thais helped me. I sat on a chair with wheels and started rotating on my axis without moving my body. Thais pointed the Kinect at me 360 degrees around me, and also the top of my head and from the bottom in order to scan my chin and other dead angles. Then press on regenerate.
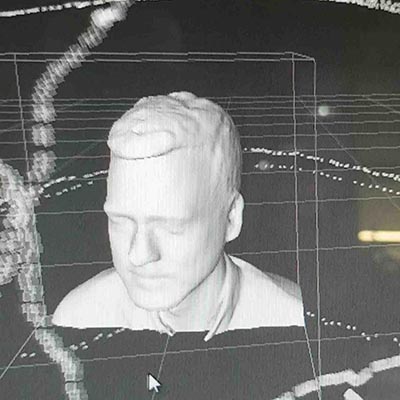
The result was not so great the first time. Defining a smaller scanning area (bounding box) according to the scanned object improves the quality of the scan.
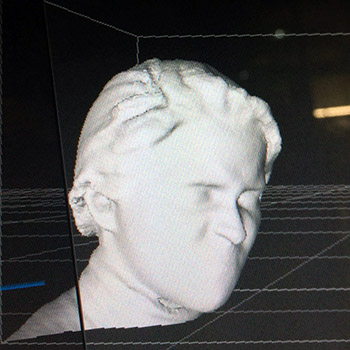
A second try made a better scan. Afterwards, you can export the .stl file, but since the version is free, the export has a very low resolution. Since the mesh doesn't come out perfectly closed, you can always fix it with Rhino (command MeshRepair) or other softwares such as Blender.
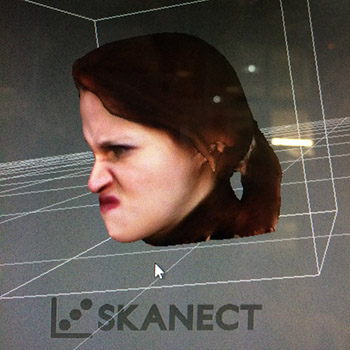
I also scanned my mate Thais! She went further on fixing the .stl file with the Meshrepair tool in Rhino and 3dprinted herself!
download files

This work is licensed under a Creative Commons Attribution-NonCommercial-ShareAlike 4.0 International License.