Eagle Master Class
Grasshopper Master Class with Santi
Intro
adafruit provides its schematics
We will here reproduce the Hello world FTDI

Eagle installed, install the fab component library
New project New schematic -> Generate board
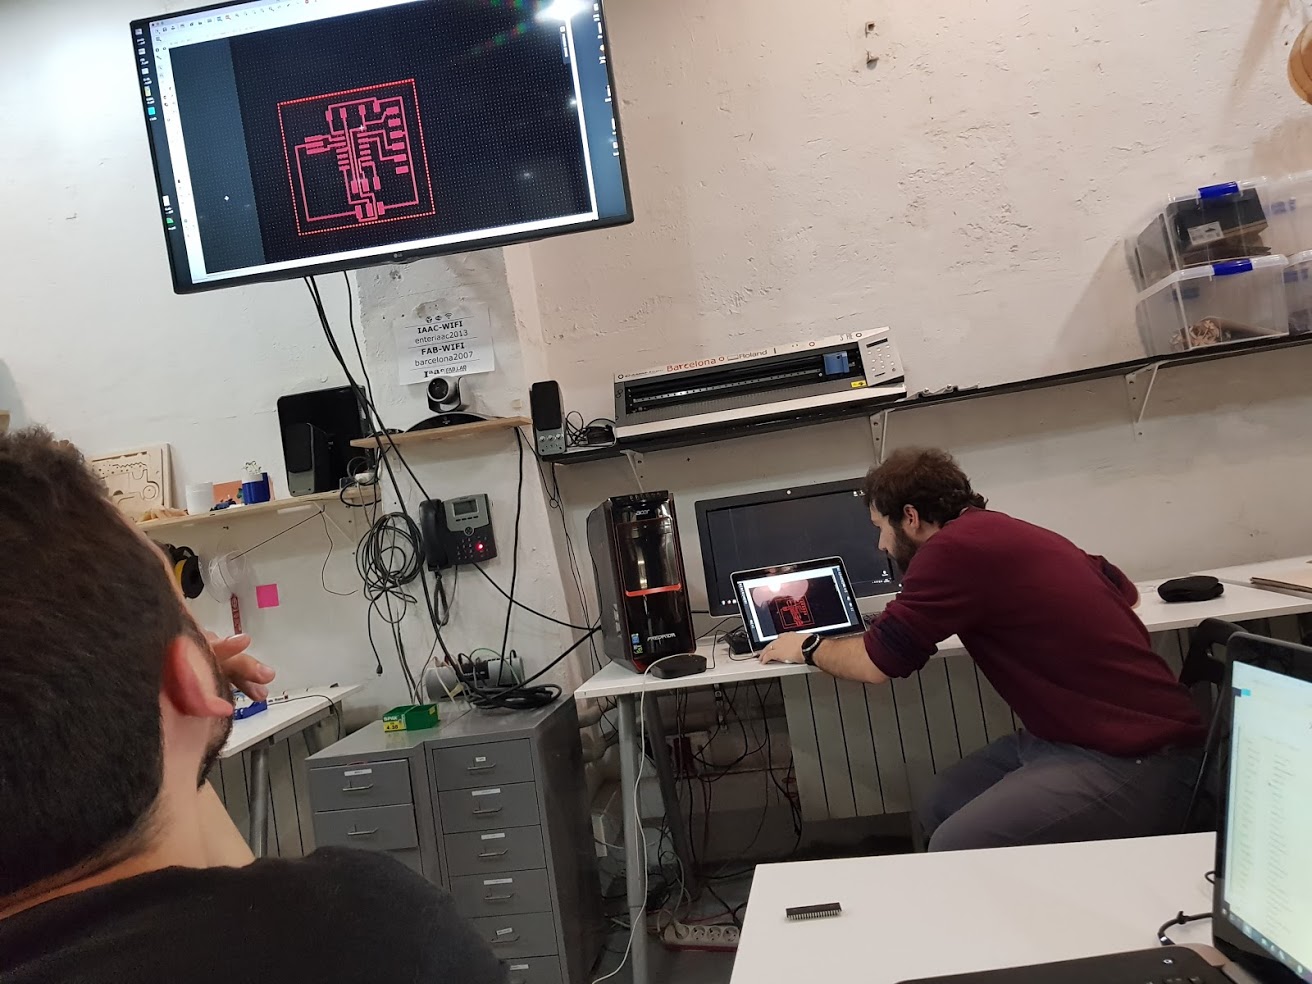
design in shematics (but we could use board window also)
Warning Do not close schematics or board, the connection will be broken. Keep them both open
in sch win -> Add -> Open library manager -> browse -> fab.lbr
in sch win -> Add -> fab -> ATTINY44-SSU
in board win if the component is outside the working area move it using the cross
if you don’t know wich one to use choose the one with “FAB” in the name
Follow the provided picture and add the 6 components
You can “Save as design block” to re-use some attached components like:
GND -> C LED A -> R470 -
Important Go to DRC Design rules -> Clearance set 16mils that is 0.4064 matching the 1/64 inch mill bit
change the steps of the grid (button bellow File menu)
add mesures to see the size of the board
Export as PNG before remove want we don’t want, dimension Go to layers, select none Select only Top File -> Export (check monochrome) Set Resolution (min 500dpi, neil recommands 1000) Set window in area Save, we have the traces
We need to create the outlines in other software like Gimp, inkscape
Extra tip Define a border to be a guide in the outline soft. draw a polygon around your traces
Optional: define the rest of the board as the ground: Name the polygon as GND click the eye to show connections use this polygon, go to its properties and define it as a solid
be carefull for the outline the width of the black border should at least be greater then the diameter of the tool used
Stay in touch
Hi, I'm
Joris Navarro, from Perpignan (France), a proud dad, a fab director/manager, a teacher, a ceo, a FabAcademy student, but not only. Click here to know more about me.
Check my work for FabAcademy on FabCloud GitLab
@joris.navarro.
Want to say Hi ? Please send me a message.