Computer Controlled Machining
Week 8 - Computer Controlled Machining
Here you will find my work description during this eighth week
General info
Class notes
Assignment
Our assignment for this week is:
Group Assignement
- test runout, alignment, speeds, feeds, and toolpaths for your machine
Individual Assignement
Make someting BIG
Bed side table
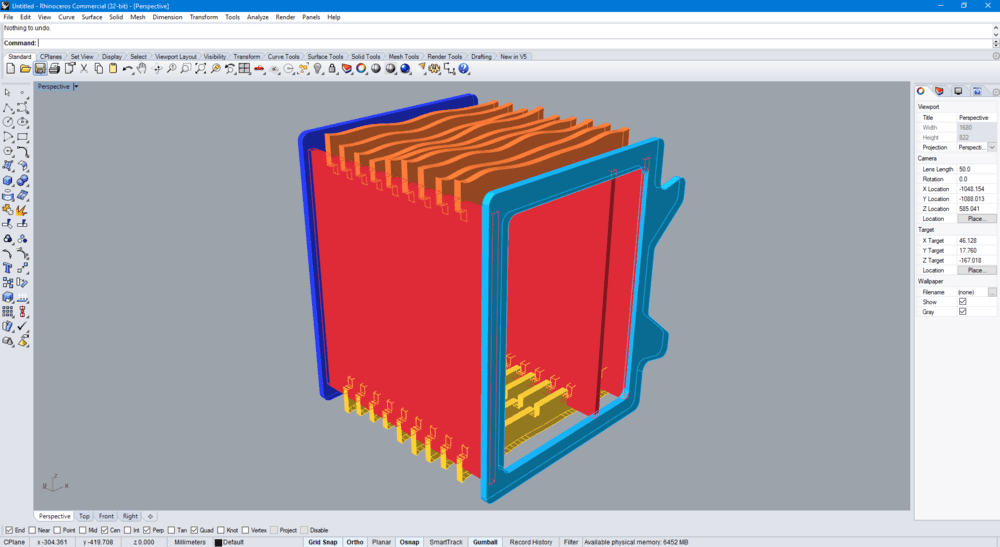
I spent a lot of time designing a bedside table using Rhino and grasshopper. It’s been a while I want to learn parametric design. I started using GH during CAD class and Laser cutting assignement. But I was not confortable enought, so I decided to focus on a big scale parametric furniture to mill using the Router. I am used to mill with the Router we have in Perpignan.
Inspiration
Designs that inspired me:
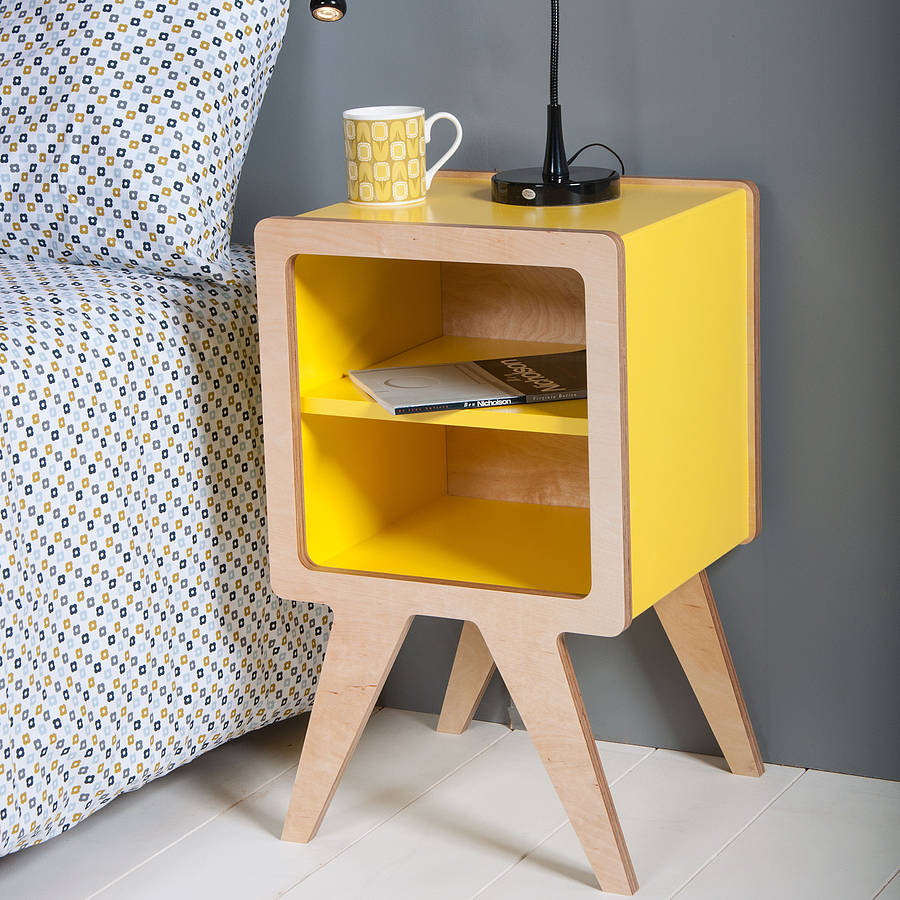
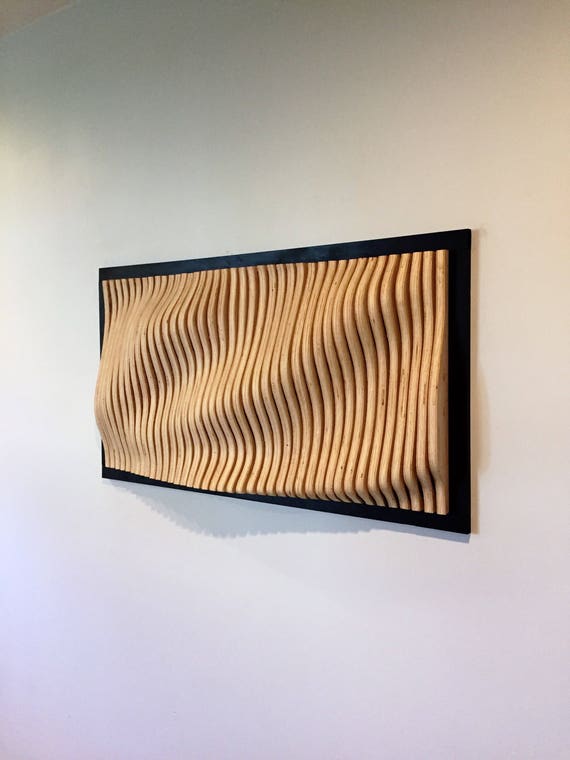
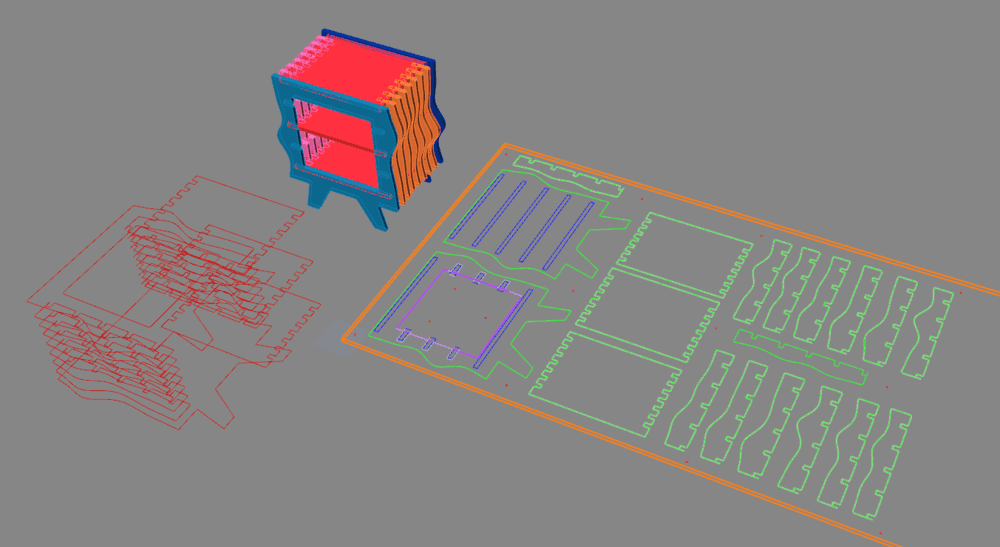
Four side wafle wave. The challenge is to create like a wave we will divide in several part like the image.
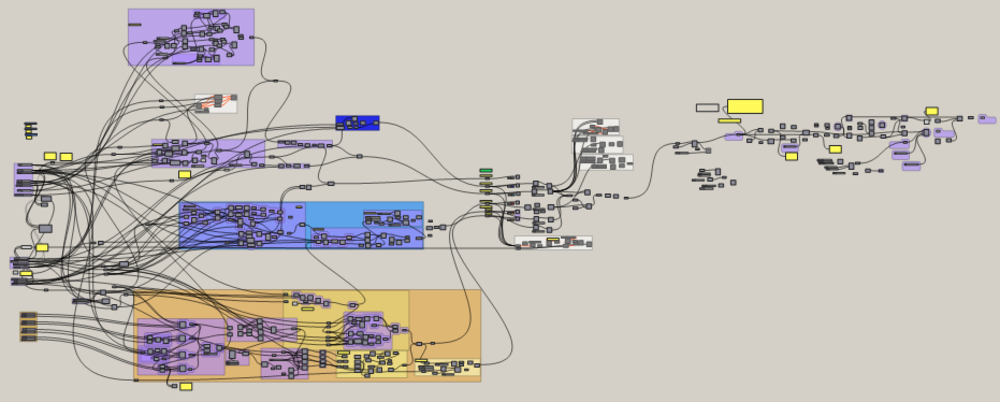
I start exploring GH and generate the waves.
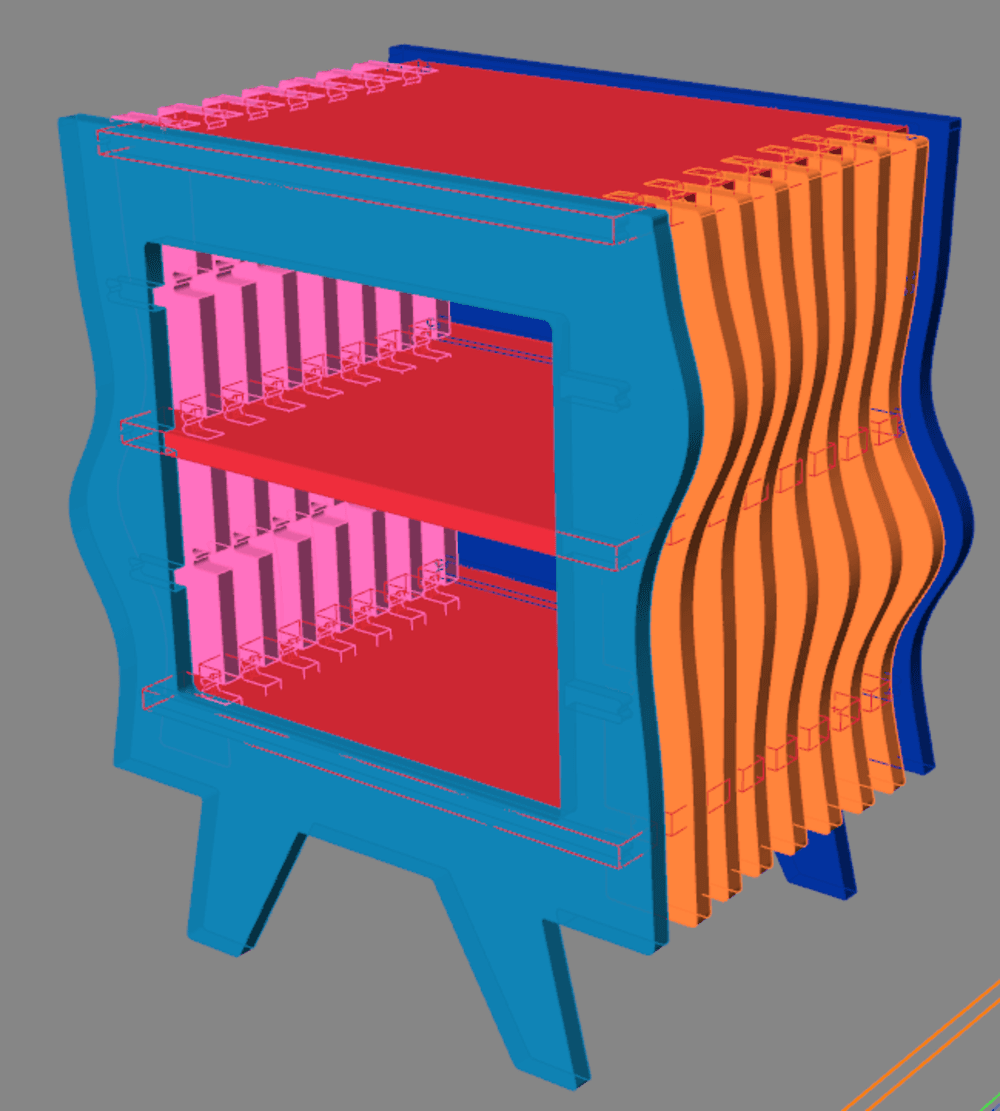
After I create the other parts of the bedside table considering the dog bones.
Unfortunately the work is still in progress and I didn’t mill it yet. But the result is promising.
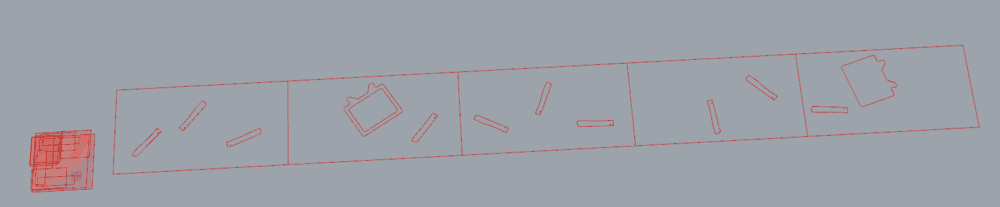
From now I have nesting problems.
Prototyping using laser cutter
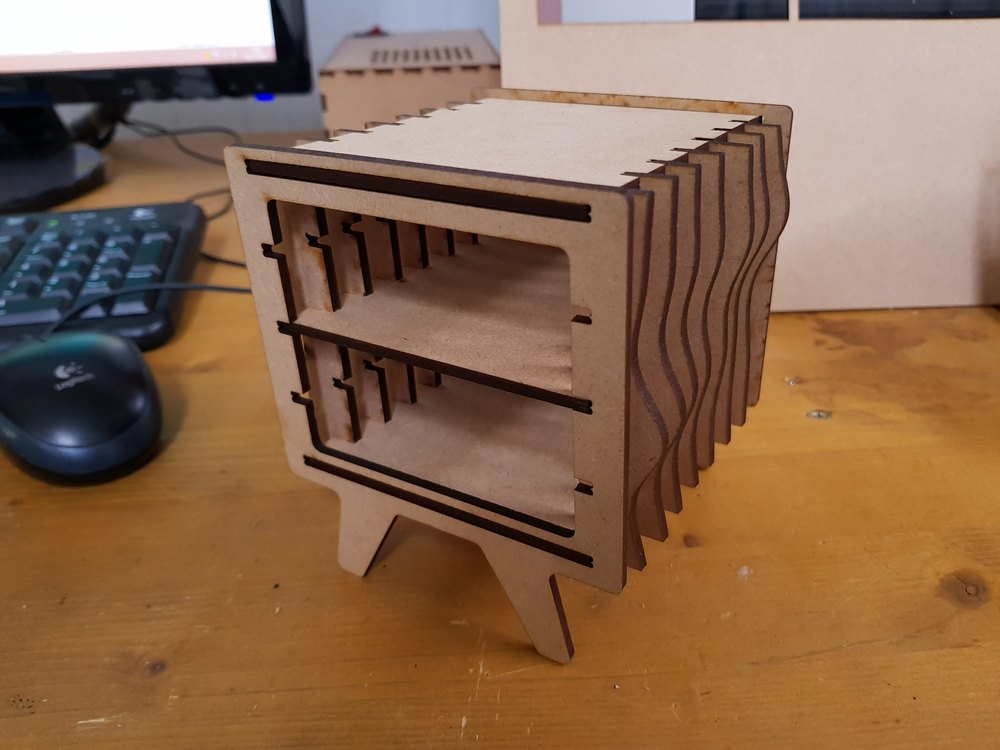
This laser cut version made me realized the the front and the bottom panel should not be straight and should have waves.
Here is the final design
Doing the nesting manually for a better fit on the board.
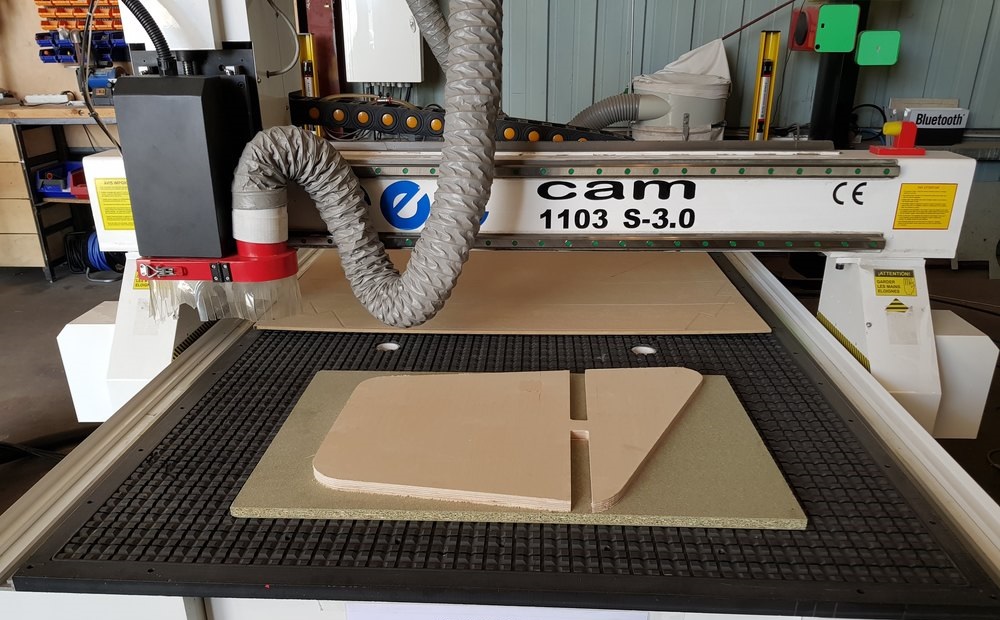
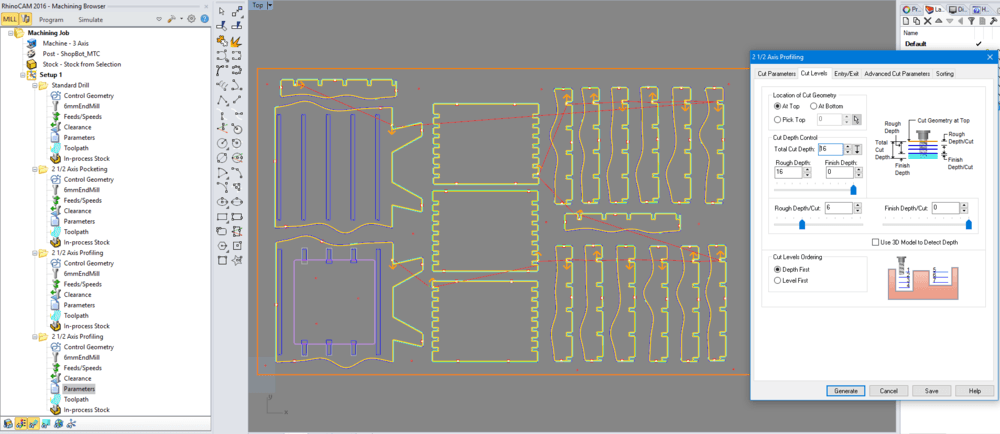
Usually I use V-Carve for milling on our Tec CAM 1000 CNC Router, but I wanted to larn RhinoCAM and milling the bedside table on the shopbot of Barcelona.
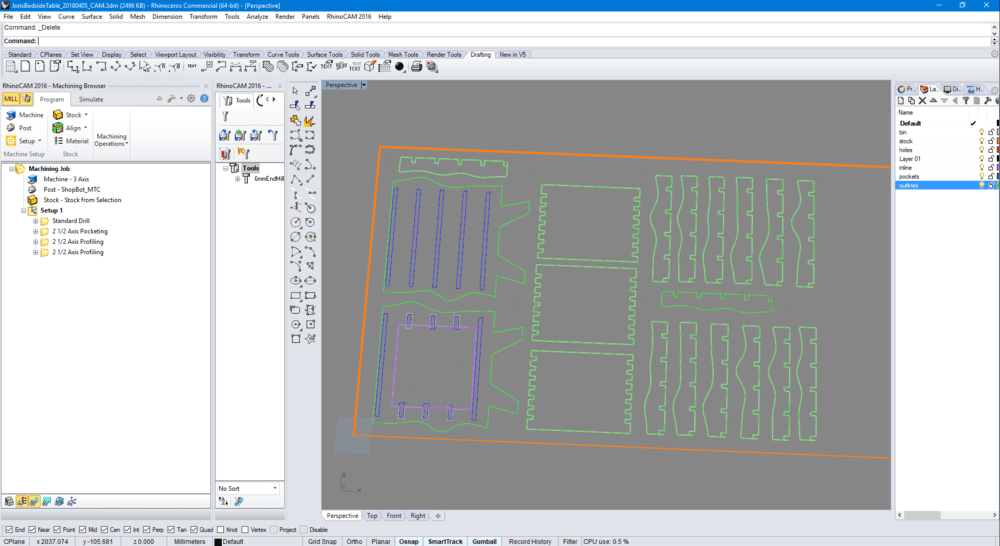
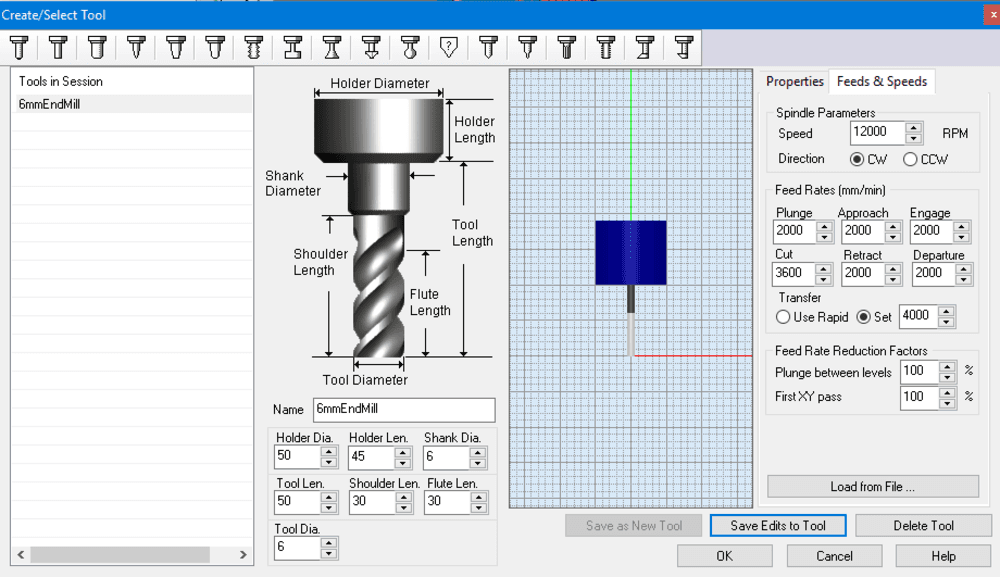
I defined 4 strategies, all use the same 6mm flat end mill. I uses the default (provided by barcelona operators) feeds and speeds as you can see in the image bellow.
Strategies:
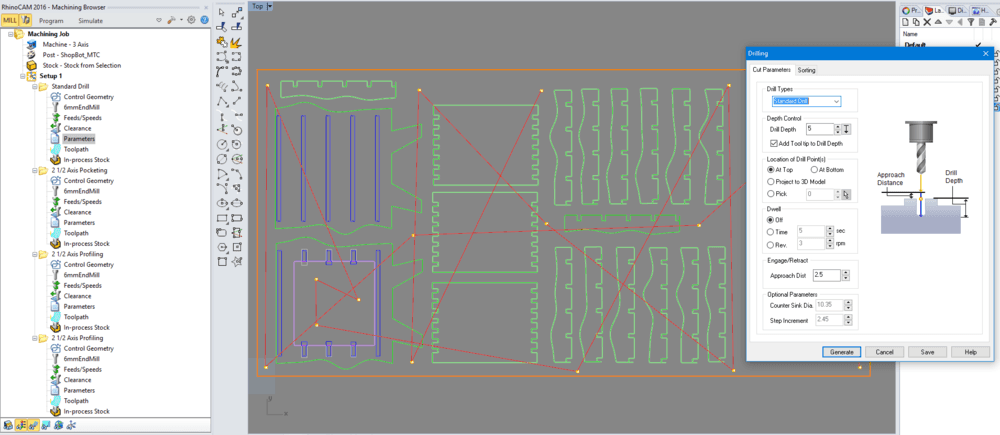
- Drill holes (used to skew the stock on the machine)
- Pocketing
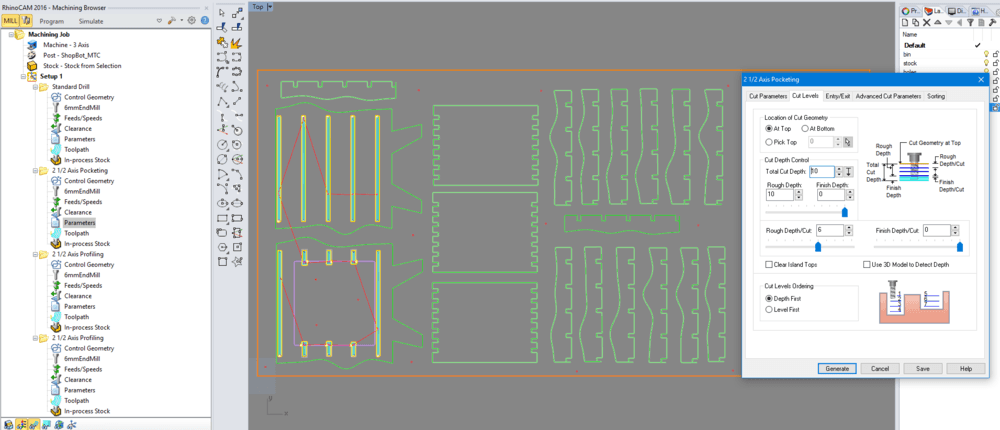
- Inner profiles
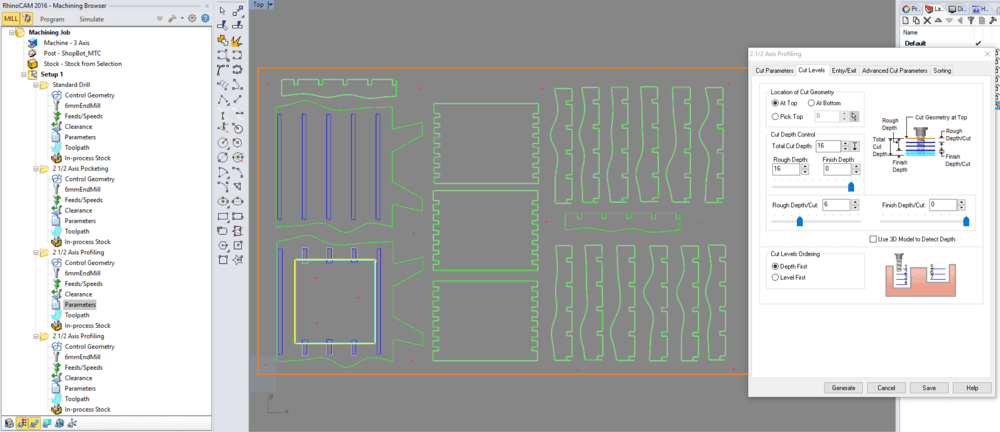
- Outer profiles (outlines)
Test result virtually using simulation
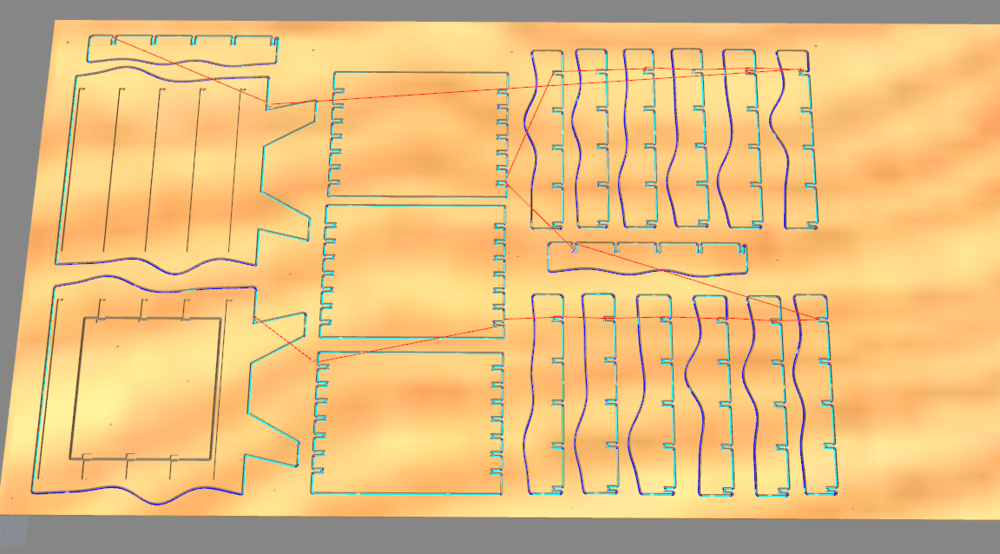
Generate gcode right clicking on Setup1 then Post. Be sure you select the Shopbot_MTC (manual tool change), and generate a .sbp (shopbot) file.
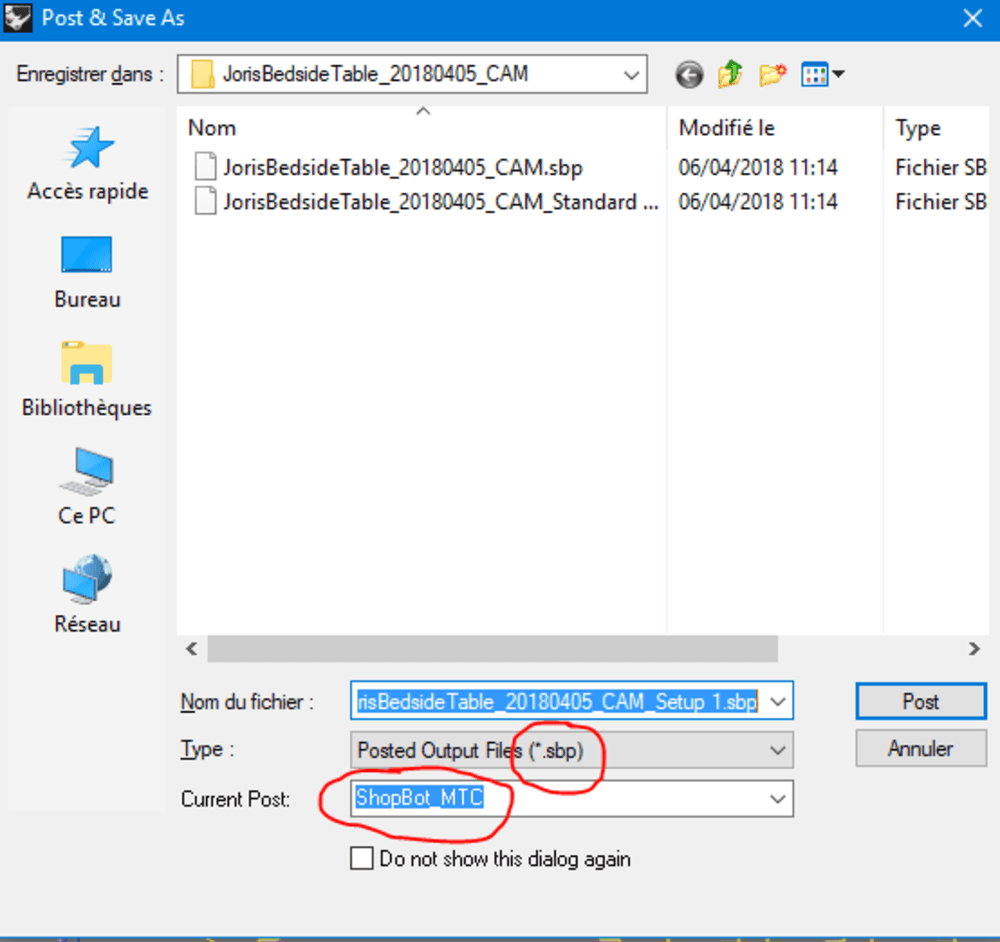
We are now ready to mill the BIG thing.
Install the tool. Don’t forget to blow air in the collet.
.jpg)
.jpg)
.jpg)
Insert into the spindle using the pneumatic command.
.jpg)
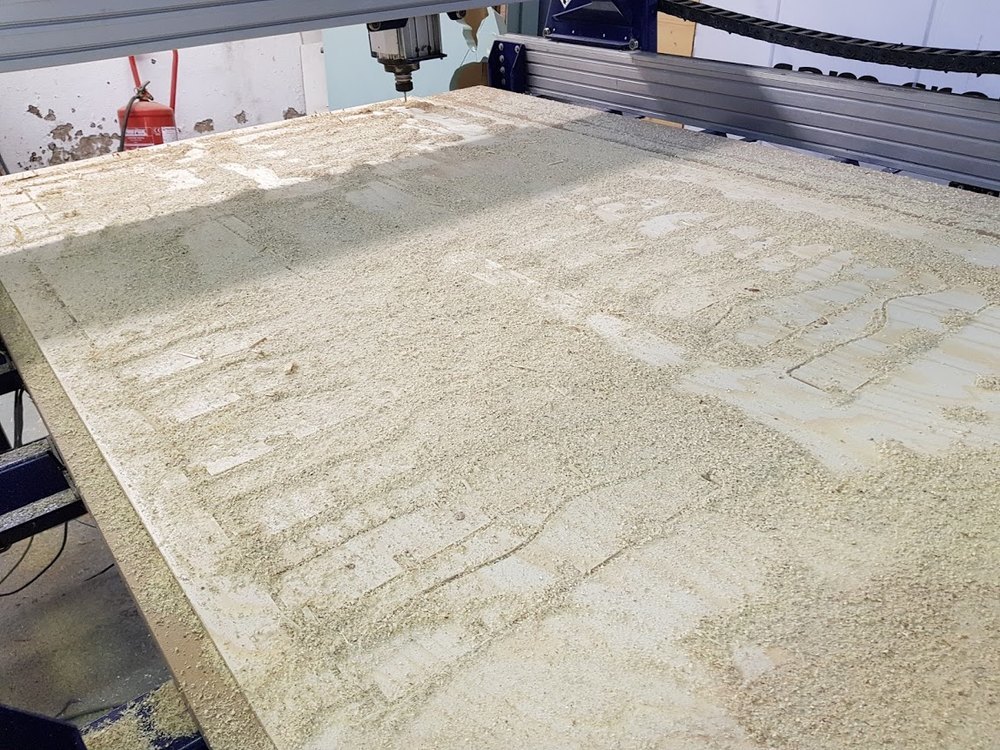
Here is the result.
And now, my “favorite part”, the sanding !
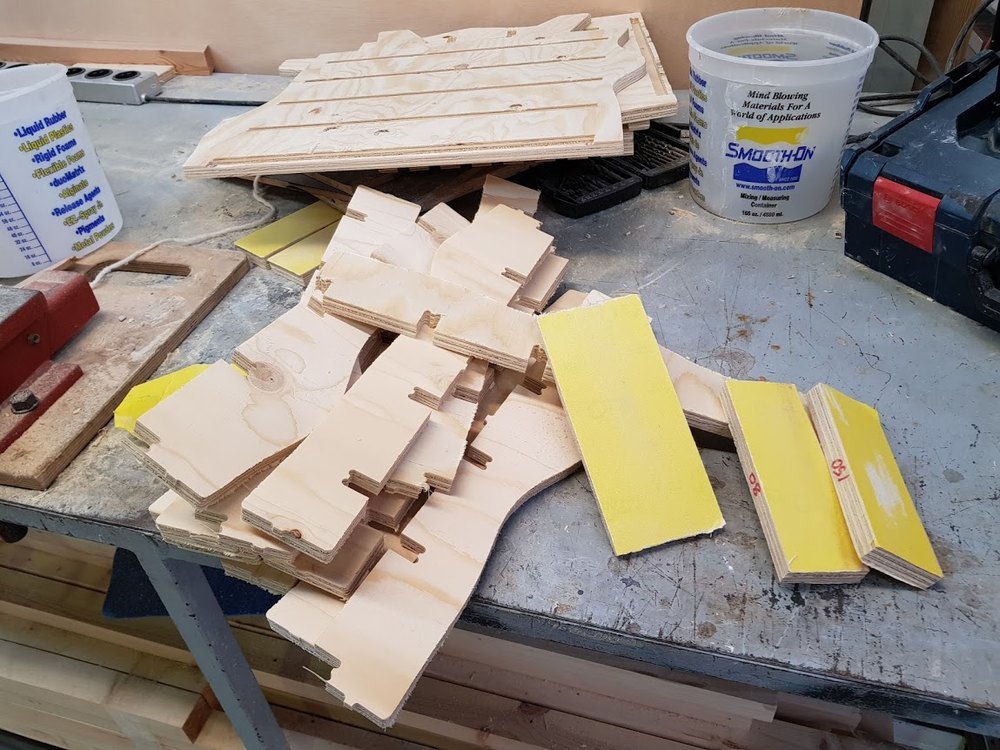
and assembling …
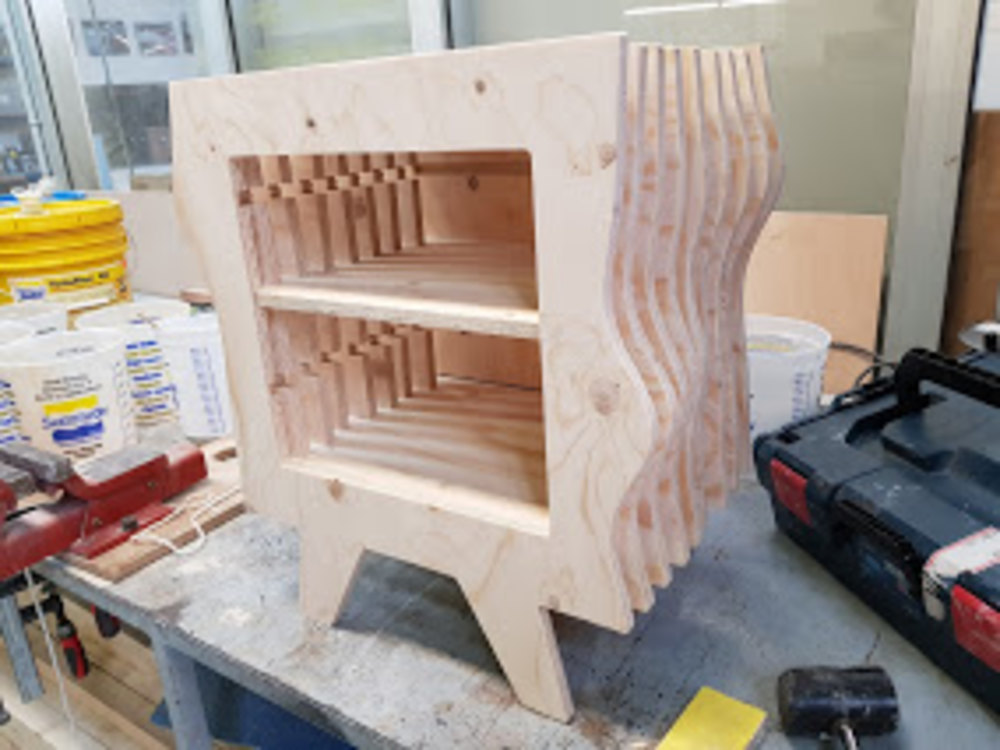
Et voilà ! So proud of me ;)
Files to download
Click here to download the grasshopper definition
Click here to download rhino CAM files
Feedbacks about this week assignment
This was my first time designing something big using Rhino and Grasshopper. This was an occasion to learn this CAD software. I really expect learning this tool. Step by step I discovered new functionnalities. Sometimes I did lots of operation one functionnality can do in one shot. I am totally proud of what I did in terms of design. And to be honest that is what I was looking for. The only thing I did not managed to do is the autmatic nesting. But this is not an easy topic. Actually Nesting is a NP-complete problem. Some expensive softwares like RhinoNest for rhino can propose optimized solution. Finally I did nesting manually. For the future I want to go further with that tool, exploring more and more functionalities, plugins, parametic patterns, machine learning and so on.
Another discovery was RhinoCAM. This CAM processor is really nice, as handy as V-Carve I used to use. I like the simulation directly integrated in the CAD view.
My experience with the shopbot was nice, this machine works very well but to my humble opinion the GUI is not very user-friendly. I had to write down the entire procedure to be confortable with the process, maybe because there are several tricks. Hopefully when I was in doubt Mikel, the lab manager was here to advice me. But basically the machining process is the same for every CNC machine (zeroing, feeds and speeds, correct speed depending of sounds, …).
A ring for final project
Strategies on V-Carve
Different strategies has been tested for this double side mill.
For now the better one seems to be:
- Tap holes / 8mm (because I don’t have 6mm taps)
- Drill Holes (4mm)
- Pockets for magnets / 6mm + Pockets (inner and outer)
- Reverse the stock
- Pockets for magnets/ 6mm + Pockets (inner and outer)
- Outer cut + inner cut
better results is using 6.35mm (1/4 inch) 2 straight flutes but magnet holes need to be smaller
I am used our Tech CAM 1000 from Perez-Camps.
.jpg)
Preparing vacum table to maintain stock during process
.jpg)
Put stock with screws on the sacrificial layer.
.jpg)
Put the first tool -drill- to create hole that will be used as repair(?)
Then set origins (X,Y, and finally Z) using the remote control.
.jpg)
Run first process, and then put tabs, re-set Z origin.
.jpg)
Run second process, drill holes that will be used later. Run third process top pockets
.jpg)
Flip right (or left, but not up or bottom) the stock and put it back using the taps. Skrew 2 screws in the midle to maintain the part during the cutting process.
.jpg)
Mill the last job, holes (for magnets), pockets, and finally the outer and inner cuts.
Here is the result.
.jpg)
Want to see a quick video about the process ? Click on the image here.
Known issues
The part broke away at the and of the cutting process. It looks like the tabs/bridges are not strong enough.
.jpg)
Files to download
Stay in touch
Hi, I'm
Joris Navarro, from Perpignan (France), a proud dad, a fab director/manager, a teacher, a ceo, a FabAcademy student, but not only. Click here to know more about me.
Check my work for FabAcademy on FabCloud GitLab
@joris.navarro.
Want to say Hi ? Please send me a message.