First sketches
First visualizations of the plant structure. As long as I come up with more they will be added below in chronological order:


First visualizations of the plant structure. As long as I come up with more they will be added below in chronological order:
After having spent the wildcard week testing composites to produce the dome, I thought I was ready to easily make it. But of course not.
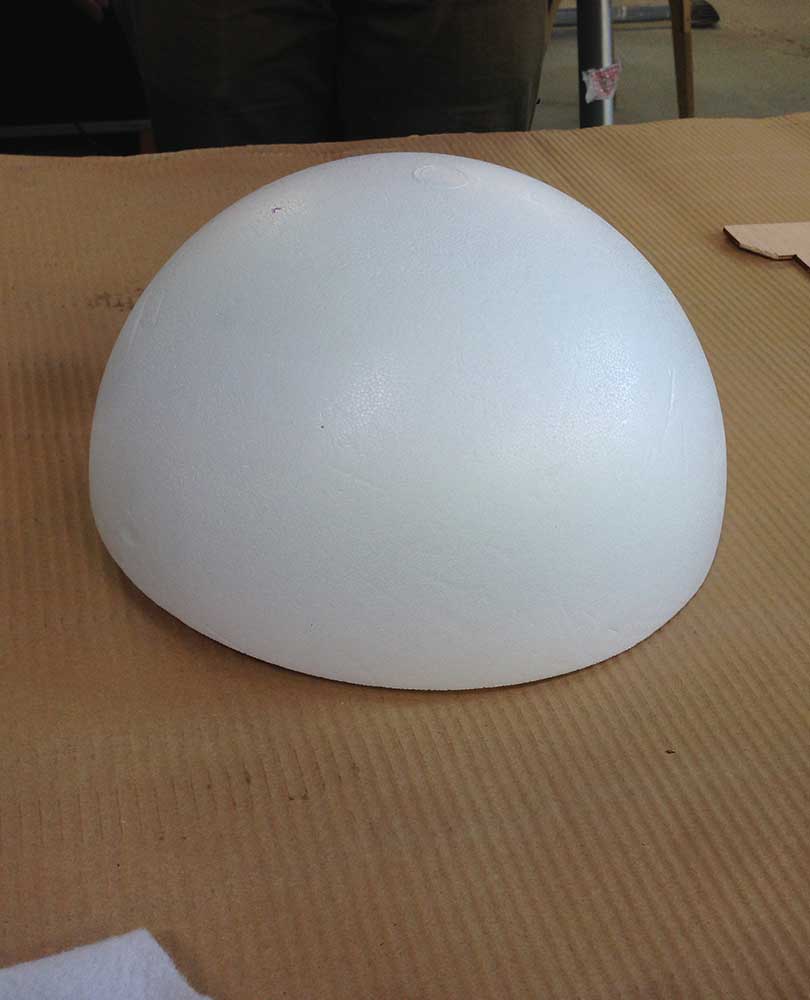
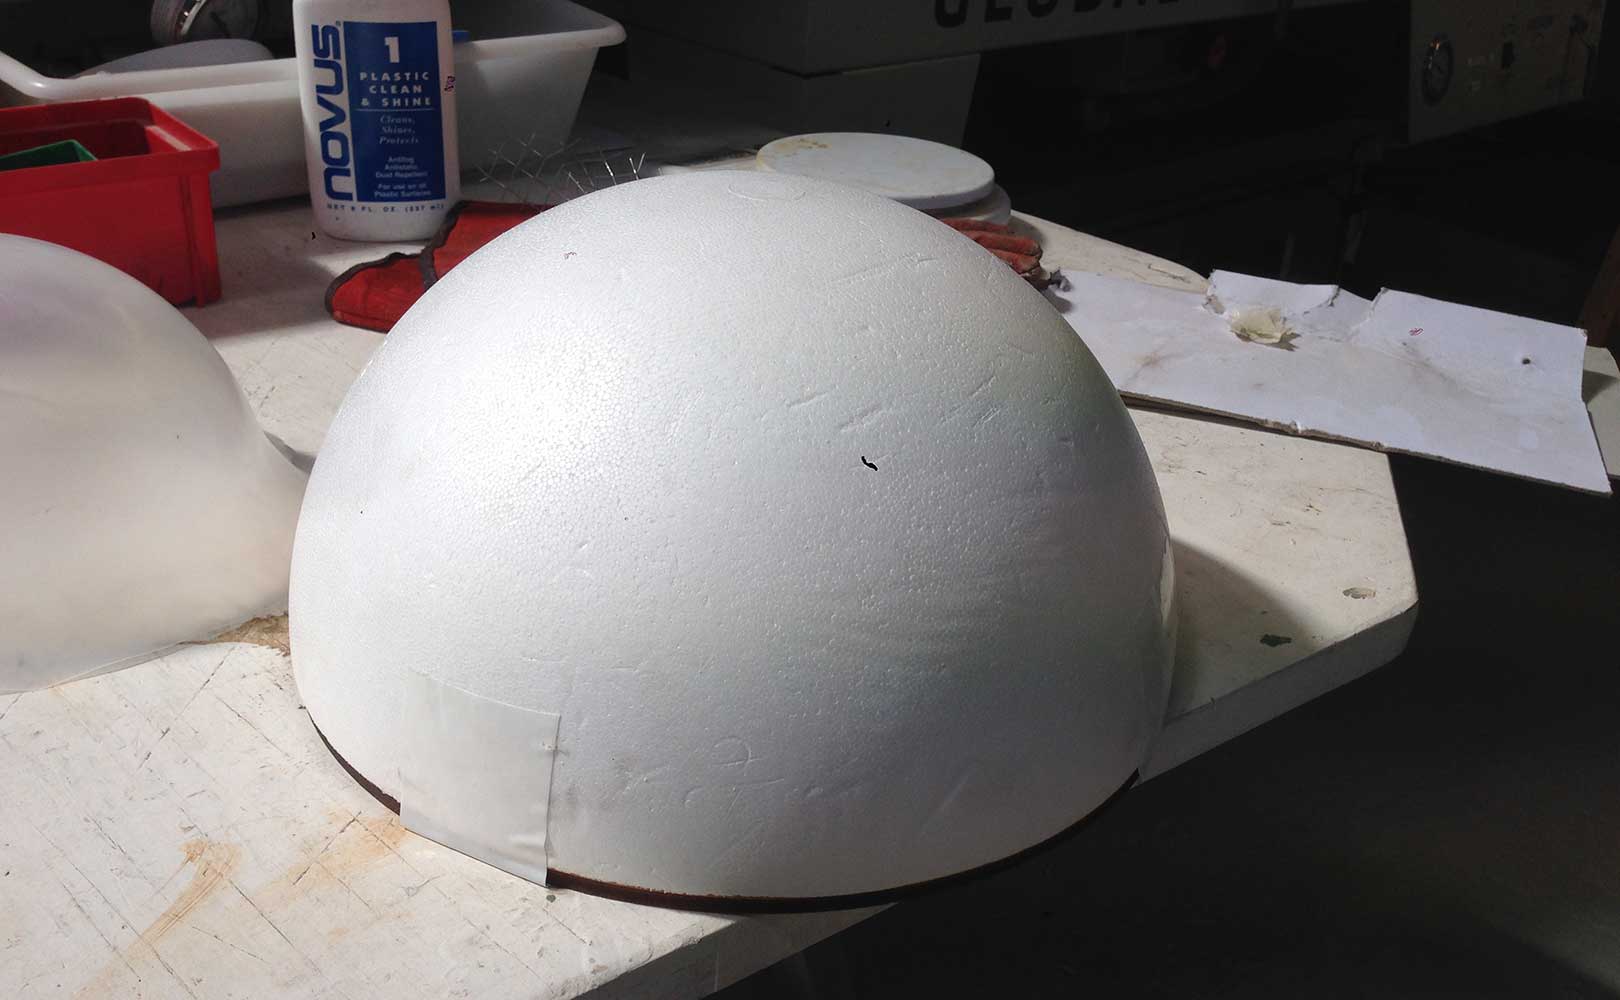
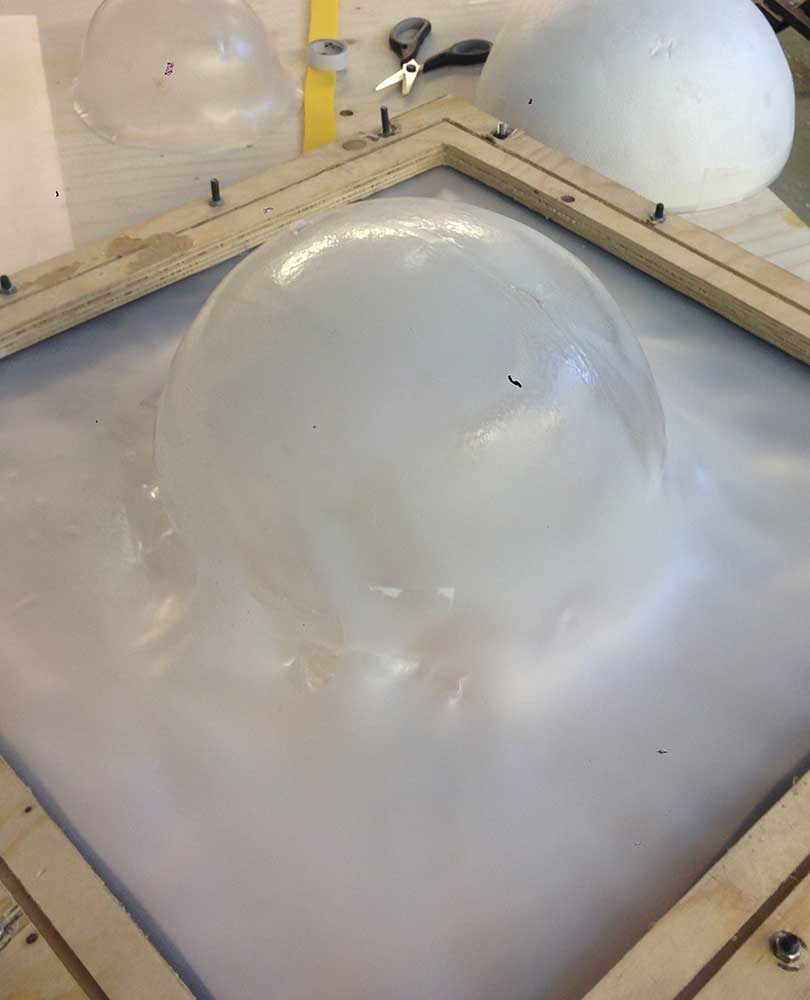
I bought a foam sempisphere with the exact dimensions I want (30cm diametre) to be used as a mould. The reason why I bought it is because producing it at the lab by 3d printing it or with moulding and casting would have been incredibly time consuming and also wouldn't look as good as I would have to make the dome in various separate parts and then join them together.
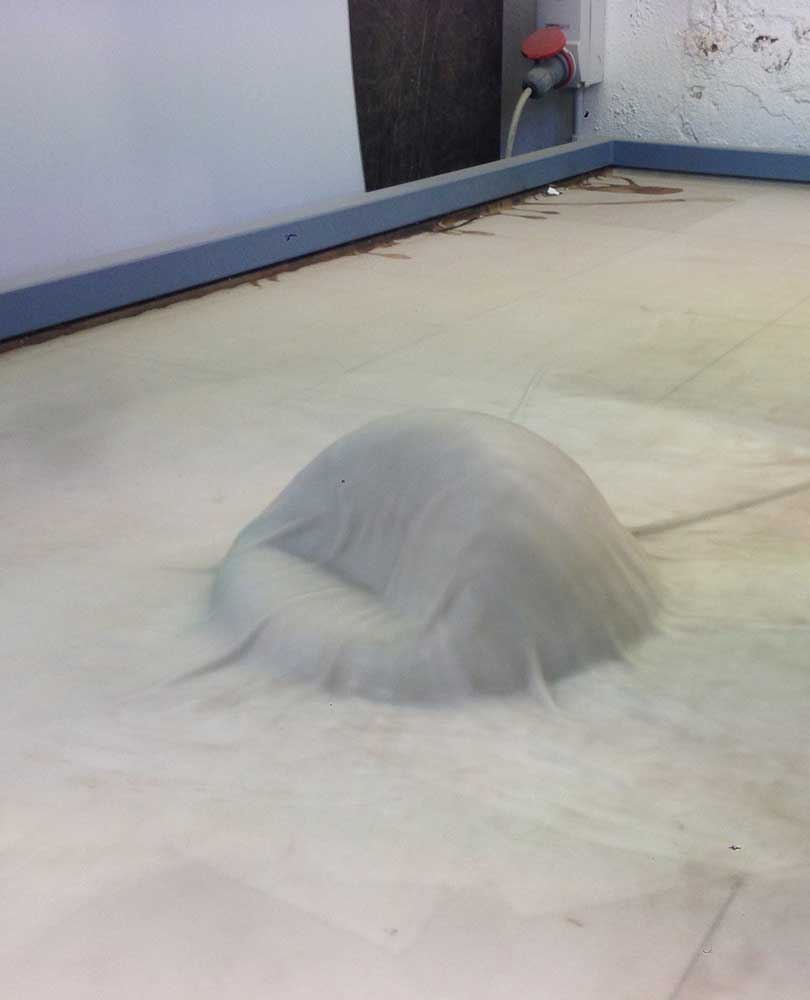
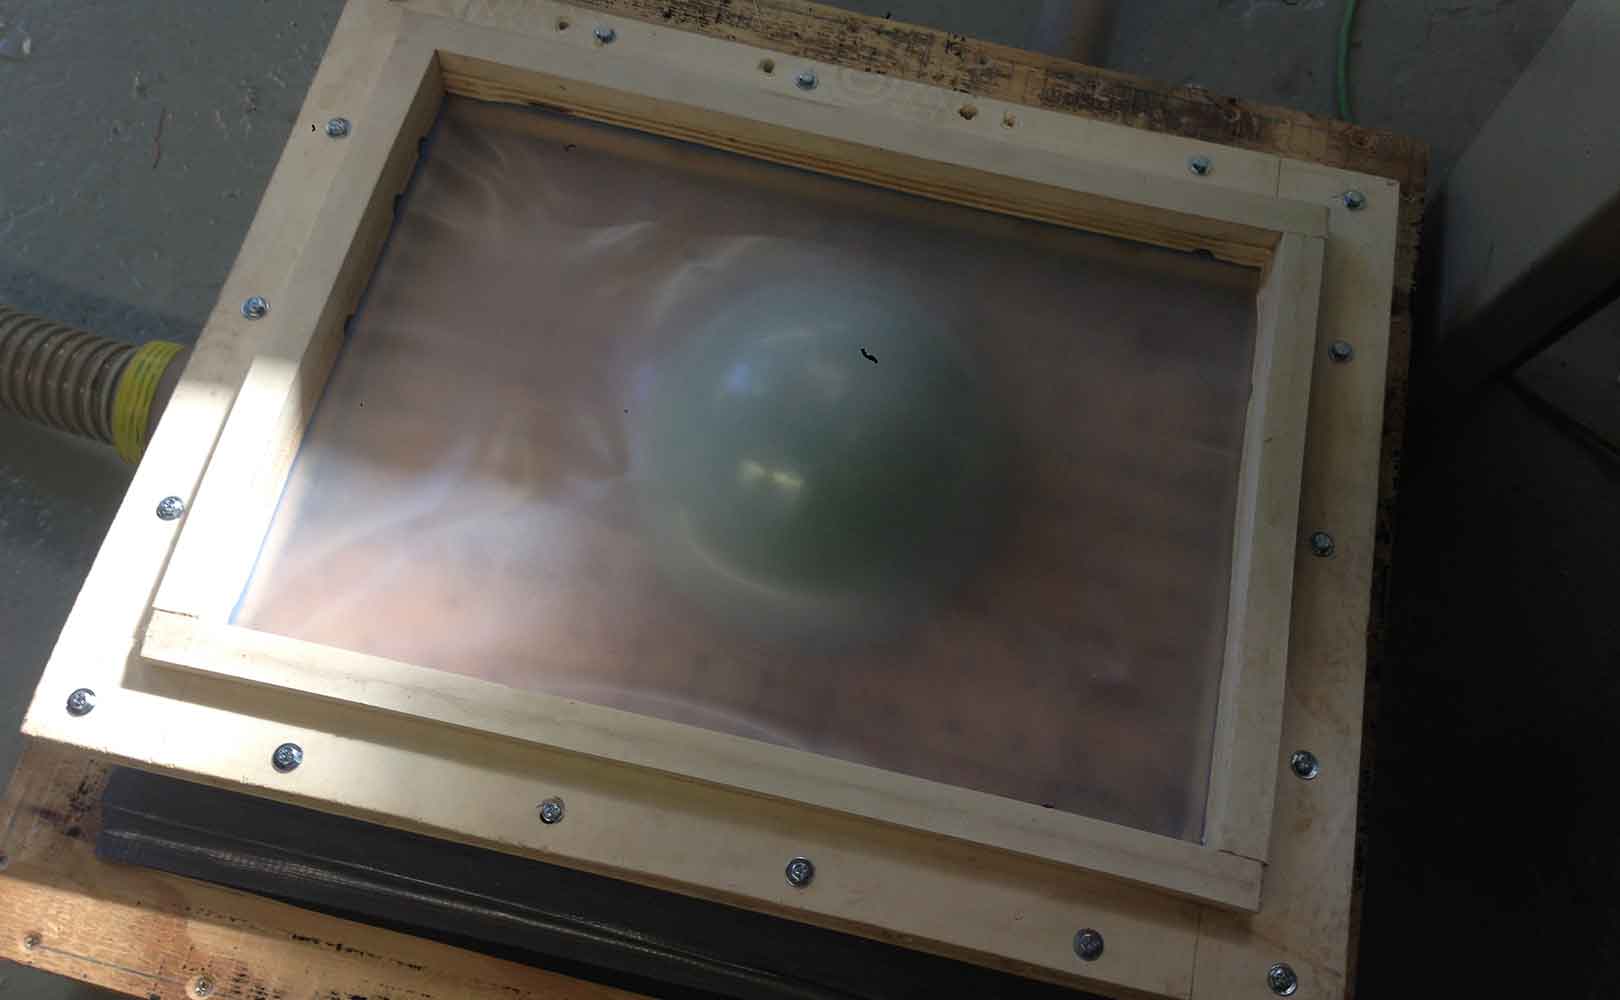
After arranging all the layer materials and placing the mold in the vacuum machine, this happened (see image above). The dome sunk. This happened because it is hallow on the inside so the air inside was suctioned by the machine making the dome to collapse. The result of the composite was a really ugly smashed dome.
Material test 1: Plakene transulcid 0.5mm
This first method failed, so I decided to try a new process and material.
I was told I was also able to create a dome by heating material in the pizza oven and then putting it in a (manual, smaller) vacumm machine on top of the mould to create a replica of it. I decided to try out this new process and learn it on the way. As a first trial of material I used XXX and the mini-dome I did for composites assignment.
In the image below you can see the already prepared screen with the material mounted inside, everything ready to be heated on top of the vacumme machine. I must say it took me a long time to drill the two screens with the material on the middle. I must remember to calculate extra time to do this process because it is really time consuming to drill every single screw.
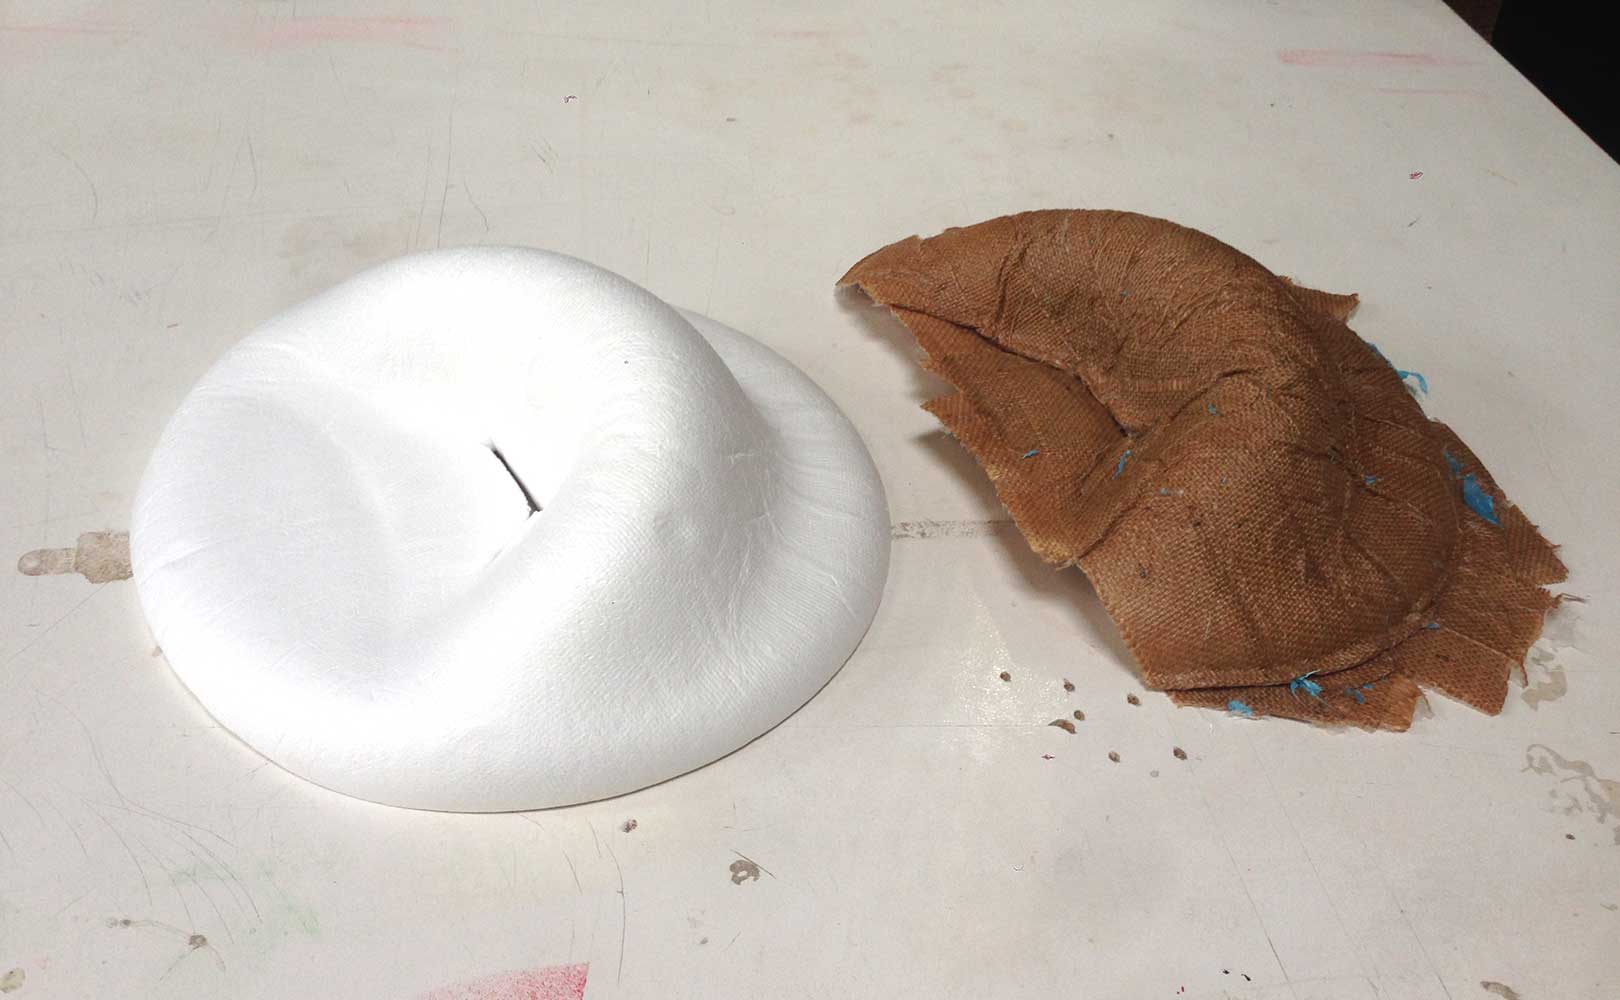
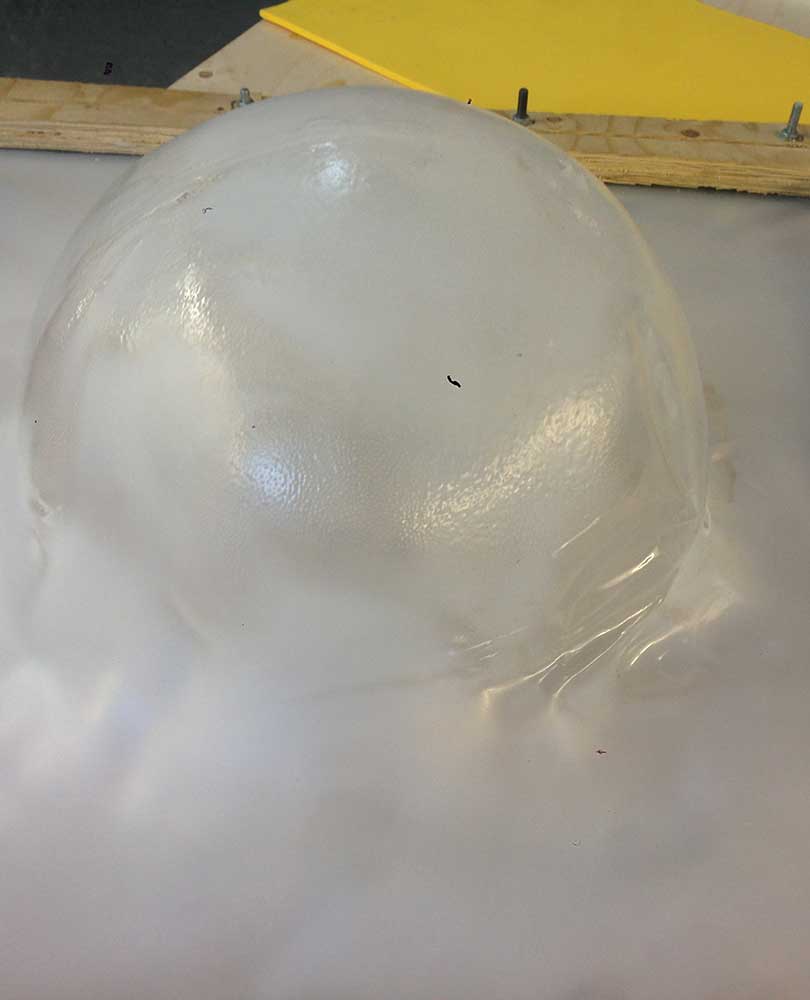
I heated the screen in the pizza oven. I was not sure of the time, so I started by testing the timings. The temperature was always set the same: 150 degrees. The first few times that I tried to make the vacumm it did not work as the material wasn't hot enough. In my third attempt I accomplished what can be seen in the image below. I made a dome, but it didn't really create the complete vacumm, the plastic should have reached the bottom of the vacumm and it did not.
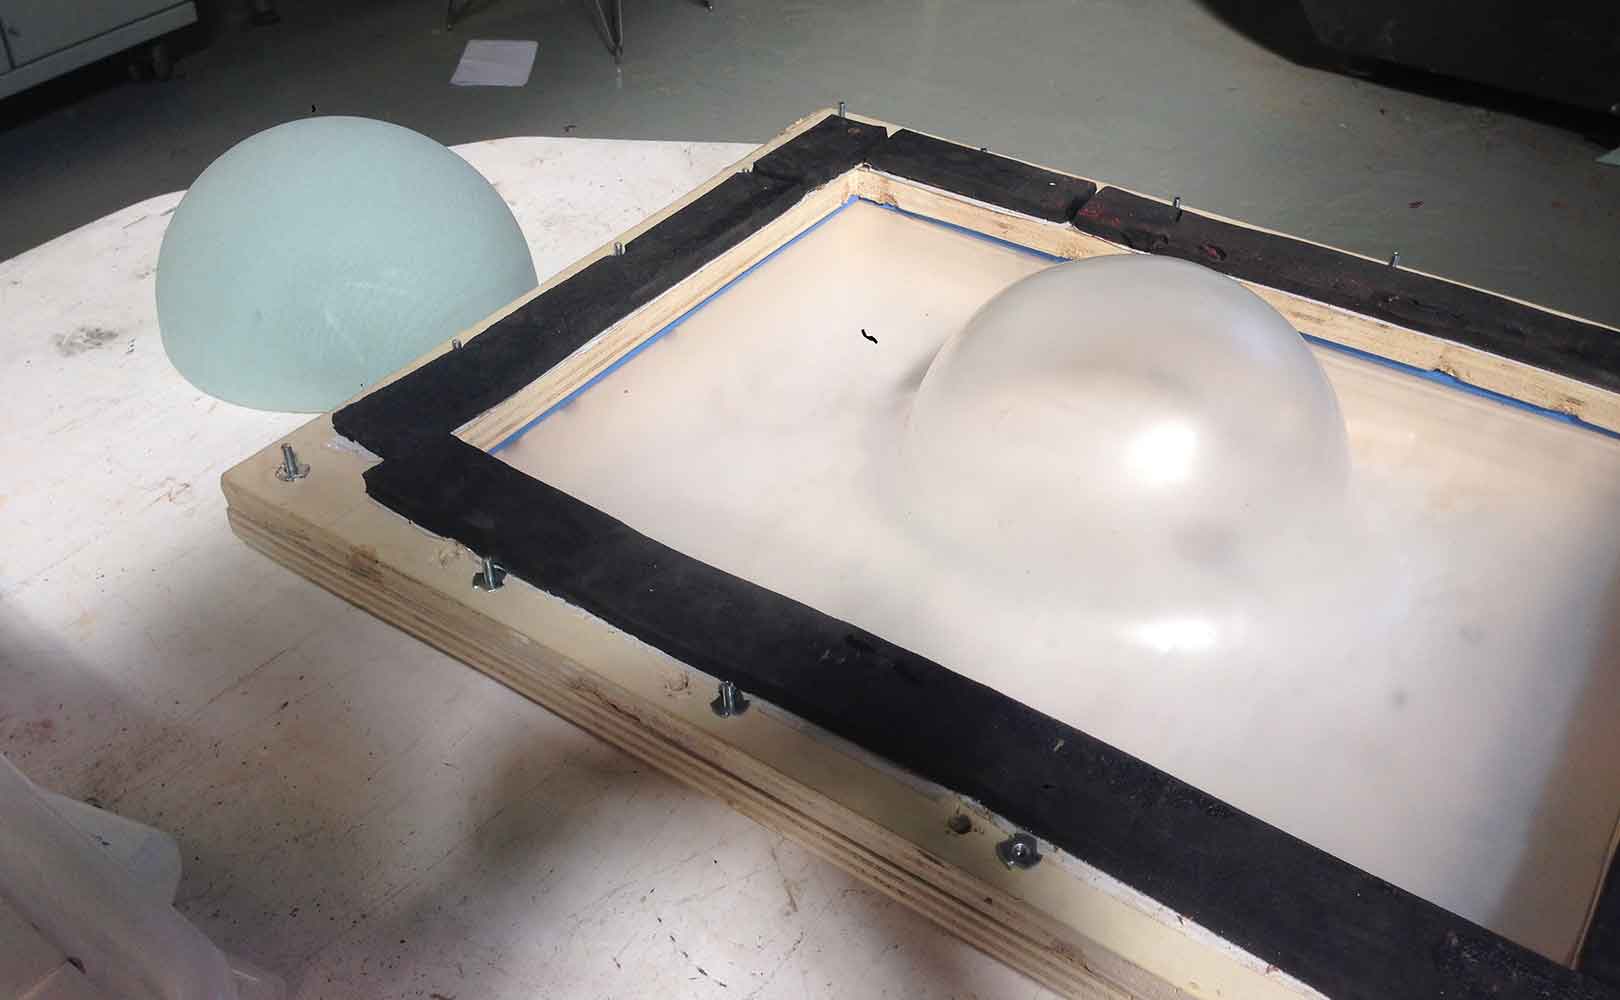
I was not too unhappy with the result, so I figured that the only thing I had to do to create the total vacumm was to heat the material more. I decided to try the same material but thicker as it is also more opaque.
Material test 2: Plakene transulcid 1.2mm
This time I decided to use a real size foam mould that I bought as it had the perfect sizing. In order for it not to collapse like it happened in the composites week, I filled it with hearth and added a wooden floor to it:
This time I didn't get a very good result. The thicker material was too hard to be stretched that much, also I put it in and out of the oven too many times. This provoqued the plastic to break and create different intensity shadows in the material. This is why after all this tests I have dediced to do one last try with the thinner material and the bigger dome and see what comes up.
Material test 3: Pvc white 0.6mm
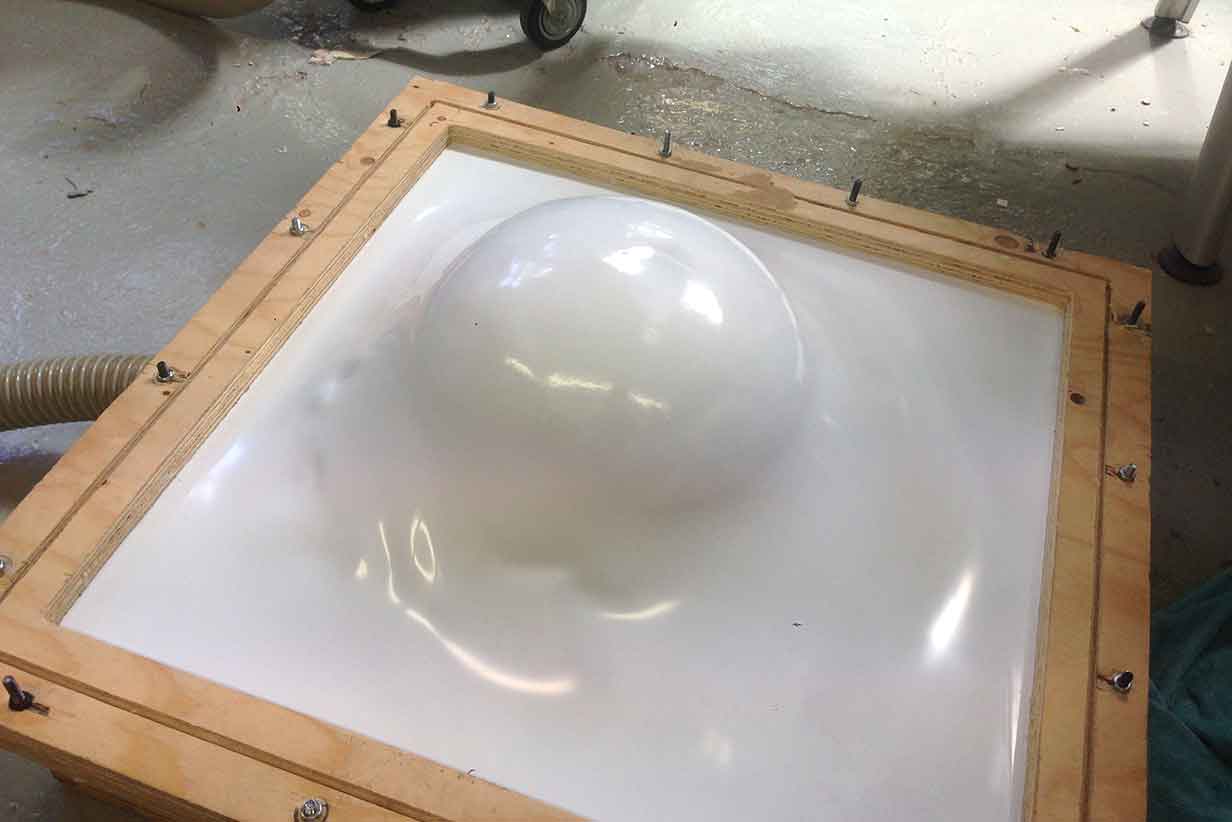
When I was in the shop I came across a nice material that thought could work great for the dome. It was white PCV plastic, it looked thin and flexible enough and I liked the shinny finish to it, so I decided to give it a go.
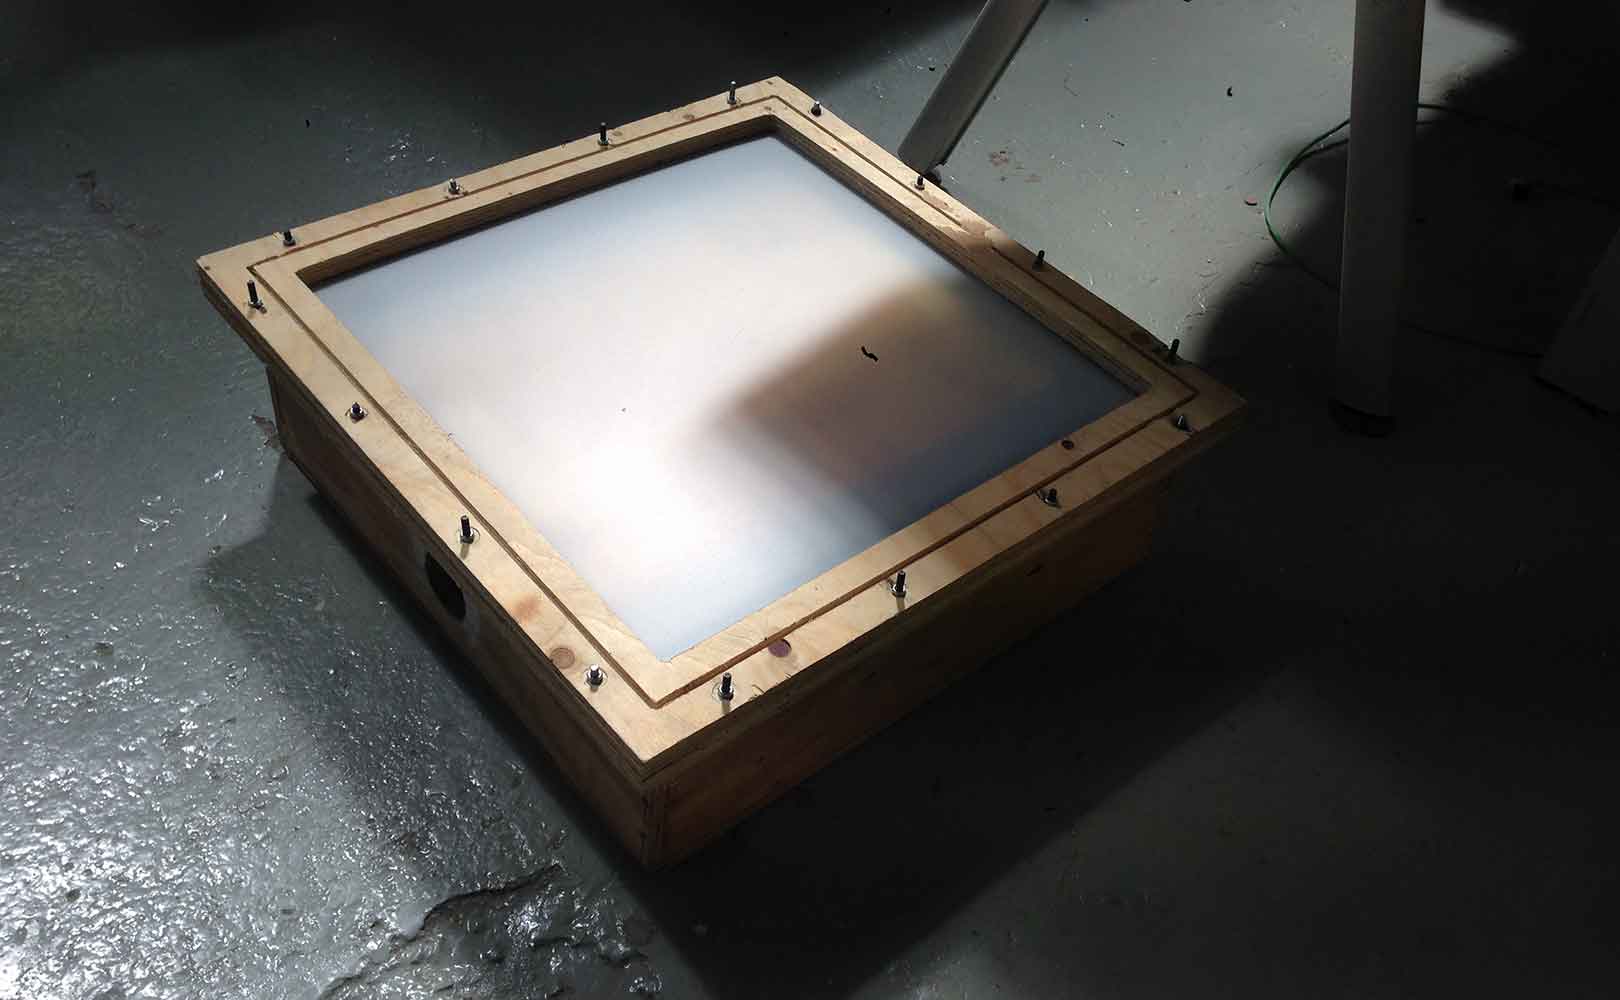
I mounted it in the frame and heated it in the oven for 2:50 minutes. When I took it out, it did not make a complete vacumm, I think I have to heat it for a longer time, but even though it did not come up perfect I really like the texture, hardness and shine of this material.
My plan of action now is to keep testing with this material until I create the perfect dome. I think I am closer to the end...
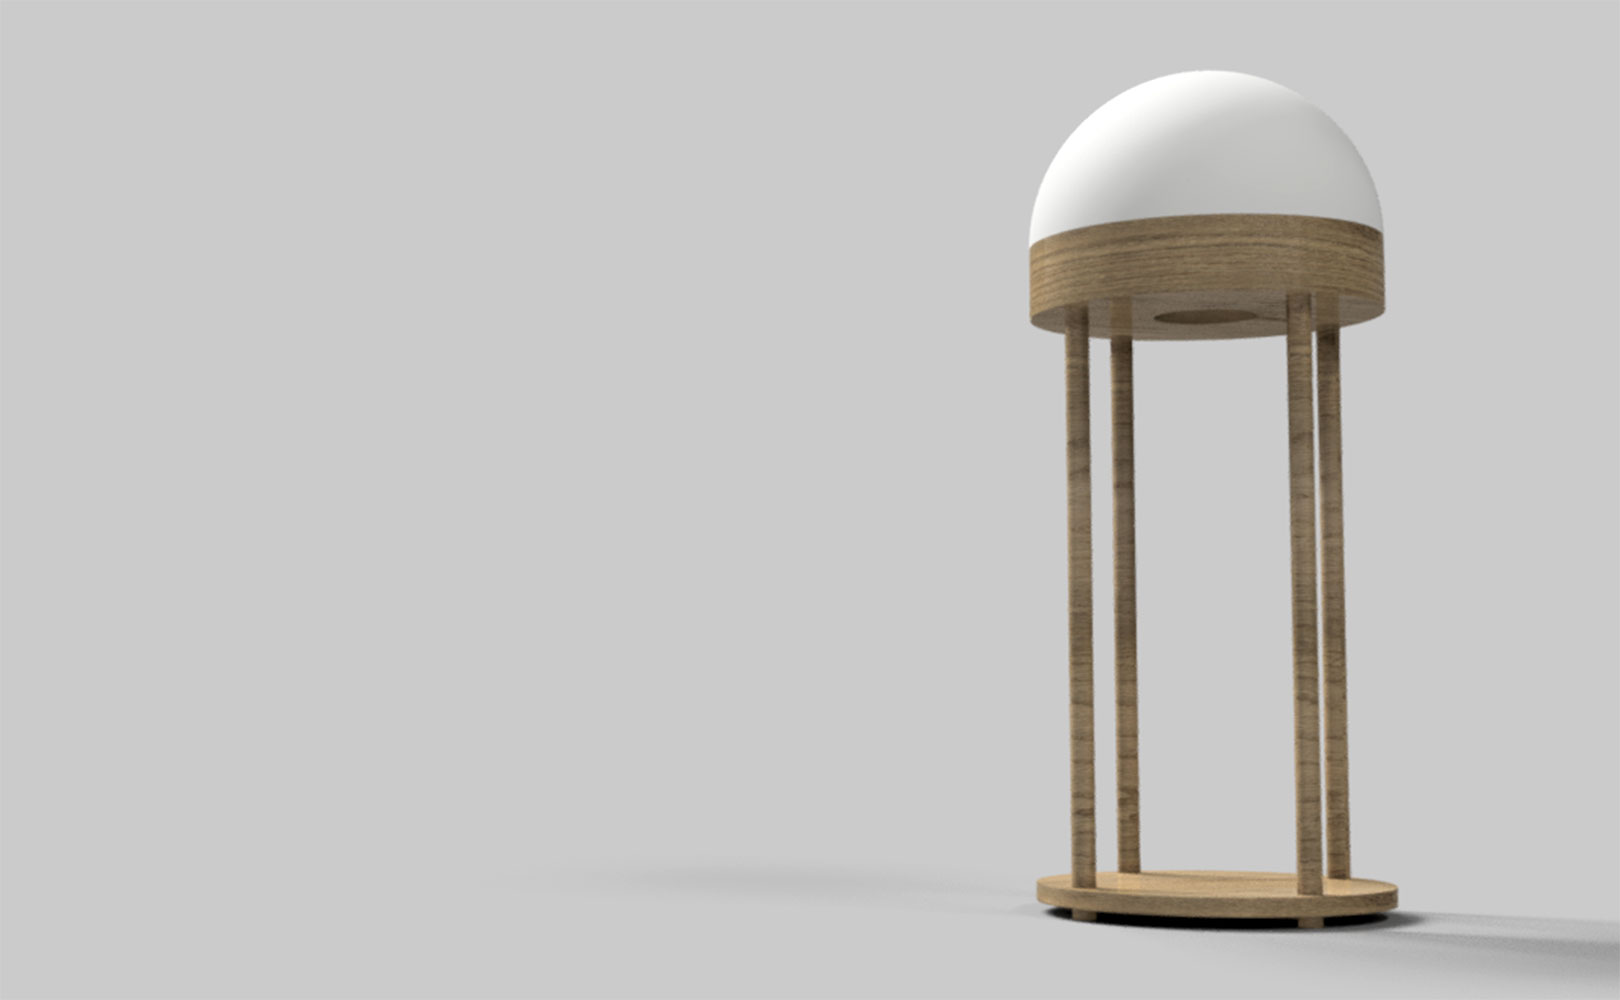
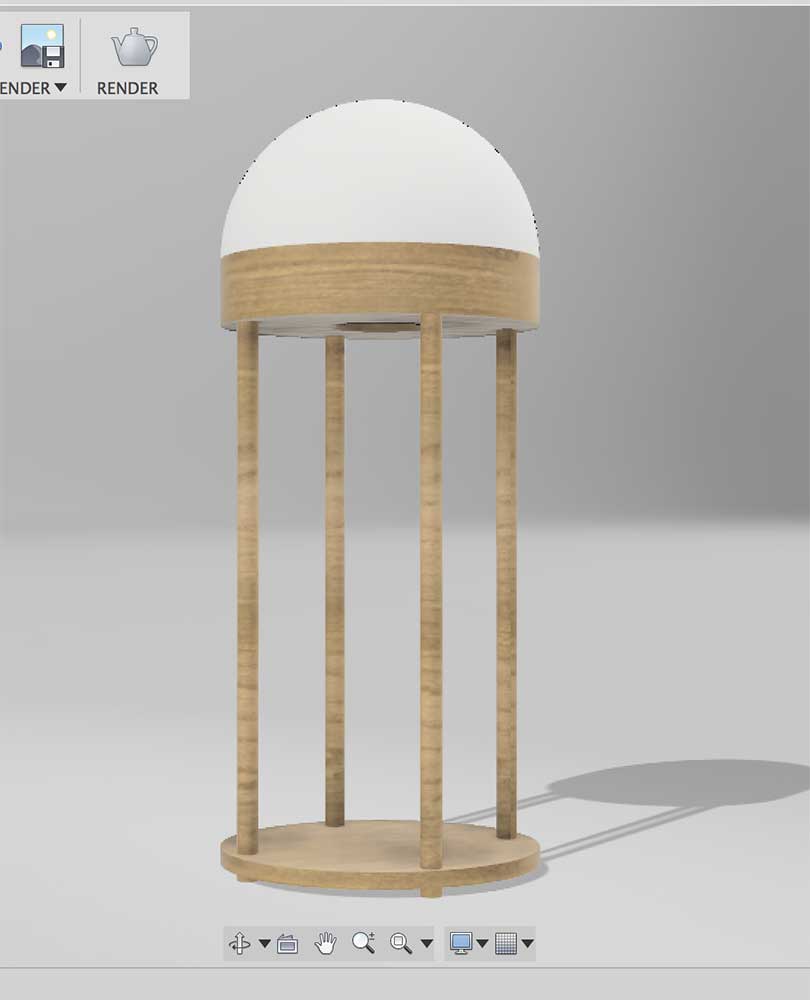
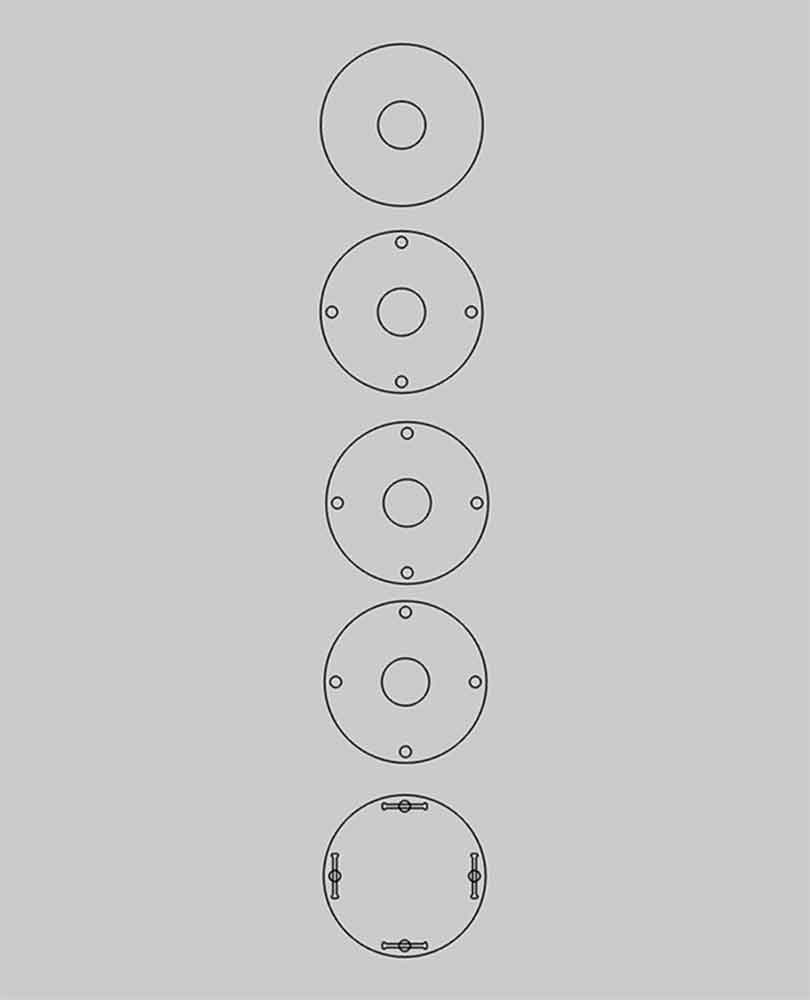
I thought that the best way to start building the structure of my machine was to draw a nice model in Fusion. That helped me to visualize and put all the ideas I had in my mind in order. I have decided that all the electronics and water deposits, will be as hidden as posible, this is the reason why I added an opaque dome on top of the structure. As the construction material, I will be using a 15mm width wood we have in the lab. Images of the finalized model below:
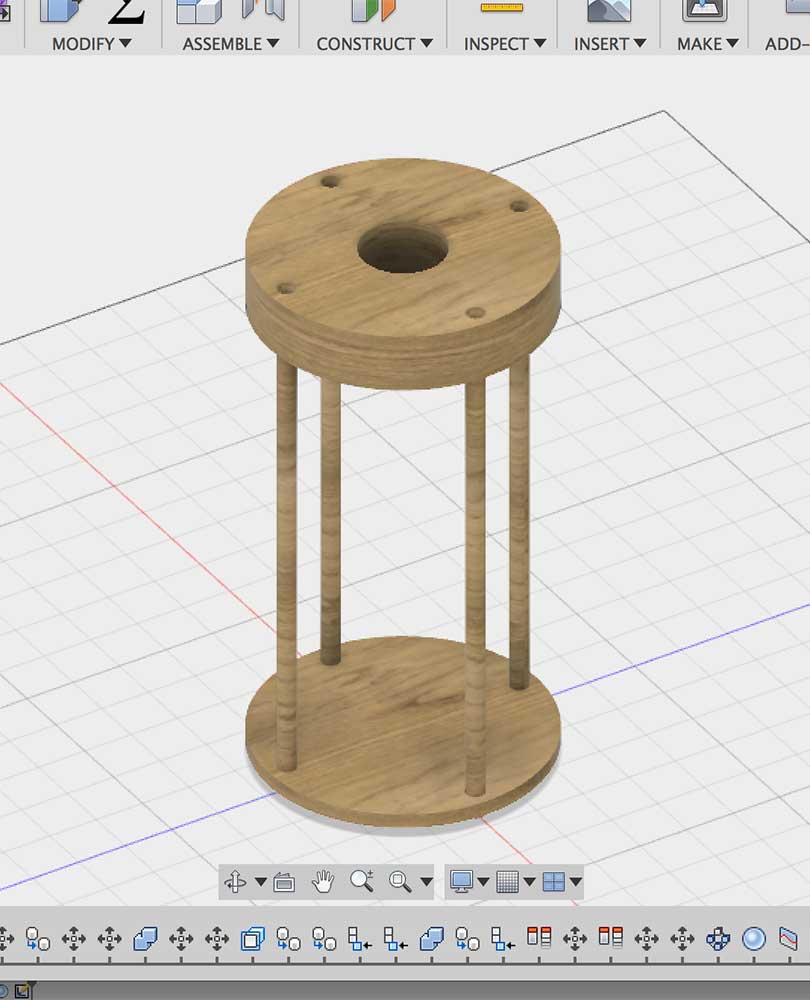
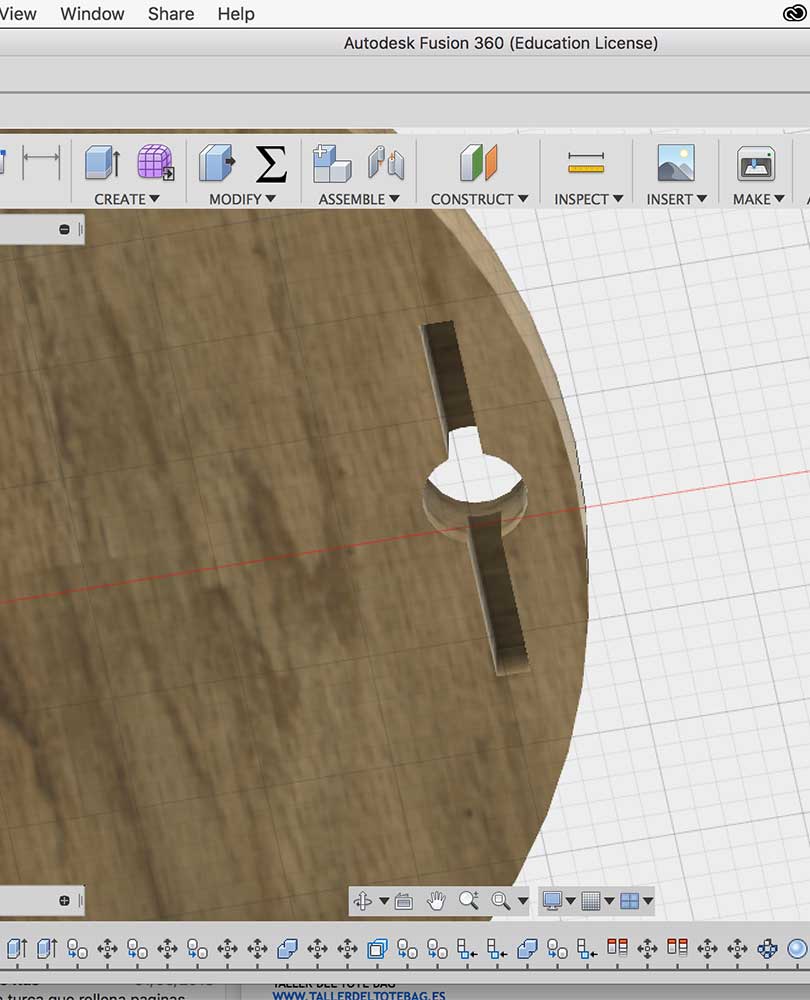
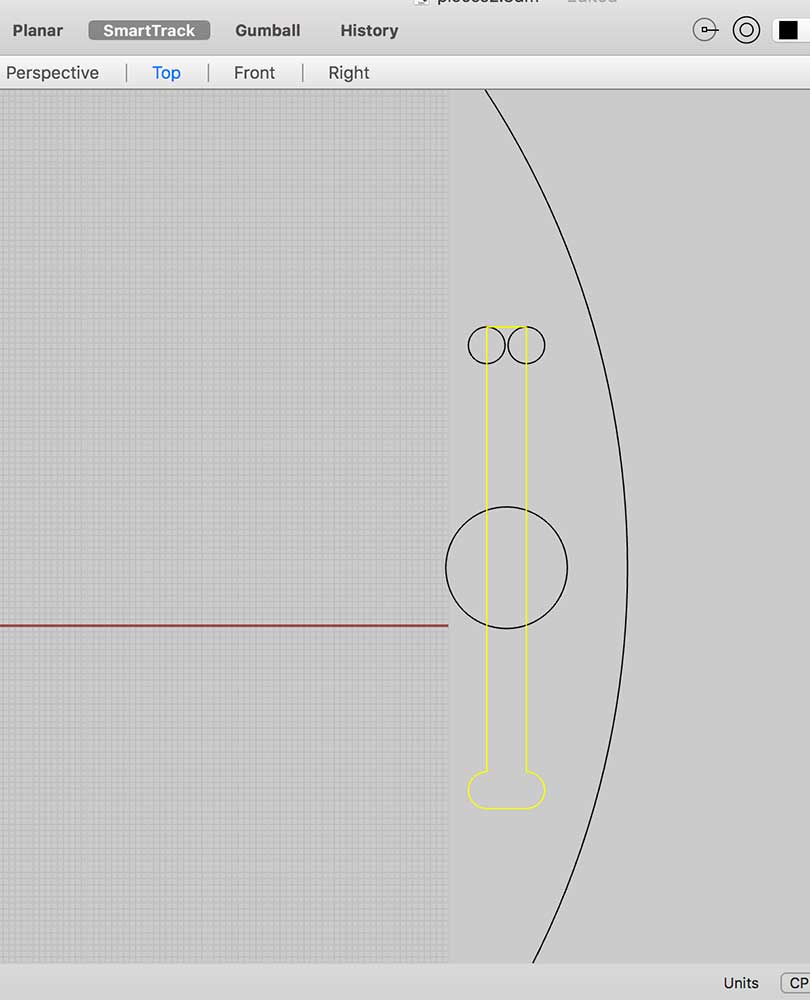
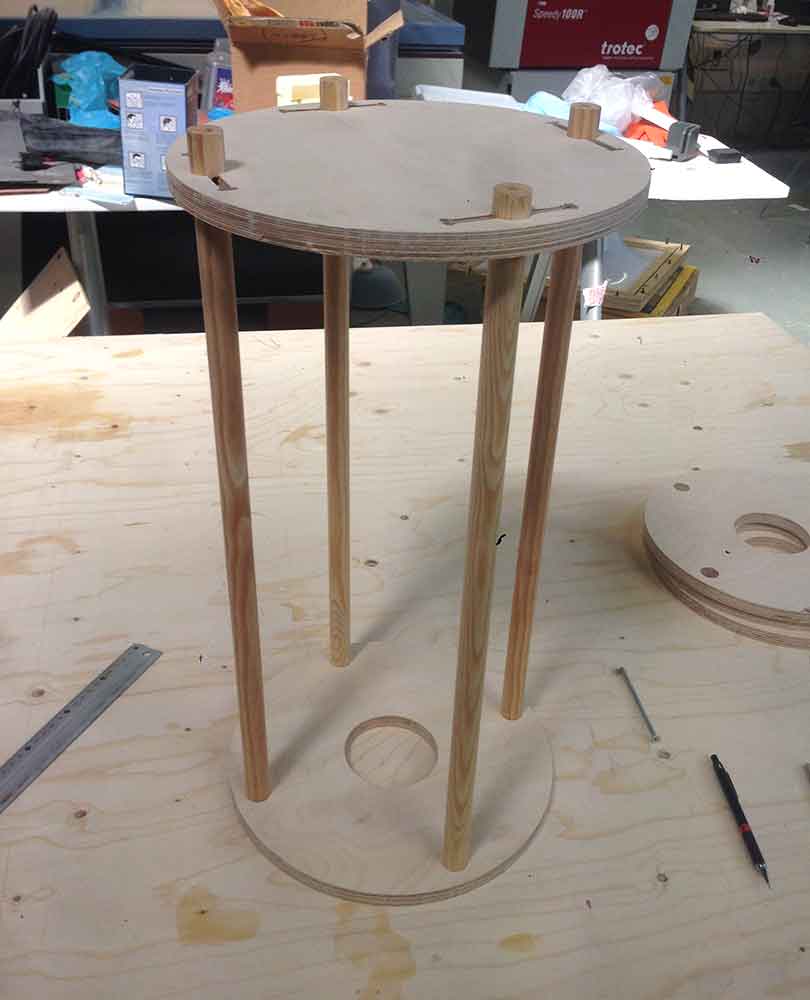
In order to fix the bottom platform in place, I thought about adding a small metal stick throught the columns of the structure. I did not want the metal to be visible, so I designed the bottom platform with four pockets to hide the metal bars.
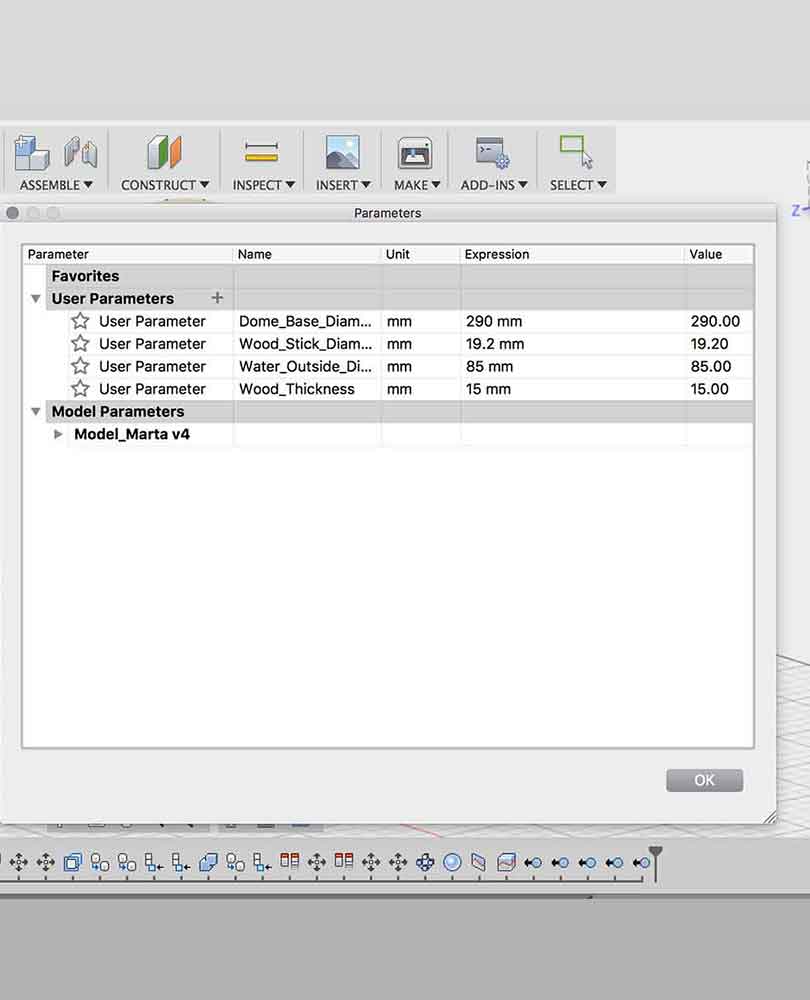
I took special care to carefully measure all the parts and components so that I could make a parametric design (see pic of parameters below), the reason why I did that it's because I find it quite likely that items of the desing change in the future, and it will be easier to change if it is parametric.
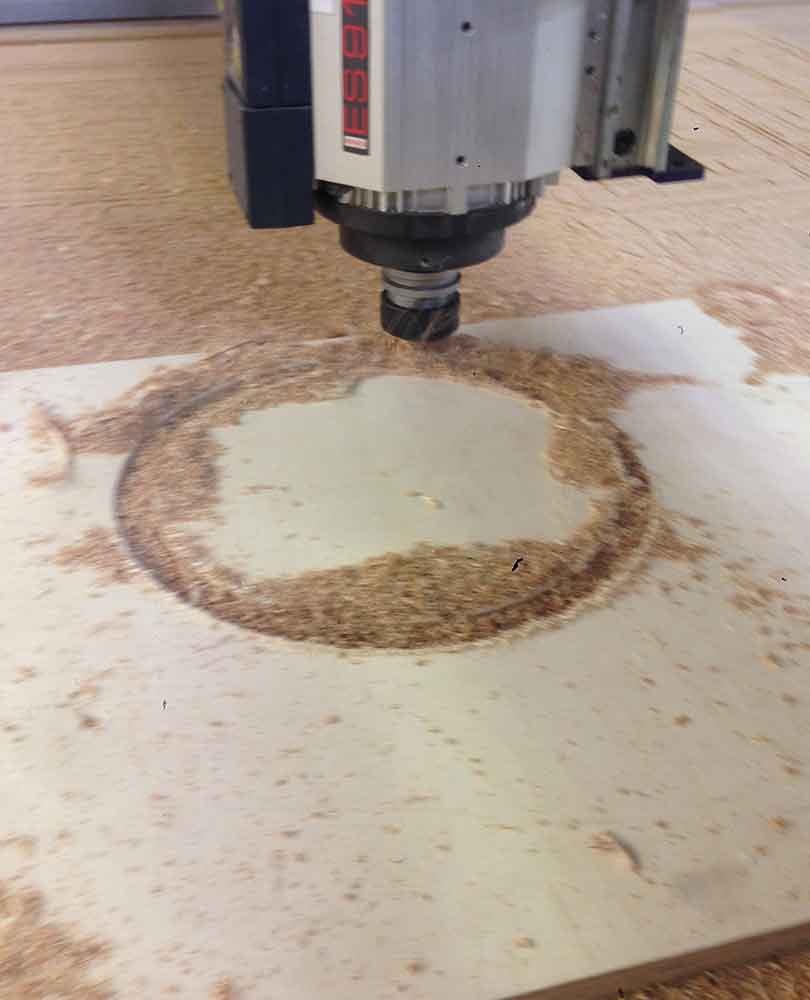
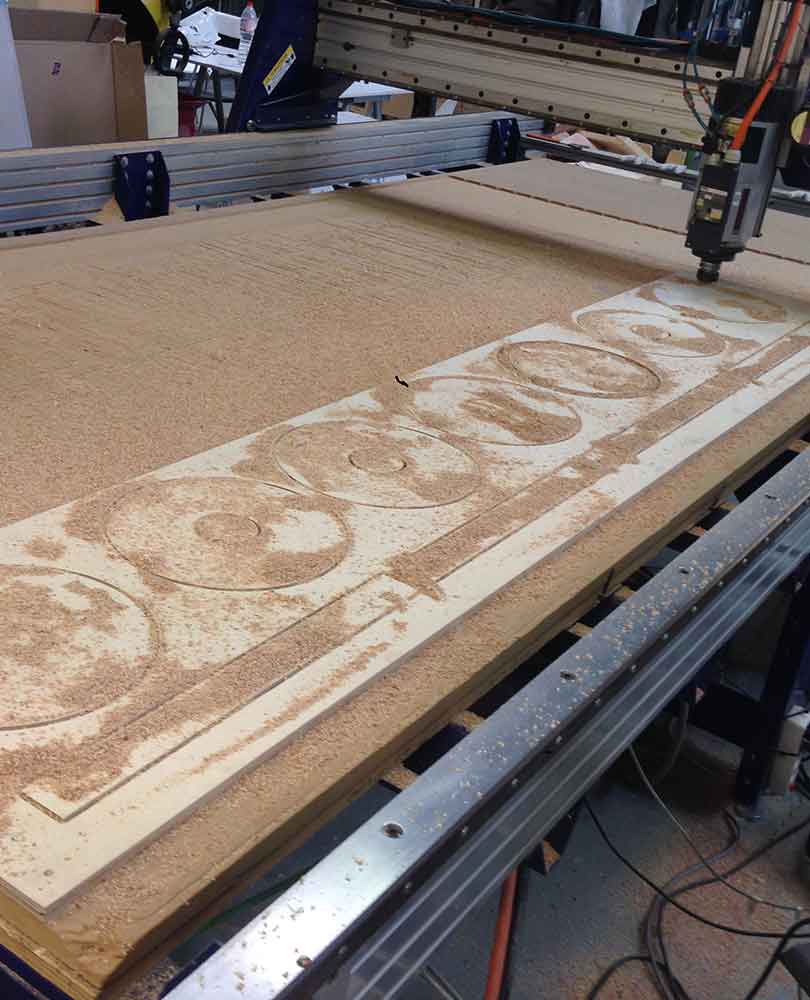
In the end, the only parts that I will need to CNC are the five circles, as the legs/columns are already made wooden circular sticks that I will cut to the right measure. So I redesigned the needed platforms in Rhino and created the strategies in RhinoCam.
Files:
Fusion model parts deisgn(.f3d)
Rhino parts design(.3dm)