WEEK 2: PROJECT MANAGEMENT
Day 1
Class:
I arrived early today to try to figure out yesterday’s lecture, but despite my best efforts, I have yet to grasp what it is that we’re really doing. Another student at the lab has been attempting to help me. He’s a programer and is well versed in all things I can’t understand as of yet, however, there seems to be some sort of problem with my computer.
At least, I now know where to find the Terminal of my computer (Applications, Utilities, Terminal).
As far as I can tell, he’s given dictated step by step how to download Git directly from my Terminal. He’s also attempted to install several other programs that won’t work because my operating system is too old. I’ve a 2009 MacBook Pro, that runs with a OS X Yosemite 10.10.5 and I’m unable to update the operating system. There was not enough time to figure out what it was or how to solve it. I am clueless as to what he was trying to do, let alone what could be wrong.
...
Progress is slow but significant. After Niel’s Skype lecture and my attempts at understanding the Git platform earlier, I think I can safely say that I’ve some idea about what’s going on. If I understood correctly, Version Control is a system that records changes to a file or group of files that you can modify and recall specific versions as you work on them and Git is a kind of Version Control. From a Design point of view, I can see why being able to change files back to a previous version and compare changes is an incredibly useful tool and I want it now.
If only I actually understood how to do it.
The main problem with my computer seems to be that it won’t connect properly to the server of GitLab. I’m still not entirely sure what that means, but if the instructors aren’t sure what’s wrong and assure me they’ll work it out, then I won’t feel too concerned unless they tell me I should be. At the very least I’ve successfully installed Git from my Terminal, not that I know what to do with it yet.
Final Project thoughts:
I’m feeling better about not having a Final Project in mind. During the lecture, among the things Neil went through, something was said about Spiral Development. I found the concept truly enlightening. The idea that each week I can develop a working project in itself and then somehow find a way to either add complexity to it the following week, or somehow merge that working project with another one and end up with an entirely new project is not only appealing but reassuring. It certainly calmed my nerves, as I’m quite certain that is going to be the way I’ll proceed through the rest of the course.
Day 2
The instructors have finally managed to solve the communication problem between my computer and the server.
After Niel’s class I gather that the Terminal is nothing other than a way to directly execute programs and orders with text. That is to say, it allows me to “give orders”, so to speak, to the computer without the need of any program or interface to do so. I’ve notes on basic commands that I’m still not entirely sure when they’ll be necessary (pwd, ls, cd, etc…). If I understood correctly, they are meant to help me locate where in my computer I’m working, list the existing files in a specific location (or directory) in my computer, change locations and go back to previous file locations as needed.
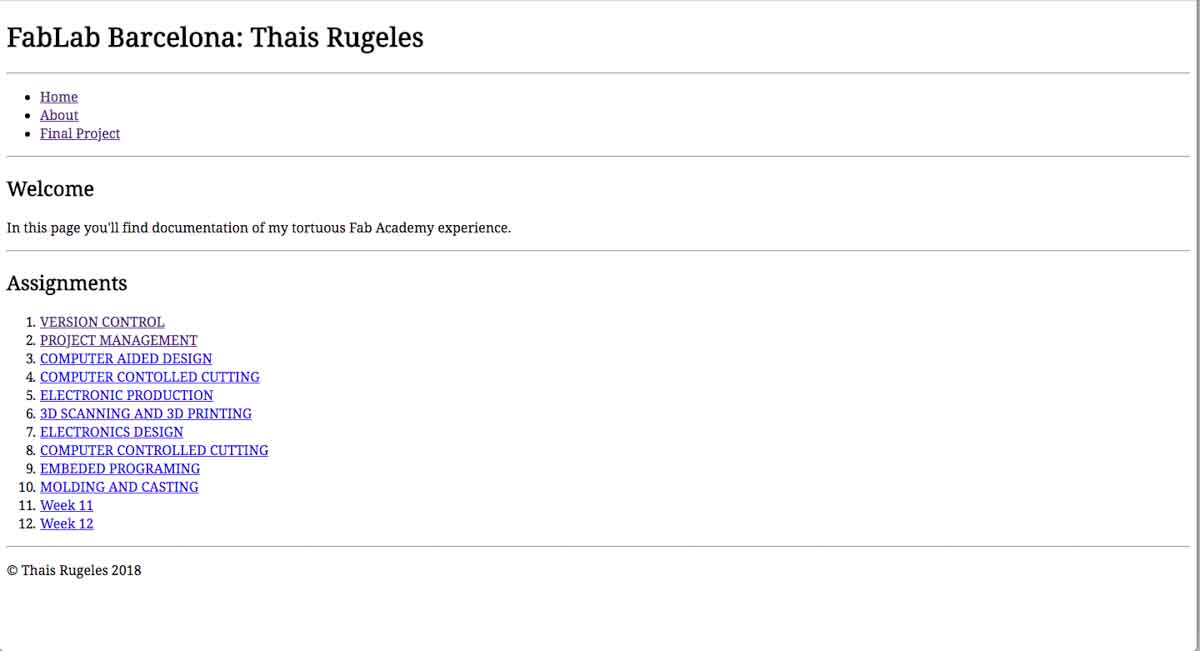
Html is slightly more familiar to me. While I’ve never actually done any coding or coded a full web page before, while studying Graphic Design we covered html for all of 5 minutes before moving on to the programs that would allows us to build a web page without having to do any coding ourselves. I chose to use Sublimeas a text editor for code for no particular reason. I successfully created a simple Home page, with working links that led to different pages such as the About Me, Assignments and Final Project sections. I chose a font, a background colour and added both images and working videos. The final result left much to be desired but since most of the actual choices were for exercising purposes I tried to be unaffected by the offense to my senses.
The html exercise was much easier than getting acquainted with Git. I am more familiar with the structure of having to tell a program a clear order of opening and closing an action from old school AutoCad. While I was in highschool we learnt how to use the ancient version of AutoCad that used to have a little turtle, so it felt similar in that you had to tell the program step by step what you wanted to draw, where and then when you were done. Perhaps the comparison isn’t terribly accurate but it’s the closest I can find within my personal experience.
That being said, once I had some files to upload to the GitLab it was much easier to understand how a DVCS works. Having something to push, pull, add, commit, etc. However, since there was so much trouble with connecting my computer to the server, most of the actual coding involved to ‘upload’ (I’m unsure if that is the correct terminology in this context) was too advanced to do on my own. I’ve yet to do ‘push’ or ‘commit’ anything into the GitLab by myself and I’m not entirely sure I’ll now how to do it when I finish designing my page locally.
Final Project thoughts:
I have several ideas for a Final Project now. I’m certainly feeling better about it.
I’ve a notion about possibly making a toy, as in a 3D puzzle of some sort. I’m uncertain if I can be ambitious enough for the toy to be educational or not. I’m also undecided about the age range it would target if I were to decide to make it educational.
Another idea is to make a play book, based on either origami or in 3D lighttable pop-ups. Theme yet to be determined.
Day 4
Class:
Git is finally starting to make sense. According to the book, when I save in Git it saves the state of my project. The way it’s described is: “Git basically takes a picture of what all your files look like at that moment and stores a reference to that snapshot.”. It may seem silly but that basic concept of what it is and what it does made the whole program/system comprehensible to me.
As I’m reading the ProGit book I’m starting to understand what the instructors helped me with. They helped me set up my ‘Identity’ in Git, meaning my name and my email, as well as opening a folder for all things FabLab, establishing it as my Git Directory.
The page that is up and running is the ugliest thing I have ever done and it was done for the purpose of the exercise, meaning, it should be heavily improved once I get the hang of HTML.
Final Project thoughts:
Santi, one of the instructors took a great deal of time today to show me several projects or products that already exist to help me figure out what I might do for my Final Project. I’ve been thinking that a 3D puzzle toy of some kind might be interesting. I’ve also been laying with the idea of making an interactive book of some sort that has pop-up pieces and incorporates electronics in some way. The other option is to simply redesign a past project to incorporate the programing and electronics aspect required for the project.
I’m still unsure about what I’m going to do, but the possible directions have me quite excited and inspired.
Day 10
I’m behind the ball. My page is still incomplete and doesn’t really have the correct content yet. I’m playing catch up with Git, GitLab and Html.
I’m doing some research to try to truly understand what it is I’m doing while I add code and whatnot.
The basics:
HTML stands for HyperText Markup Language and while I’m not “fluent” I understand what it’s supposed to do. According to Codecademy, “a markup language is a computer language that defines the structure and presentation of raw text” and “markup languages work by surrounding raw text with information the computer can interpret, "marking it up" to be processed.”. And so, the raw text that we’ll be working on will be “wrapped up” in html elements and these elements are the ones that will contain information about the type and structure of the information to be displayed in the browser.
This is already clarifying the field for me. So far I’ve been putting in code without really knowing what it is that I’m doing, only having a vague idea about what the result should be.
Day 14
Assignment:
Technically speaking this assignment is over, but since it’s given me so much trouble I am still happy to report the page in finally up with some useful information. It remains as ugly as ever, but I’m certain I’ll catch up to that part eventually. For the moment I’ll try to describe the local process for the creation of the page.
Basically what happened was I created a .html index file inside the repository folder I syced with the GitLab, so anything I add to that folder and subsequently add and push with Git, will be then made public and part of the page.
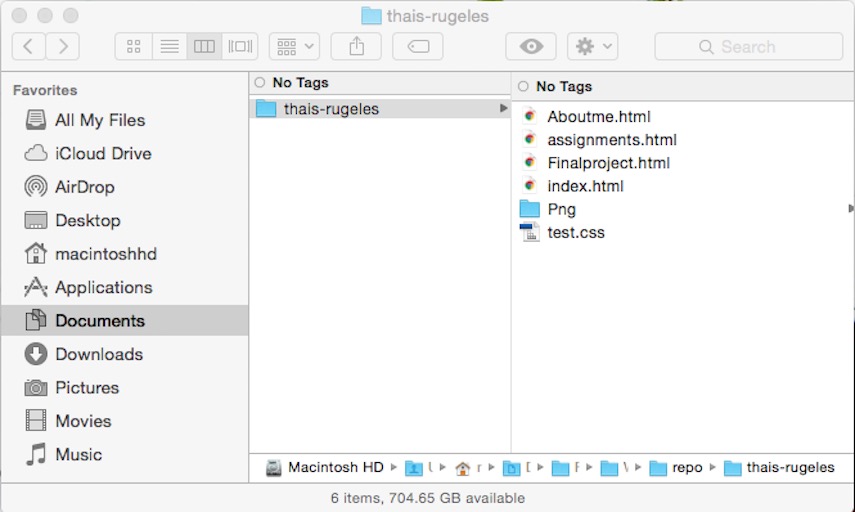
The index is the most important file, because it’s the default one. Meaning it’s the one that will be read as the main page unless you expressly make it out otherwise.
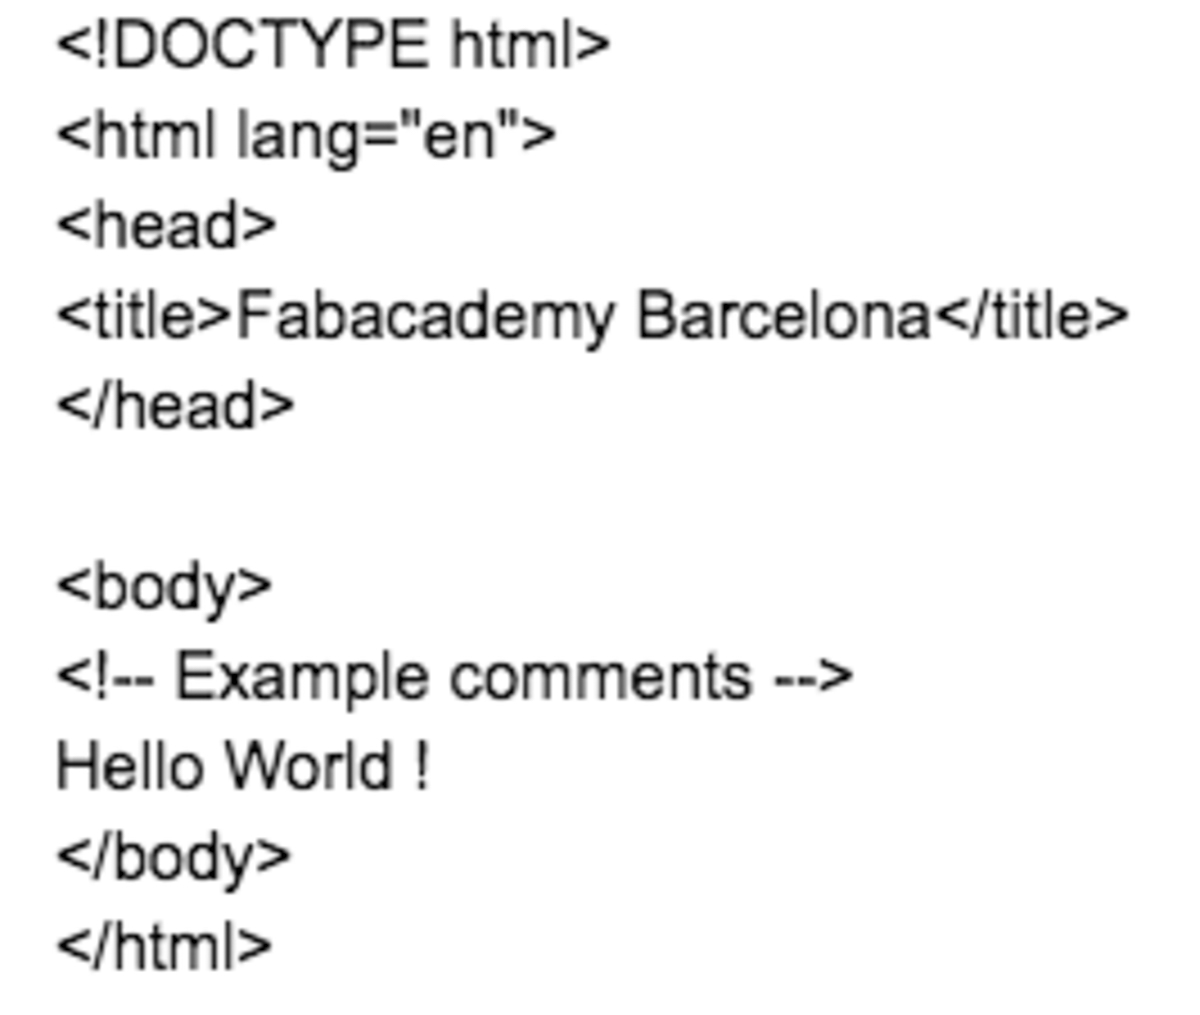
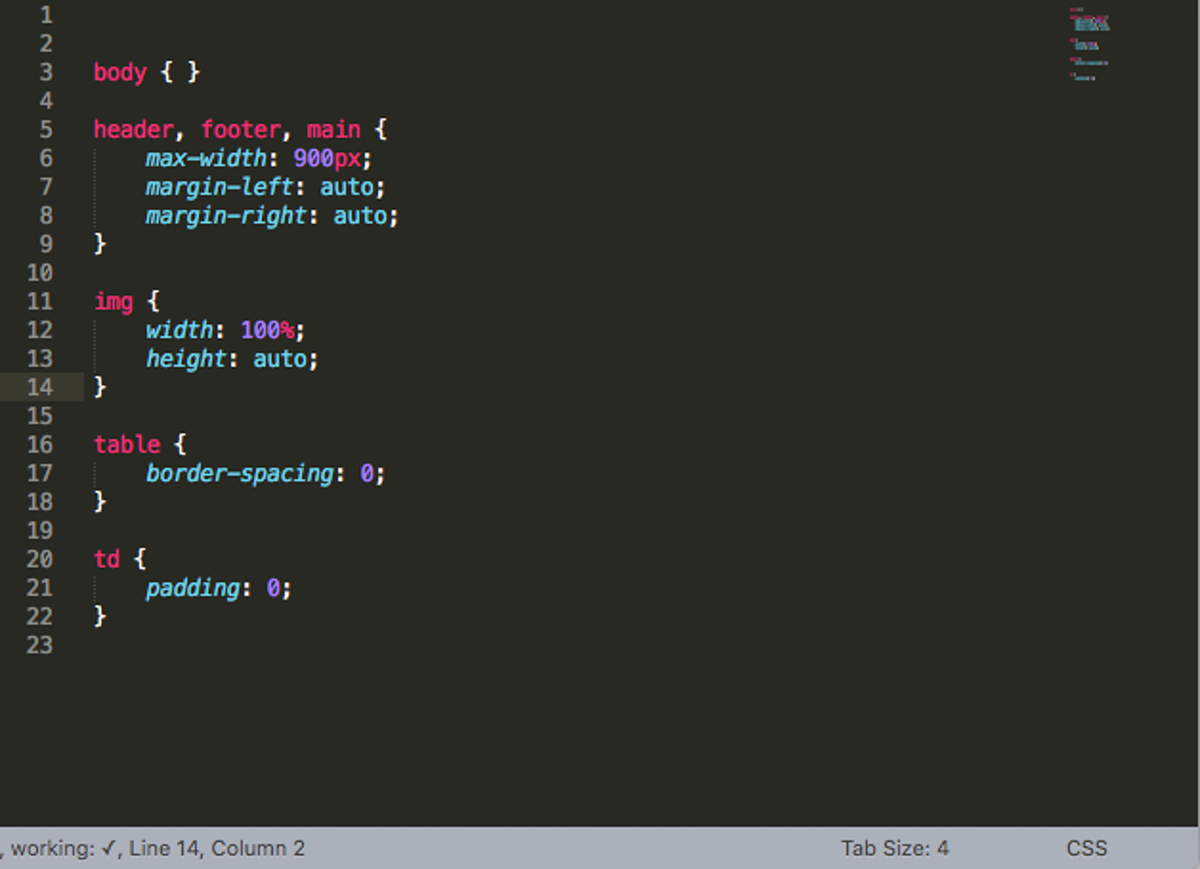
It contains the body, the “doc type” because there are several types of html, the language, the head (which contains invisible information) and the body, which is the visible part where you add the actual content on the page.
The structure of the page:
The very basics to build a html page are the following:
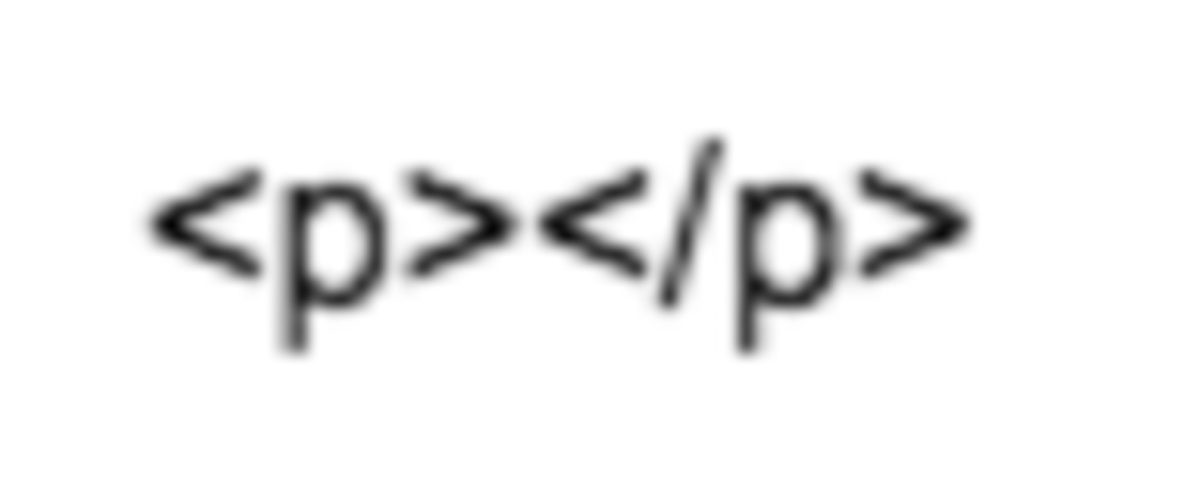
The HTML < p > tag defines a paragraph:
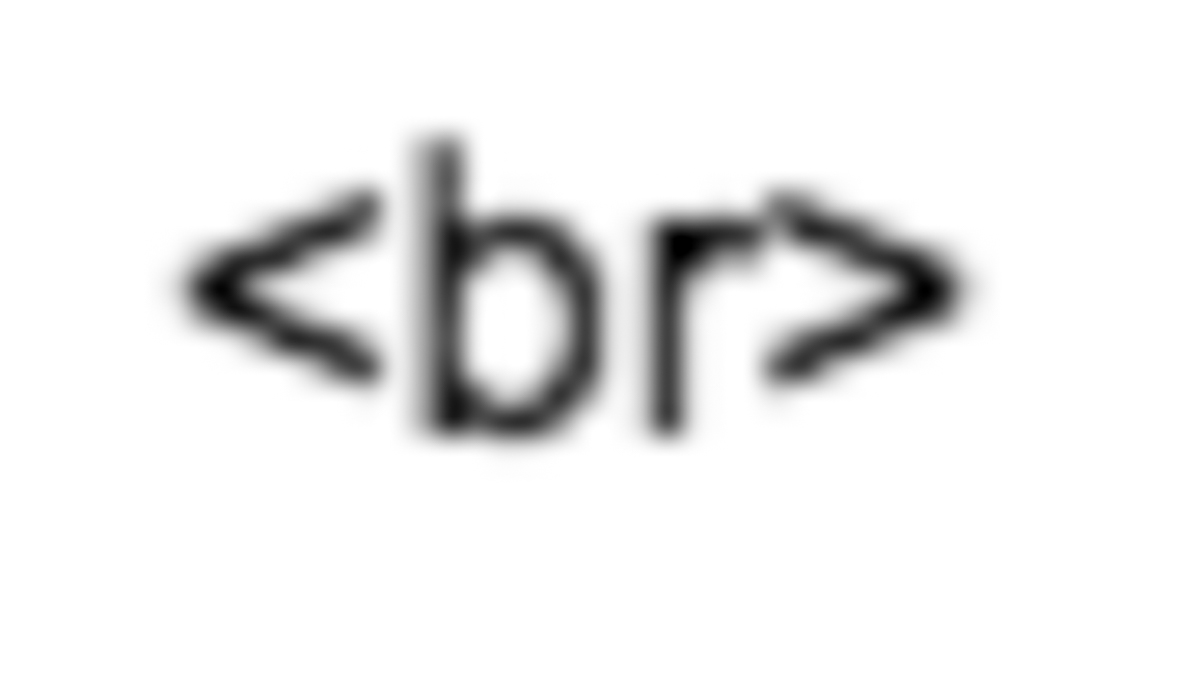
The HTML < br > tag defines a line break.
The
tag is an empty tag, which means that it has no end tag.
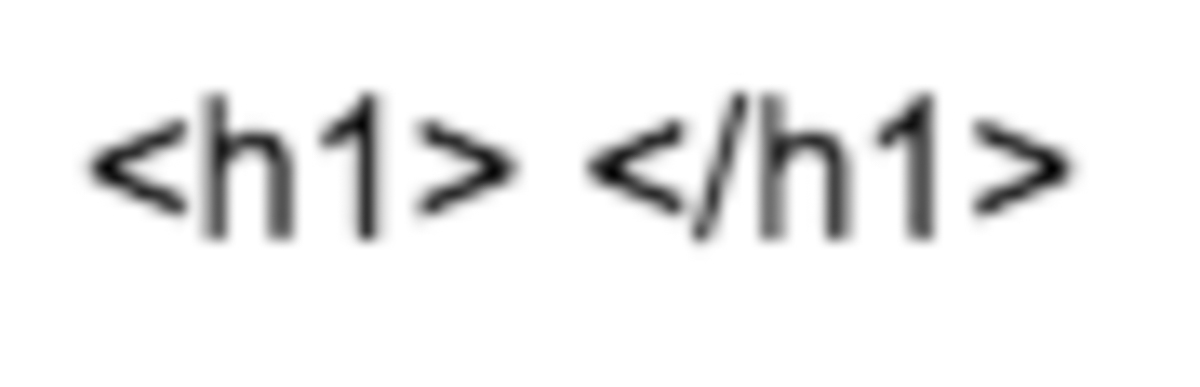
 The < h1 > to < h6 > tags are used to define HTML headings in order of importance.
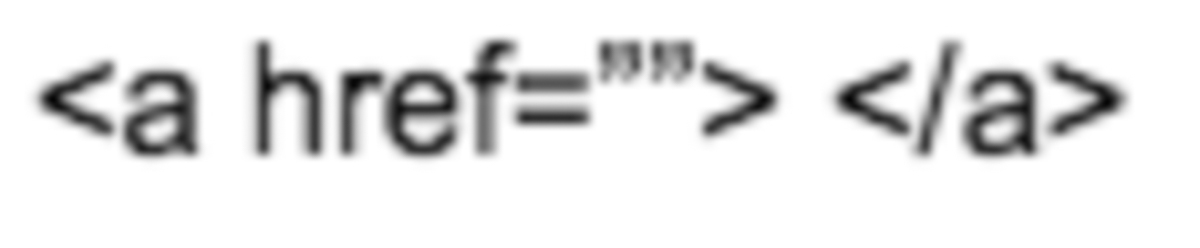
The < a href=" "> tag to create a Link. The text that should work as a link goes inside the quotes and then add an tag to indicate where the link ends.
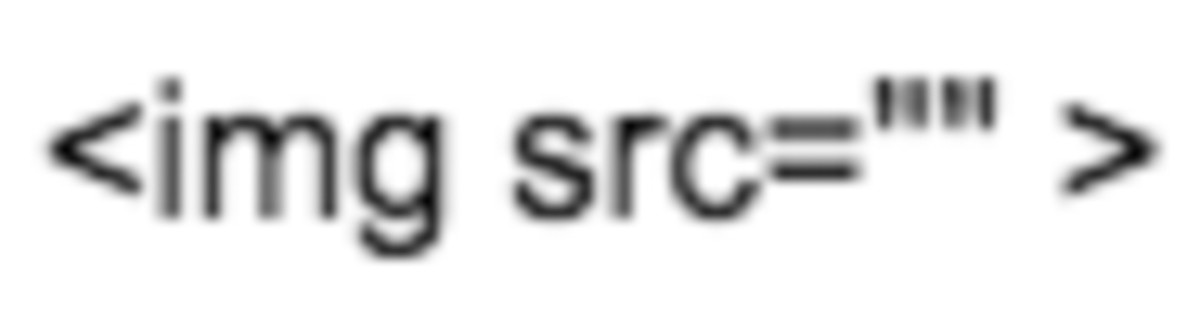
 The < img src="" > tag to add an image. The location of the image should be inside the quotes.
 And lastly to add Videos and Audios.


For video compression I’ll be uploading my videos to Youtube and download the compressed version.
For image compression I’ll be using Adobe Lightroom.
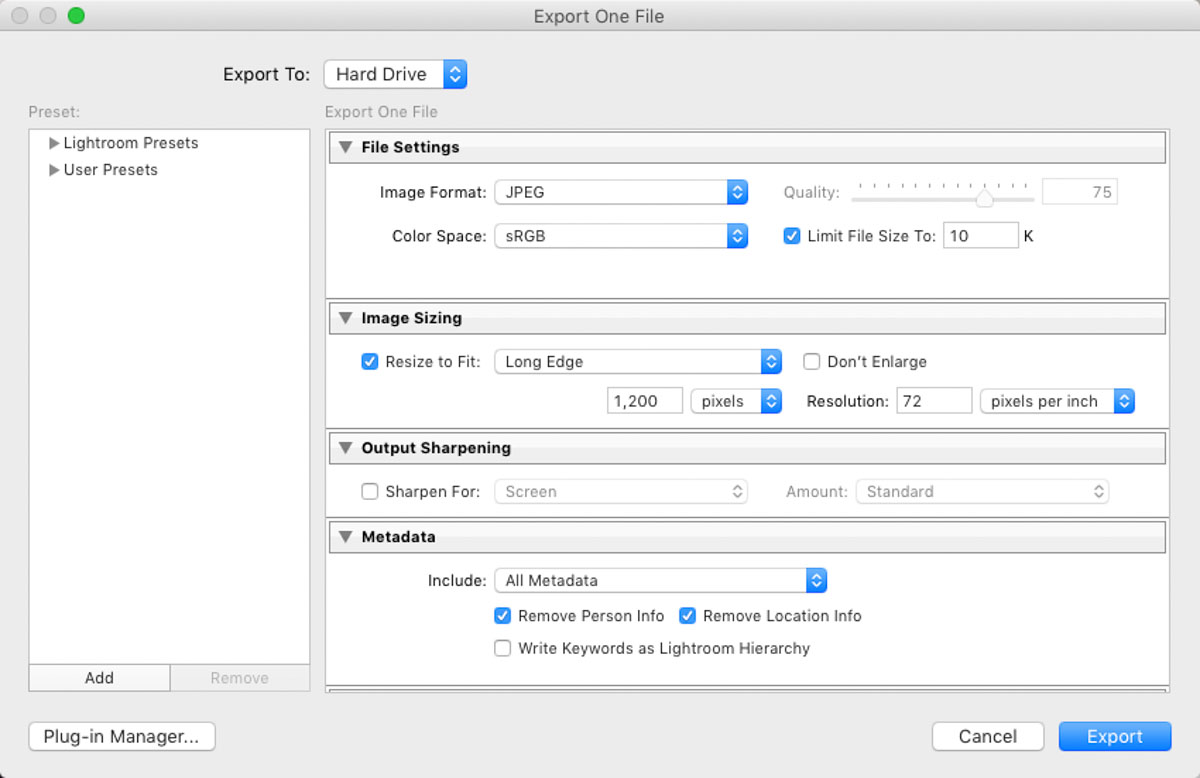
You can export images and resize images, giving it a limit in actual size or amount of pixels.
Since most of the work will be done in the computer, I’ll also be using Mac’s integrated image capture option by pressing Cmd+Ctrl+Shift+4, which will copy the screen capture over to the clipboard. Then, by opening Preview (Cmd+Space + Preview) and Paste the image, I can save it normally as a .jpg in a very low size.
Another option would be to use ImageMagick to resize images in bulk (when needed in the process, for example with actual pictures taken from a camera), using for instance 1200px limit on the long edge.
After following the class, that featured more complex things such as CSS, my page came out looking like this:

The page looks so terrible it pains me to declare it as mine, but there’s nothing to be done about it now.
There are sections of the page that have problems. For instance, the images vary in size, depending on what device they were taken and they take entirely too much space in the page and give a very unorganized impression.
Day 16
My first attempt at a Hugo page wasn’t recorded but failed spectacularly. My second attempt failed just as badly, nothing new to report.
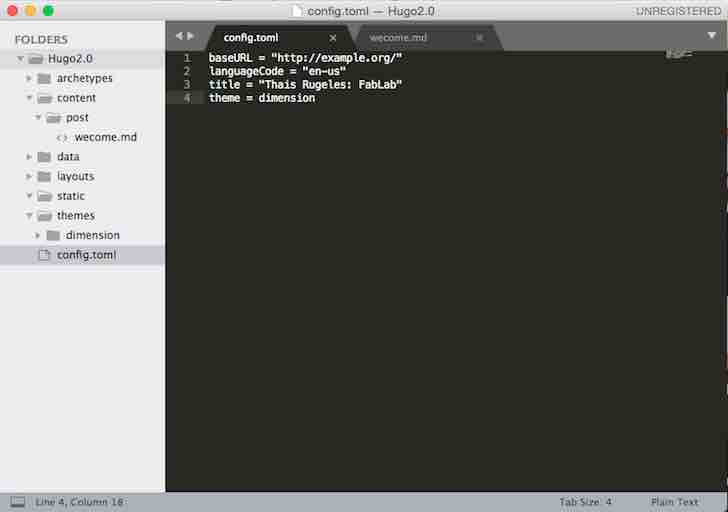
I haven’t figured out why it didn’t work.
Day 20
I’ve given up on Hugo and went for a simpler design, raw HTML with minor CSS components to control the size of the images and such.
I’ve gone for very a very basic layout but I prefer the cleaner look that simplicity provides. And so, the page is not much to look at, but it works and it meets the requirements for the week.
I fixed the image size problem:

So now when the page is made smaller in size the pictures and the are for the text change size accordingly.
Day 33
I’m trying to catch up with documentation, seeing as I didn’t really understand what went down when I was setting up Git and GitLab CI.
Git is a free and open source distributed version control system for tracking changes in computer files and coordinating work on those files among multiple people and the way we installed, and used it por the purpose of the publishing of my FabAcademy page was the following:
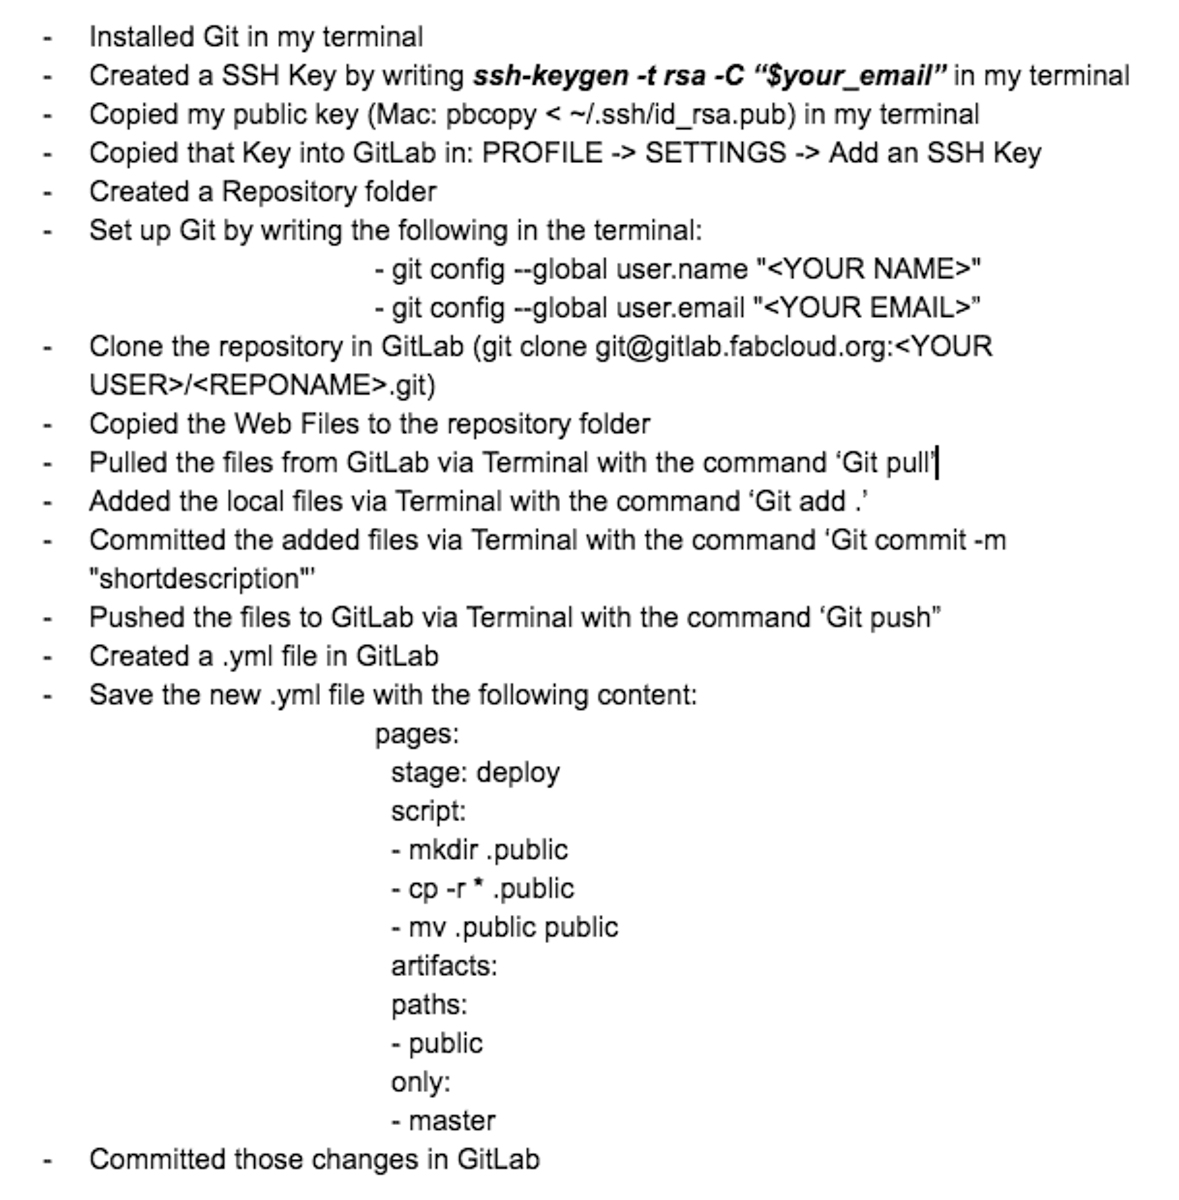
The last part of the explenation above was to make my website visible for everybody in the Fab Academy students directory, that is to say: creating a valid GitLab CI by creating a .yml file to the root directory of my GitLab repository, and configure it to use a runner, so each push o commit would triggered my CI pipeline.
By now I’ve used all the basic Git commands frequently, and I finally understand what it’s all about. At the very least the basics, which are the ones I’m likely to use during the course.
That is to say:

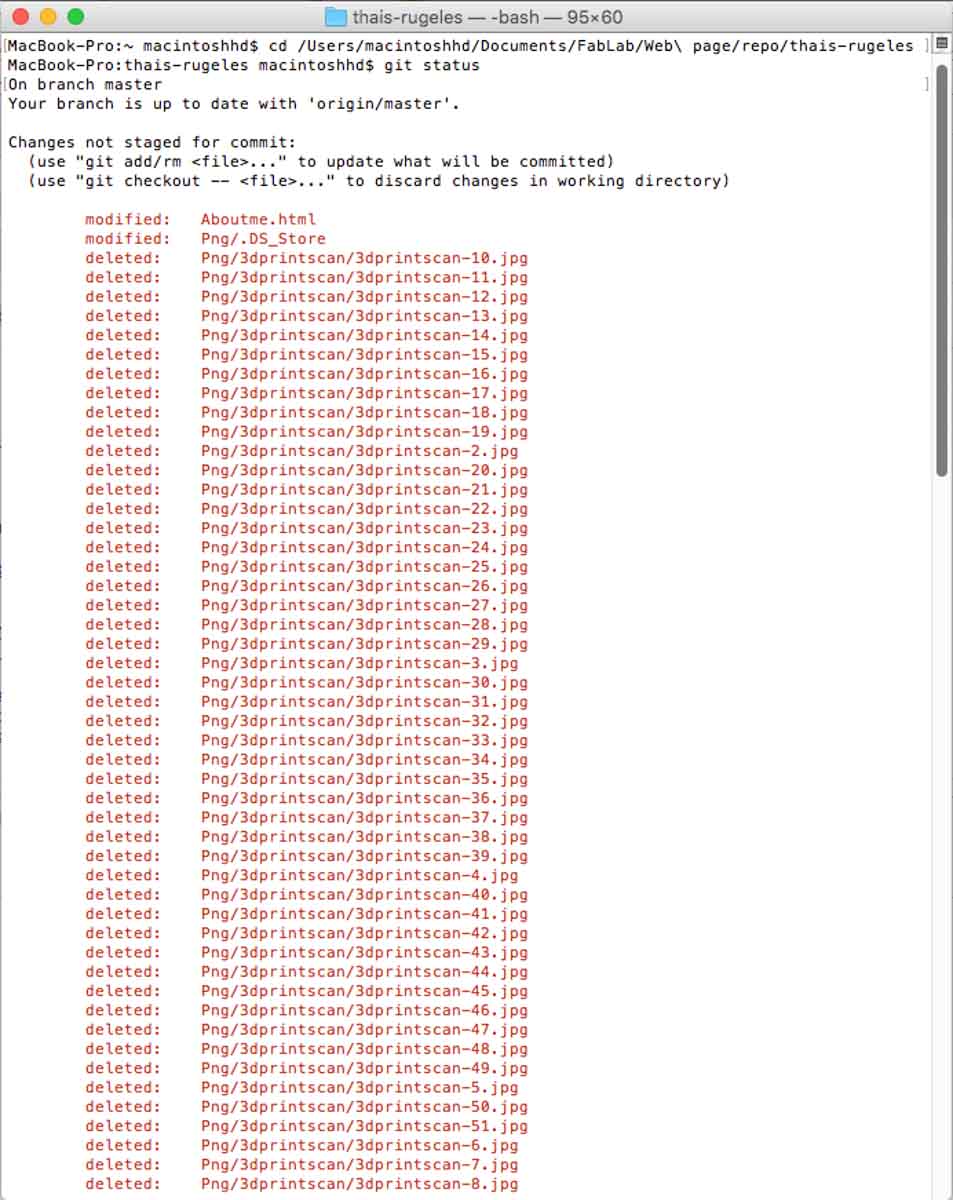
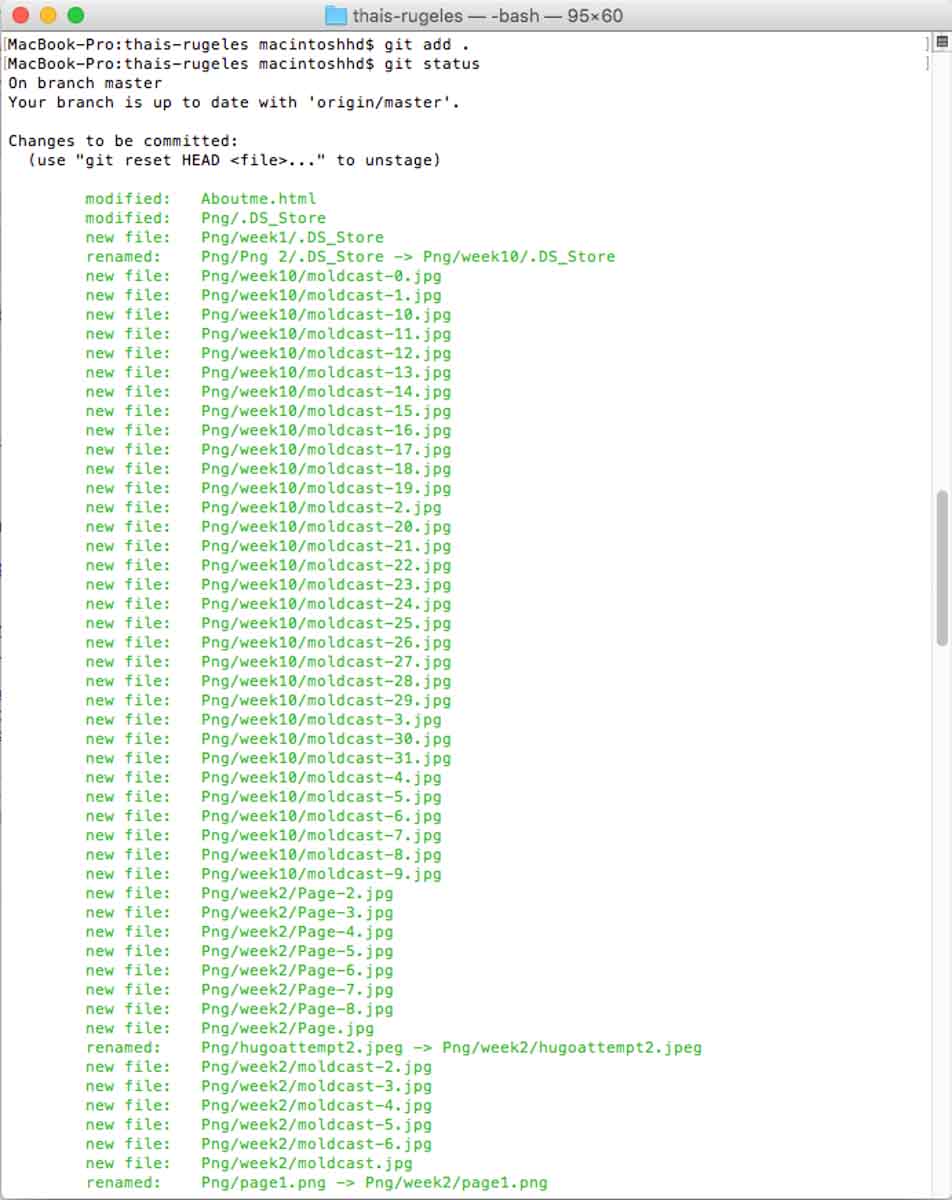
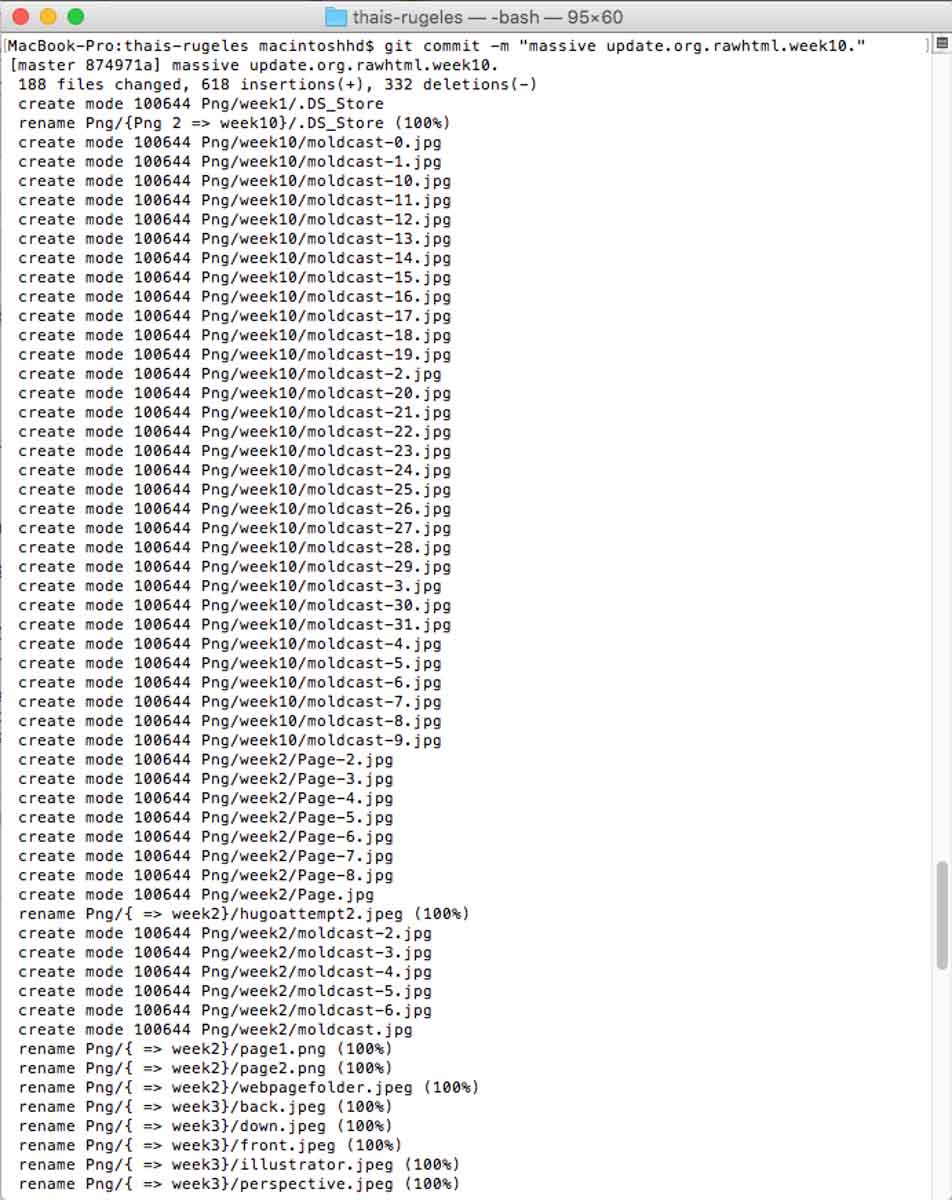
$ git status
Lists all new or modified files to be committed

git push [alias] [branch]
Uploads all local branch commits to GitLub

git pull
Downloads bookmark history and incorporates changes
$ git add [file]
Snapshots the file in preparation for versioning

$ git commit -m "[descriptive message]"
Records file snapshots permanently in version history
$ git reset [file]
Unstages the file, but preserve its contents
$ git diff
Shows file differences not yet staged
$ git diff --staged
Shows file differences between staging and the last file version
And furthermore, here’s a full step by step guide on how to set up your GitLab.