WEEK 6: 3D SCANNING AND PRINTING
Day 1
Today’s class was a lot clearer to me. I’m more familiar with the concept of 3D scanning and printing, not from first hand experience with nay 3D printer, but because I have a 3D pen. While it is true one thing has not much to do with the other, part of the machinery, the materials and first hand practice with the plastic really did help when it came to approaching the machine.
I had previously researched 3D scanning but, once again, I have no first hand experience.
Day 2
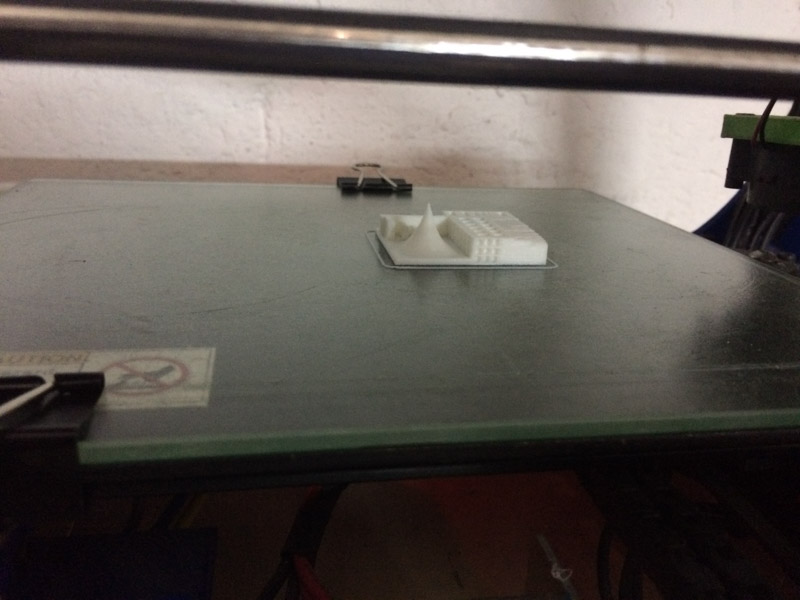
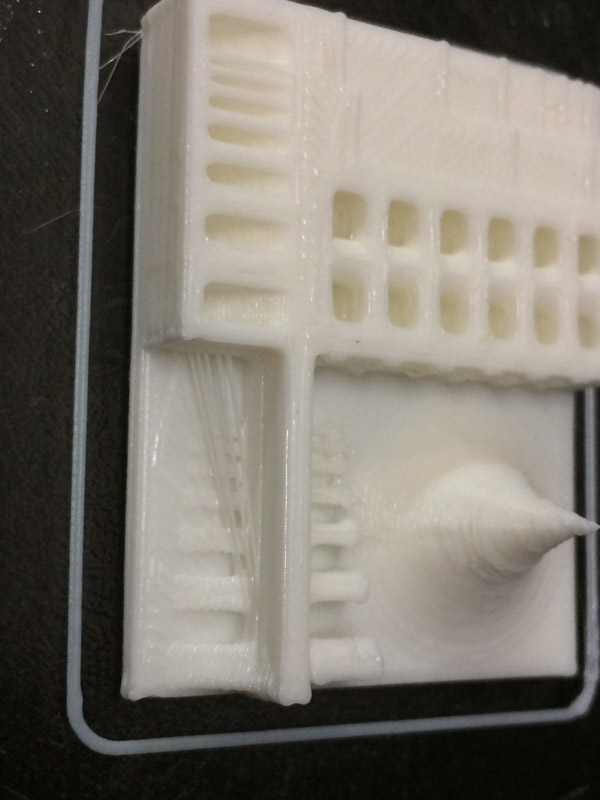
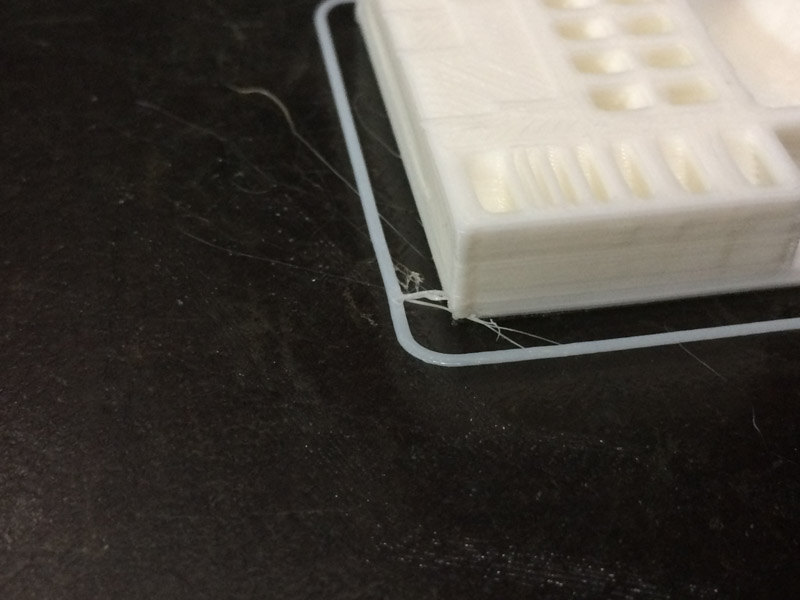
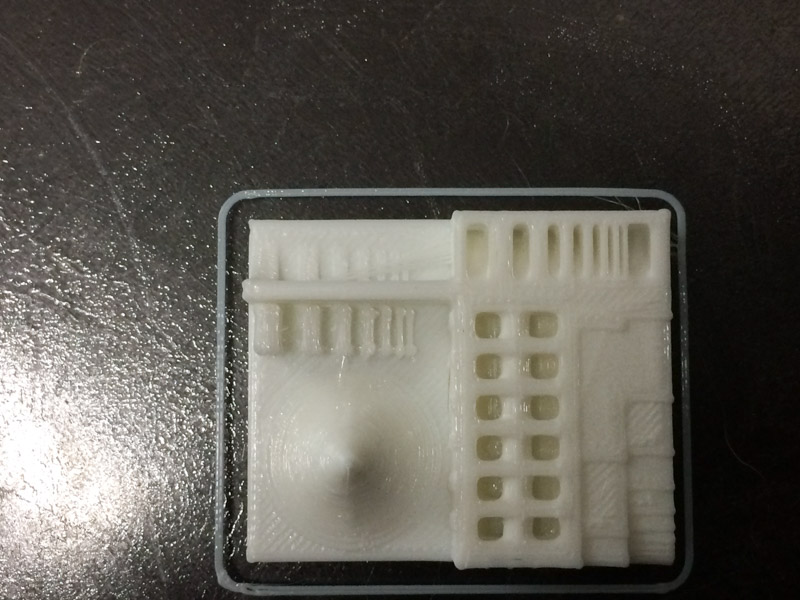
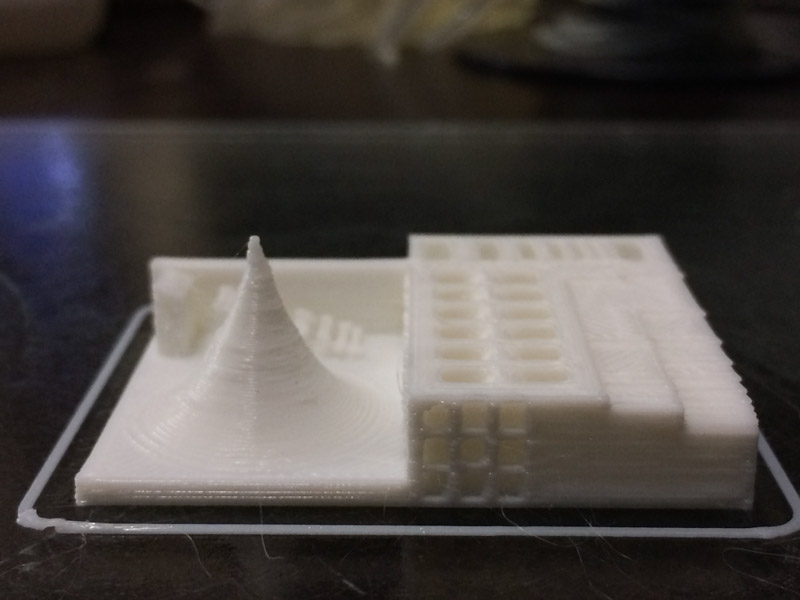
The group assignment was simple enough. We had to categorise the printer and we chose to do one of the small test suggested during the lecture.
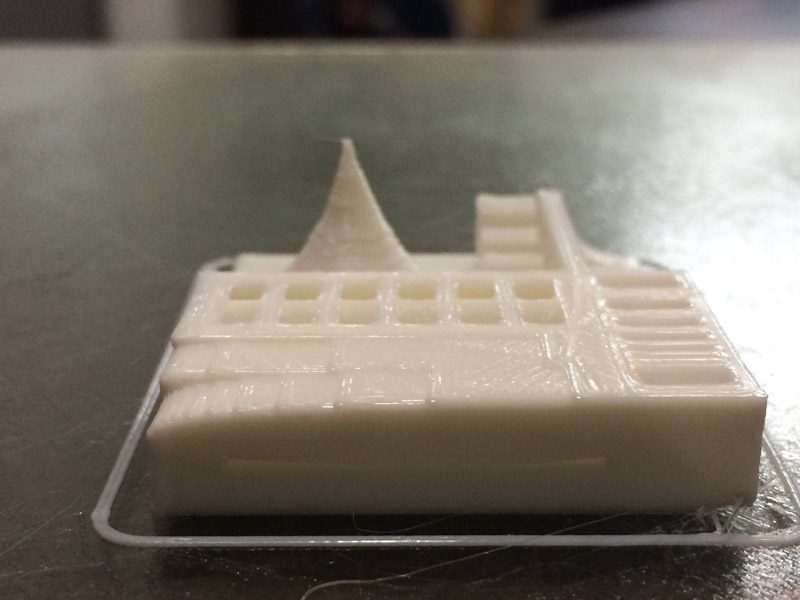
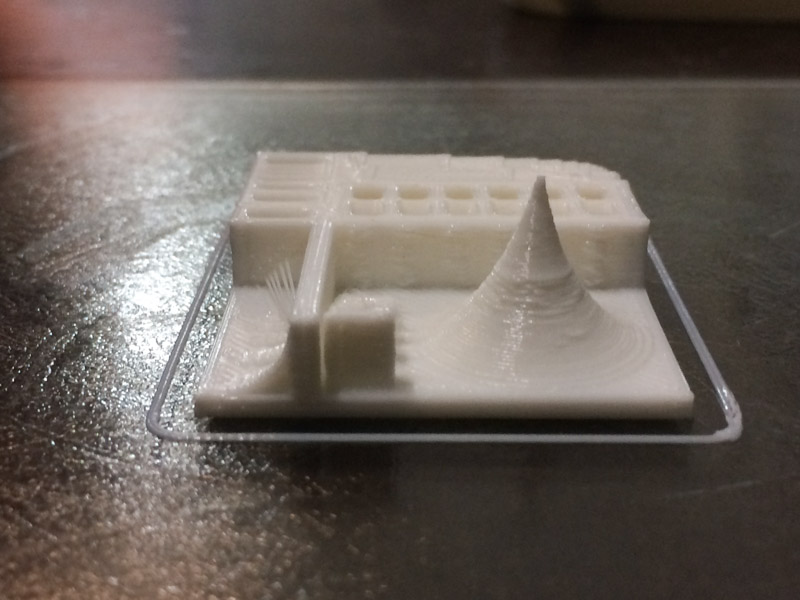
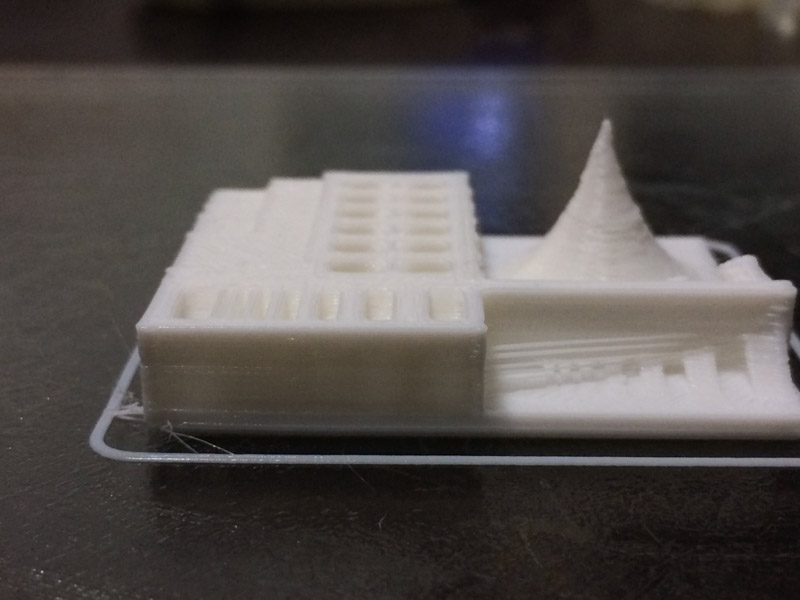
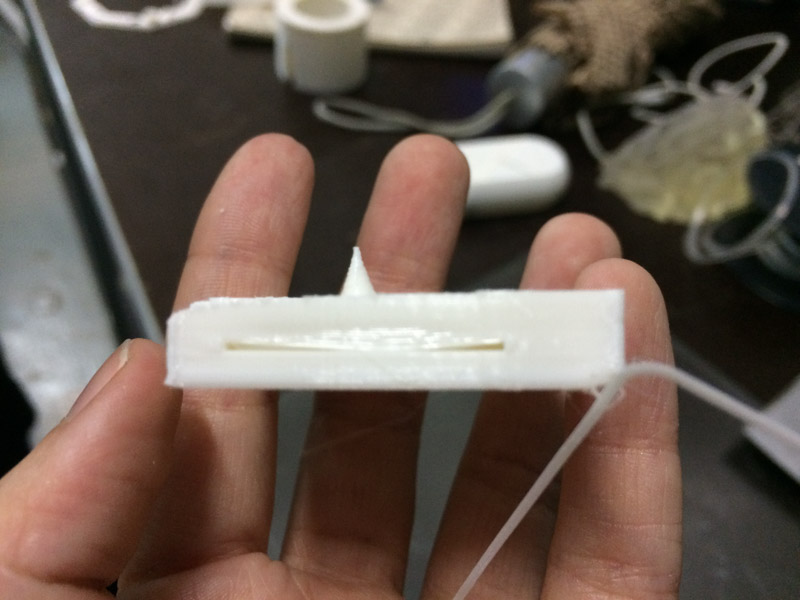
For our test, we used the 3D tolerance test available on thingverse
In our FabLab we have various machine available: three RepRap with nozzles of 0.4mm or 0.6mm, an MakerBot and a Formlab stereolithography (SLA) machine.
We used for our test a RepRap (3) with a nozzle of 0.4mm. The material we are going to use is PLA 1.75mm filament (3mm filament is available for the bigger nozzle).
This machine has a modification move the filament motor away from the extruder moving part.
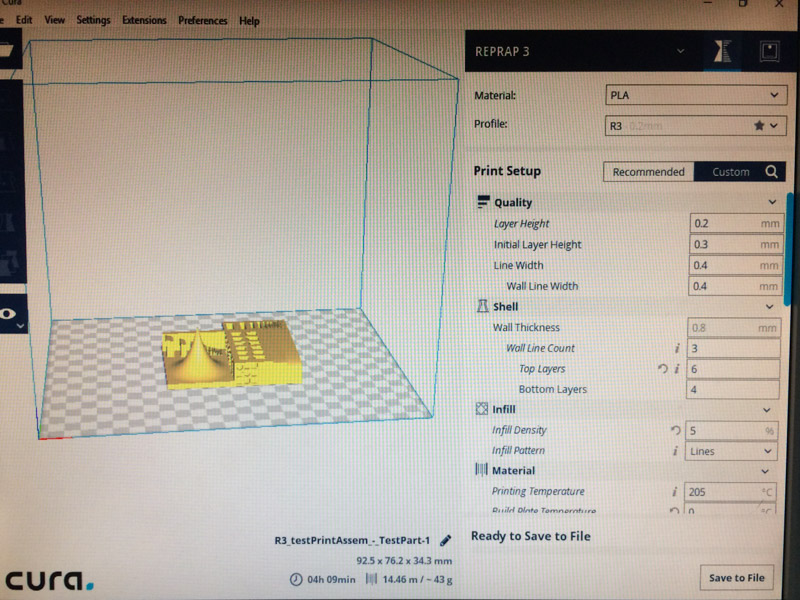
After opening the Cura we open our .STL file and lay the part flat on the machine bed.
Layer height: is the main setting influencing quality. Lower mean better resolution, but also longer printing time. Max layer height usually is around half the nozzle diameter.
Line width: is usually similar ot the nozzle size.
Wall thickness/line count: determines the thickness of the vertical walls. Bottom and top layers usually have higher thickness to avoid bending and appropriate support.
Infill density: is the main setting that we can change based on the structural requirements of our part. Low infill (10-15%) is faster to print but will make our part less resistant. High infill (30-40%) is slow to print and makes our part more resistant. Low infill also requires more top layers to be added to the default values.
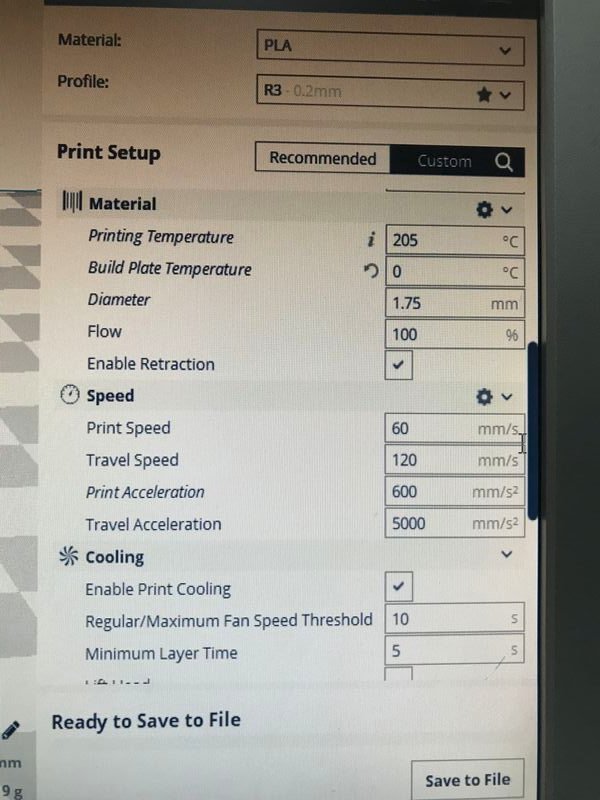
Temperature: optimal temperature for PLA is between 205-215 C and can be varied adjusted based on the speed and need of cooling of the material.
Support: is important to enable for structures that have hanging part that would otherwise fail to print or fall down.
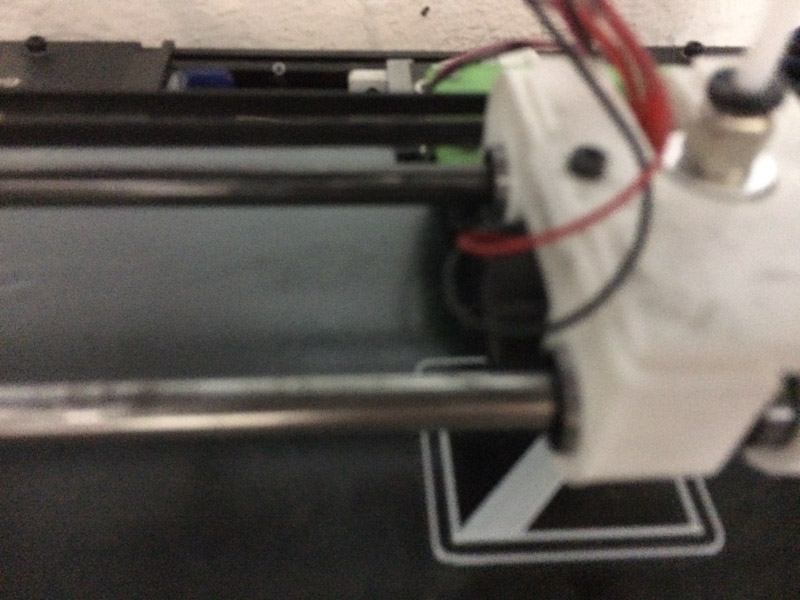
Build plate adhesion: to help the adhesion to the plate differnt support structures can be printed like ‘skirt’ (mainly to clean the nozzle before printing), a ‘brim’ or ‘raft’ (that give an increased level of support and help adhesion to the bottom layer)
Retraction: is useful to adjust to avoid material to be extruded when the nozzle moves between separate parts of the piece
Travel speed: default is fine. Too fast will resul in a failed print. For fiberflex material requires circa half speed of PLA.
Cooling: should always be enable for better quality
Switching to the ‘layer wiev’ in Cura we can check the individual layer paths generated by the software with each setting variation.

Once we have saved the GCode file in Cura we can send it to the printer via Octoprint
Open octoprint (bookmarks for each machine are saved in the browser).
Upload the file to Octoprint: save the file locally to the machine.
Prepare the printer:
Remove the bottom plate, clean it from existing residual material and apply a little hairspray (helps the bottom layers stick to the plate)
Setup the filament in the extruder: cut it 45 deg to make it easy to go in the extruder hole.
Extrude for a bit of material on a side of the plate to clean the nozzle.
Press “Auto home”. If the plate is not aligned disable the stepper and move it to home manually to adjust and level it.
Extrude a bit more of material before running the print job.
.

Day 4
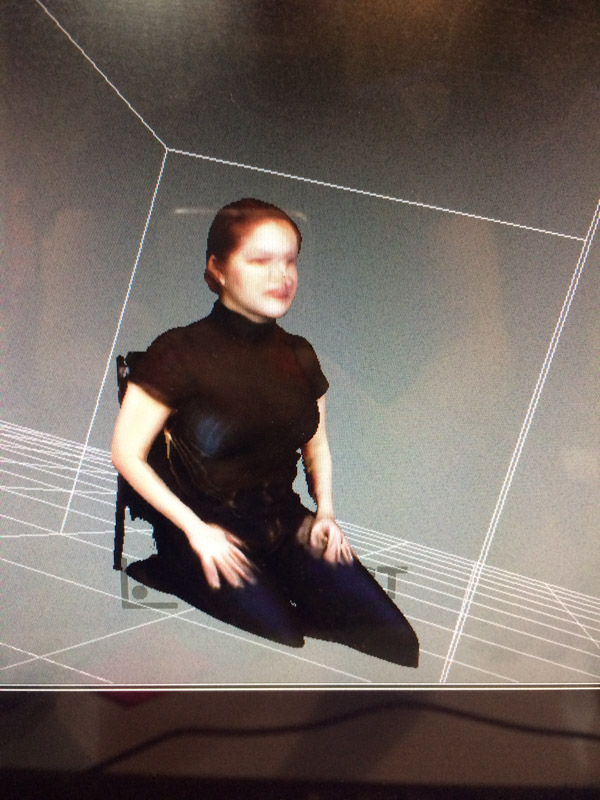
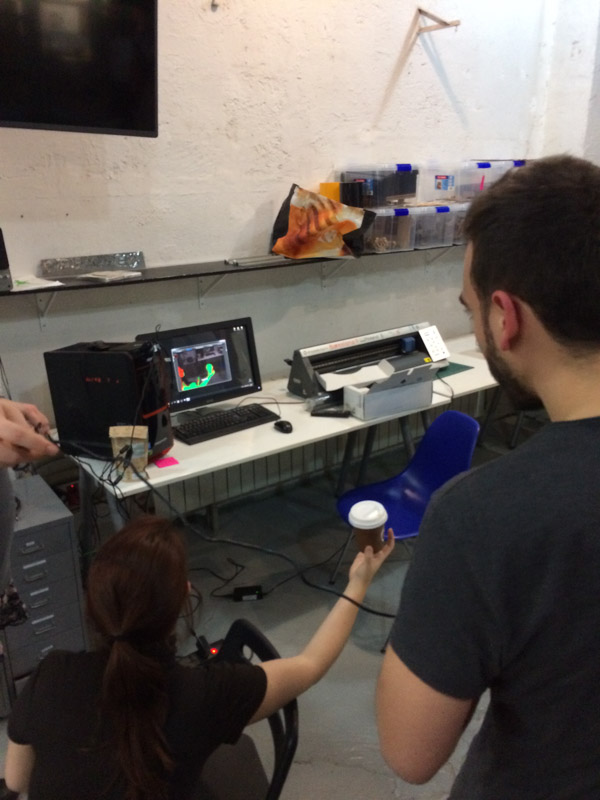
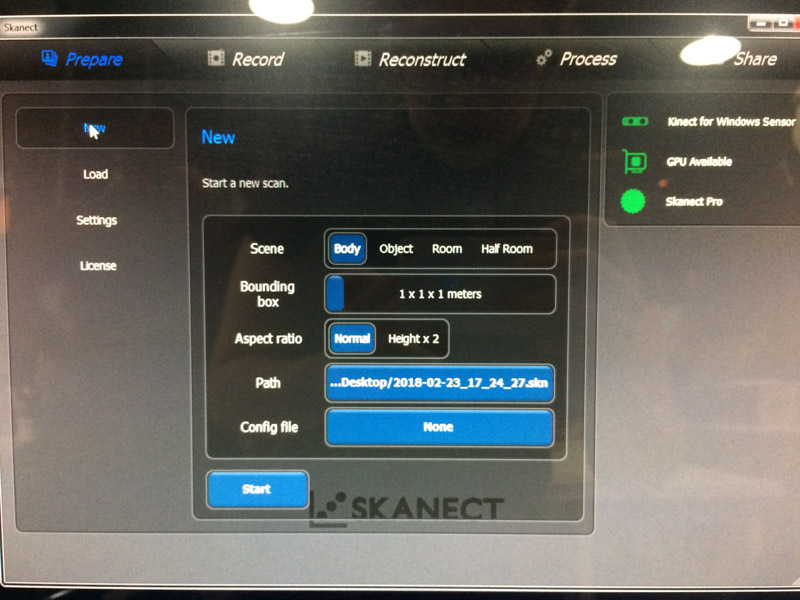
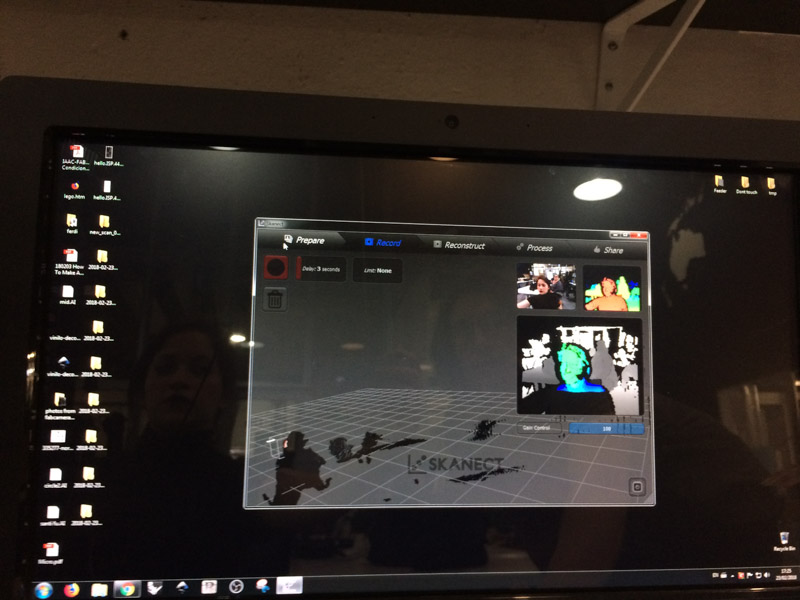
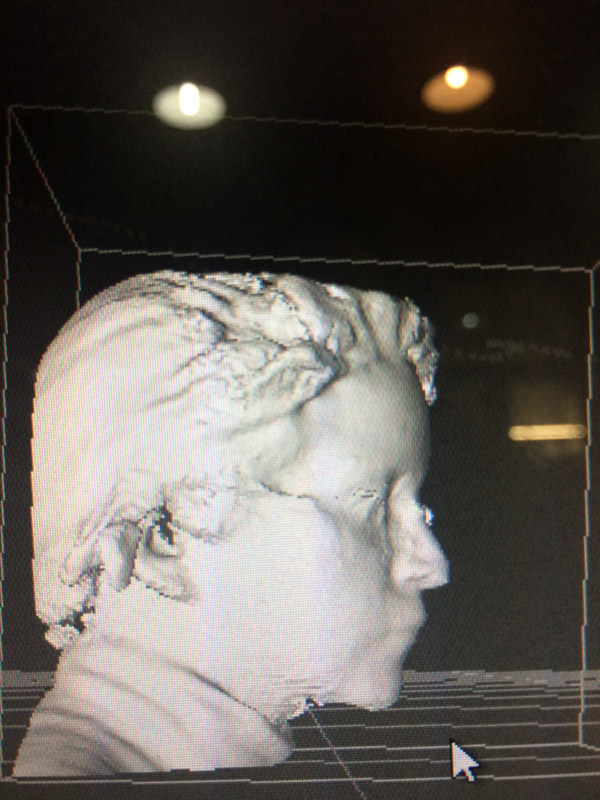
For my individual assignment I decided to scan myself.
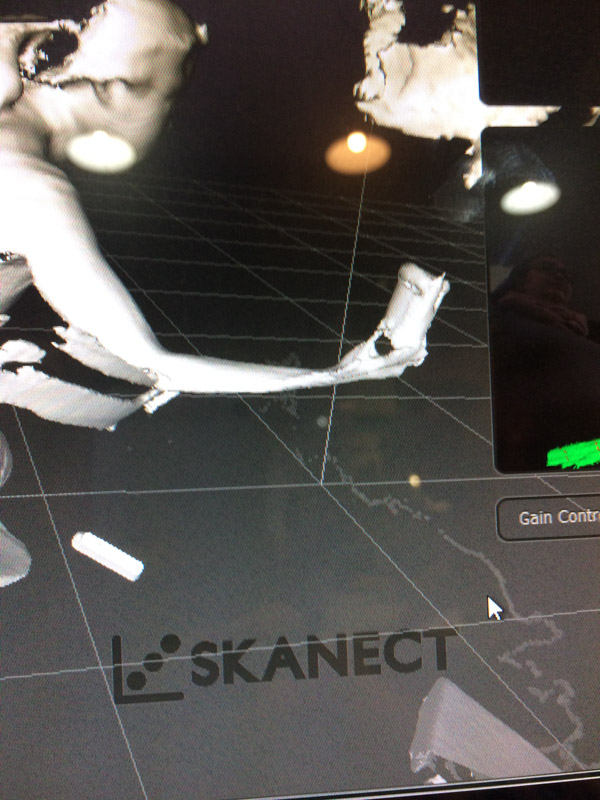
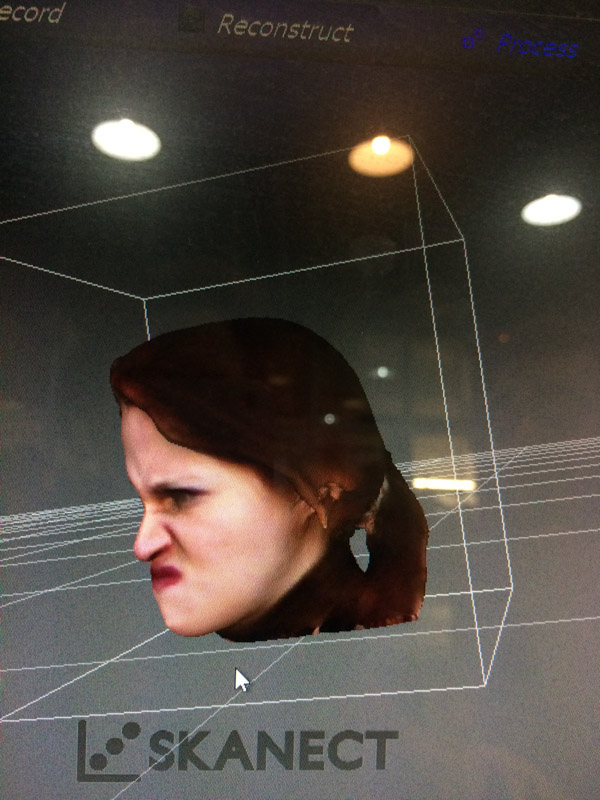
I used a Kinect scanner and Skanect to do the scanning. http://skanect.occipital.com/
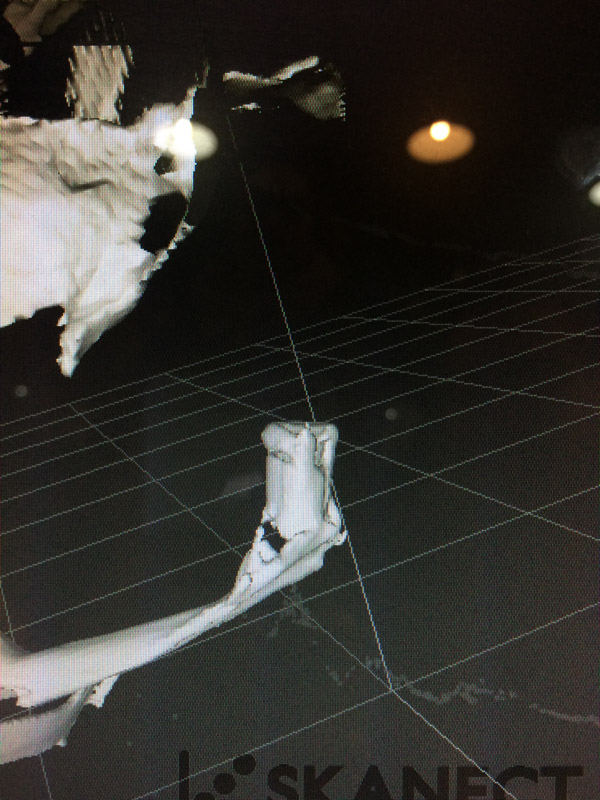
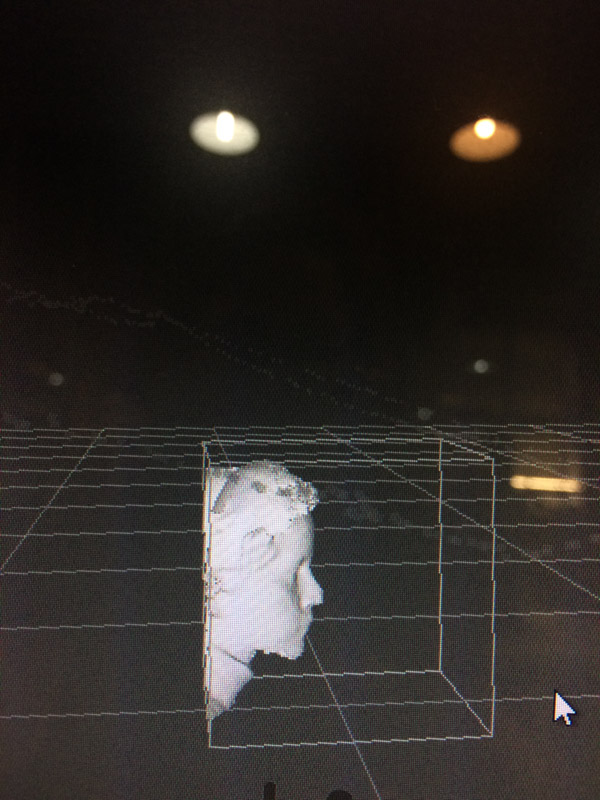
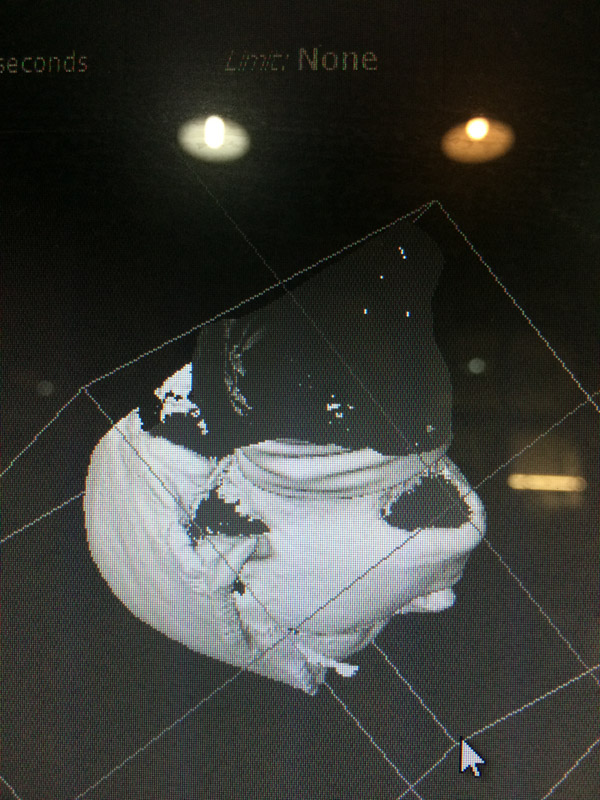
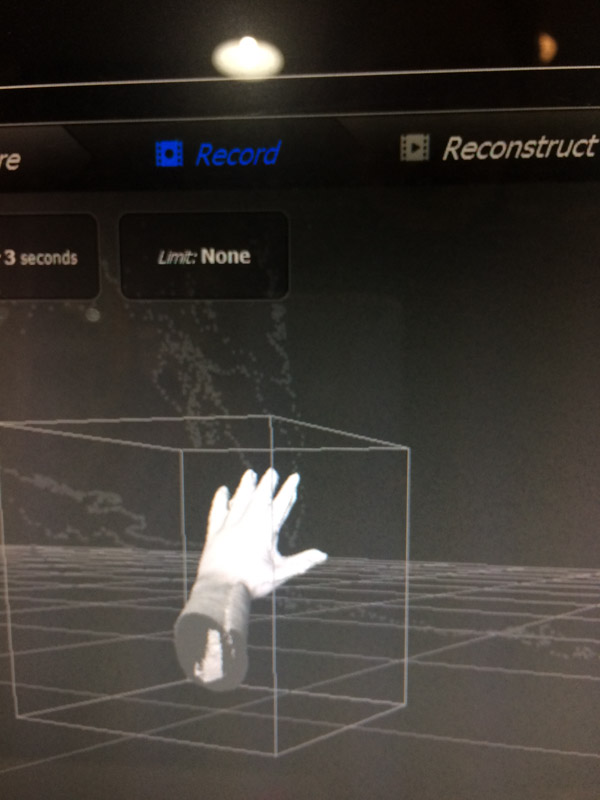
The first attempts were complete failures, especially the ones where I tried to scan only my hand.
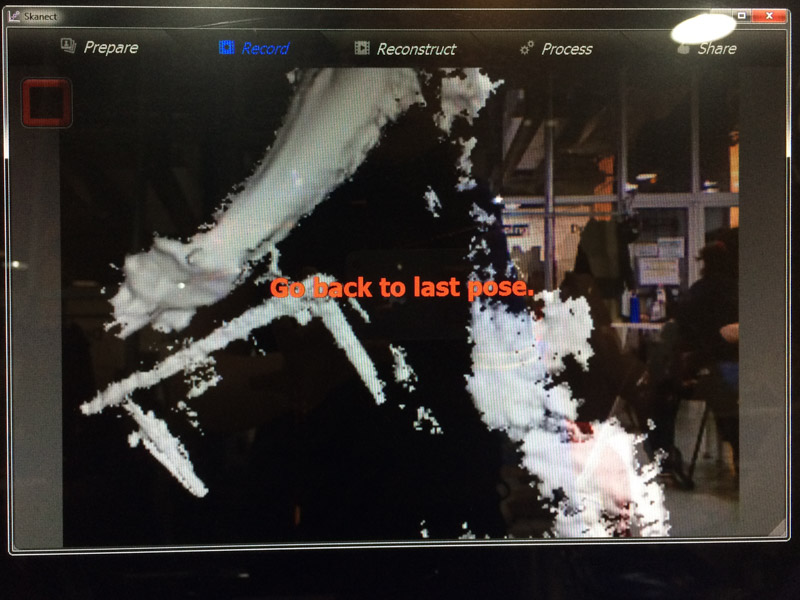
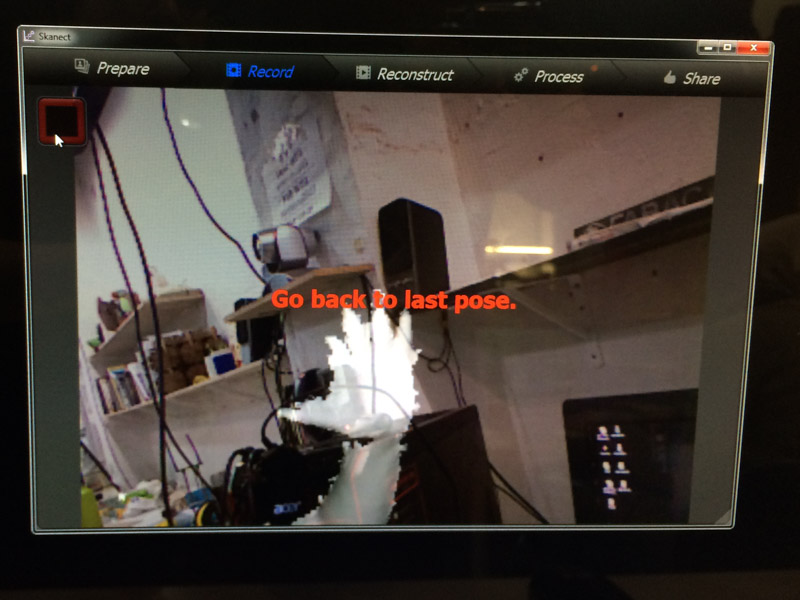
Still, even with help the results were very poor
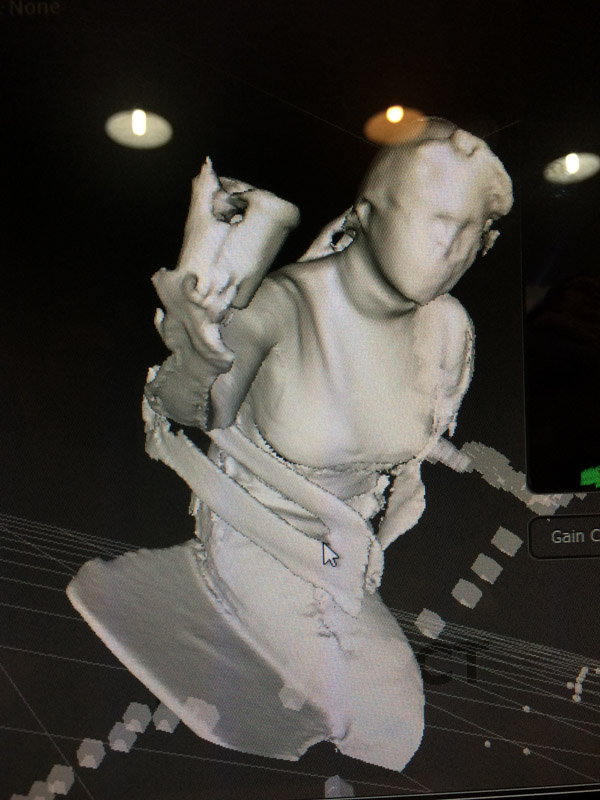
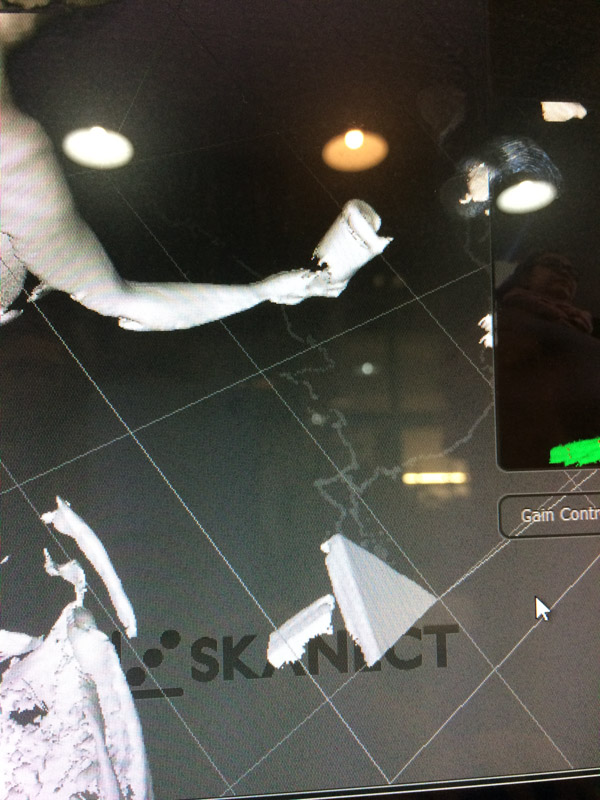
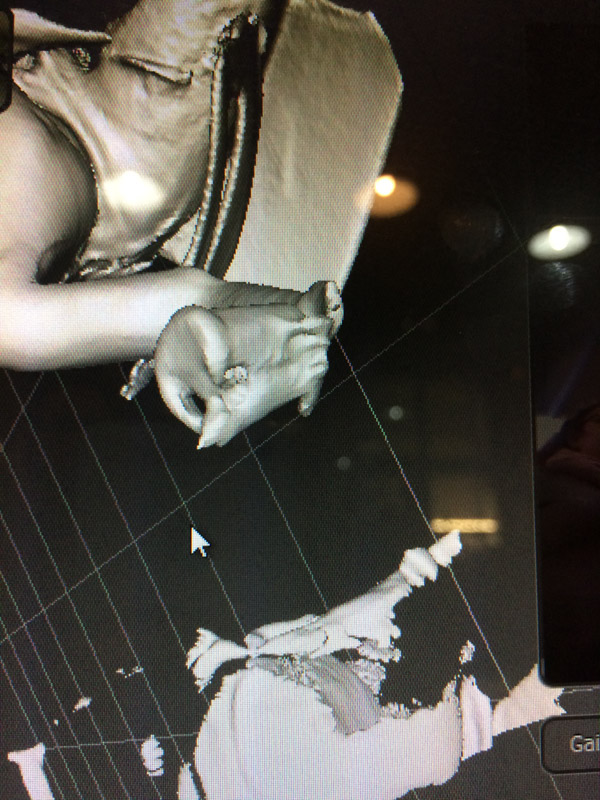
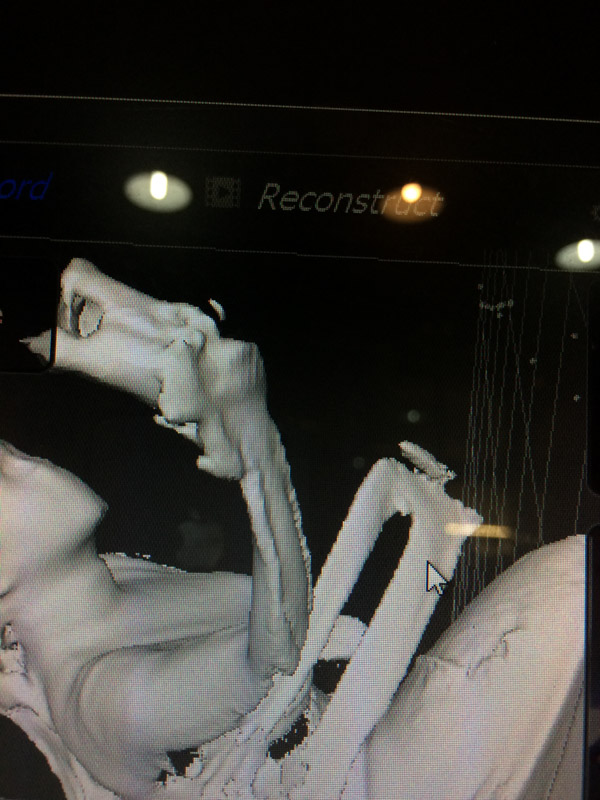
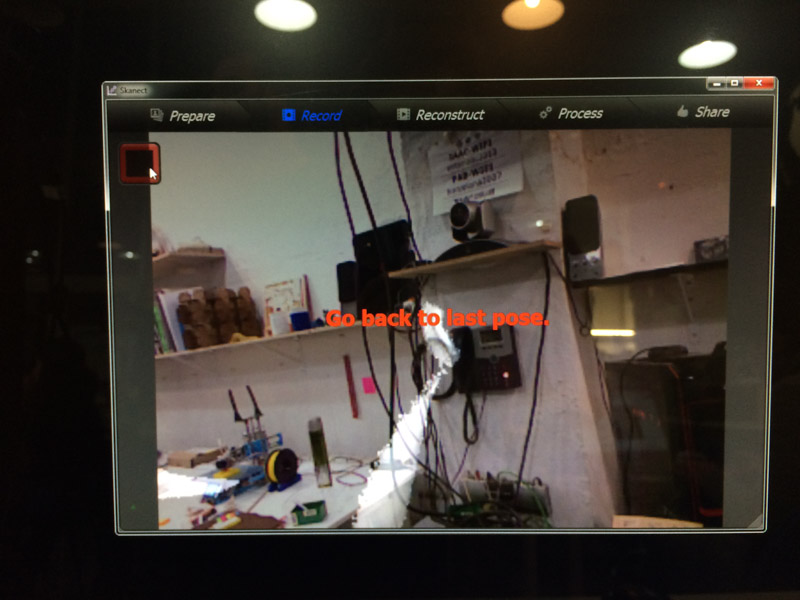
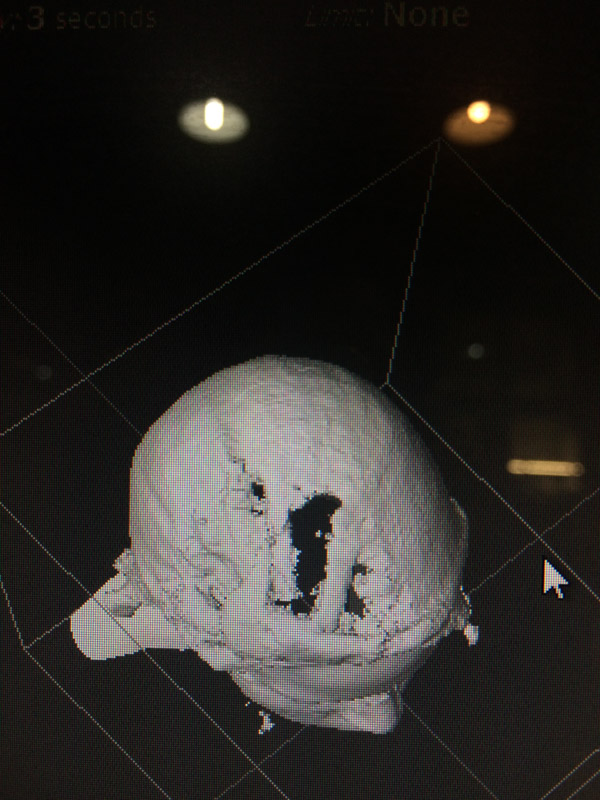
But once I made the intake box smaller,
it was easier to get better results. It took a few tries, but with some help we managed to get good results.
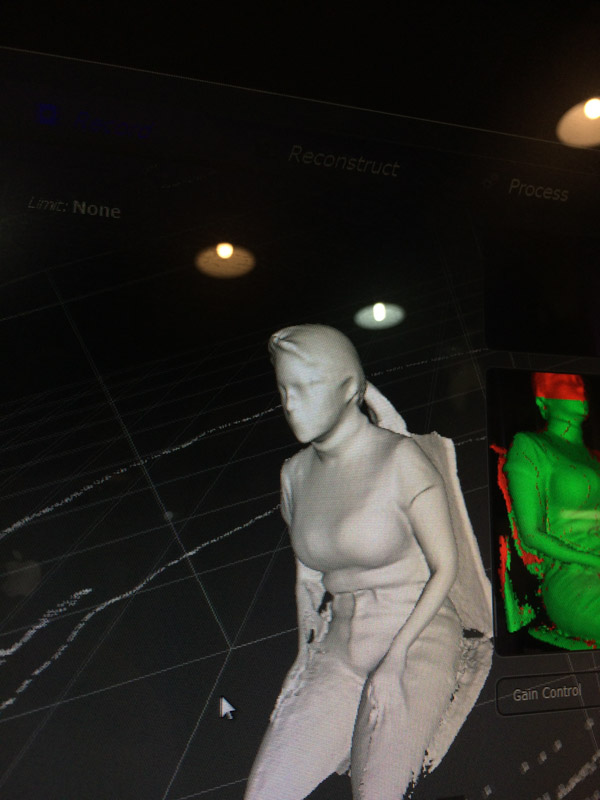
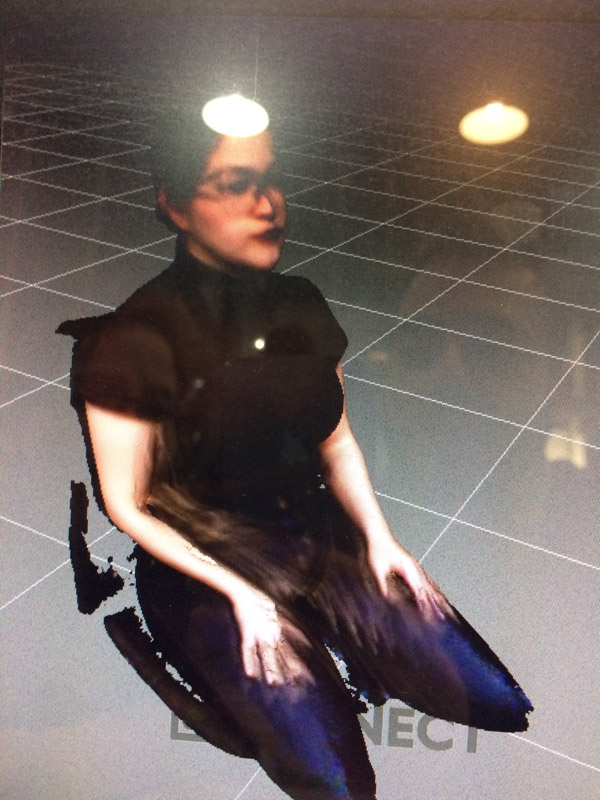
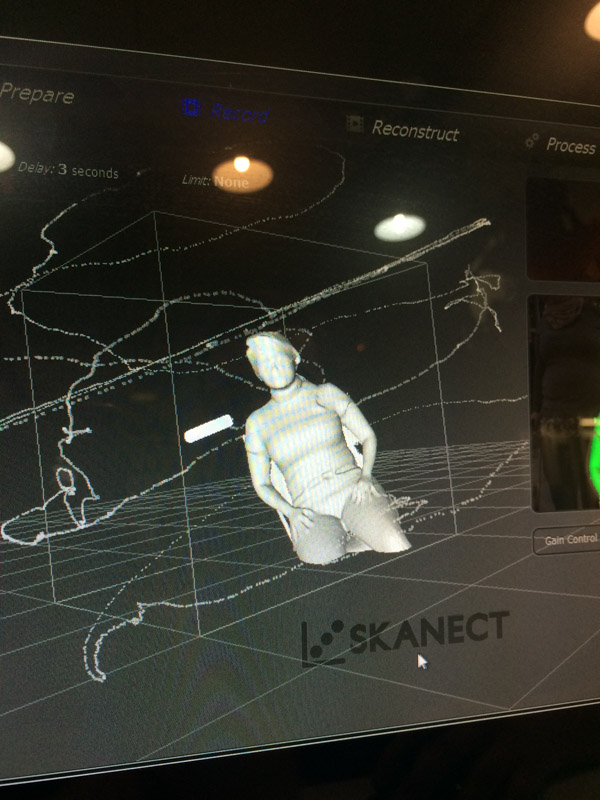
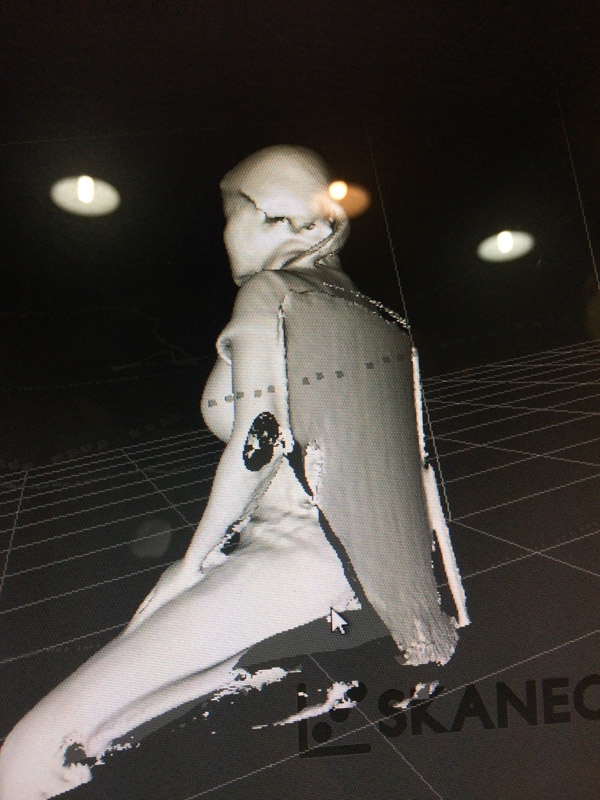
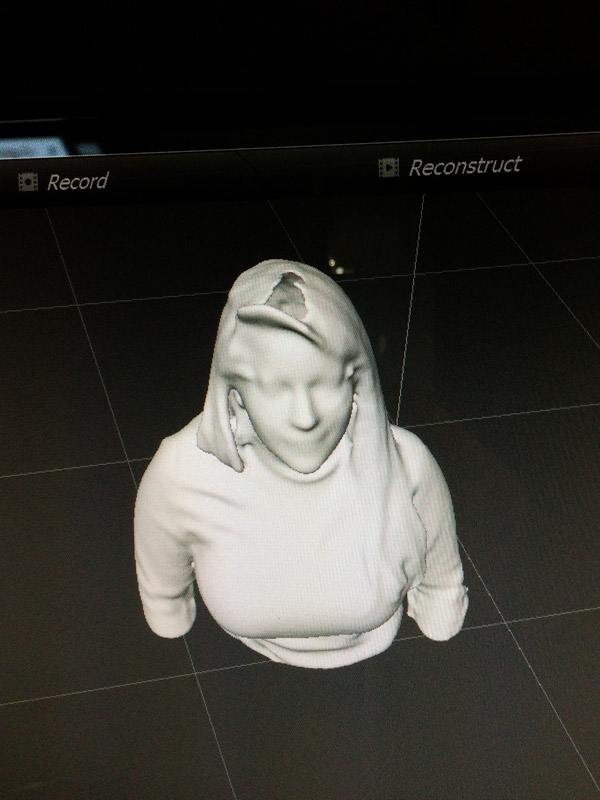
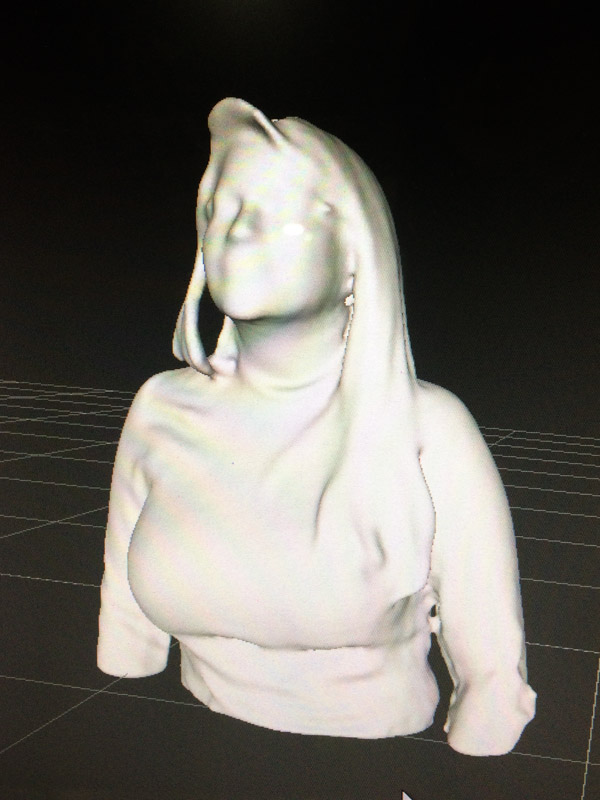
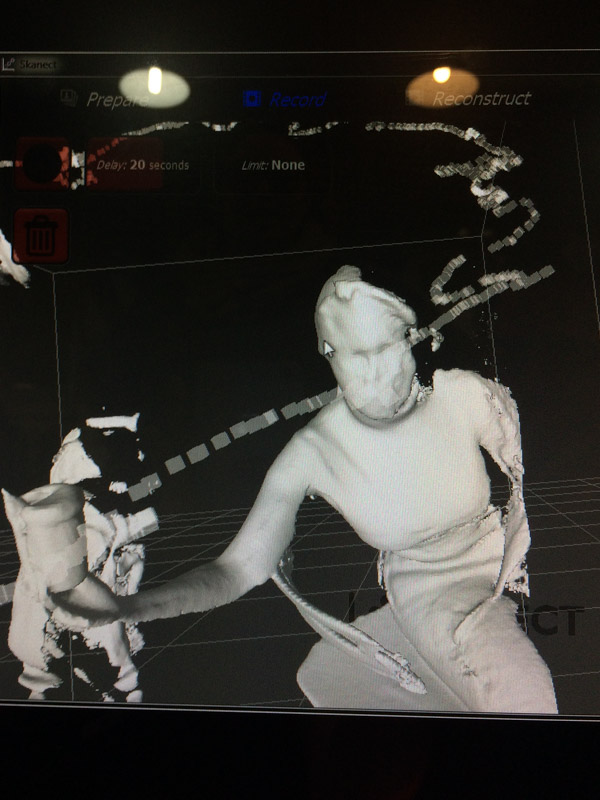
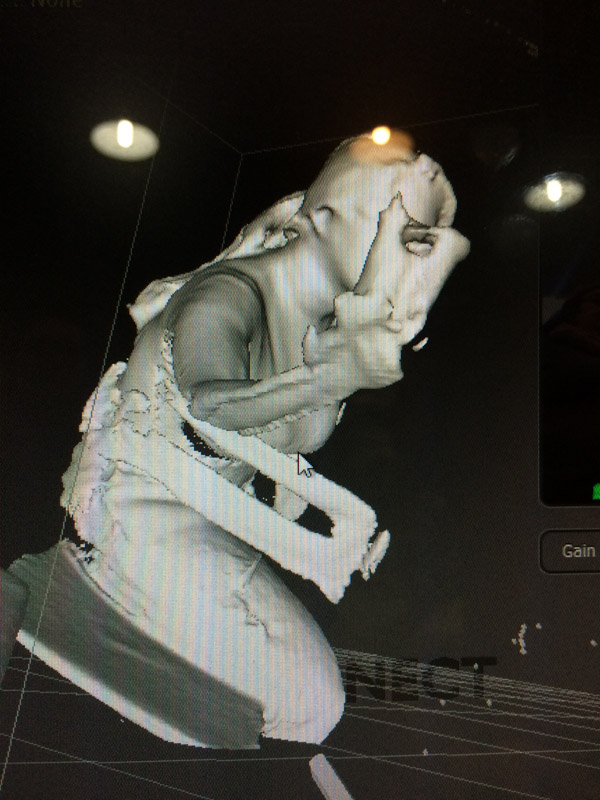
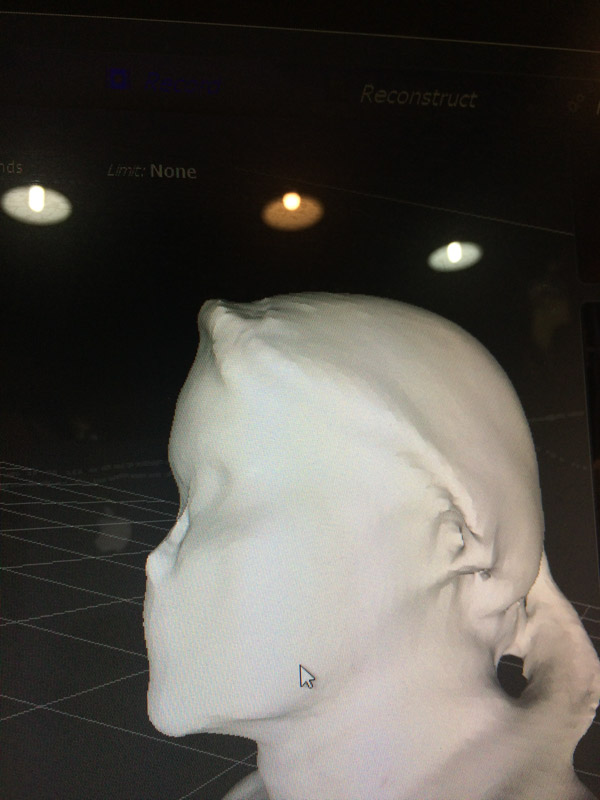
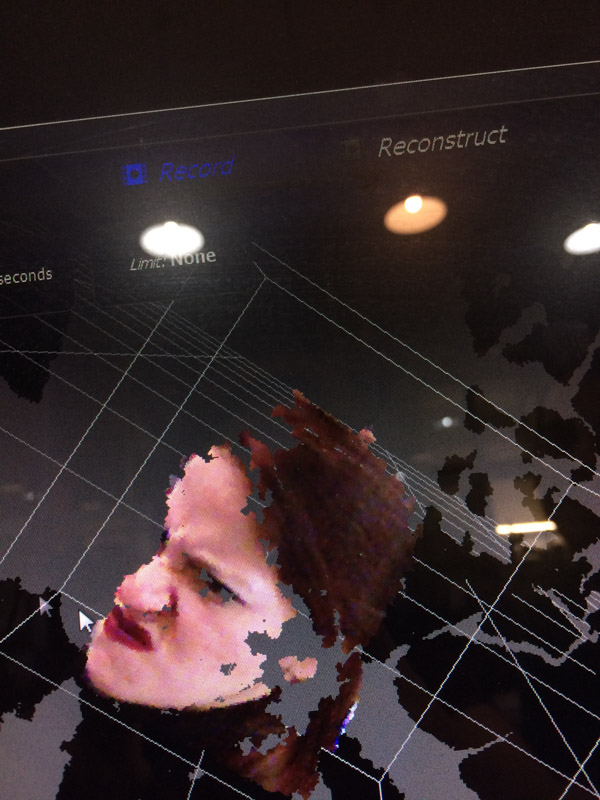
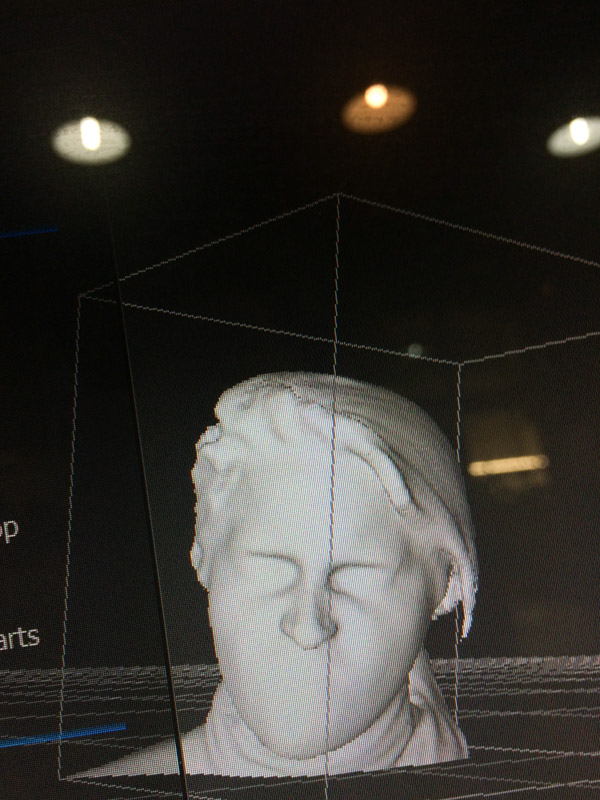
I wanted to test the detail limits of the scanner, and so, I decided to make an angry face during the last test.
The results were better than I expected but hard to accomplish.
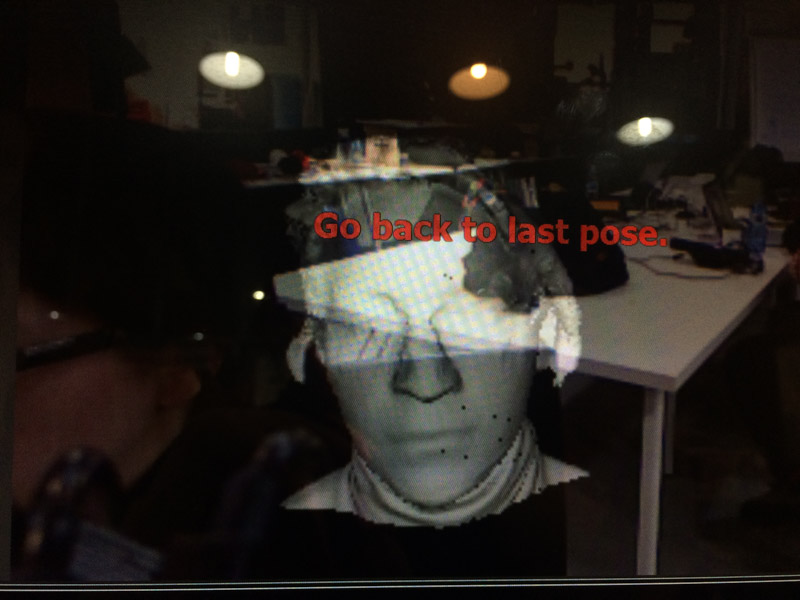

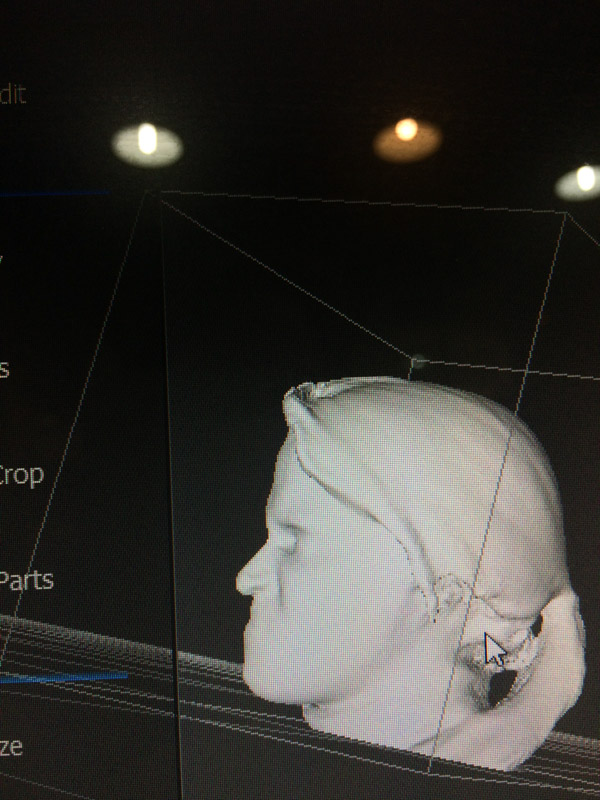
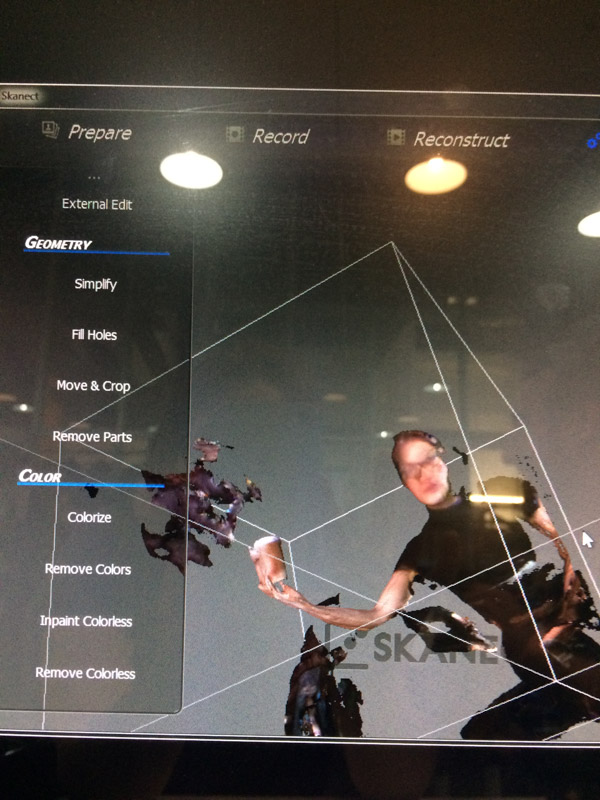
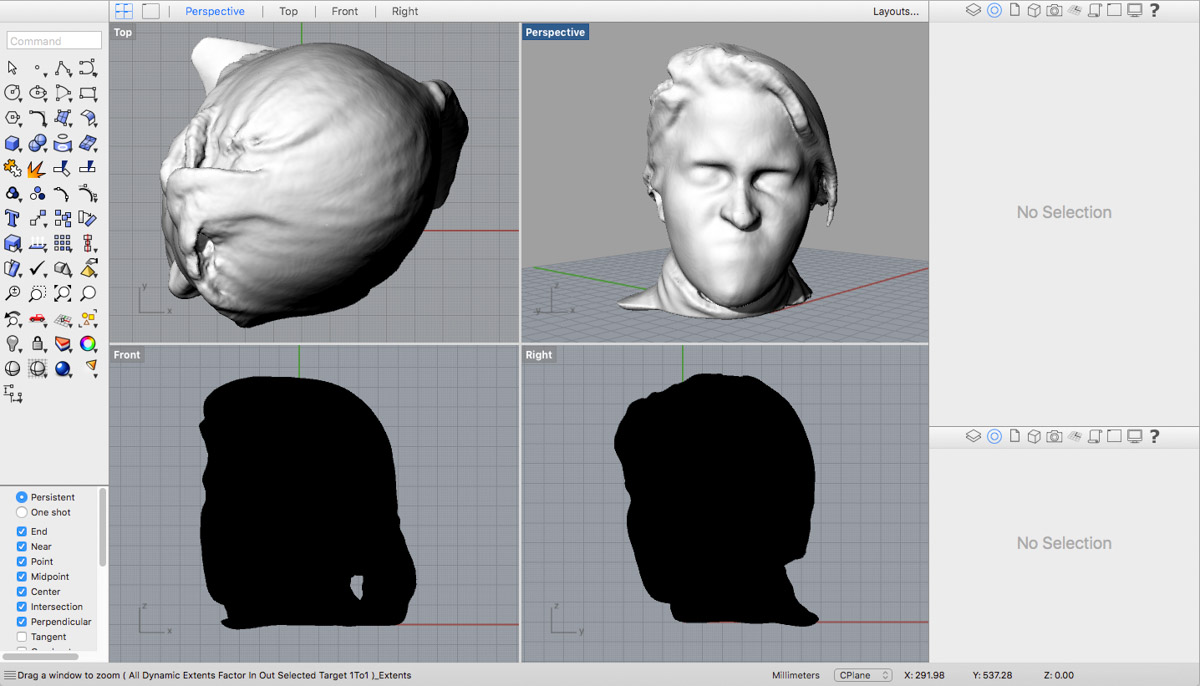
Skanect allows you to save in .stl, but I had to import the file to Rhino to patch up the mesh, which was a mess.
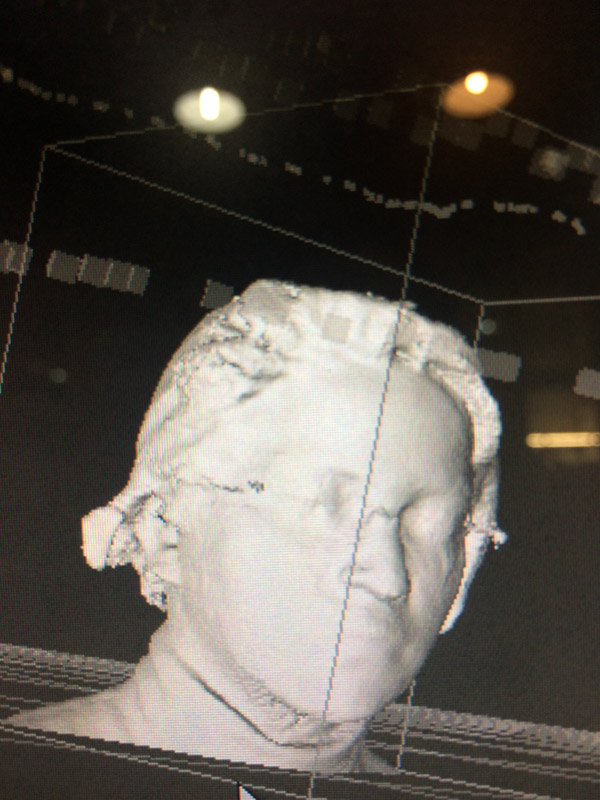
Closing the mesh that resulted was an artform. I have to thank Mikel for the actual success of it, because it was hard. The scan itself came out as a broken up mesh, as below the neck, it didn’t recognise it was the cut of a solid, but rather ended up as a strange, broken up extrusion of the outer layer of the scan. However, after a thousand ‘Mesh repair’ commands and some work in Cura, the mesh became a closed mesh and it was good to go.
The printing process was more or less the same than the group assignment. I used the same printer, same material and same settings.
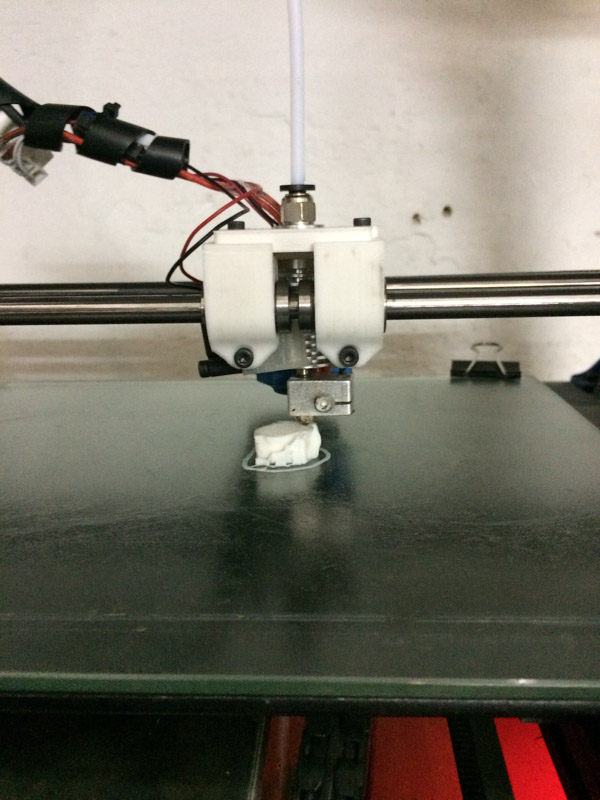
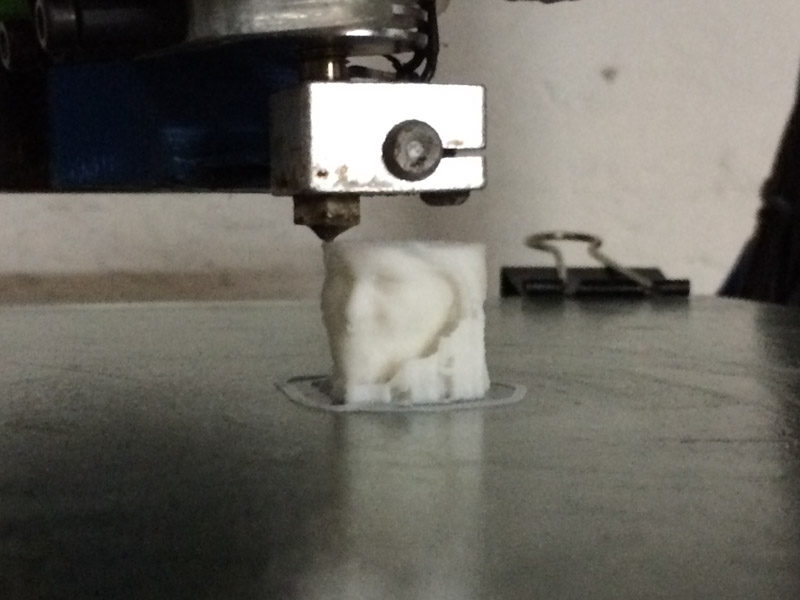
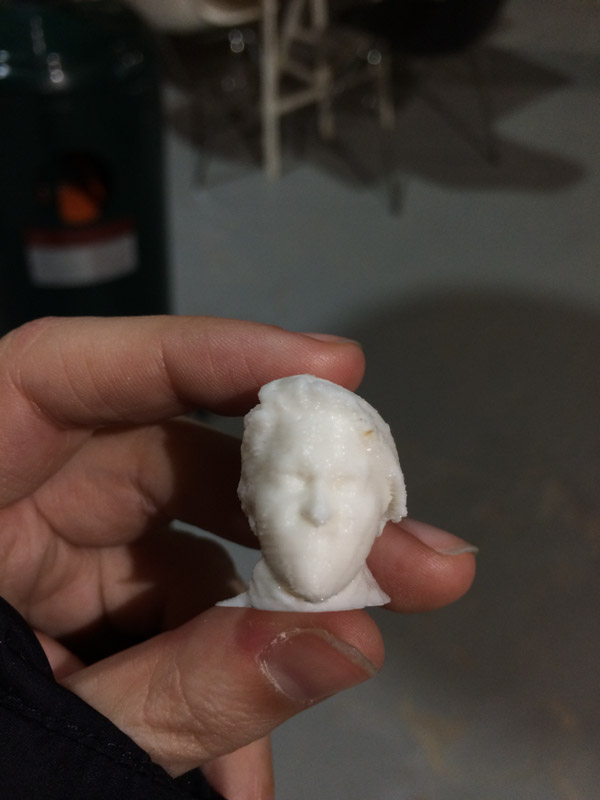
I was impressed with the result, it had more detail than expected.
The files can be downloaded here and here.