Assignment 1
Website Setup
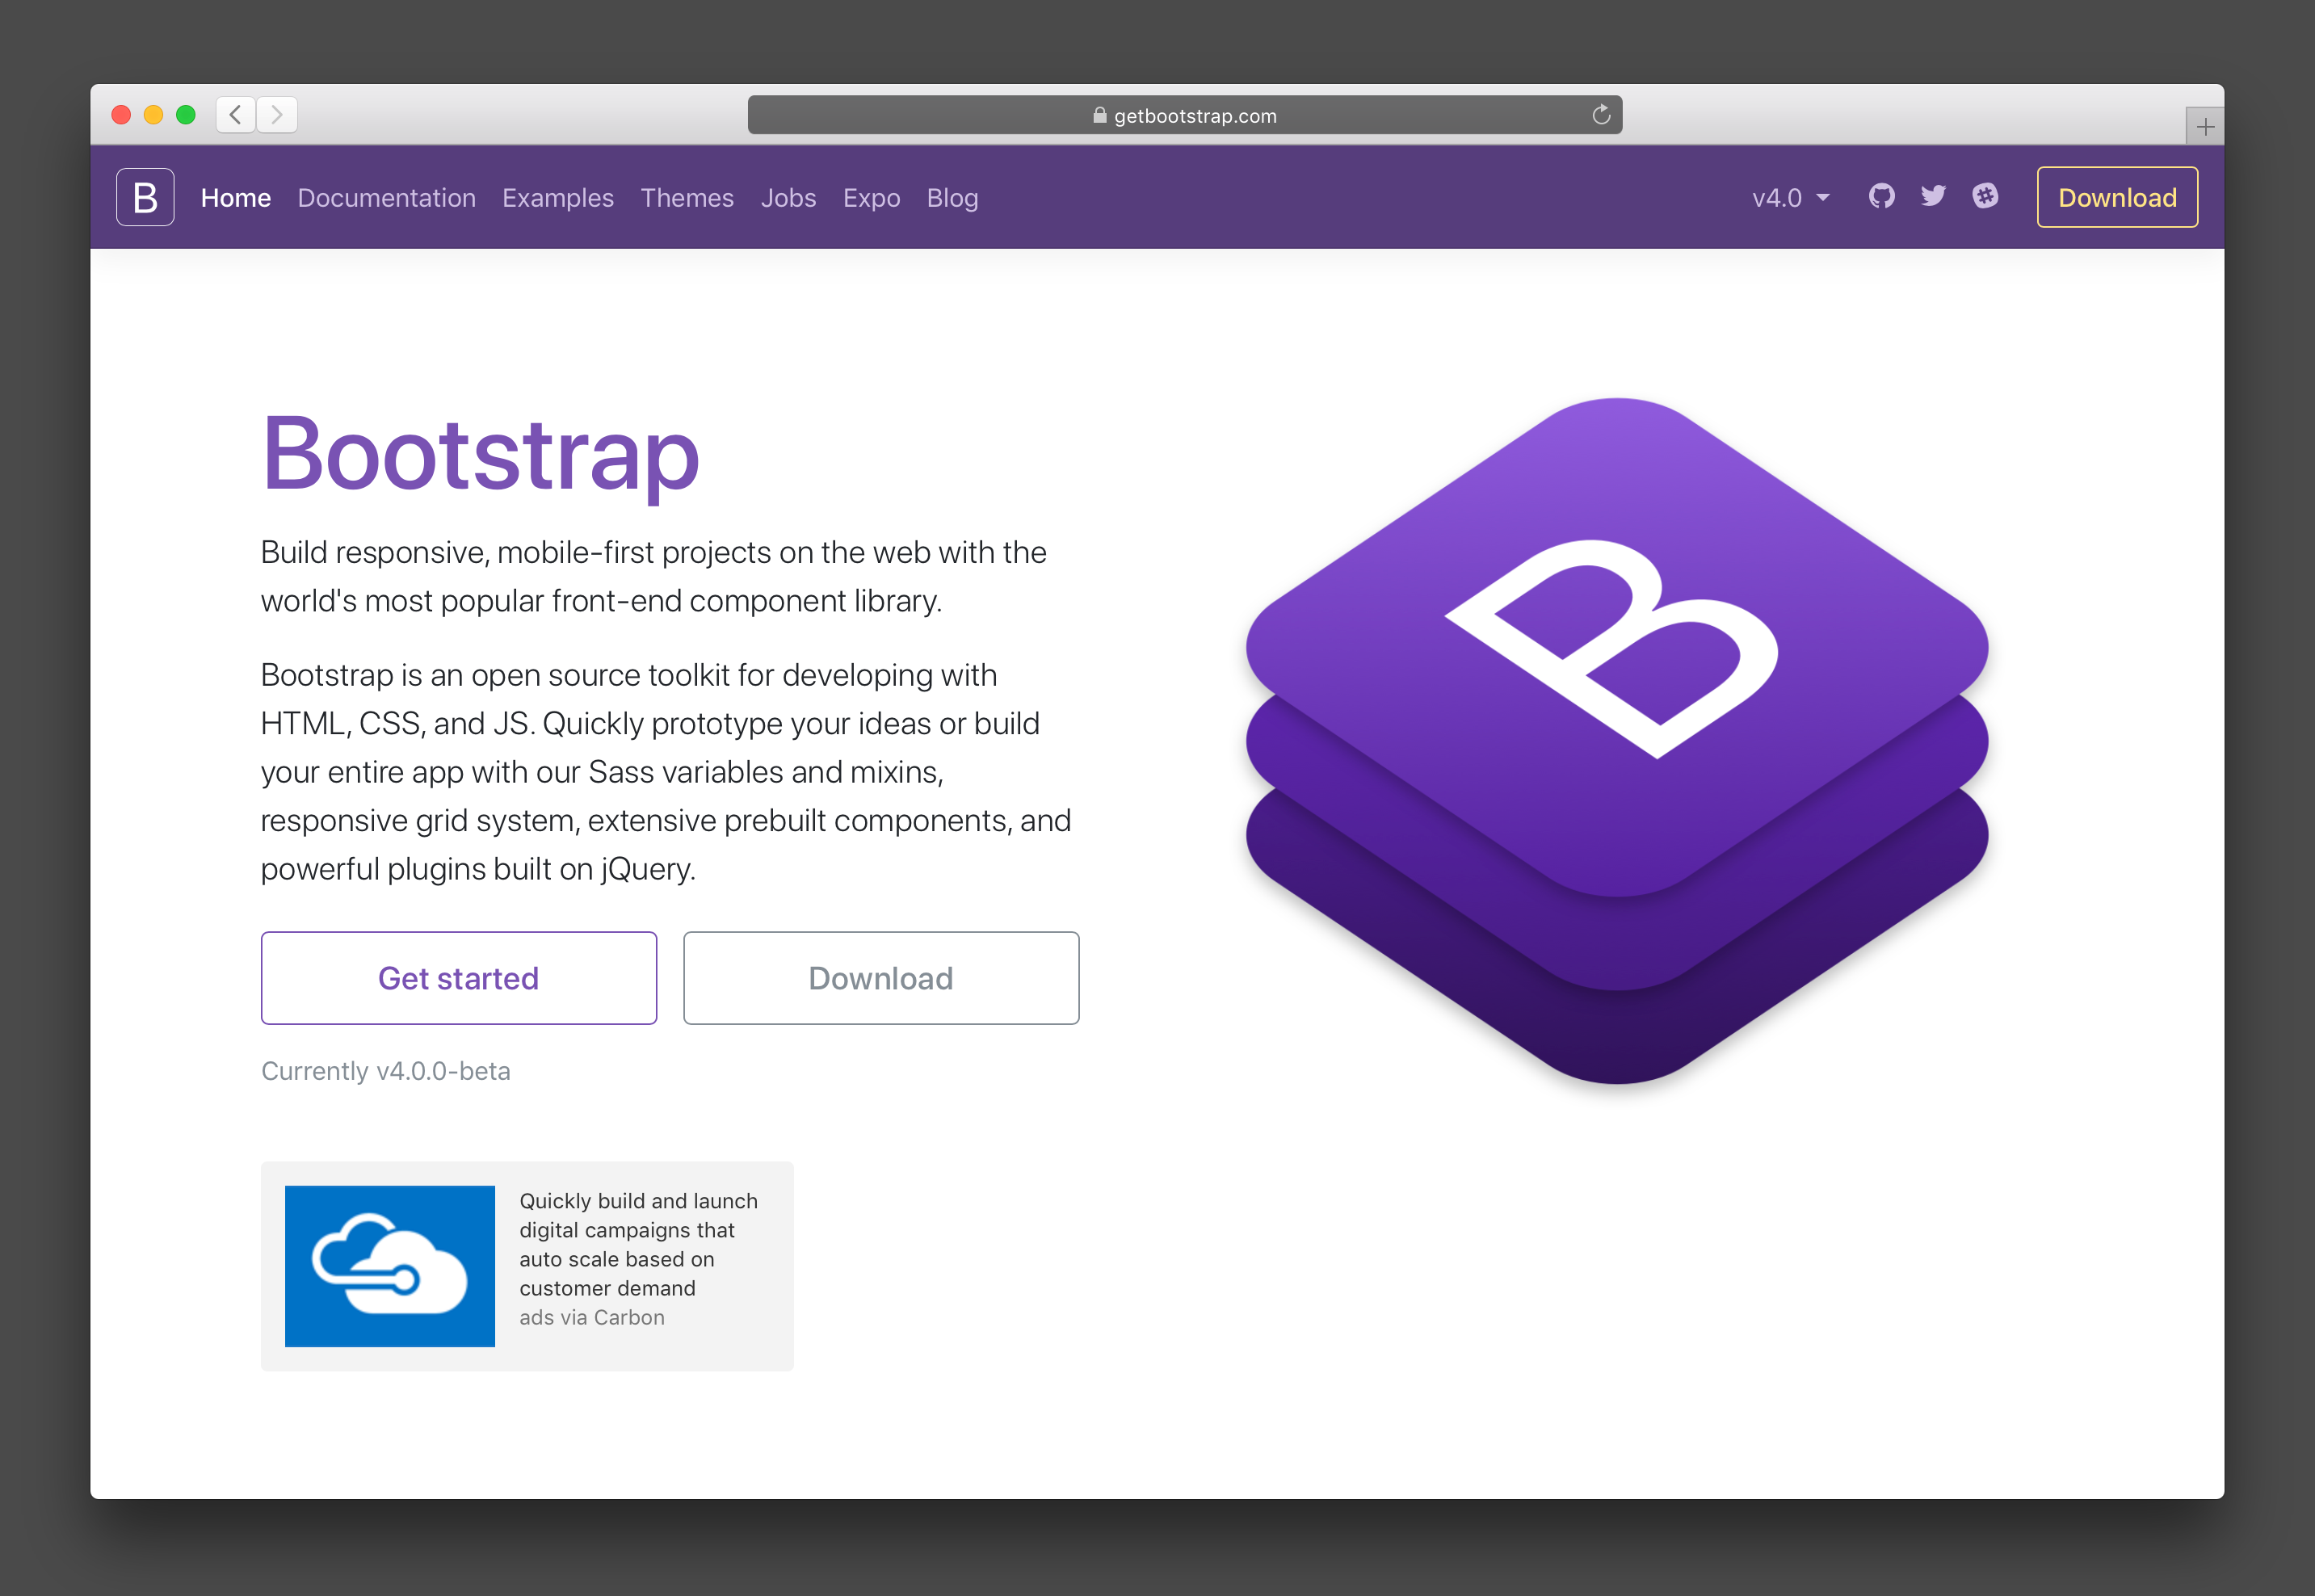
First of all, after talking to Fab Academy students of the last year I decided to use Bootstrap and the application WebStorm for building my very first own website. I also had a look at Eclipse and Notepad++ as tools to write my html code but what I liked very much about WebStorm is the very easy connection to view my current code in different browsers. I did not have very much experience in website building. I downloaded both tools and installed everything on my latop to get ready. In order to get a little more understanding of the structures that HTML provides I checked out normal website with the web inspector of Safari. I used HTML and knew the basic structure but thats about it. Therefore, e.g. I made use of a bootstrap template to design my website.
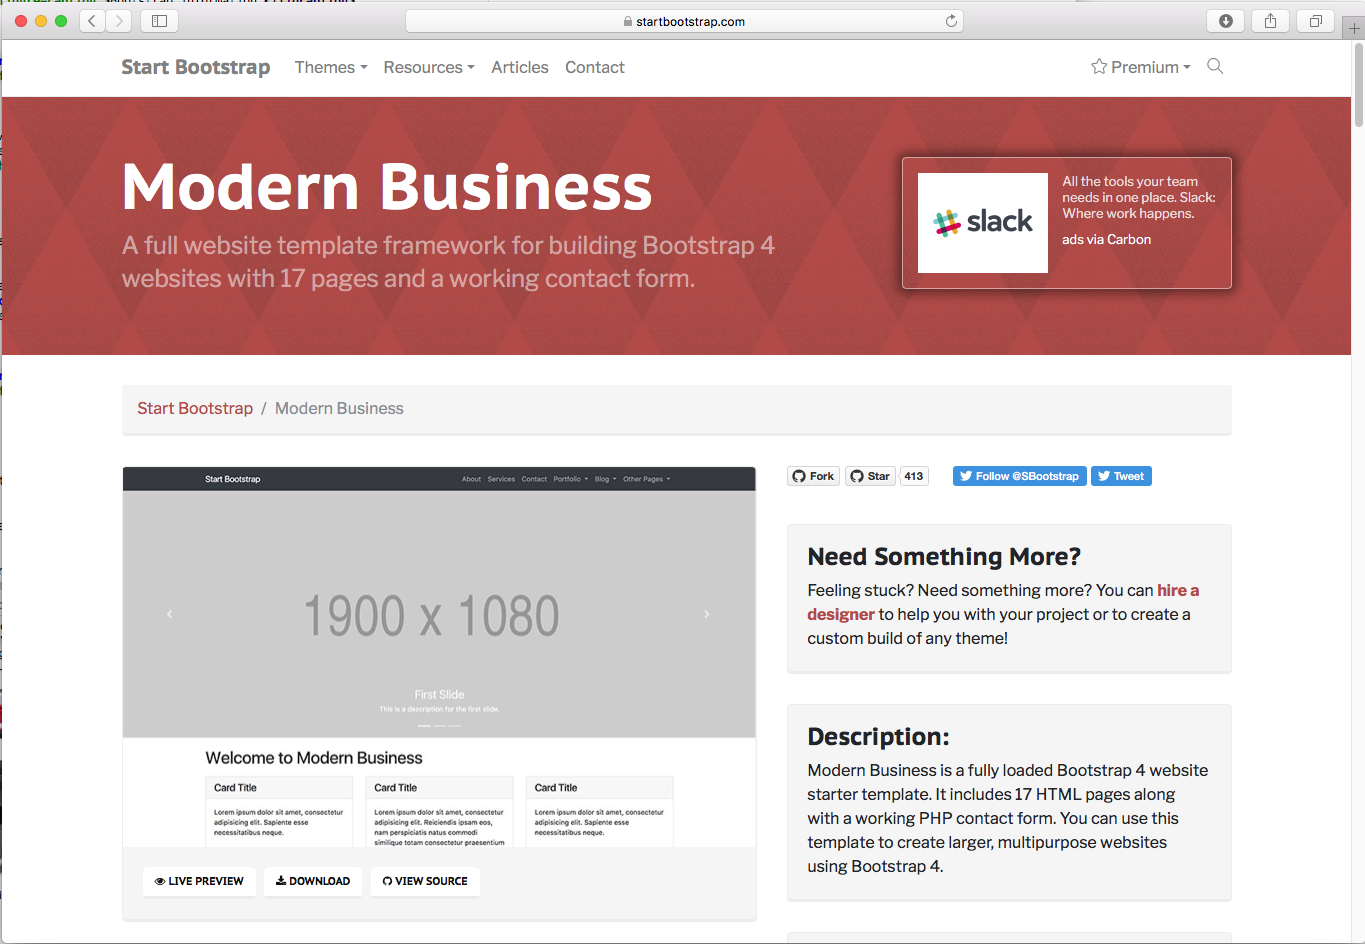
With the help of this template it was easy to get started with website building. In general for the design of the website I used the ideas of the template but also changed
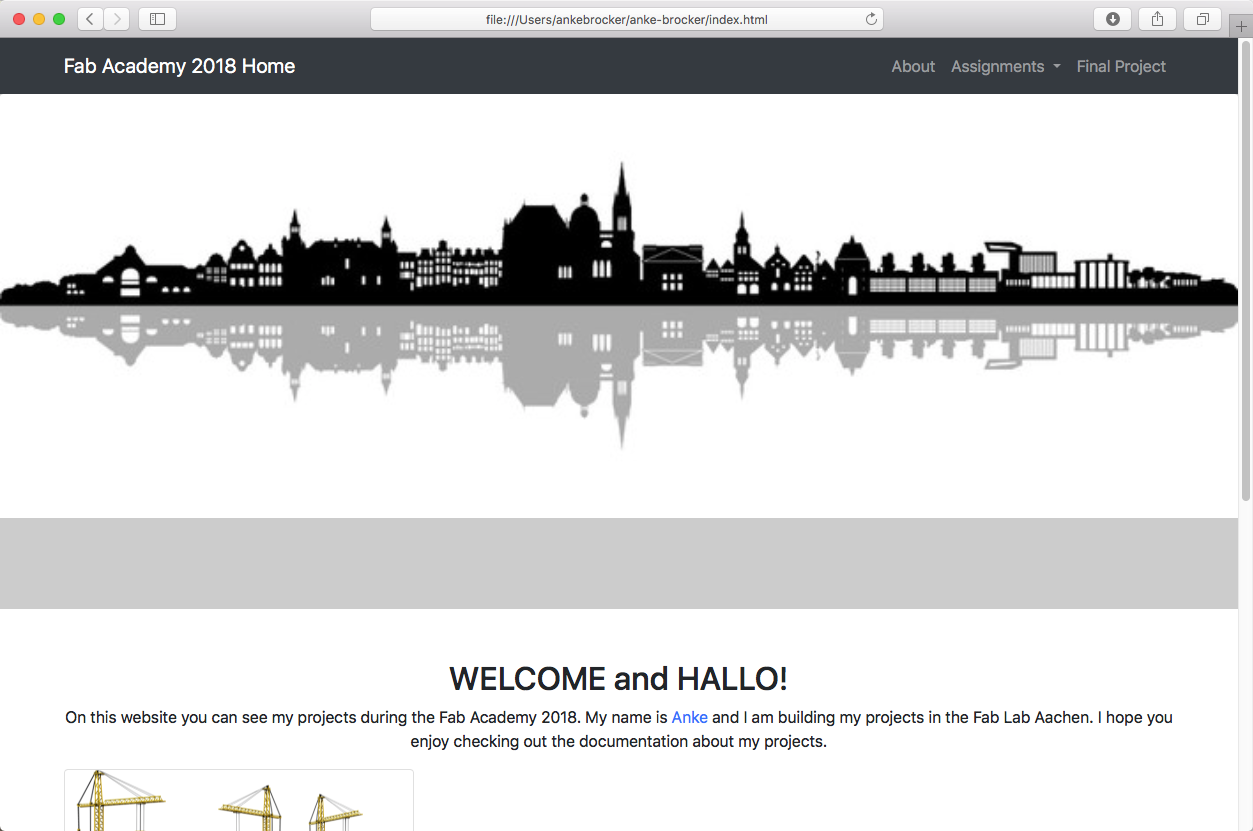
it a little to be able to integrate my own ideas. For graphics I had a look in the internet, e.g. for the
front image.
Steps for my first website
1. So first of all, I took the chosen template as a starting point to setup my page.2. As mentioned html programming was quite new for me I took the option to open html code of existing websites in the tool WebStorm to see what commands I need to write down for e.g. a linebreak etc. Additionally, I had a look at this HTML tutorial.
In this context the webstorm tool was easy to use and also simplified the programming with the provided IDE.

3. I did test the different container types and sizes to get a feeling how I want to arrange my website.
4. After getting comfortable with IDE and HTML I set up my 'Home' site first.
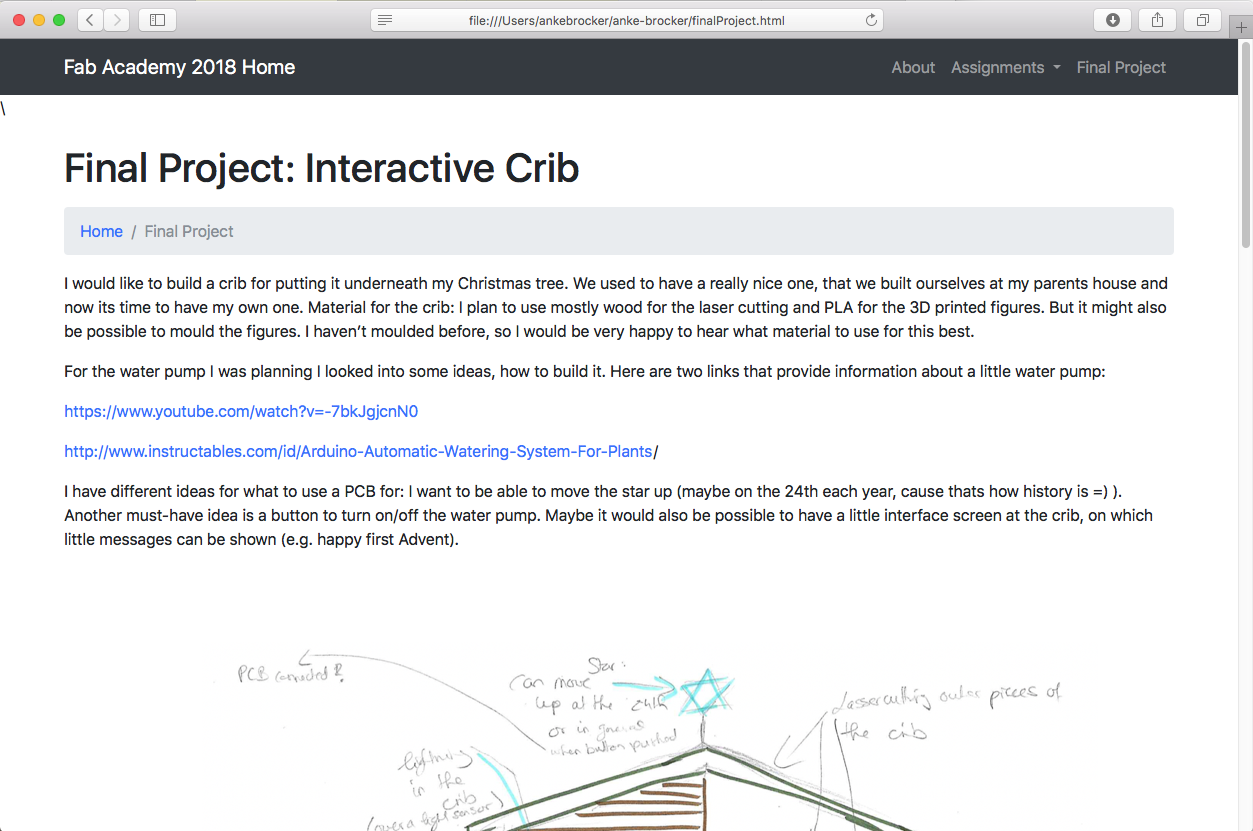
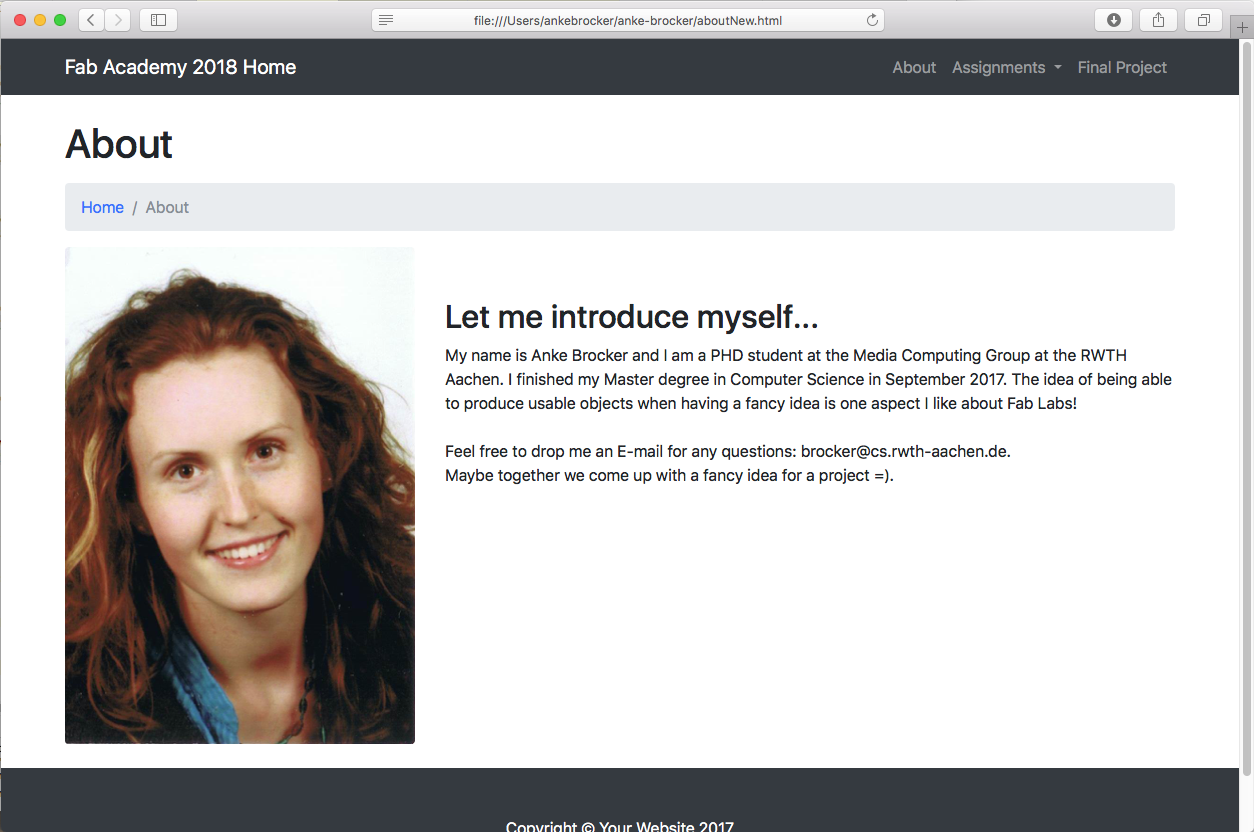
5. Afterwards, I wrote down the text and code for my 'Final Project' and my 'About' site.
Version Control
What is Version Control?
Version control help you to track changes you make in your files over time. It is often used for programming projects. As you edit to your code, the version control system recognises these changes, takes snapshots and offers you to save it. The version control system saves each snapshot you saved, this way you can go back to earlier versions of your file.Open Source Version Control Systems:
SourceTree

Follow these steps to conduct version control:
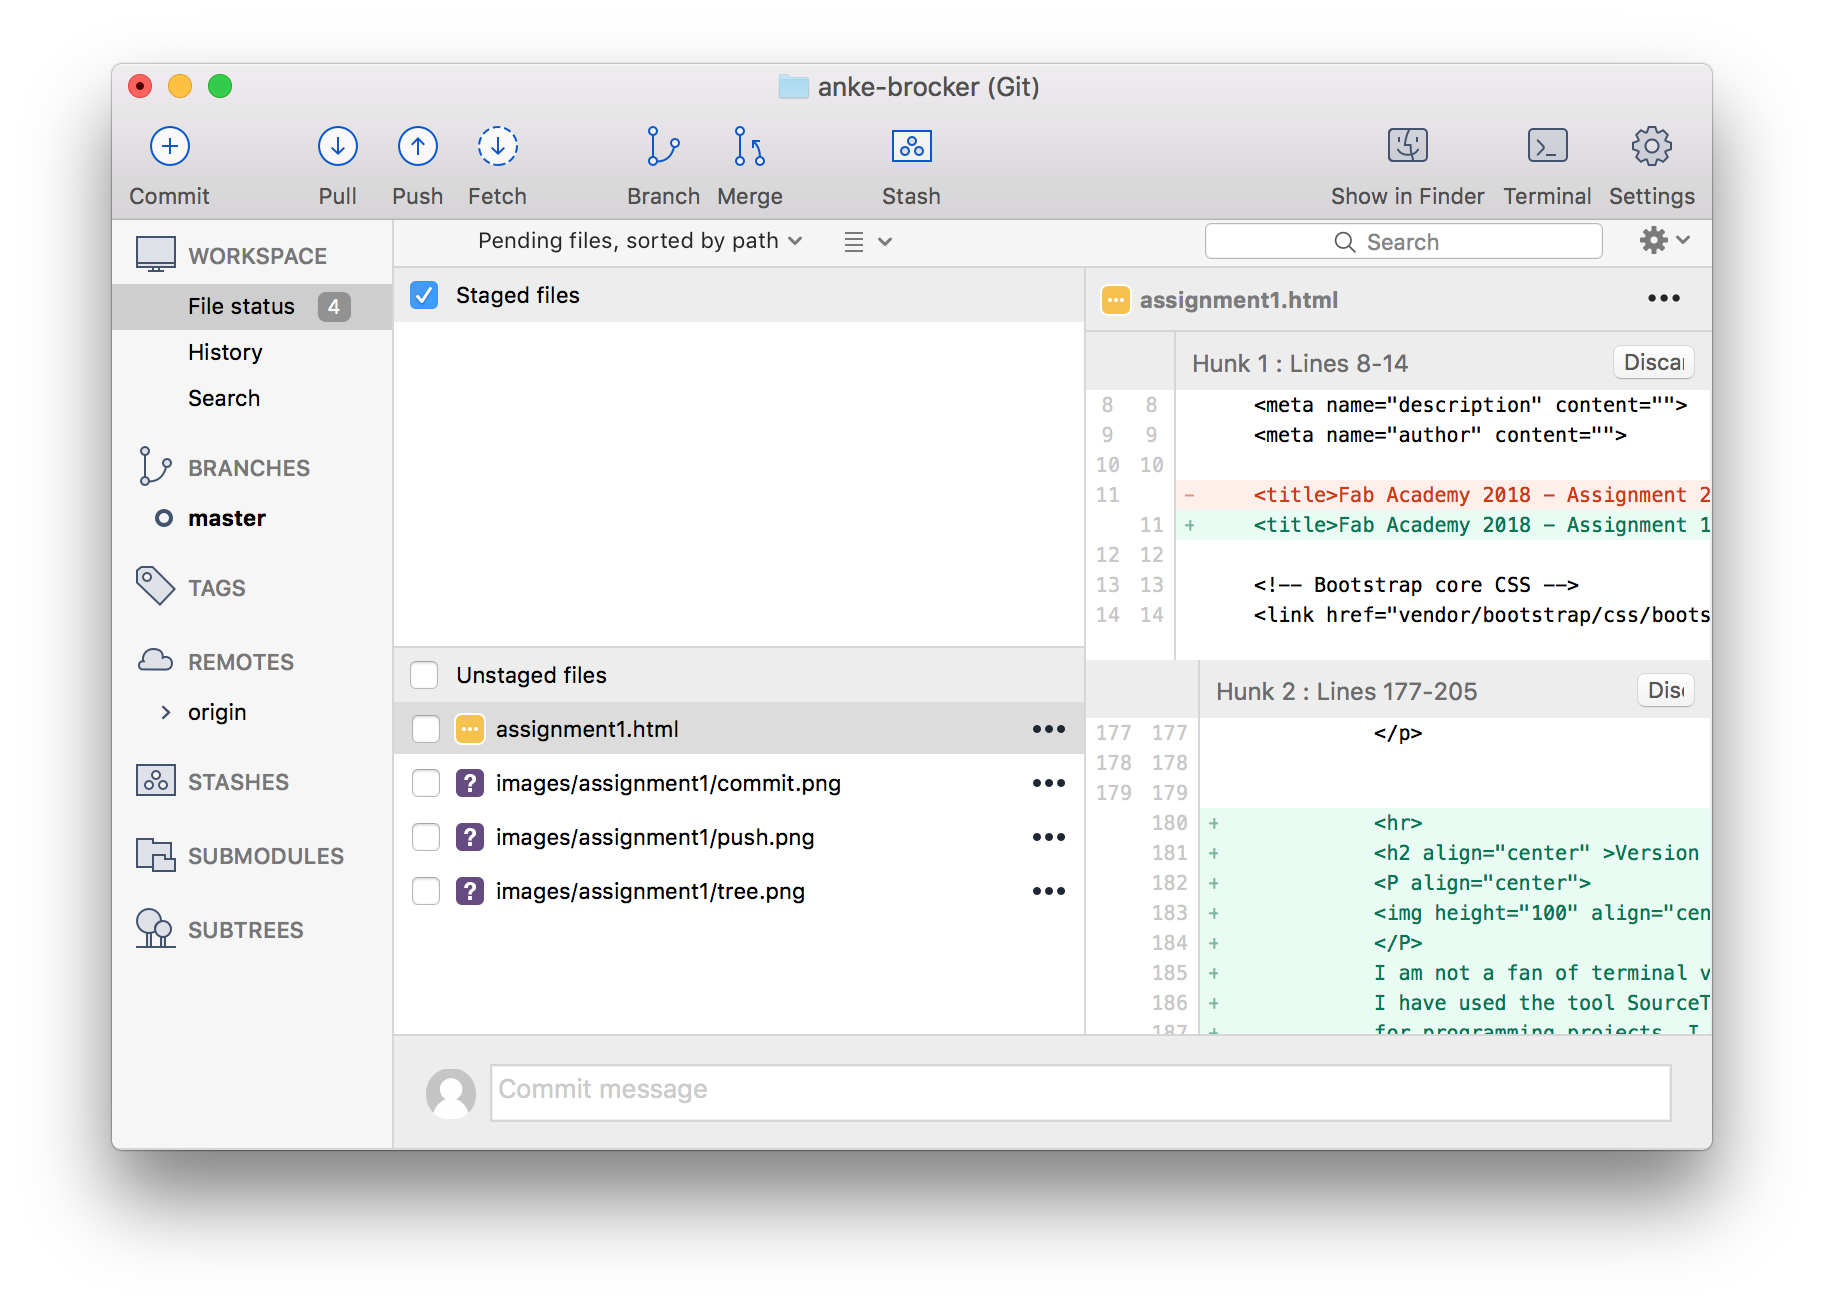
1. Whenever you change, add or delete a file in your repository this will be indicated with a little number next to the heading 'File Status'. Click on 'File Status' and you will end up in the interface seen underneath.
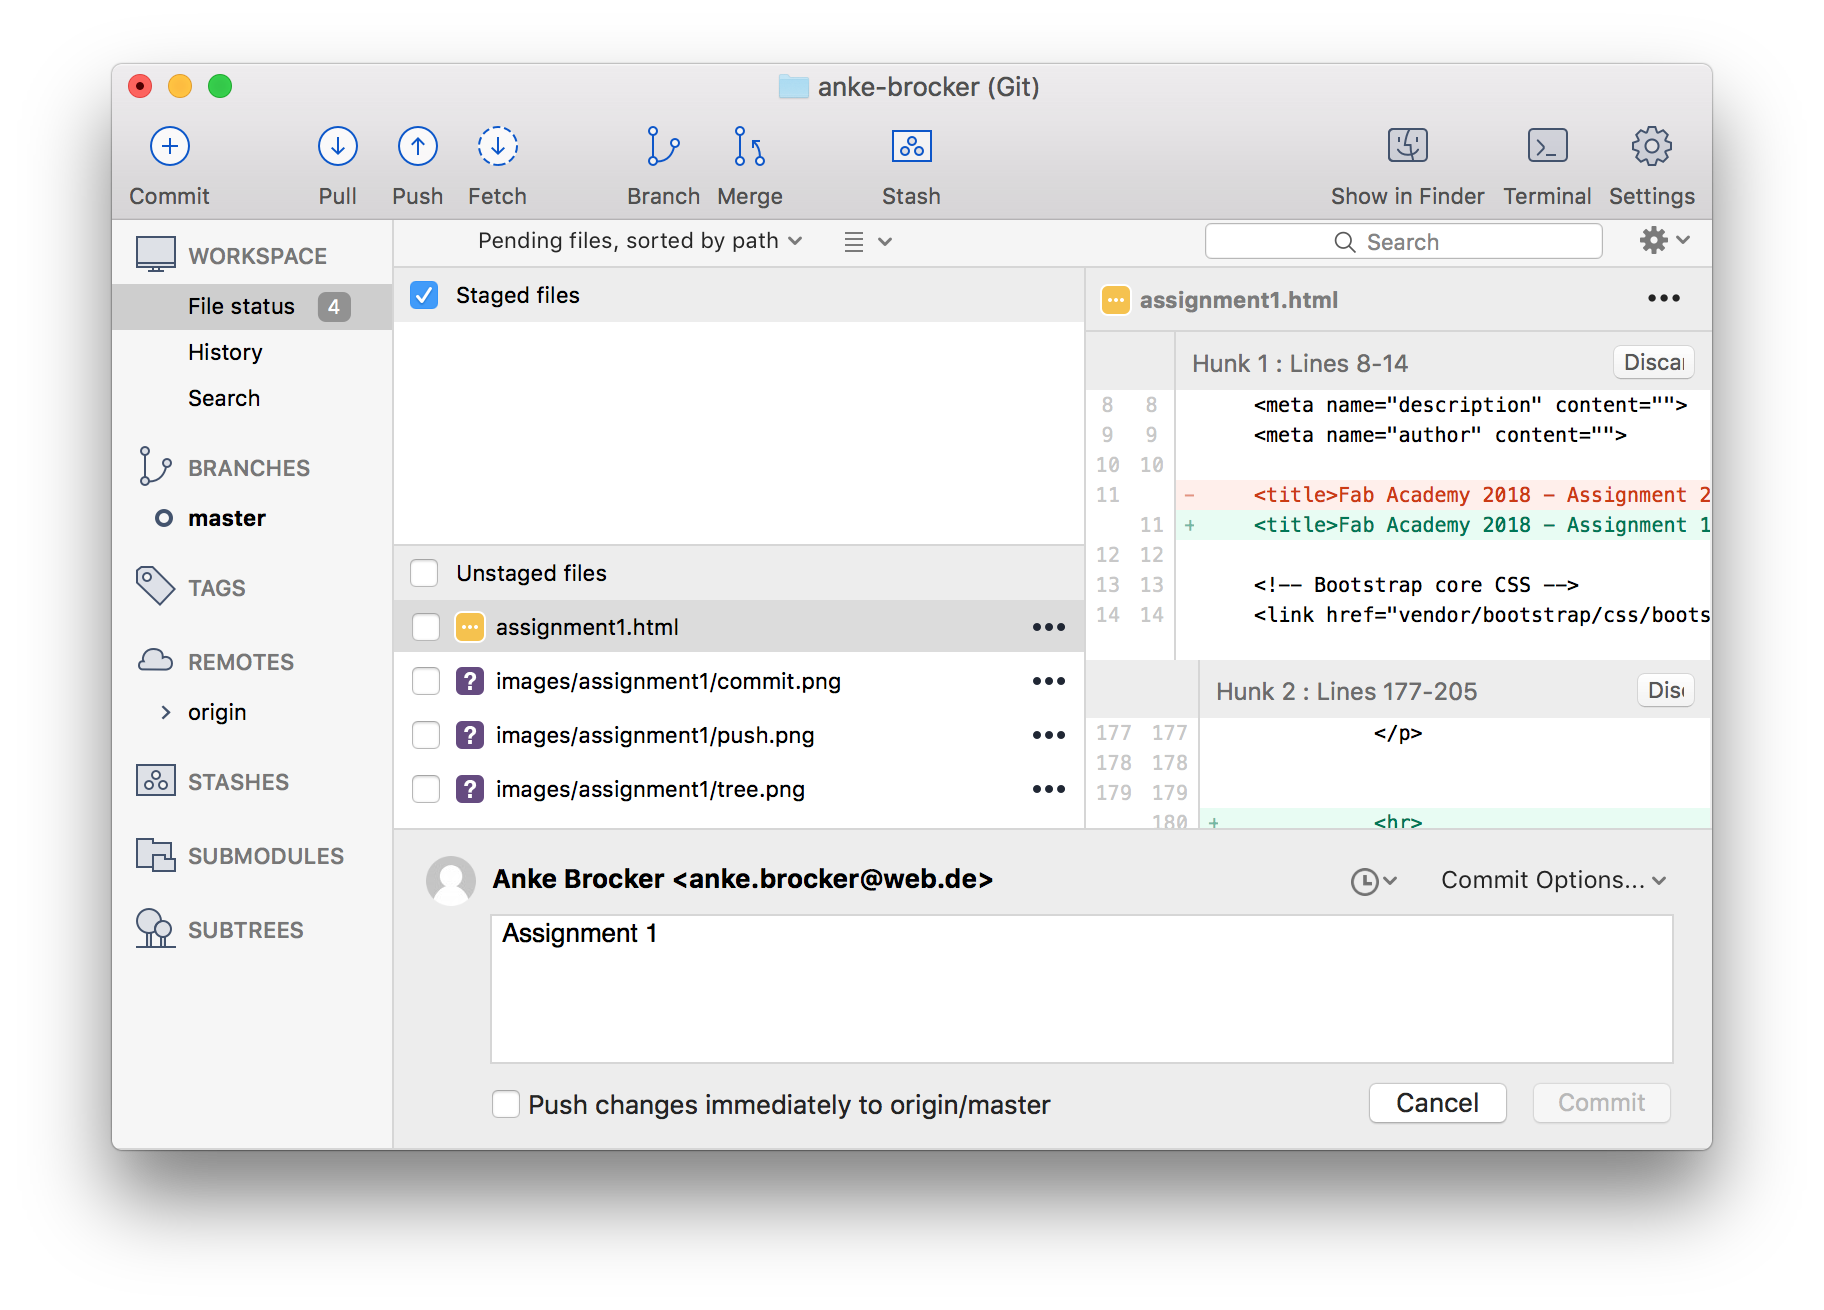
2. Check the box next to the term 'Unstaged files' and type in a note in the text field to give hints later on what was changed in this version (In this example I wrote assignment 1). After the button commit will turn blue and you can click it to commit you files.
3. Now the data has just been stored locally. You need to push it, by clicking on the push button seen here:
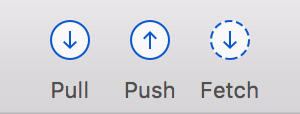 .
.
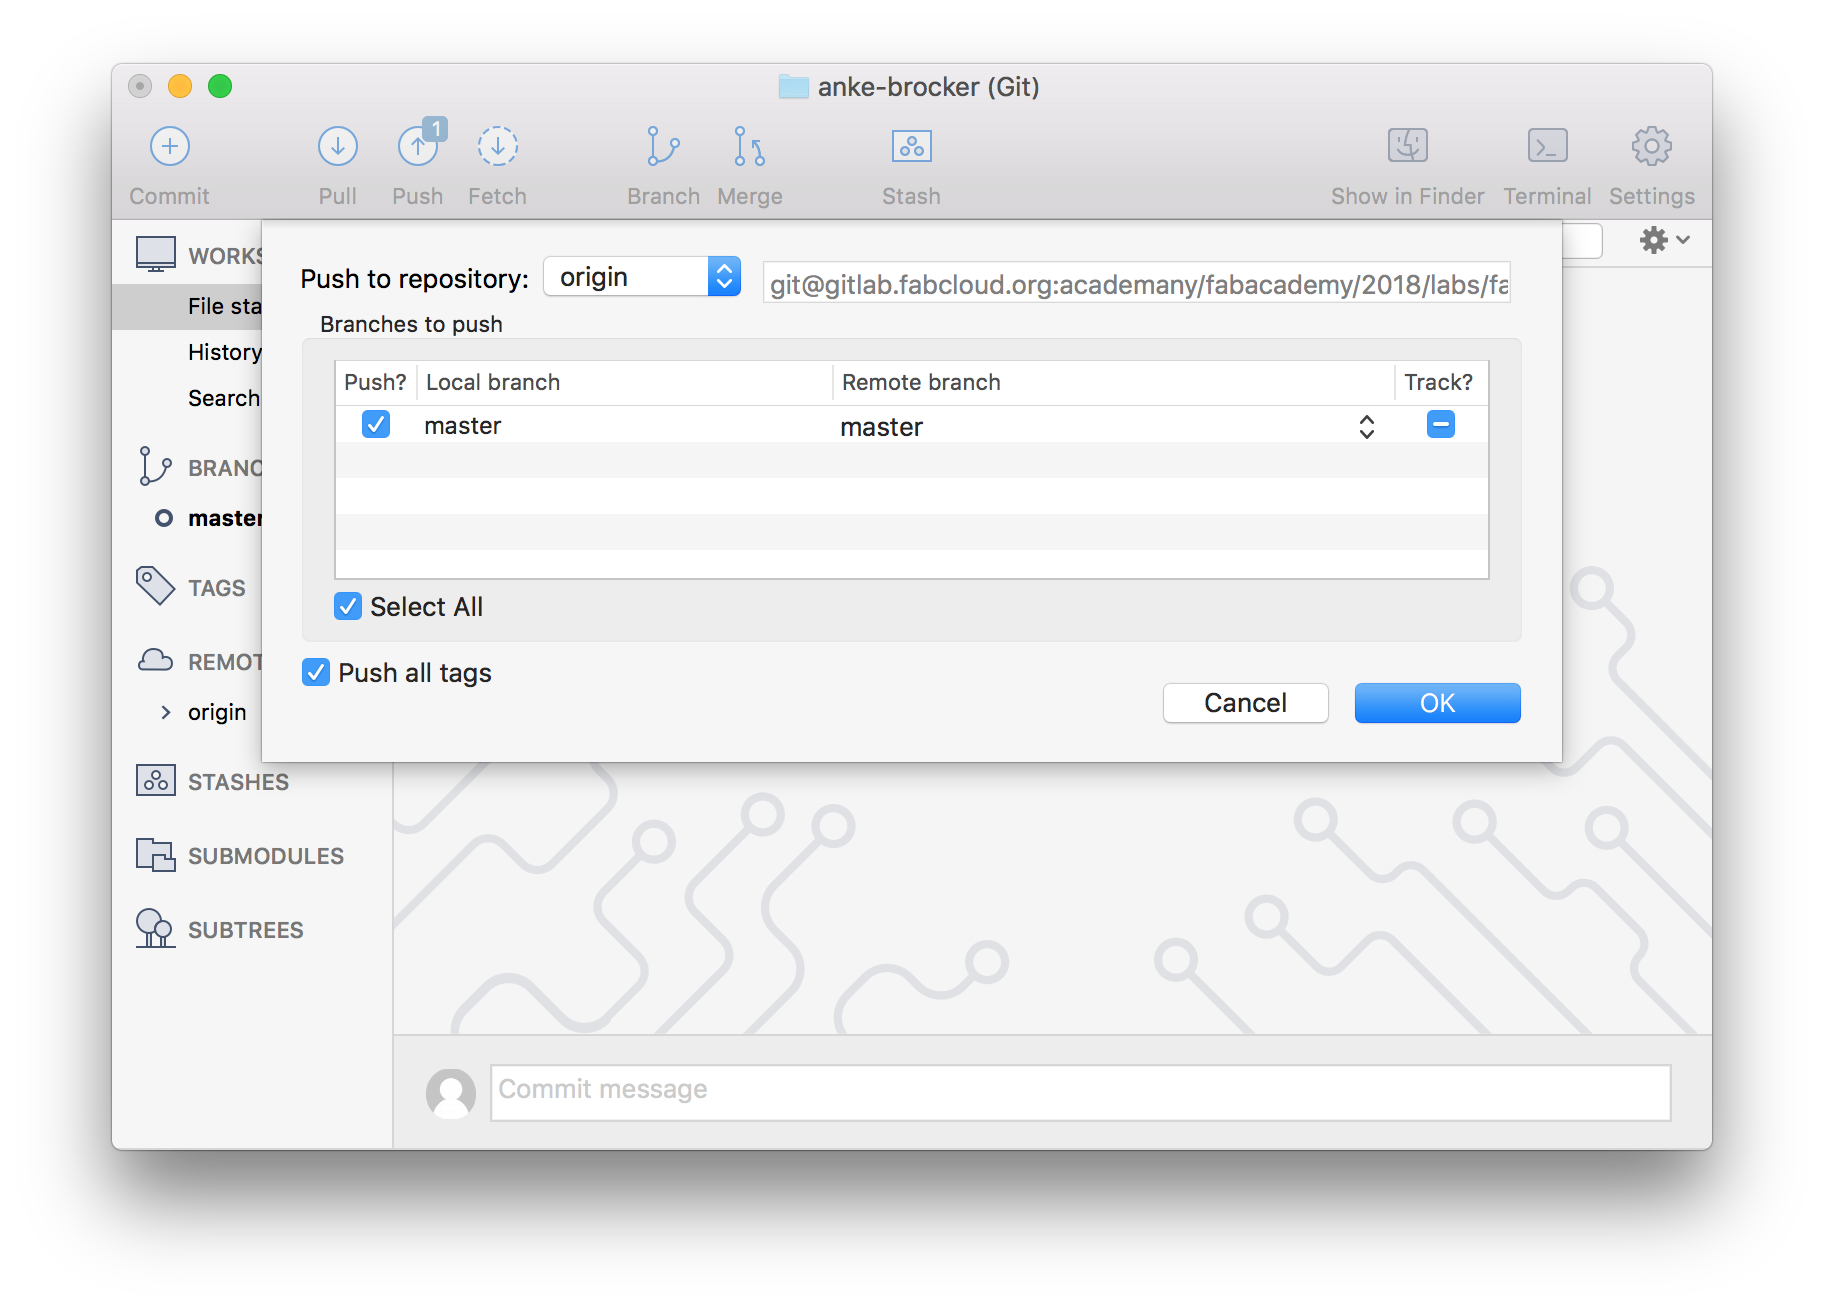
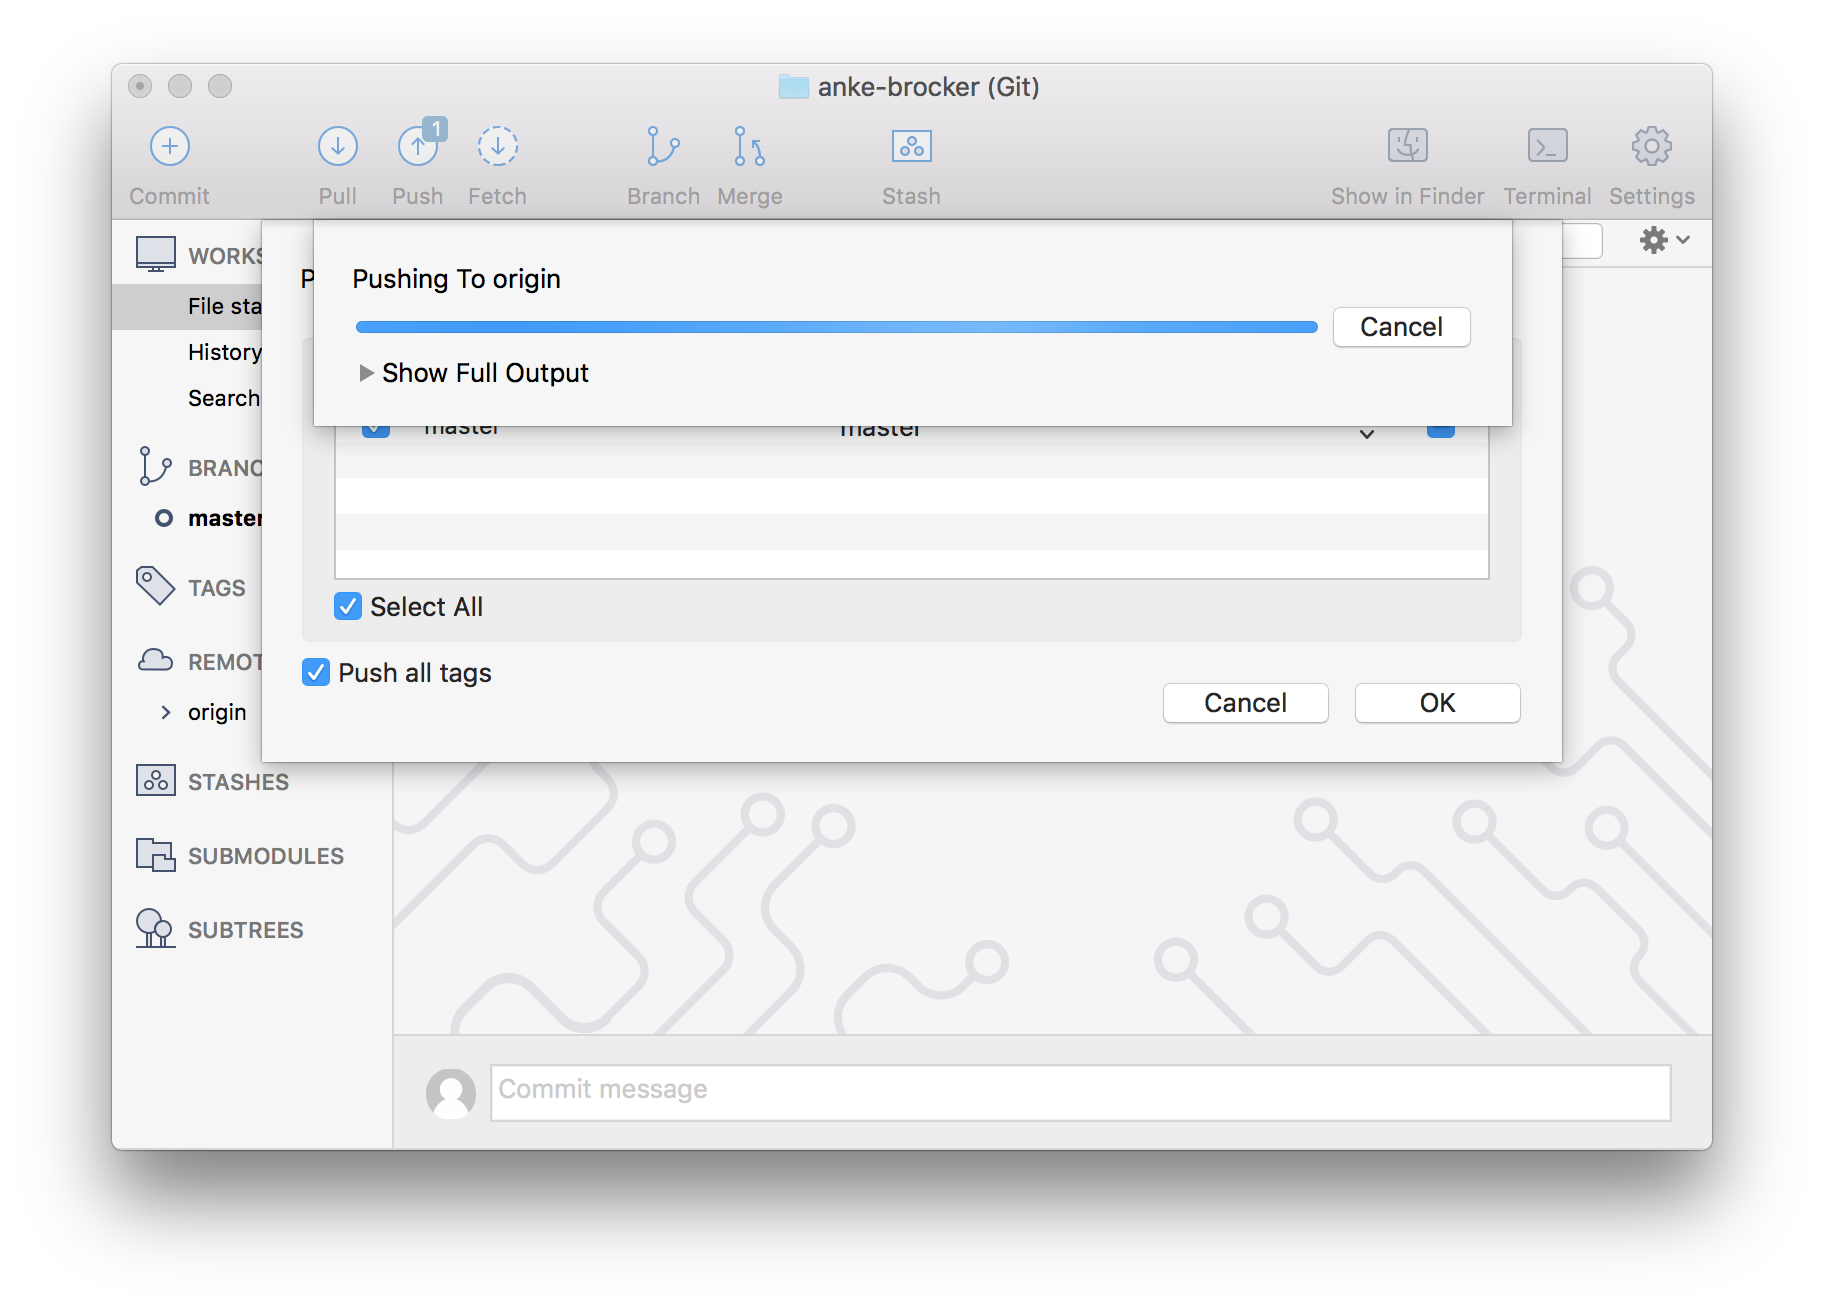
4. The dialog underneath pops up. Click on 'OK' to acknowledge and watch the pushing process.
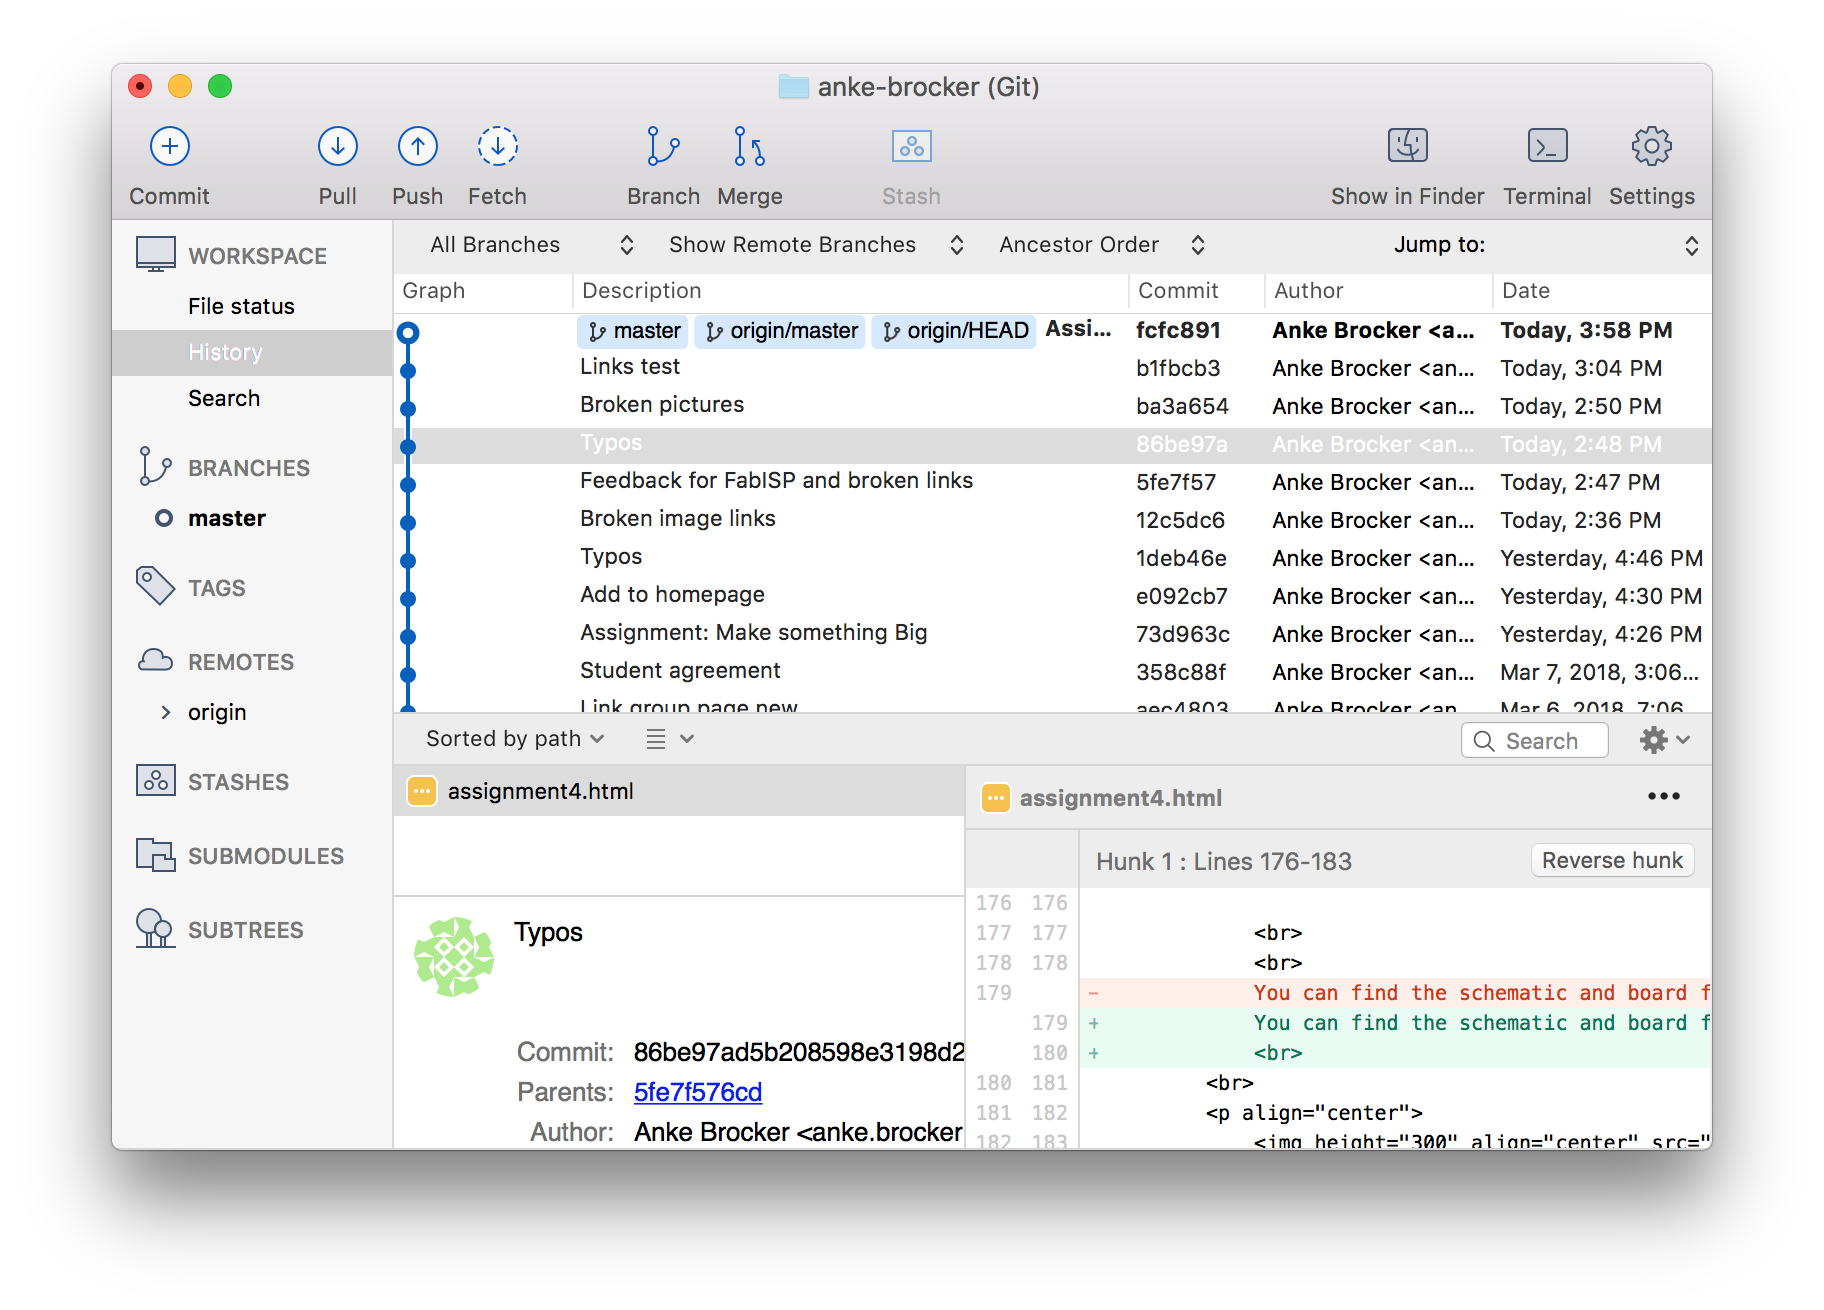
5. The tool SourceTree gives you a nice view onto all your version. The rider 'History' gives you an overview of all.