My love for Bowties.
For this week’s group assginment - visit here.
- This week we had to mill a mould and then cast a product. I decided to make myself a Bow Tie . The bow tie is made of epoxy and hence is translucent. I can stick different color papers on the back to have different shades.
Let’s start with the basics. Moulds are of different types :
- Positive Mould
- Negative Mould
STEPS
- Mill a Hard Positive of the object
- Cast a soft Negative of the object
- Cast the final product.
CAD
This week I have been using ONSHAPE for CAD. This is my first time using the software. Onshape is somewhat like Solidworks which I’m comfortable with. The interface is very neat and intuitive plus I can access my files from anywhere as they are stored in the cloud. I started with a simple extrude command and added fillets here and there.
Onshape’s sharable link. Onshape does’t has a native format and the files can only be shared through links or made public. Please click the link to access the file.
Here is the process :
- make a sketch
- extrude the sketch
- fillet the edges
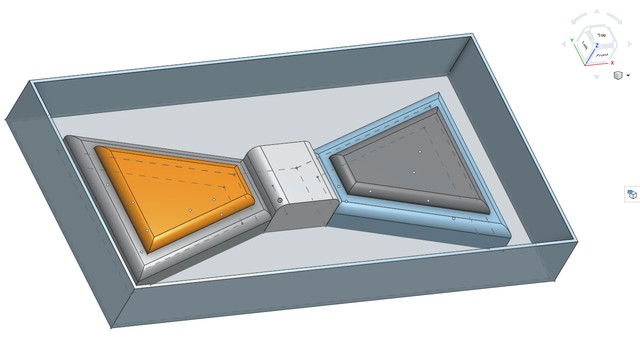
Also I added walls around the bowtie to create a pocket for milling.
No walls :
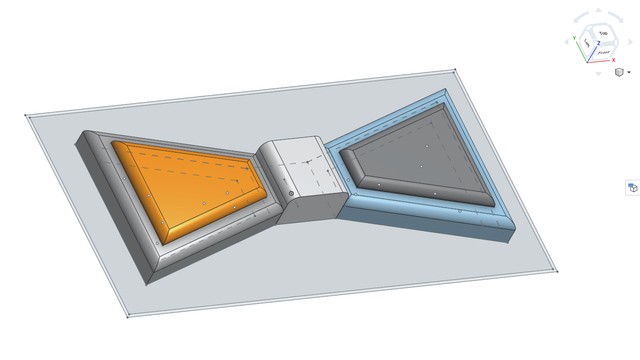
With walls :
Download the file here : Bowtie.
CAM
Positive of Bowtie
A positive is the exact replica of your final project, but with walls and drafts to create a negative of silicone, so that you can cast your final object with the silicone negative.
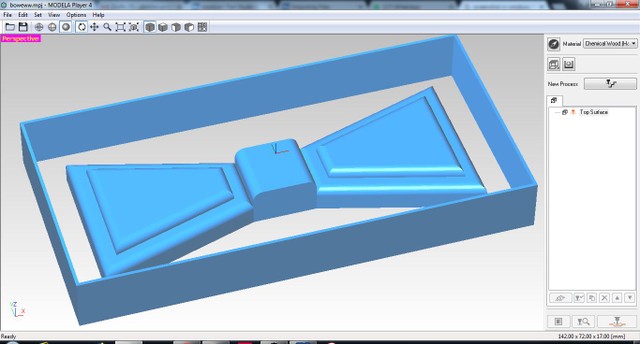
I used Modela Player to create the CAM.
Steps :
- Prepare a CAD design with walls, drafts and other necessary details.
- Export STL and open in Modela Player.
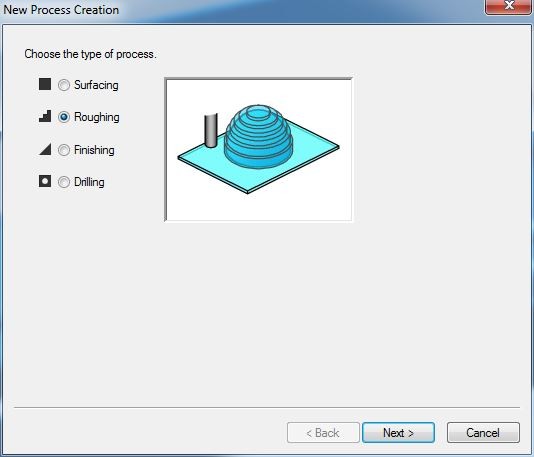
- In module player create toolpaths for different Processes: Surfacing, Roughing, Finishing.
Sequence :
Surfacing : 6mm Flat End Mill
Roughing : 6mm Flat end mill
Finishing : 2mm Flat end millImport your file :
I exported .STL from Onshape and imported into Modella Player.
- Chose a process, first surfacing then roughing and finishing.
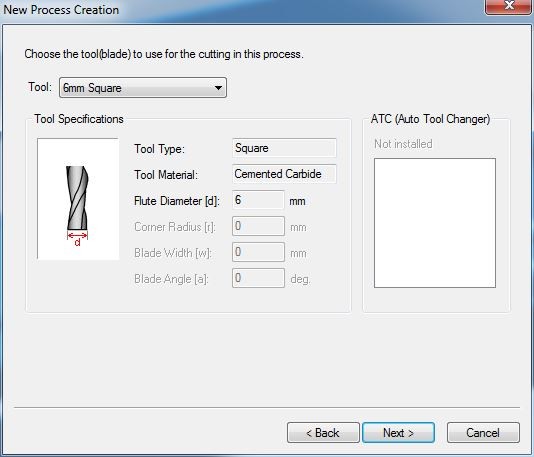
- Select the Tool :
As discussed earlier, I used a 6mm Flat end mill for surfacing and roughing. 2mm flat end for finishing. You can choose from an array of tools according to your need.
- Created Tool Path :
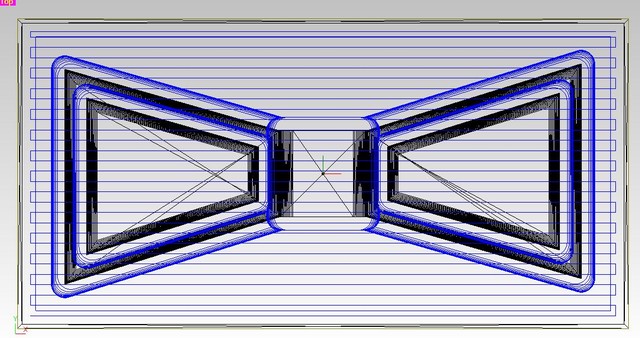
- Simulation :
After the toolpath is created you get an option to simulate the CAM and see if all the settings and tool perform as expected. If not you can always go back and make changes. This saves a lot of time since you correcting the design and the setting before the final cut.
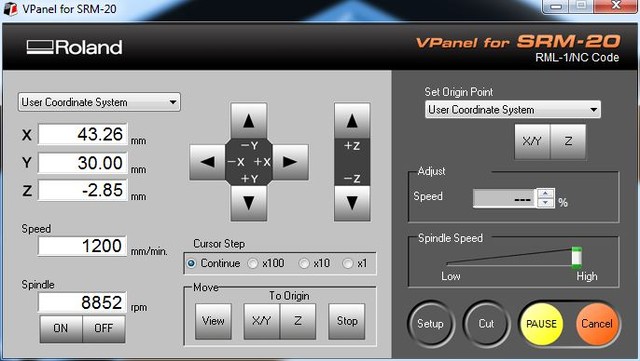
- SRM-20 :
You can mill Directly from the Modella Player as it can communicate with the SRM-20 or you can save the file and mill it using the SRM-20 V Panel
Negative of Bowtie
A negative is the what you cast your final object from, it’s a mould. The negative was made from silicone my casting the silicone in the positive we made earlier. Mix the Silicone and the hardener in the correct proportions as mentions of the product or the type of silicone you are using. My first batch did not turn out well as there was too much hardener, 0.5% instead of 0.4%.
- I coated the mould with some petroleum jelly to smooth the surface and rough edges.
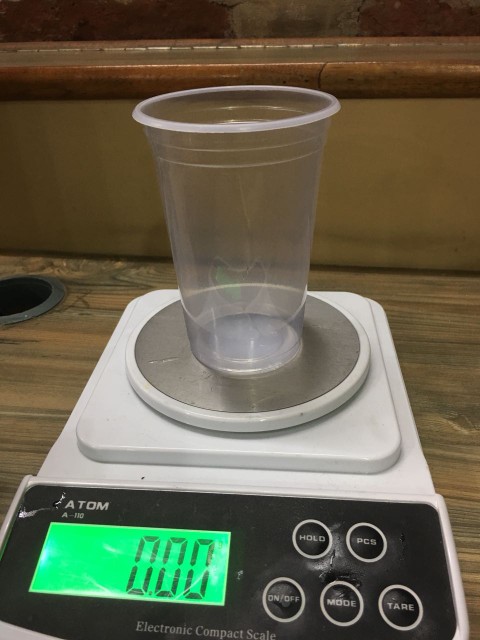
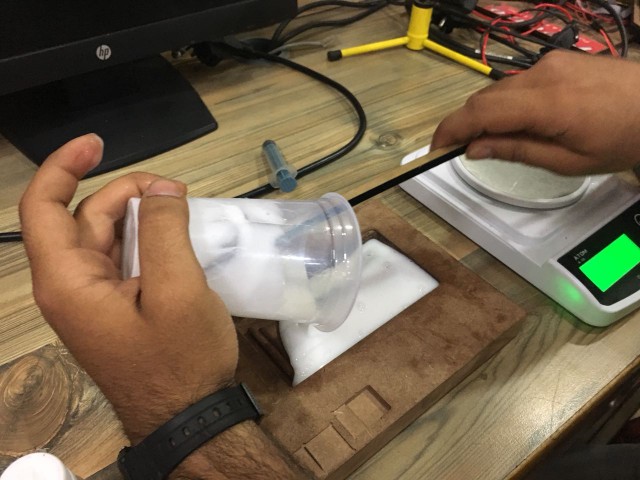
- Small scale for mixing the silicone and the curing agent.
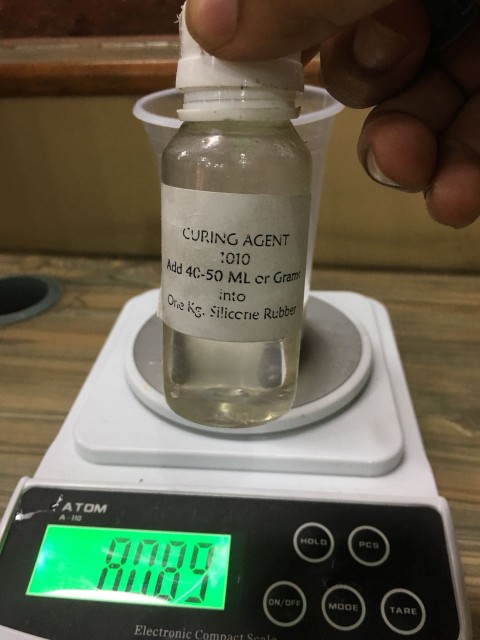
- Curing agent proportion, 40-50 ml in 1kg of silicone I would recommended 40ml.
- First batch didn’t turn out perfect, The silicone set in about 3 minutes which is not ideal. For the next batch I decided to add a little less curing agent.
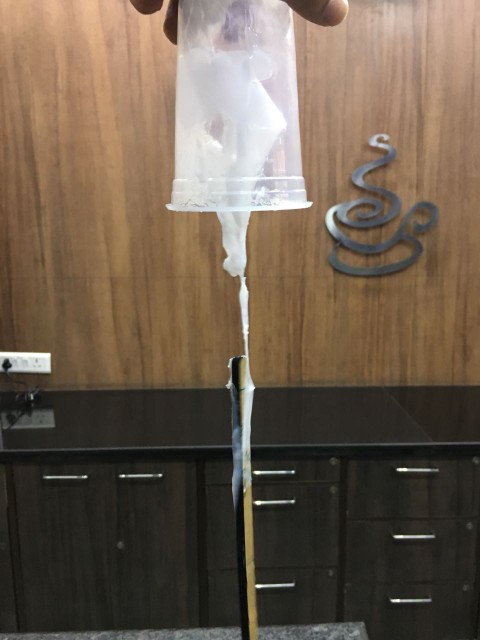
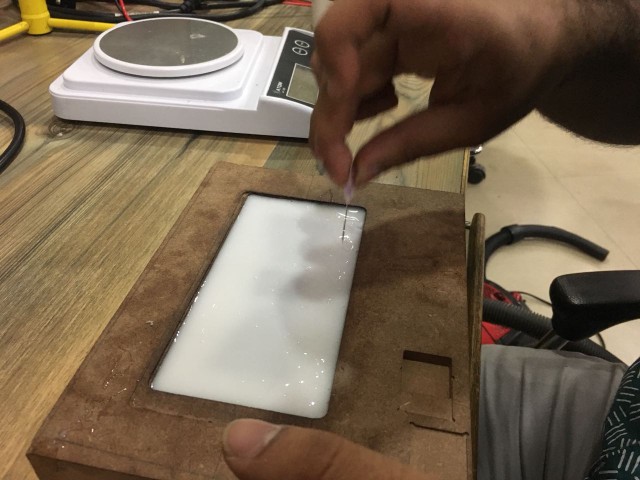
- Used a syringe to pour the curing agent carefully and measure the correct amount by weight. Pouring the silicone into the mould after mixing well with the help of scrap acrylic stick:
- I used a pin to pop the Bubbles which appeared on the surface after a good shake.
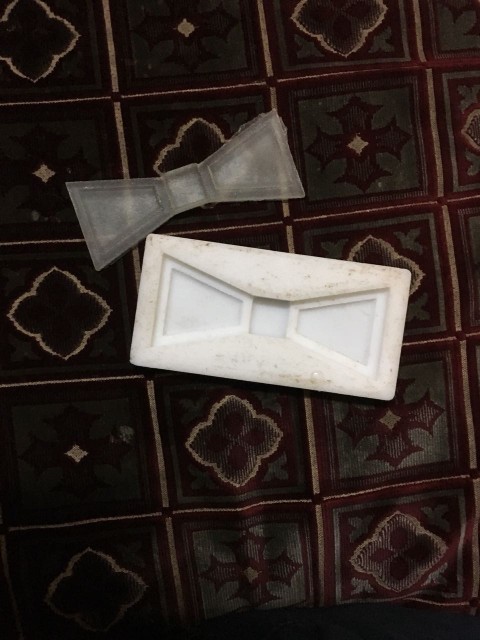
- Came out the mould easily, small MDF particles got stuck to the silicone mould. Washing the mould did help a little.
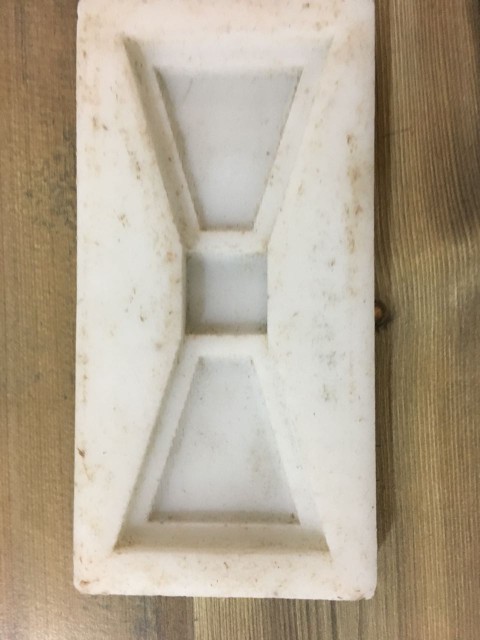
- Ready for the final casting :D
Final Casting
After preparing the negative silicone mould, we are ready to cast our final product. Prepare the Epoxy solution as instructed on the bottles and pour it in the silicone mould. The epoxy took about 24 hours to set properly.
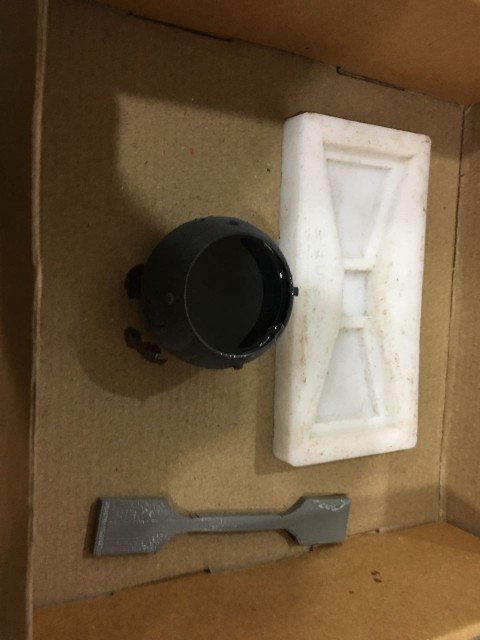
- Measuring the amount of epoxy in a failed 3d printed ball :
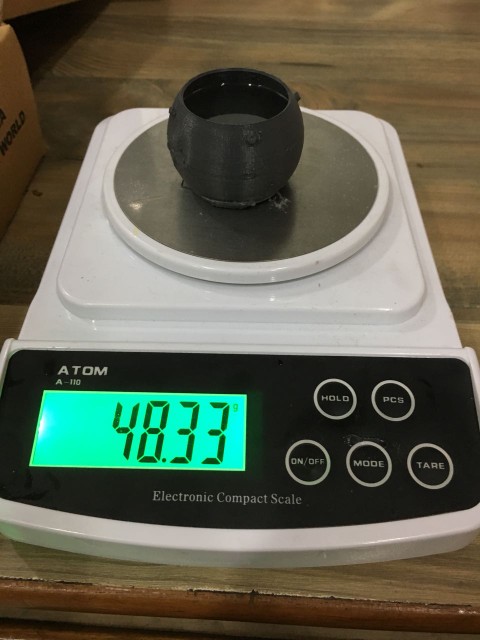
Proportion for Epoxy –> 2:1 i.e. for every 2 parts of Compound A we have to add 1 part of compound B.
Cure, Cure, Cure :
I poured the epoxy at night, so there was no sunlight to speed up the process. The next morning it was still tacky to touch so i kept it in the sunlight. It cured in the evening.
- After the epoxy was hard, i took it out of the mould by peeling the silicone. It came out easily, the surface finish was a little off but i liked it.
- Final Bowtie :
