Get Set Go !
Things :
- Make a website and describe itPropose a Final Project
- Introduce Yourself
- Document Steps For Uploading Article
- Push to the class archive
About Me :
>Git
1. Baby Steps
So the very first step for Week 1 was to learn Git. Git on Wikipedia.
Before trying Gitlab , i created an account on Github. Github’s Getting Started Guide is quite useful for an initial push.
After that is was time learn some common git commonds.
I've listed them here for a quick run through.
>git init
>git add
>git push
>git pul
>git clone
>git status
>git config
>git remote
Here is the link for an elaborate explanation.
2. Installing Git
For Git my instructor suggested that i use UBUNTU instead of Windows. He helped me to install a duel boot on my computer with both ubunut and windows.
Ubuntu was pretty straight forward and in a matter of minutes i was comfartable using it. The main reason for ubuntu was the command line or Terminal.
![]()
I installed git on my terminal through the command line using the fllowing commands :
  sudo apt-get update
  sudo apt-get install git
To check whether Git has been installed or not :
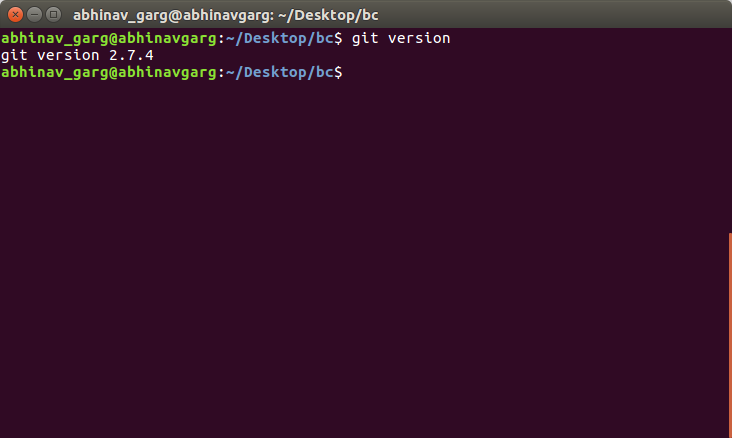
After Intalling Git :
> git
> git config --global user.name "Abhinav.Garg"
> git config --global user.email "something@gmail.com"
After the initial steps, you now goto the folder you want the git repository to be in.
3. Terminal Basics
You can install Git without having any knowledge abou the terminal, but to move further there are some basic commands one should leard. I’ve listed them below :
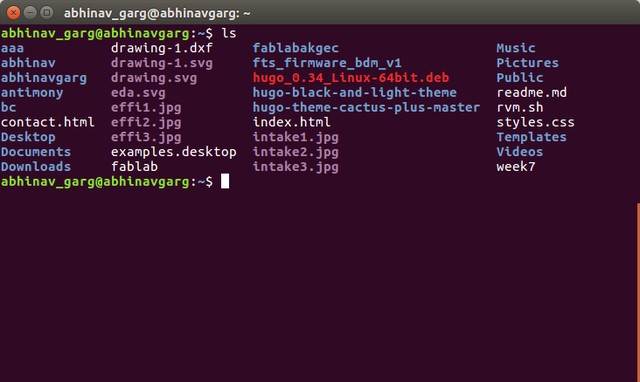
–ls list all the files and folders in a particular directory
>ls
–mkdir or make directory builds a new folder/direcorty
>mkdir newfolder

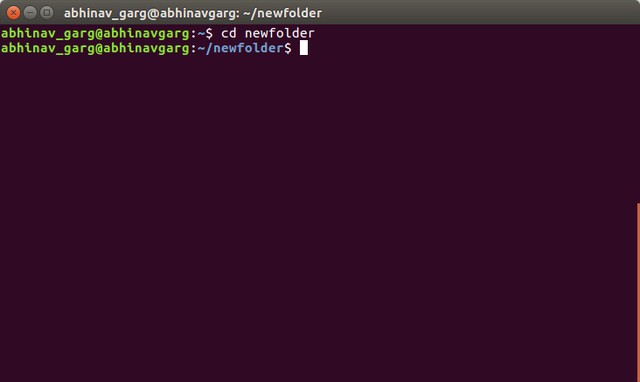
–cd will advance or enter a particual folder
>cd folder_name
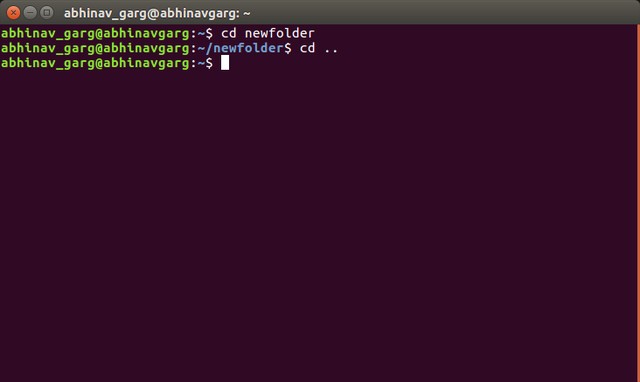
–to go back a dirctory :
>cd ..
4. Creating a Git Repository
Now we have to make a Git Repositry(folder) insisde our NewFolder or whatever folder you like :
git init will create an empty git repository in the folder you mention.
>git initA remote URL is Git’s fancy way of saying “the place where your code is stored.” here ORIGIN is the name of the remote URL.
git remote add origin <url>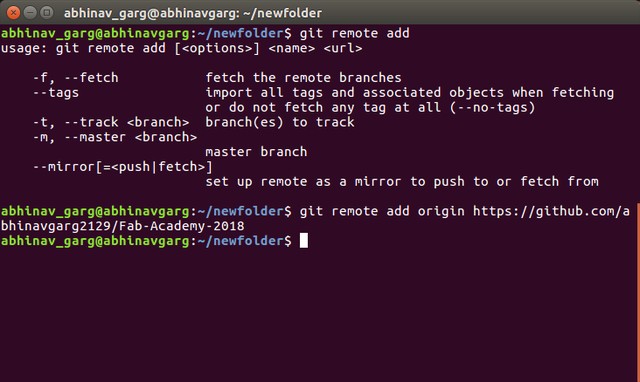
Git Add is to add files to your repository.
>git add <filename>
or
>git add . //add all the files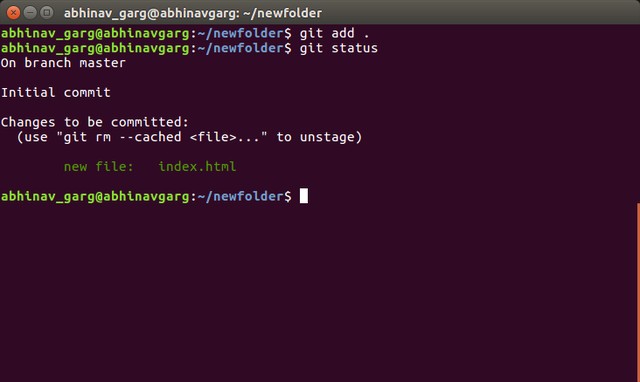
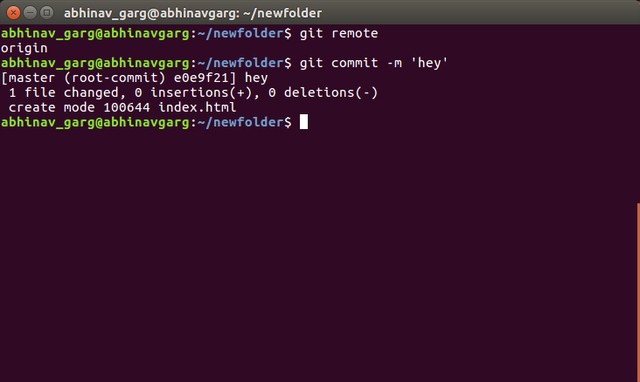
git commit - Now the file is committed to the HEAD, but not in your remote repository yet.
git commit -m "Commit message"
git push - Your changes are now in the HEAD of your local working copy. To send those changes to your remote repository, execute
git push origin master //here origin is the name of remote server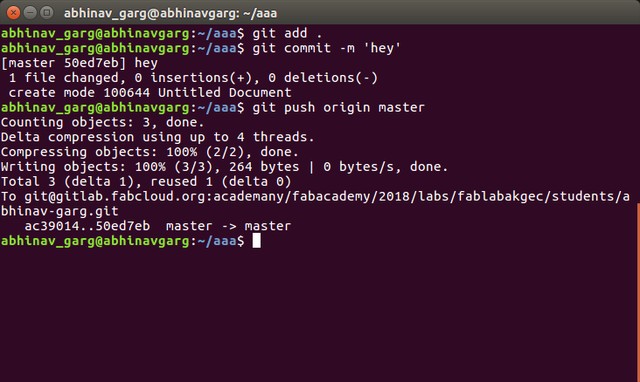
Git Pull - sometime you may have to Pull from your repository befire Pushing to update your local repository to the newest commit.
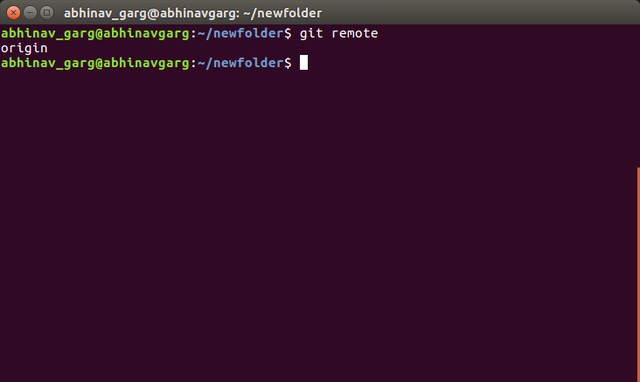
git pullGit status can be used to know the commit status or addes files.
git status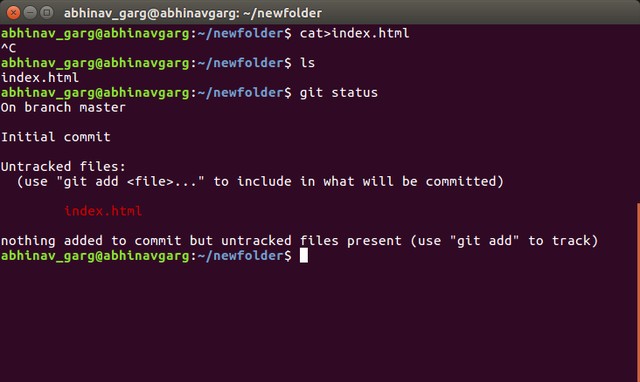
>Website
Introduction
I was particularly excited for the website part. Befoe the course started i went through the archives of fab academy where i found the schedule and got to know the first ad=ssignment was to build your own website. After consulting with my instructor I started with the website. I tried several ways and methods for making a website, starting from the basics, Finally i made my website on HUGO.
1. HTML website
- This is the first webpage i made using basic html and style commands.I did like this one since it was simple.
2. Bootstrap
- I wasted a lot of time learnign Bootstrap, there were so many tutorials on youtube which engulfed me into them. Though i learned a lot from bootstrap firbhi i am referring it as wasted since i utimately shifted to Hugo.
3. Hugo
The webpage you are reading this on is made on Hugo.
Hugo is great, it’s one of the best static website builder out there. Simple, Fast and Reliable.
It uses markdown language for editing and doing stuff, so learn it before hand. Here is the link to Markdown Cheatsheet from github which i used to limber through the process of naming the website.Hugo is written in Go with support for multiple platforms. The latest release can be found at Hugo Releases.
Hugo currently provides pre-built binaries for the following:
- macOS (Darwin) for x64, i386, and ARM architectures
- Windows
- Linux
- FreeBSD
I am using HUGO on UBUNTU. Here is Quick start guide:
Step - 1
- Install Hugo
Debian and Ubuntu provide a hugo version via apt-get:
sudo apt-get install hugo
- To verify your new install:
hugo version
Step 2: Create a New Site
hugo new site quickstart
The above will create a new Hugo site in a folder named quickstart.
Step 3: Add a Theme
See themes.gohugo.io for a list of themes to consider. This quickstart uses the Ananke theme.
cd quickstart;\
git init;\
git submodule add https://github.com/budparr/gohugo-theme-ananke.git themes/ananke;\

#Edit your config.toml configuration file
#and add the Ananke theme.
echo 'theme = "ananke"' >> config.toml
Step 4: Add Some Content
hugo new posts/my-first-post.md
Edit the newly created content file if you want. Now, start the Hugo server with drafts enabled:
▶ hugo server -D

Started building sites ...
Built site for language en:
1 of 1 draft rendered
0 future content
0 expired content
1 regular pages created
8 other pages created
0 non-page files copied
1 paginator pages created
0 categories created
0 tags created
total in 18 ms
Watching for changes in /Users/bep/sites/quickstart/{data,content,layouts,static,themes}
Serving pages from memory
Web Server is available at http://localhost:1313/ (bind address 127.0.0.1)
Press Ctrl+C to stop

Navigate to your new site at http://localhost:1313/.
Step 5: Customize the Theme

Your new site already looks great, but you will want to tweak it a little before you release it to the public.
Site Configuration

Open up config.toml in a text editor:

baseURL = "https://example.org/"
languageCode = "en-us"
title = "My New Hugo Site"
theme = "ananke"
Replace the title above with something more personal. Also, if you already have a domain ready, set the baseURL. Note that this value is not needed when running the local development server.
- These steps were taken from the Hugo Documentatin. Click the the link for more info.