From a Soft to Hard Copy
Download all the files for this week from here
For this week’s group assignment visit here.
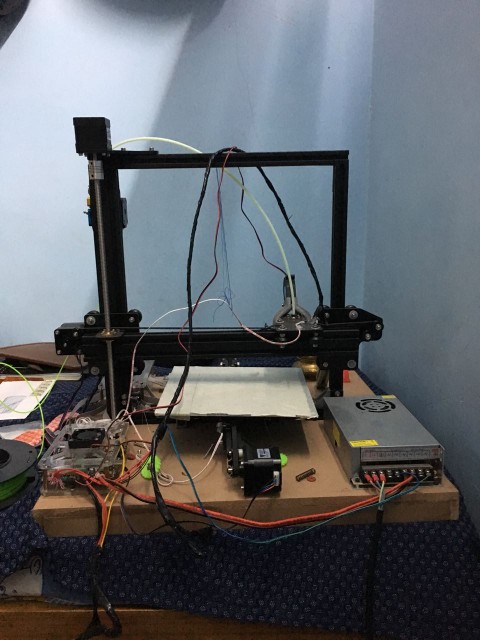
I’ve been particularly intrested in 3d printing and have prior experience with it. I was so fascinated with the 3D printing technology and machines that i decided to build my own RepRap couple of months ago.
This week i’ll be using these machines for the assignment :
3D Printntig :
RepRap
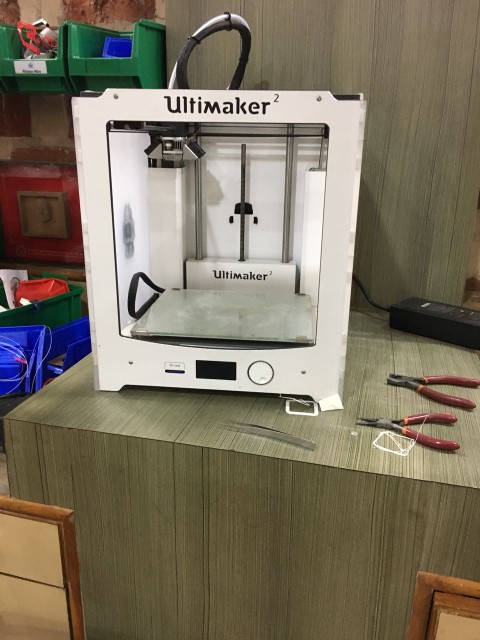
Ultimaker-2
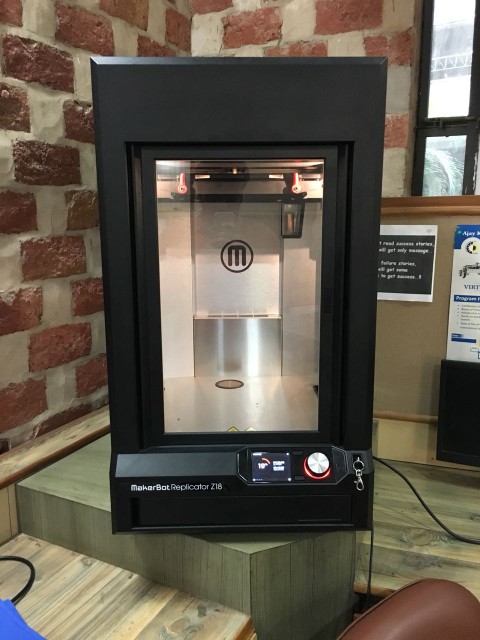
Makerbot Z18
3D Scan :
- Microsoft Kinect
- Photogrmmetryx
3D Printing
Terminologies for 3D Pirnitng :
Layer Height
Infill
Speed
Wall Thickness
Print Coolinng
Support
Build Plate Adhesion
RepRap
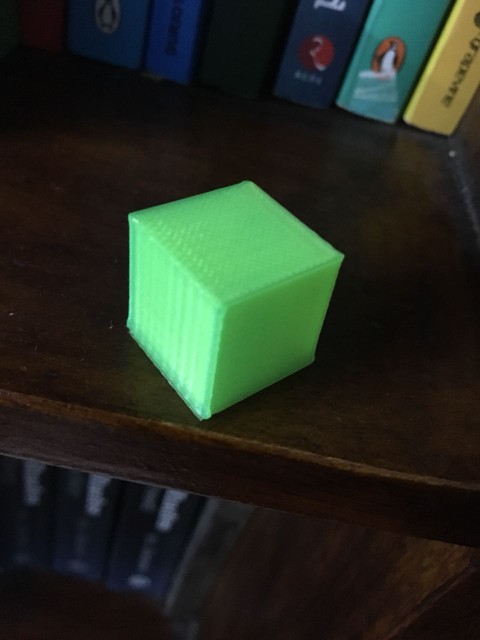
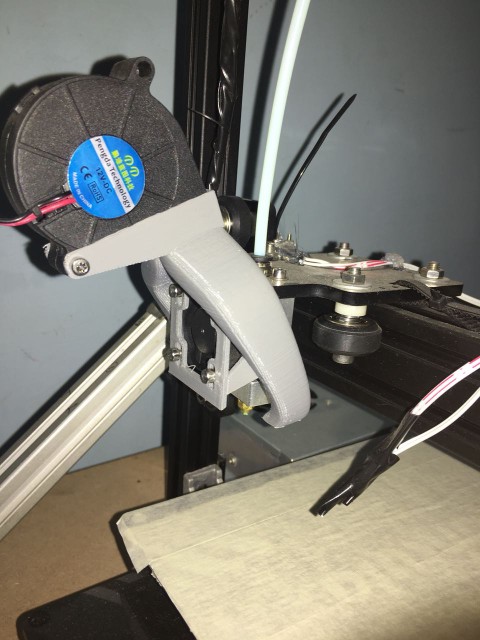
- I build my own RepRap 3D printer by ordering parts from china and assembling them, it was quite an experience. To setup the 3D printer properly and calibrate it, I first printed a 20*20*20 hollow cube.
To my surprise the cube printed well in the first go, tough the edges were a little off and I had to manually cool the filament since it doesn’t have a layer fan.
__First Print
- Then i decided to print the 3D Benchy from thinginverse, The first one was awful, but it did help me to reconginize the prblems my printer had,
- Y-axis belt loose
- Z-Banding
- Bad print cooling.
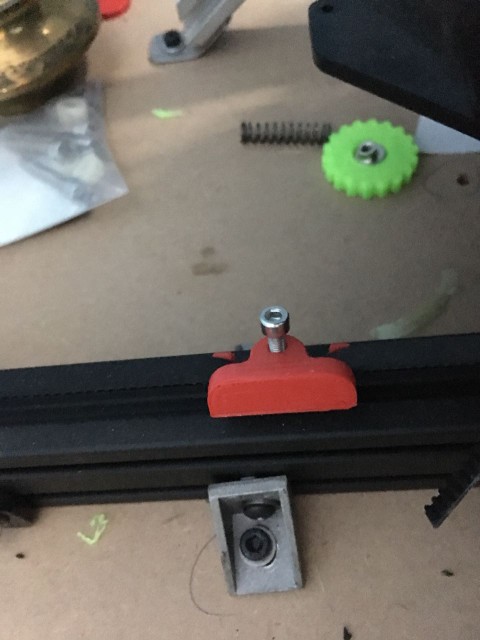
- To get rid of these prolems i did the foloowing things :
Printed a Y-belt tensioner
Strenthen the z-axis buy supporting the lead screw end
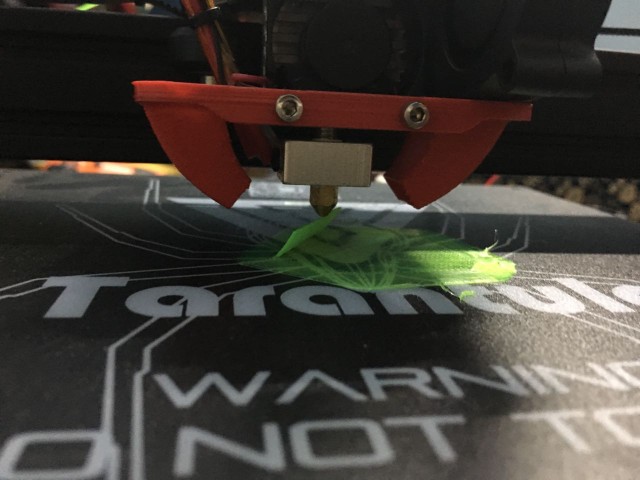
Printed a Layer Fan Duct.
__Y-Belt Tensioner :
__Layer Fan :
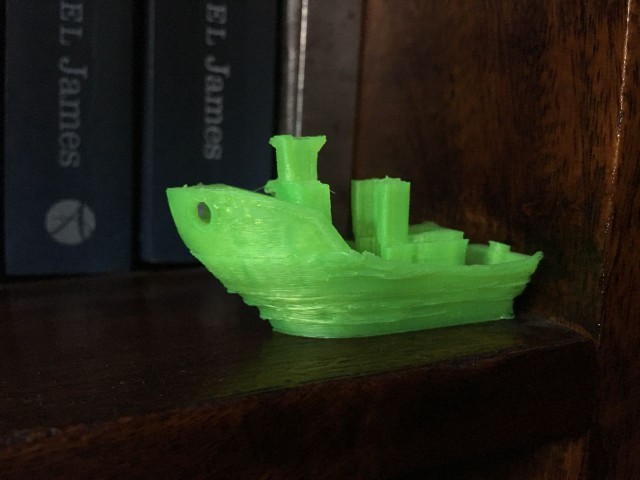
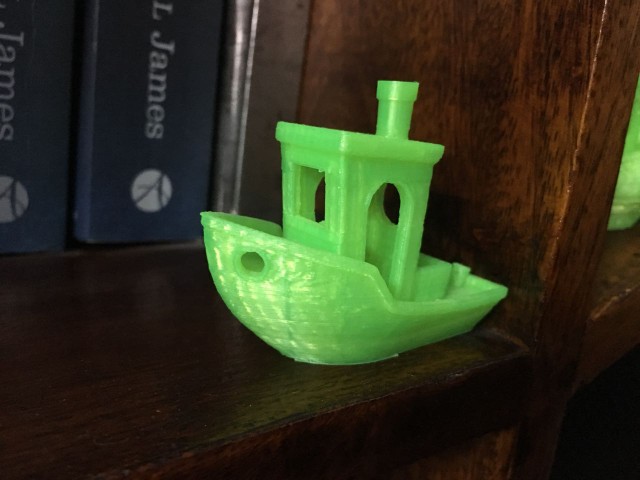
- time to print the Perfect Benchy, Here is the progress :
*First Try
 Tightened the Y-Belt and added a layer fan.
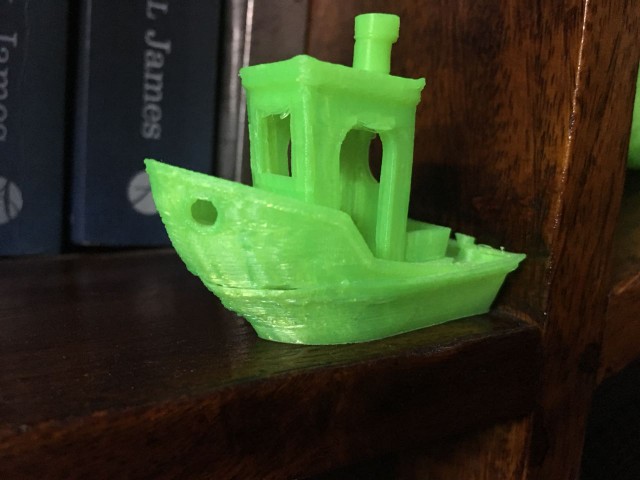
- Final :

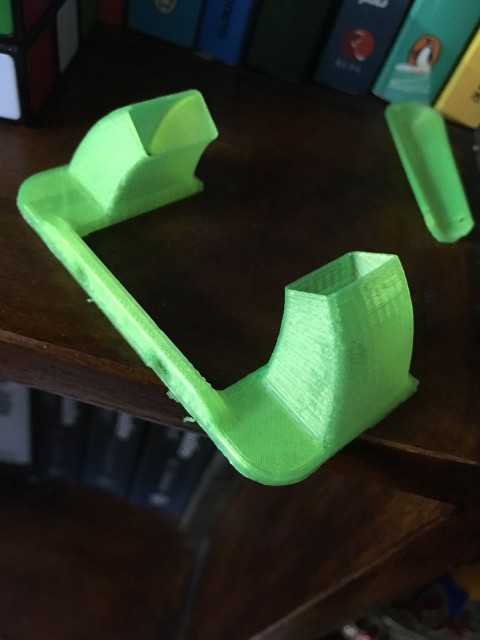
I also Printed Heat bed Screw Heads to facilitate Levelling of the bed :
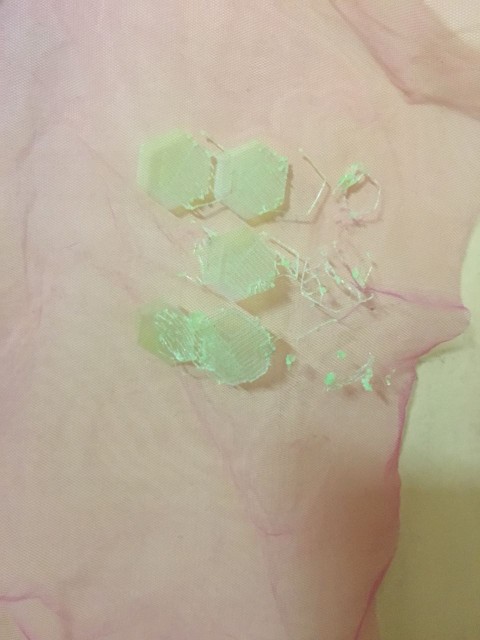
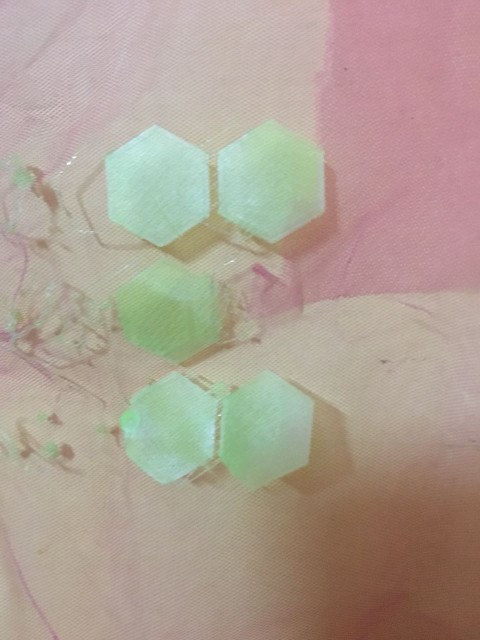
Tried to fusion 3d prints into fabric, but failed miserably :
Ultimaker 2
- The Ultimaker in our lab was in a very bad state, mostly due to a cheap filament fed into it. To get started printing I did the following things:
- Removed the PTFE/Bowdem tube, chopped it’s end to make it flush with the hot end.
- Cleaned the extruder by the Atomic Method as suggested by Ultimaker.
- Changed the filament to ABS.

Makerbot z18
This was the first time i was gonna use the makerbot, i started with printing a benchmark Template from thingiverse.
Here are the test samples :
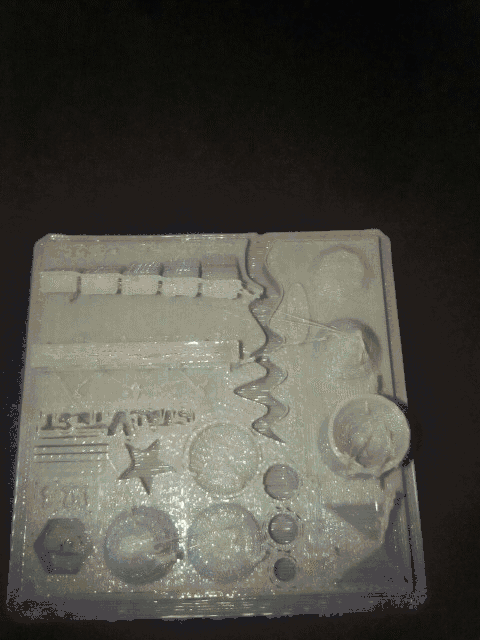
I know these are very bad, i’ll finish them later and also try to print wiht different settings.
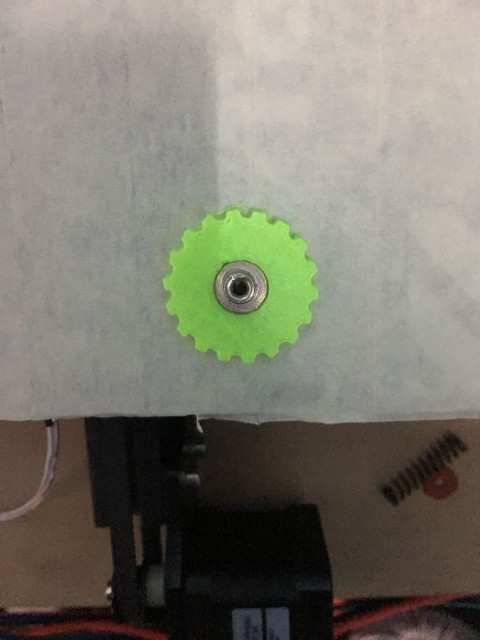
- Printing Fan Duct for RepRap on Makerbot :
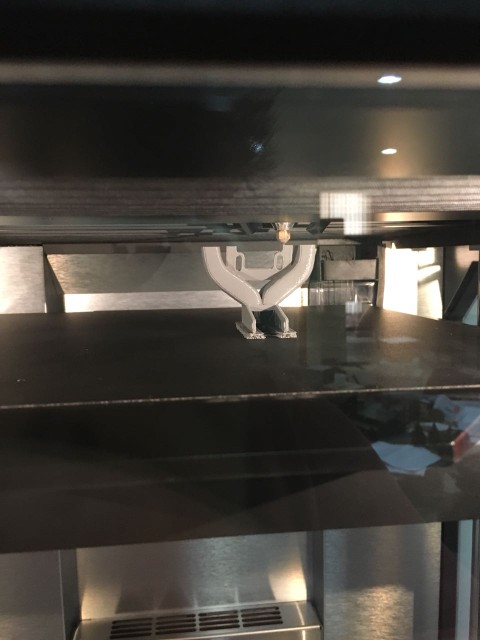
- Fitted on my 3D Printer.
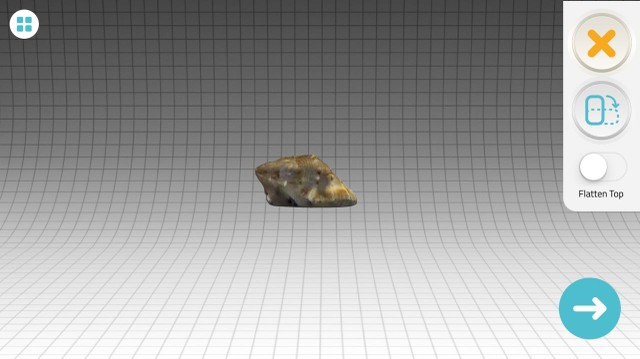
3D printed Object
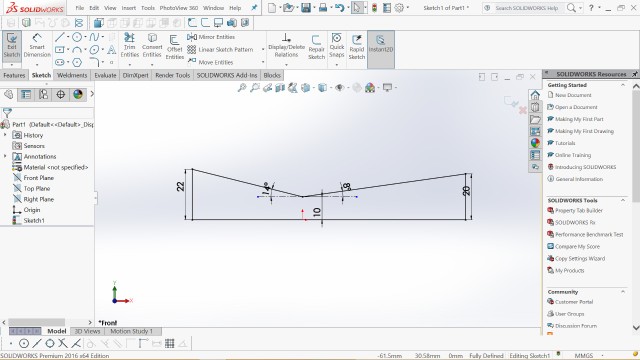
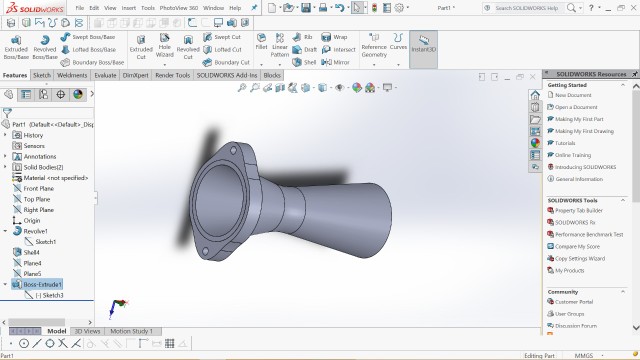
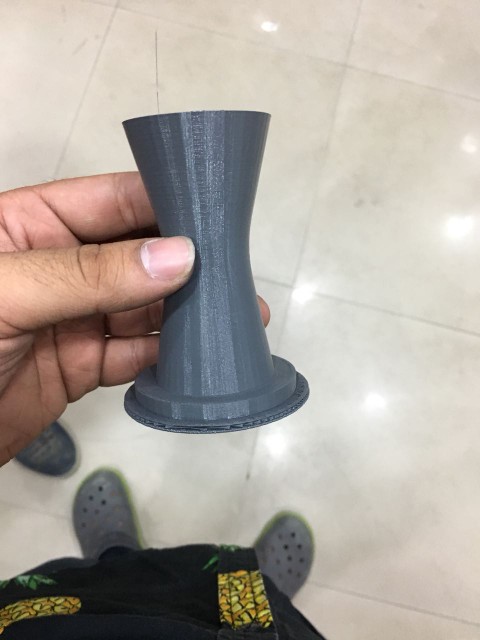
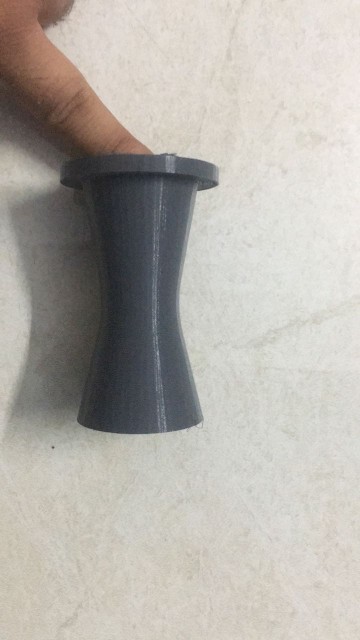
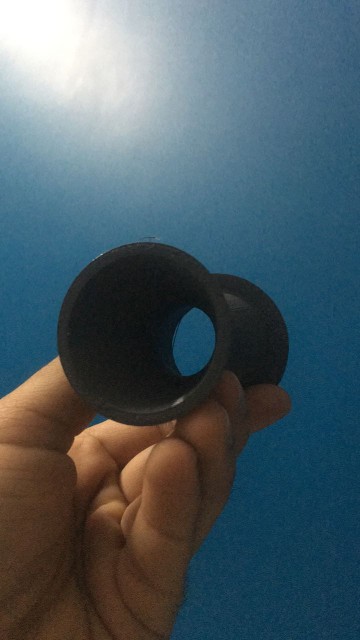
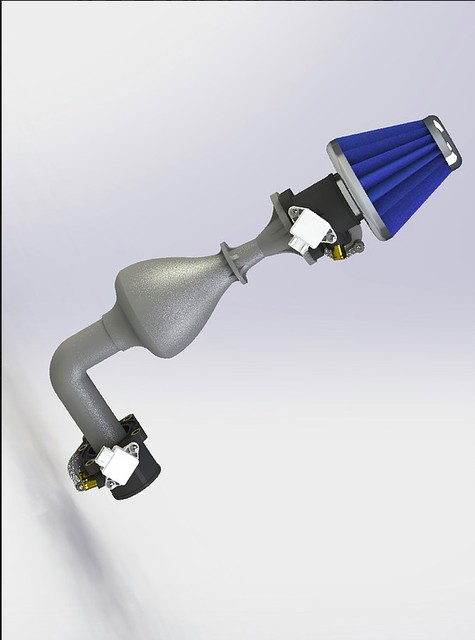
- For the 3D printed object which cannot be subtractive manufactured , I decided to Print a De-Laval Nozzle or a CD Venturi. I designed the venturi in Solidworks 2016.
The nozzle has a Converging and a Diverging section. The middle plane where they meet is called the throat. I have provided fillets at the throat for a smooth transition.
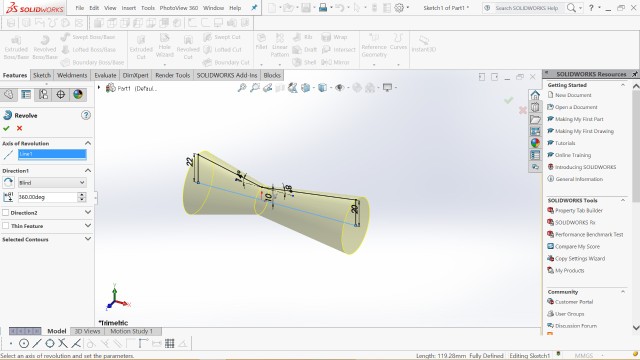
Here are some of the screenshots of Solidwokrs :
First start with a 2D deisgn and dimension everything.
- Then use the Rotate command, here you have to selec a axis of rotation and the sketch to be rotated about it.
- Use SHELL command to hollow out the venturi.
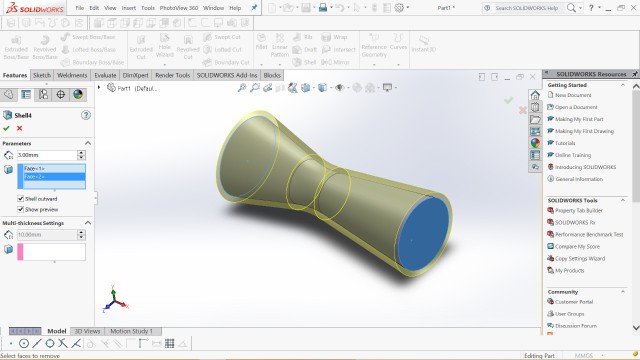
- After that i just added a flange to mount it and also to provid it a good base for prinitng.
- Here Is the Printed Part. I Printed it on MAkerbot Z18 with a 10% infill and rest of the settings were standard.
- Download the Solidworks File here : Venturi
Download the STL File here : Venturi
3D printed Intake
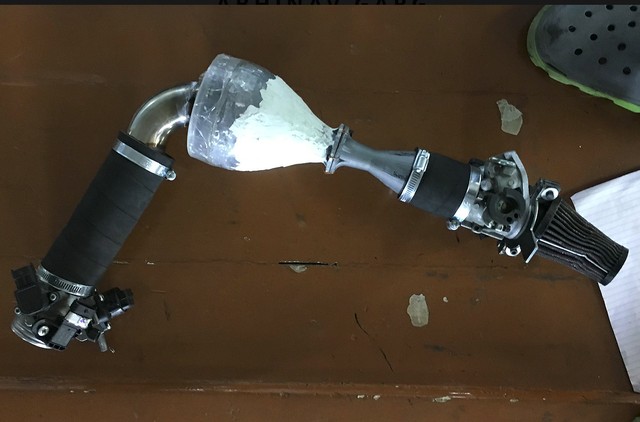
Last year for Student Formula, I printed Air Intake for a DUKE 390 Engine. Here are the pics :
3D Scan
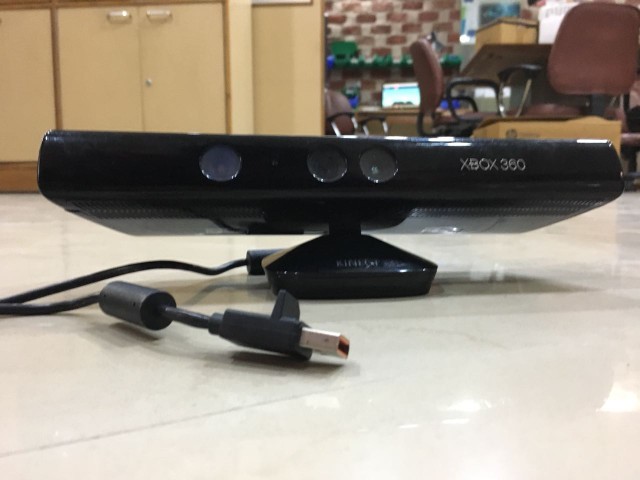
- For 3D scanning I used Kinect and photogrammetry. Both seemed pretty doable and easy, also the results people posted on the internet were amazing. I started with the Kinect:
Kinect
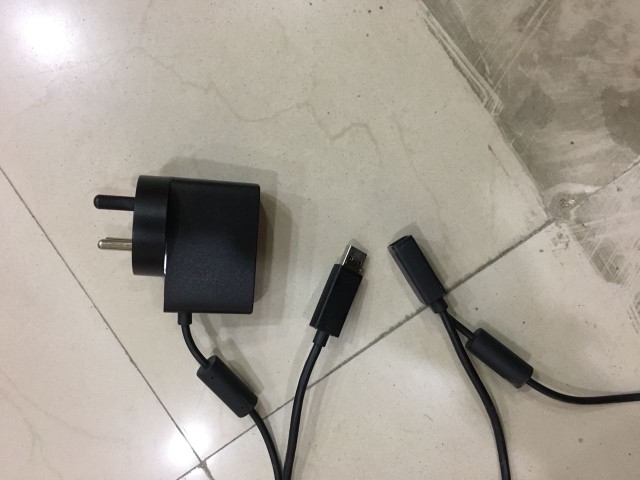
To Scan with kinect you need the following things and softwares :
- Microsoft xbox 360 Kinect with USB and Power Source (obvi)
- Kinect SDK 1.8 Installed – Kinect SDK 1.8
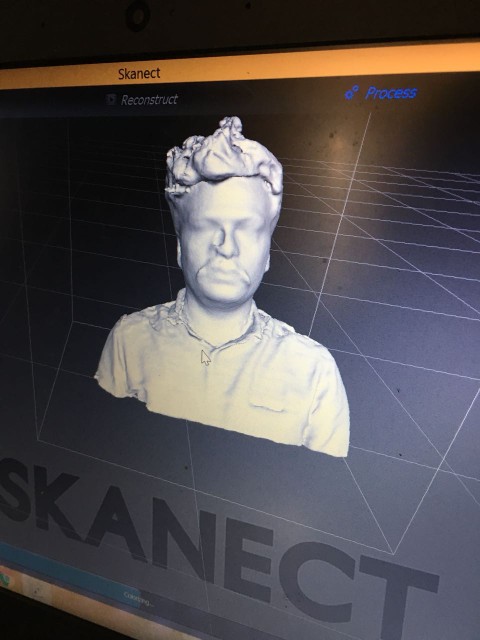
- Software - Skanect
- First Install the Kinect SDK on your computer (i use windows), and the Skanect Software. Now connect the Kinect to your computer and open SKanect.
Skancet should automatically reconize the Kinect and you are good to go.
Second In the skanect , select the size of the object you have to scan according to your neeed. I selected Box with 0.6*0.6*0.6 m. Since i wanted to scan my head.
Rotate the object not the Kinect sensor.
To get a good scan of the object make sure your kinect is stationary and the object is moving/rotating.
Kinect Sensor
- Accesories
- 3D Scans
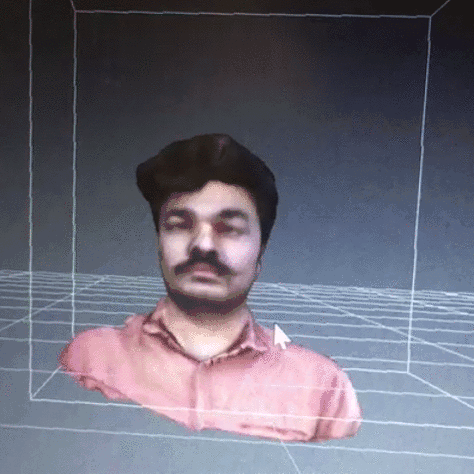
- For these scans to be succesful, I had to try a couple of times. Here i was sitting on a rotary chair and the kinect was resting on the desk. I had a bluetooth mouse to trigger the Scan button. I had to rotate very slowly with small and even incriments.
- Download the STL File here : Abhinav
Photogrametry
For photogrametry I used the QLONE app for iPhone. It’s pretty straightforward and produce good quality scans.
The only downside is that to export the scanned image into a.STL file, you have to pay Rs.70 everytime!!
Since I can manage satisfactory scans with KINECT , I did’t pay fir the .STL.