Week 6
Getting started with 3D Scanning and Printing
This weeks assignment was to get hands on with 3D scanning and printing..... but before printing actual stuff we were supposed to check the limitations of our machine so as to ensure the best parameter settings which can be made for reqired quality output.
Group Assignment
We were supposed to characterization of our machine, which is in our case was MAKERBOT Z18 . So we performed a series of tests to check the capabilities of our 3D printer. The tests included :
1. Bridge Test
This was the test which was supposed to test the ability of the printer to print a layer between gaps without any support i.e print over air.

This test was inconclusive for us as we forgot to turn off the support over the printer's default settings
2. Overhang Test
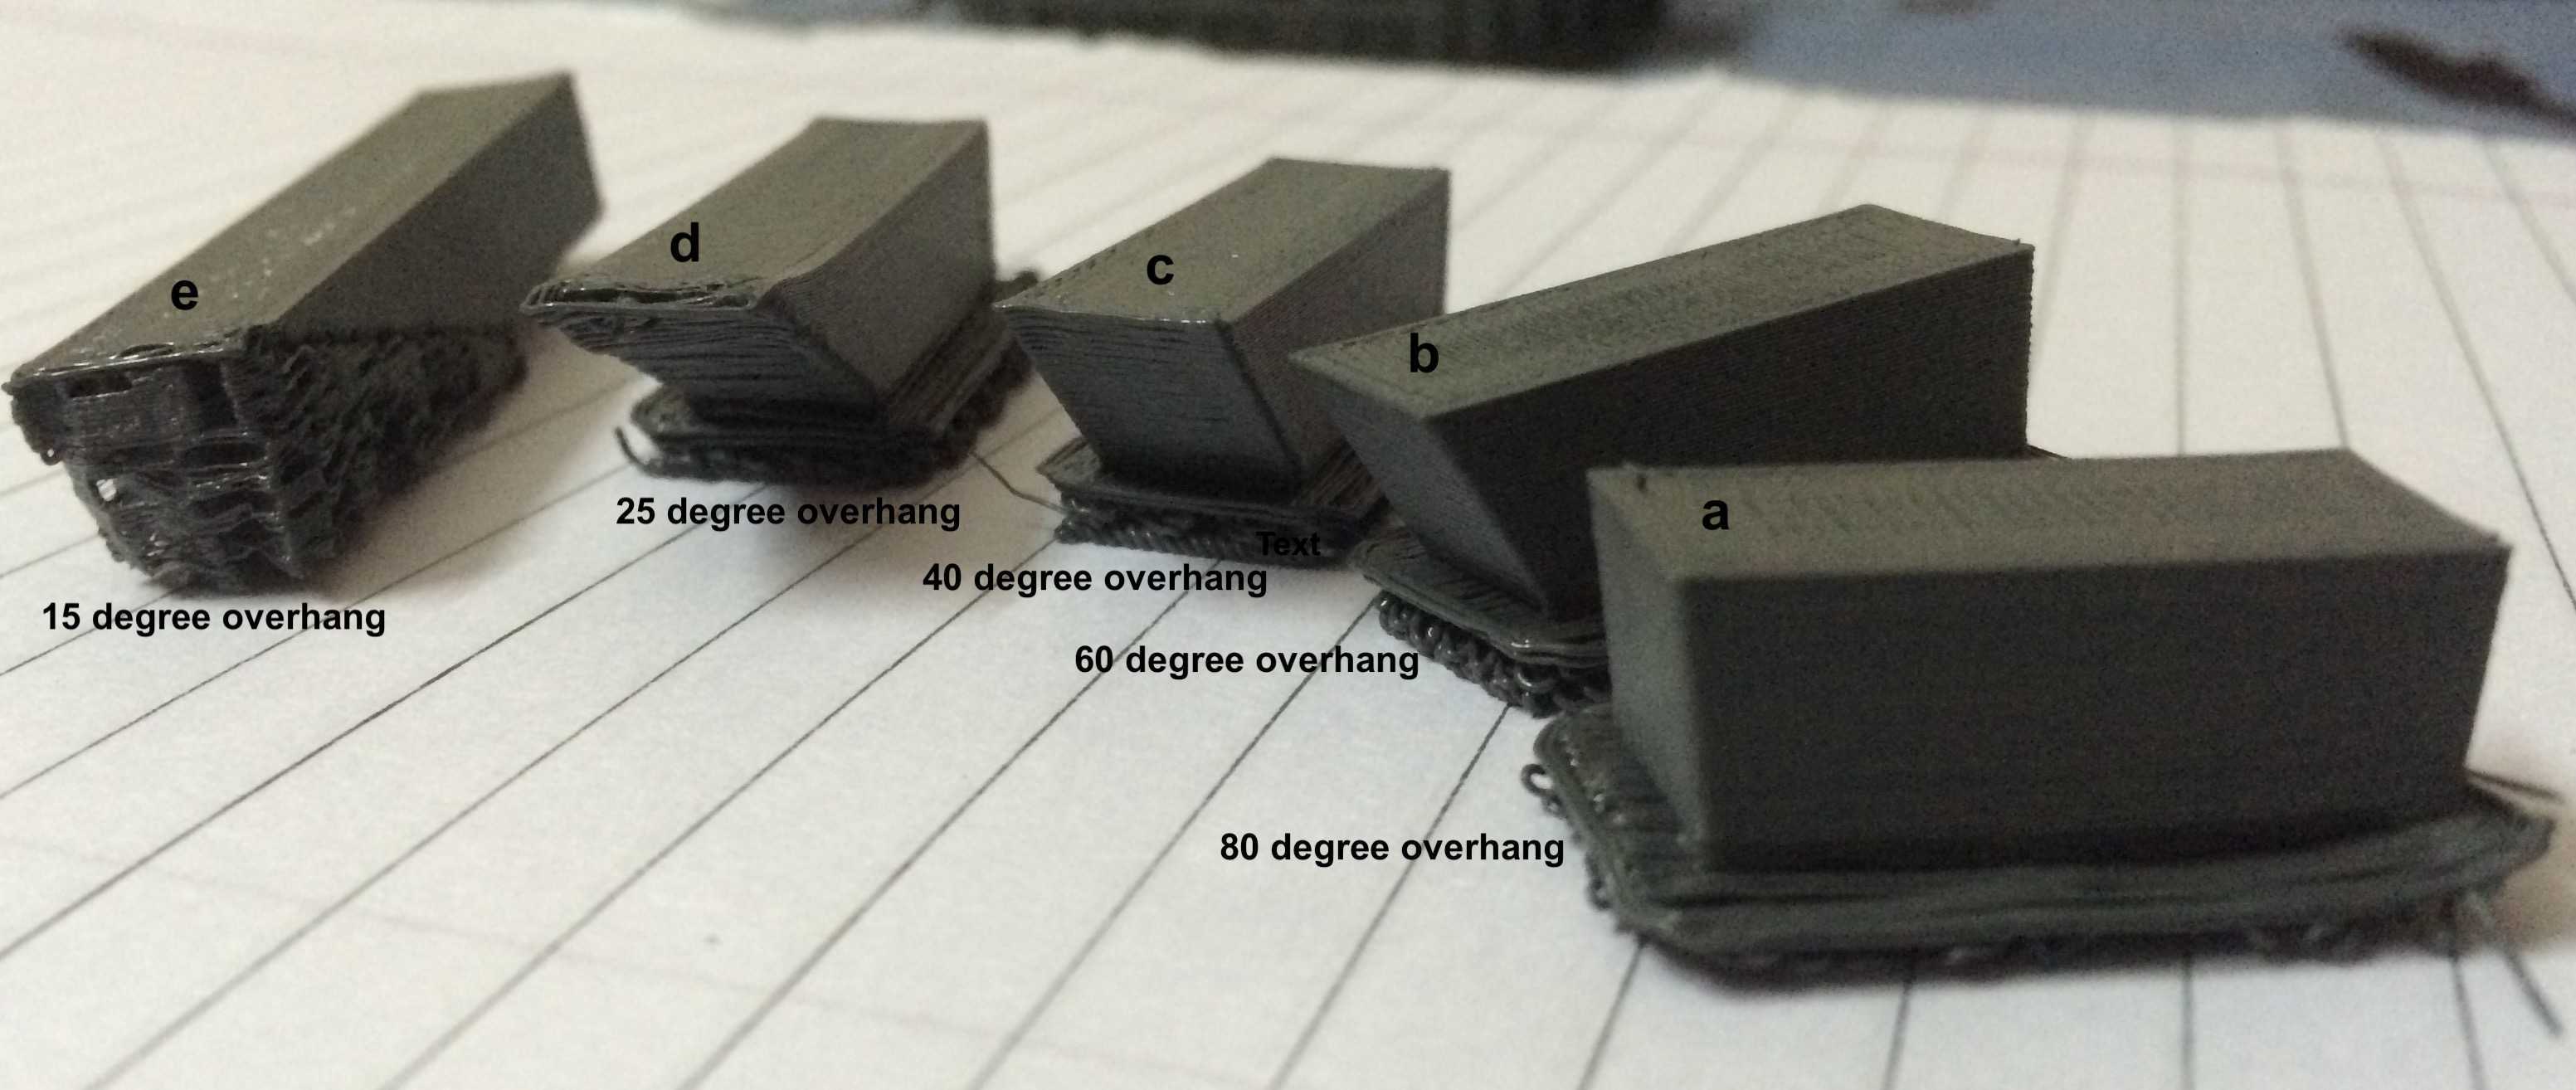
This was the test which was performed to check what all angles can be printed without any need of support material. We 3D printed test parts with different angles ranging from 15 degrees to 80 degrees. Overall conclusion with this test was Makerbot was able to print the angles above 25 degrees smoothly, although it printed the surface at 25 degree also but with a rough finish. Also a 15 degree overhang was attempted to be printed but it was not able to print it.
3. Wall thickness Test
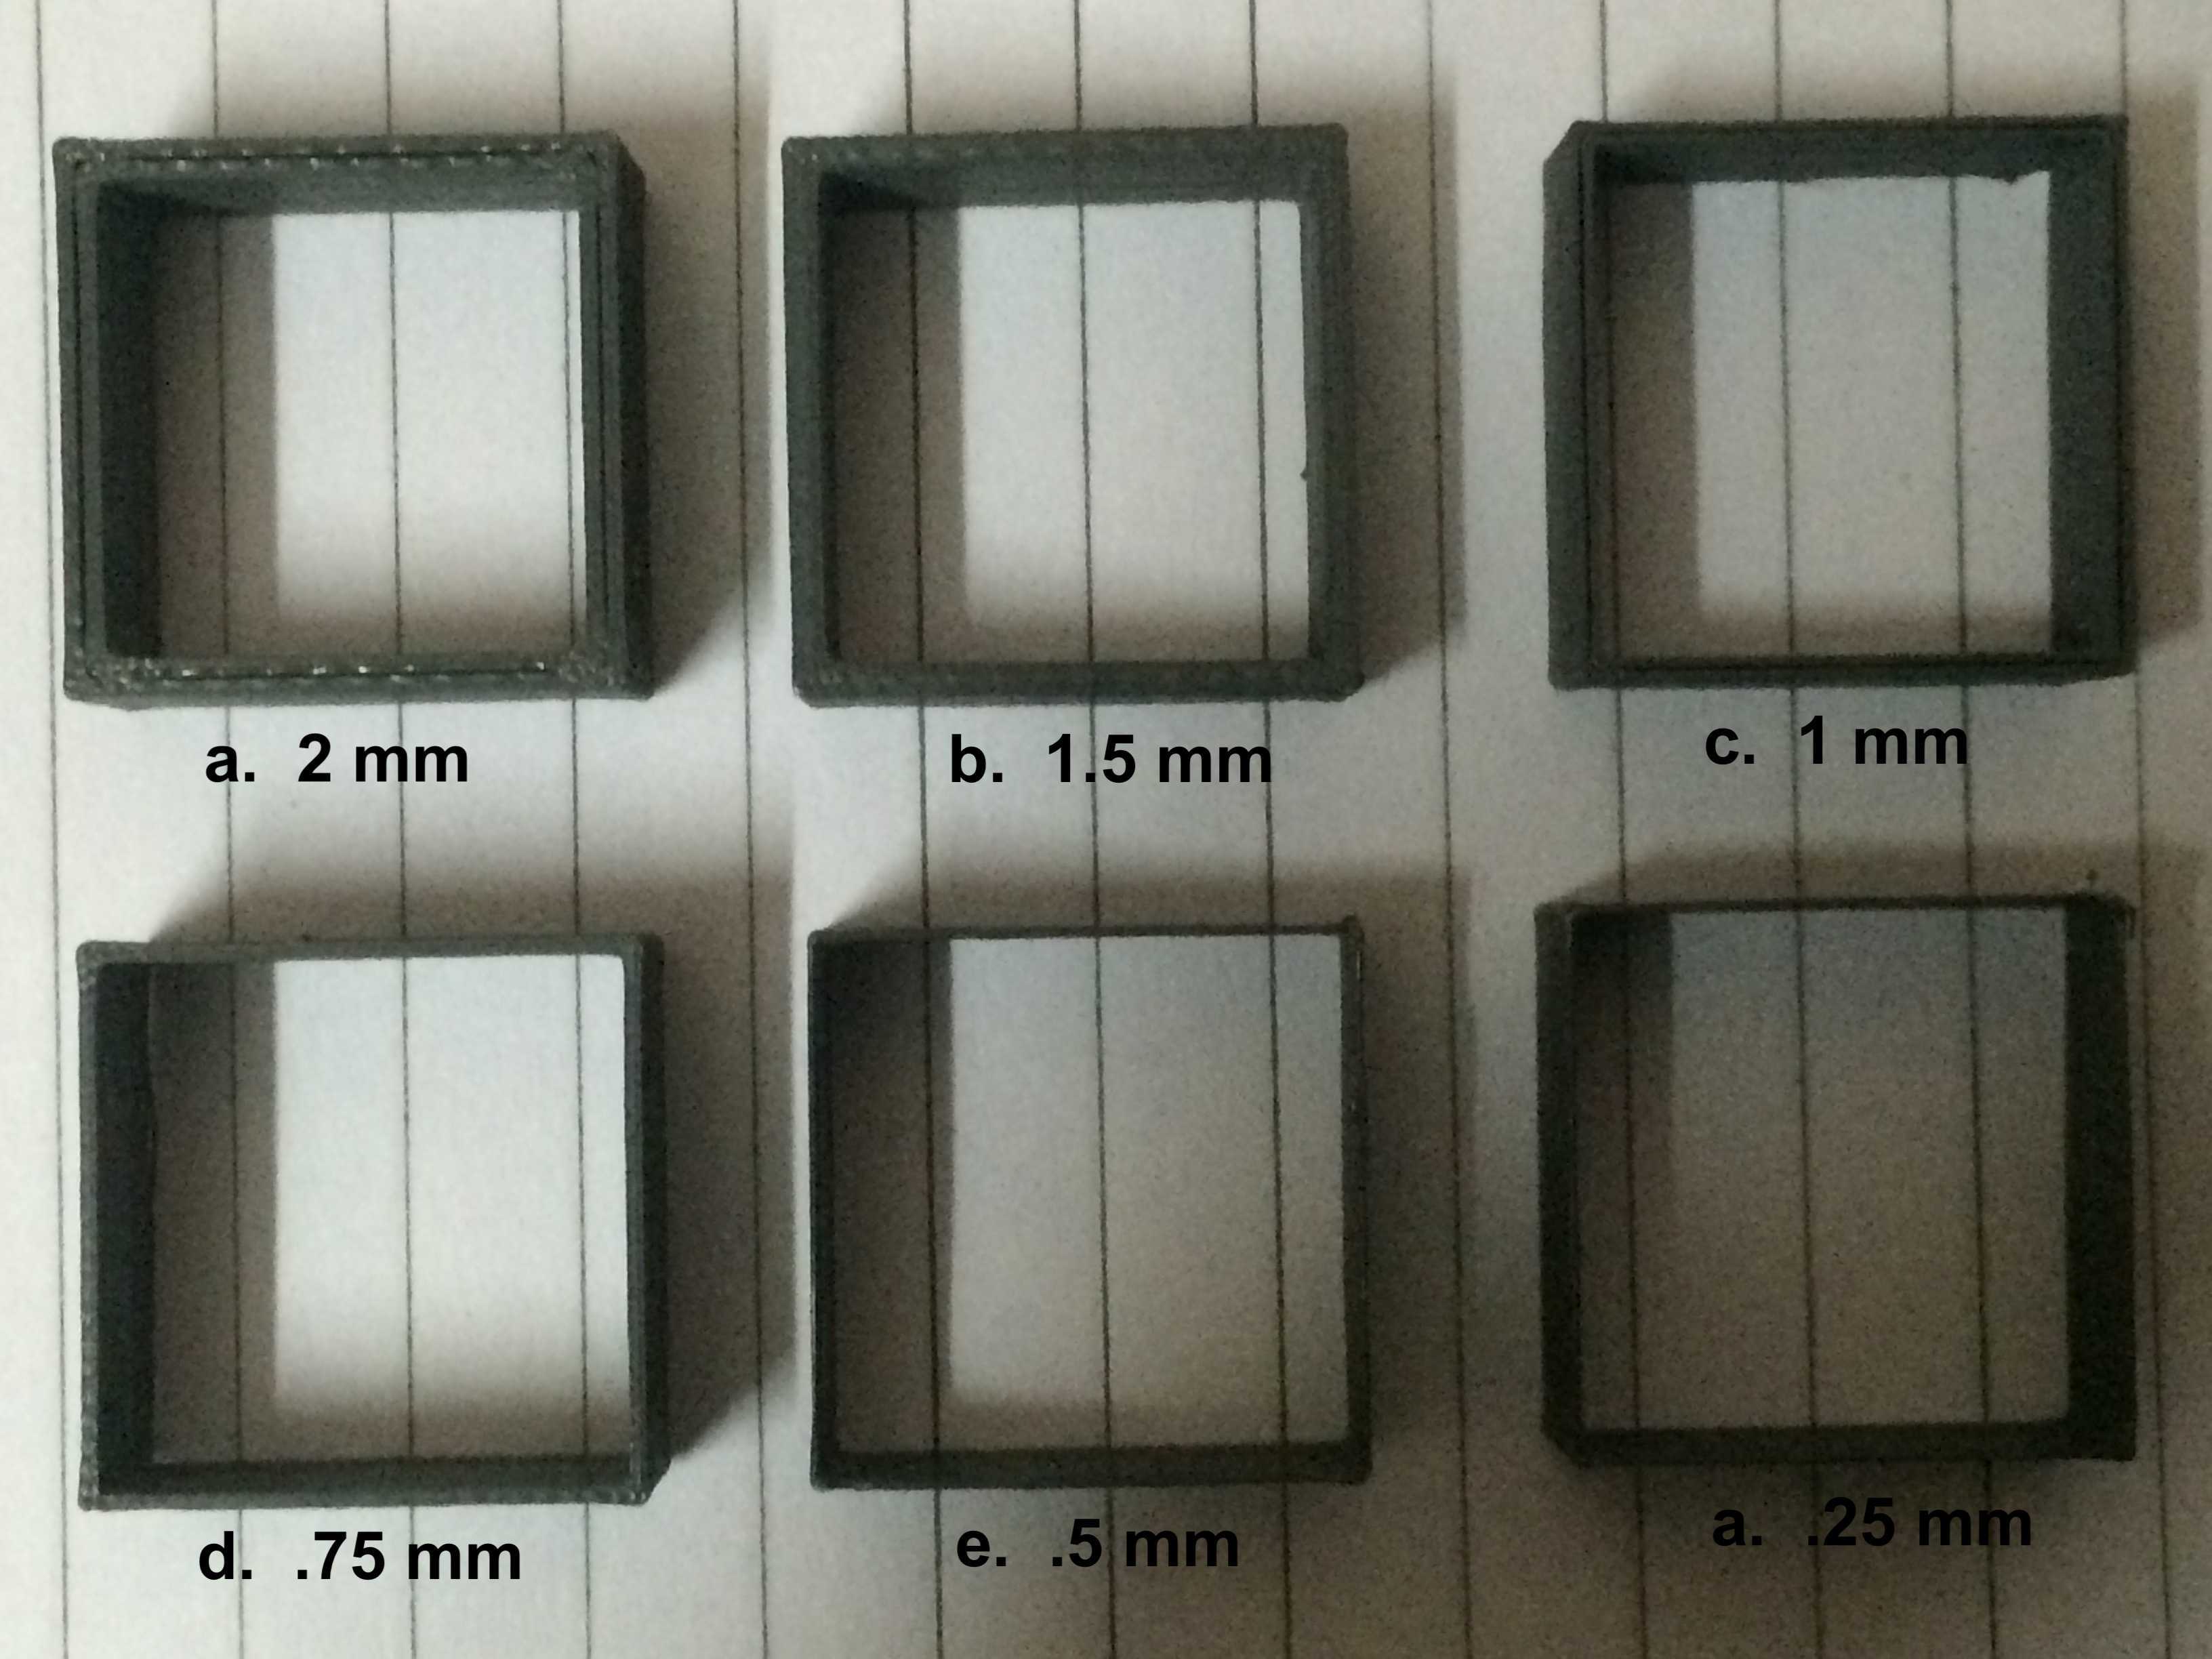
This test was performed to check the strength of the thick surfaces and check the minimium width that can be printed with the printer. A range of test parts were printed whose width ranged from 0.25mm to 2mm. Overall conclusion with this test was, the printer was able to print even 0.25mm width test part and all the parts were strong upto expectations.
4. Orientation Test
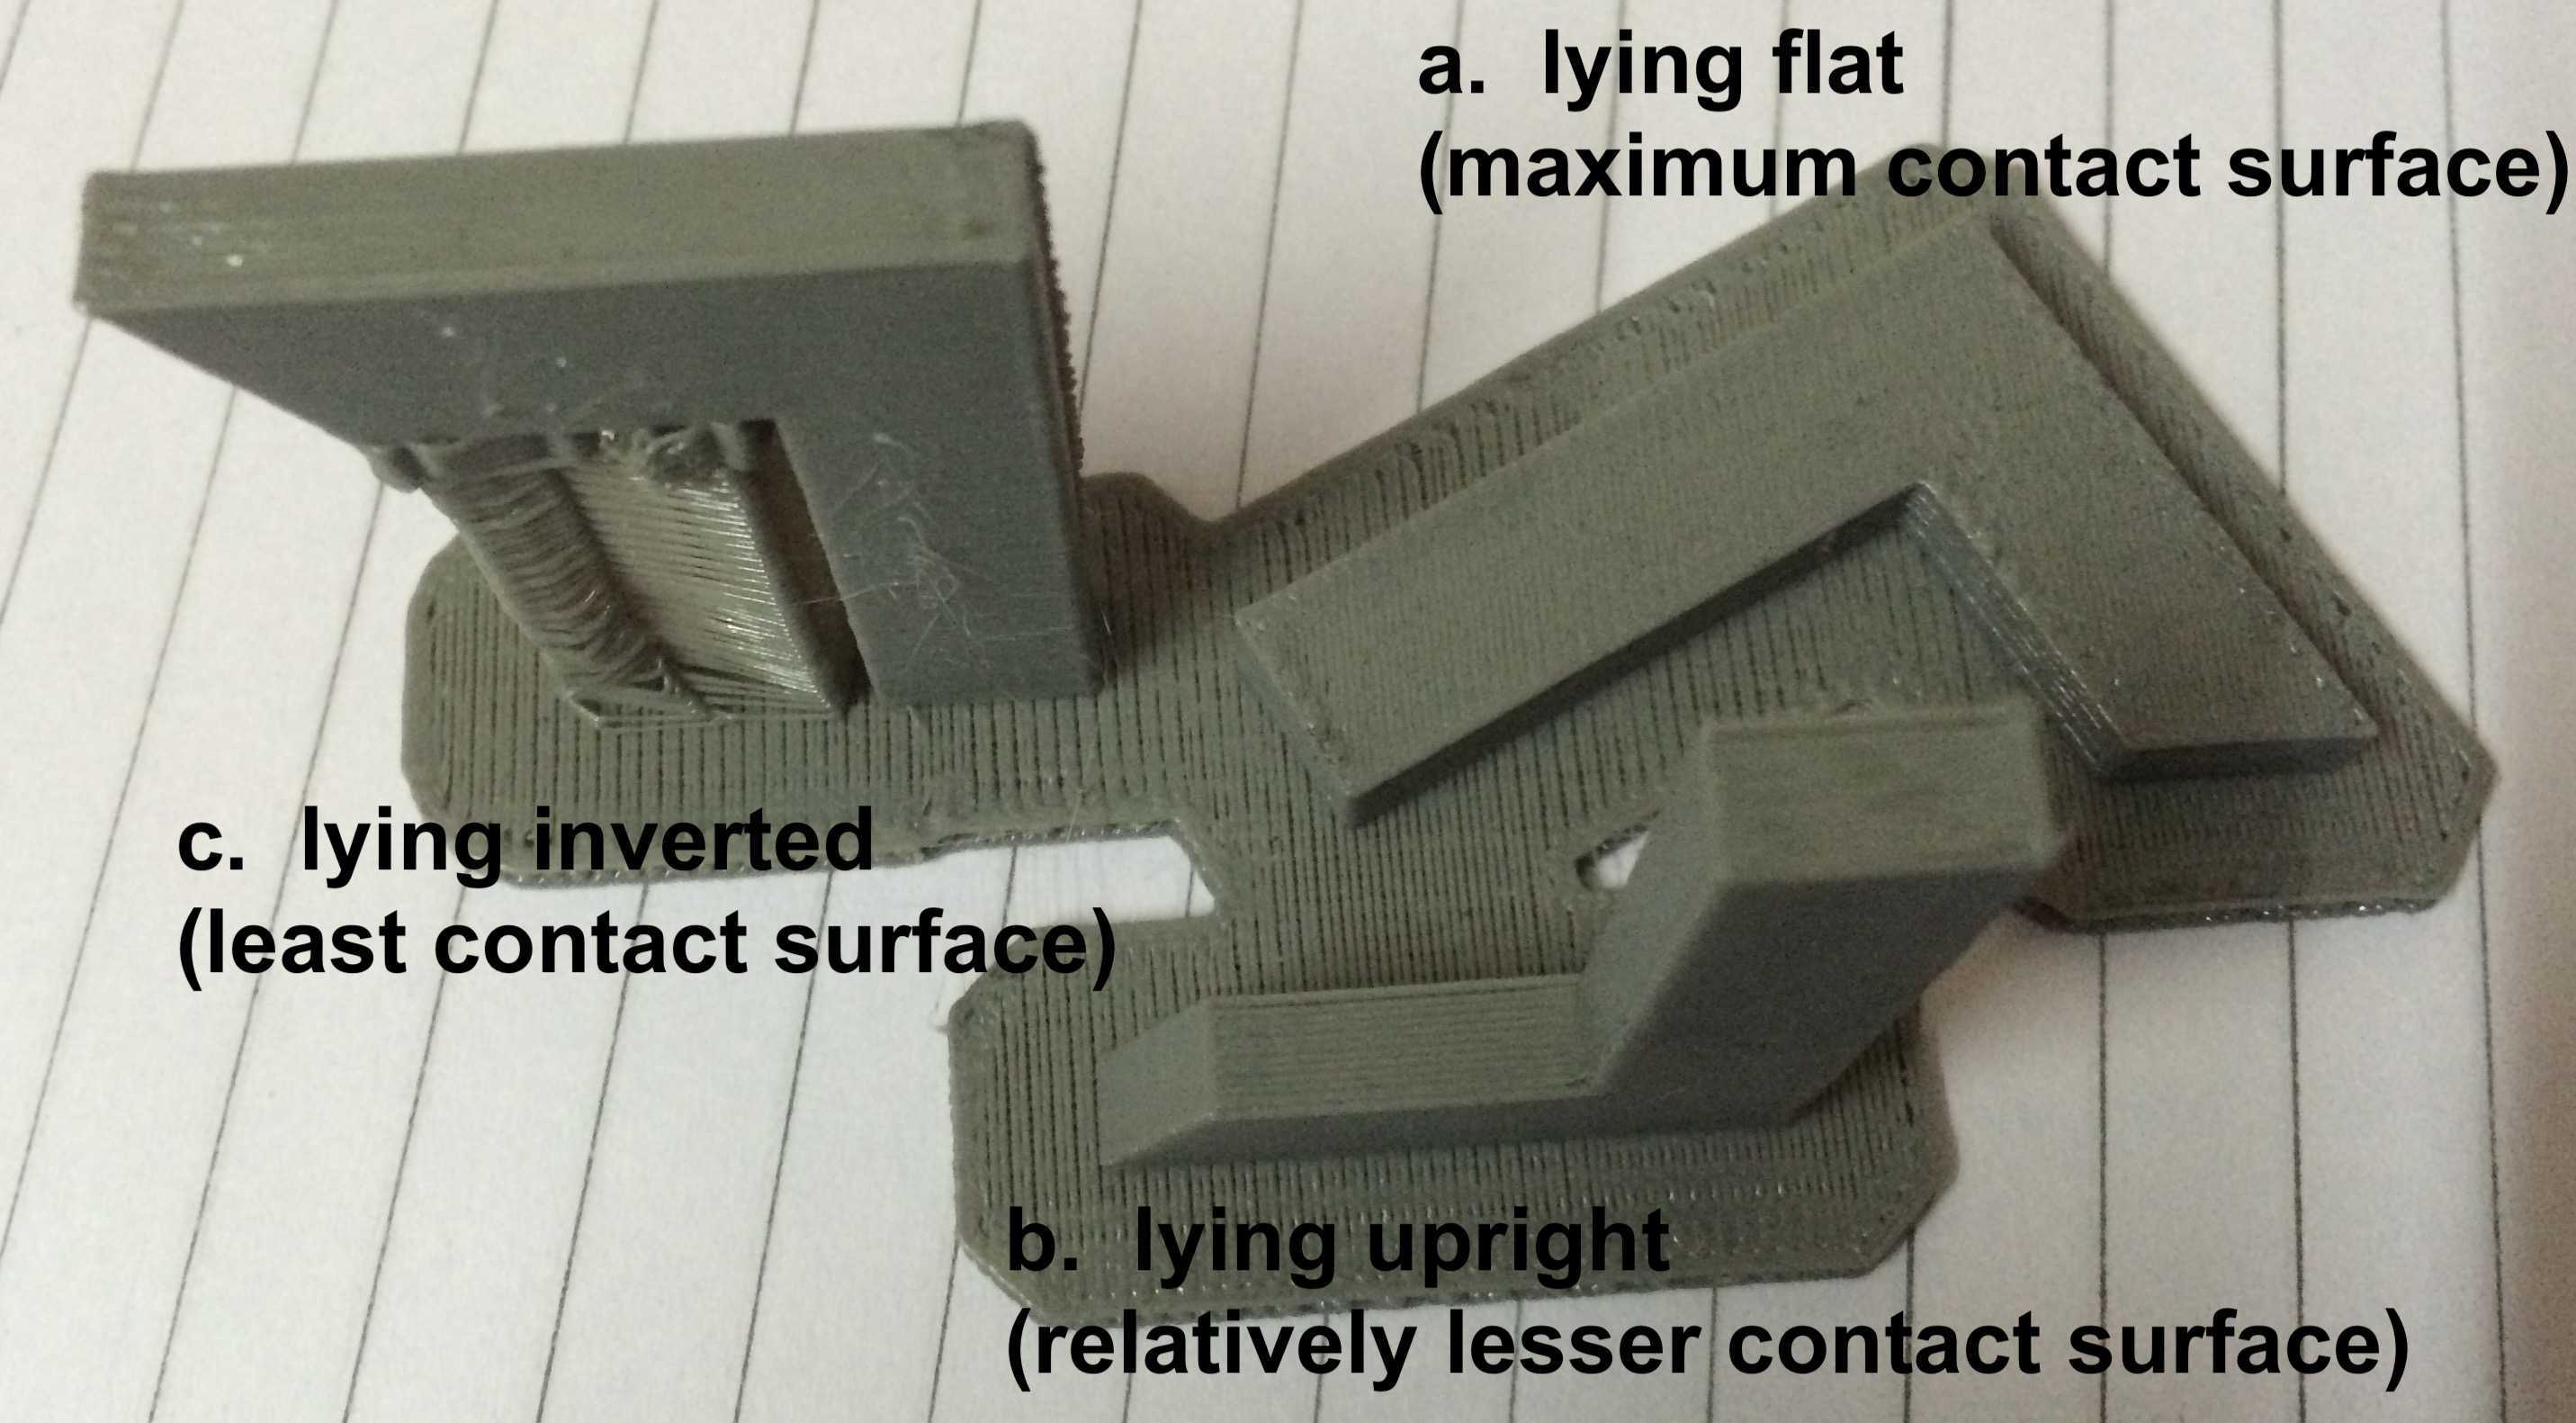
This test was performed to check the best possible orientation which should be used to get, for this test we used the letter "L" and printed it in different orientations
5. Holes Test
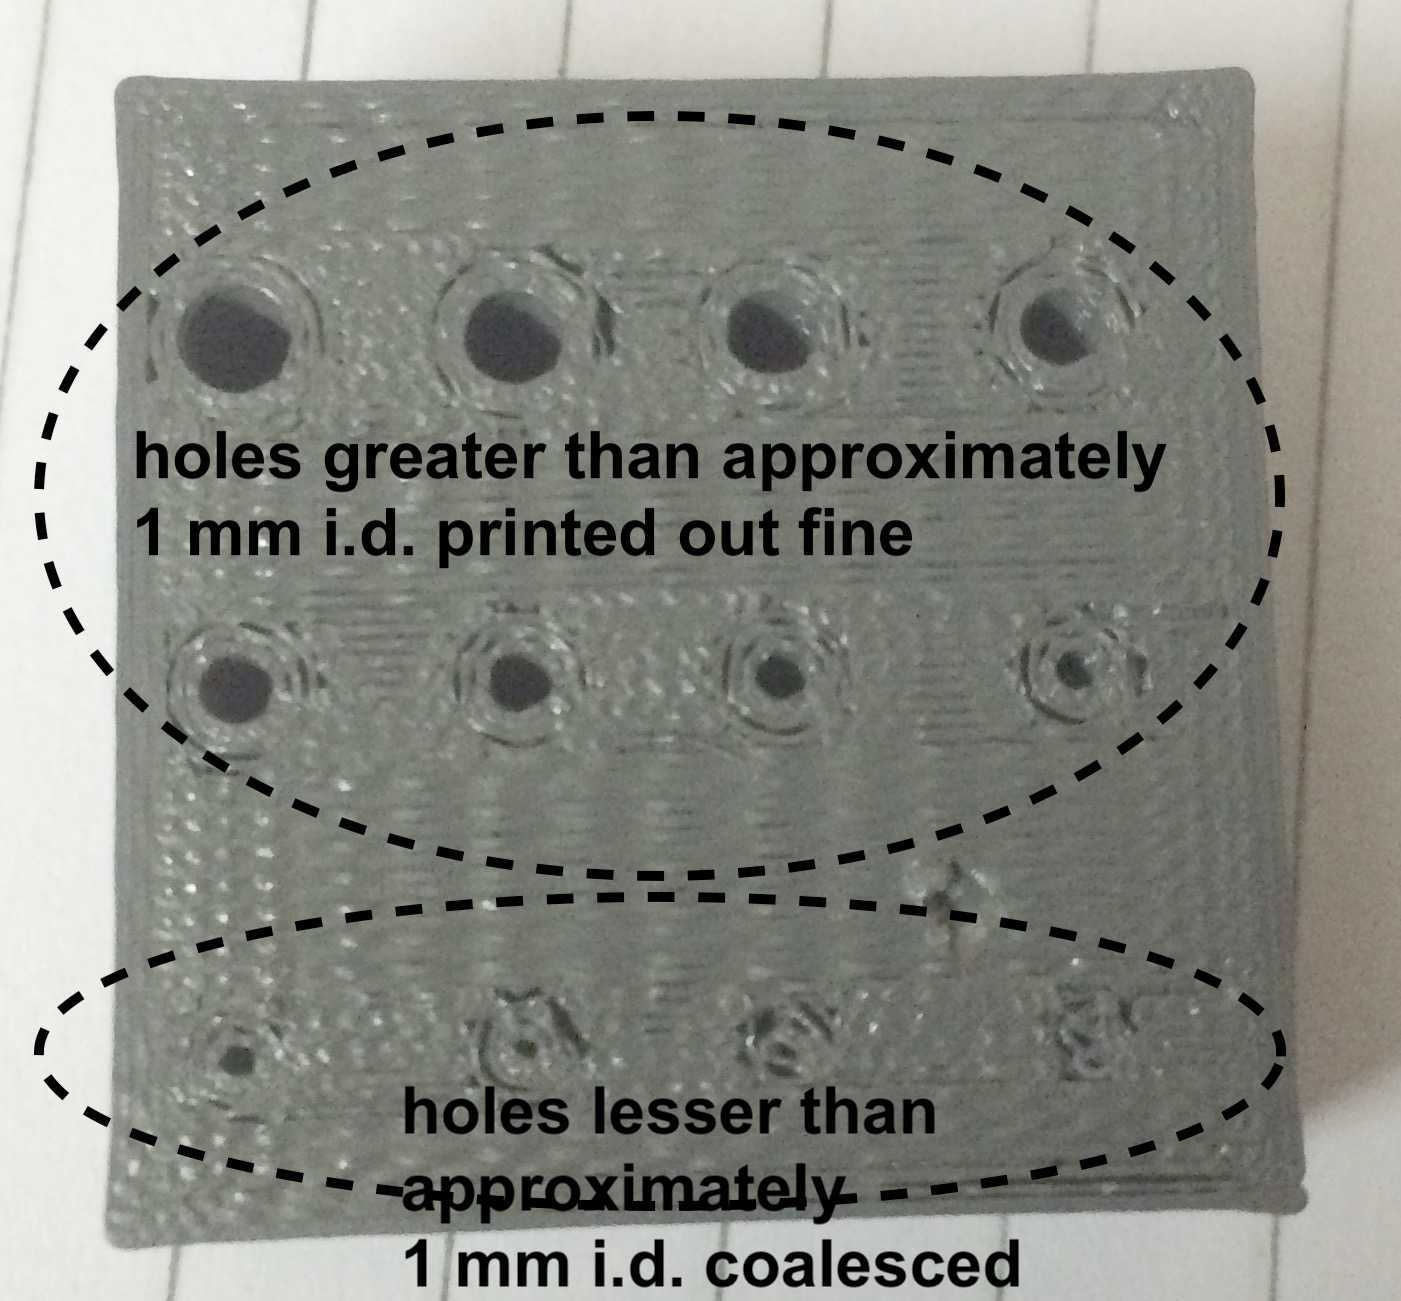
This test was performed to check what would be the minimum hole which can be printed via our 3D printer. The diameters which were printed ranged from less than 1 mm to 3 mm . Overall conclusion was the printer was able to print holes above the diameter of 1 mm. Also the holes will not collide if the distance between the two holes is more than 1 mm.
Summary
The printer we have used is MakerBot Z18, Its a fantastic printer with the following capabilities...
> It can support a bridge of about 60mm after that bridge sags.
> It is able to print overhangs of about 25degree's.
> It is able to print a min wall thickness of 0.25mm.
> It can print the best results in horizontal orientaion as it doesn.t require any support in that case.
> It can print holes about 1mm in diameter perfectly.
Test Courtesy
The design files were downloaded from one Fabacademy student (Dipali Kamble,Class of 2016), She was working as intern in AKGEC FABLAB and suggested these tests.
Download Test Files3D Designing and Printing
Problem Statement
I saw a concept design somewhere, where there was a simple design but very much effective to prevent fingers from cutting while dicing veggies.
I wanted to make a 3D printed work piece which can be used to prevent fingers while chopping veggies.
Design Solution
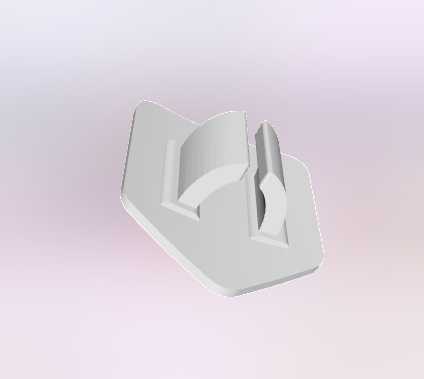
I created ring like design which can be worn in one of the fingers which can shield other fingers from exposing to knife.
The software I am going to use is Solidworks, I have explored Fusion360, and I wanted to have a hands on with Solid Works..... Well, my personal opinion..... I liked Fusion 360 more that Solid works.....
So..... Here's the design
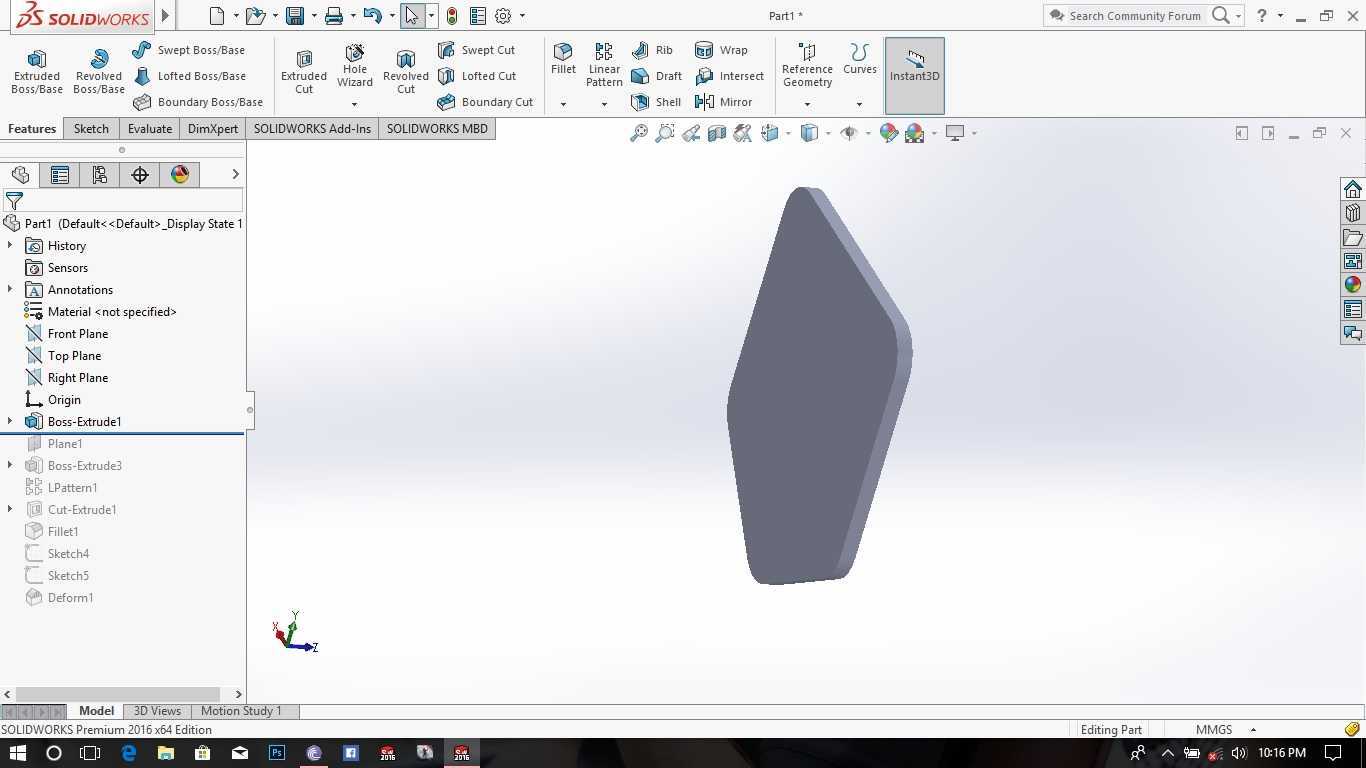


In these steps I followed this flow ...... I made a sketch >> Boss Extruded it >> Made a plane at some distance from the top and made sketch for the Flanges >> Then Boss Extruded the Flange >> And then made the Linear Pattern
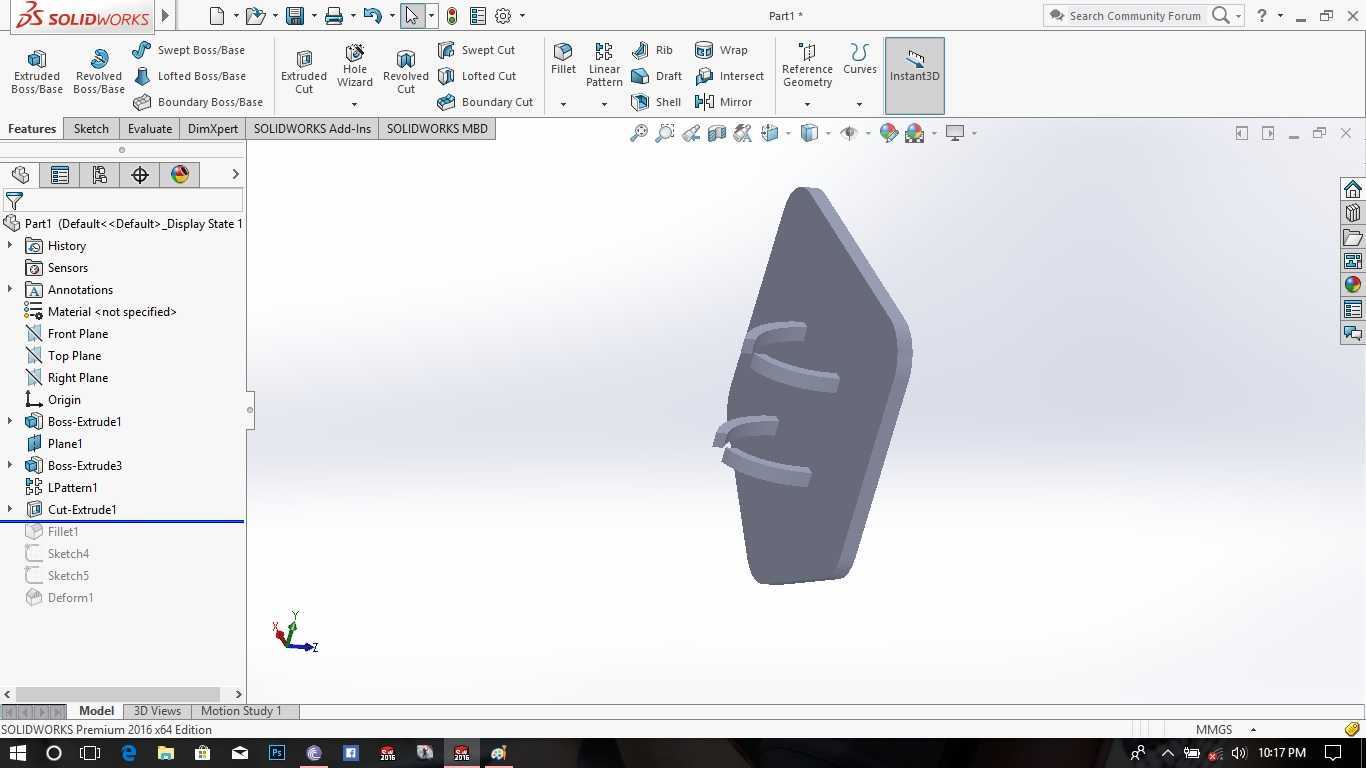
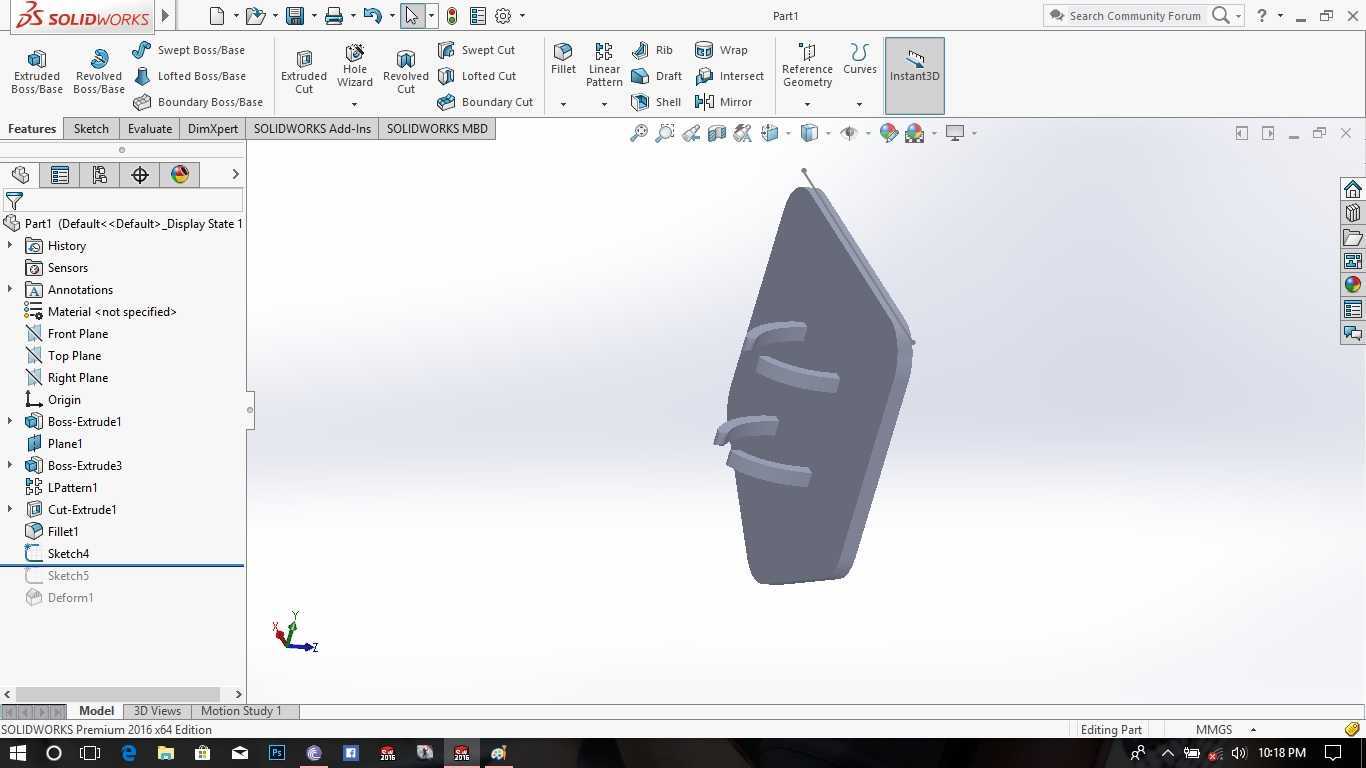

Now in these steps I followed this flow ...... The Flanges were cut linearly >> Then Fillets were given on the flanges so that they dont hurt finger >> The main body was made curved using deform operation
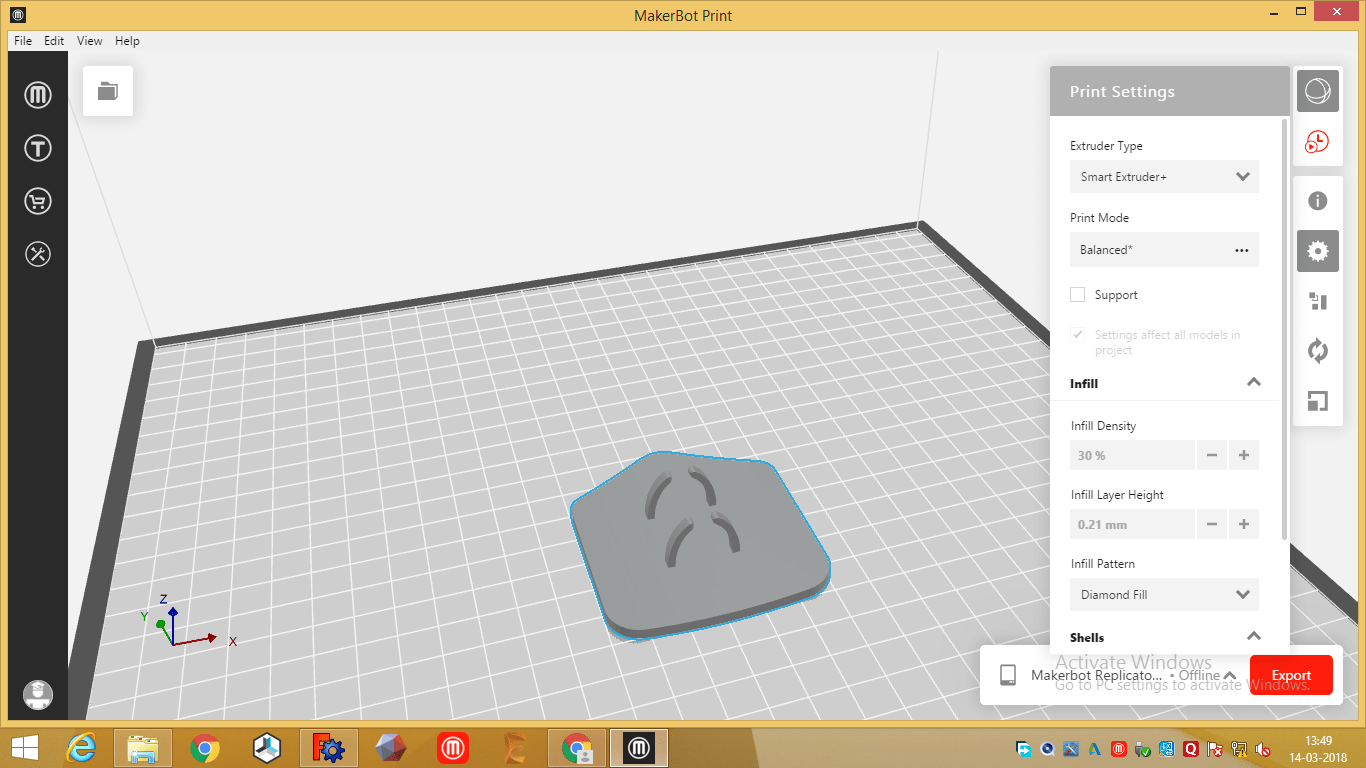
Additive Method over Subractive Method
After the design was complete it was the time to decide which process should be used to make this design a reality..... well, the design was having a lots of curved surfaces along with the flanges which were supposed to hold the finger, I dont think it would be possible to use any of the subtractive method to create the work piece, even if its possible that would be a tough thing to do...... So there was no doubt on the fact that I was going ahead with 3D printing ....
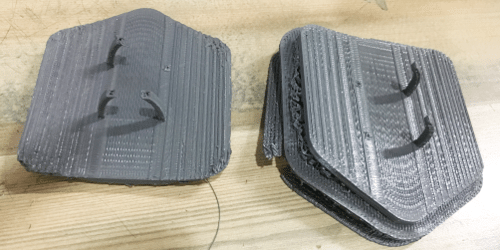
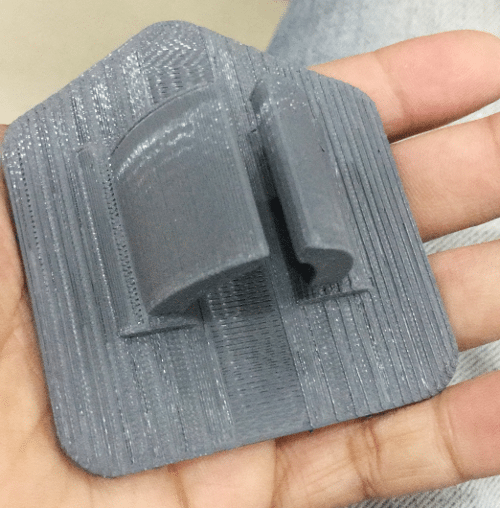
This design was 3D printed but there was a problem with the design, the holders which were made to hold the finger breaked due to its very less thickness. So I improved the design and then made the holder solid, then it worked.
Time to test ........
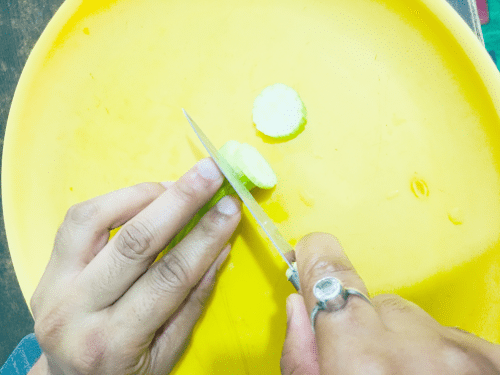
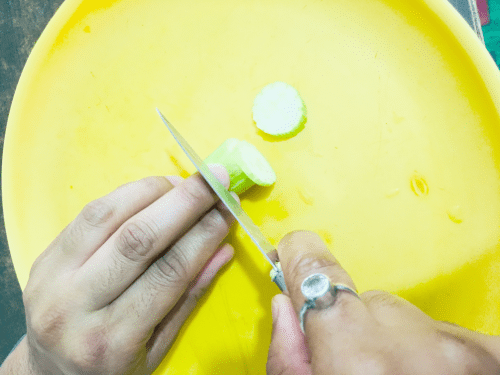
This is without using the design ...... there are a lot of chances that I cut my finger...... as it is exposed directly to knife.... Now its time to test the design.....
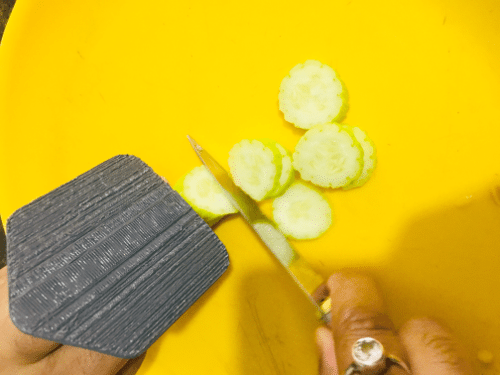
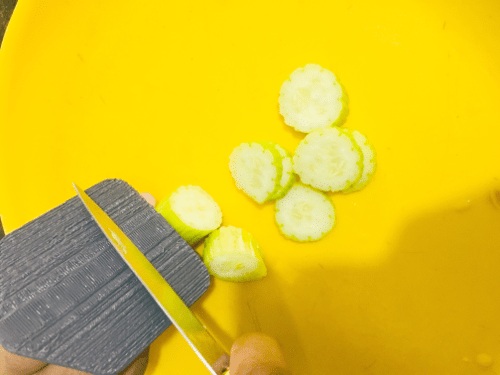
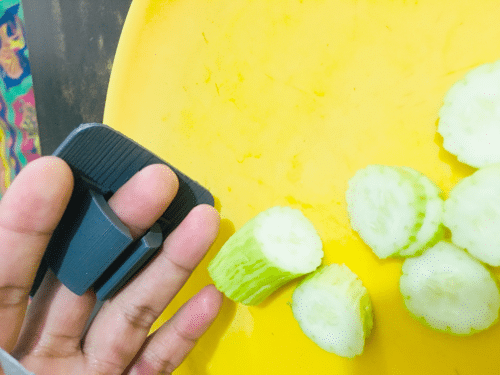
Design seems to be working ...... now you dont have to worry about knife cuts ......
Download all Files Download STL/Solidworks file3D Scanning
Before doing moving ahead with this the first question which arised in my mind was ....... why do we need this ..... we dont have to make a object copier afterall .... plus I don't know any great 3D scan which looks exactly same as the object ....... but after going through some webpages........ 3D scanning can be a boon ....... for research .... for product development .... etc... it can be used anywhere..... from big proffesional platforms to your smart phones ..... every scale is capable to 3D scan an object..... So for this weeks assigment.... I choose to use my phone to 3D Scan some objects.......
For scanning objects I used an App named Qlone for Iphone...... its very easy to use plus it comes with a handly explainer video which can be used to completely understand the app and use it for scanning......
Steps
>First step would be downloading the app from the Apple store
It's a free app ..... so you can download it for free..... infact its partially free .... for exporting STL Files u need to buy credits ..... In my case i didnt exported any STL file... so it was free for me ...

> After downloading the app a video would start..... which would show how to use the app
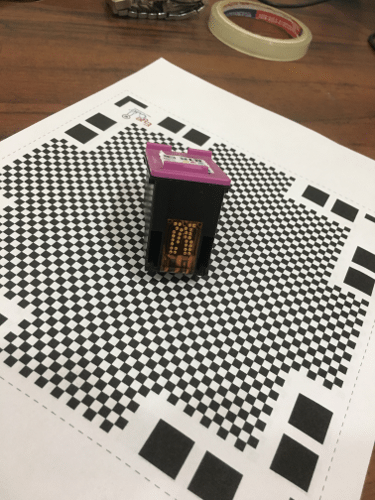
> After the video is over you need to download one scanning mat... either you can print it directly or you can mail it ....
Note: Mat is very important thing in the whole process as Mat provides referance points to the App.
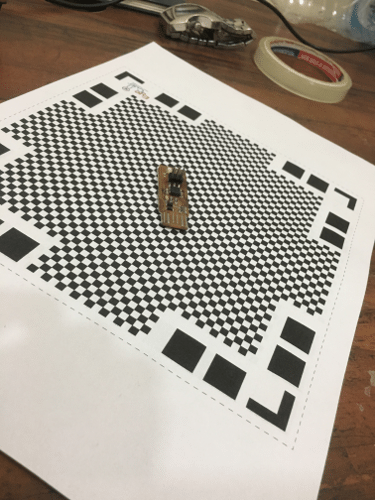
> Print the scanning mat ..... Its very important that you print the scanning mat completely with all the edges ....
> After all this setup kinda things ... we are good to go
Here is my Experience with 3D Scanning
Initially I printed the mat ....I dont know how my printer didn't printed it correctly with all the edges....and I was trying trying and trying but the app was unable to detect the mat ......
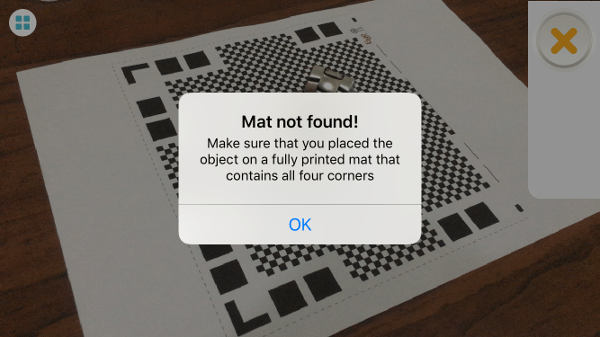
After a struggle for few minutes I realized oh........ THE CORNERS ....... I again printed the mat .... this time it was all good .....
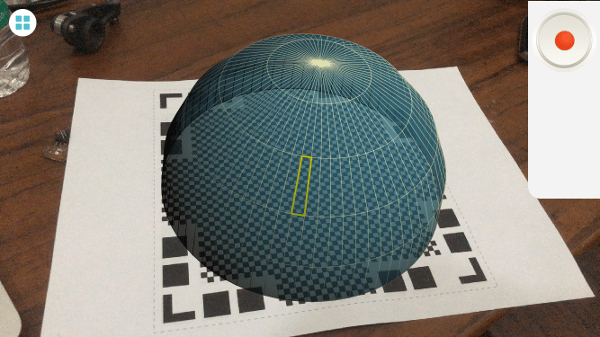
After the mat is properly detected you can see a dome like structure on screen over the mat .....
Now all you have to do is put an object in the center and rotate ..... either the phone or the mat with object .....

Conclusion
I find that the app is unable to scan sharp edges and hollow objects..... also light is an important factor... in one of the scans due to shadow ... the mat was also scanned
The STL of the scan was not downloaded as this feature of the app was paid..... I went to the conclusion that the scans were not perfect after having a look at the GIFs it produced, they look too distorted to me.
Overall the scans were satisfactory for me ..... I found the app was having difficulty if the depth changes ......