FABACADEMY
Interface And Application Programming
Welcome to my week 13
Interface And Application Programming
Learning Outcomes:
Brief
In computer programming, an application programming interface (API) is a set of subroutine definitions, protocols, and tools for building application software. In general terms, it is a set of clearly defined methods of communication between various software components. A good API makes it easier to develop a computer program by providing all the building blocks, which are then put together by the programmer. An API may be for a web-based system, operating system, database system, computer hardware or software library. An API specification can take many forms, but often includes specifications for routines, data structures, object classes, variables or remote calls. POSIX, Windows API and ASPI are examples of different forms of APIs. Documentation for the API is usually provided to facilitate usage and reimplementation.
Purpose
Just as a graphical user interface makes it easier for people to use programs, application programming interfaces make it easier for developers to use certain technologies in building applications. By abstracting the underlying implementation and only exposing objects or actions the developer needs, an API simplifies programming. While a graphical interface for an email client might provide a user with a button that performs all the steps for fetching and highlighting new emails, an API for file input/output might give the developer a function that copies a file from one location to another without requiring that the developer understand the file system operations occurring behind the scenes.
My Assignment:-
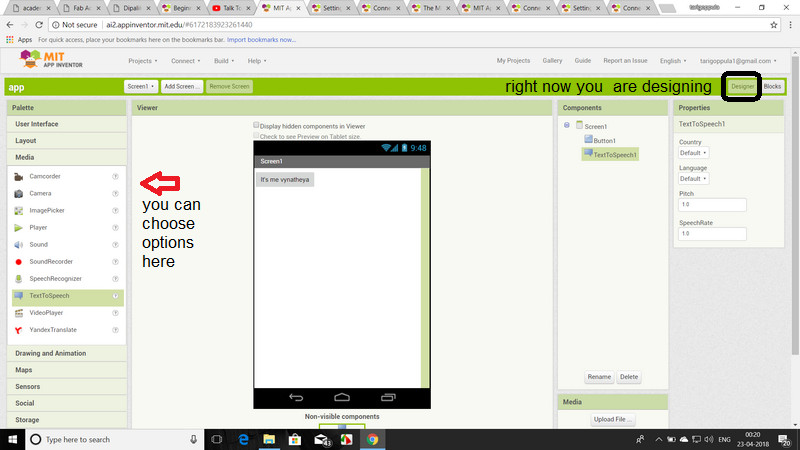
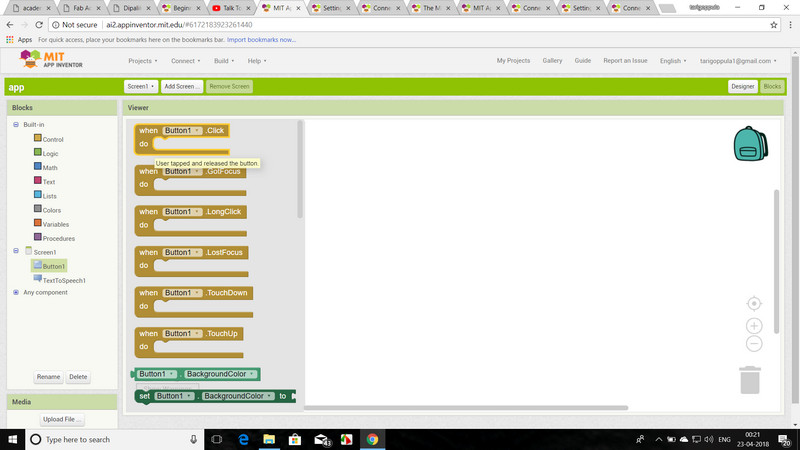
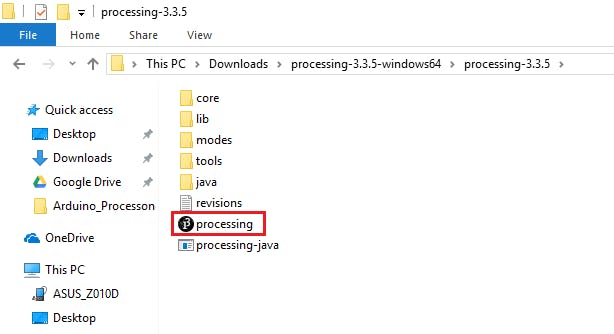
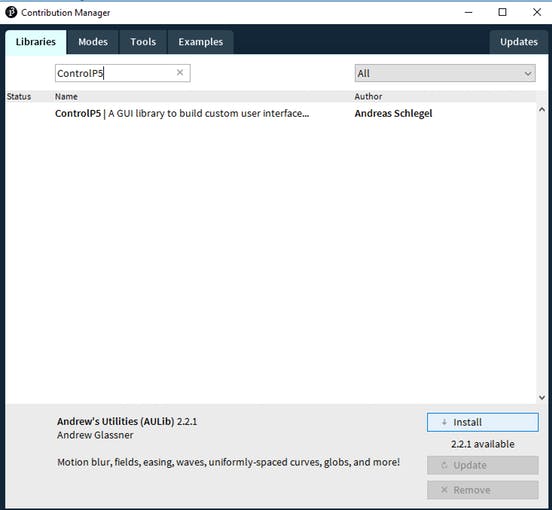
In this week literly I dont know what to interface in the board so I got help from youtube and then I started understanding and then I created a app .

Video Example.........
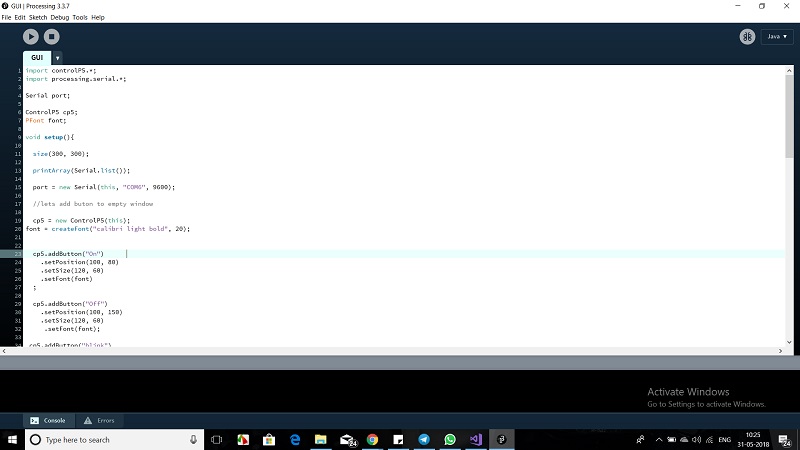
import controlP5.*;
import processing.serial.*;
Serial port;
ControlP5 cp5;
PFont font;
void setup(){
size(300, 300);
printArray(Serial.list());
port = new Serial(this, "COM13", 9600);
//lets add buton to empty window
cp5 = new ControlP5(this);
font = createFont("calibri light bold", 20);
cp5.addButton("On")
.setPosition(100, 80)
.setSize(120, 60)
.setFont(font)
;
cp5.addButton("Off")
.setPosition(100, 150)
.setSize(120, 60)
.setFont(font);
cp5.addButton("blink")
.setPosition(100, 220)
.setSize(120, 60)
.setFont(font);
}
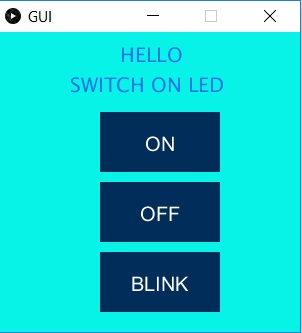
void draw(){
background(8, 243, 231);
fill(25,115,235);
text("HELLO", 120, 30);textSize(20);
text("SWITCH ON LED", 70, 60);textSize(20);
}
void On(){
port.write('c');
}
void Off(){
port.write('g');
}
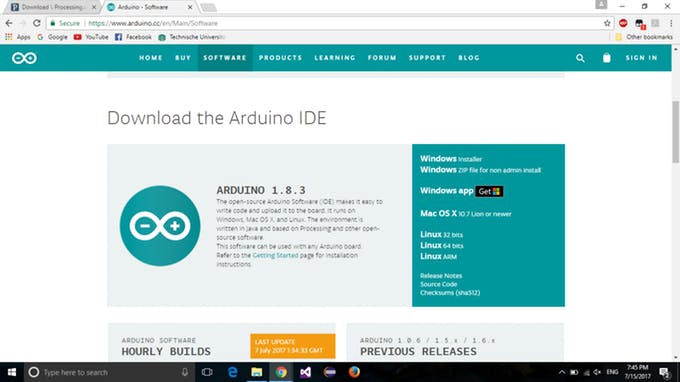
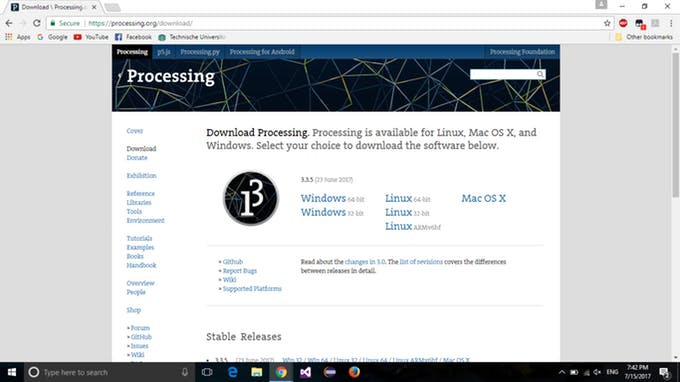
Download the GUI and ARDUINO IDE CODE
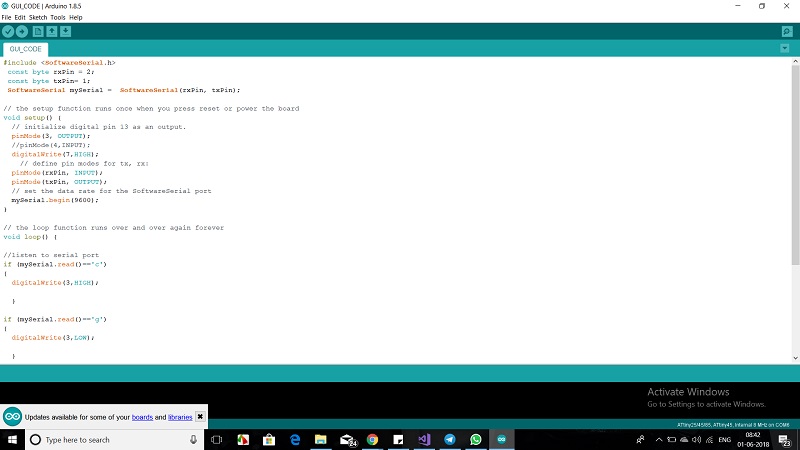
#includeconst byte rxPin = 2; const byte txPin= 1; SoftwareSerial mySerial = SoftwareSerial(rxPin, txPin); // the setup function runs once when you press reset or power the board void setup() { // initialize digital pin 13 as an output. pinMode(3, OUTPUT); //pinMode(4,INPUT); digitalWrite(7,HIGH); // define pin modes for tx, rx: pinMode(rxPin, INPUT); pinMode(txPin, OUTPUT); // set the data rate for the SoftwareSerial port mySerial.begin(9600); } // the loop function runs over and over again forever void loop() { //listen to serial port if (mySerial.read()=='c') { digitalWrite(3,HIGH); } if (mySerial.read()=='g') { digitalWrite(3,LOW); } if (mySerial.read()=='b') { digitalWrite(3,HIGH); delay(1000); digitalWrite(3,LOW); delay(1000); } }