| This week | |
|---|---|
| Presentation tools for CAD | http://academy.cba.mit.edu/classes/computer_design/index.html |
| video of the review (project managment) | https://vimeo.com/253733702 |
| video of the lecture | https://vimeo.com/253815963 |
| video of the recitation on Gitlab | https://vimeo.com/253336757 |
| Assignment | Used software | Files/Downloads/links |
|---|---|---|
| model a possible final project | final project | |
| 1st sketch final project | Inkscape | sketch_final_project.svg |
| parametric 3d model | Freecad | 1st parametric.fcstd |
| 4 wheels | Freecad | 4wheels.fcstd |
| thingie used for transfering between programms | Freecad | thingie.fcstd |
Problems
OK! I knew this was a thing that i would encounter: Howto design without a mouse or other input methods?
Since long i use a thinkpad. And then specially the X series: ultraportable’s with long battery-life and 12” display. And the famous pointing stick and trackpoint that i used since then. Although later models had a touchpad, i’ve hardly used them, even disabled them.

my first steps
30 years ago when i was working as a dtp prepress guru in a print shop, i worked a lot with graphical programs. Since then i only use those tools occasionally, when it is needed. I completely abandoned the mouse after i got my first thinkpad about 10 years ago. This x61s was a 12” extremely fast ultraportable, with a pointing stick. I got stuck to it and even now my thinkpad has a touchpad i never use it, even disabling it by default. Very handy and fast, because you don’t have to take your hands from the keyboard. And no need for a mouse while editting in vim or playing around the shell.
 .
.
Last week we had a workshop from Mauro in Fusion360. A 8 hours crash course in CAD. After some hours i couldn’t keep on track. Partly it was the mouse. So i deceided to buy one (arrived yesterday). The other thing that resulted in a lot of problems was that i’m working on linux. The days before the workshop i installed VirtualBox and made a OSX and Windows10 install. But it was not workable. Graphical programming on VirtualBox in was slow and i couldn’t get the resolution right, which turned out to be a problem between VirtualBox and i3wm, the windowmanager i’m using. I then tried the old mac of Emma, but that one didn’t install fusion360, because it needed a newer version of OSX. Finally i got hand on another Mac were i could install Fusion360. But since i’m not used to work on OSX and a mouse and a mac keyboard it was almost impossable to keep on track of the rithme of the course. So after 4 hours i gave up to follow. I will do CAD but then on software that runs on my machine.
Raster
GIMP
I’m already used to gimp, because it was an early linux tool to manipulate images. I think it was around 1997 that i started using gimp.
In the week on electronical design and other weeks i used gimp to finalize output from kicad to get a png ready for milling with the modela, small milling machine.
imagemagick
used it a lot mainly in web development or when i needed to script. For instance whole directories with images that needed a thumbnail.
To make screenshots import is used. I made a keybinding for in my i3 config file.
# Take a screenshot upon pressing $mod+x (select an area)
bindsym --release $mod+x exec --no-startup-id import /tmp/latest-screenshot.png
To prepair images for the website i use identify (part of imagemagic)
10:41:53 identify *
freecad-para-final.png PNG 1913x1079 1920x1080+2+0 8-bit sRGB 137KB 0.010u 0:00.000
freecad-para-sketch.png PNG 1917x1079 1920x1080+2+0 8-bit sRGB 156KB 0.000u 0:00.000
With convert I converted the images to right size. Capturing the whole screen (1920x1080) gives pictures sized around 150K, so i try to avoid it. Screenshots of parts of the screen keeps them mostly within 100K, so thats beter, otherwise the quality will drop to much.
Vector
Inkscape
used it occasionally to prepair stuff for the lasercutter and vinylcutter.
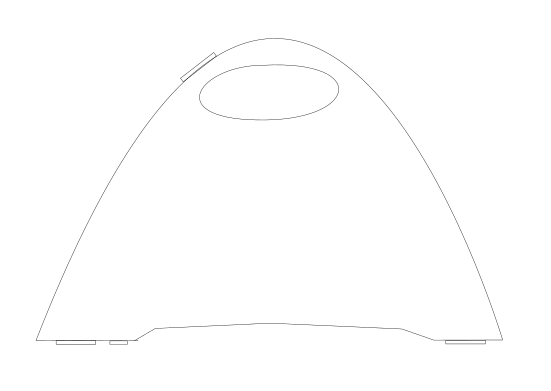
Here is a sketch i made to get an idea how to shape and model my final project.
In the documentation on computer-controlled cutting inkscape was used to prepair a laptop sticker, doing color separation and finalizing the artwork to be printed on the vinylcutter.
There are a lot of handy extensions
- for the Silhouette Cameo there is a nice plugin to plot directly from inkscape
- tabbed box maker
In the week 8 make something big you see me using inkscape to make a file in inkscape.
FreeCAD
This is the program i will use for 3d modeling. It runs perfectly on my laptop, is opensource and looks great. But since i have hardly used 3d CAD programs, i need to invest time and effort to get used to it. So it will be the core thing i am gonnan do when having some time left.
First thing i did was open the program and playing around. What i already thought became immediatly clear: learning has to be done by course or instruction video.
These series of FreeCAD Tutorials by Bram De Vries were the tutorials used to learn the basics of freecad, 9 lessons of about 5-10 minutes each. I followed all steps to remake everything on freecad myself. These tutorials were a great investment. I now finally understand the basics.
Here’s the first tutorial:
Youtube is a great source of small and large tutorials howto learn FreeCAD. Here are some more videos:
FreeCAD Create a solid from SVG image Learn how to make complex objects from 2D sketches using the Part Design Workbench in FreeCAD. Part 1: Part Workbench: Part 2: Part Design Workbench: Part 3: Creating/Editing/ Importing Images:
Assignment
My first step into 3d modeling
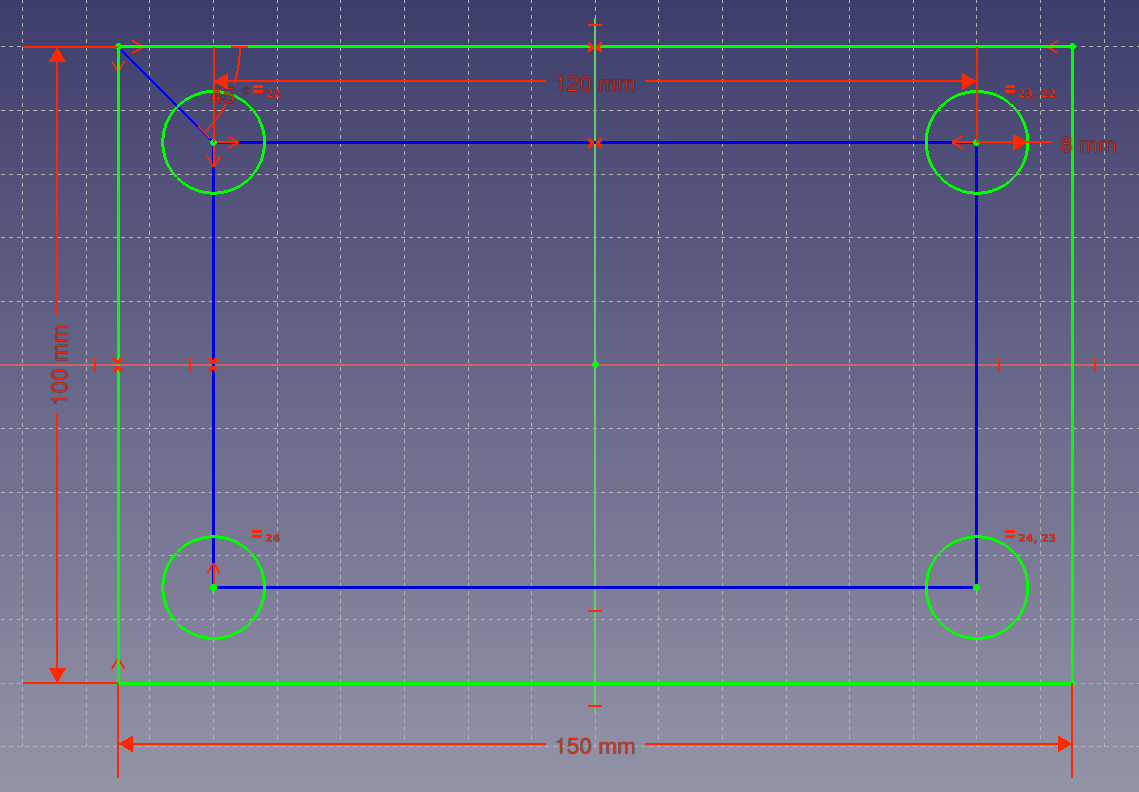
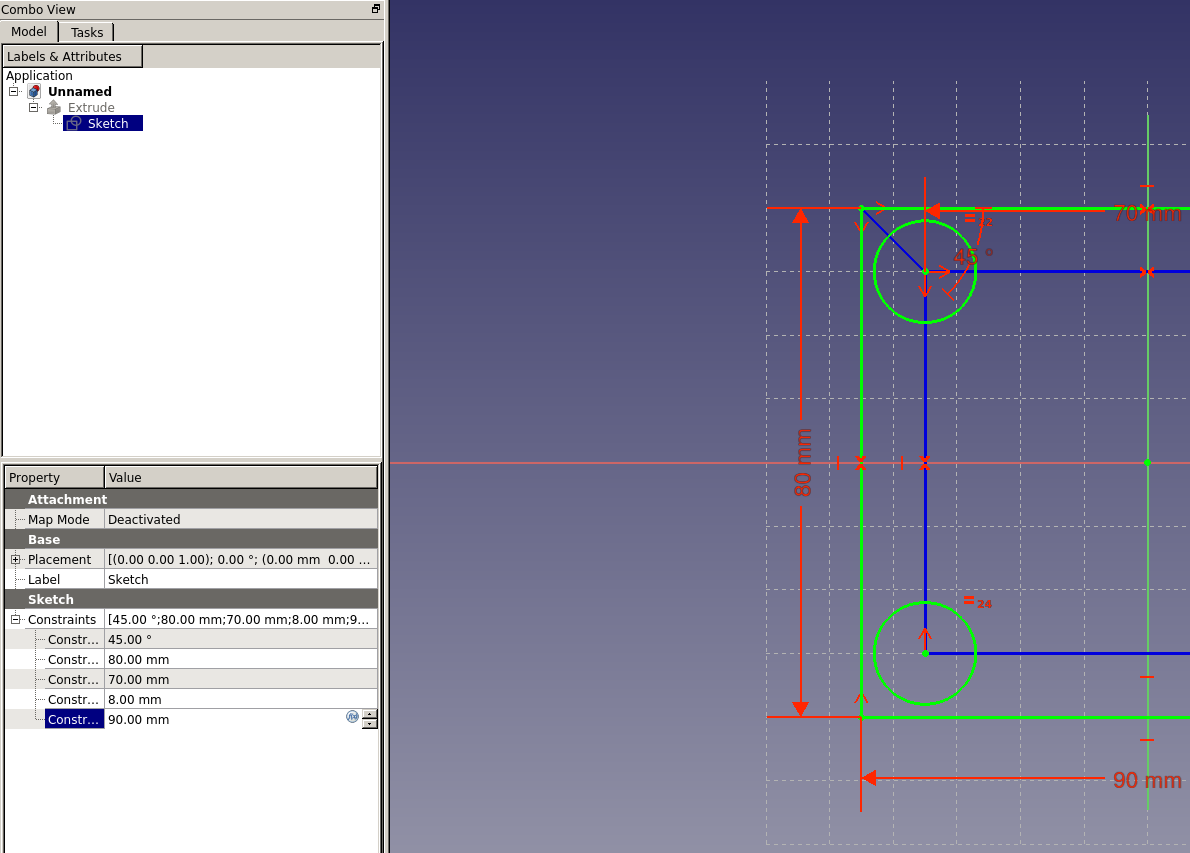
After following the first 5 tutorials i made a first parametric 3d design. This is the sketch:
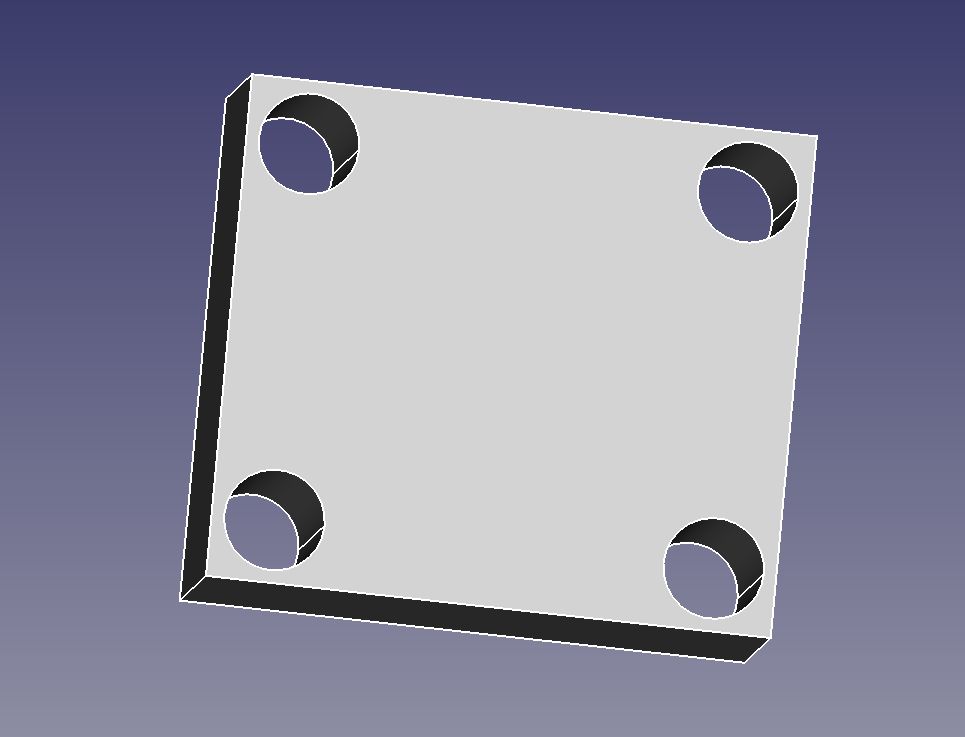
The model now looks like this
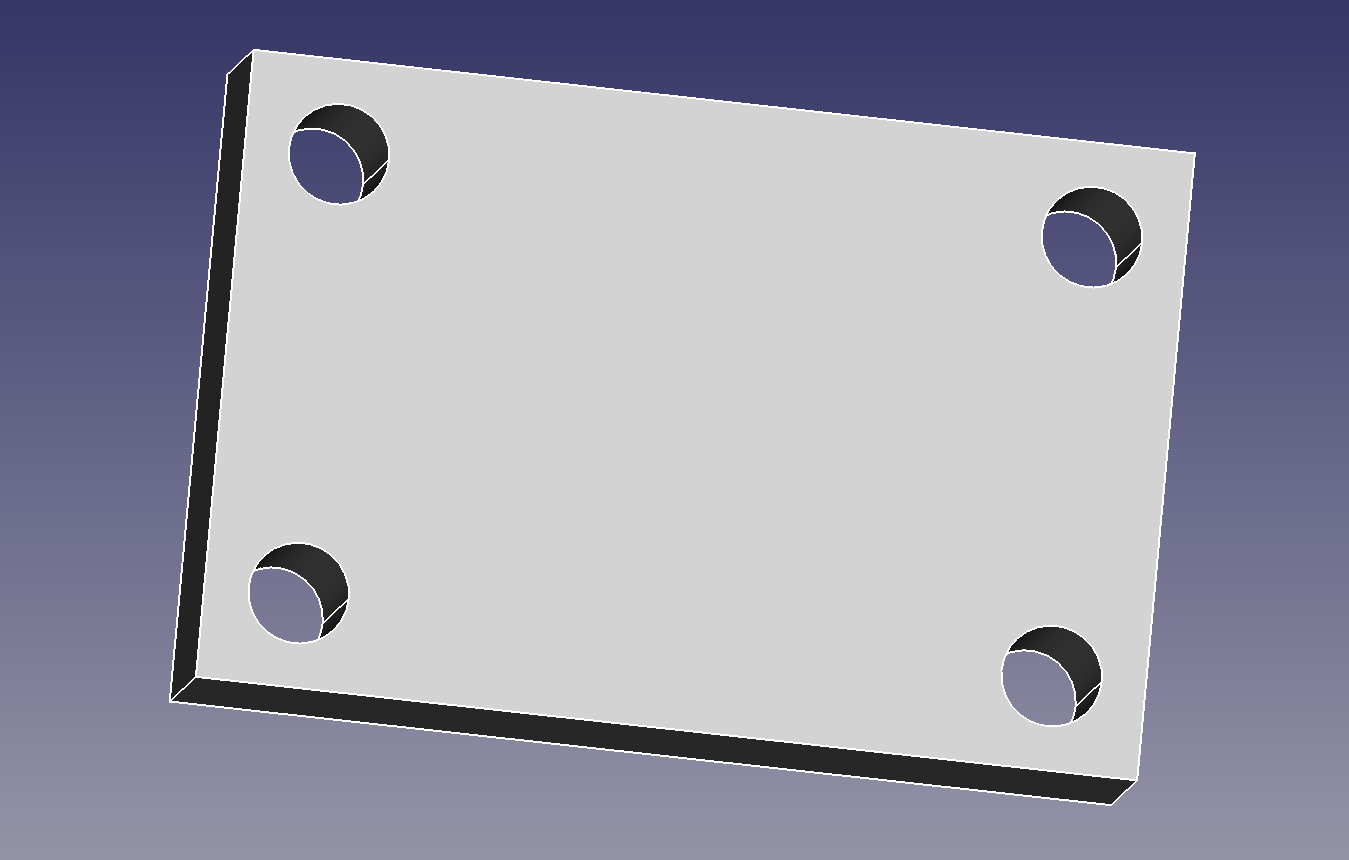
When going back to the sketch i’m able to change parameters
which changes the model:
To make this model parametric a line was used between the outer and inner rectangle. By making the angle between this line and the upper rectangle line 45 degrees the circles will always have the same space to the borders.
Final thing is toggling the inner rectangle from construction mode, as also the 45 degrees line. This is done by selecting the lines and use the Toggles selection to/from construction mode button.

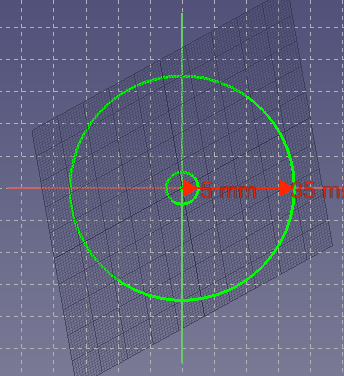
Modeling my final project
Its a start: Mobile ice measuring device needs wheels!
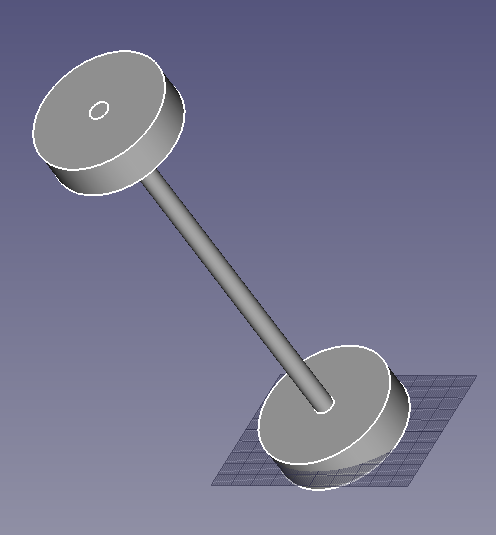
I first made a circle and w whole inside (with a smaller circle).
Then made an axe
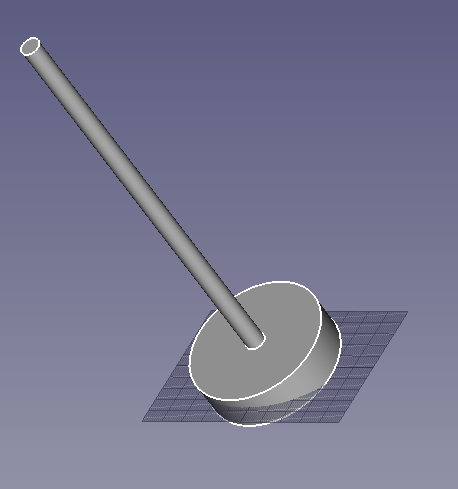
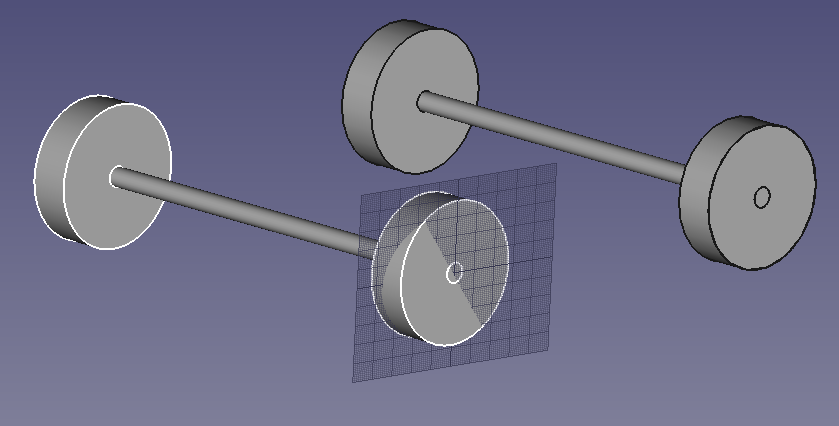
a clone of the wheel and position the clone at the other end of the axe
And now i needed the back wheels. I created a group and placed everything made will now inside it. Then a clone of the group was made and put in another position.
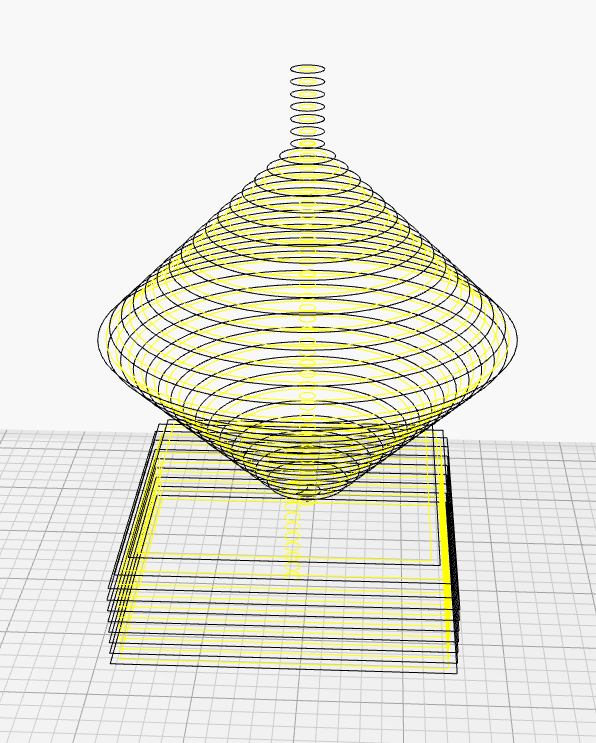
Kiri:Moto
nice software Kiri:Moto is a multi-modal slicing and visualization engine that produces
- 3 axis CNC toolpaths
- GCode for 3D printers
- DXG/SVG cut paths for lasers
I tried slicing a model i quickly made in FreeCAD.
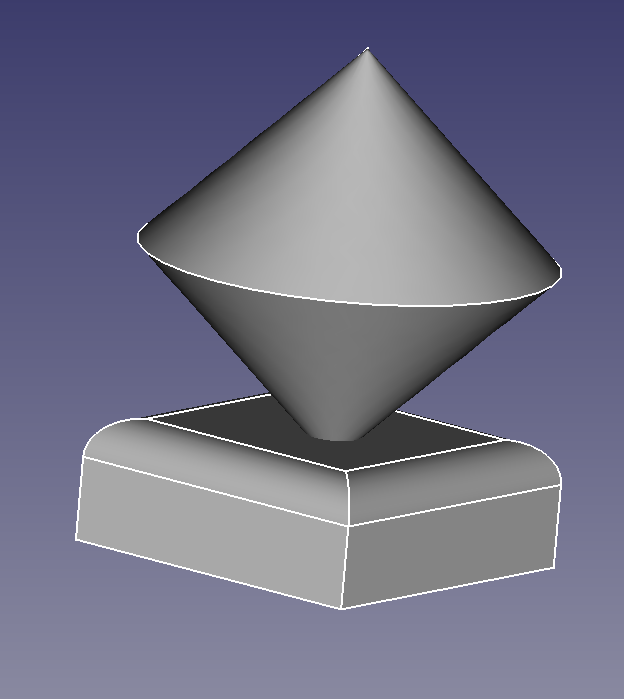
Exported the file from FreeCAD as stl and imported it to kiri:moto
After playing a bit with thickness of the slices this sliced model was produced
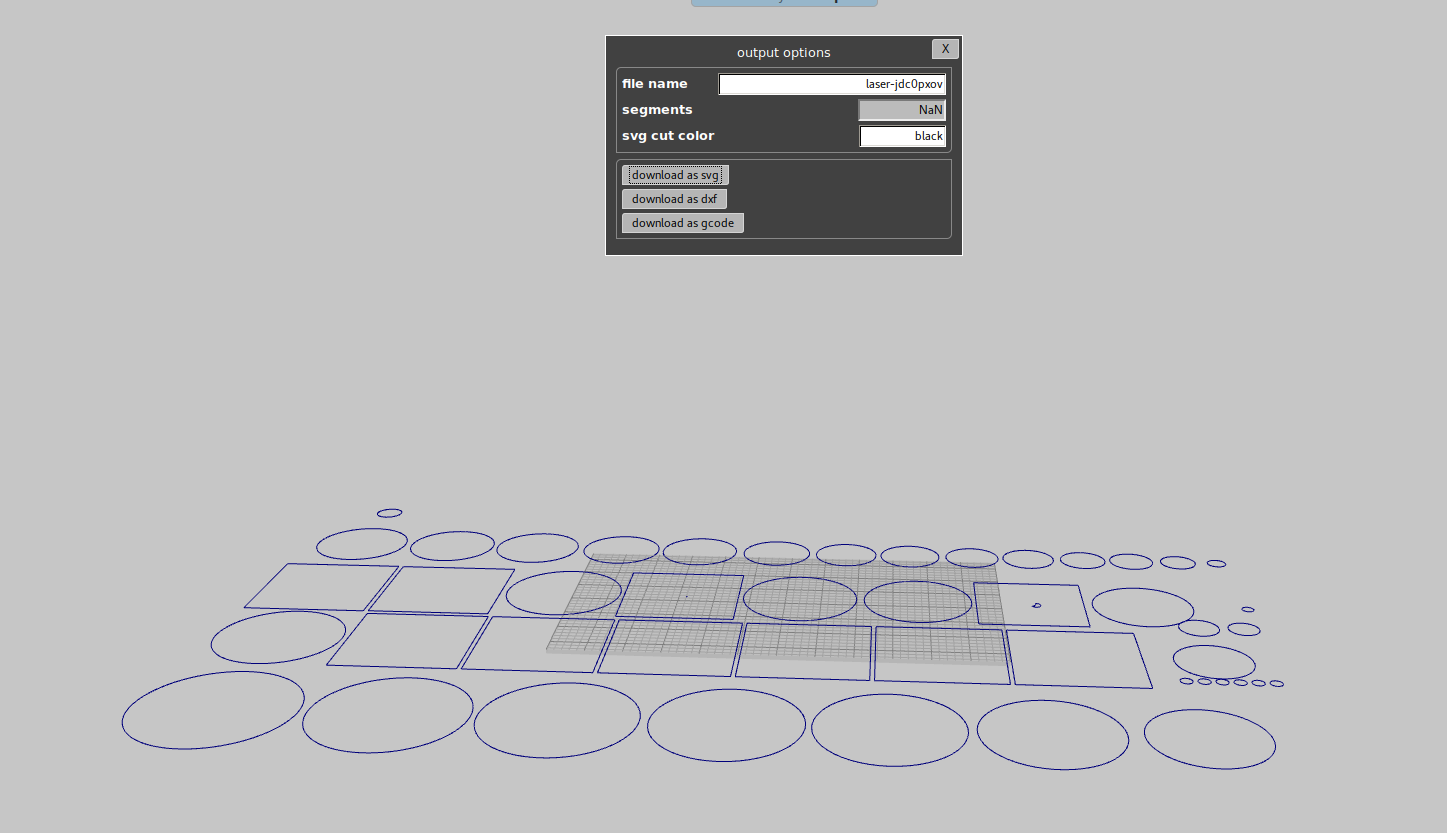
An export of the sliced model produces a 2d lay out
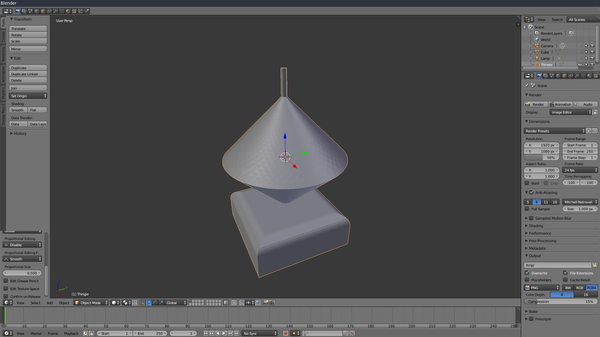
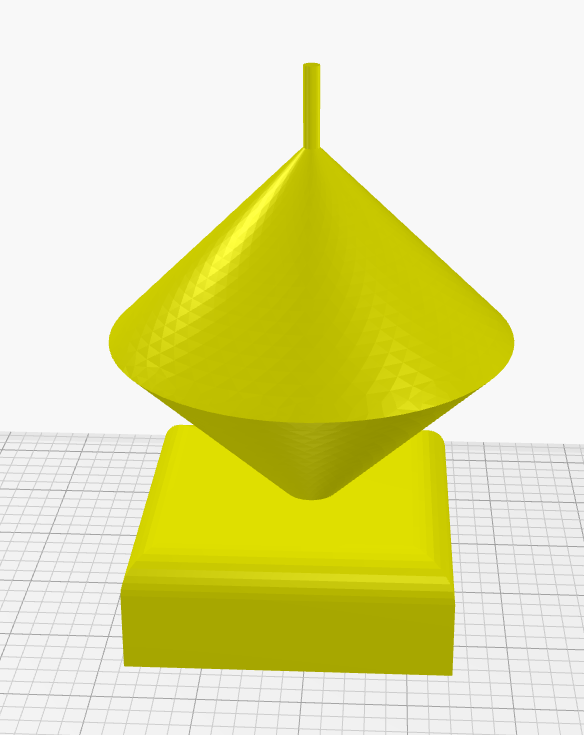
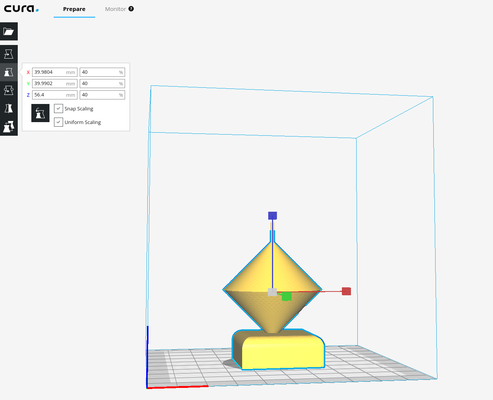
The same stl file exported from freecad i used to import in Cura (for 3d printing)
and to import in blender (3d modeling software)