| This week | |
|---|---|
| Presentation Computer-Controlled Machining | http://academy.cba.mit.edu/classes/computer_machining/index.html |
| video of the review (electronics design) | http://fab.academany.org/2018/lectures/fab-20180307.html |
| video of the lecture | http://fab.academany.org/2018/lectures/fab-20180307.html |
| video of the recitation on human fab lab | http://fab.academany.org/2018/lectures/fab-20180312.html |
| Assignment | Used software | Files/Downloads/links |
|---|---|---|
| Group Assignment | test runout, alignment, speeds, feeds, and toolpaths for your machine | http://fab.academany.org/2018/labs/fablabamsterdam/cnc/week_8.html |
| Beehive | Inkscape | honing_broed_inkscape.svg |
| Beehive | Inkscape | honing_broed_inkscape.pdf |
The week in an overview:
It was a tough week. Because i missed more than a week (spring break/holiday) i had to do a lot of documentation. I finished most (not all!).
The other part i really liked: Make something big!
Since my final project will be small and probably doesn’t need part produced by the CNC, i’m going to make something that i wanted to make for a long time: a Beehive!
Since 8 years i’m a beekeeper myself. One of the problems as beekeeper is that there are beehives all kinds of shapes and measurements. A thing to avoid is having arguments with the family because the enormous amount of material you have laying around. So it’s a good choice to use only one size. And you also want to use equipment and have parts in stock that you can use on all you hives. So that you can change deeps, frames, queen excluders and outer covers.
In the netherlands most beekeepers use what is called a “spaarkast”. The spaarkast has a fixed height, length for the deeps and frames. I used this drawing by Henk Klok for the measurements.
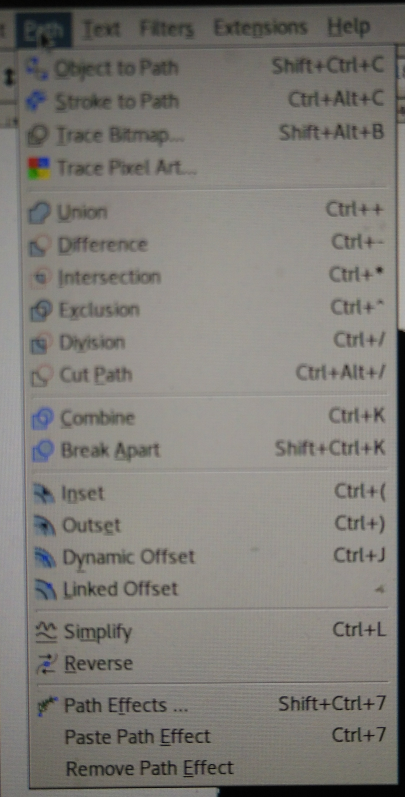
Since all measurements are fixed and mostly rectangles, i devided to make the model in inkscape. I used a lot the Path Menu to union, difference and break apart (part of mostly) rectangles.
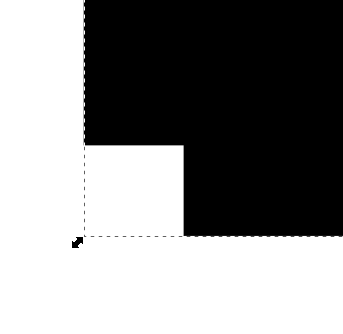
During the group assignment we made a tabbed box. And since the tabs have to make use of dogbones, you get a lot of little holes inside the corner. And i don’t want that in my deeps, so i used a similar solutions that is used in the barcelona warre beehive.
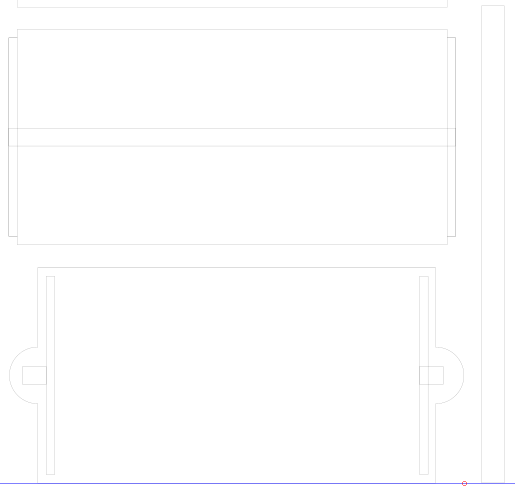
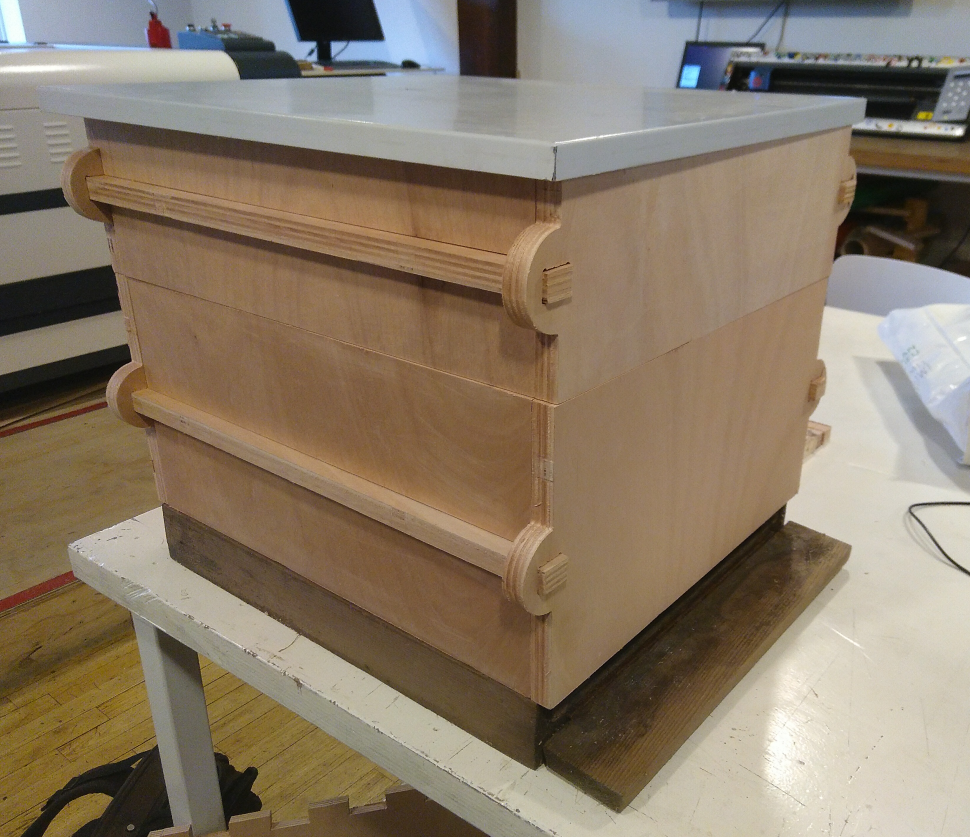
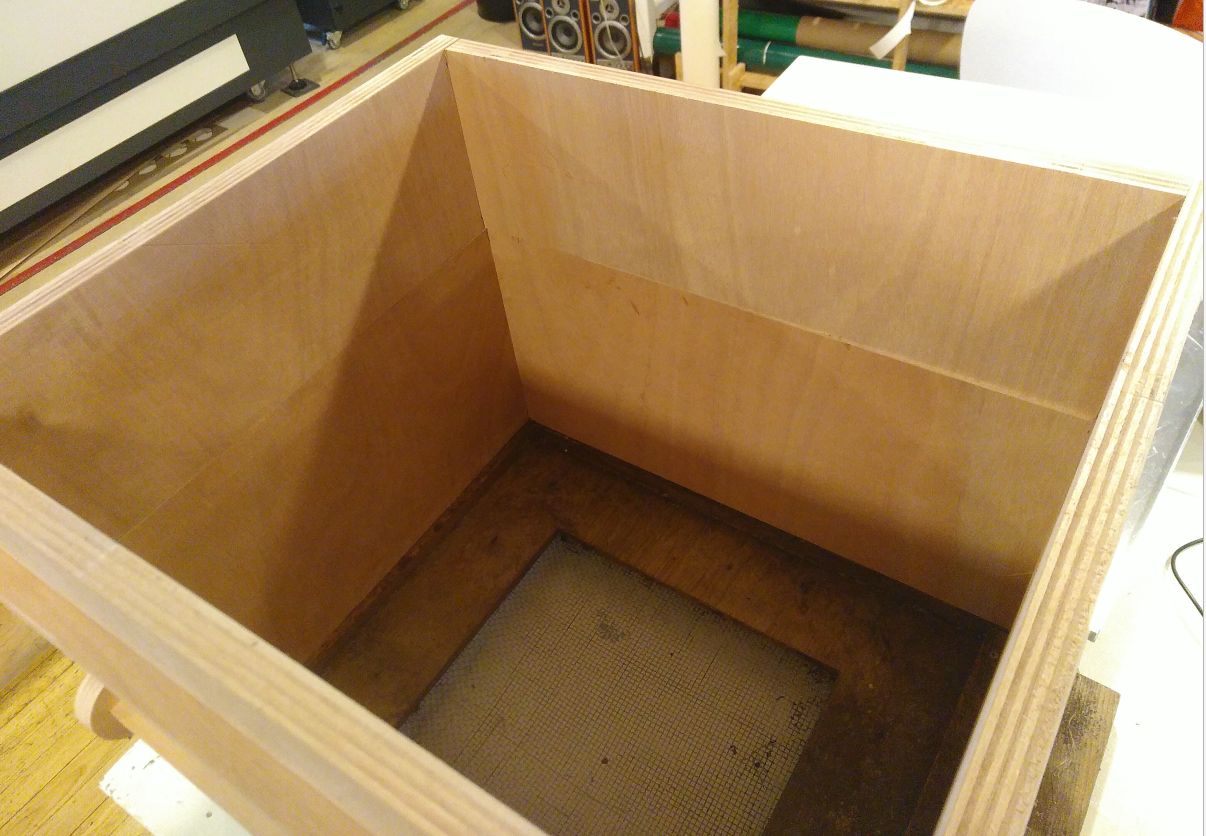
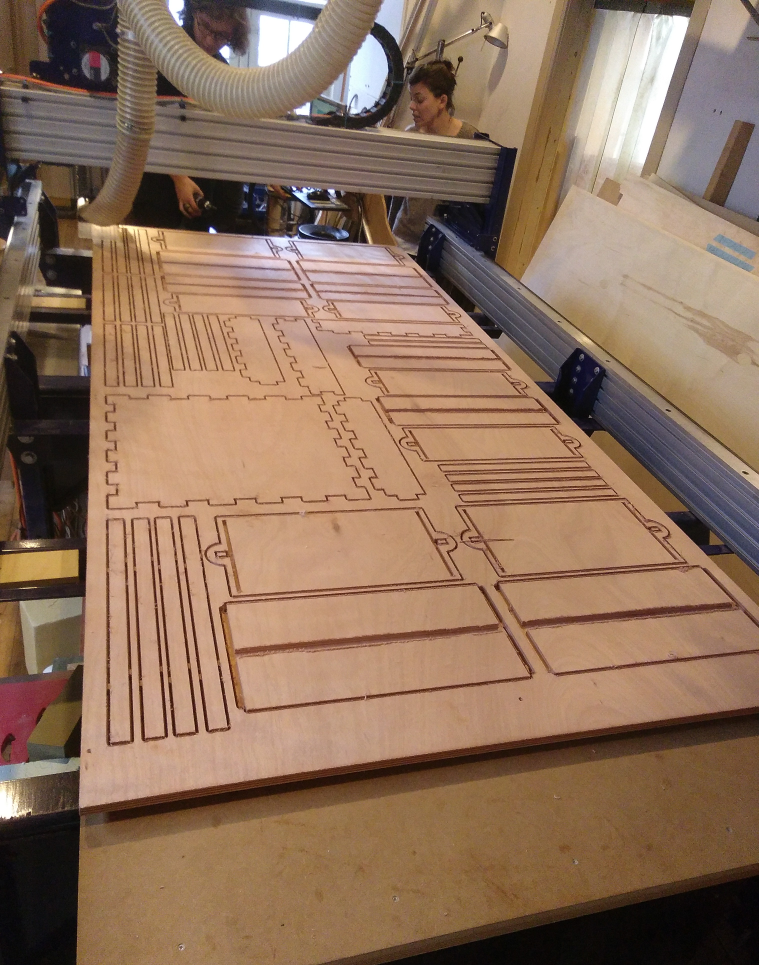
This is the final drawing. containing parts for 2 medium supers for honey, 2 deep supers for brood, and an outer cover. I have several screened bottom board at home. The bottom board i use is made of tropical wood, because it last way longer than plywood because of rain, wind and all kind of little creatures that like to live in dead rotten wood. I decided to let them not be part of this assignment, because it’s hard to get the wood. And i have already enough at home.

Ok! Now lets produce it!
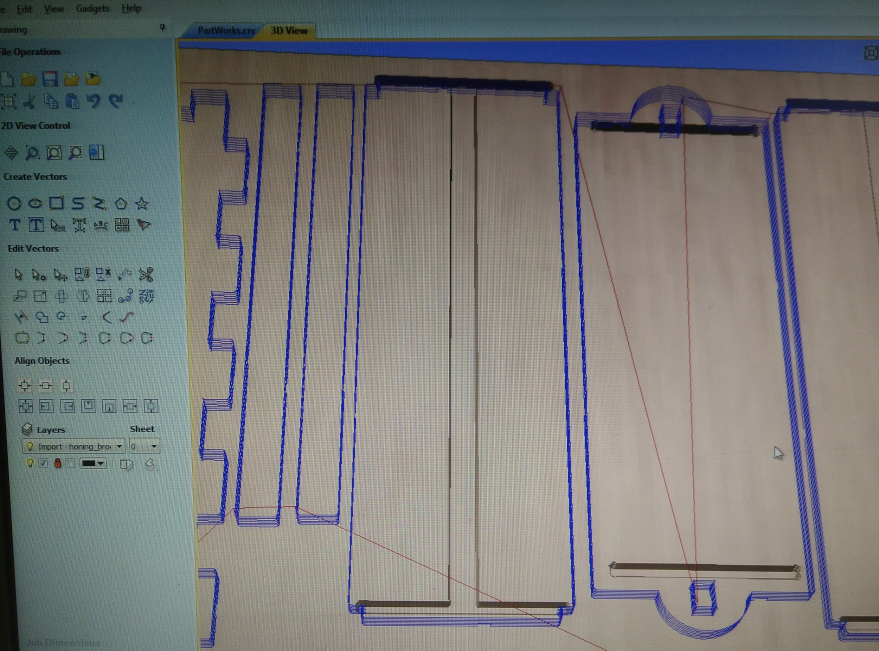
Partworks
- import vextors
- in my case i tried to use several dxf formats, but they all failed. Bas (our local instructor) already told me that dxf exported from inkscape is a nogo. He uses pdf, so did i.
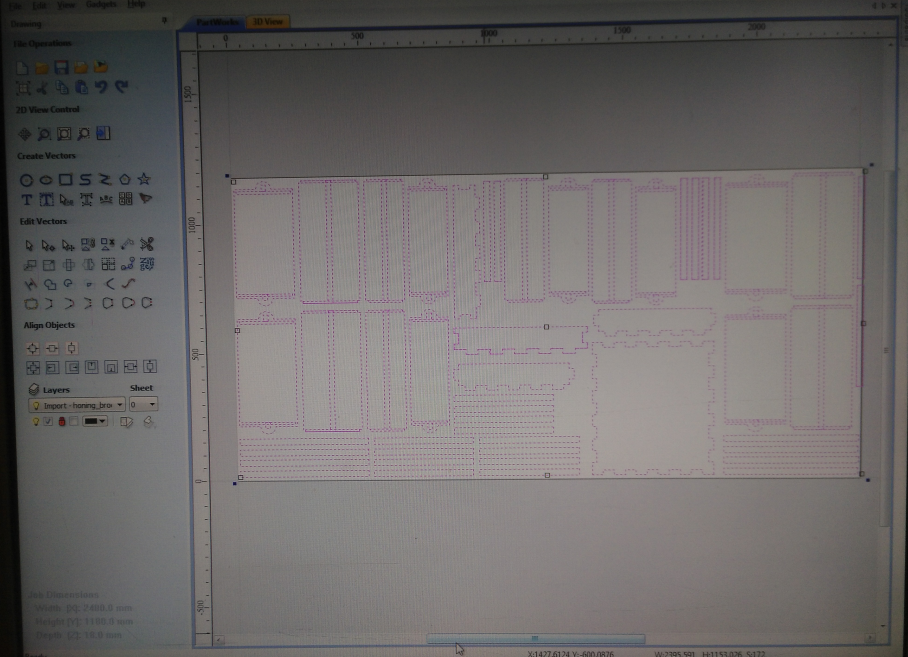
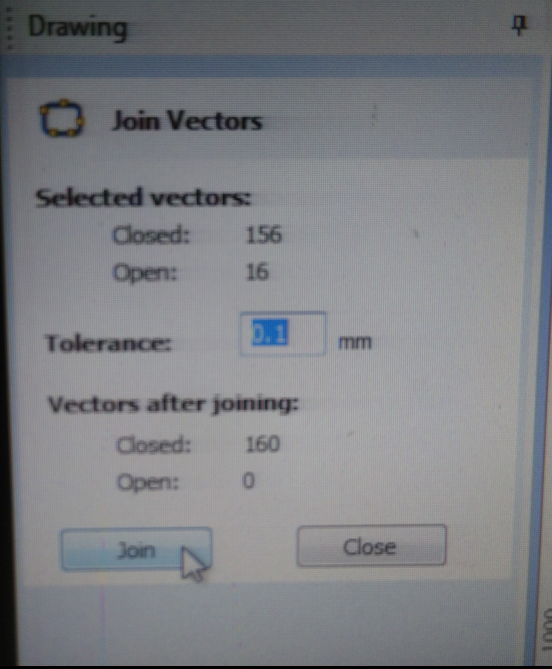
- check for Open Vector and Double lines
- tbones + dog bones (create filets button on the left). We are using a 5mm end mill, so the radius of the fillets should be 2.5mm.
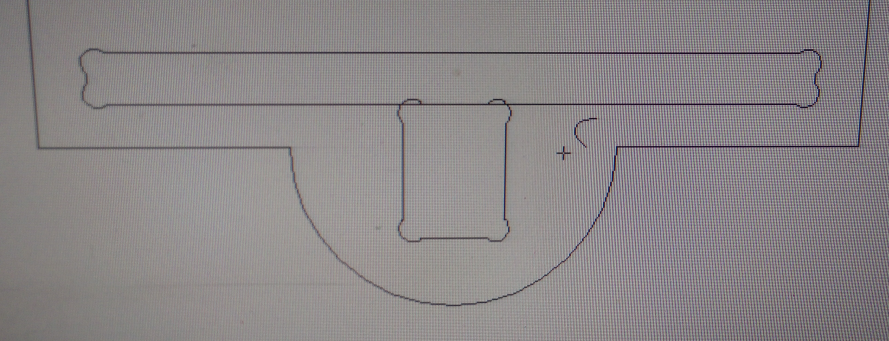
- the pockets are welded as possible: under edit vector choose Weld selected vectors. Only do this if you don’t change measurements of the design anymore. Otherwise the pockets measurements will evt. change!
– I made a mistake here first. Instead of selecting the pocket-toolpath i created a normal toolpath. In the 3d view i noticed it!

– So it’s necessary to always check and double check!
-
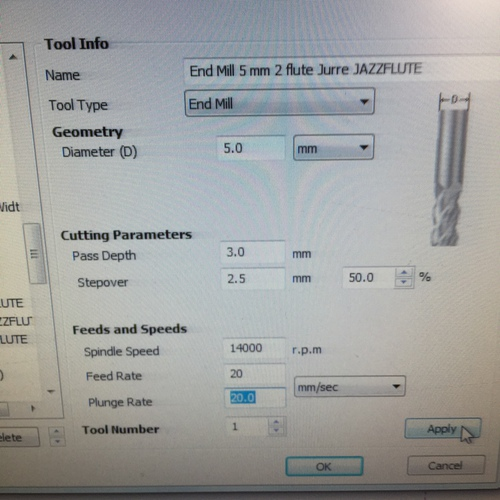
select the tool:
-
5mm Diameter: size of the tool? -
3mm Pass depth: the active cutting length of the tool -
2.5mm / 50% Stepover: how much passes will overlap with each other (Usually no more than 50%). -
14000rpm Spindle speed: spinning speed -
20mm/s Feed rate: the tool’s lateral speed -
20mm/s Plunge rate: the speed of descent of the tool into the material
-
-
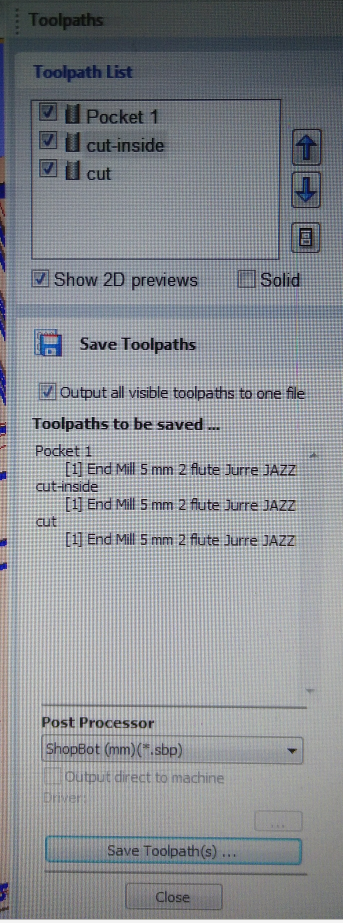
Toolpath. Here i made 1 pocket toolpath and 2 cut toolpaths (one inside and the other outside the line).
-
-
9mm Pockets -
18.5mm Cut toolpaths
-
-
create tabs to keep the pieces in place. I shuffled them a bit around so that they are not in corners or wholes, where they are hard to remove. Finish by clicking “Calculate”.
- Repeat this process for all toolpaths. Then select the order that the cutting is performed by shifting them around with the arrow buttons. Then select all toolpaths, click Preview All Toolpaths to get a visualisation. Then click all toolpaths and then the button Save Toolpath. This will create a gcode file to be used by the Shopbot software.
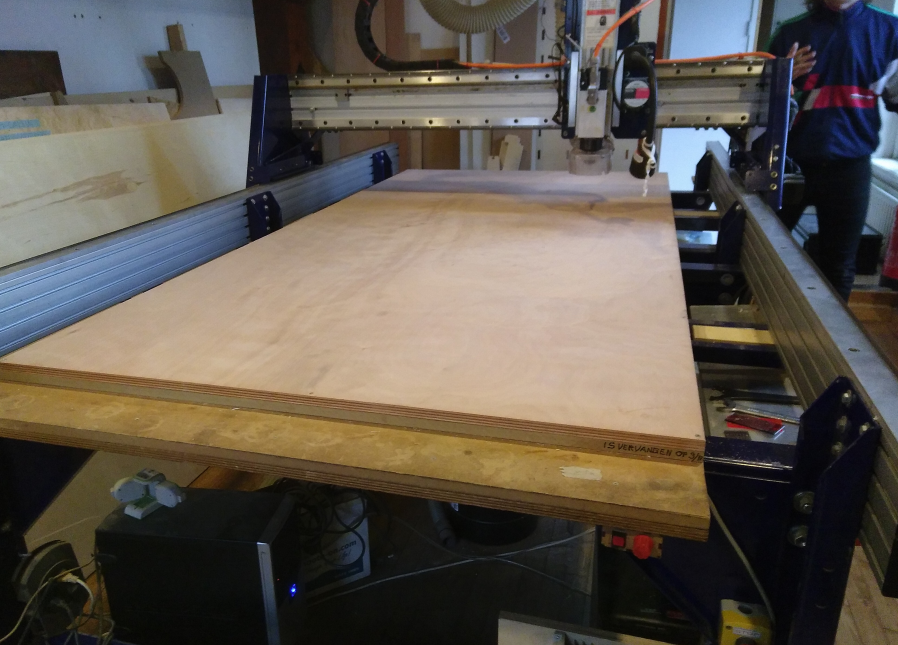
Shopbot
- Attach the plywood to the sacrificial layer with a few screws along the edge.
- Make sure it is flat!
- Turn on the machine with the big red switch.
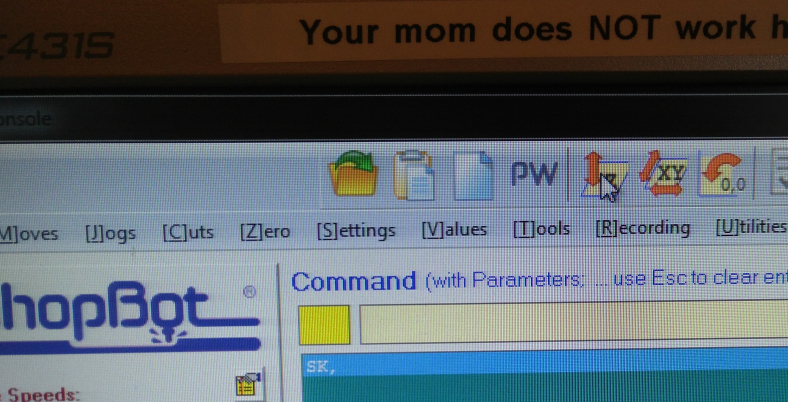
- Start the Shopbot software.
- Zero X-Y
- press k (the key!)
- go with PgUp/PgDn and arrow key to the 0 or origin.
- Lower the Z a bit (but not all) and measure!
- Write down the X and Y values so you can use them if needed.
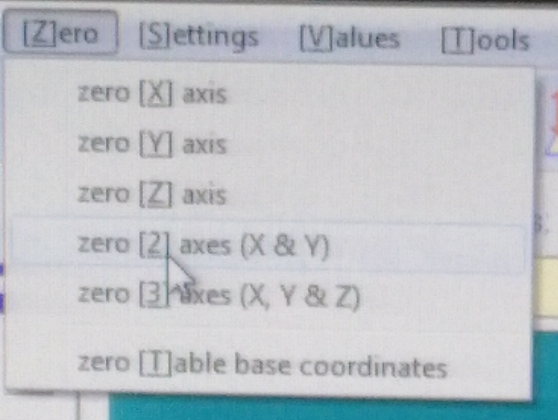
- Goto Menu Zero
- Select Zero axes X&Y
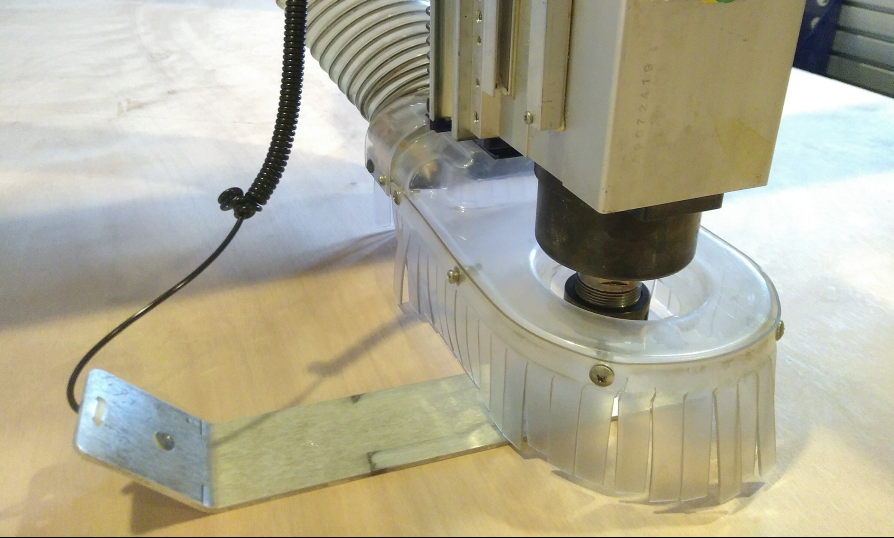
- Zero Z
- place aluminium bar under the mill
- Click the Zero Button
- Z = 3.070 (correct! Is the size of the aluminium bar)
- Error! "z-contact ..." But no problem! Click <I>OK</I>
- IMPORTANT! No only press PgUp.
- aluminium bar in the holder
- Replace Mill
- Place the machine head , using the arrow keys, to a comfortable place where you can work.
- Release the wingnut at the back of the assembly to put the vacuum skirt down
- Use the two wrenches to loosen the collet.
- If needed remove the collet
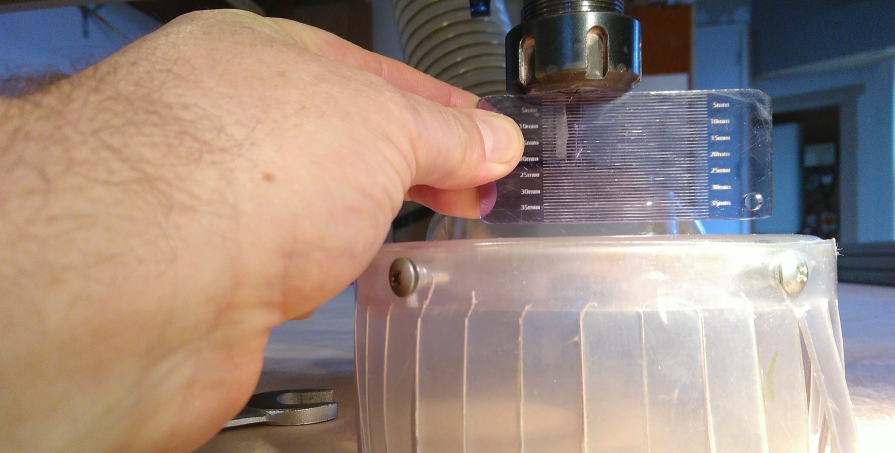
- Check the endmill depth coming out of the collet.
- Screw it in loosely, then tighten with the two wrenches.
- tighten the wingnut on the back
-
Clean the table!
-
Start the machine
- Start the vacuum (red switch at the back wall)
- Spindle on with the key attached to one of the wrenches.
- load Part File
- Safety stuff on (glasses and earplugs)
- red button on table for vauum speed and adjust with the knob.
- Start the job by pressing Start on the computer.
- be ready to cancel the job with the spacebar if something goes wrong
- pause with the spacebar if you want to adjust the feed rate
- adjust spindle rate on the box under the table
- resume
- To Stop:
- Turn of the computer/programm before you turn of the machine!
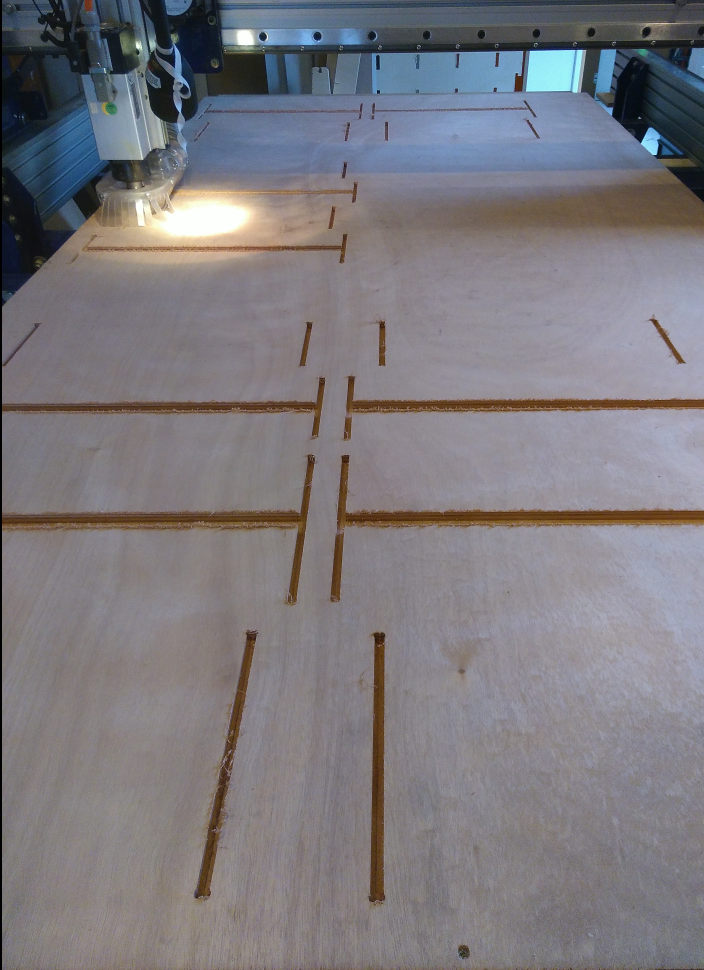
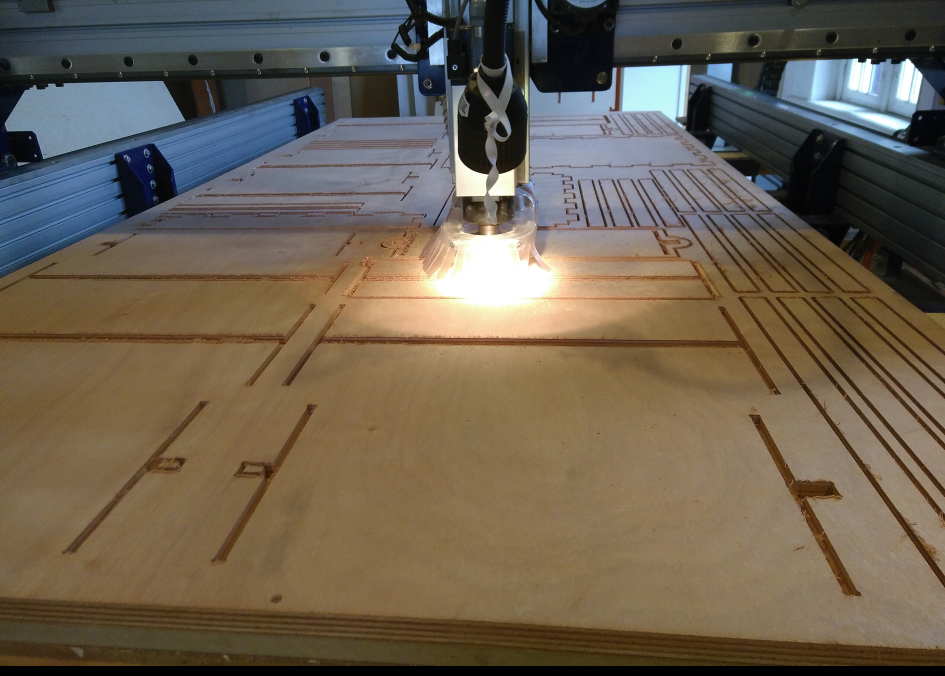
Results
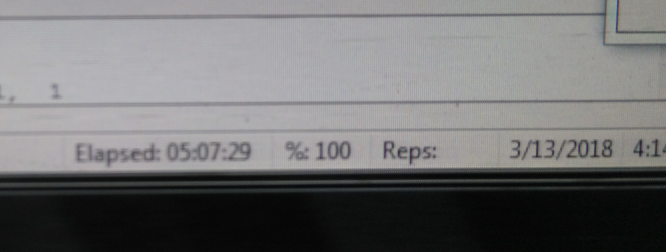
- Over 5 hrs of milling and cutting!
But it worked! Without problems the job continued and took more than 5 hours.
The Beehive