Wildcard Week
This week's assignment is to Design and produce something with a digital fabrication process (incorporating computer-aided design and manufacturing) not covered in another assignment, documenting the requirements that the assignment meets, and including everything necessary to reproduce it.
It was really hard to come up with a process for this week. So many options yet not enough at the same time.
The download links to all the design files
Laser sealed inflatable
Do NOT laser cut PVC or unknown plastics like I did. It's DANGEROUS. It WILL release fumes. It WILL ruin your laser cutting machine.
Just don't do it
Concept
using laser heat to melt plastic in computer designed shapes and create inflatables
I wanted to attempt using a laser cutter as a sealer by melting the plastic enough to create a bond and seal it together creating an enclosed shape that can be inflated. The concept of laser plastic sealing is not new, but is not done using a laser cutting machine, there are special laser welding machines to accomplish that. Plastic welding machine The idea to use the laser cutter to do it comes from seeing some makers create DIY inflatables by using soldering irons or heat guns to melt plastic sheets together. In theory, the heat emitted from the laser cutter should be able to create a similar effect, in a much faster way and would enable us to create precise designs.
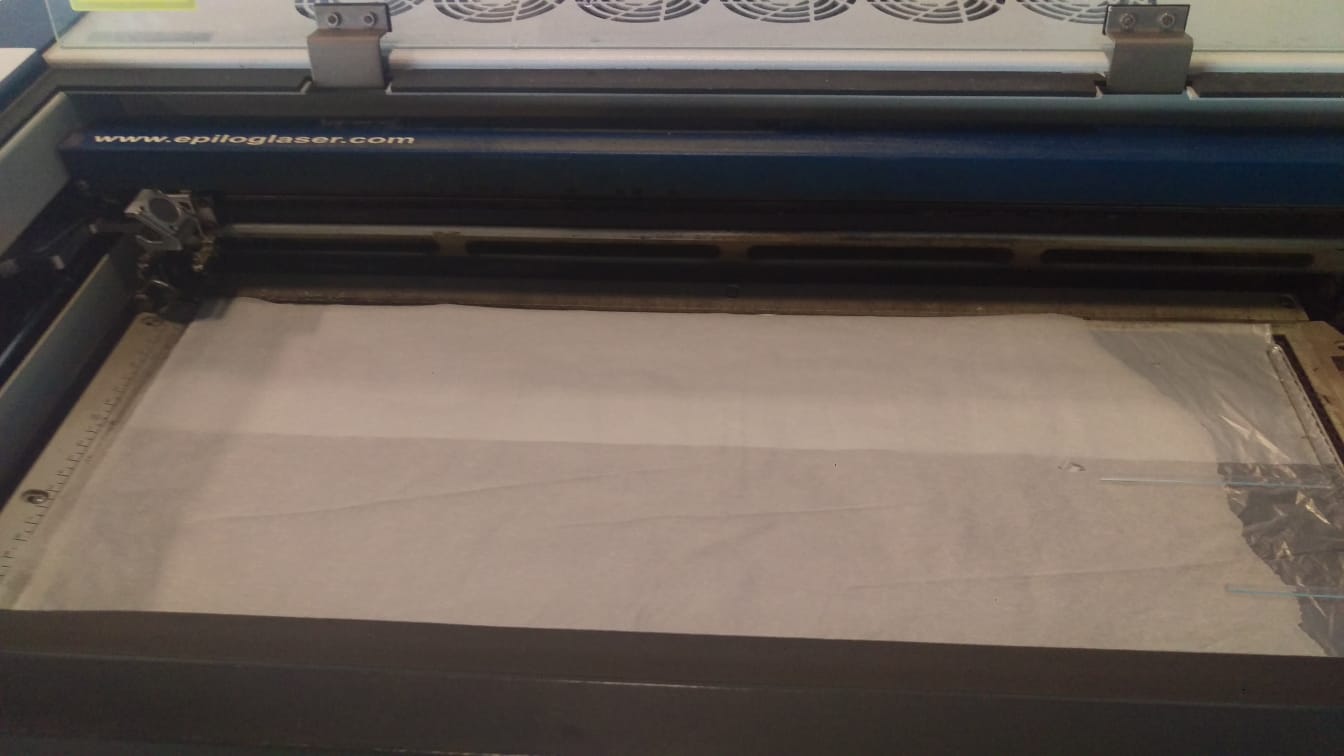
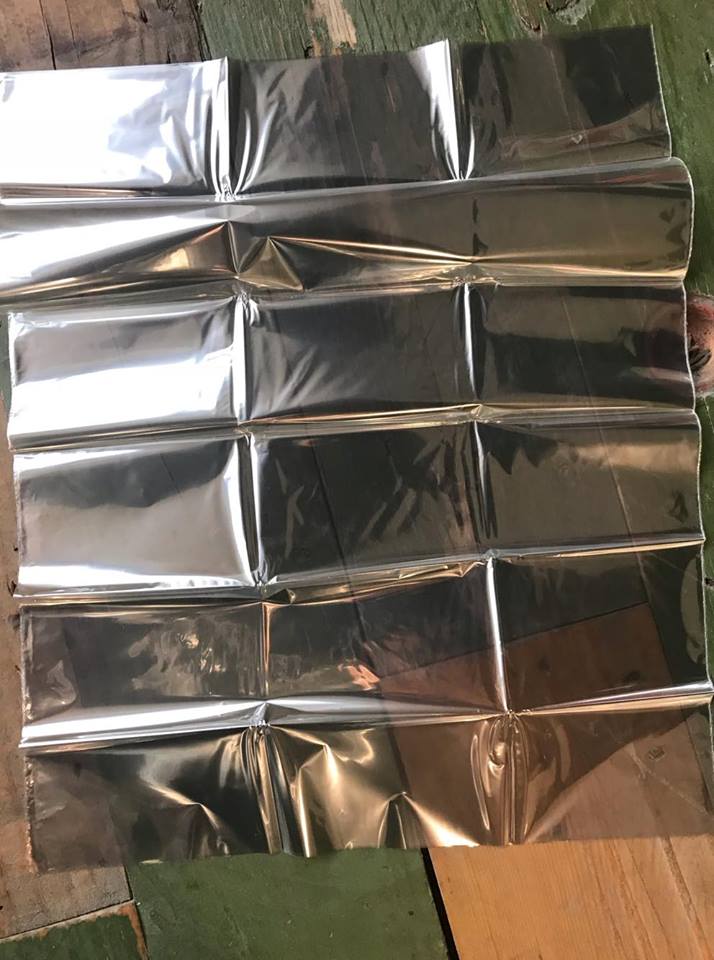
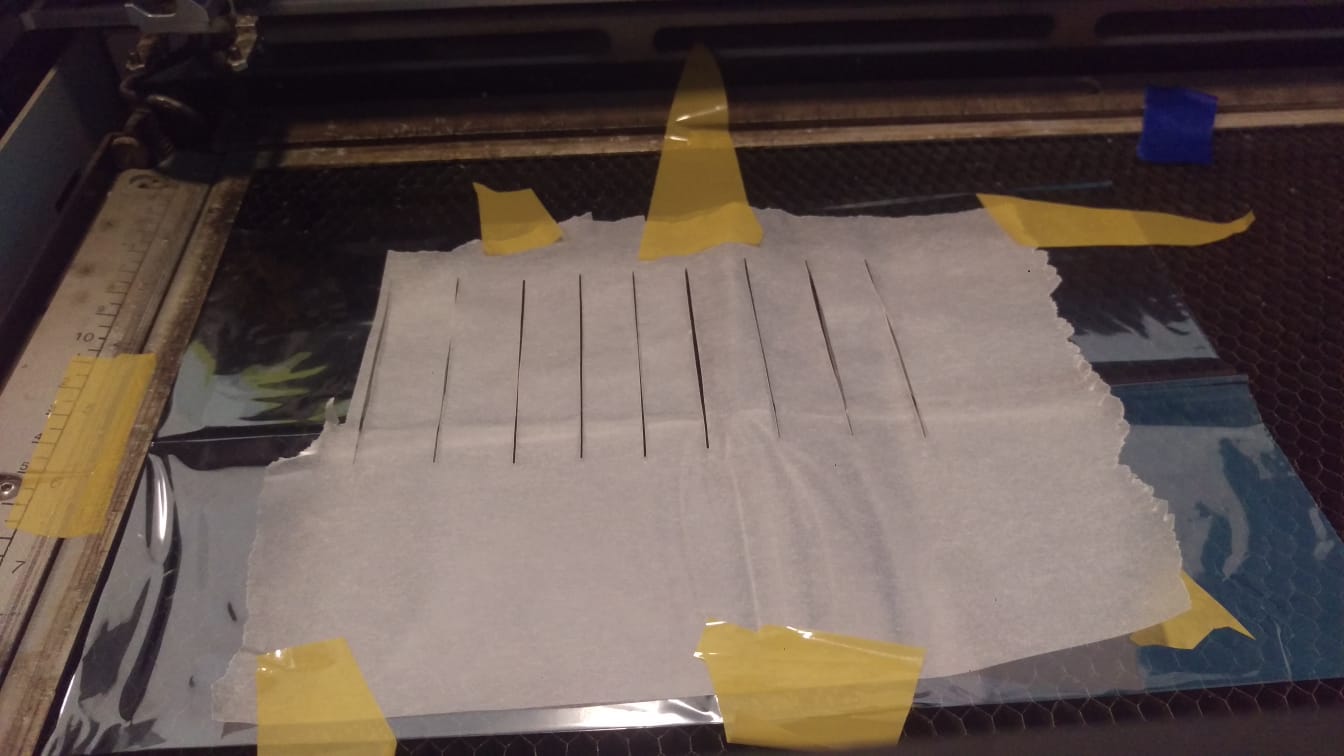
I started out with a roll of small sized garbage bags. The first step was to figure out the settings of the laser cutter that would accomplish the desired effect and would have a strong bond. I created a test file using inkscape of multiple lines so I can run a first test and compare the results I get from each setting.
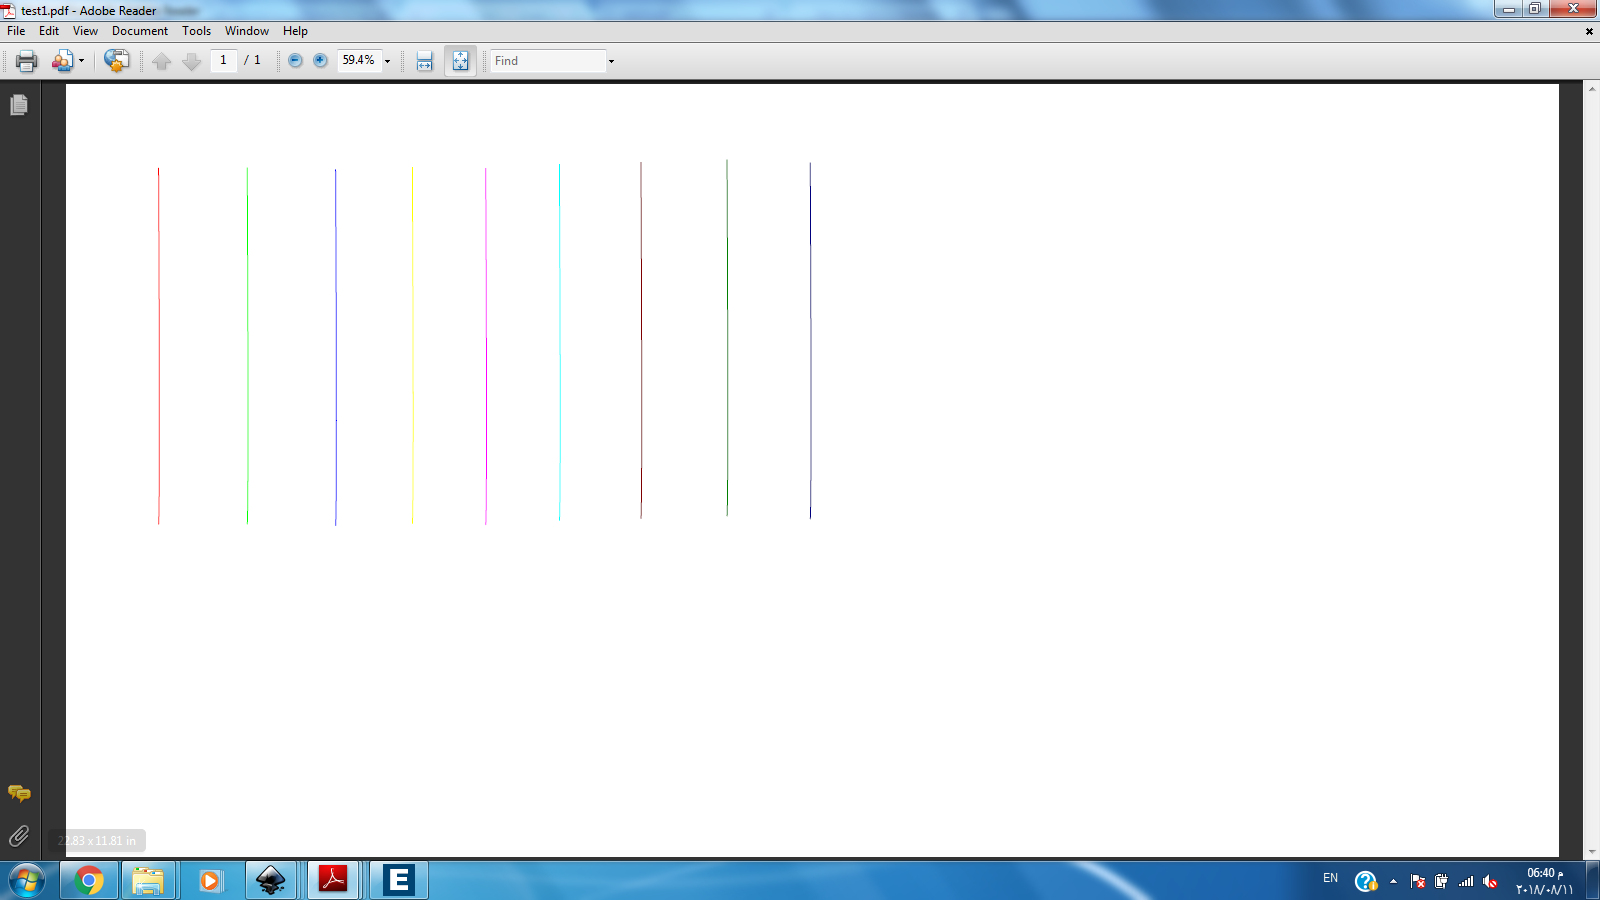
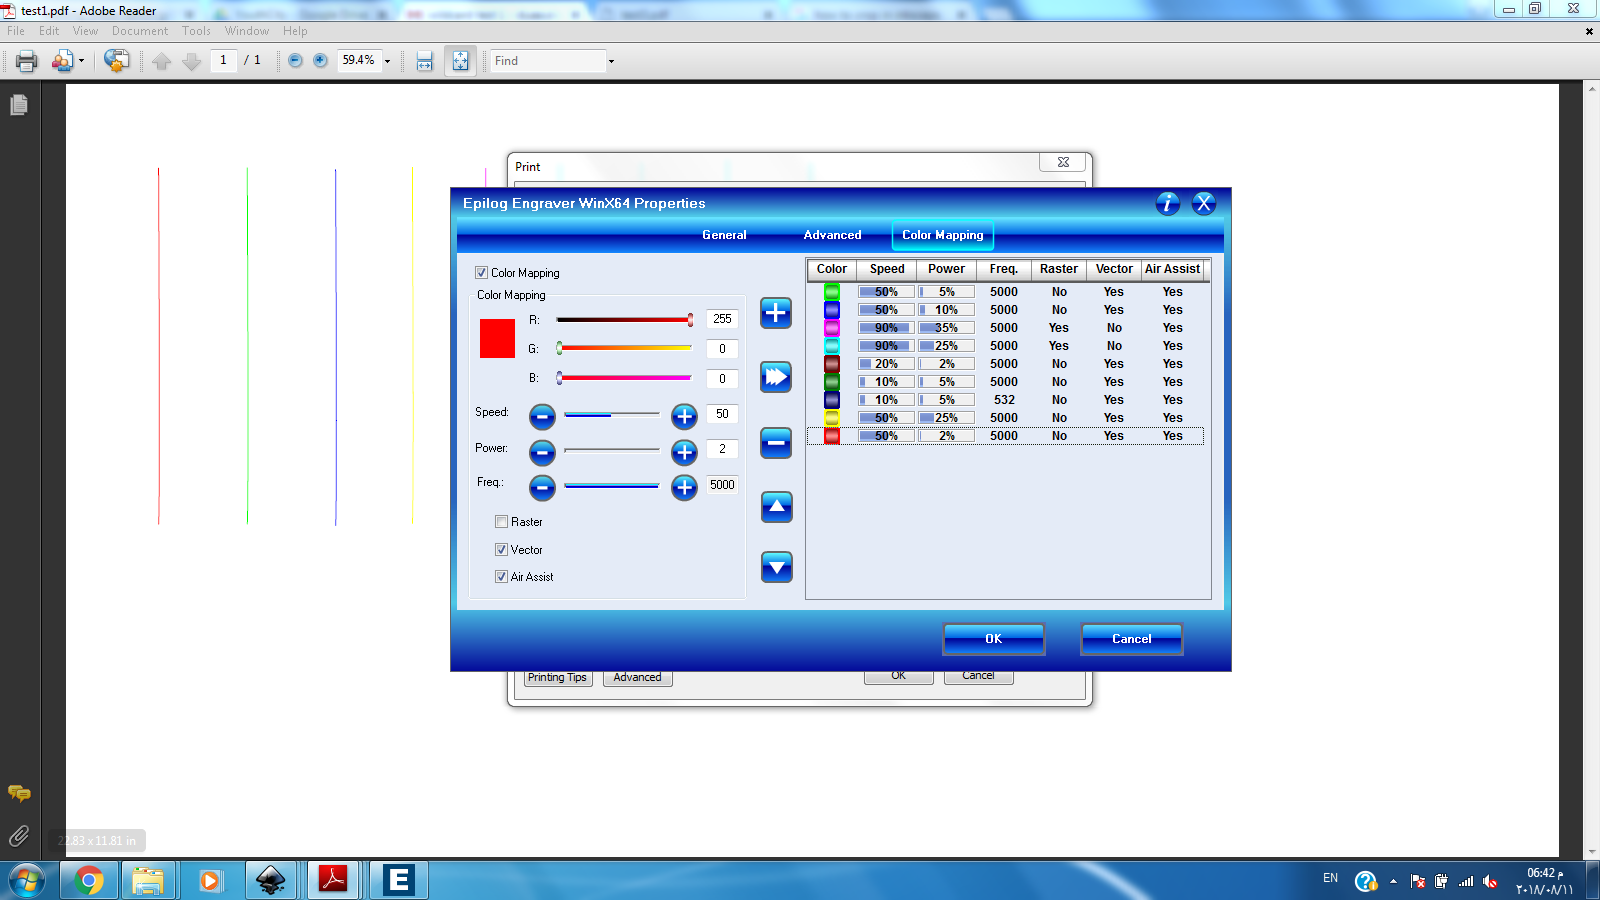
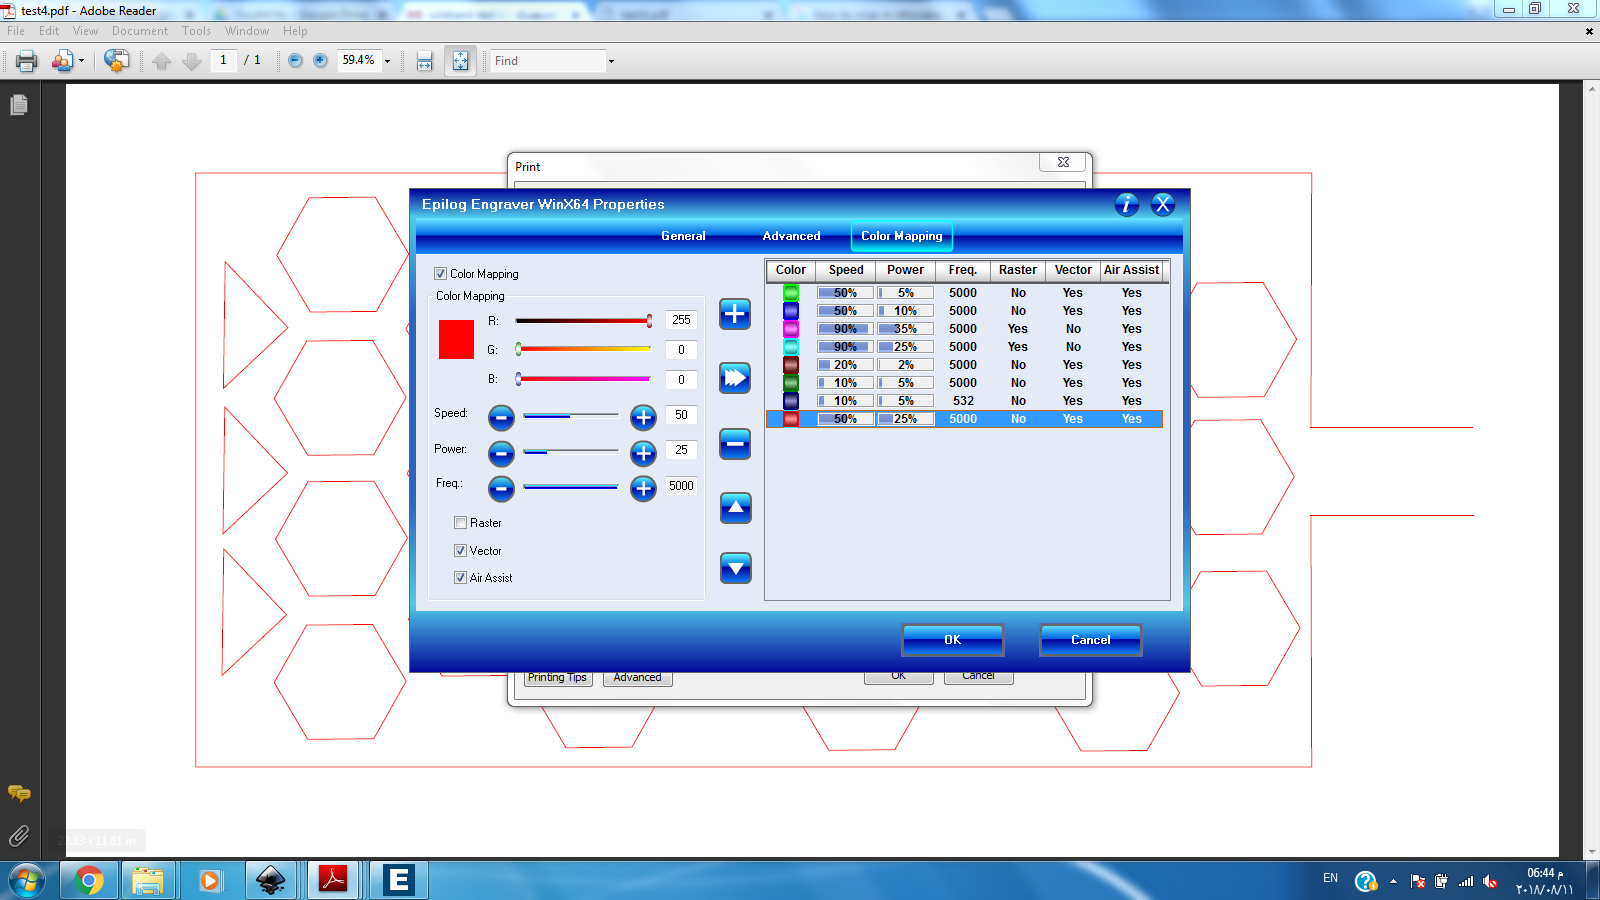
In the laser printer setting, I changed the color mapping feature to assign different settings to each of the lines and conduct the test.
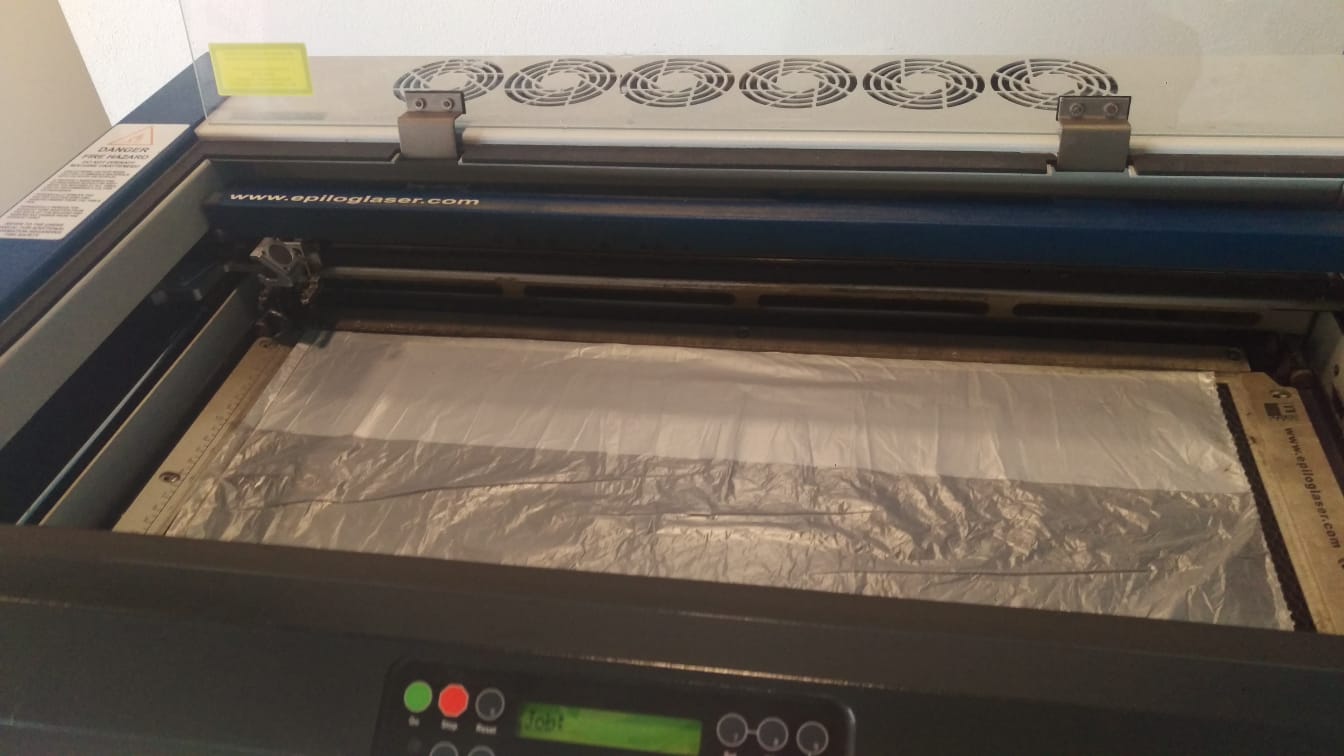
I am using heat resistant parchment paper on top of my plastic bag as a way to defuse the heat to generate a better result. I held them both in place using an acrylic piece as both are very light and would likely move in place because of the air assist which would mess up the results.
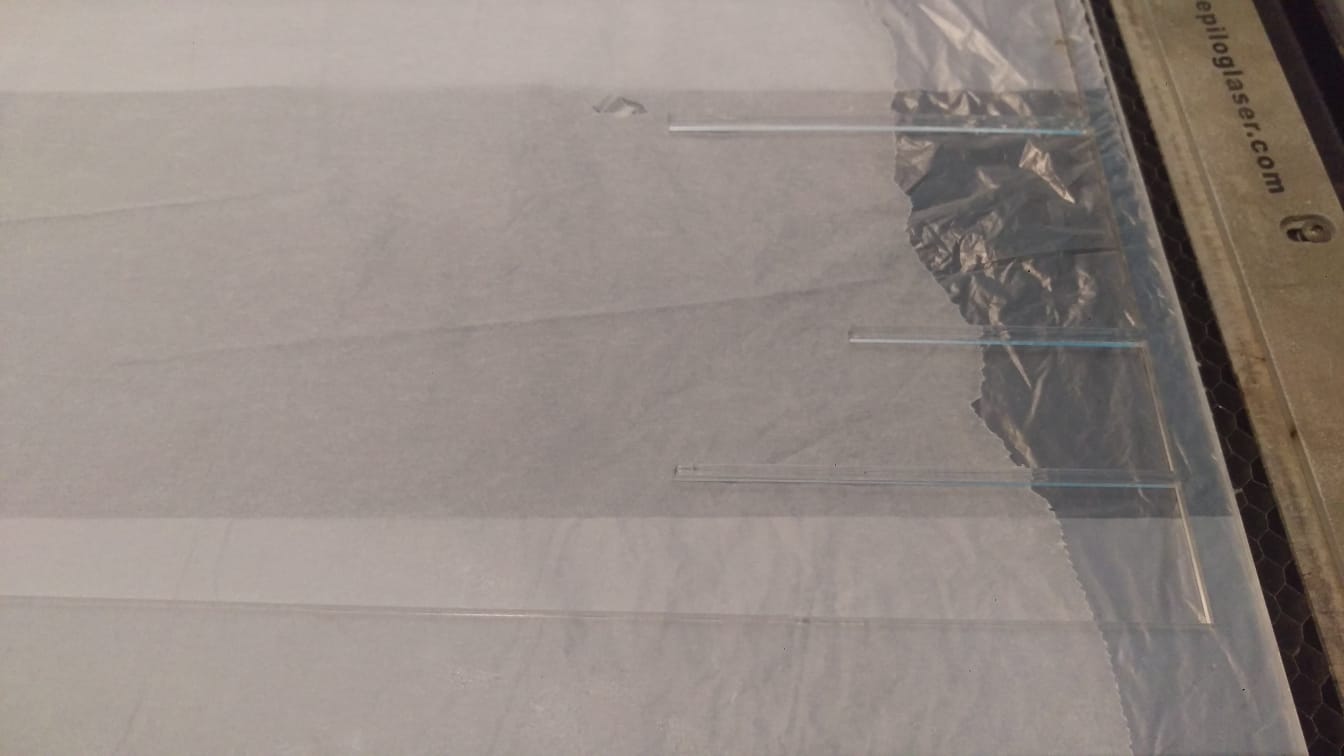
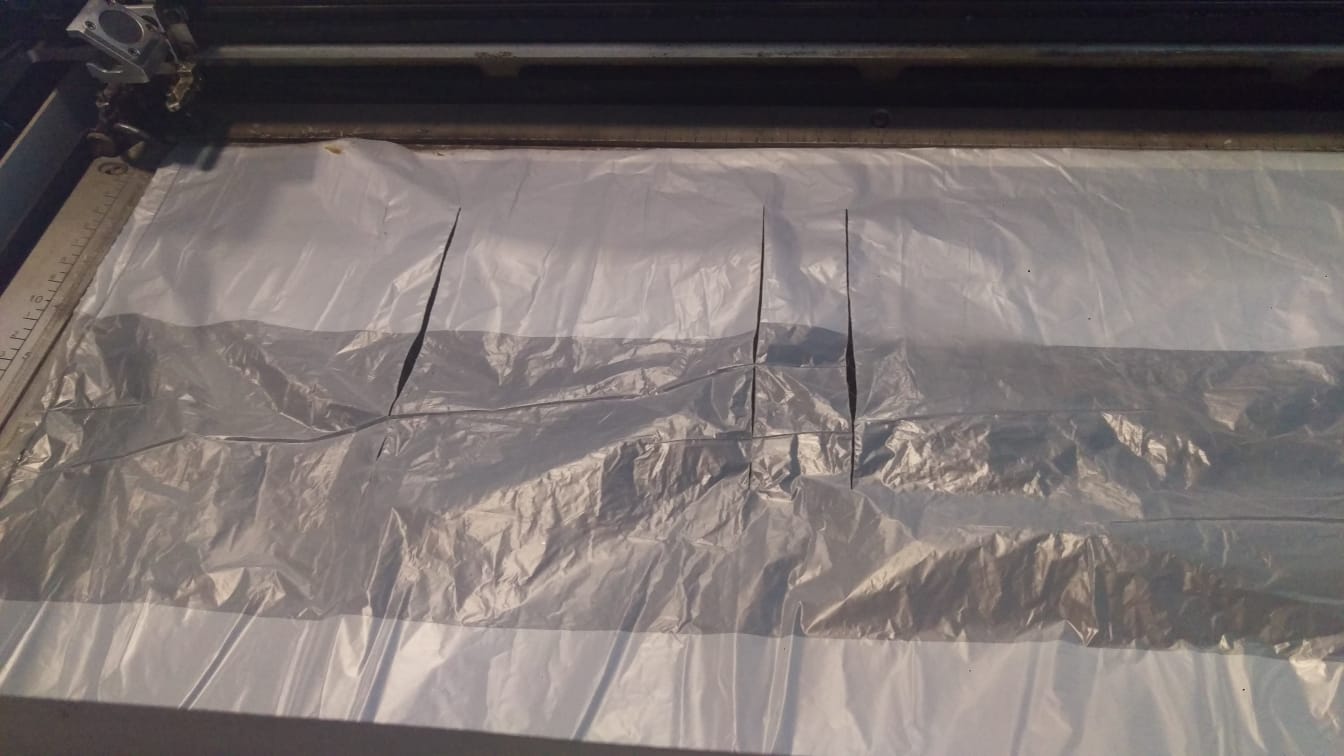
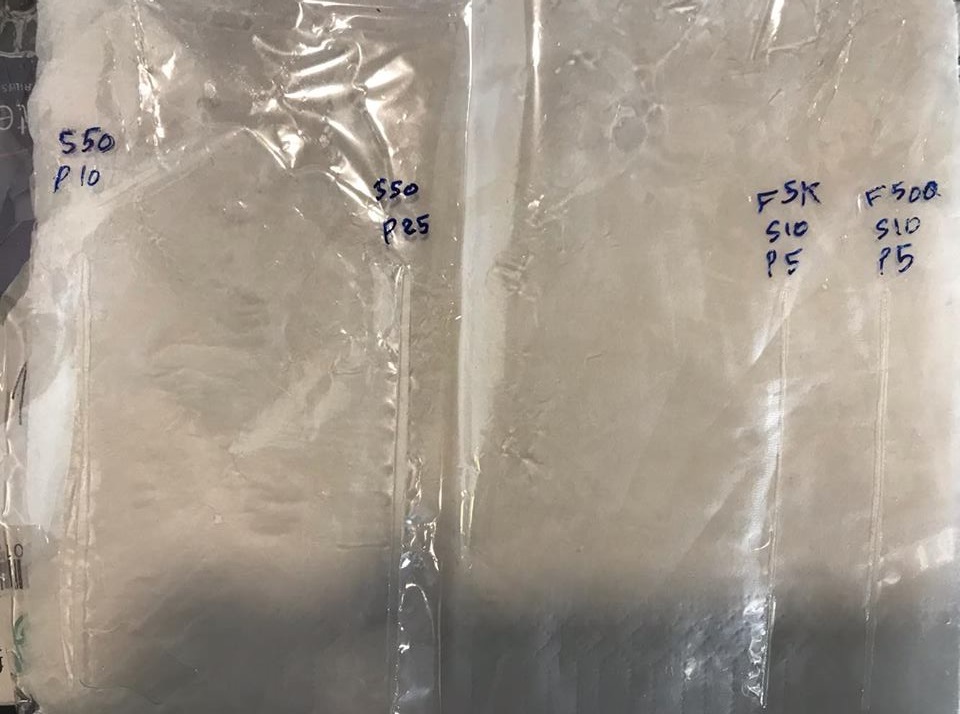
When inspecting the results after completion, I noticed that some of the settings was not even strong enough to cut through. But, More than one setting worked out and managed to seal the plastic! The best results were obtained by using the highest power. The seal was strong enough to hold water.

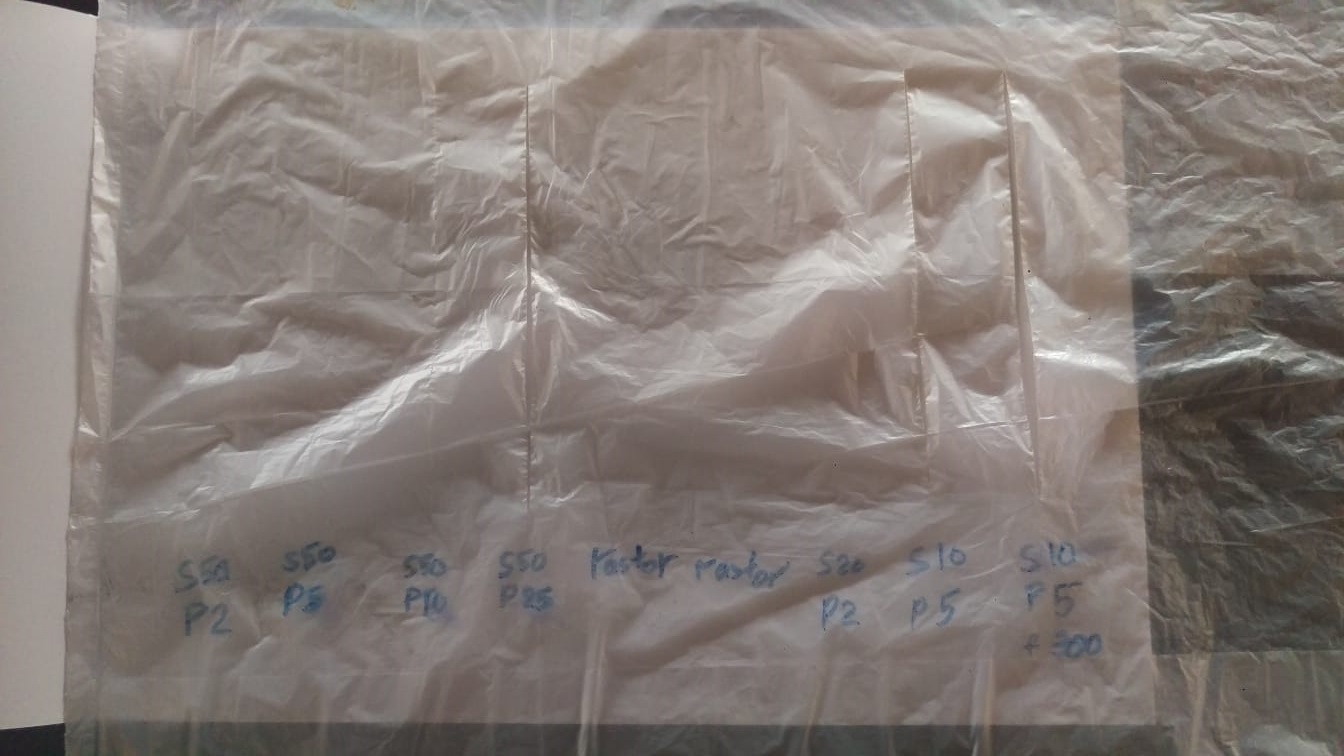
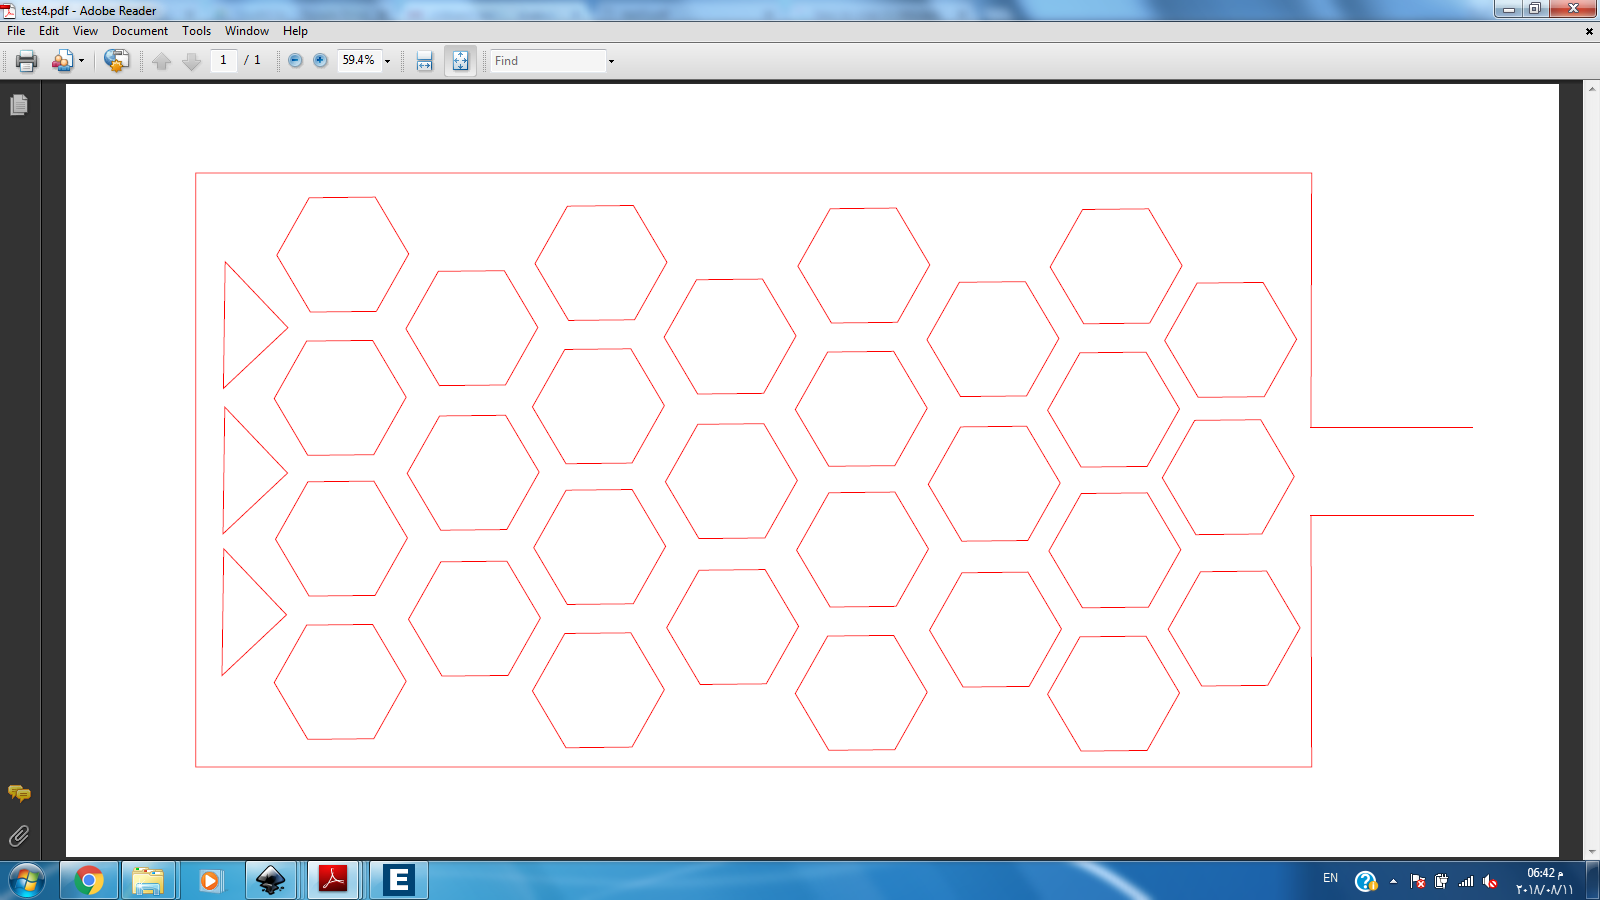
I selected the best setting from the results which was at a speed of 50 and power of 25%. I created using inkscape a complex shape with narrow parts to test out how it would preform then.
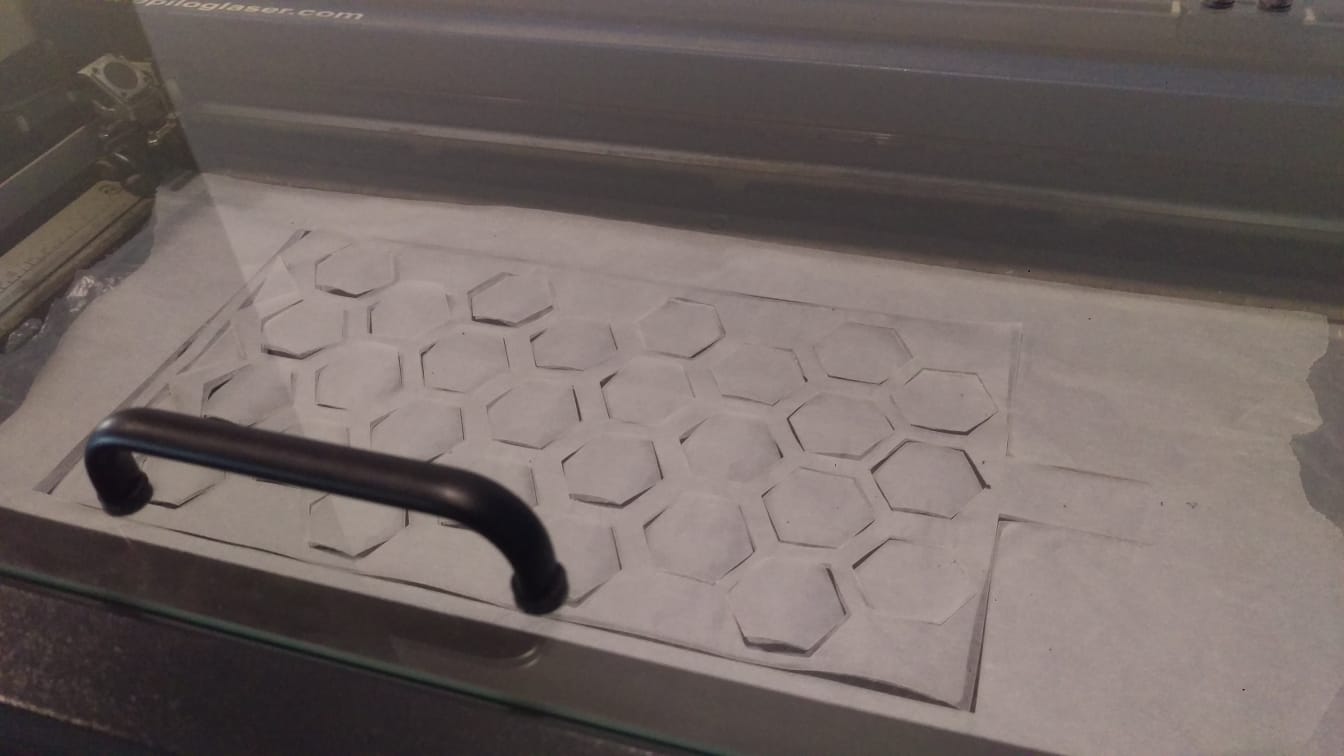
The test did not go so well. A lot of the corners started leaking air and were not sealed very well. Even though it worked out perfectly when testing in a straight line. Corners seem to be a weak point in the sealing of this kind of plastic which is not really ideal. I decided to try a thicker kind of plastic by conducting the same line test and checking how they preform
After conducting the experiments on multiple kinds of plastic, thick and thin, it had worked out well for some of them and not really for the others. The thickest kind did not seal at all.
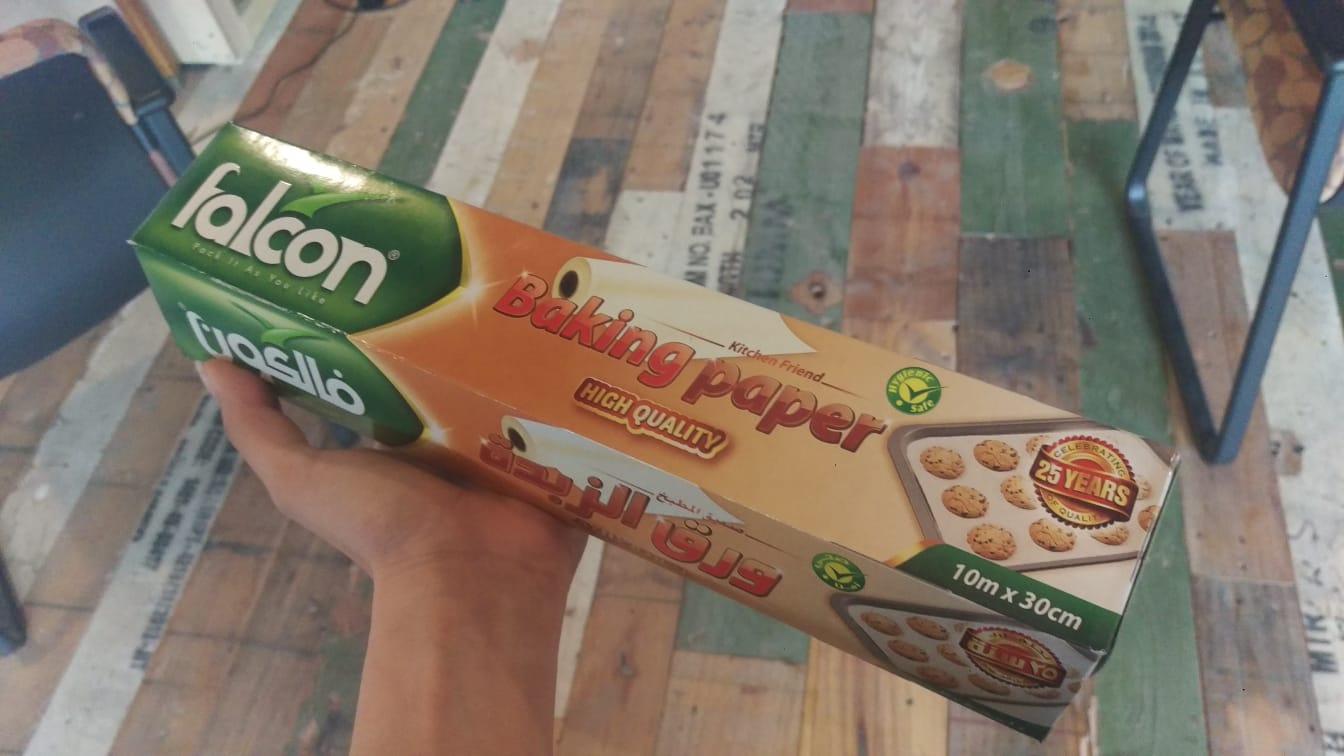
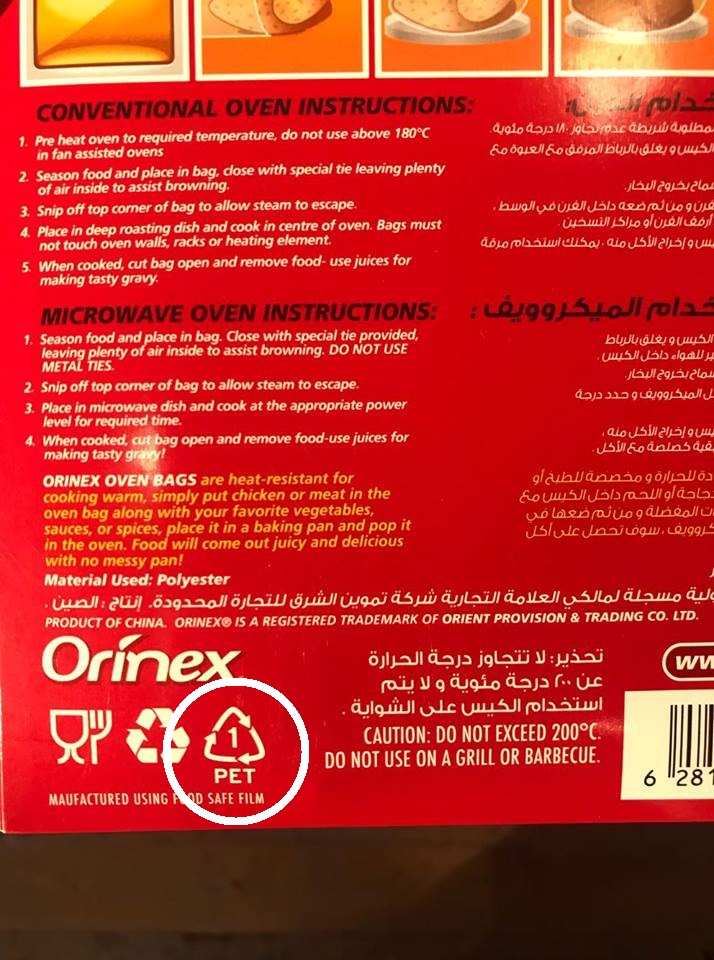
I decided to investigate the different kinds of plastic and the materials that goes into producing it. Surprisingly, the packaging of all the bags I was using did not contain any details on what kind of plastic it is or the general standard plastic classification. I believe that is not a requirement in the middle east. That also brought to light the issue of possibly accidentally cutting the kind of plastic that should not be in contact with a laser machine or would release harmful fumes.
Many kinds of plastic should NOT cut or engraved in a laser cutter. Some can release harmful fumes, some can melt and damage the machine and others contain chlorine. It would emit chlorine which is a harmful fume and can ruin the optics in the laser machine. it causes the metal of the machine to corrode as chlorine is released and ruins the motion control system. This is a guide of what not to cut in a laser machine.
Linked here
Following this, I went on the hunt for something I know I can safely cut in the laser machine which was not a very easy task. I knew my best bet was going to be with foot safe plastics as I can be sure that those do not contain chlorine.
The best thing I found for my purpose was some oven safe PET plastic wrapping. PET can be safely used in a laser cutter without fear of damaging it.
I preformed the same test I did on all the rest of the materials. It gave me similar results and worked best on higher power.
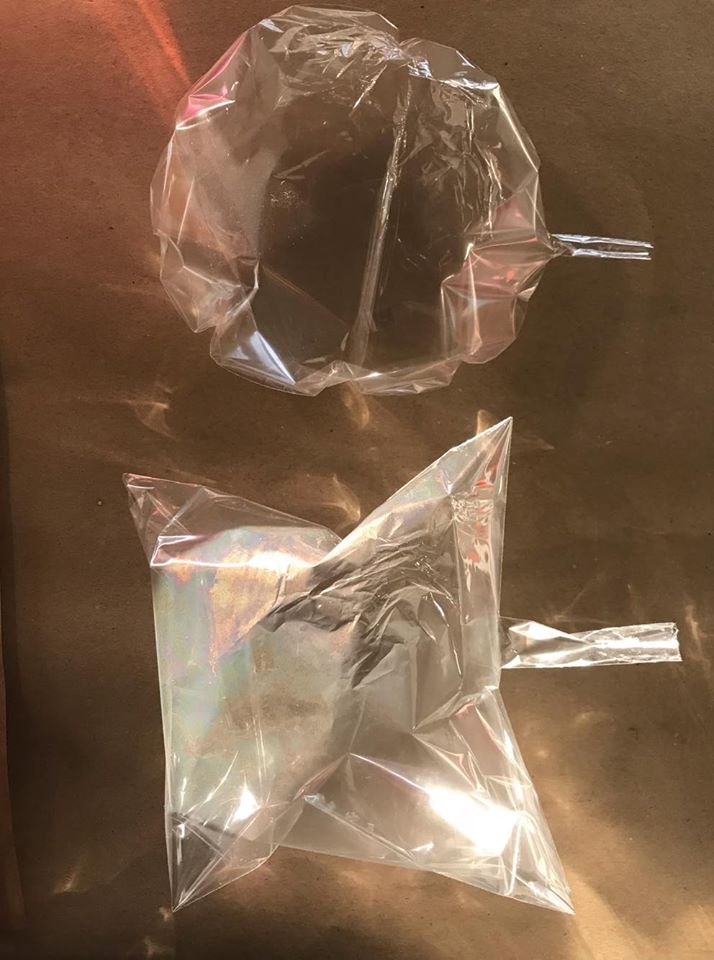
I selected speed of 50 and power of 25% as my ideal setting. I decided to create a design that can show me how it would work with or without corners. I designed two shapes one without any sharp corners and the other with to see if there will be any difference.
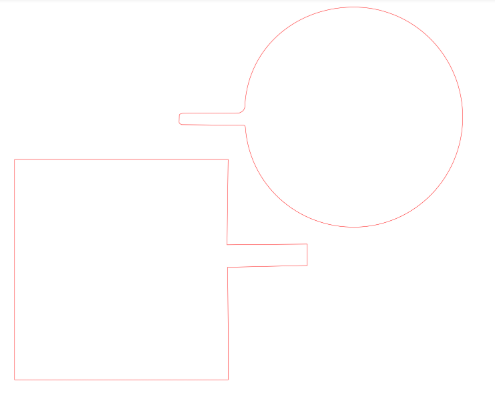
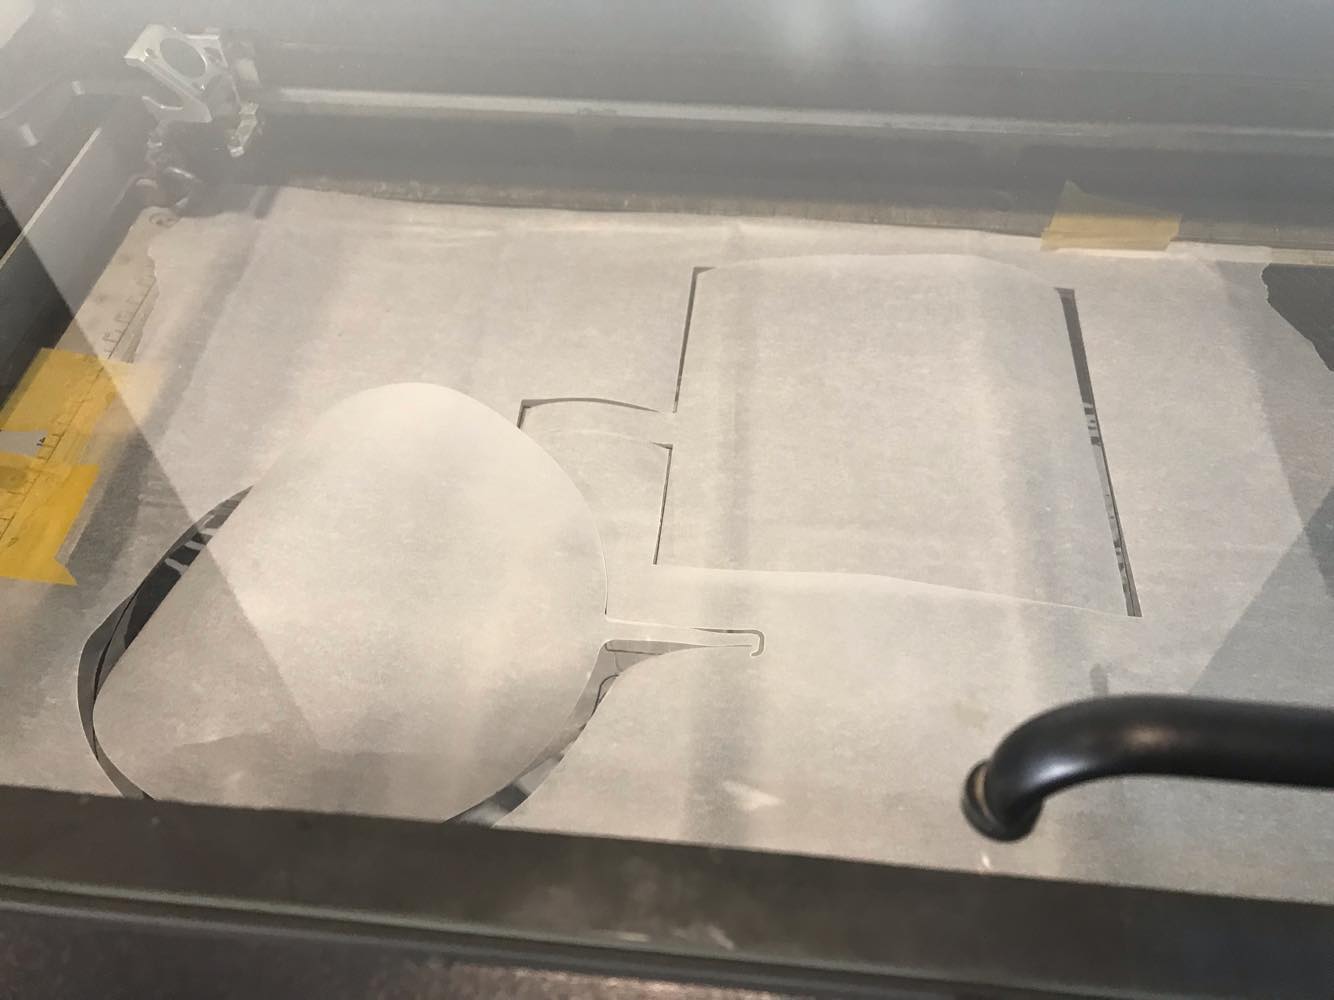
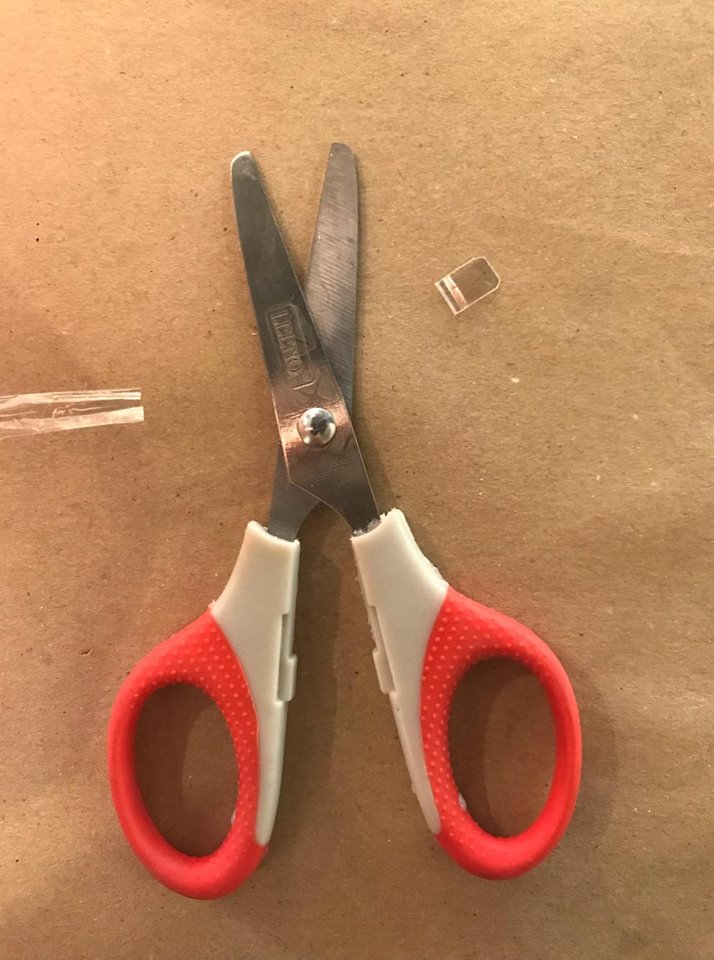
When creating an air fill slot, it will be sealed as well, you have to cut it off later
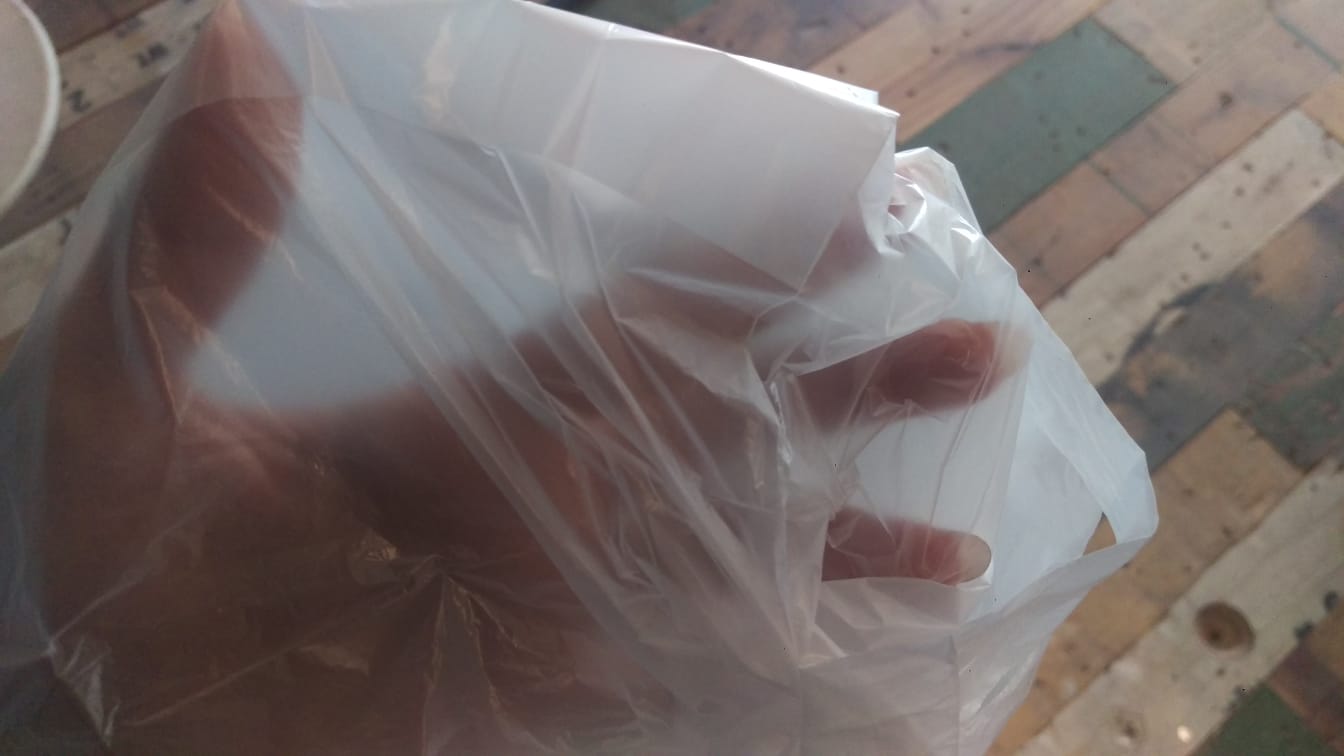
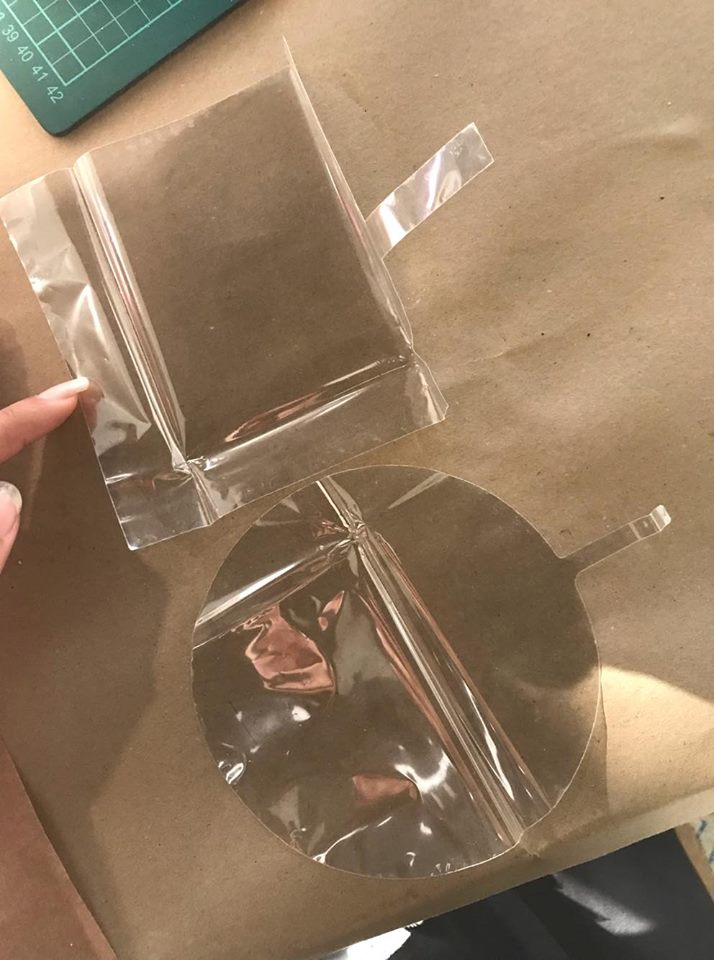
Both tests worked quite well. I got better results with this material than any of the rest.
And thats how I created laser sealed inflatables!
The download links to all the design files
The line test file
complex shape test file
circle and rectangle inflatable test file