3D print and scan
This week's assignment is to 3D scan and print an object
3D scan - kinect
3D scan - Qlone app
Printer design rules
3D print
3D scan
I first started with the 3D scan of an object. There are several methods that can be used to accomplish that and I experimented with several of those
Xbox 360 Kinect
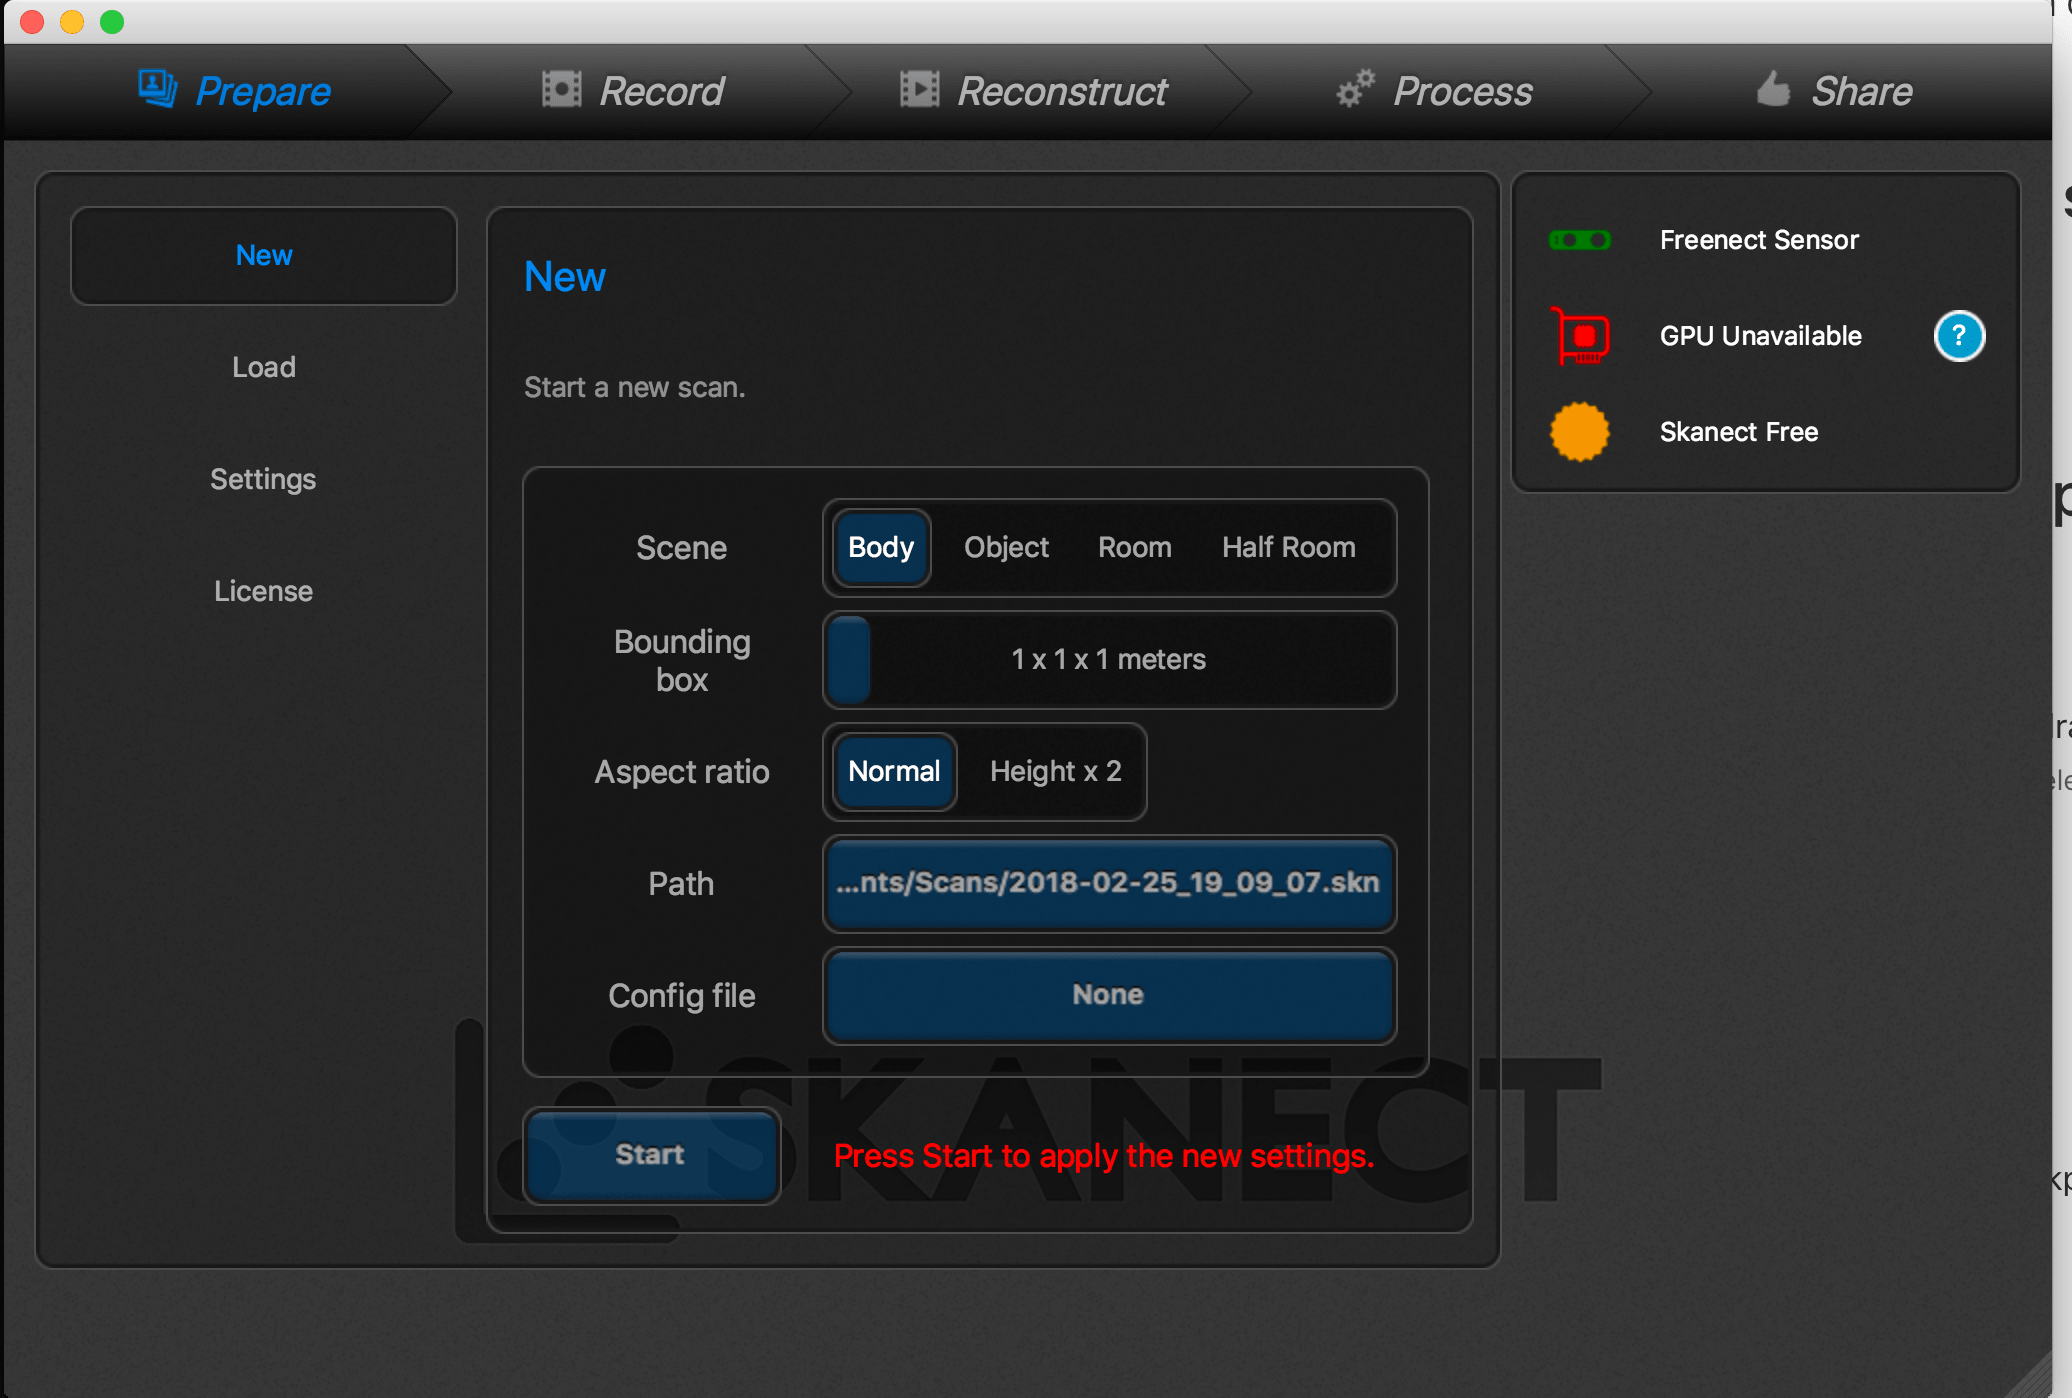
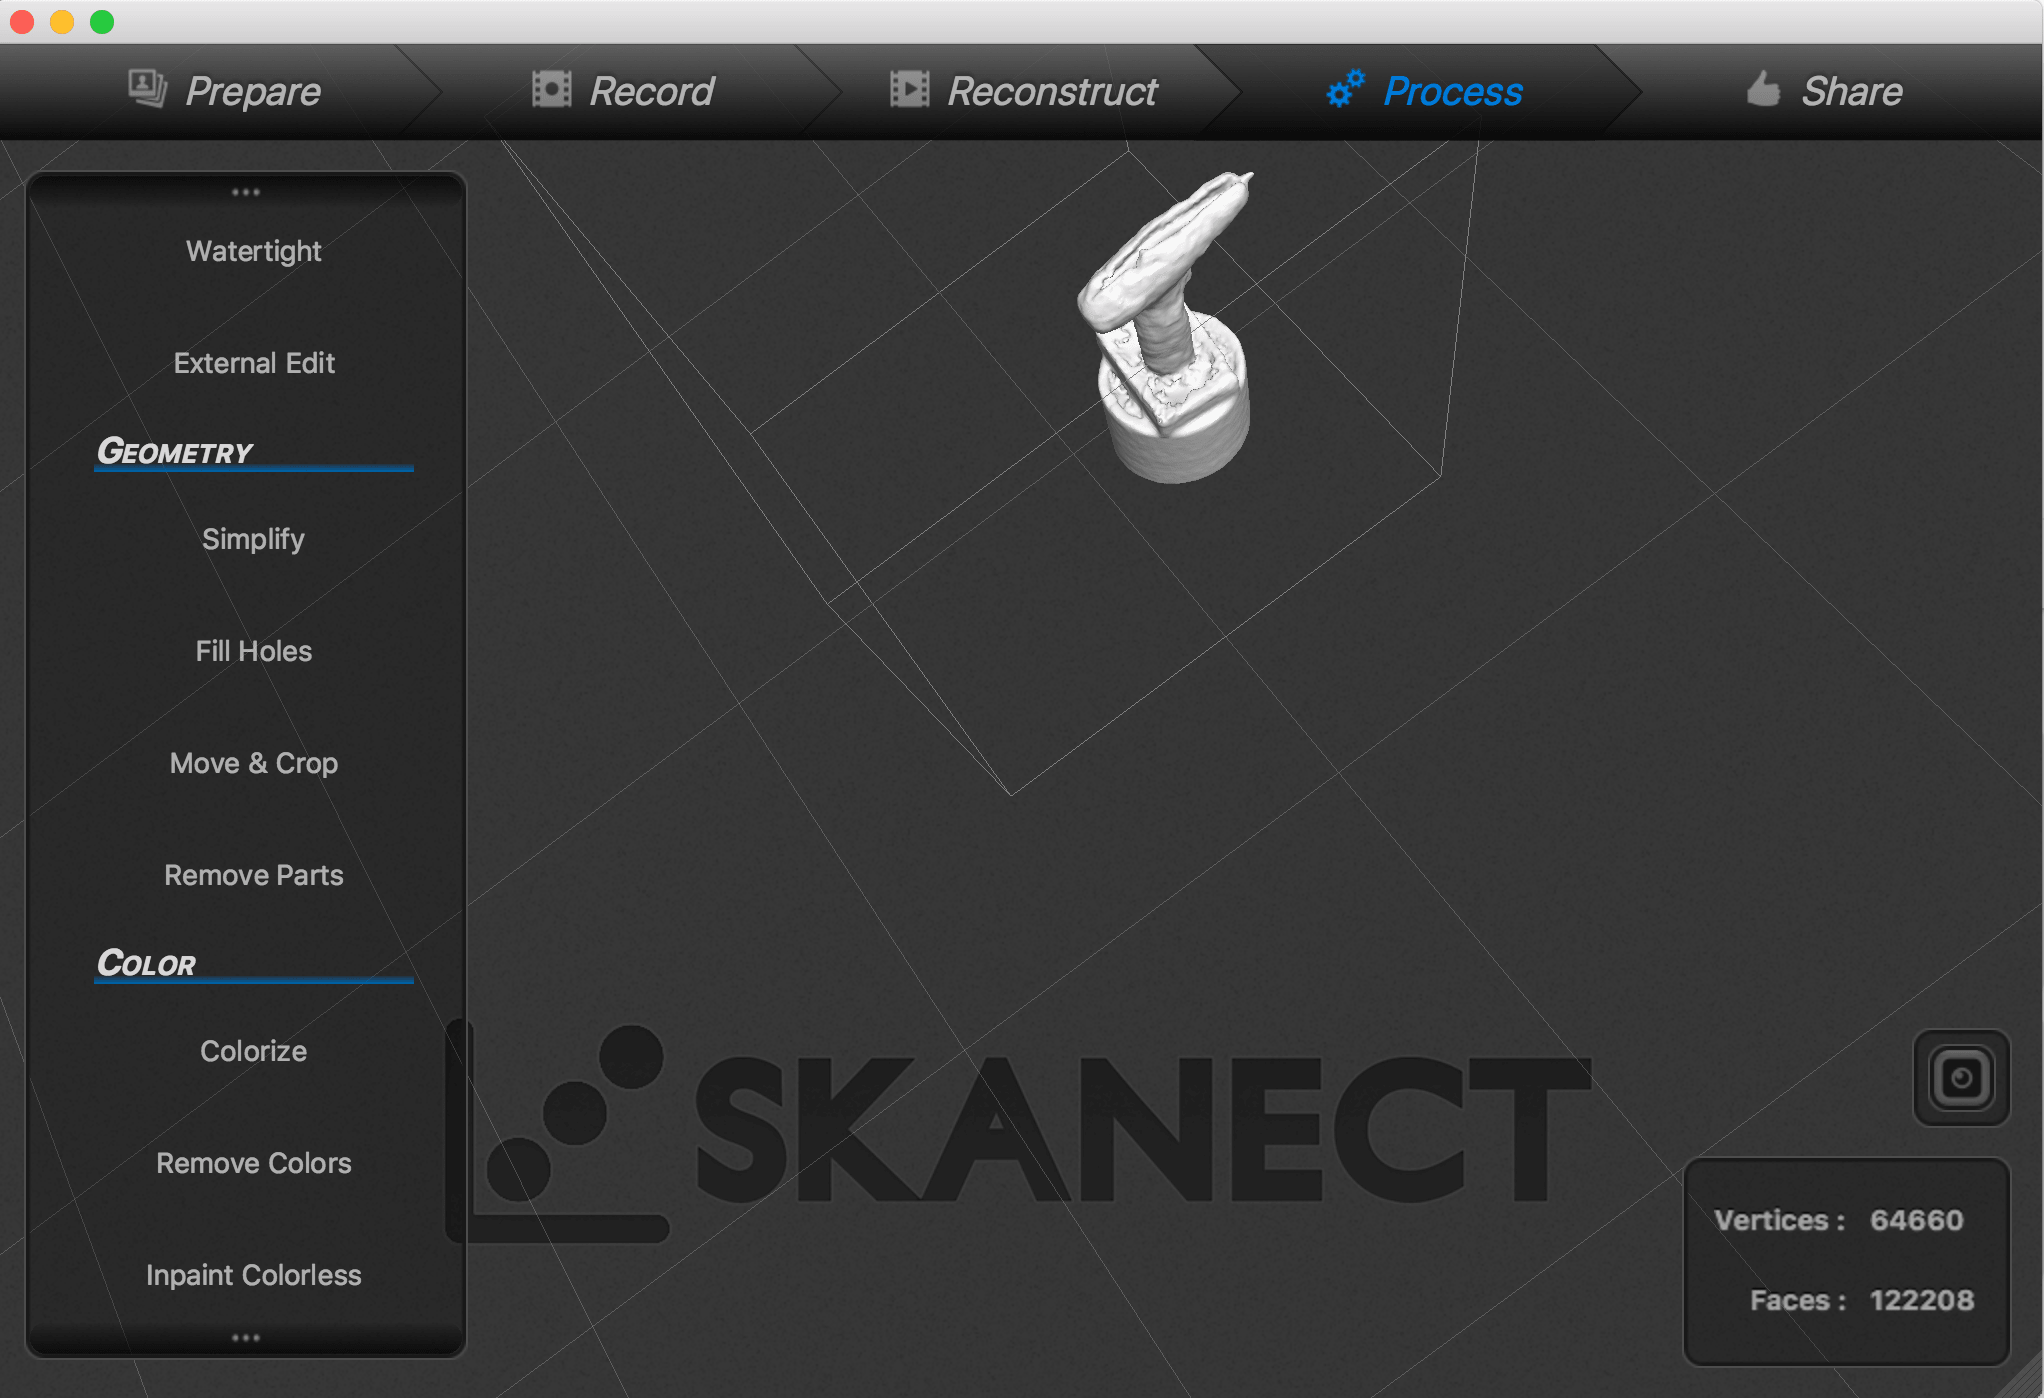
The Kinect is a line of motion sensing input devices that was produced by Microsoft. the app I am using to do the 3d scan is skanect 2. i am using mac os
to be able to 3d scan an object it needs to be resting infront of the kinect with good lighting, minimum shadows and then to rotate the object 360 degrees infront of the kinect camera or rotate the kenect around the object. The lighting I was working with was not the greatest.
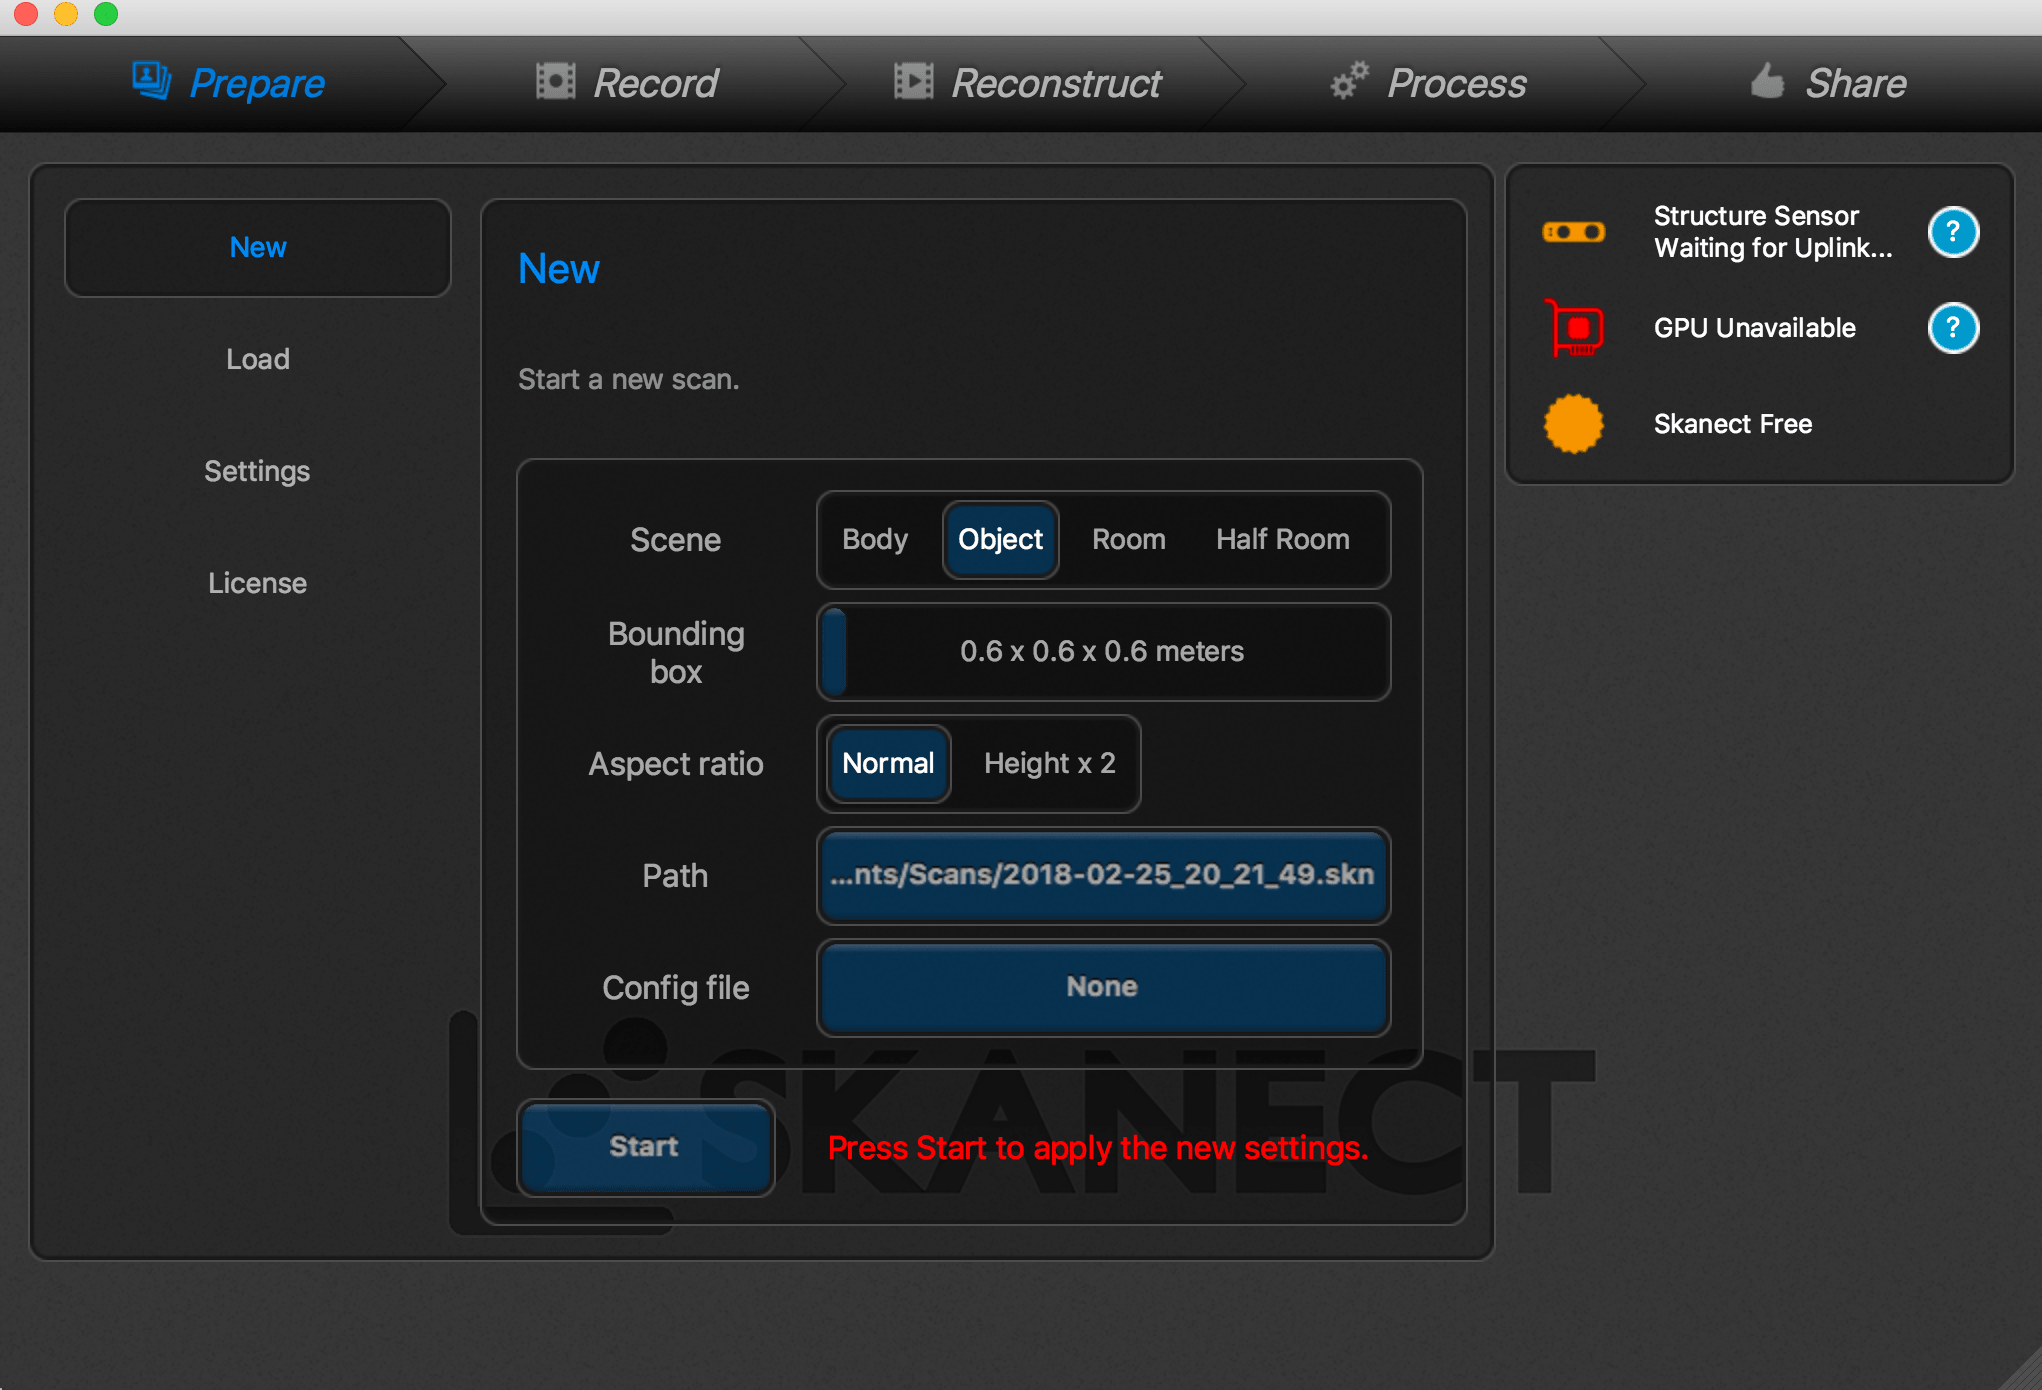
At first I used the default settings entered in the program to experiment
I tried scanning a drill by resting it on the table and rotating it by hand that did not work as i was in the shot mot of the time which ruined the scene all you could see from the scan was my hand and it was very distorted
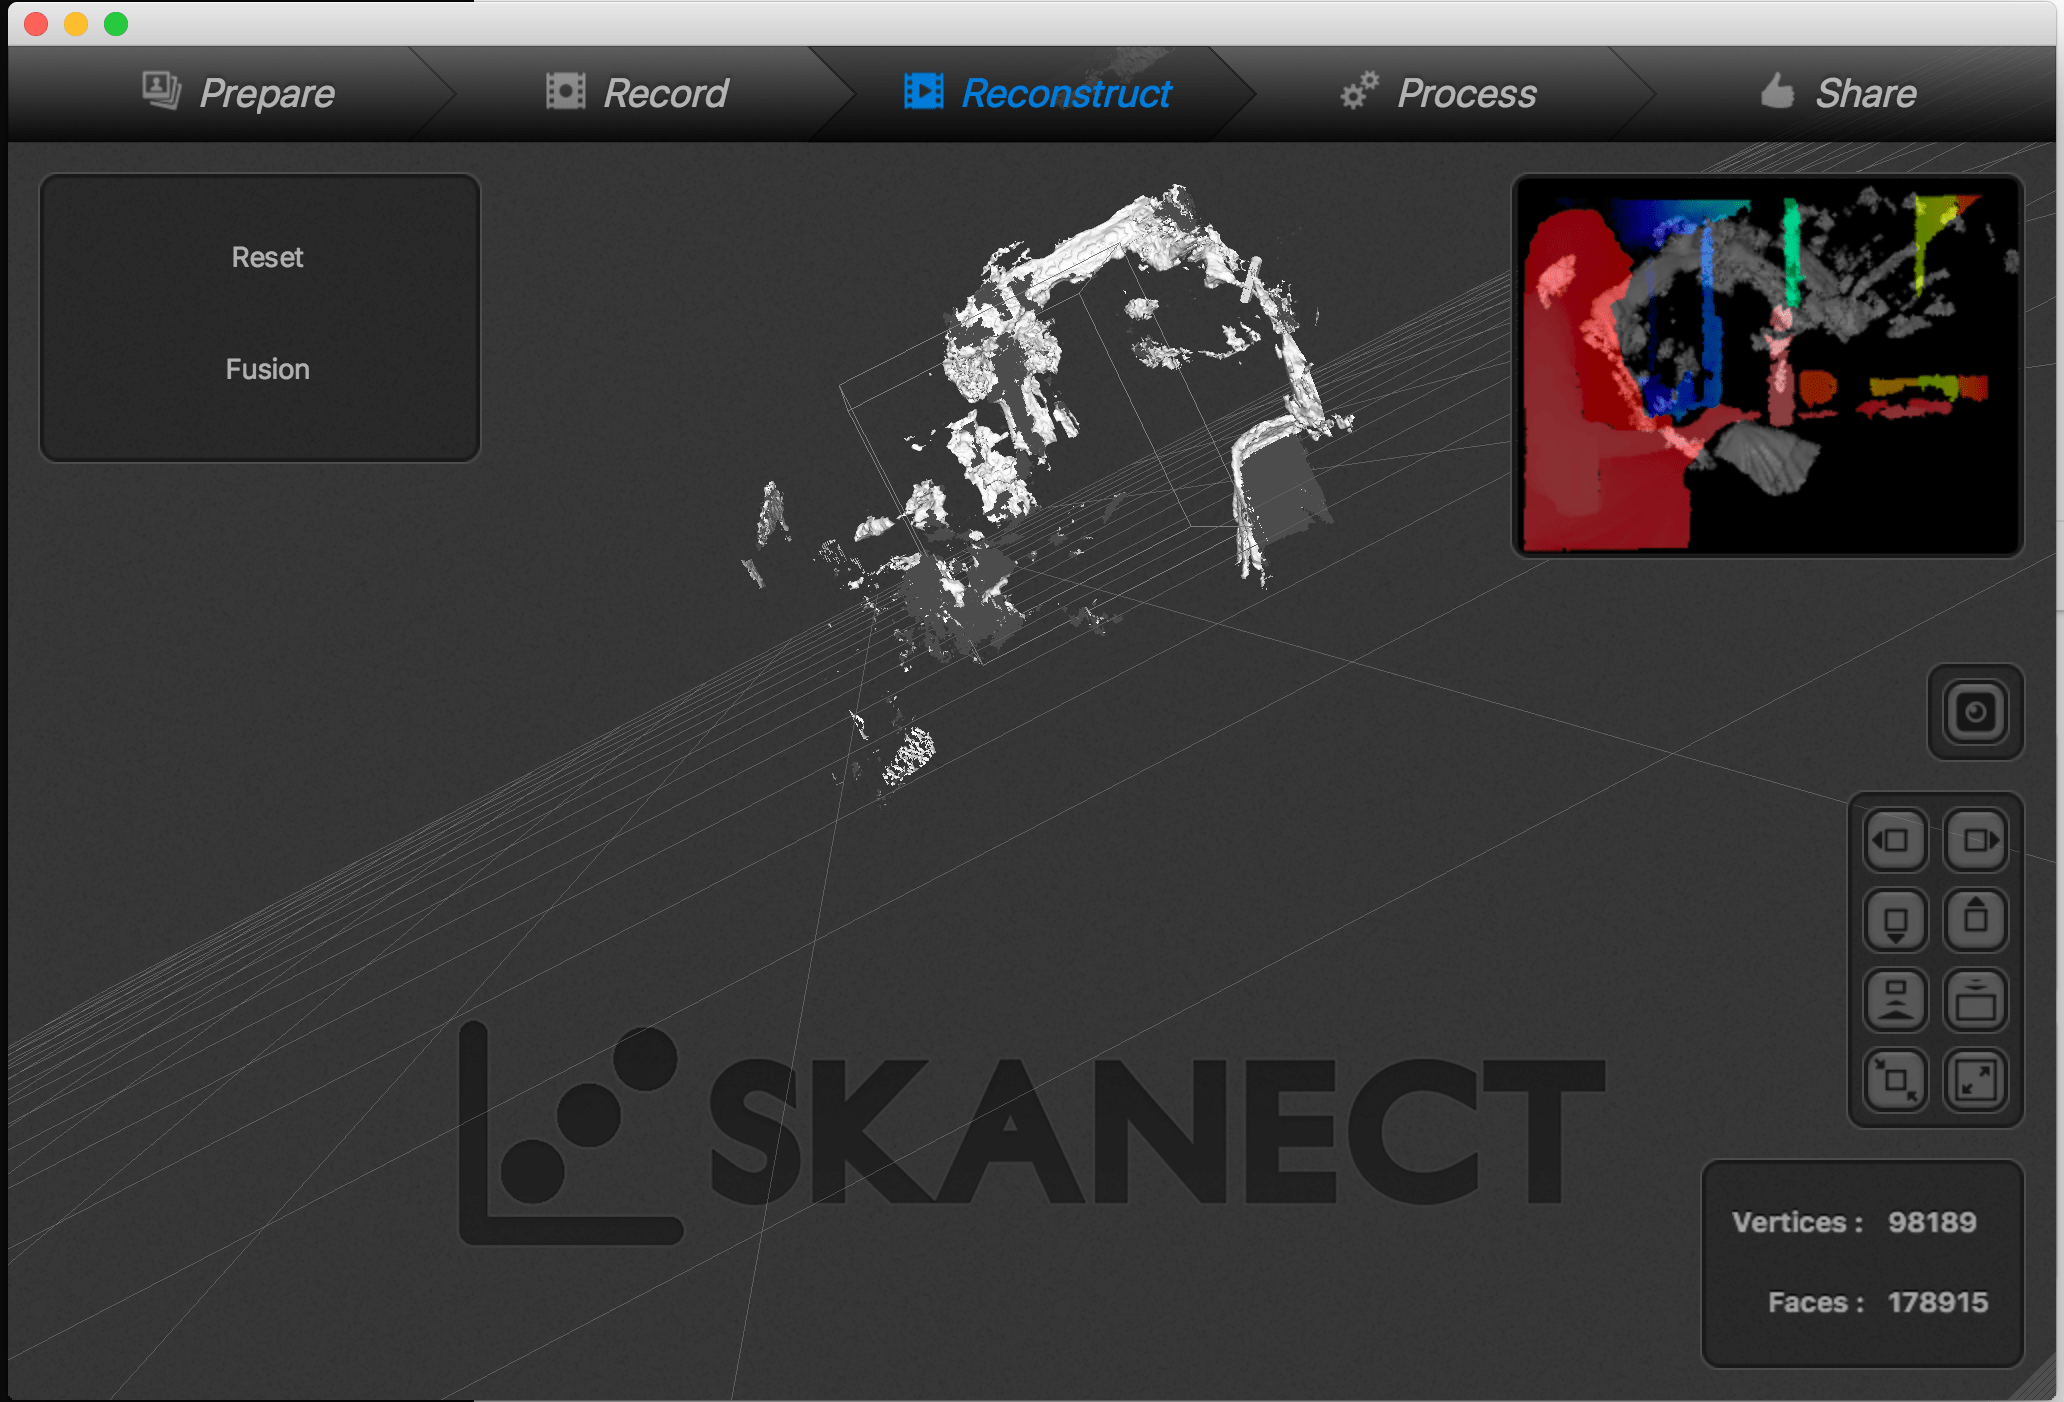
We used an improvised stand to be able to rotate the drill without appearing in the shot
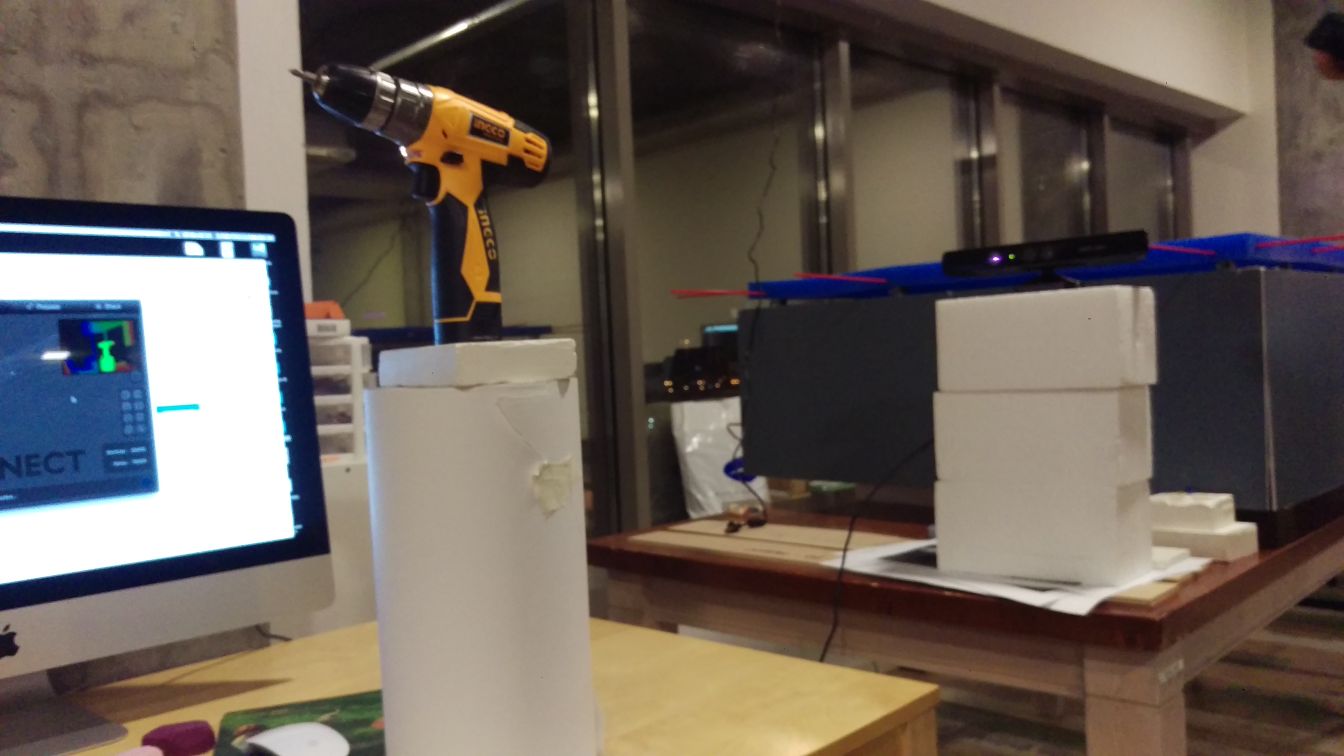
i changed the settings to object as it was set to body and that seemed to make the shot a lot clearer
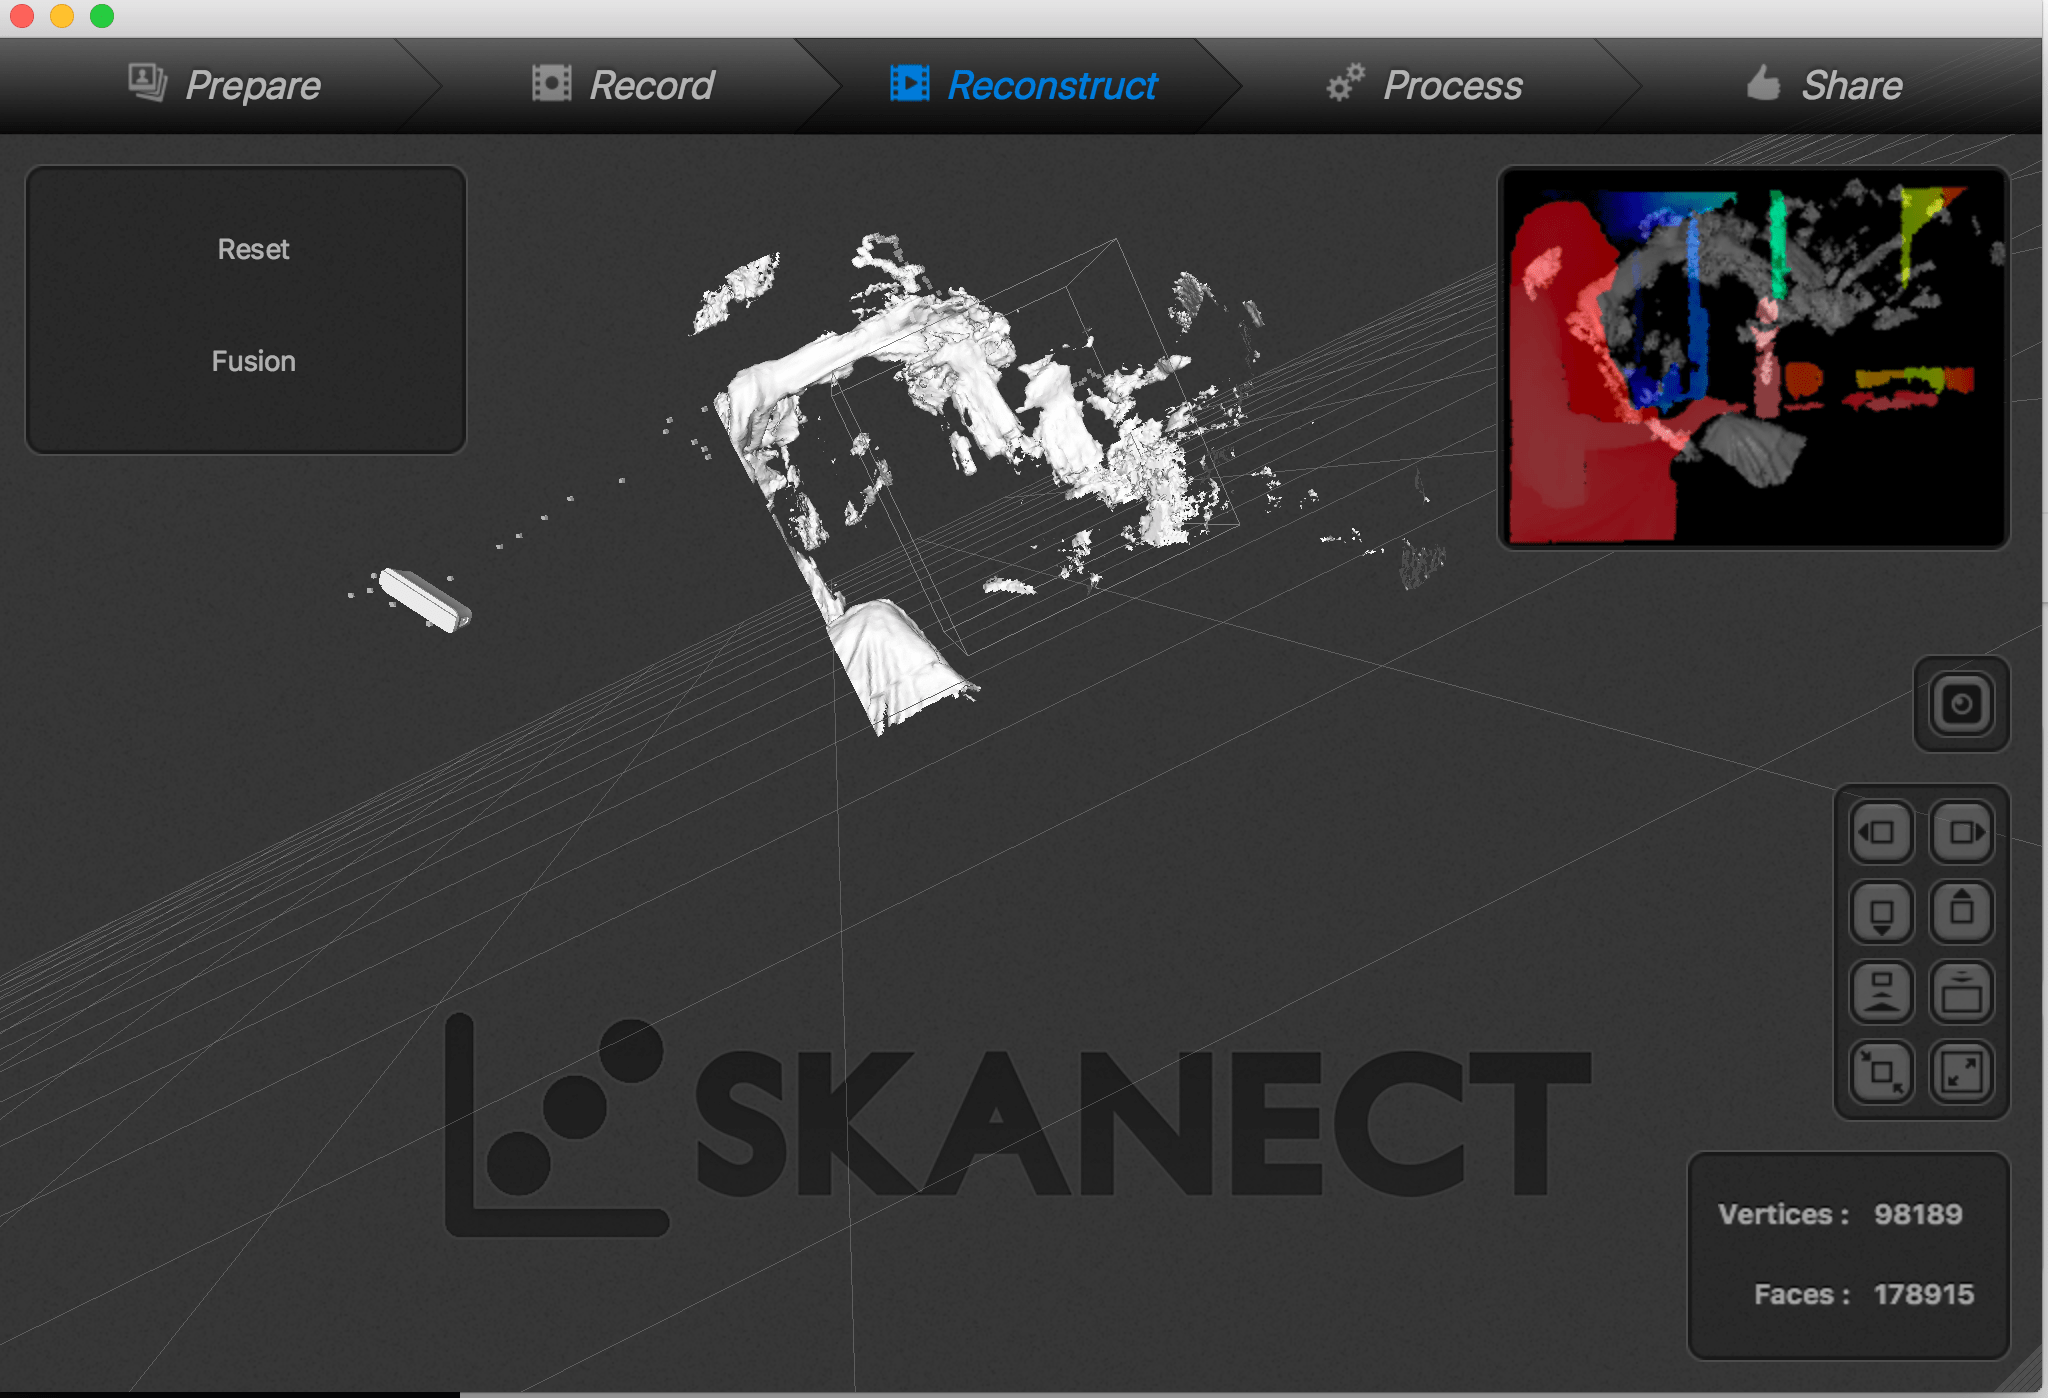
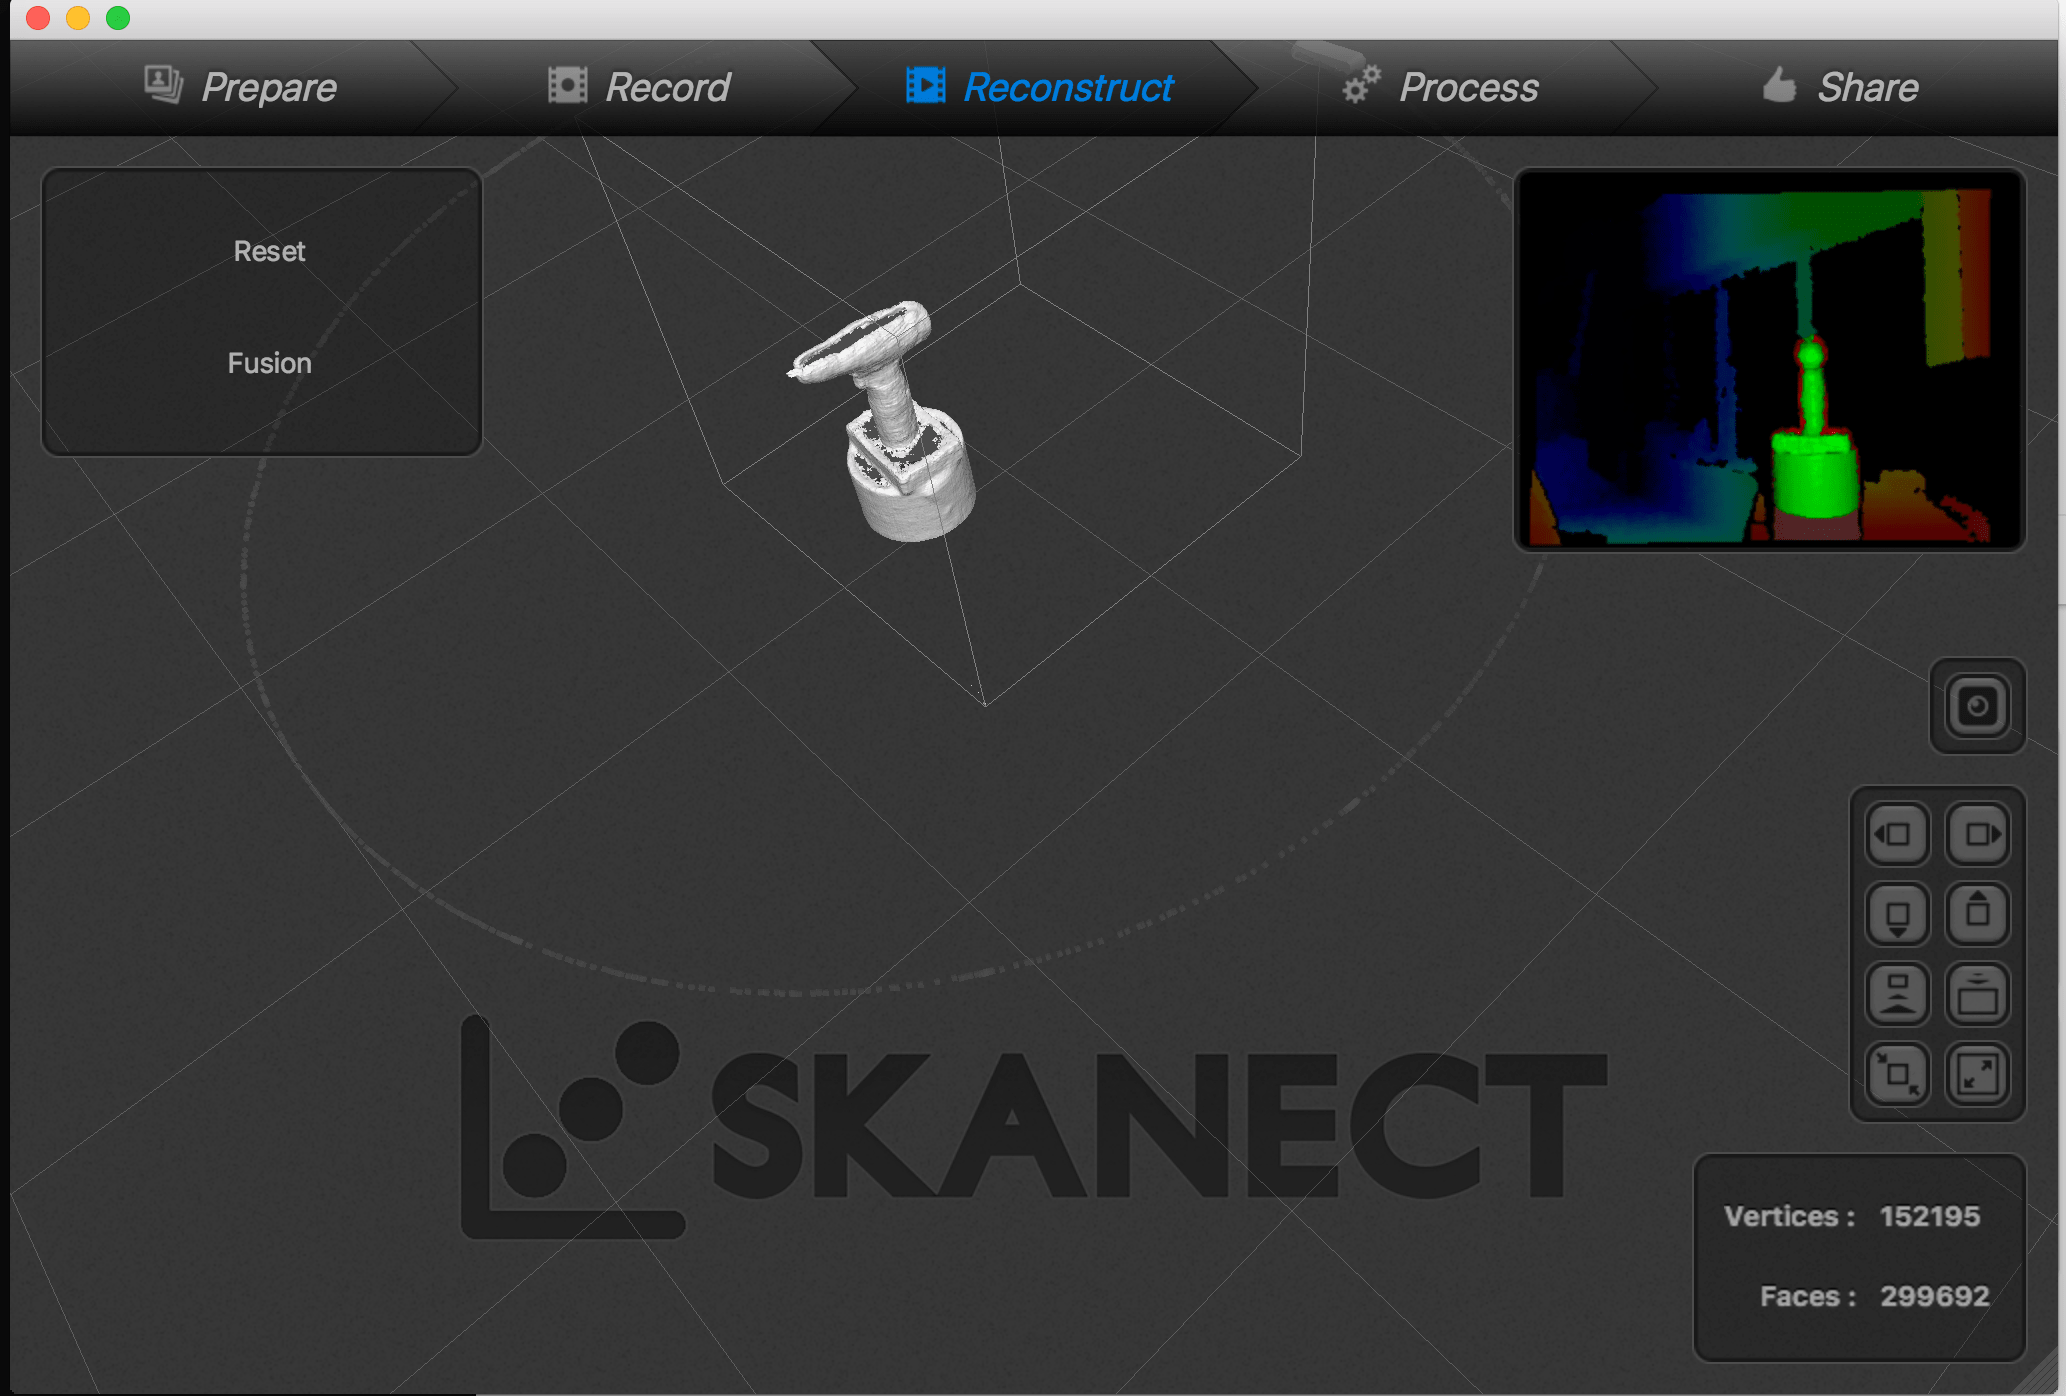
after doing a scan i was satisfied with the results as it seemed to capture the object. the object had a lot of holes that needed to be filled and the stand was clear in the shot as well
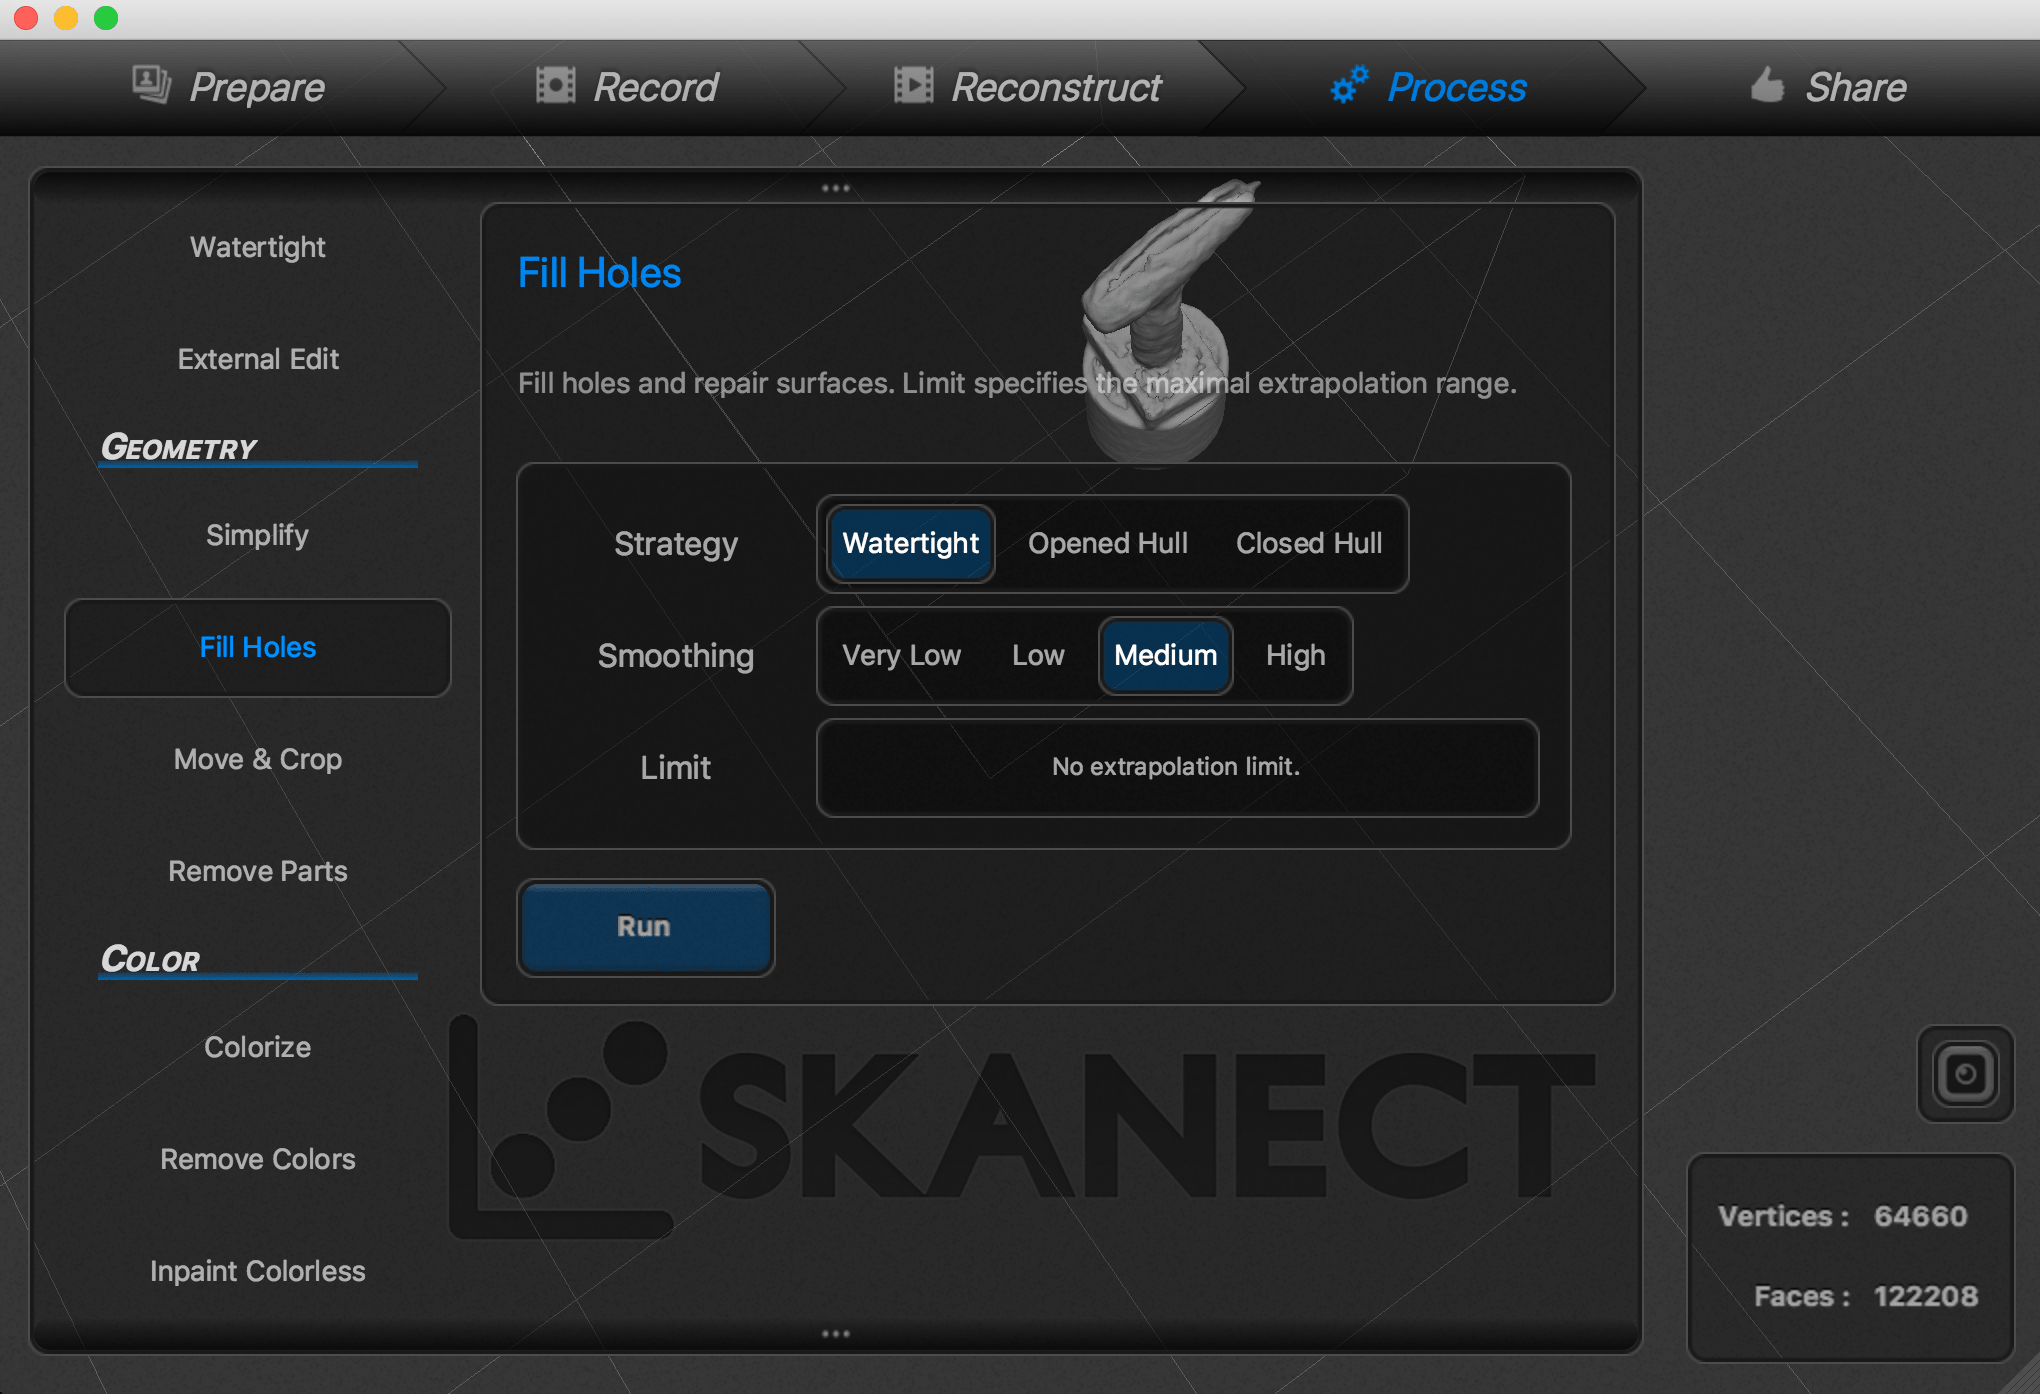
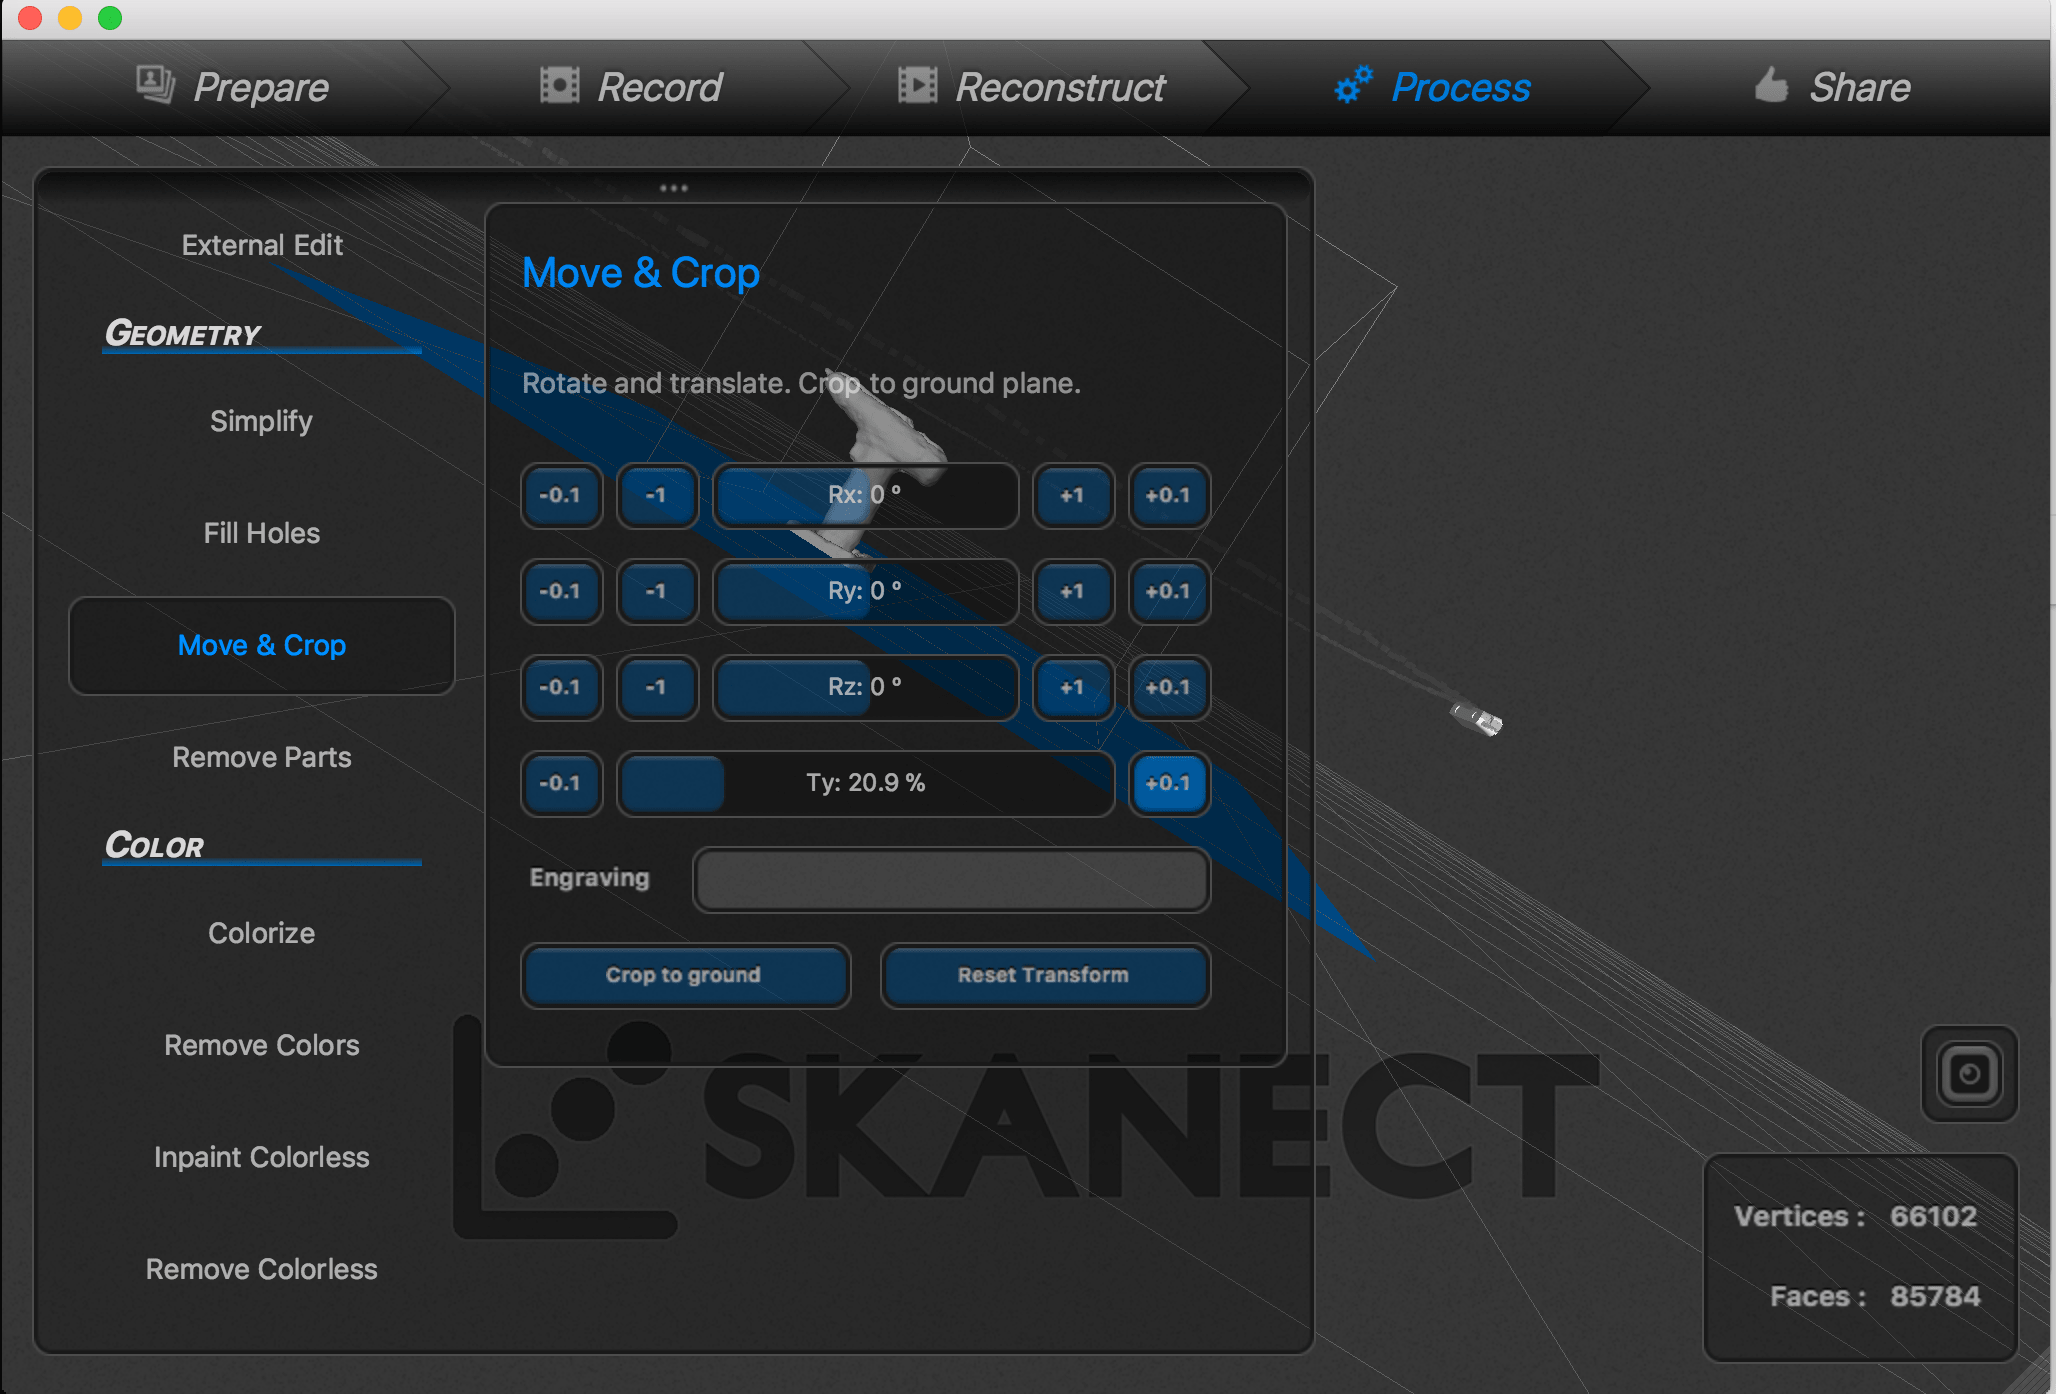
using the settings in the application I used the fill option to fill up the gaps in the drill
I used the crop setting to remove the stand from the scanned image
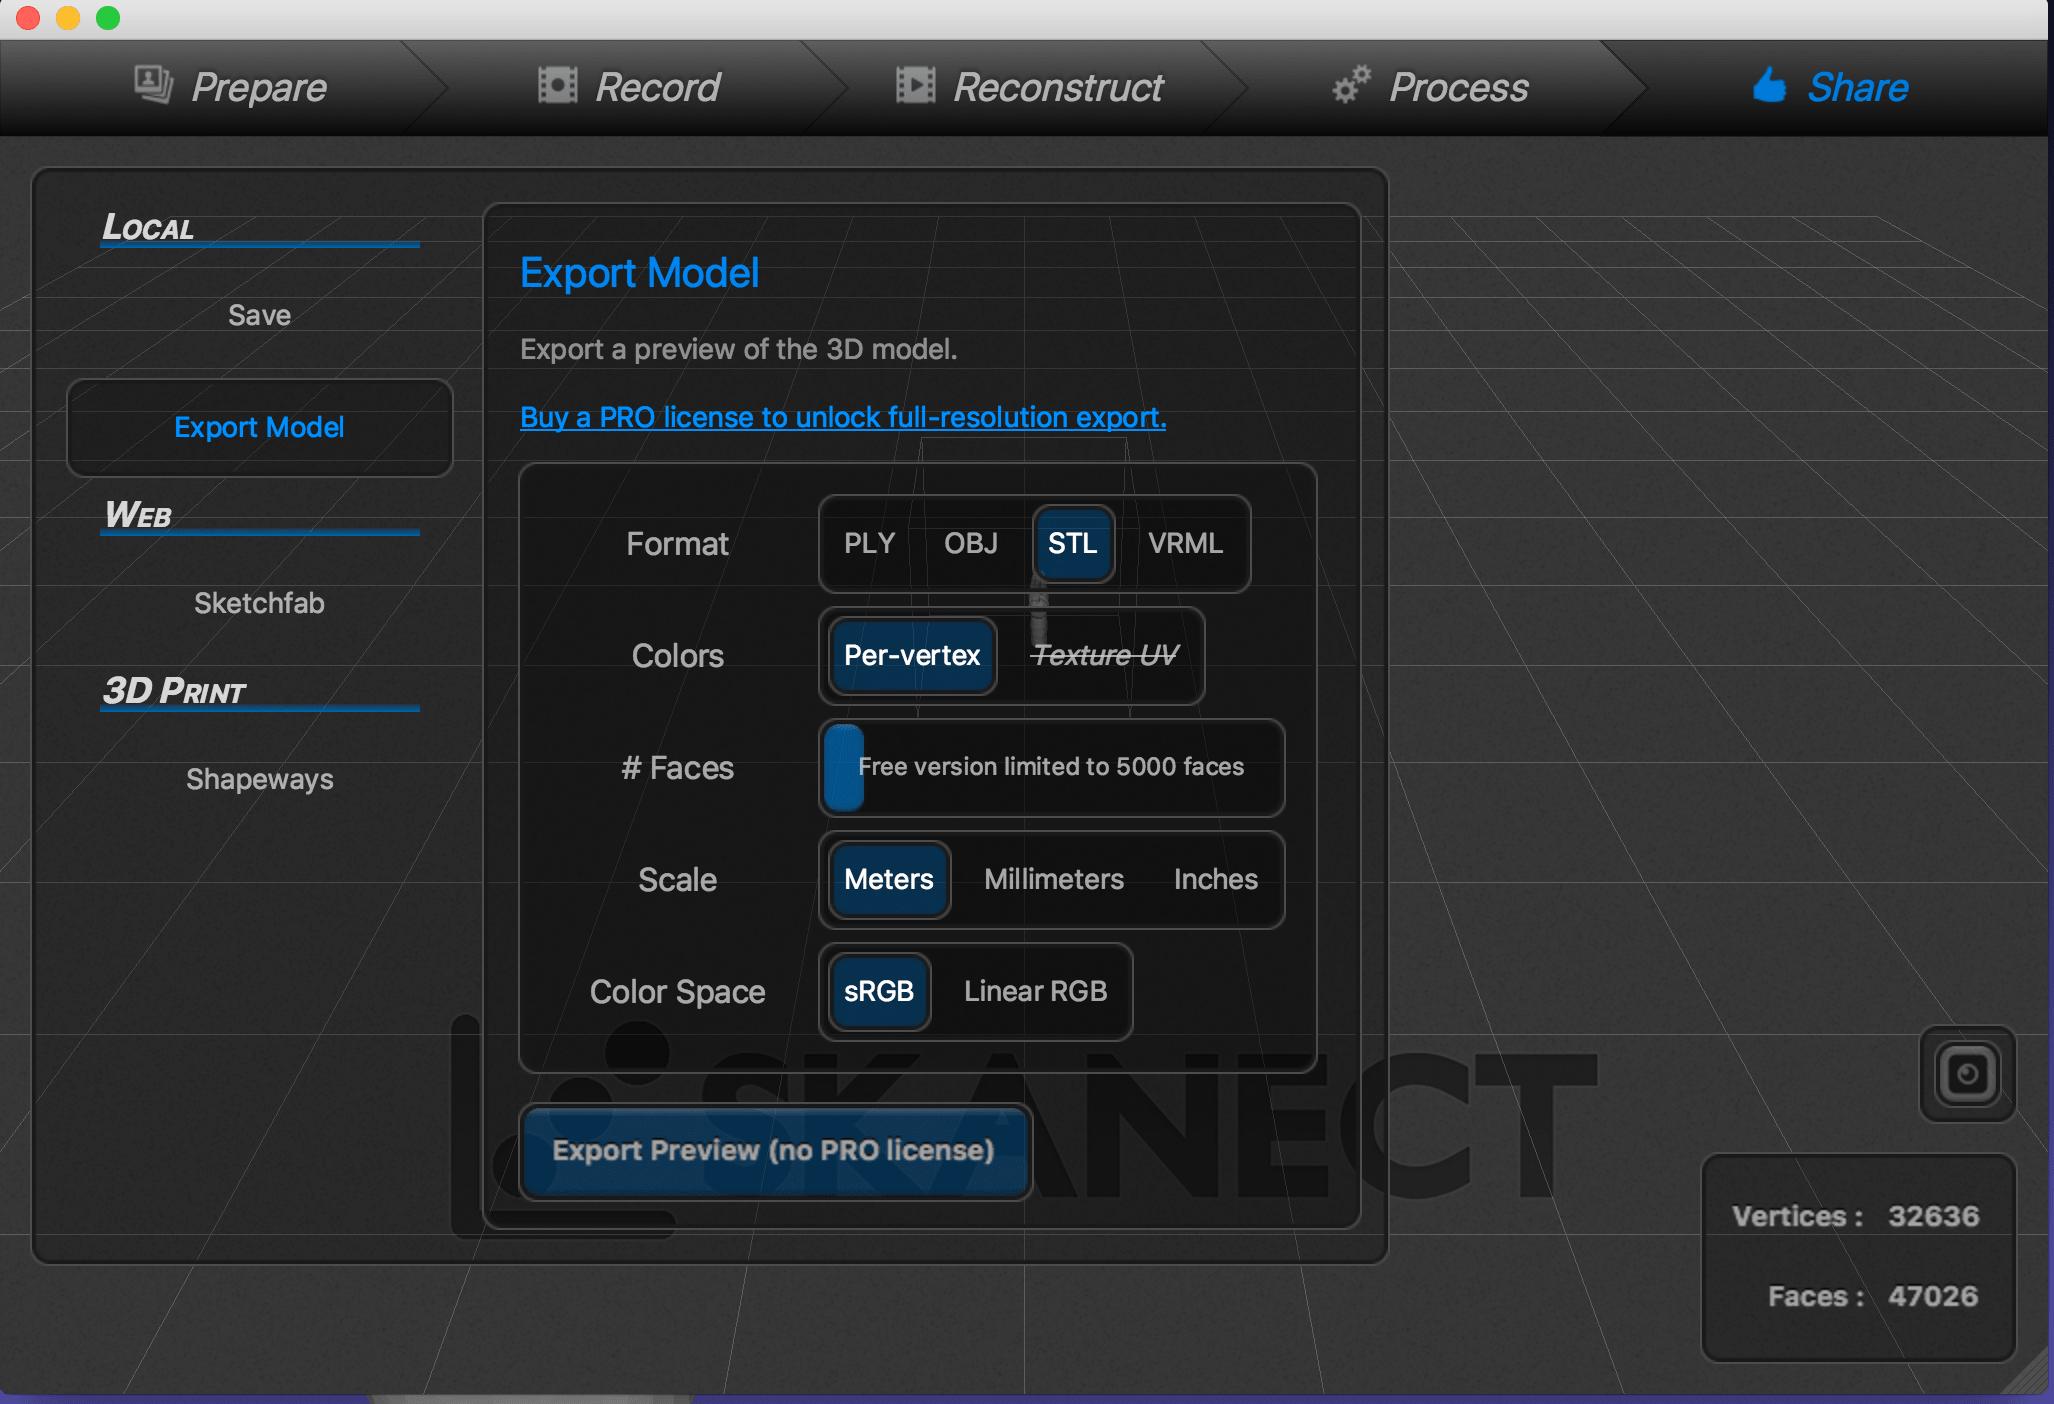
when exporting the file, i chose to export it as an stl file. the issue however was that the application (skanect 2) only allowed exporting files up to 5000 faces which greatly reduced the quality after the export
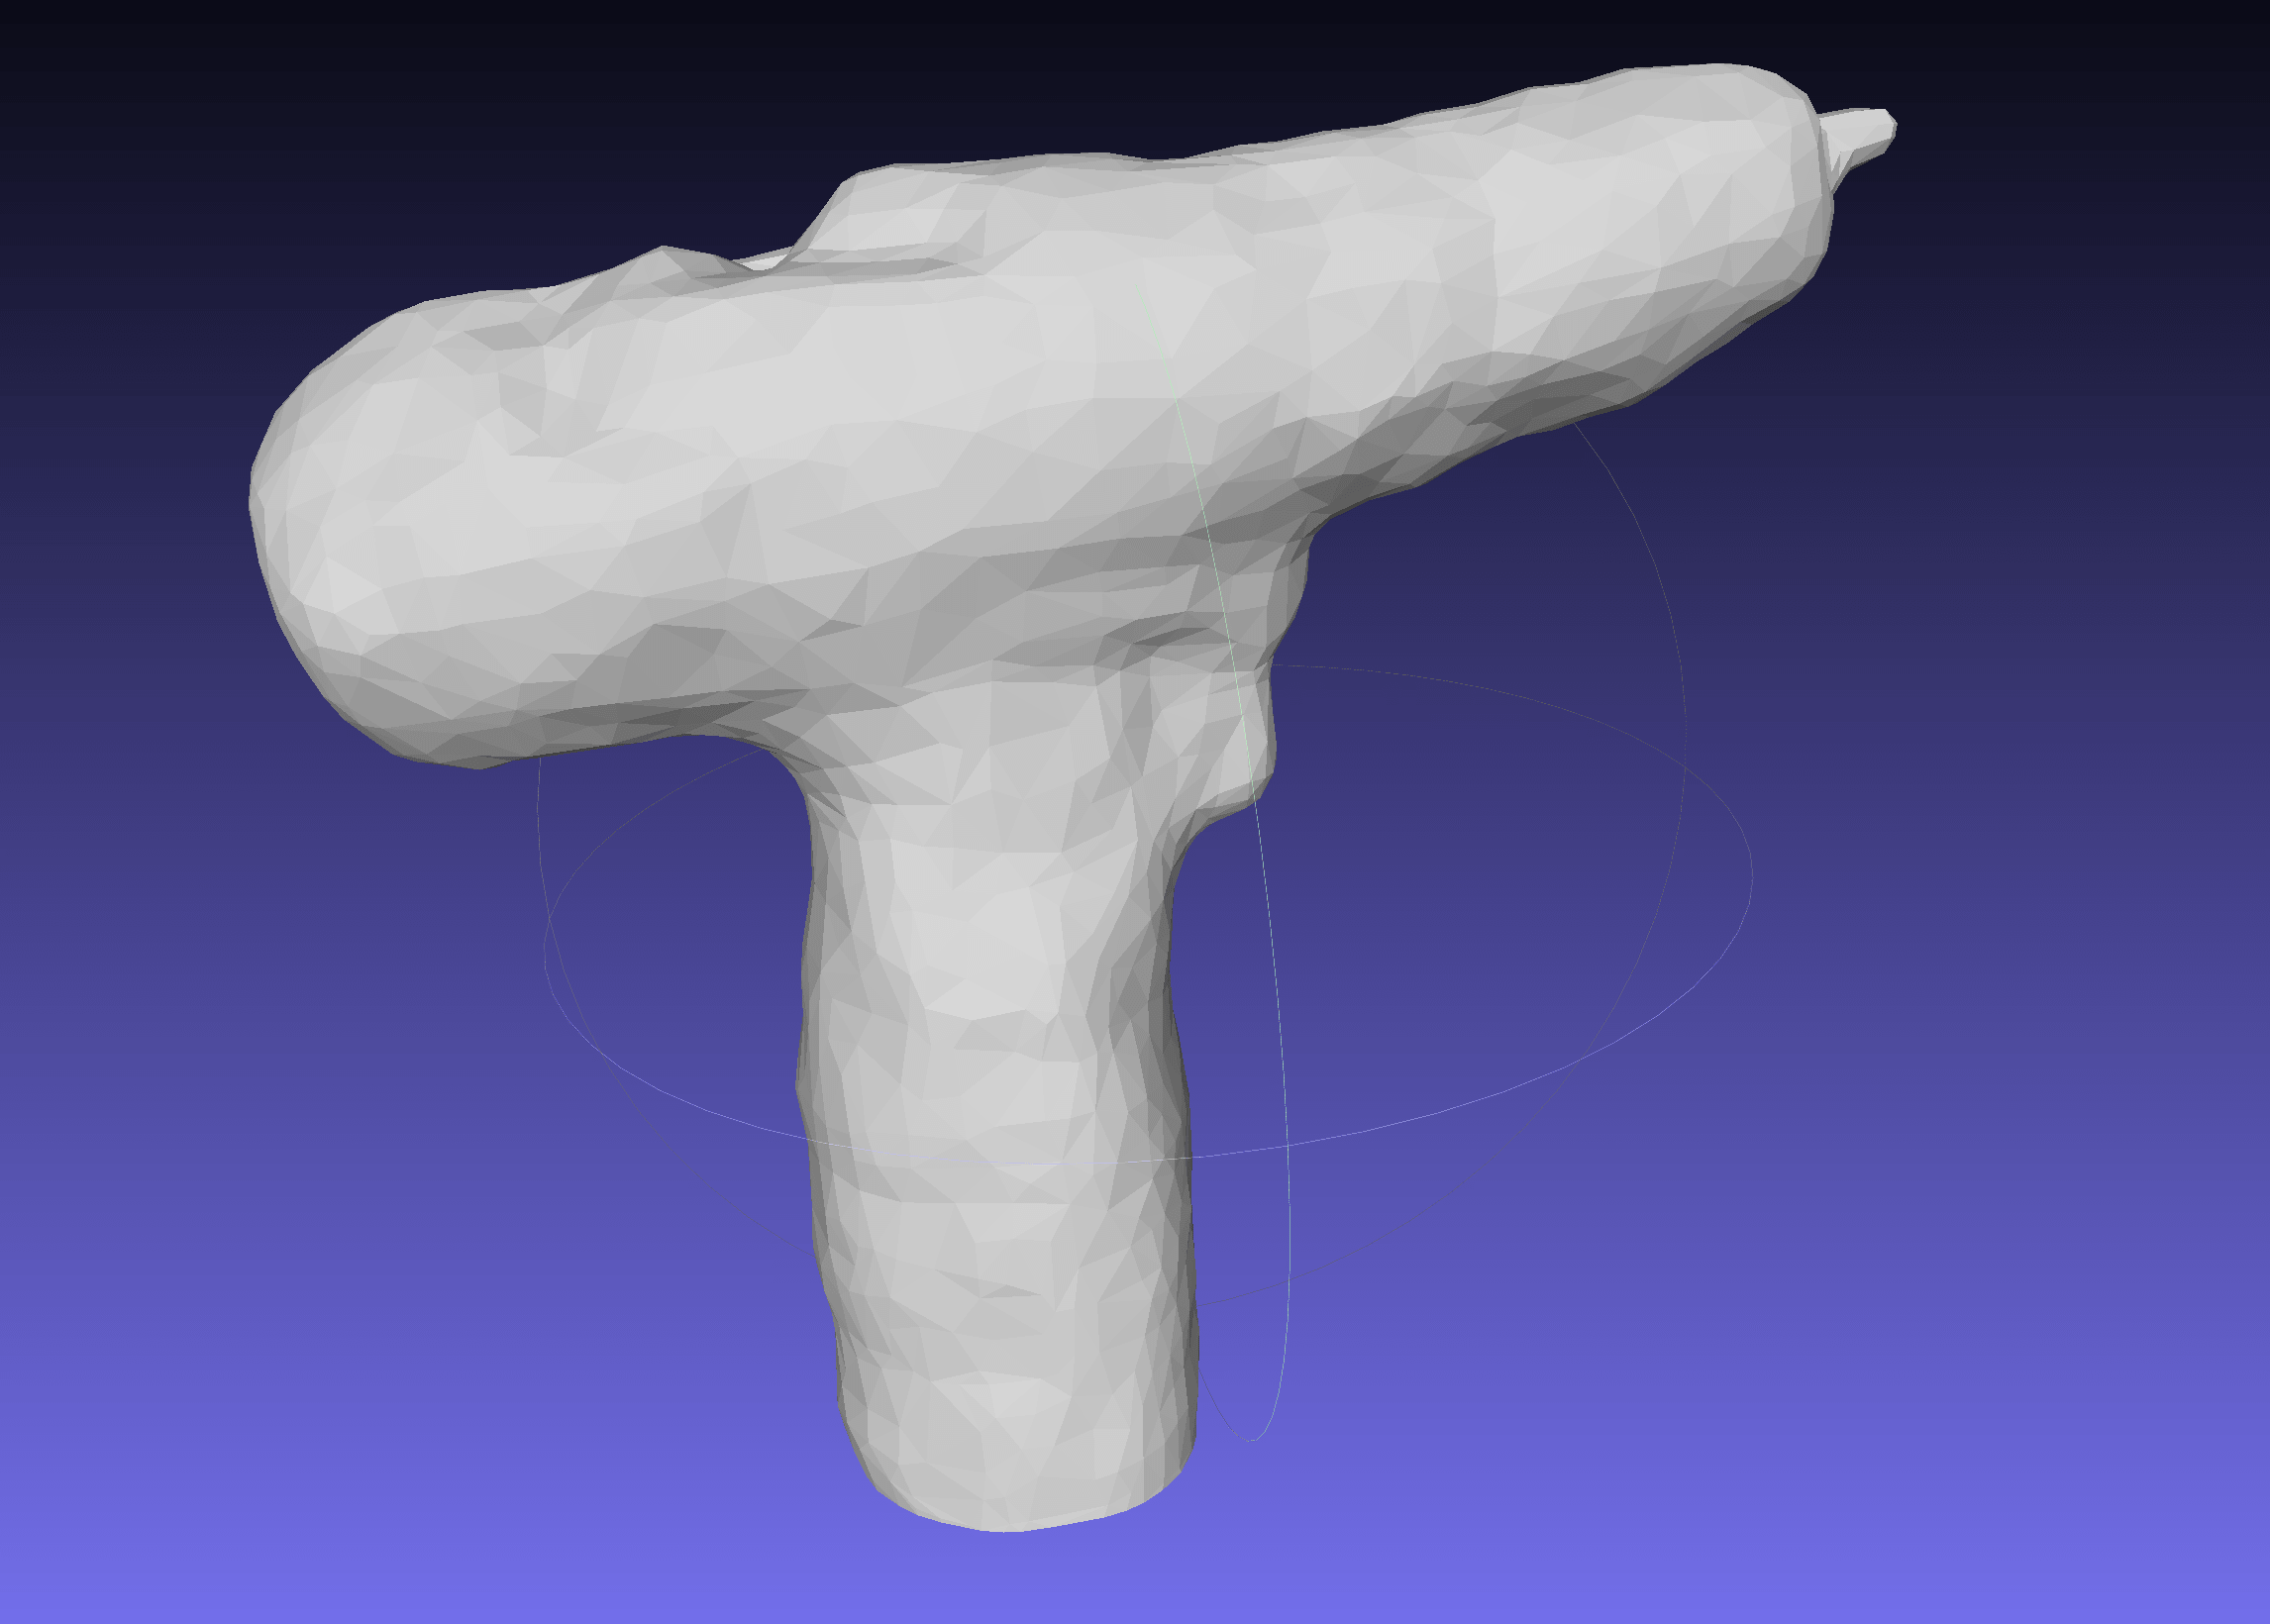 3D scanned file download link
3D scan - Qlone app
The second way I experimented with 3D scanning was using Qlone App. I spent a long time tying to find an app that can be used for 3D scanning. There are some apps on the market but i wanted one that is free to use. I downloaded several apps that did not turn out to be even able to 3D scan an object at all.
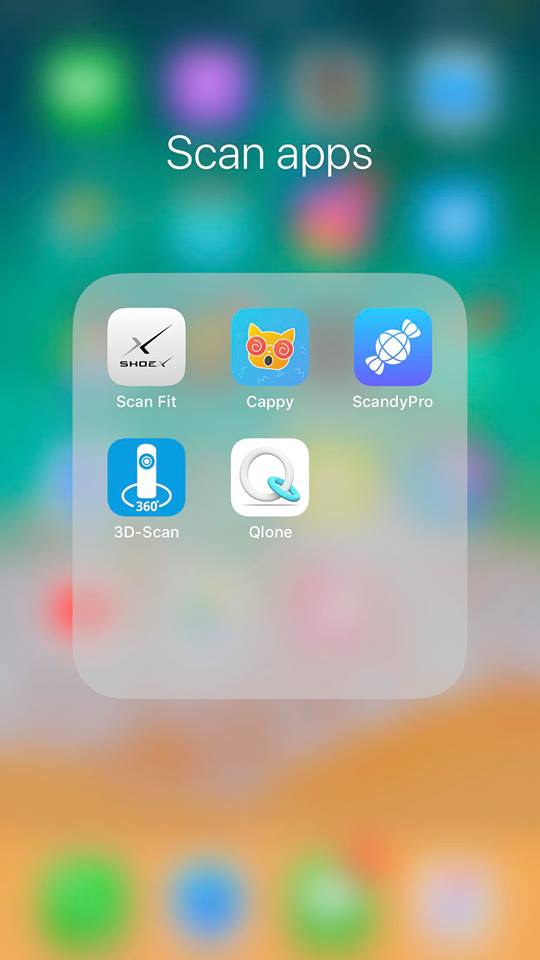
Qlone is an all-in-one tool for 3D scanning & AR where users can scan their 3d objects using their phone's cameras. Using the basic functionality is free.
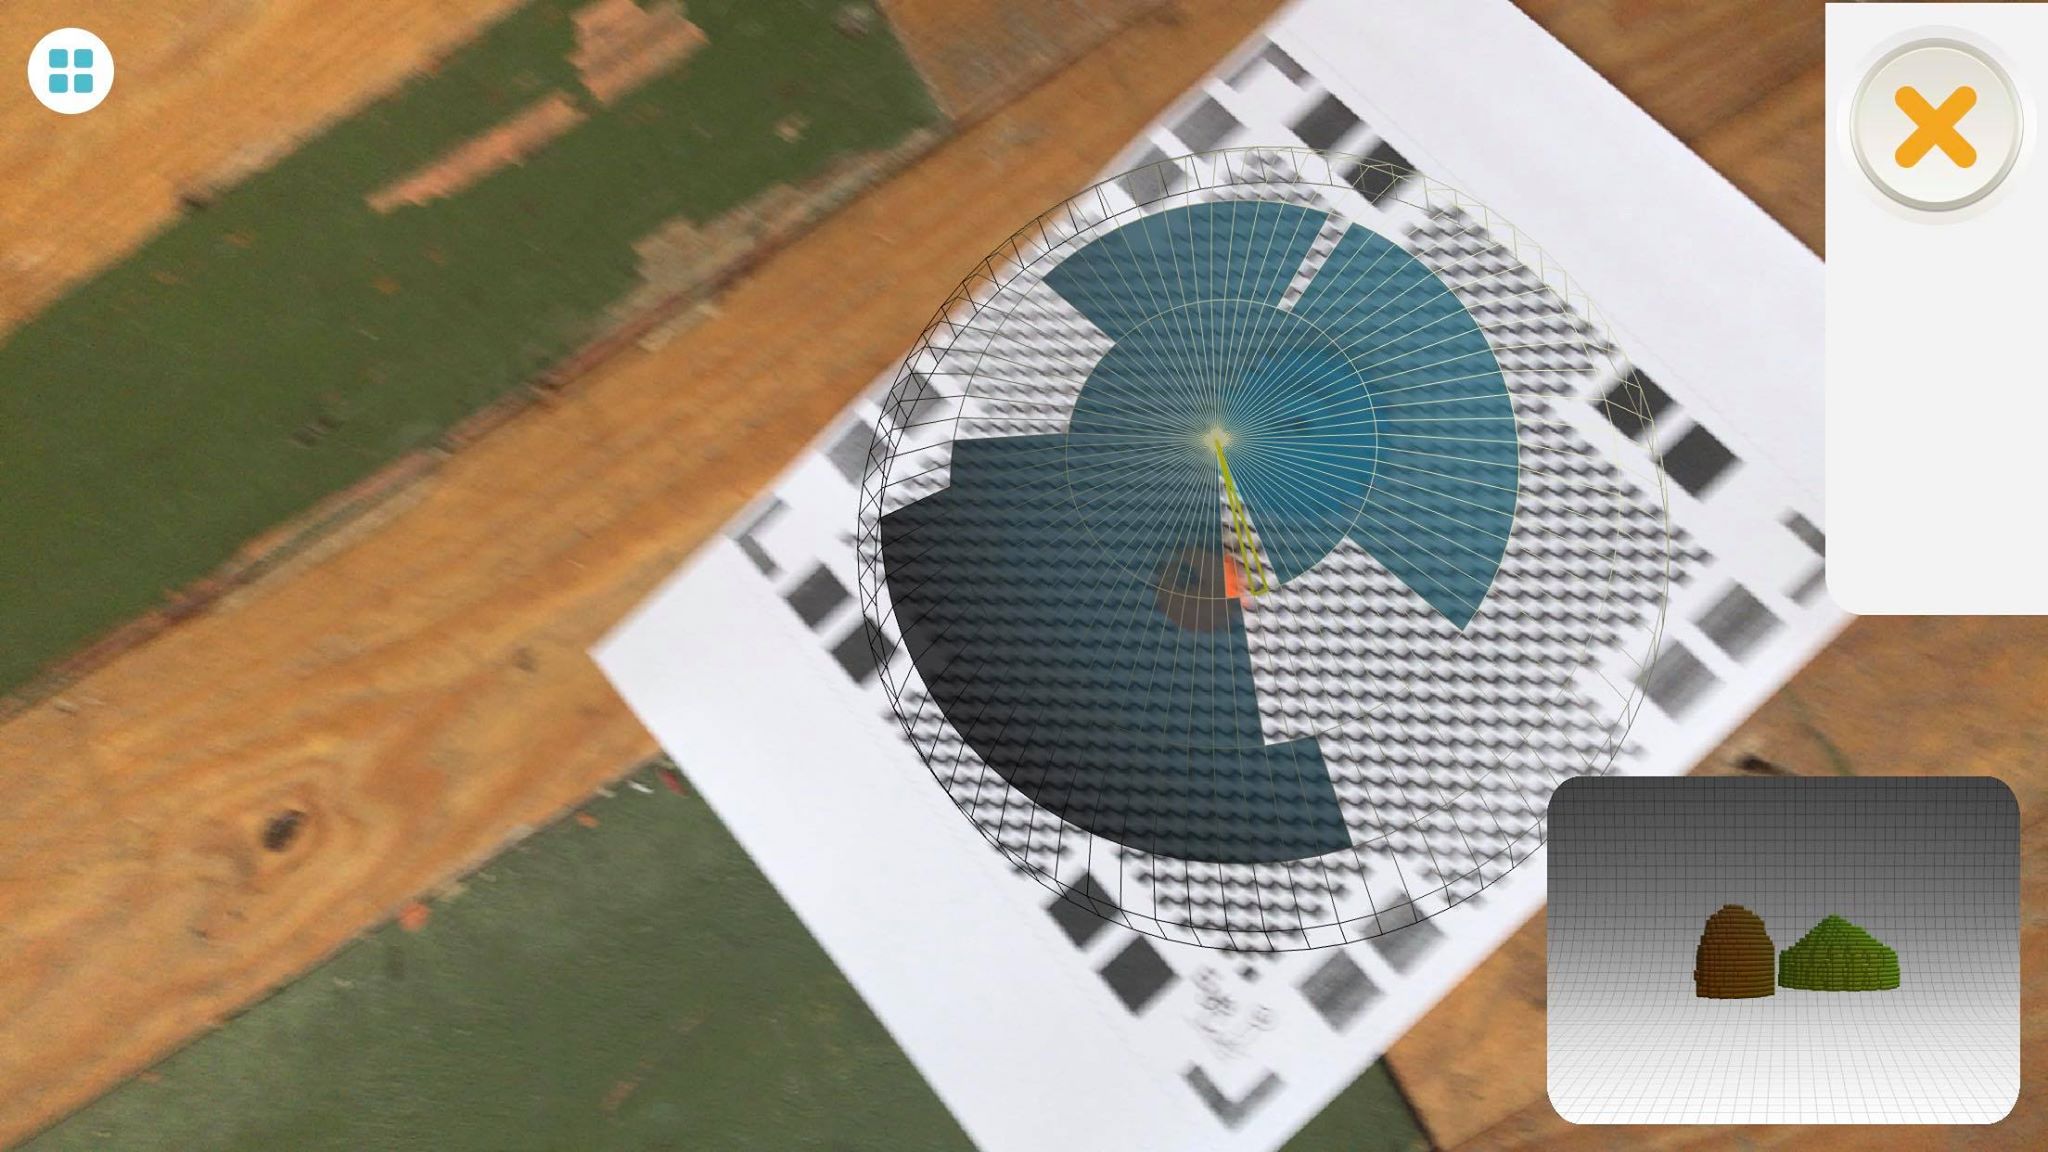
The Qlone app requires the use of a printed AR Mat. The mat has a black and white checkerboard pattern that works as a tracker so the software can tell what side of the object is being scanned. Its a pretty smart way to do it and to insure it knows exactly the position of the picture being taken by the phone in relation to the object.
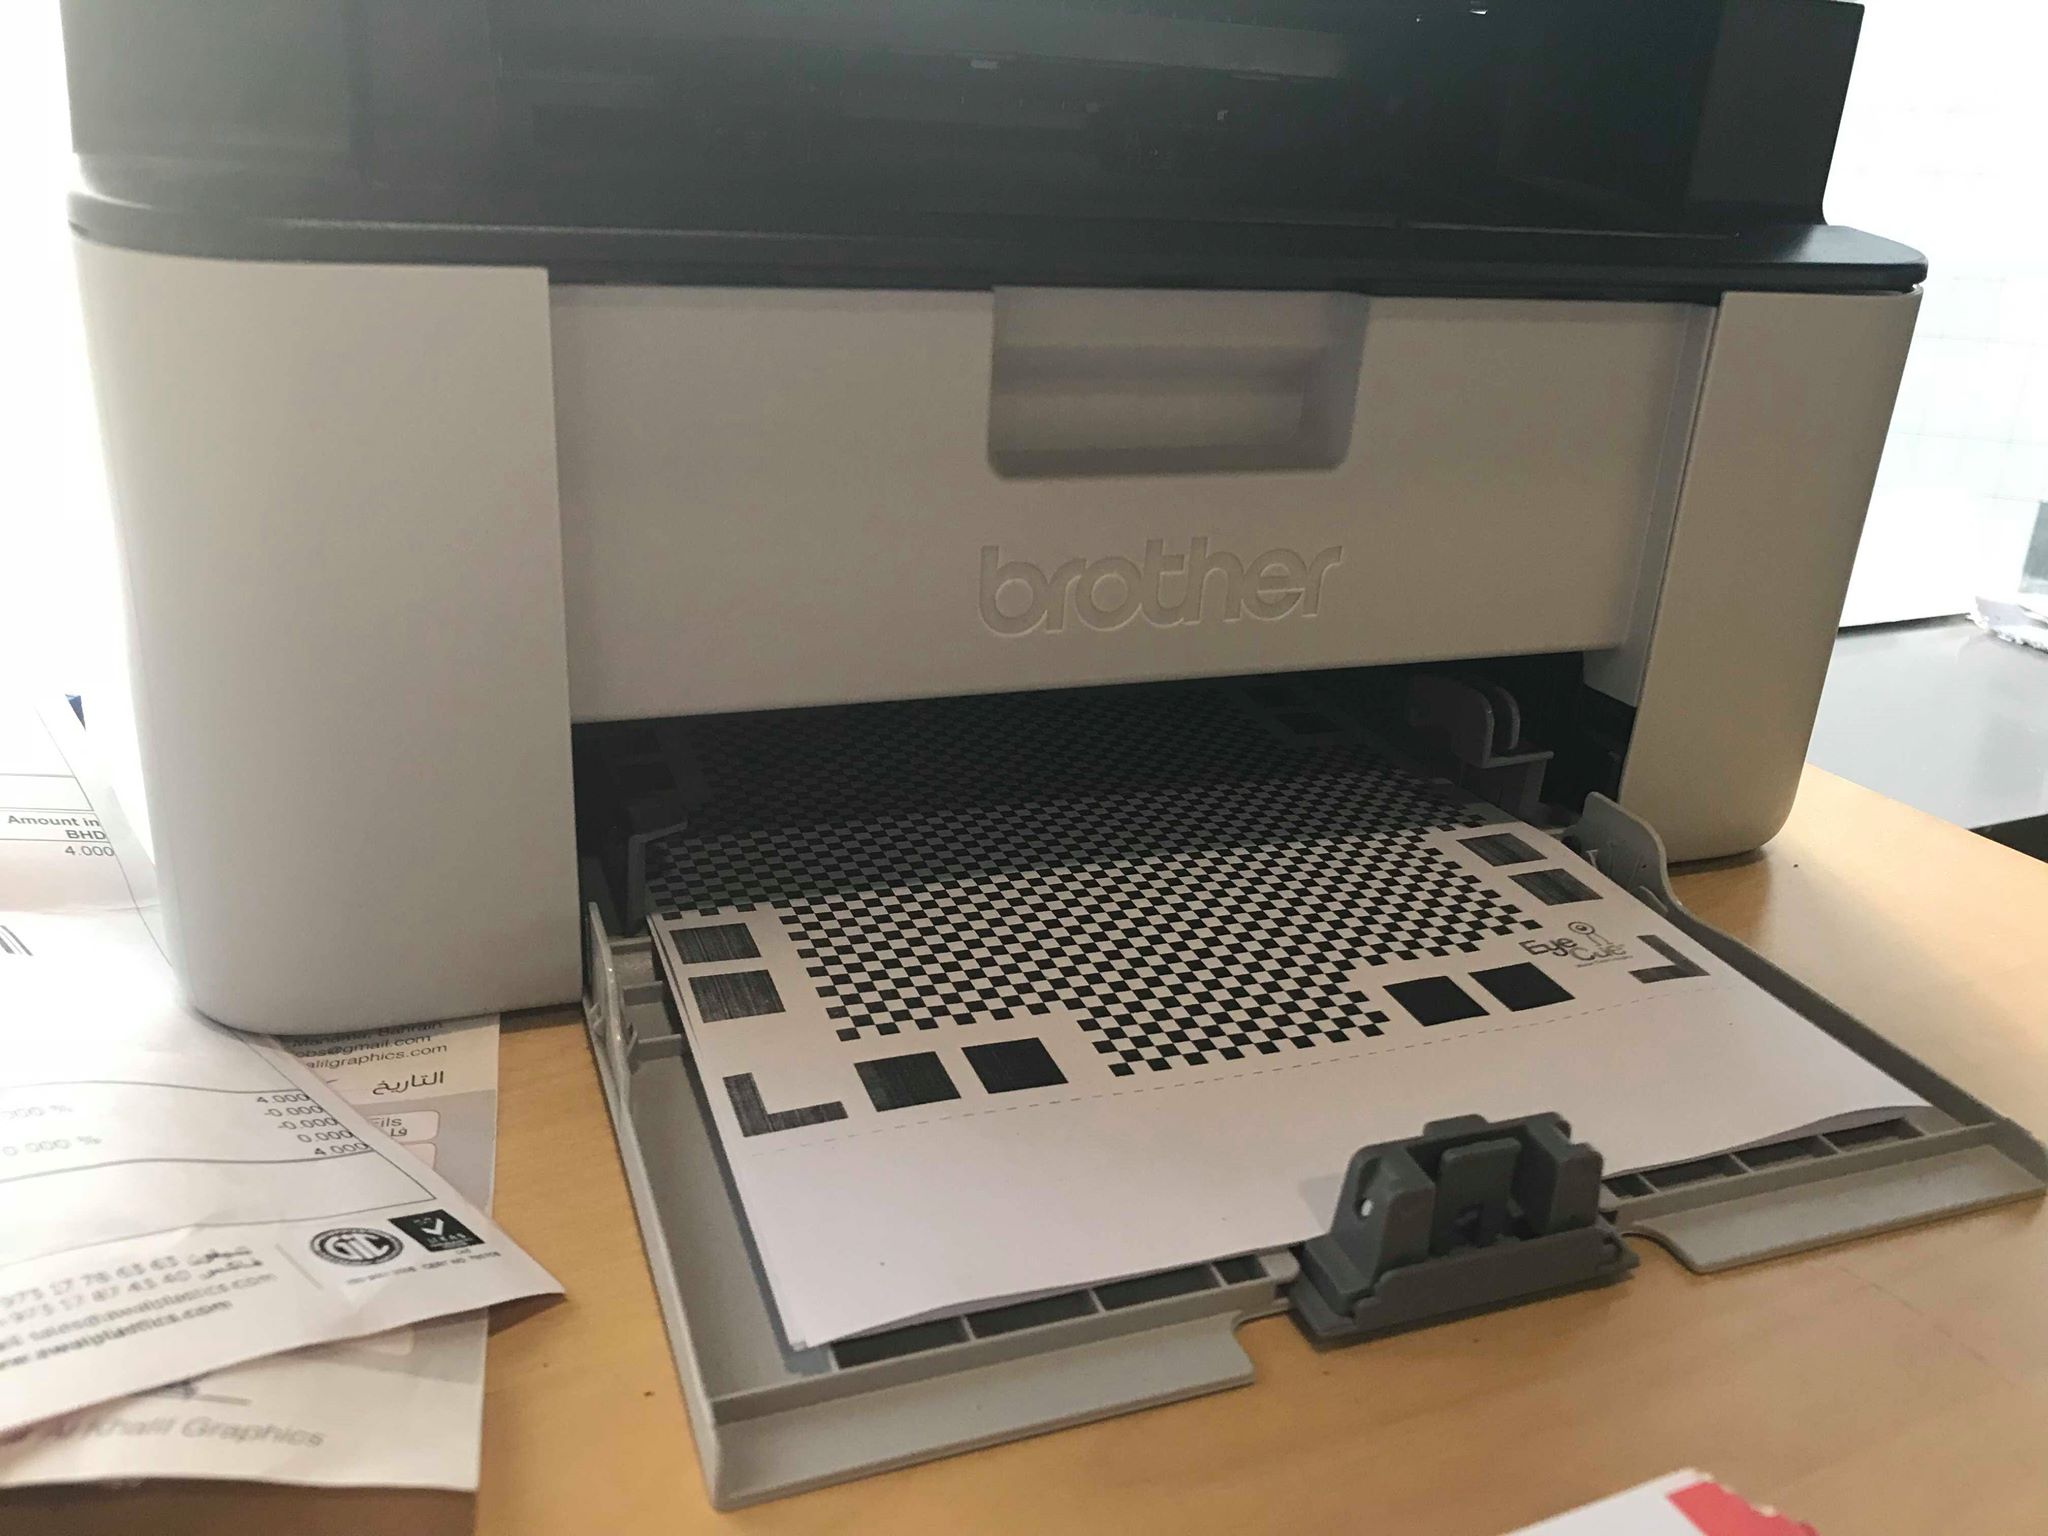

I printed the mat on an A4 piece of paper and I was ready to start scanning. I selected two gears that were 3D printed in the Fab Lab. I thought it would be interesting to see how the app would handle the uneven edges and it it would be able to accuratky scan them.
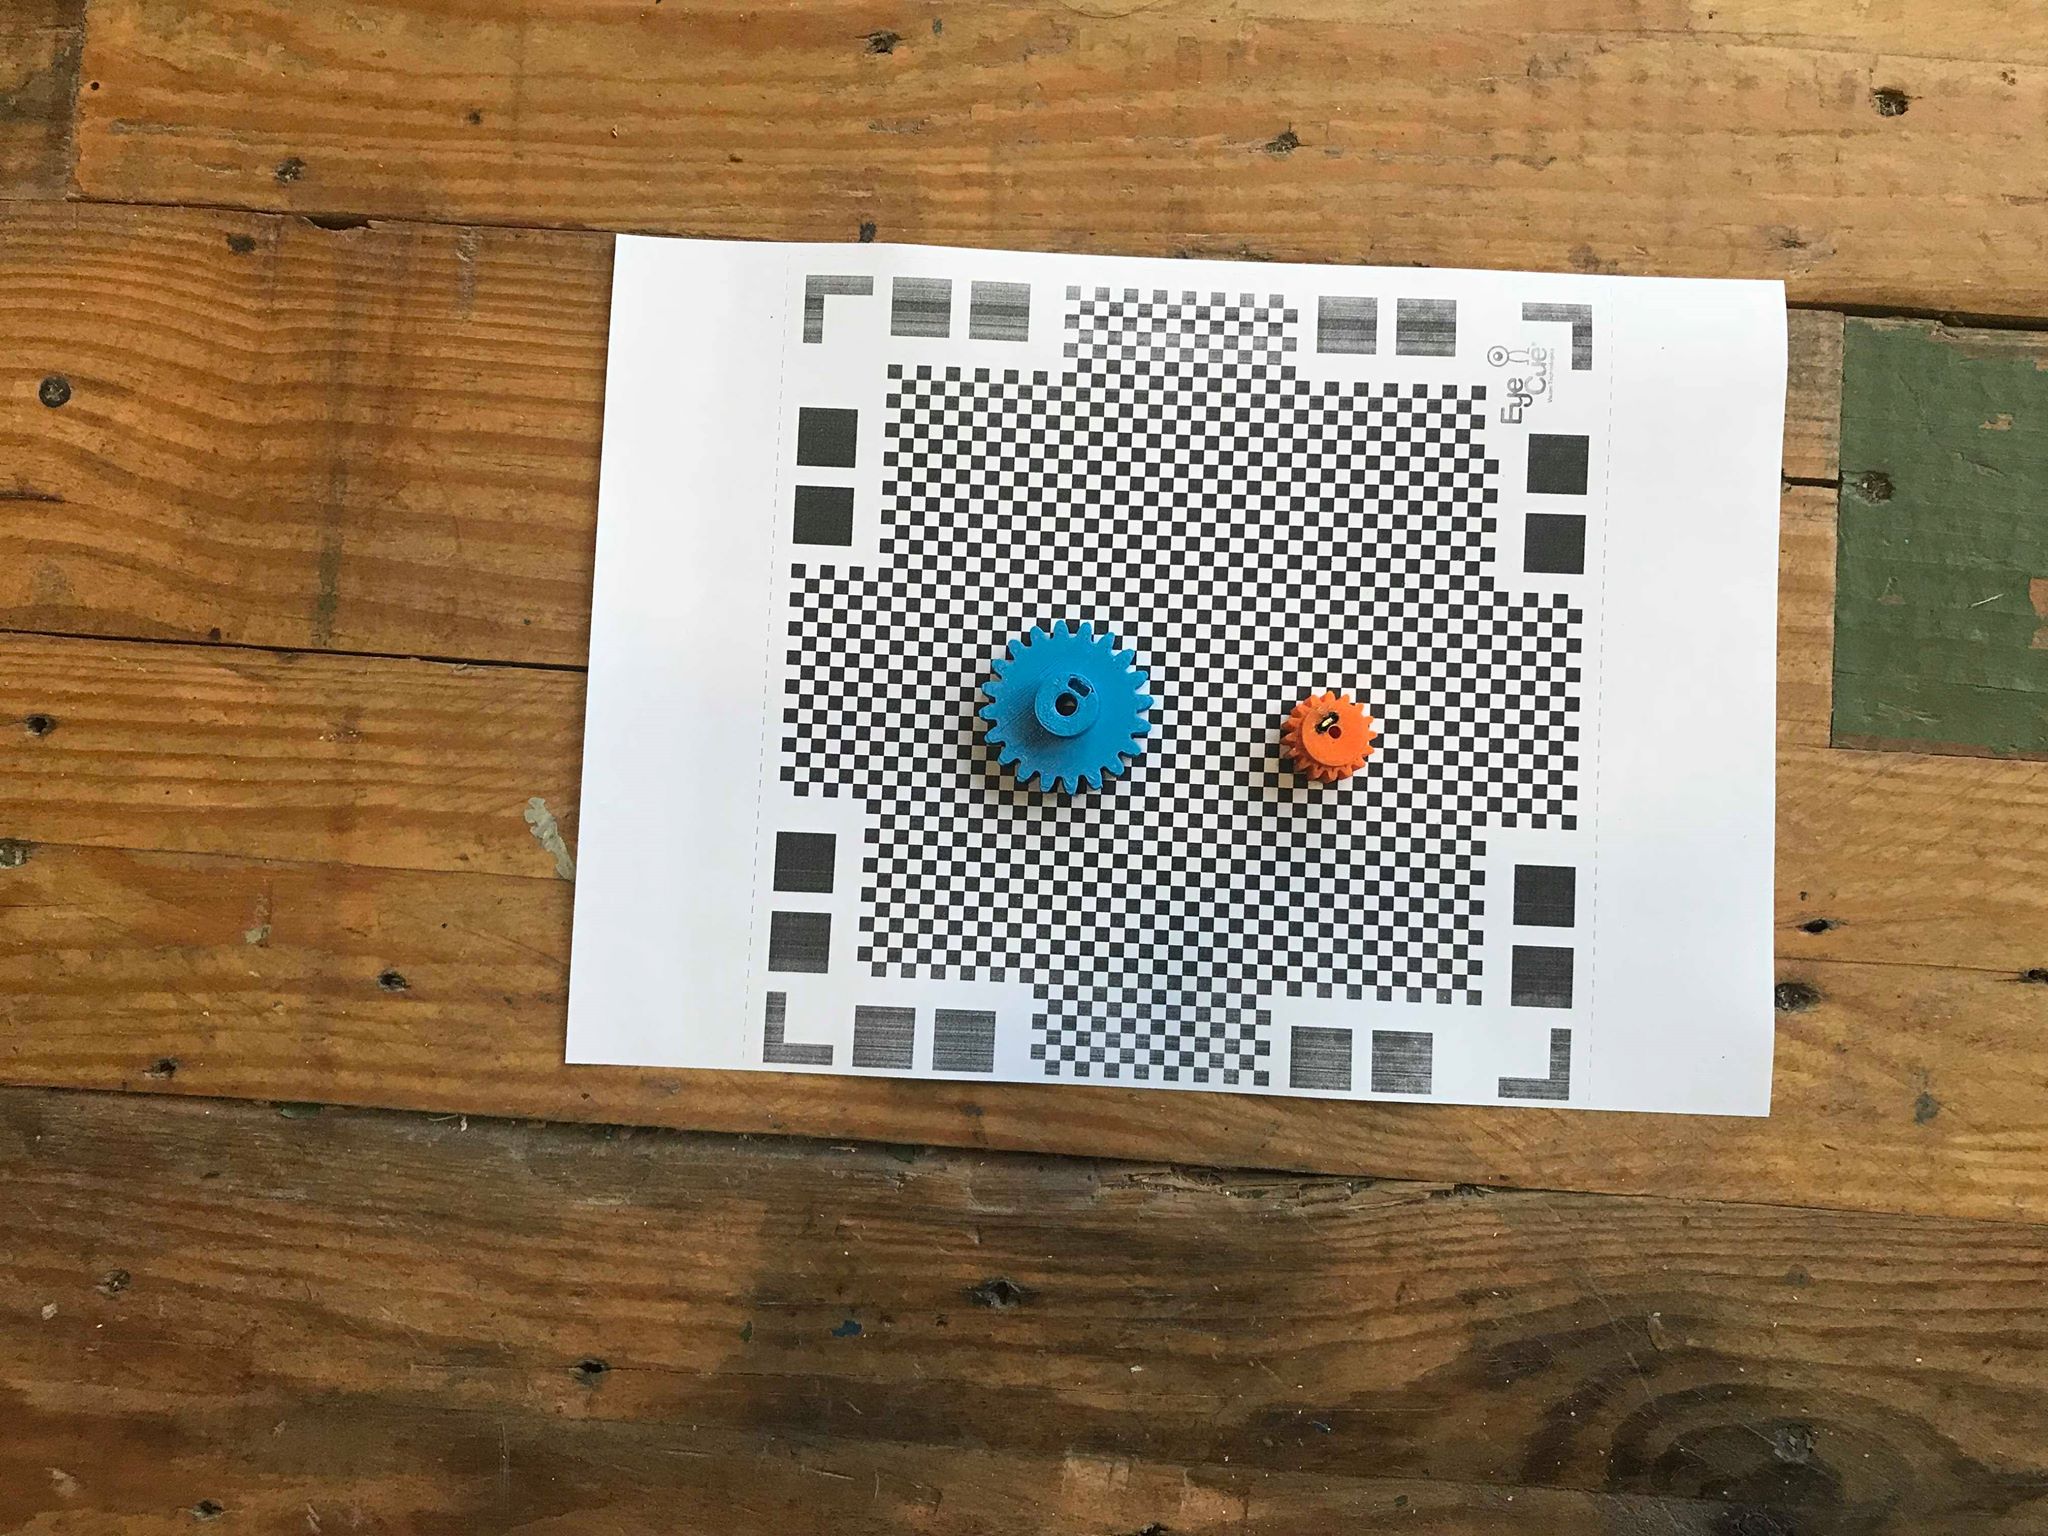
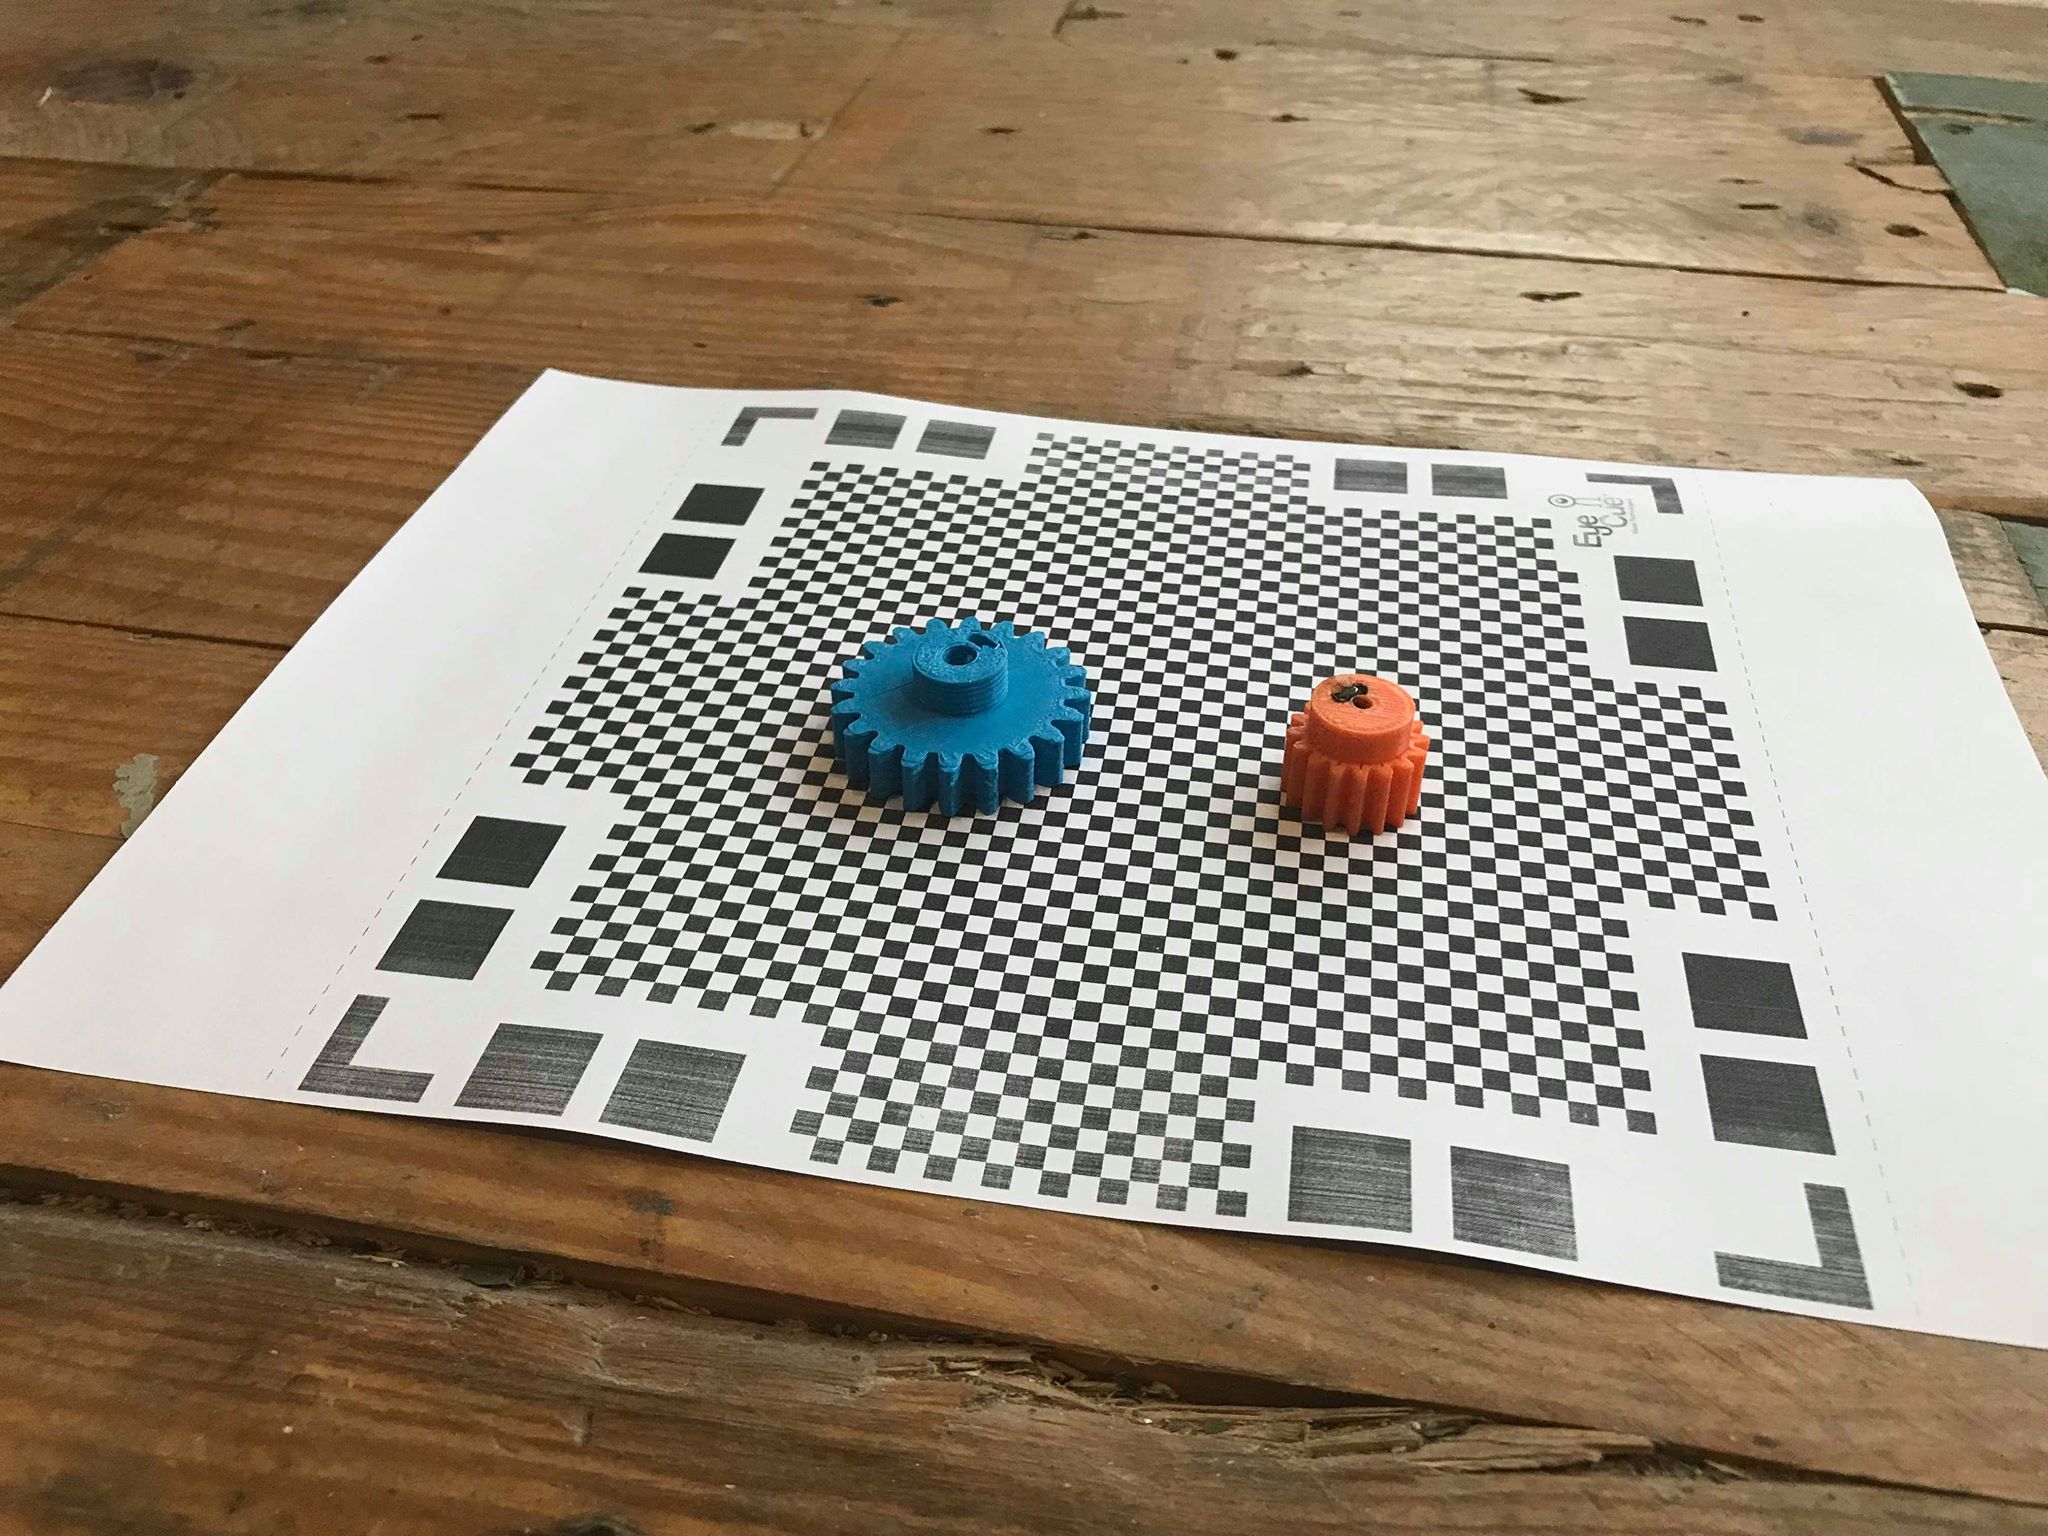
And I started scanning using the app. The process is quite interesting. The app creates a dome shape around the objects representing the areas covered and the areas that are not as a guide to the user and to not miss any angle of the objewcts. You basically have to rotate the phone around the object multiple times at different heights to get all the possible angles. It shows a little prievew of the parts it registered at the bottom right hand of the screen.
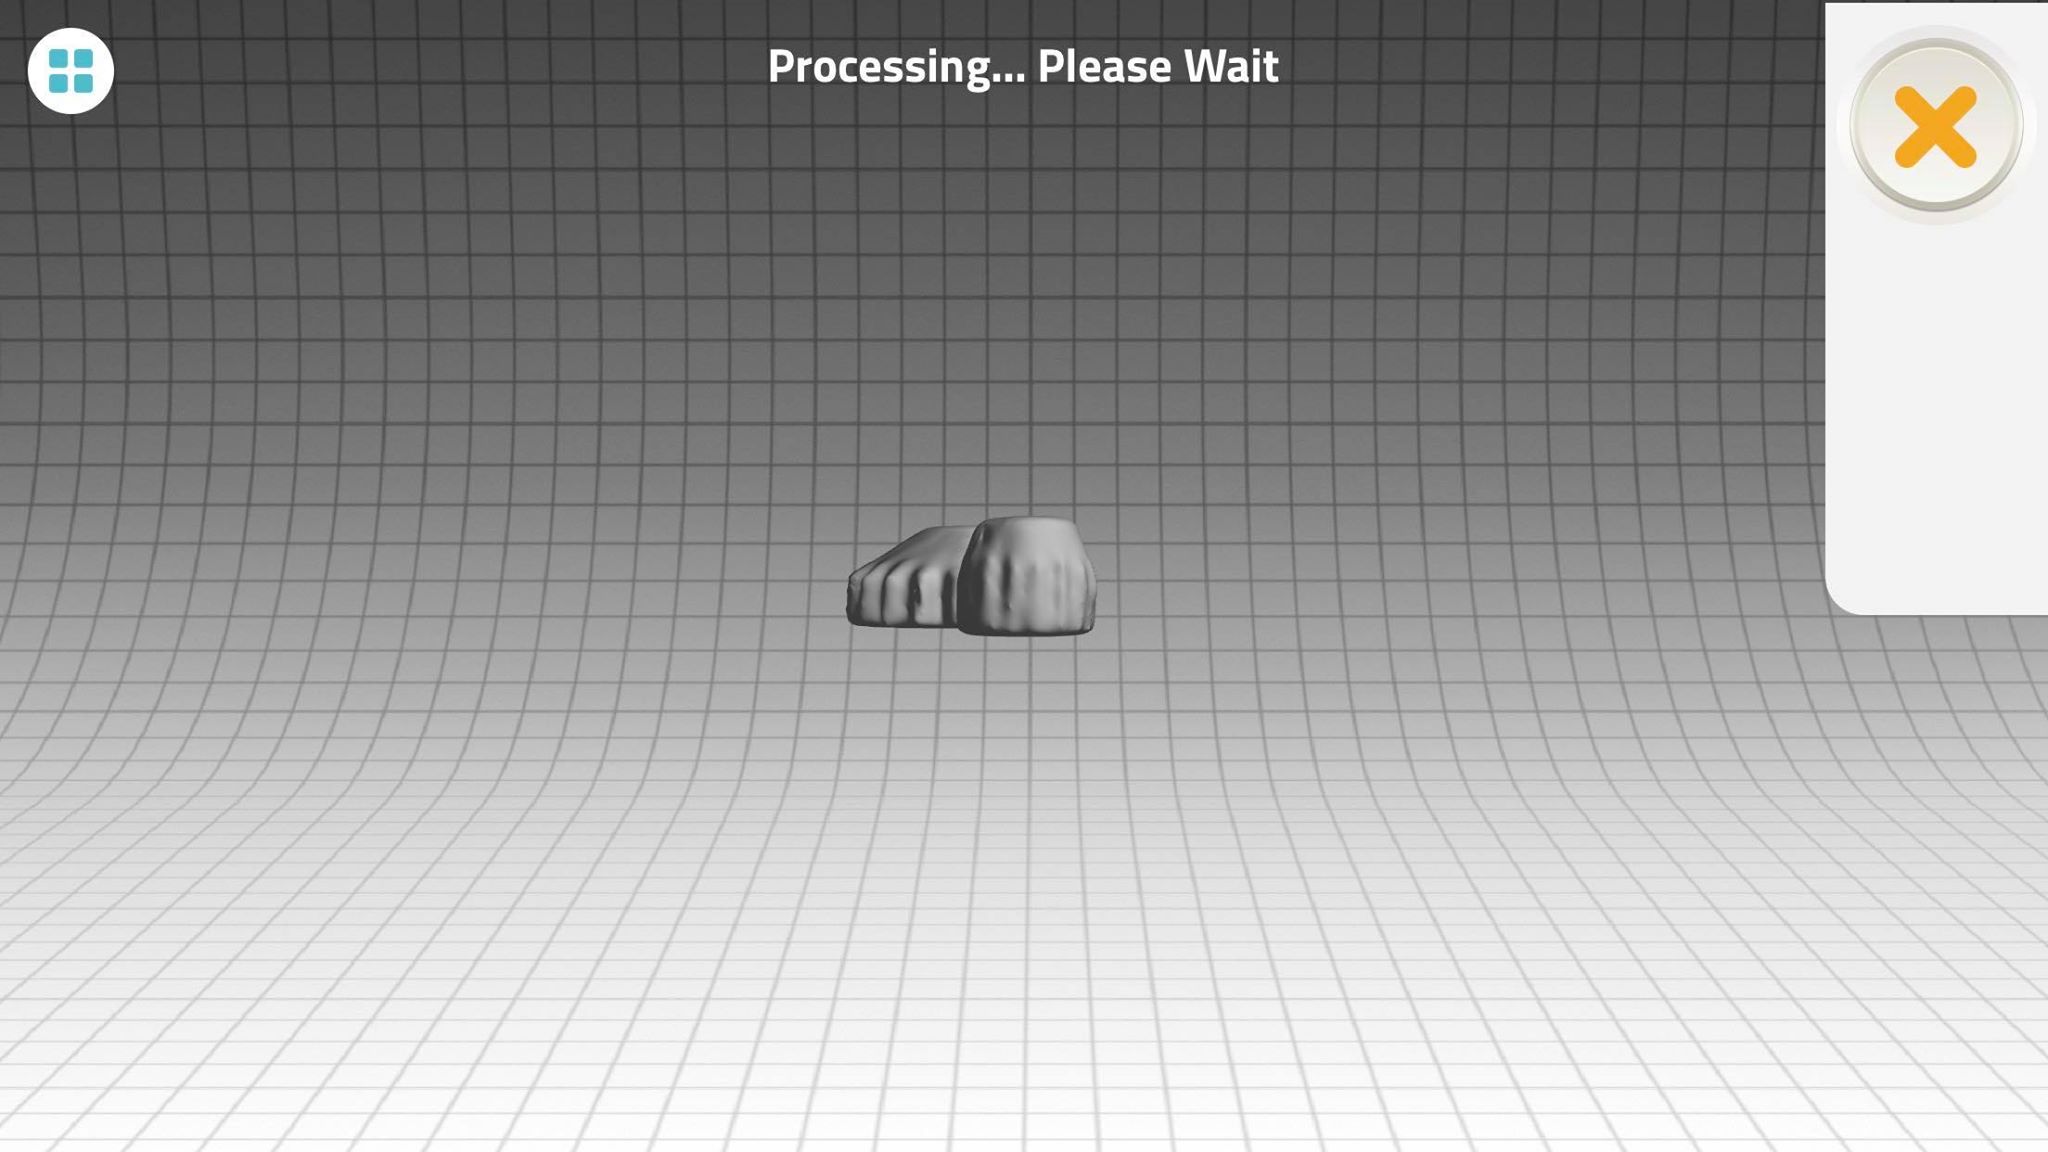
The app processes the data it recived when all the angles are covered and gives the user some options such as the option to flatten the top and the to pick the textures
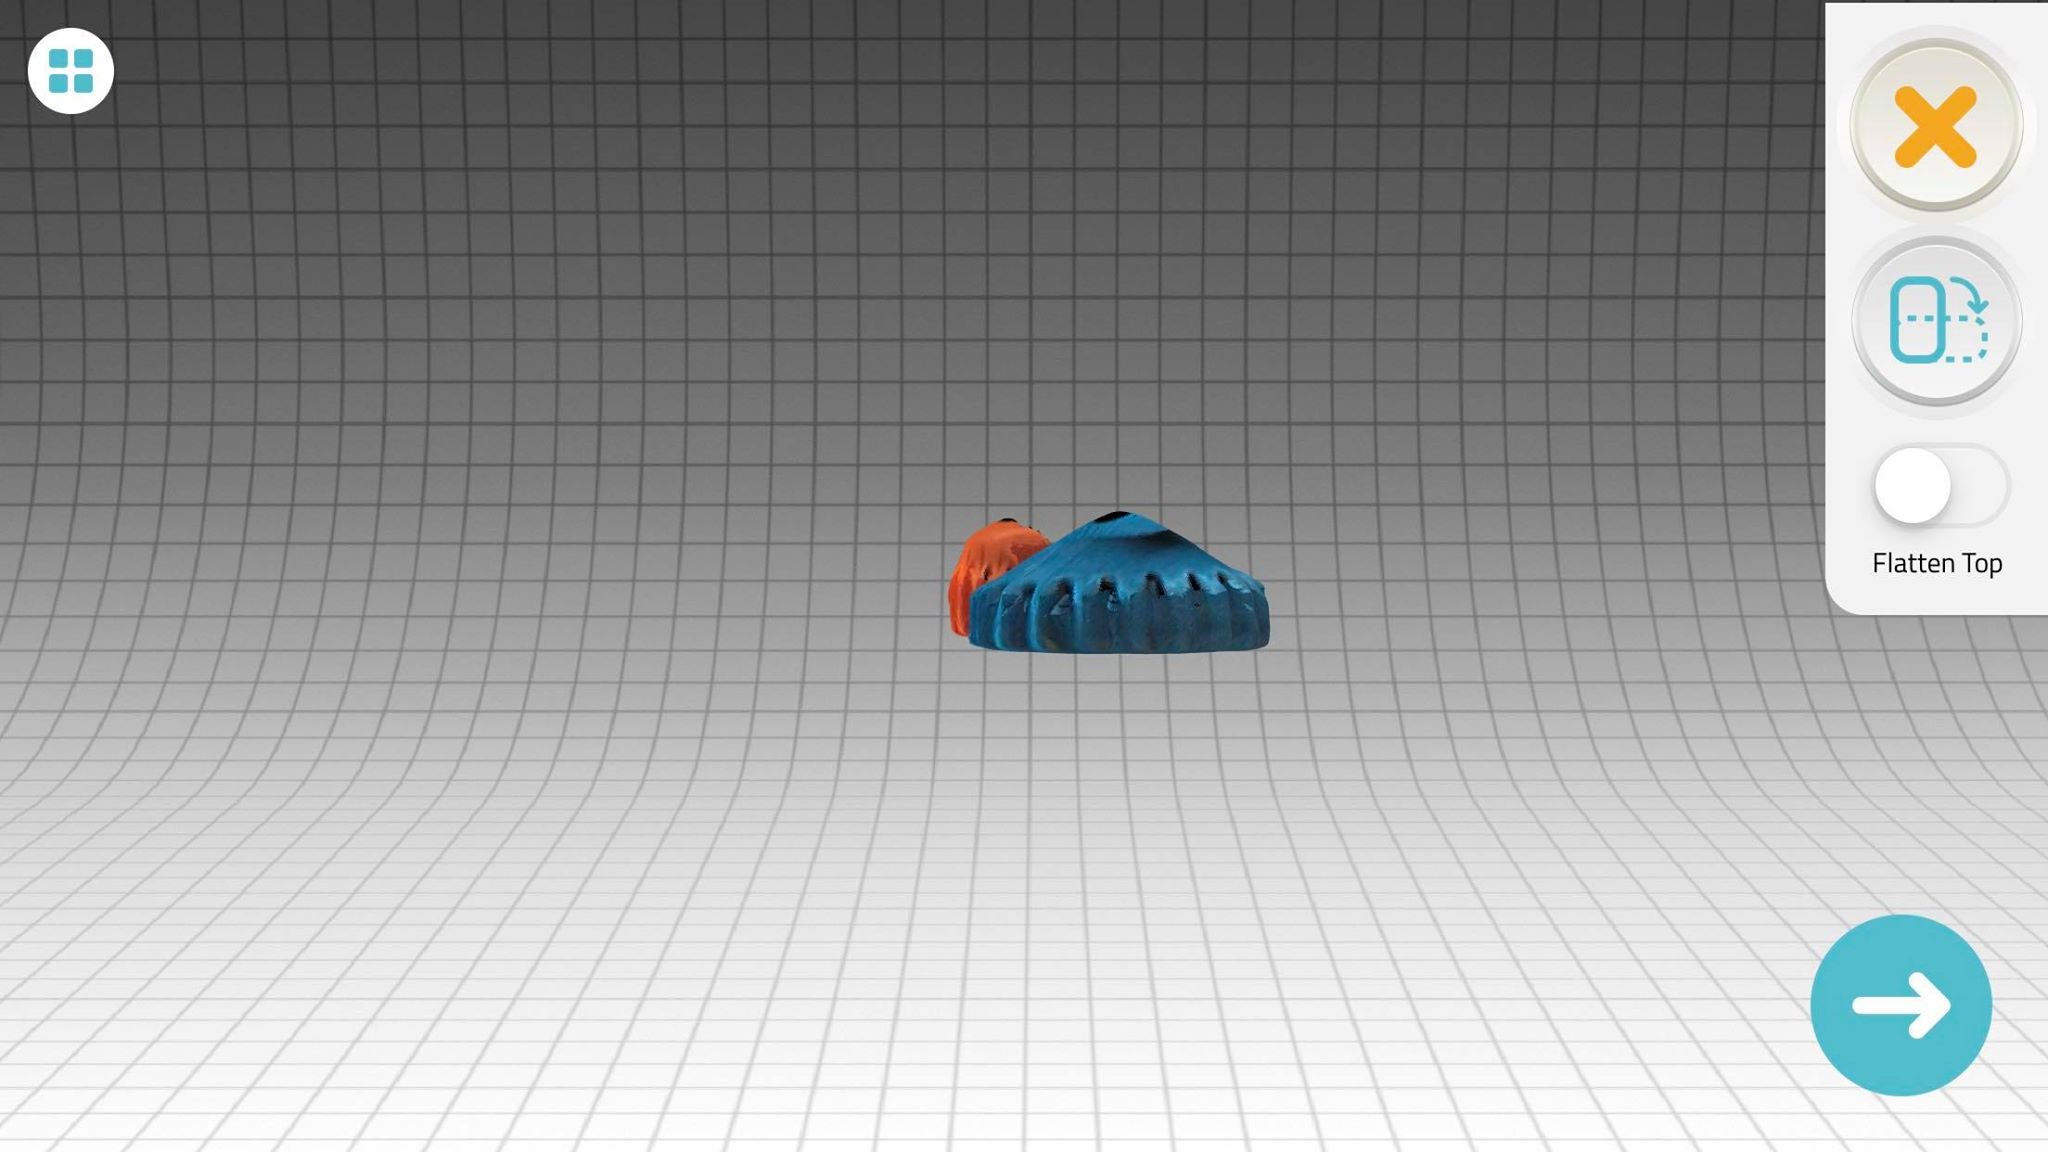
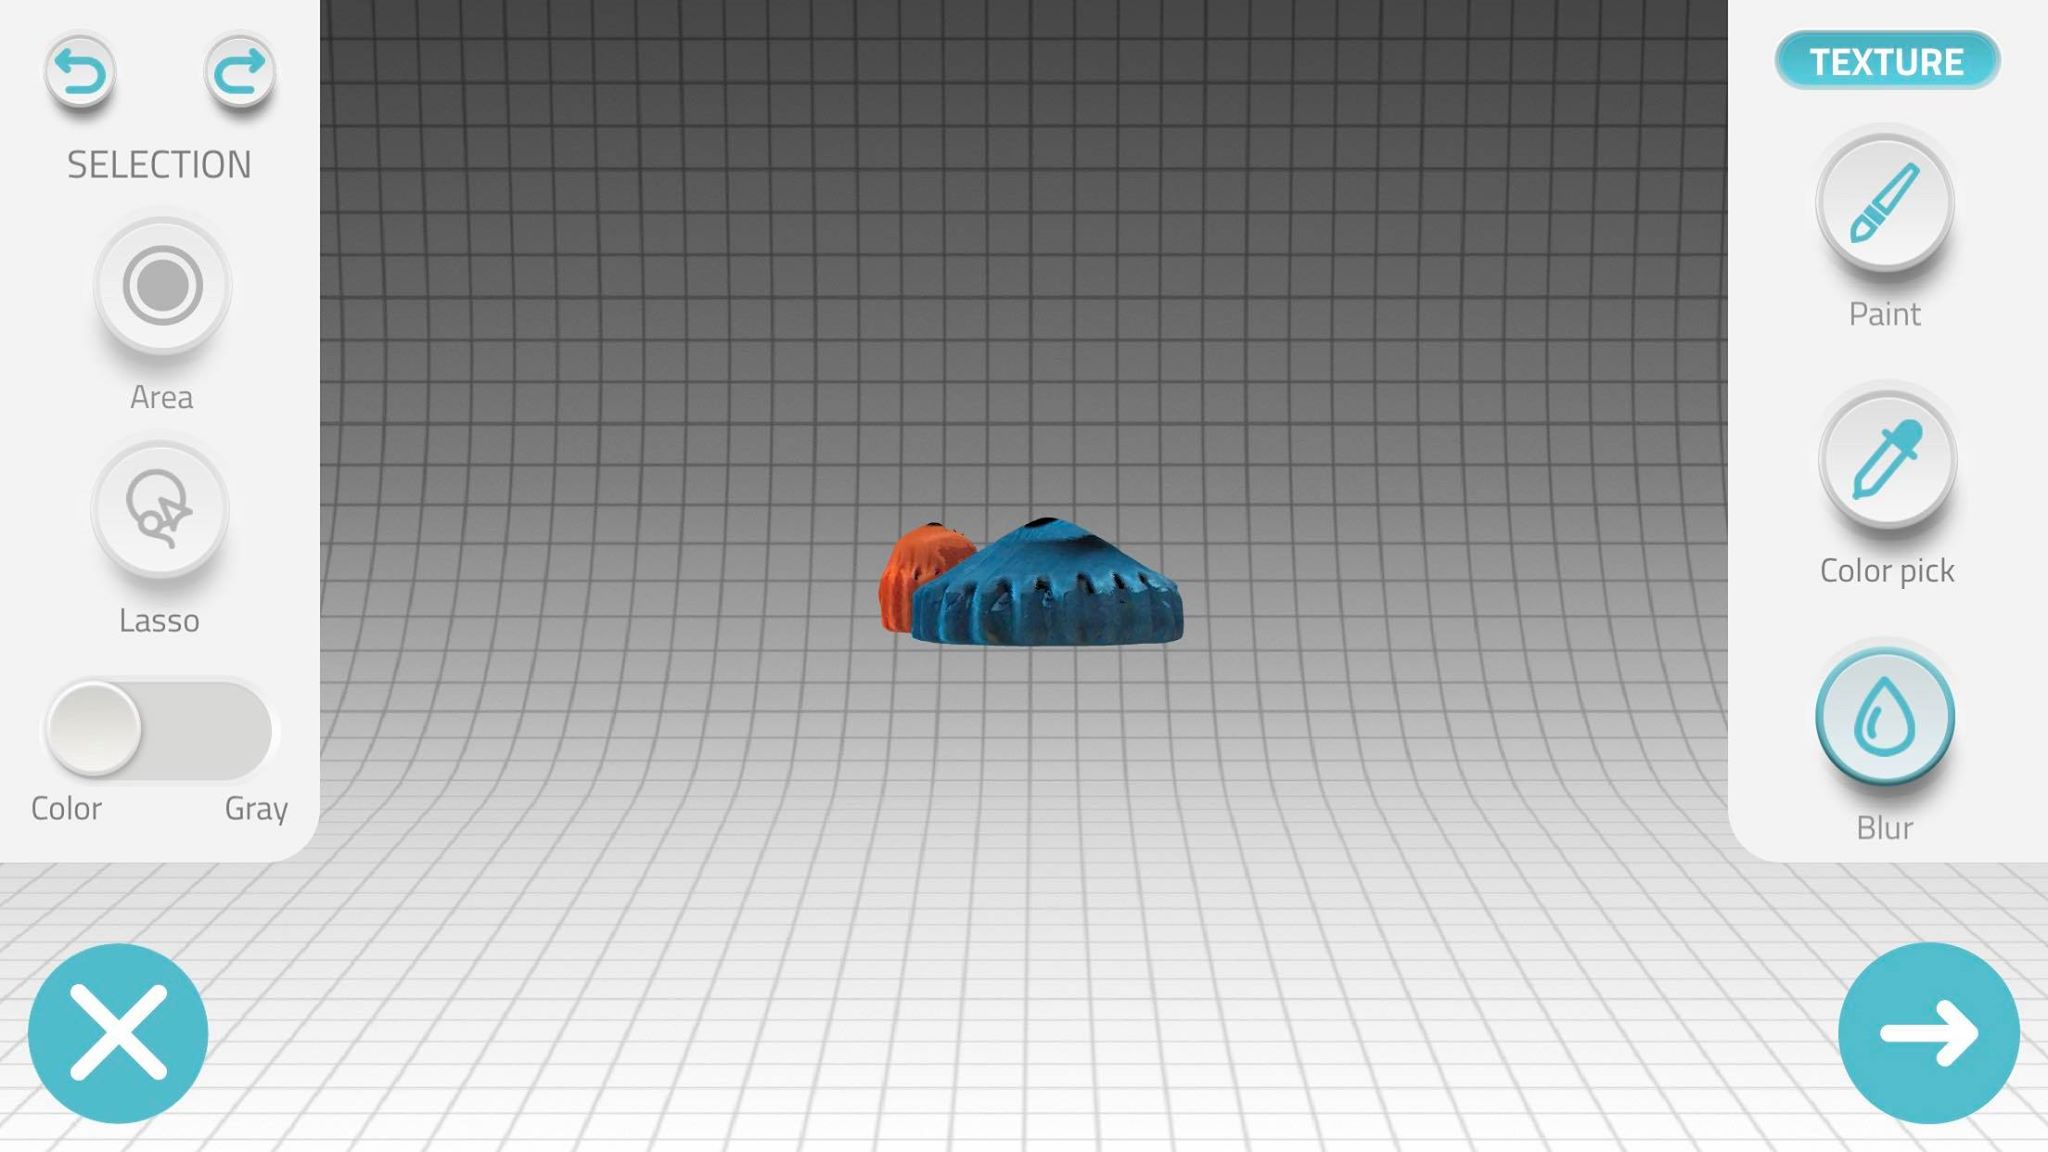
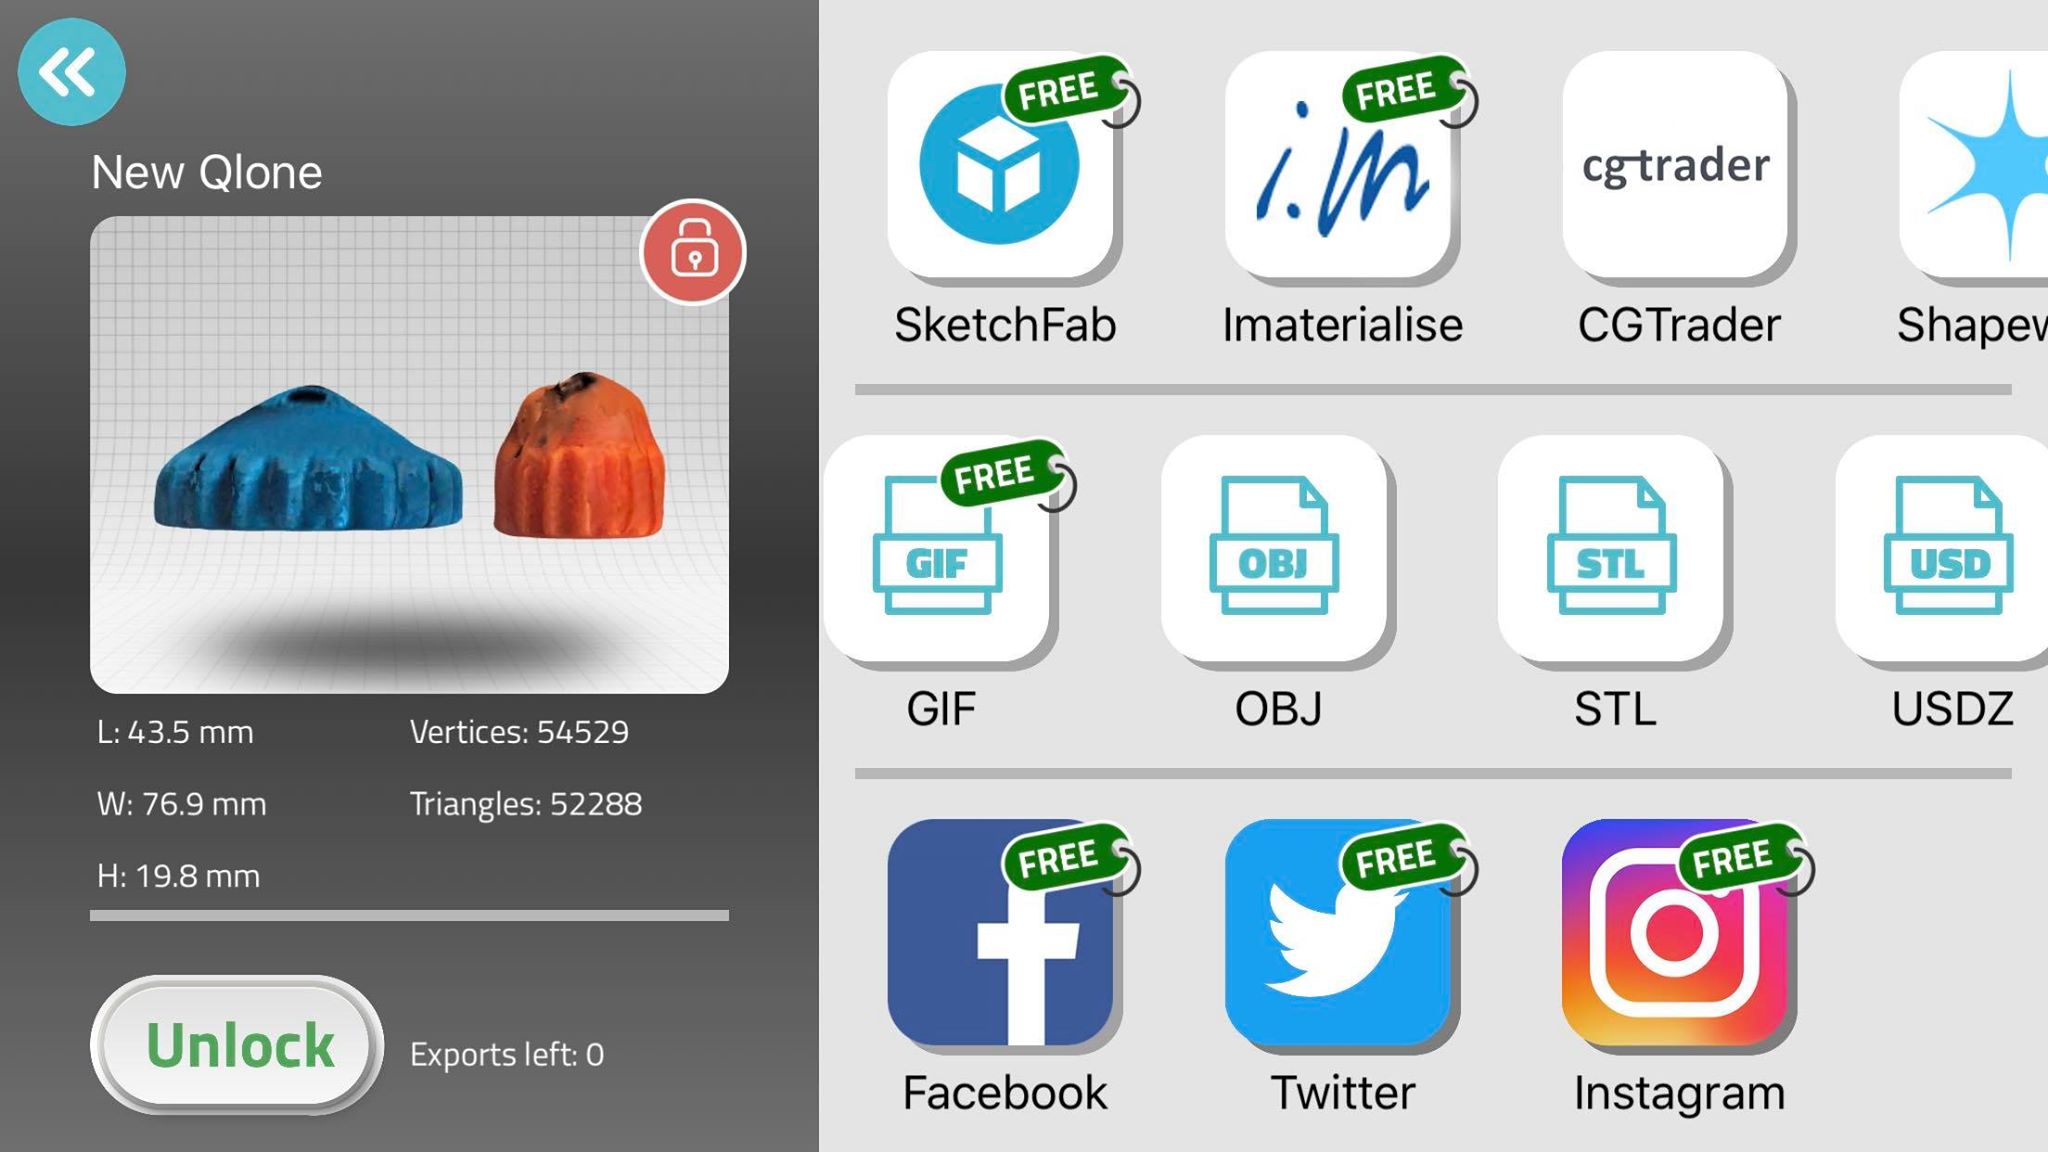
The free version of the app does not allow extracting the file generated as an STL, but it does allow to post it on sketch fab. The result was not bad, I am quite impressed with how it captured the sides, but the top part did not turn out so well
Printer design rules
The group assignment was to test the printer design rules.
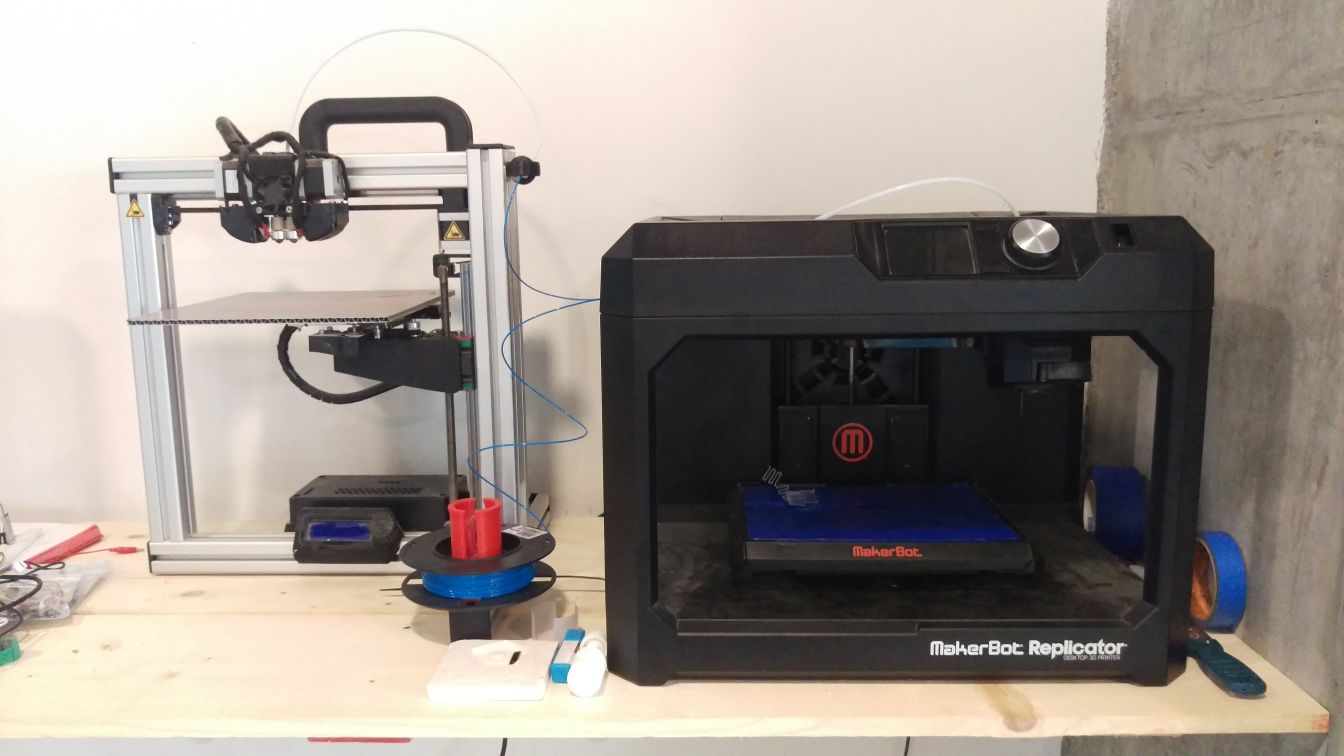
Fab Lab bahrain posesses two 3d printers. A feilex 3.0 and a makerbot replicator v5.
To test the design rules we decided to print a test file. A good one we found was
this one which tests the 3d printer on so many different things.

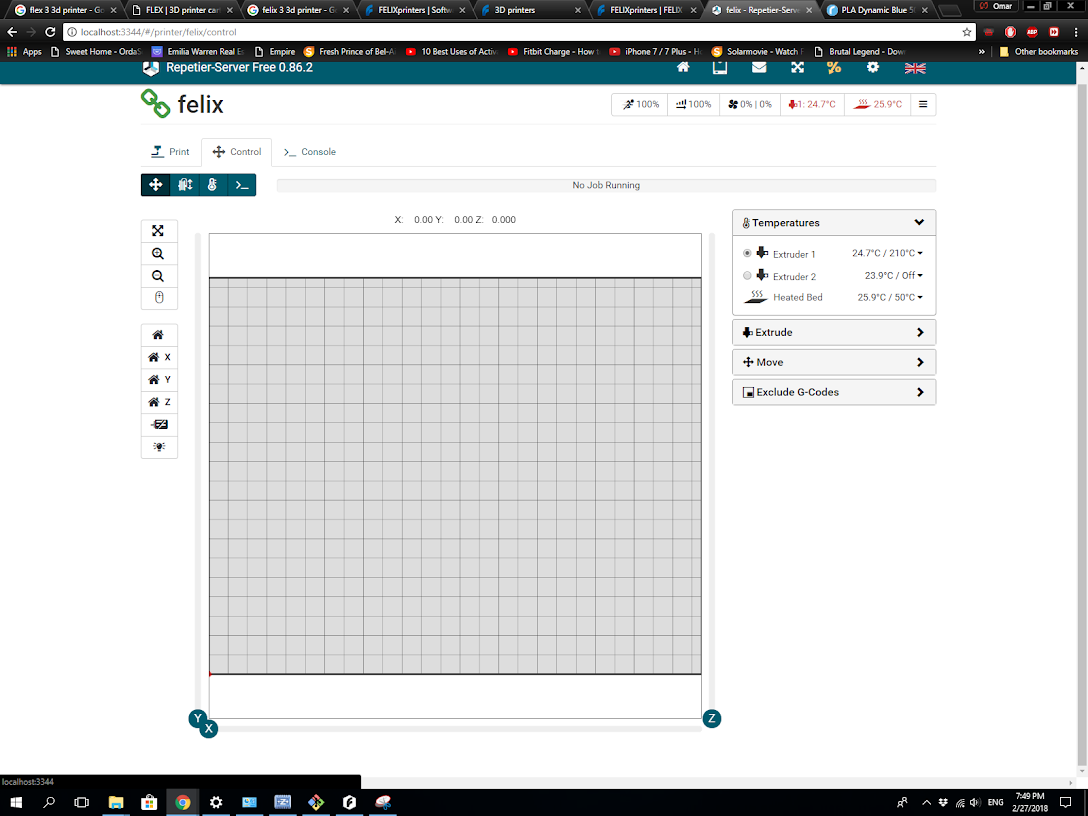
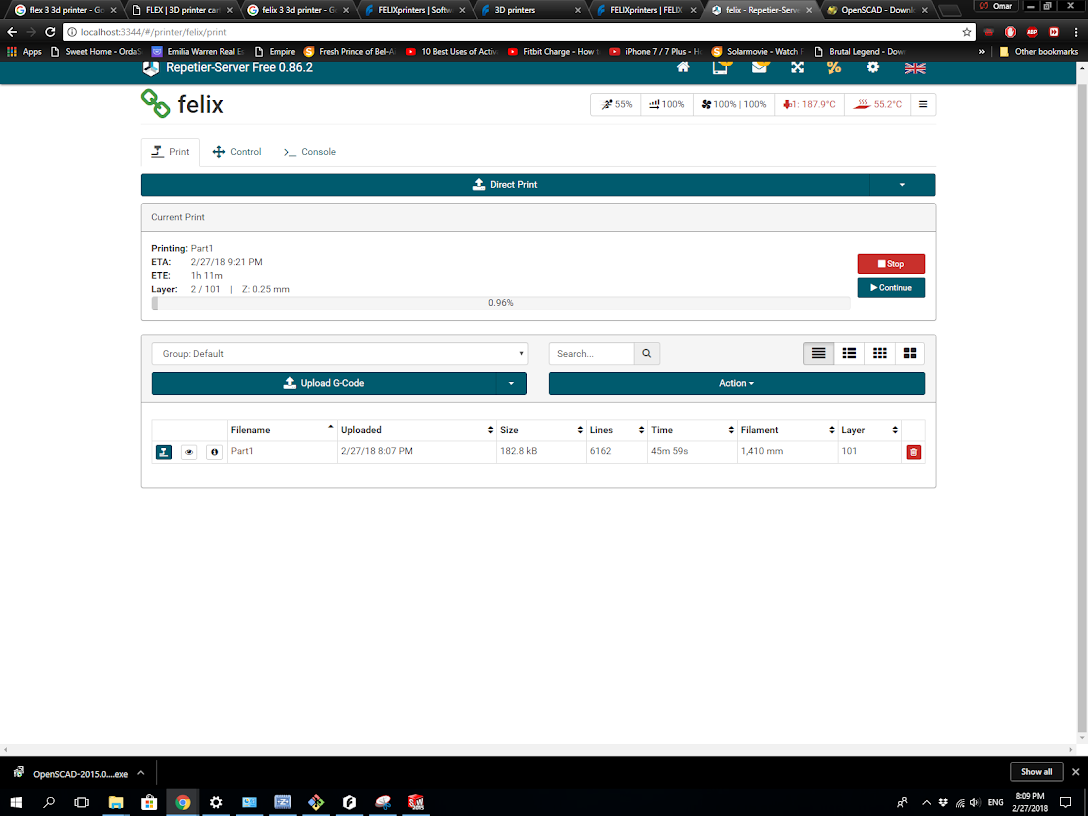
We used the Felix machine to do this test. The Felix is a small 3D printer that contains a heated bed which is pretty cool. It connects to a server and is then controlled through a web browser.
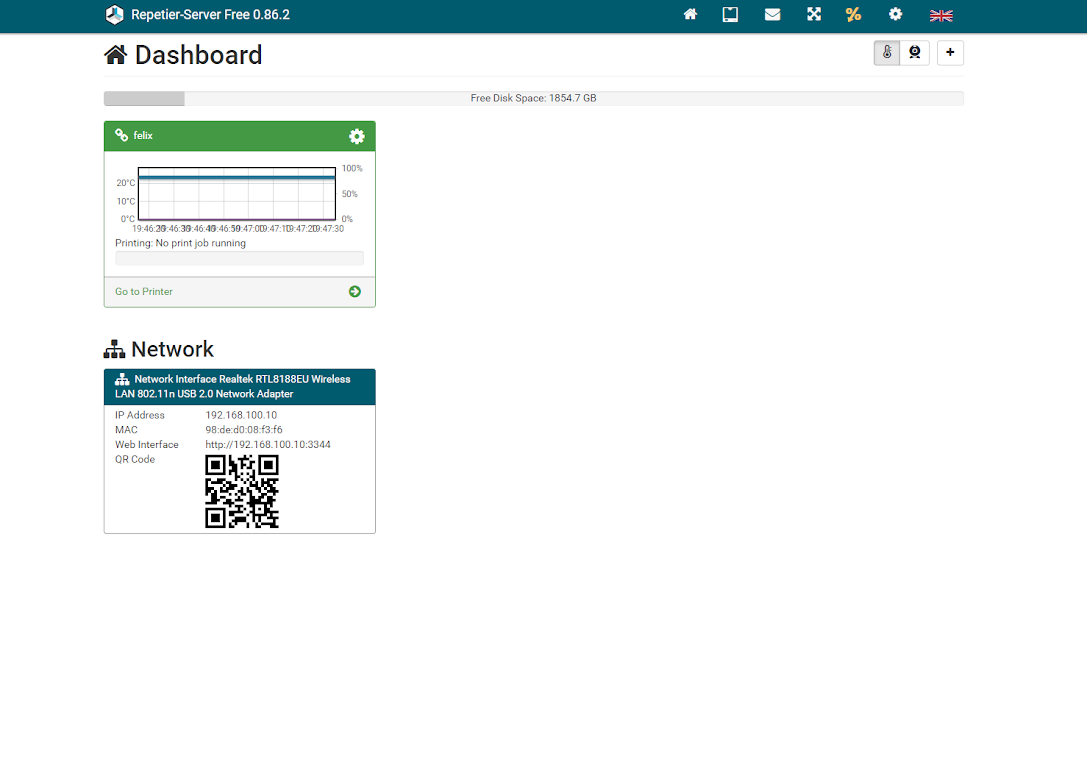
Through the web browser the tempreture of the two extruders and the heated bed can be controlled along with the machine movement.
The machine interface must recieve G-code, thus a slicer program to convert STL files to G-code must bve used. We used the slicer program where you can select all the settings desired including size, support and layers
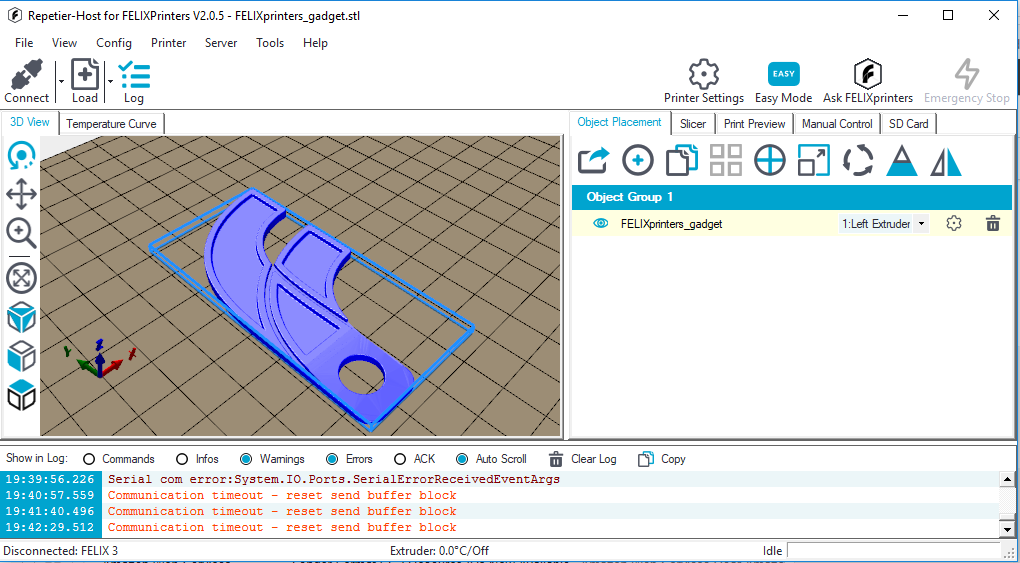
After generating the G-code we sent that to the printer.
The print did not seem to go so well. the layers were not sticking together.
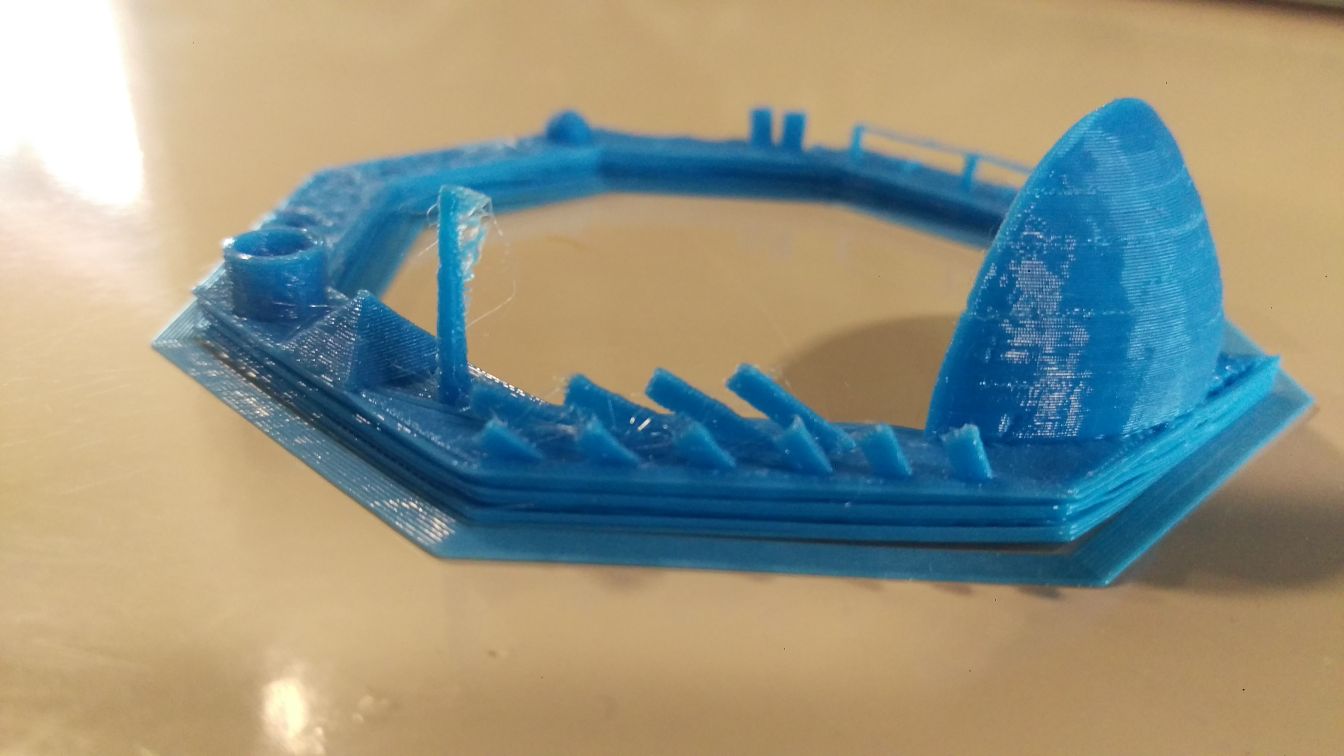
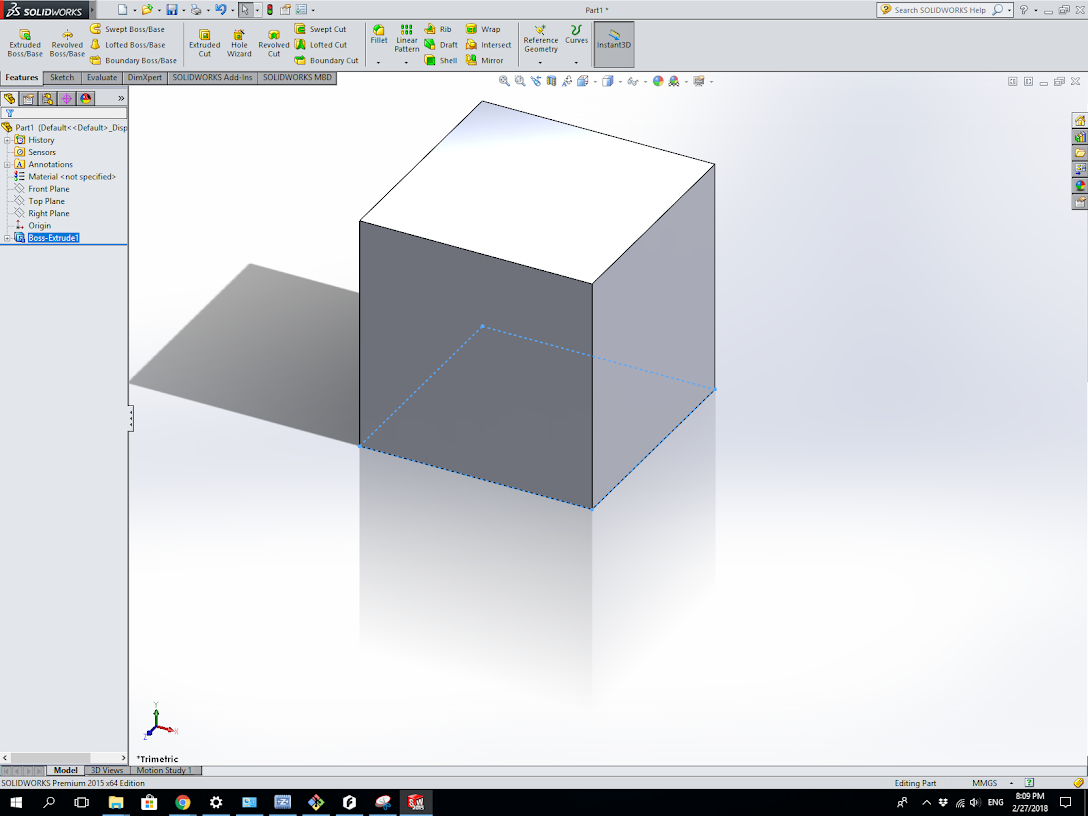
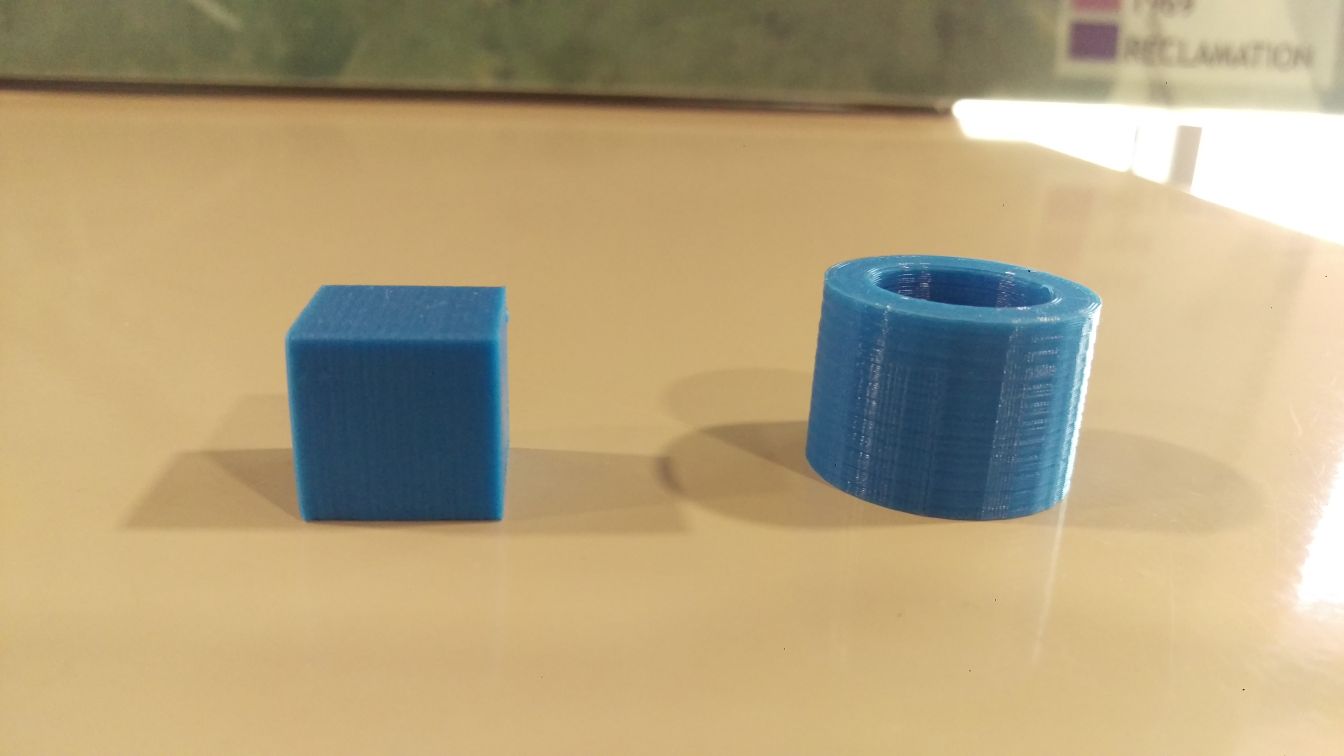
We tried printing somthing smaller this time which was a little 20 mm cube designed in solidworks.
The smaller objects did seem to print okay. I am assuming at some point during the longer print the tempreture fluctuated which did not happen for the cube cause it was a very short print
I learned that the extrudor must be heated to the right tempreture for the material when printing a 3d object or it will not print right.
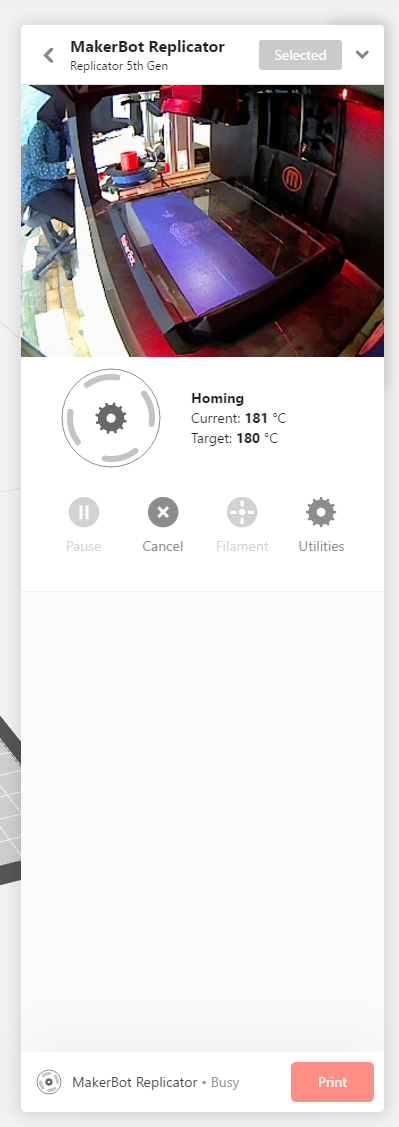
I moved on to printing using the makerbot that did not have that problem after doing a test print. 3D print
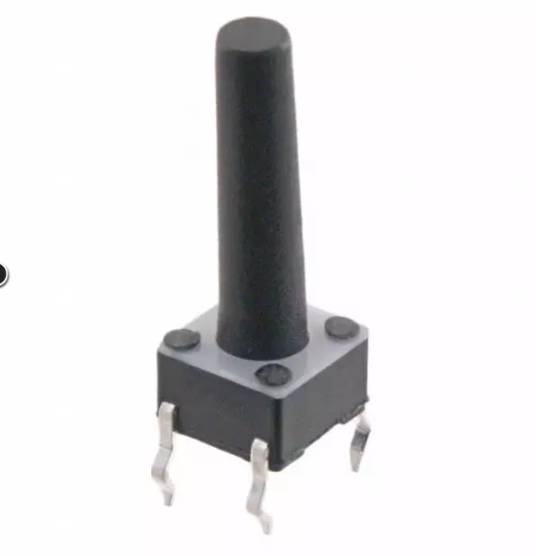
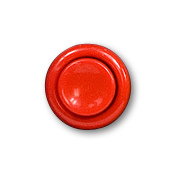
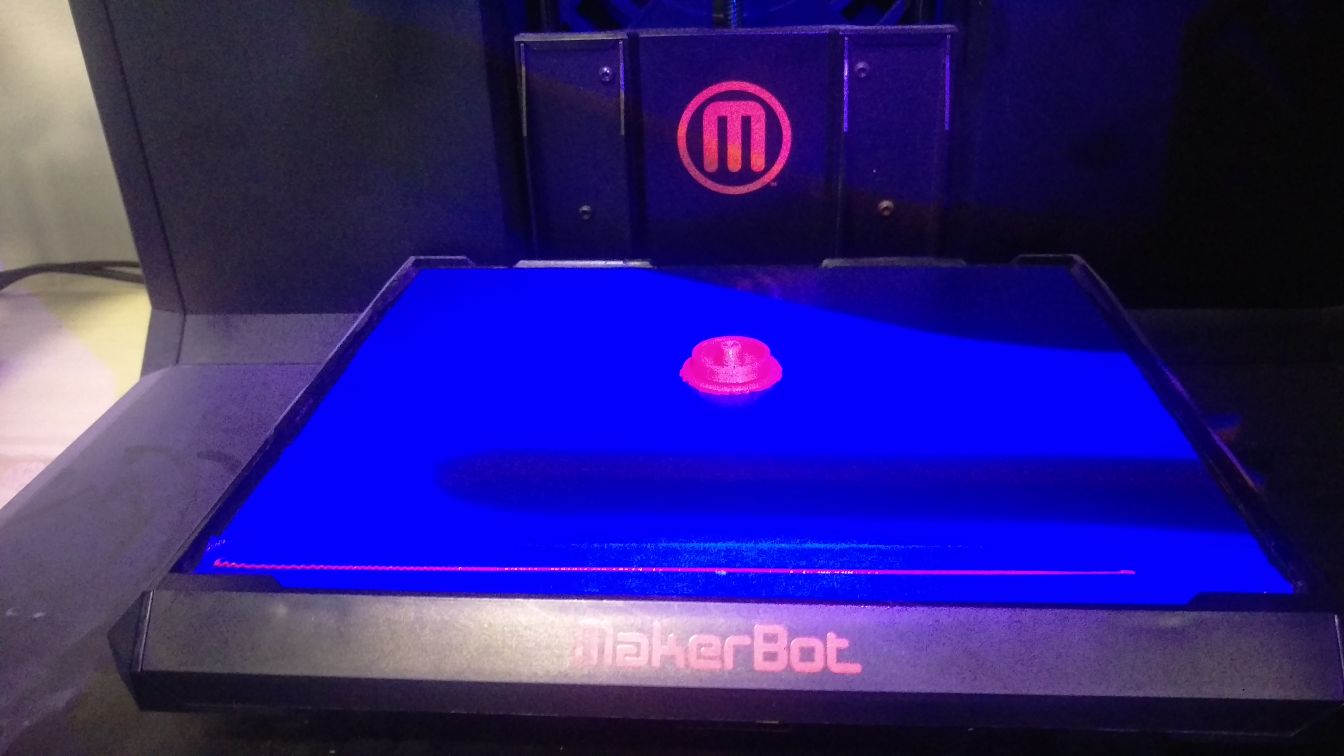
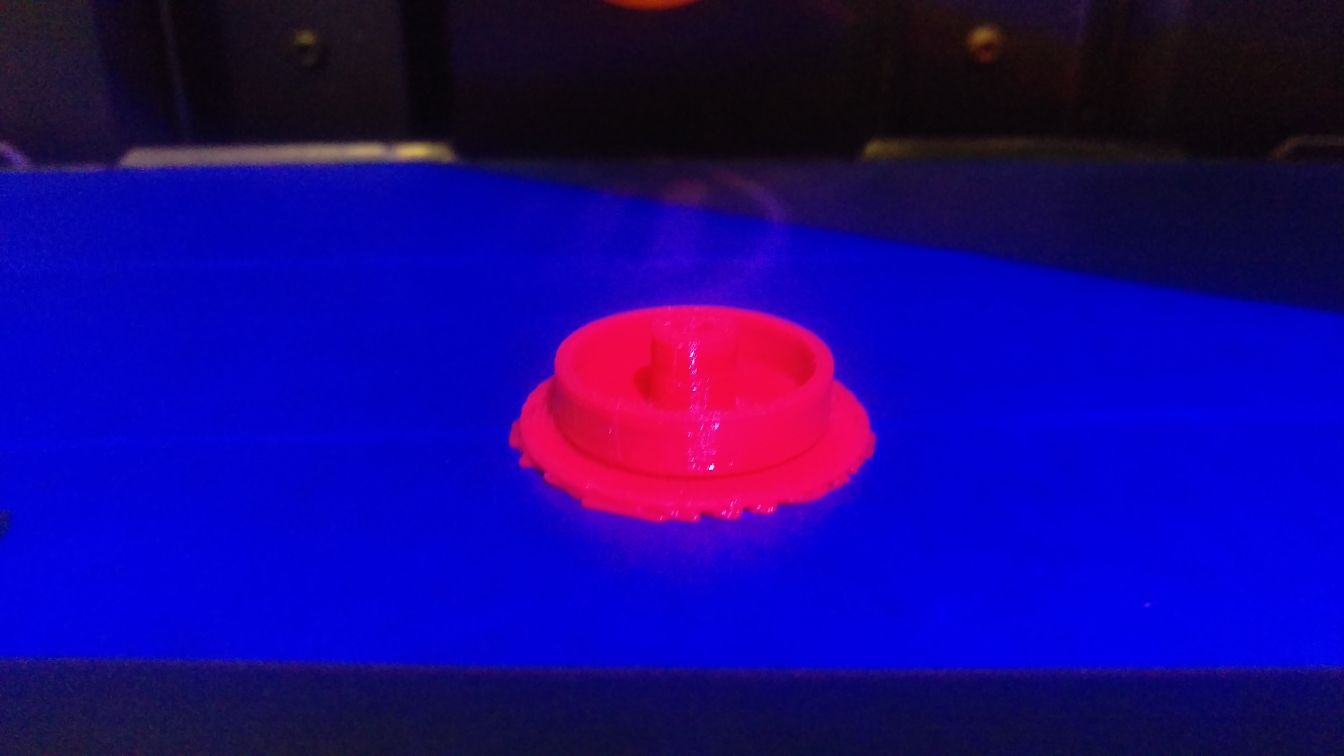
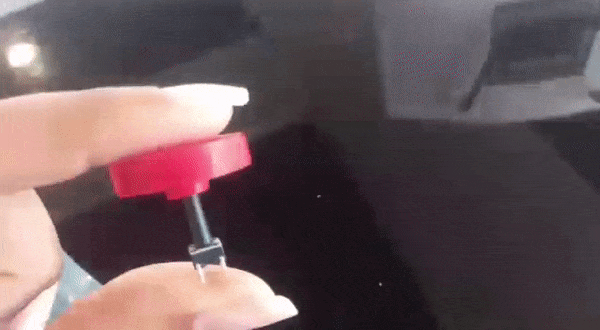
I decided to print an arcade style cover for a tactile switch to use for my final project. I created the design using solidworks.
I printed using the makerbot software, this software does not require a slicer, it can accept the stl file immediately

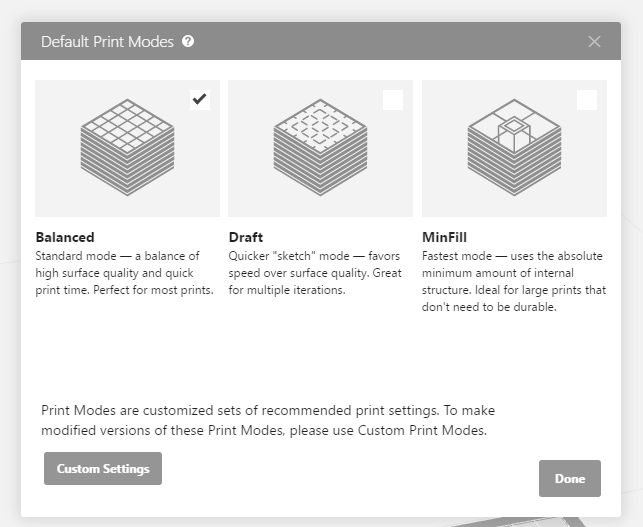
When making the print I selected the settings i wanted, I wanted the use of support and also i selected Balanced mode wich takes the longest but gives a more sturdy shape, my print took a very short time anyway.
The steps the printer takes to print is to first heat up the extrudor to the tempreture desired.
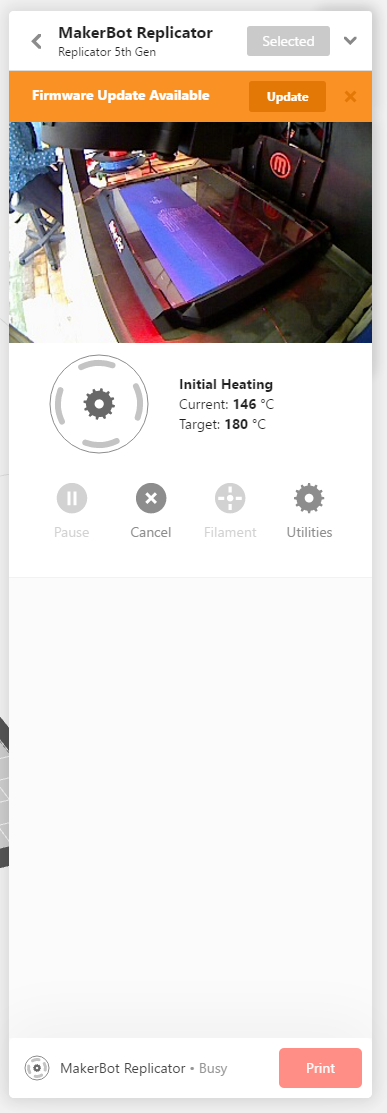 yes thats me in the corner
Next it finds the position and does a little calibration at the beggining by going to the middle part of the plane then the edge and then proceeds to print.
This shape cannot be made subtractively without flipping the shape as it contsains curved edges and details on both sides of the design.
 3D print file download link
Design #2
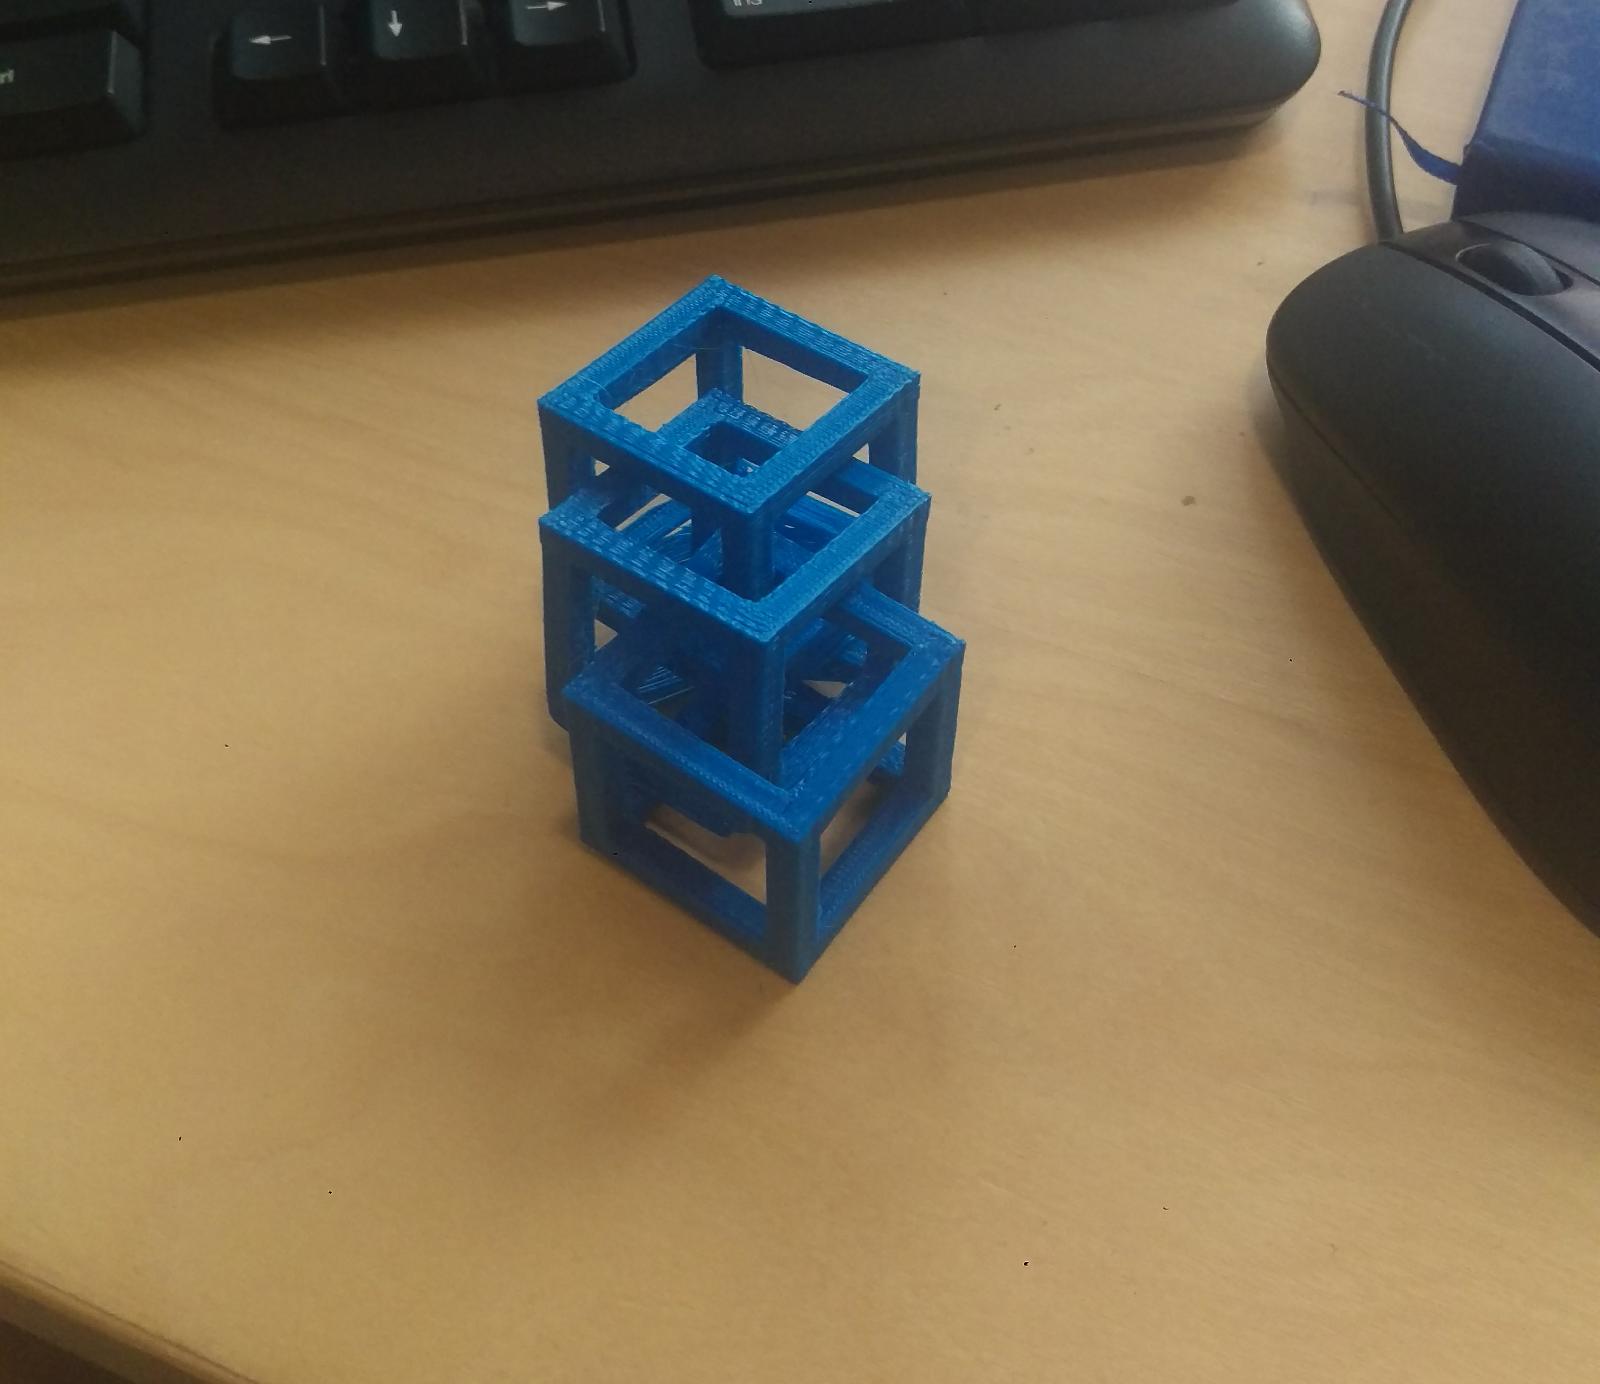
The button design cannot be easily made subtractively with the current tools I have on hand, but It is possible by turning the piece over. I made another design that ACTUALLY cannot be made subtractively.
I made my design using OpenSCAD. Its a great software that is really easy to use. Its a simple design of multiple cubes interlocking within each other.
    difference() {
        cube(30, center=true);
        cube([27,27,31], center=true);
        cube([31,27,27], center=true);
        cube([27,31,27], center=true);
    }
    translate([10,10,10]){
        difference() {
        cube(30, center=true);
        cube([27,27,31], center=true);
        cube([31,27,27], center=true);
        cube([27,31,27], center=true);
    }}
        translate([-10,-10,-10]){
        difference() {
        cube(30, center=true);
        cube([27,27,31], center=true);
        cube([31,27,27], center=true);
        cube([27,31,27], center=true);
    }}
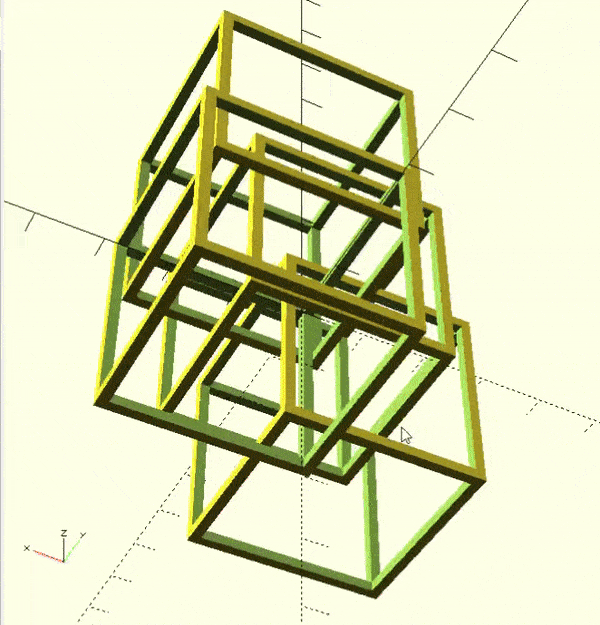
(outdated design in the gif - I ended up removing one of the cubes to speed up the print time)
3D print file download linkI 3D printed the file using the makerbot replicator 3D printer using the same process mentioned above.