Molding and Casting
Design a 3D mould around the stock and tooling, machine it, and use it to cast parts.
The design & the mill
The design process for this assignment is interesting as it has to be a shape that can be made using a mould or several moulds joined together. I wanted to experiment with several mould shapes.
I milled three different mould designs. I have designed one of those and the other two were from Thingiverse.com
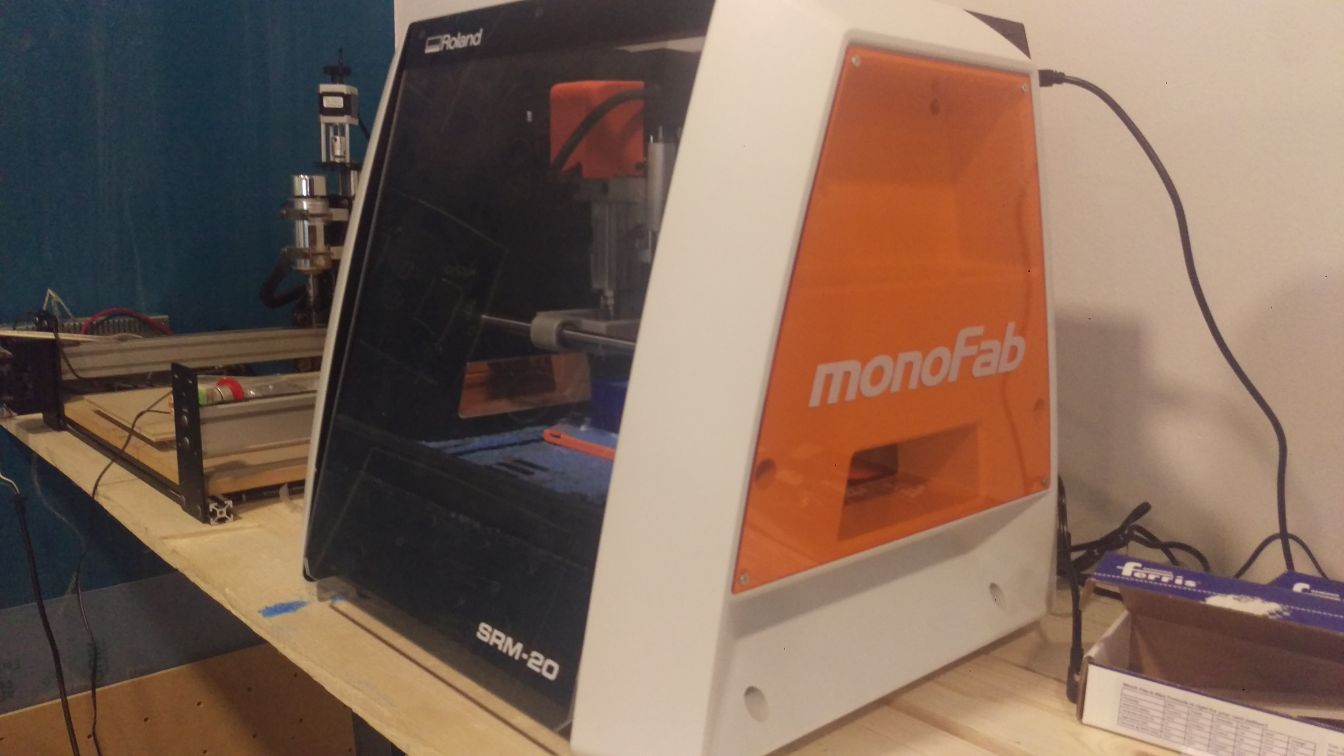
All of them were milled on monoFab SRM-20 on millable modeling wax

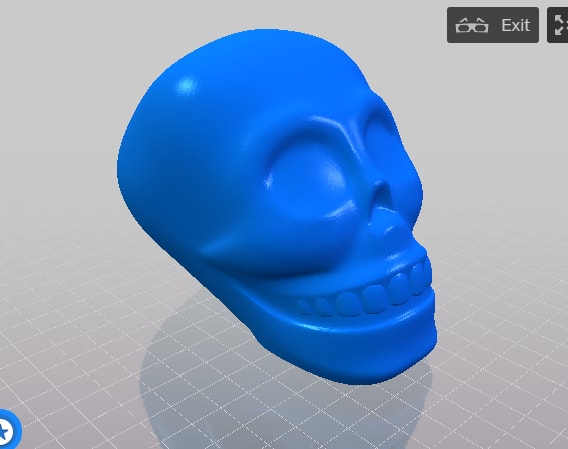
Skull
I did not design this shape myself. I really like the way skulls look and this was made by the user faberdasher on Thingivers Skull STL
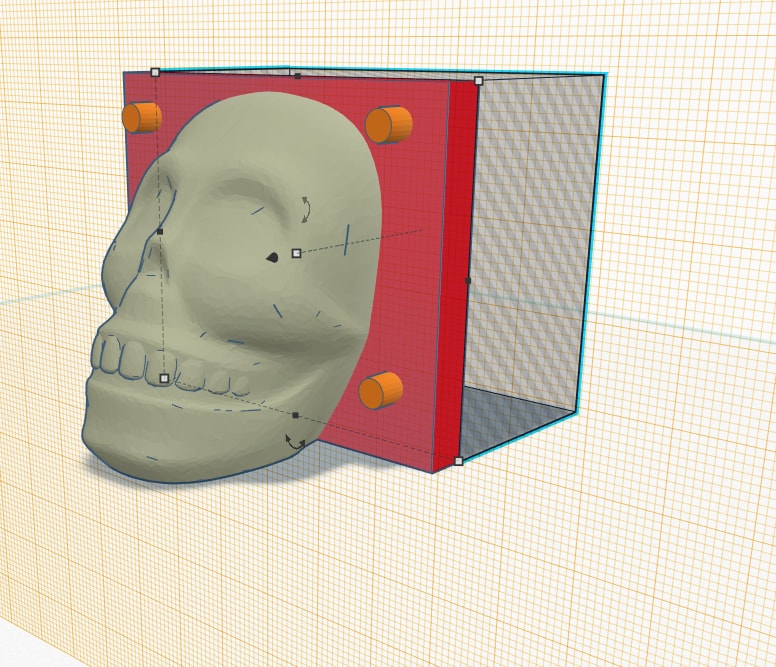
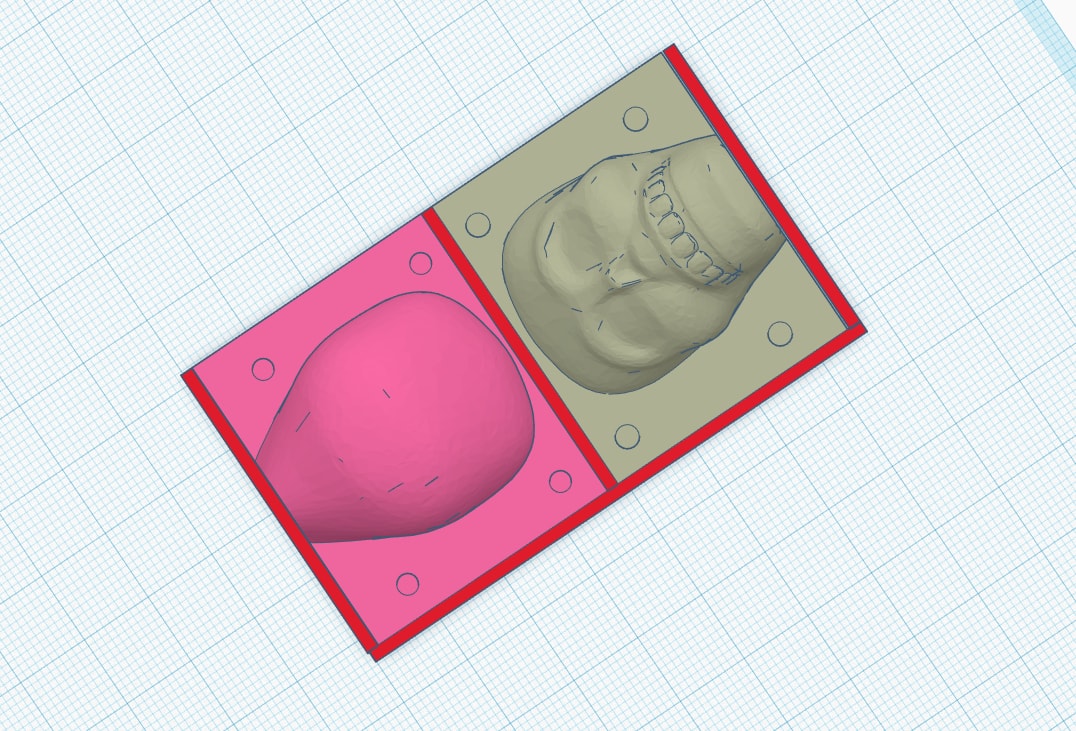
First I had to split the shape to two seperate pieces to be able to create the mould. To do so I used Tinkercad
I split the shape into two, the back and front of the skull and added little knobs and holes to be able to fit the moulds together for castinhg.
I started milling this using the program "SRP player". It shows a preview of what the part is gonna look like before starting the cut.
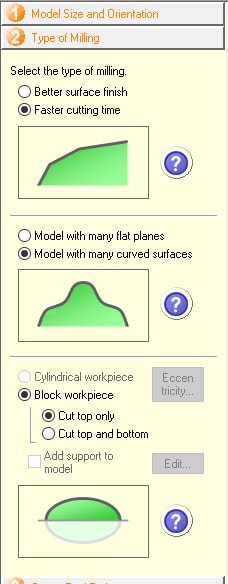
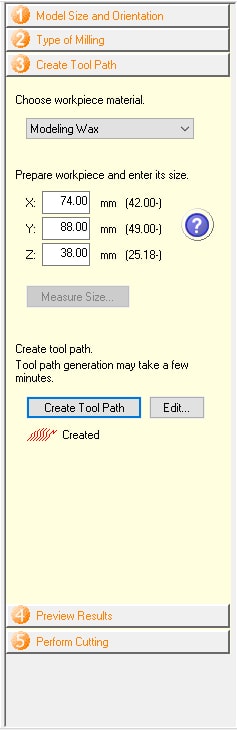
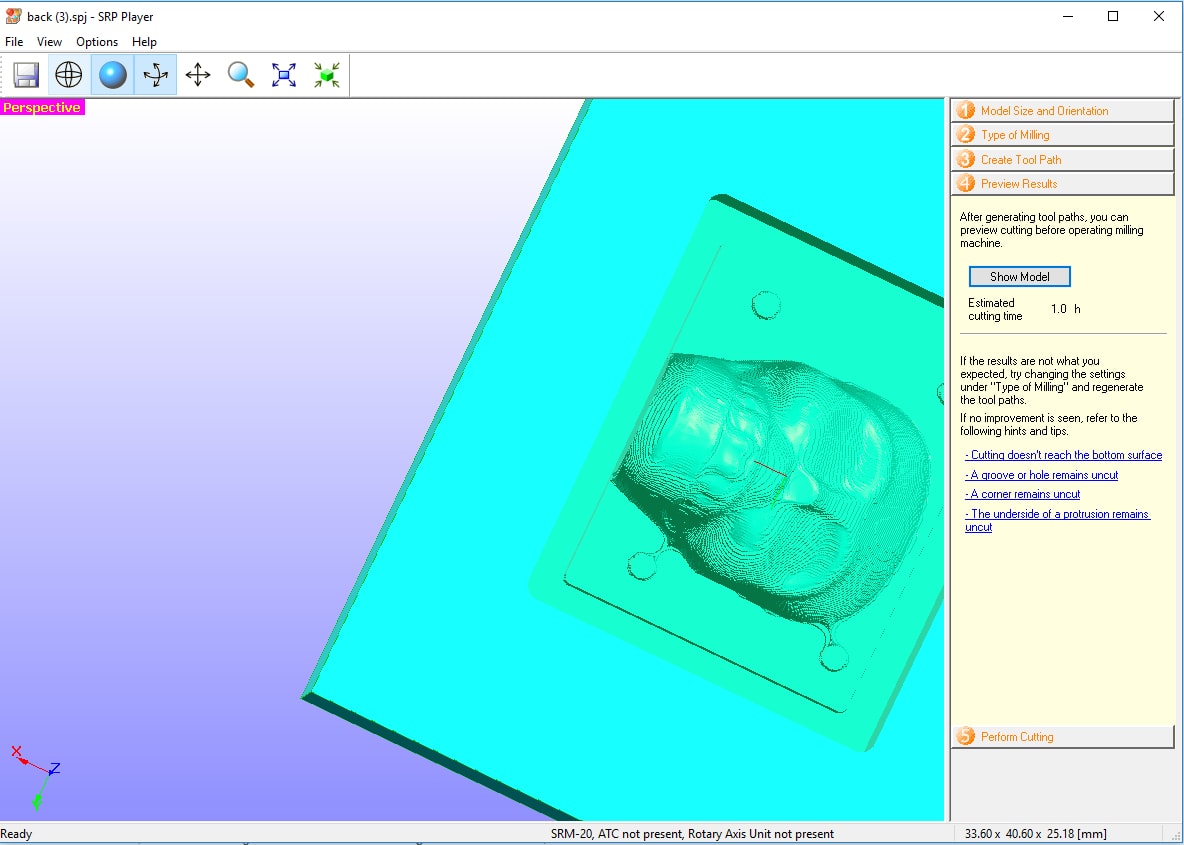
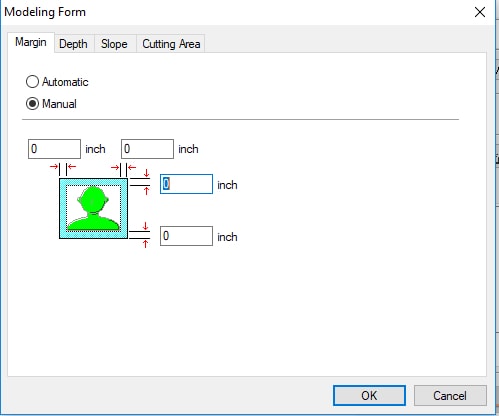
I started milling but noticed the issue after. that the program added a margain around my pieace which meant i would not be able to pour my cast material later because it will be fully covered. i designed it to mill the exact shape without any margains. Another issue was that the highest point in the shape was only a few mm under the edges of the molding wax edges and may not create a strong mould and might even break when trying to extract the mould from the pieace beacuse it will be two thin at the top.

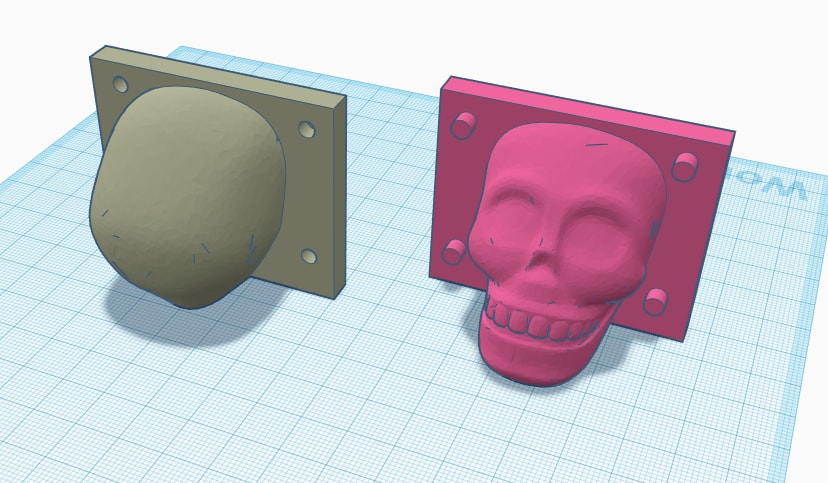
I redesigned the mill shape to be able to mill both parts at once instead of one at a time. I also added around 8mm at the top to be able to create a strong mould.
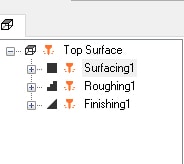
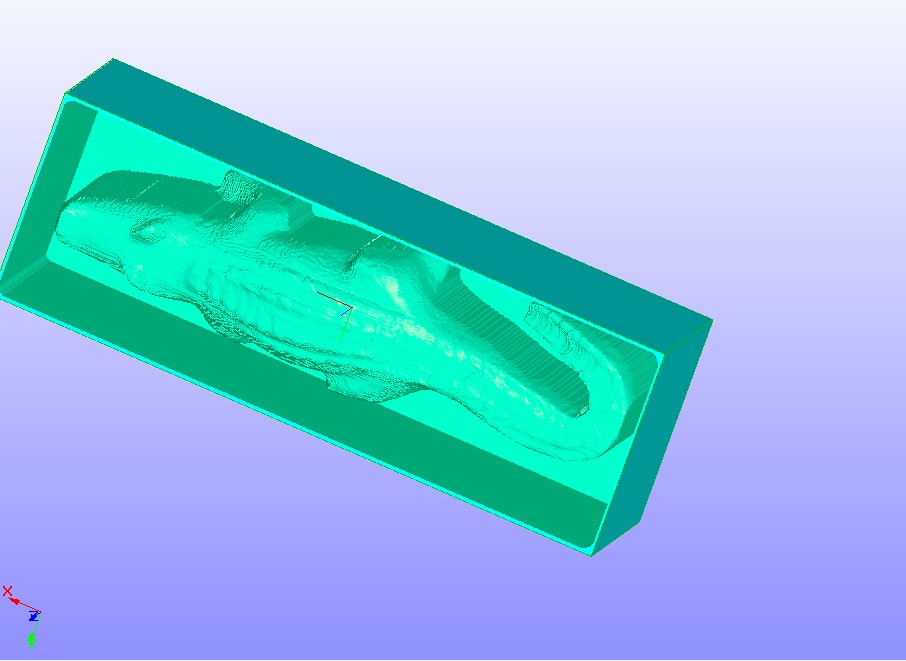
I used a different program to preform the mill this time which is MODELA player 4. The program gave me the option to remove the margins.
It also gave me the option to preform the roughing and finishing with different tools and pause the cut to allow me to change the tool.
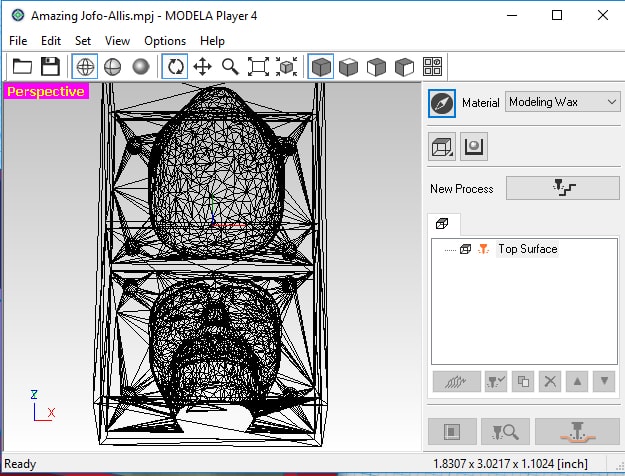

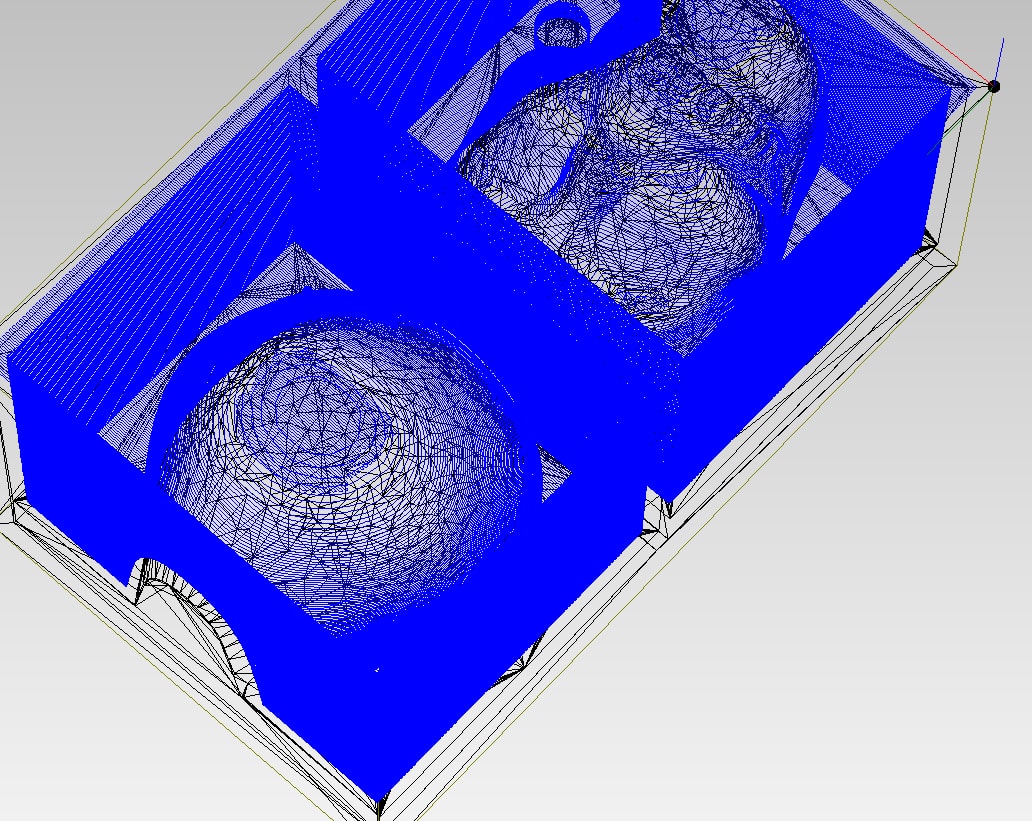
this did not end well as well cause i did not take into account the length of the tool and did not make the design sloped it got stuck in the corner and stopped the mill.
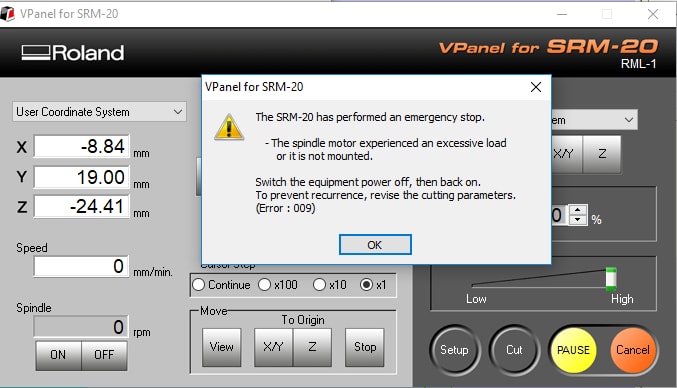
I ran out of space on my modeling wax block at this point to try again and moved on to a differnt design
Alligator
when I was in middle school, we made small ceramic (or some similar material) shapes using moulds we had in school. I made a small alligator and really liked it and was proud of the fact that i made it. sadly, it broke around a year after and I always wanted a replacement. Now is my chance to make one.
I did not have any pictures of the one I actually had but it was pretty basic, flat on one end and a few inches long.
This was designed by the user pmowes on Thingivers alligator STL
The design clearly will not be millable as is, cause the feet had a bend
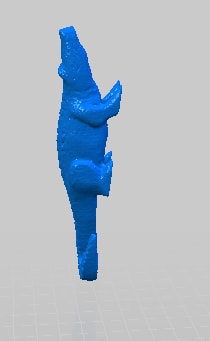
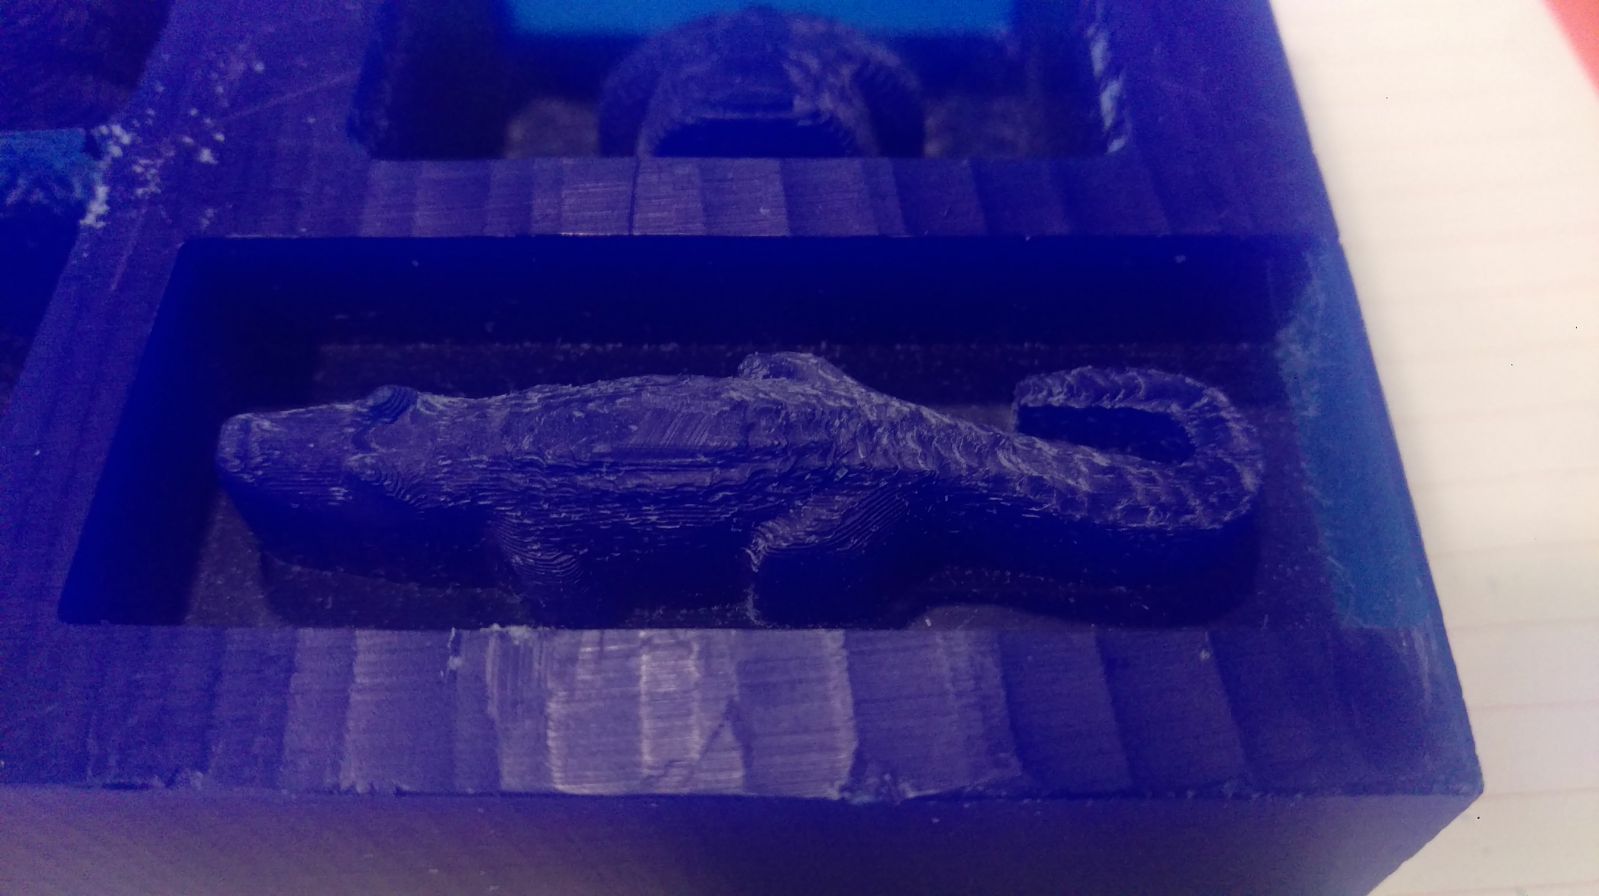
I used tinkercad again to crop off some things that cant be milled.

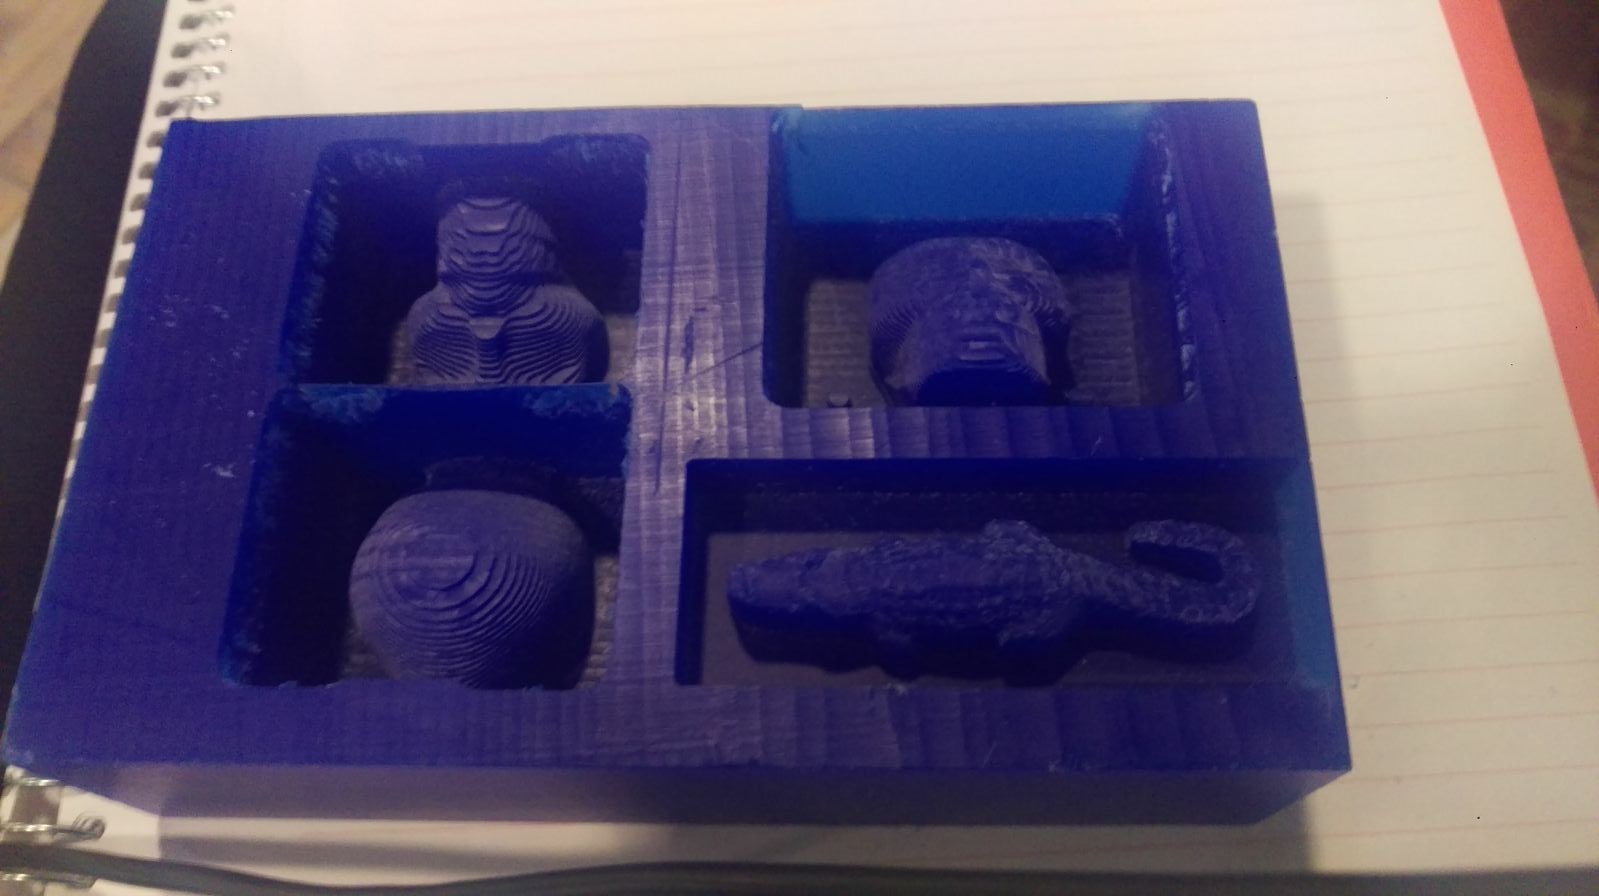
Snowflake
I'm aware that I have to actually design the shape that I will mill. so far the desgins I milled have not been my own designs, Just designs I slightly modefied to work better when milled. It was time to make and mill my own design. I decided to create a snow-flake design. I think snow flakes are really interesting with their geometric design.
First, I created a 2D snow flake design in photoshop. I just used the freehand line tool to draw an outline to draw a uniform shape of a snow flake and filled it in with the paint bucket tool. It is quite a simple design but I am proud of how it turned out.
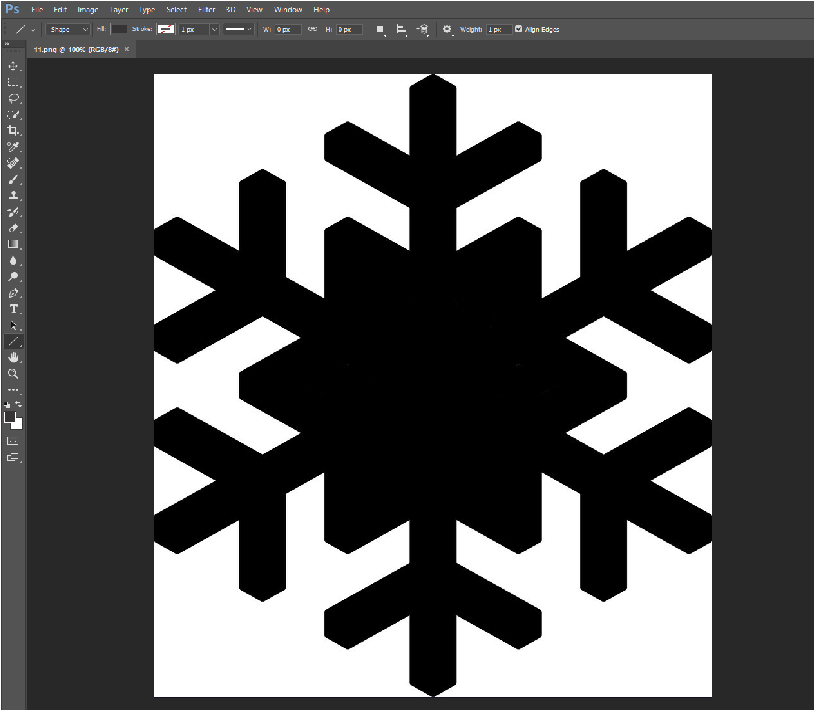
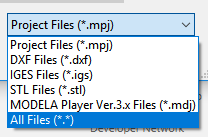
I exported my design. Photoshop is a raster graphics editor so is only capable of producing raster images. I exported my snowflake design as a png. (download file linked at the bottom of the page) A png is obviously something that cannot be milled. Modela 4 requires a 3D file with depth to be able to mill. a 2d file has no height and is useless when it comes to milling. Modela 4 only accepts the following formats
I wanted the snowflake design to be the same height all around. so it was not a difficult conversion to a 3D design. First, what I had as mentioned earlier was a rastor image, if I wanted to do anything with it, i had to convert it into a vector file first. Raster images are made of pixels. A pixel is a single point or the smallest single element in a display device. If you zoom in to a raster image you may start to see a lot of little tiny squares. Vector images are mathematical calculations from one point to another that form lines and shapes. Which is why 3D softwares deal mostly with vector files.
I used a website called PNG TO SVG to convert my file to an SVG. (SVG file available for download at the end of the page)

Now that I had my SVG file, I can finally use it in tinkercad to generate a 3D file. I imported the SVG file in TinkerCAD first using the import shapes option

From there, I just had to give the shape the height desired. I just went for a really small height as I did not have much space to mill. I am going to mill this on the other side of the same machinable wax I milled my previous tests on.

I exported my 3d design as an STL file (linked in the bottom of the page)
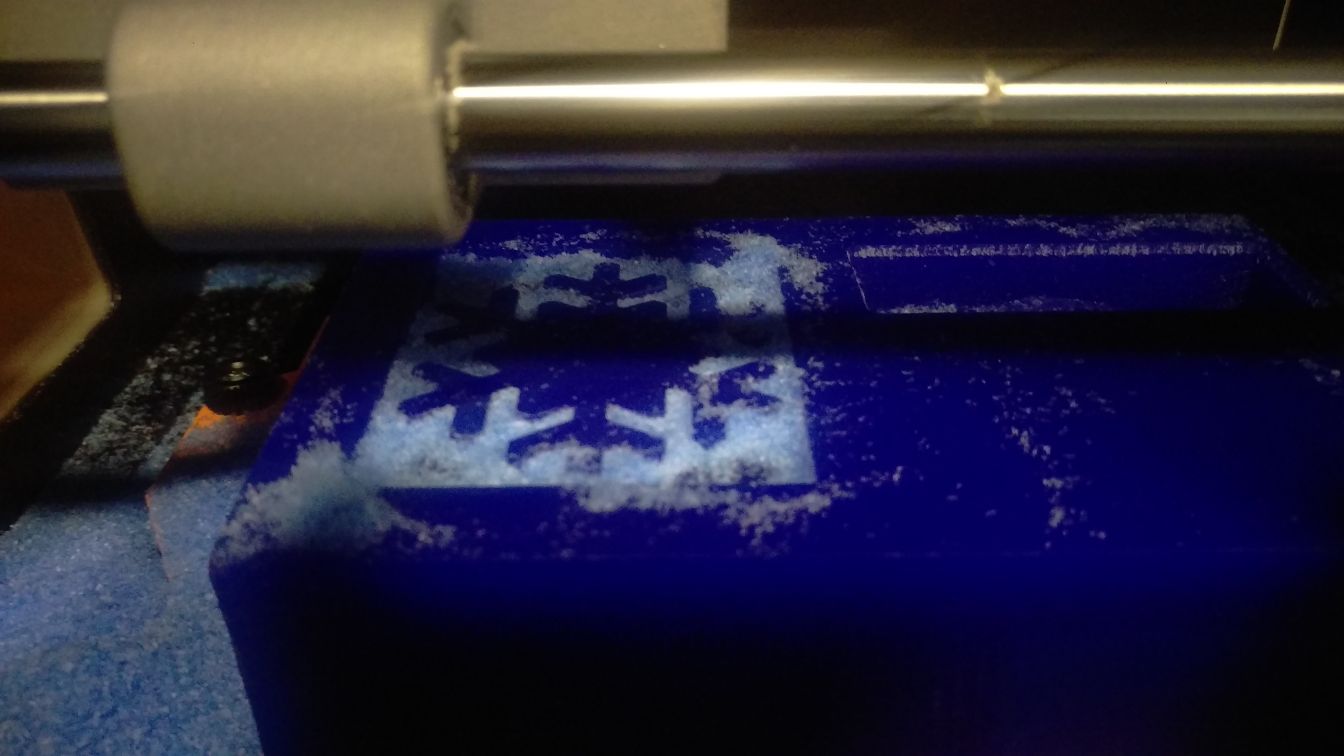
I opened my design in modela and using the same steps I used for the preious mills, i milled it on machinable wax. And with that I had my design milled.

Making the mould
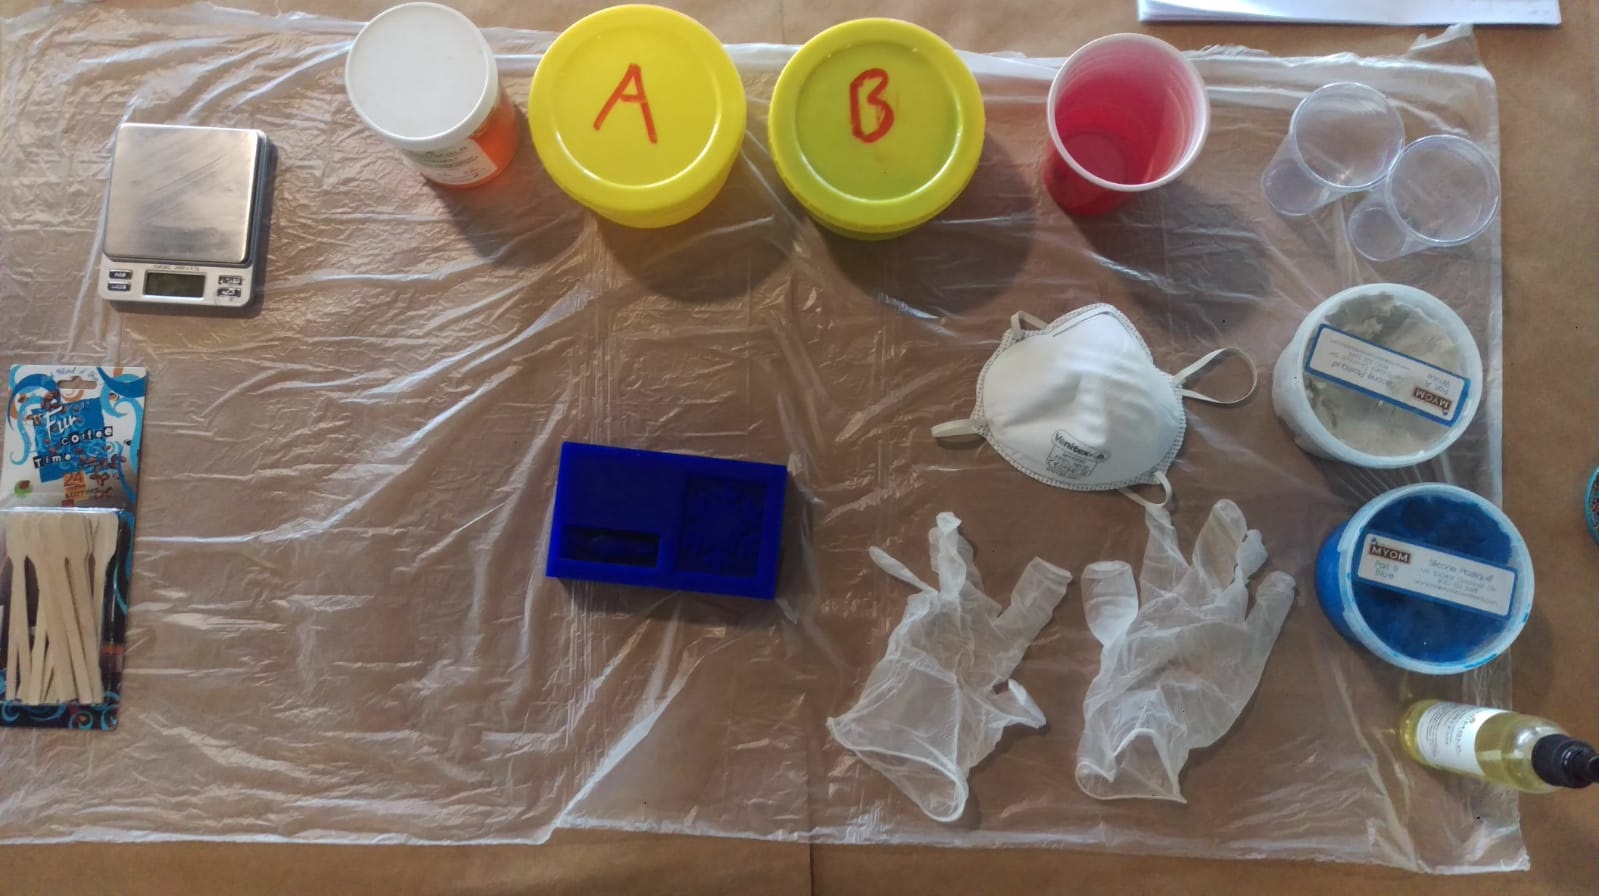
I am making my mould out of scilicone. This scilicone is to be made by mixing two equal amounts of two materials A and B.
To know the amount of silicone material I needed to create, I had to find the volume of the moulds so i can minimize material waste by creating the correct amount.
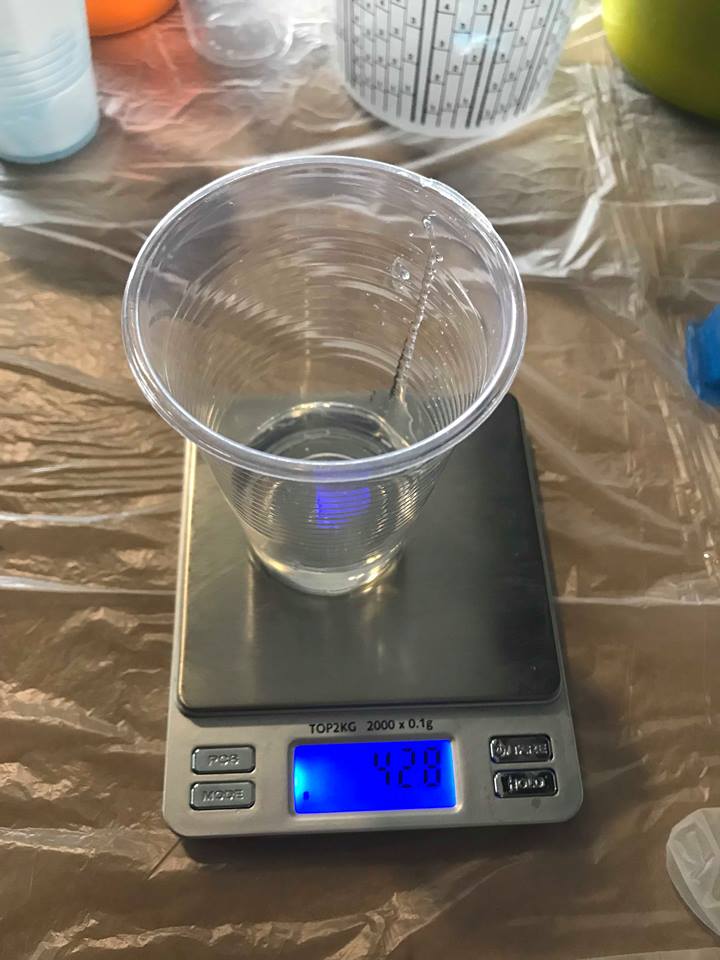
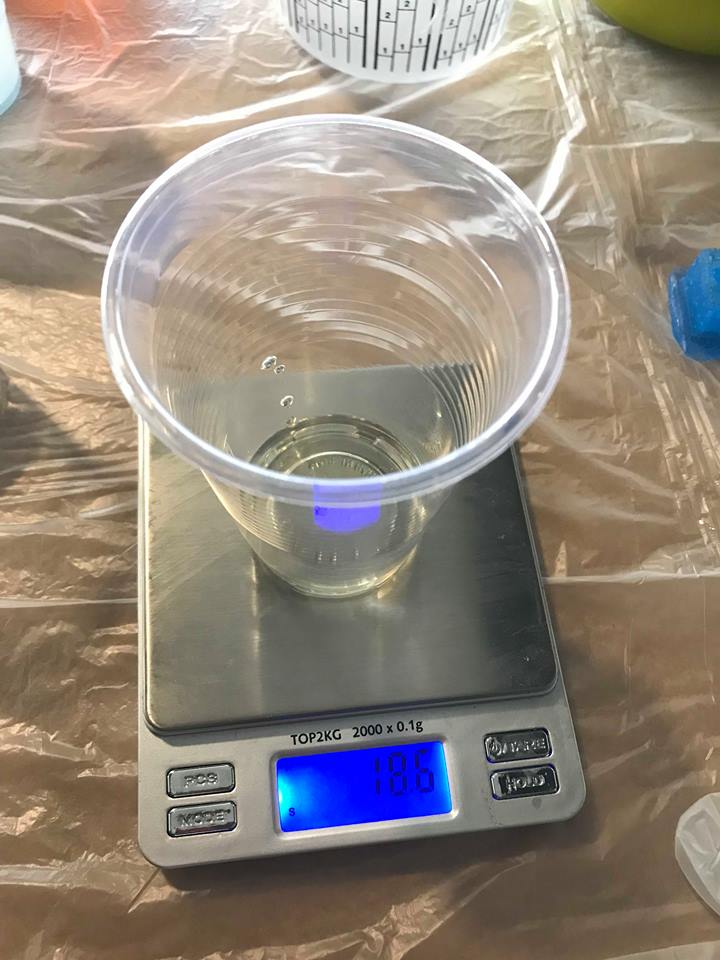
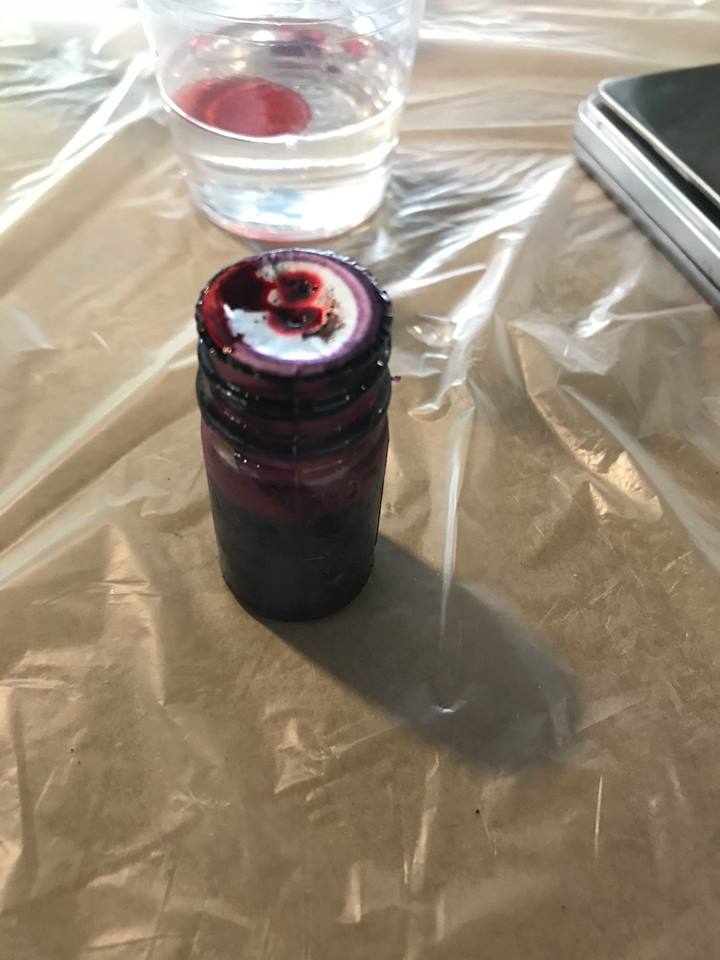
I filled my mould with water and checked the weight of the water to have an estimate of how much silicone I would need. I is not an exact convertion as liquid silicon has a density of 1.10 – 1.50 g/cm3 while water has a density of 1 g/cm3 but it is close enough to be able to estimate by water weight.
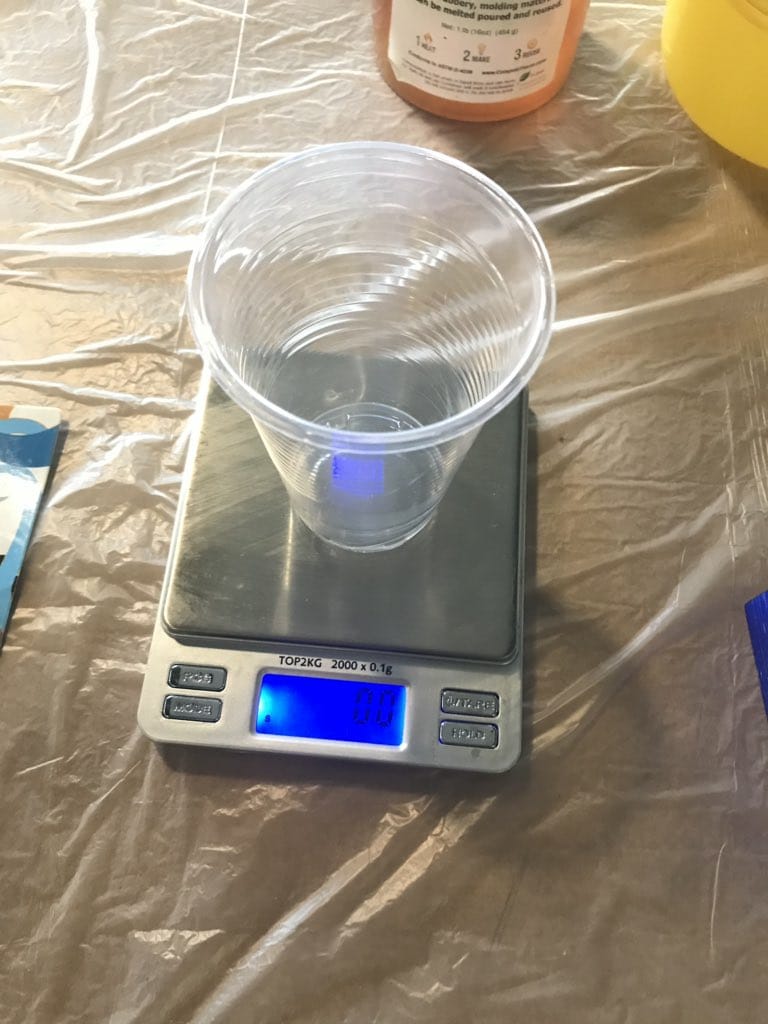
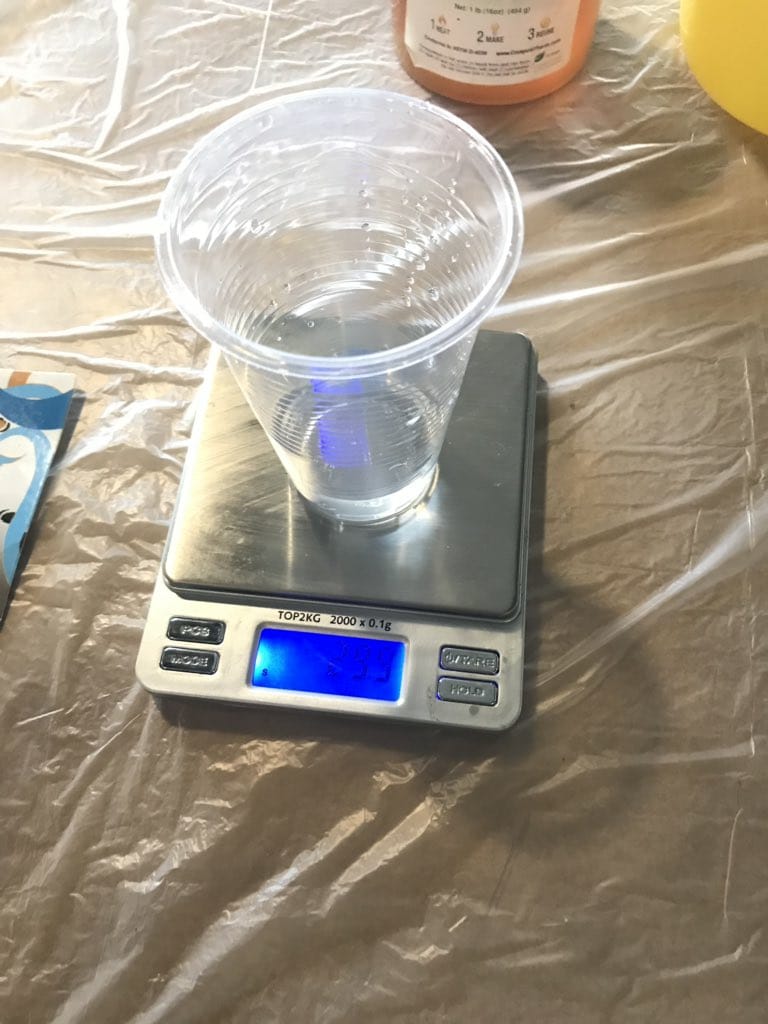
When measuring, The weight of the water needed to fill the mould was approximetly 30 grams. This meant that I would need around 30 grams of the silicon to fill it.
I decided to make 50 grams of silicon to also account for the lost amount that must happen (realstically it would be impossible to pour 100% of the material i create into the mould without having some sticking to the mixing pan).
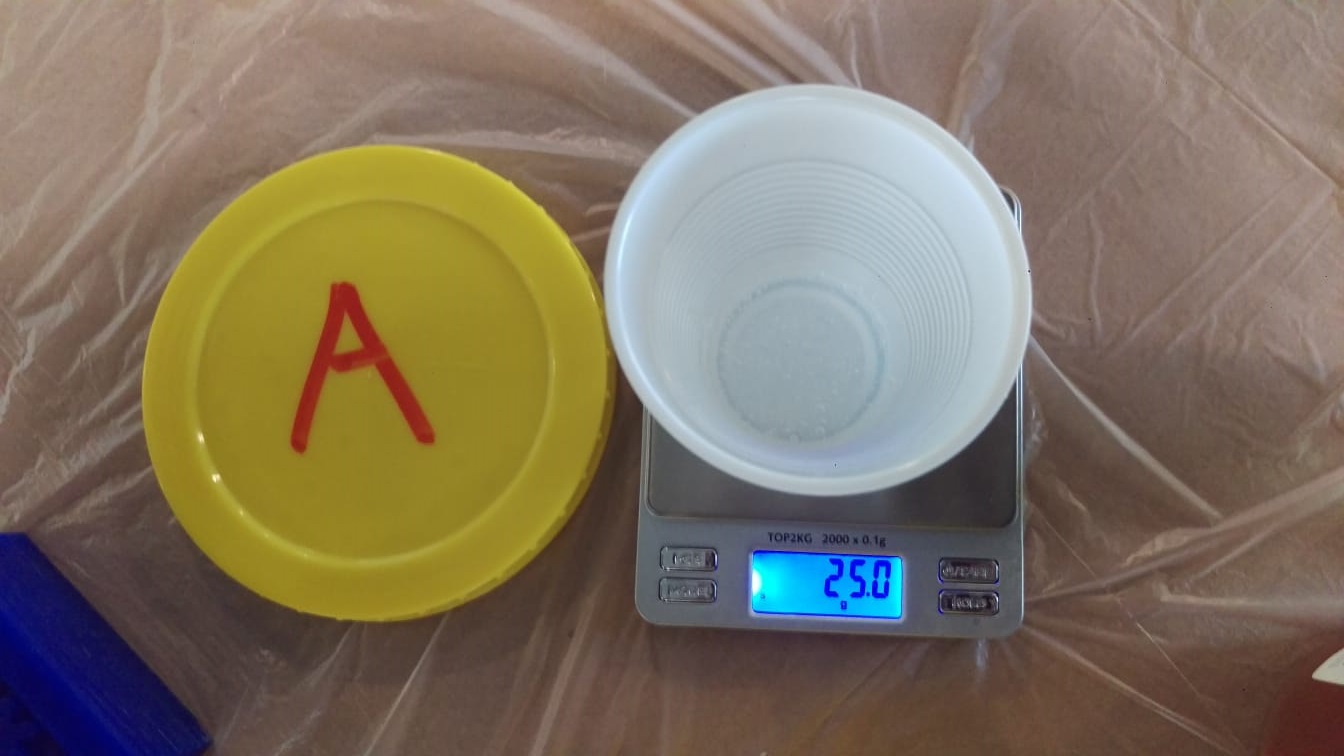
I measure 25 grams of material A and added 25 grams of material B to the same mixing bowl.
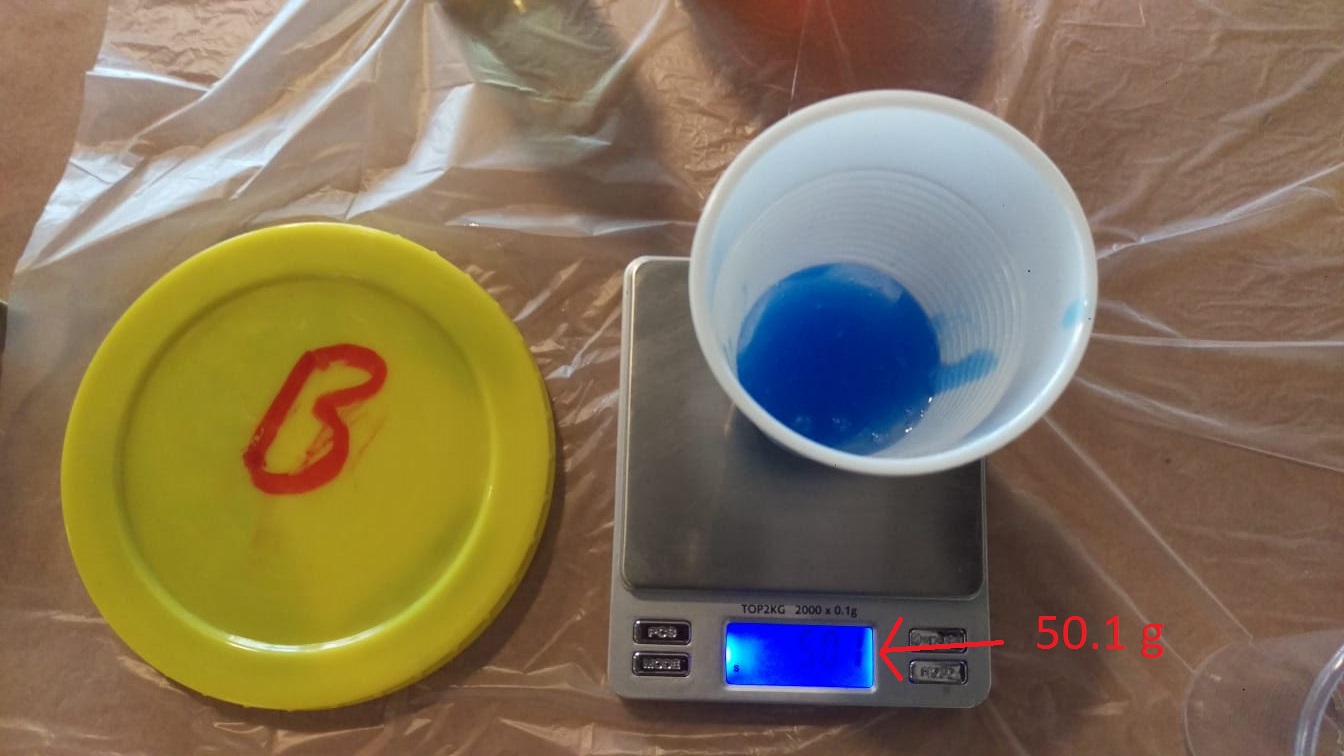
I mixed the material slowley for around 1.5 minuts with a wooden stick until it had a uniform colour and poured it into the mould. I noticed that there were a lot of bubbles that fourmed in the material.
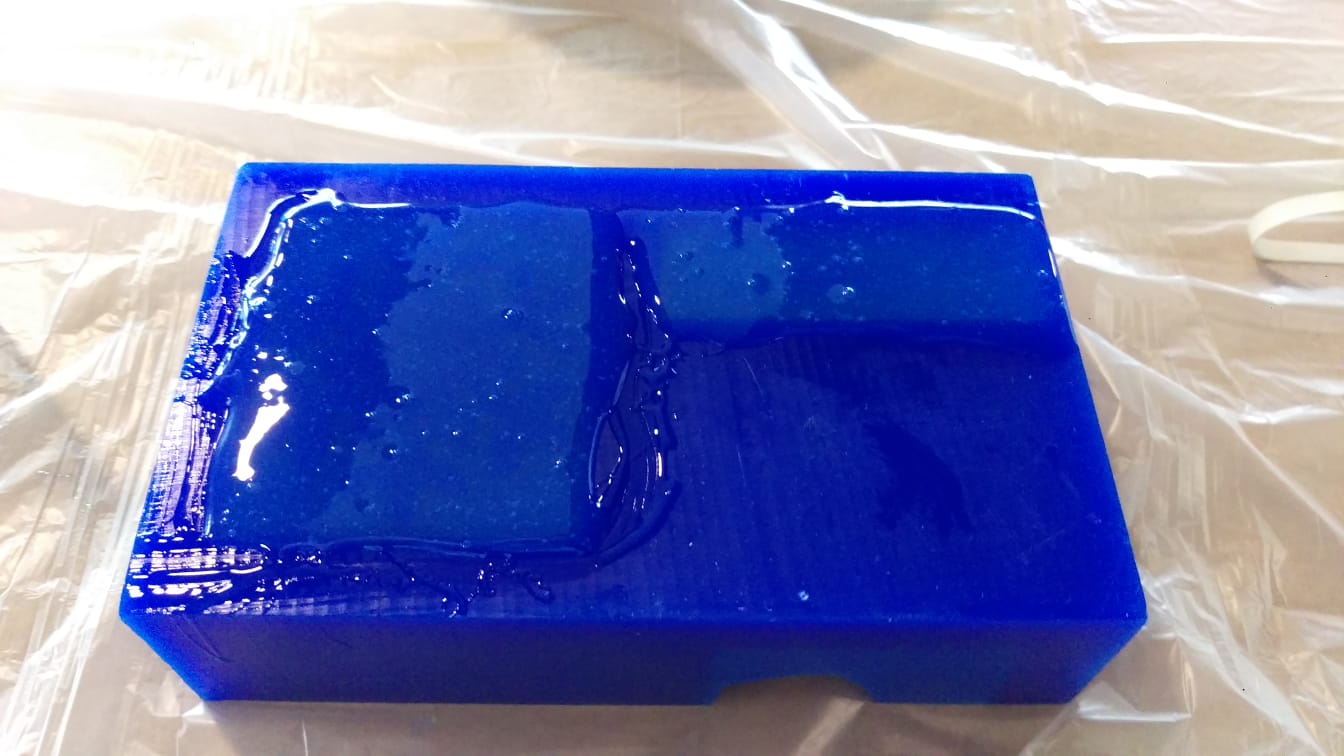
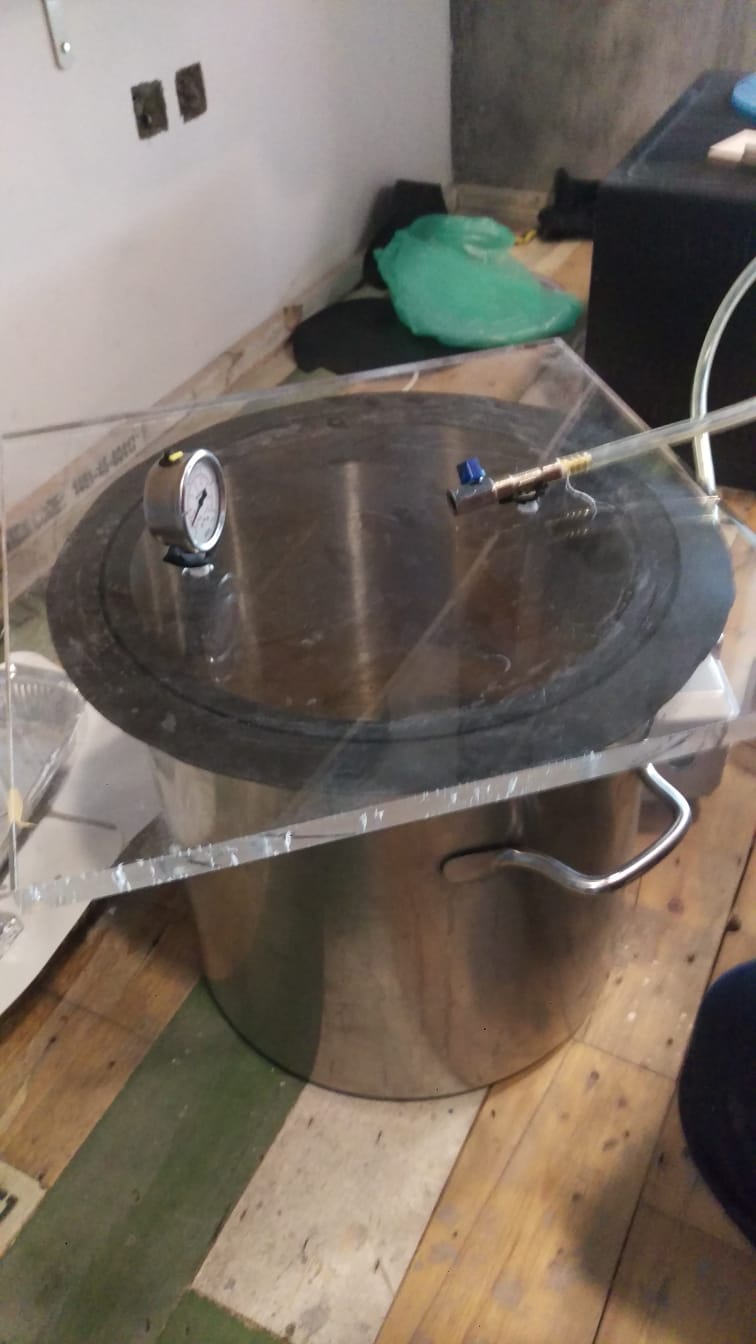
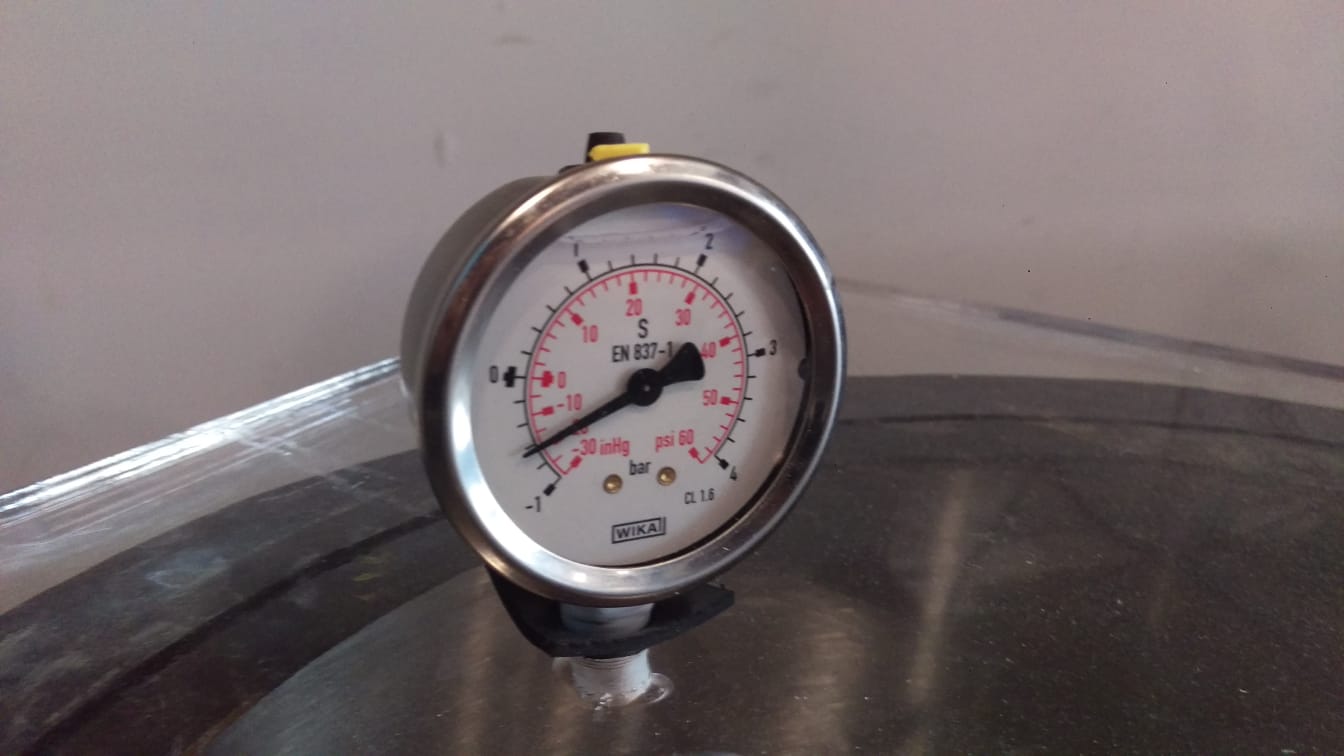
I placed the mould into a vaccum chamber to get rid of the bubbles. I kept it in the vaccum chamber for around 6 minutes. the bubbles seemed to flow to the top but did not pop.
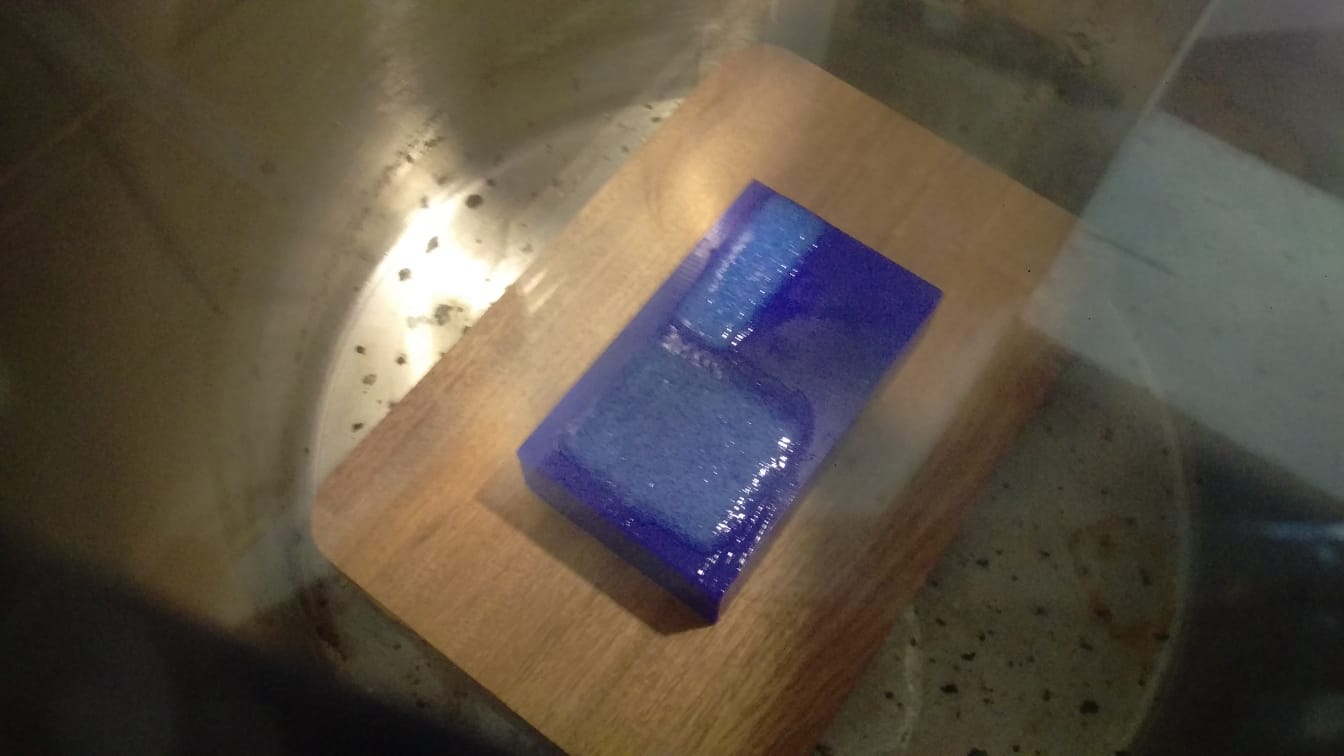
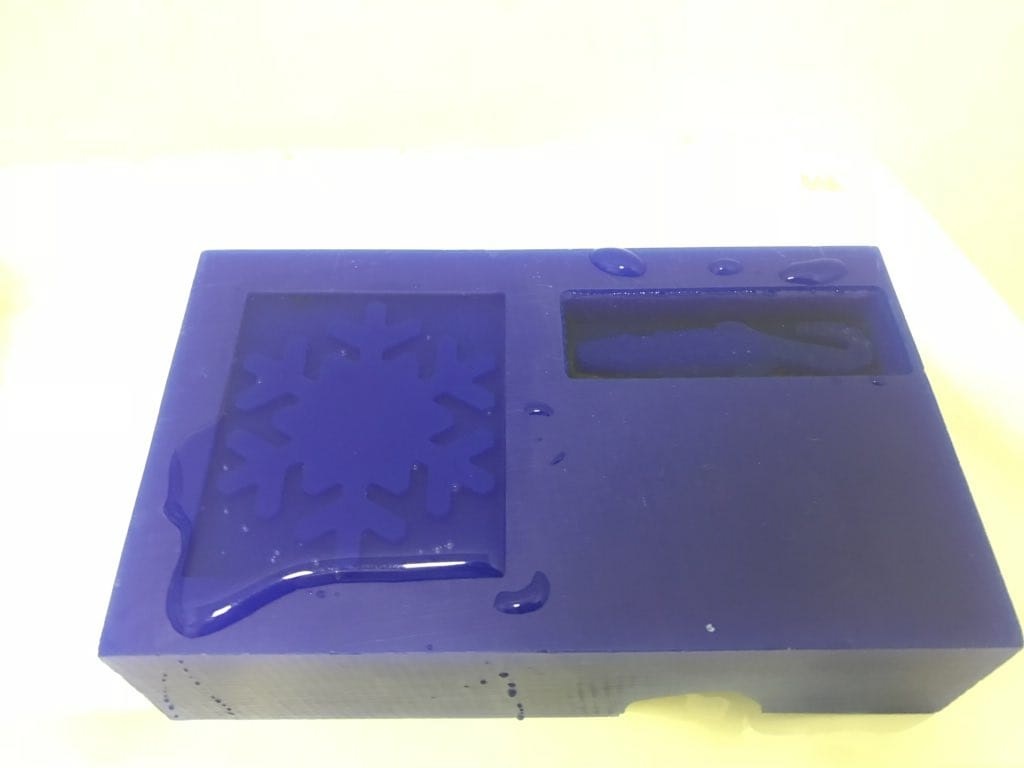
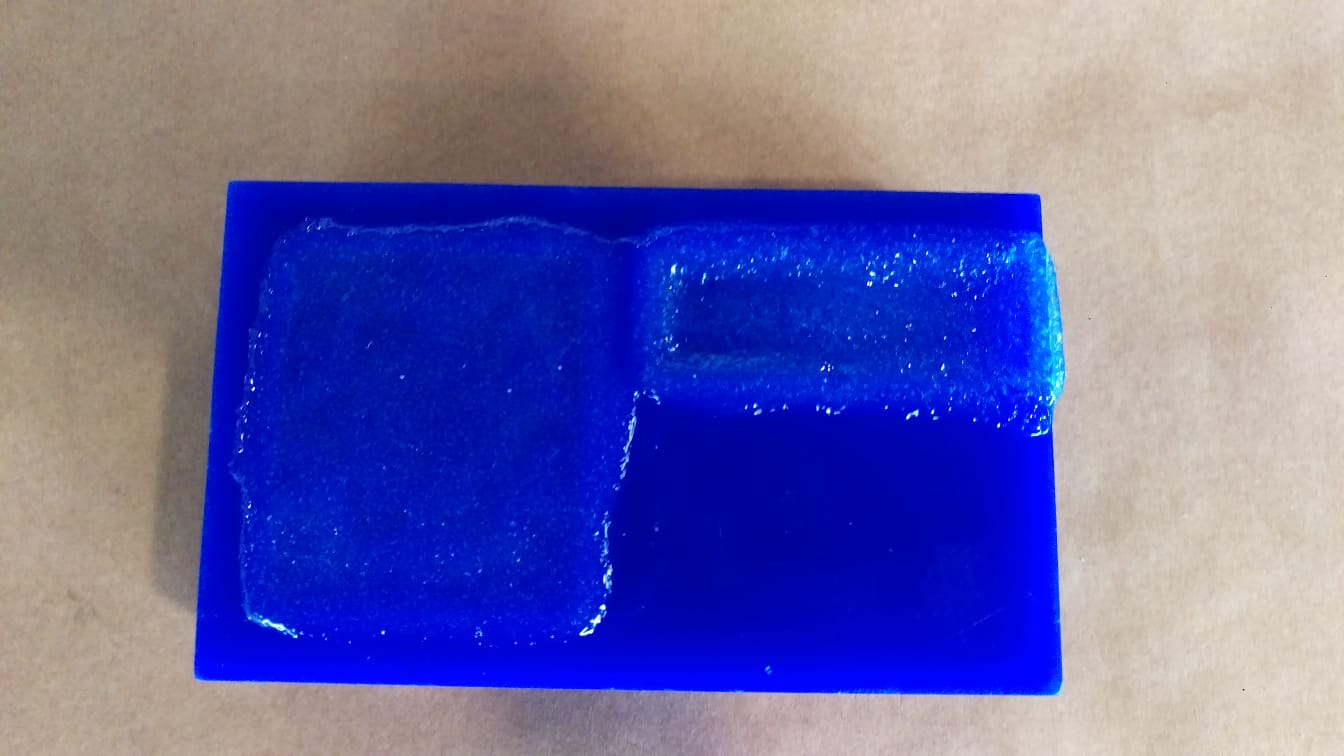
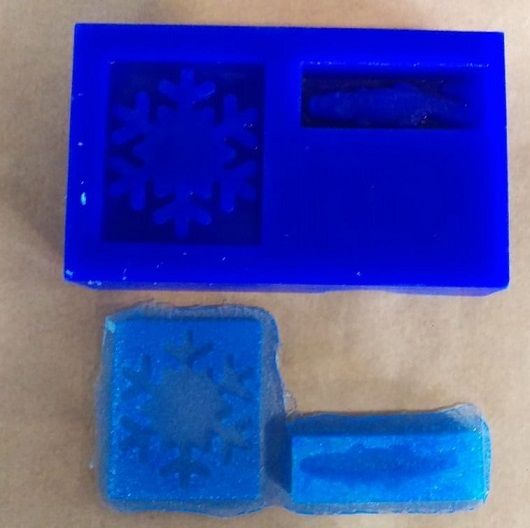
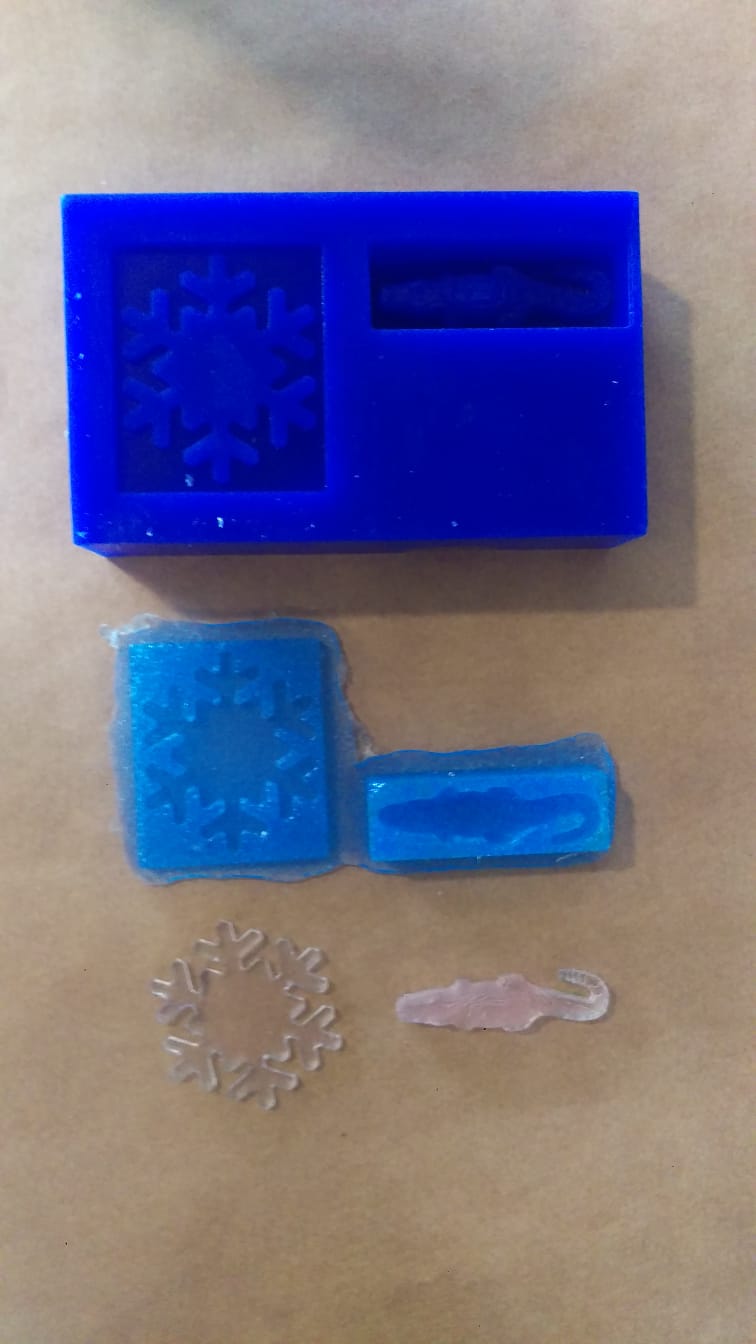
I allowed a cure time of around 24 hours as instructed, and when done I had a mould made out of scilion. It turned out really great. it maintains its shape and is quite sturdy.
The cast
I decided to make my final cast out of transparent resin. I am using Gédéo Crystal Resin.
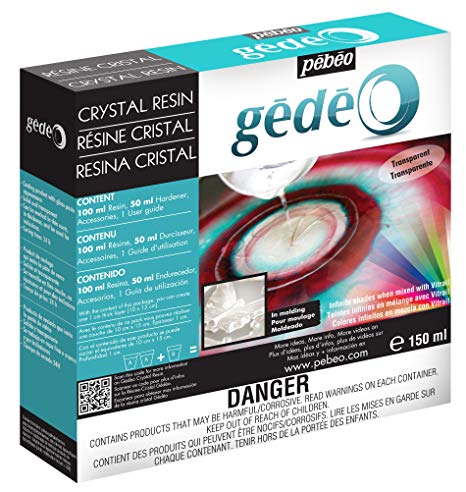
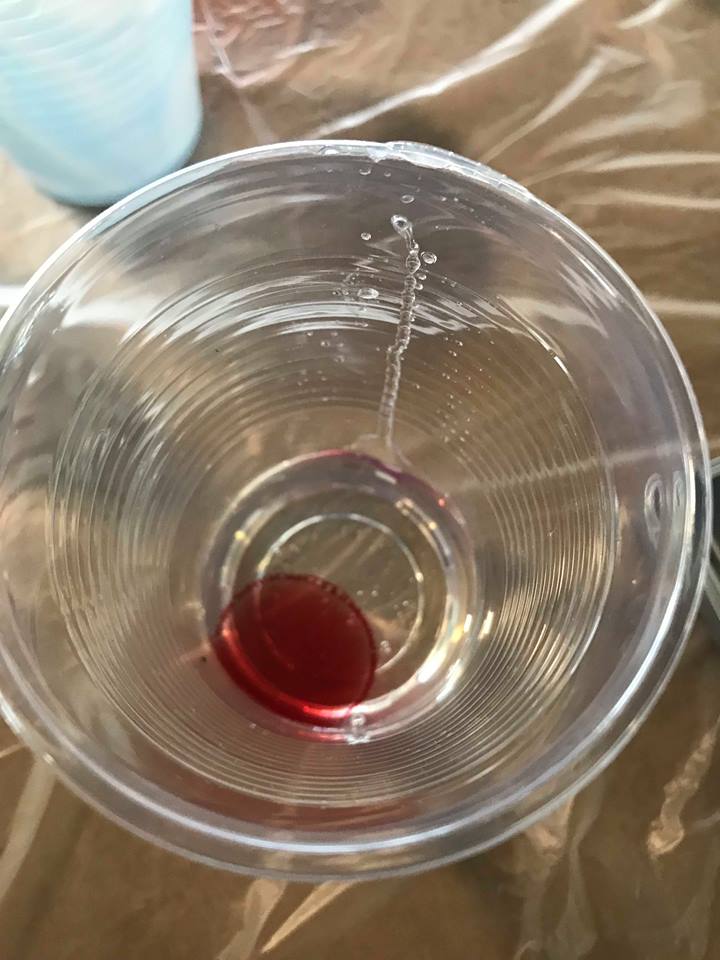
This resin results in a transparent product. It requires two parts of the resin to one part of the hardner. I estimated the amount of resin I will need ( As I wanted to experiment a little more with other than my design - details in the following section) and poured the amount of hardener coorisponding to that in a seperate cup
The result will be transparent but I wanted to add a little bit of color. I added a few drops of a red alcahol based color to create pink transparent resin
I added the two together and mixed them with a wood stick. its important with resin to mix the hardner in well and scrape off the stick and the sides of the cup or it will not mix togther well and the cast will not cure properly. I mixed in one cup then transfered it to the other cup and mixed again to get absolutely every part to not not ruin the ratio.
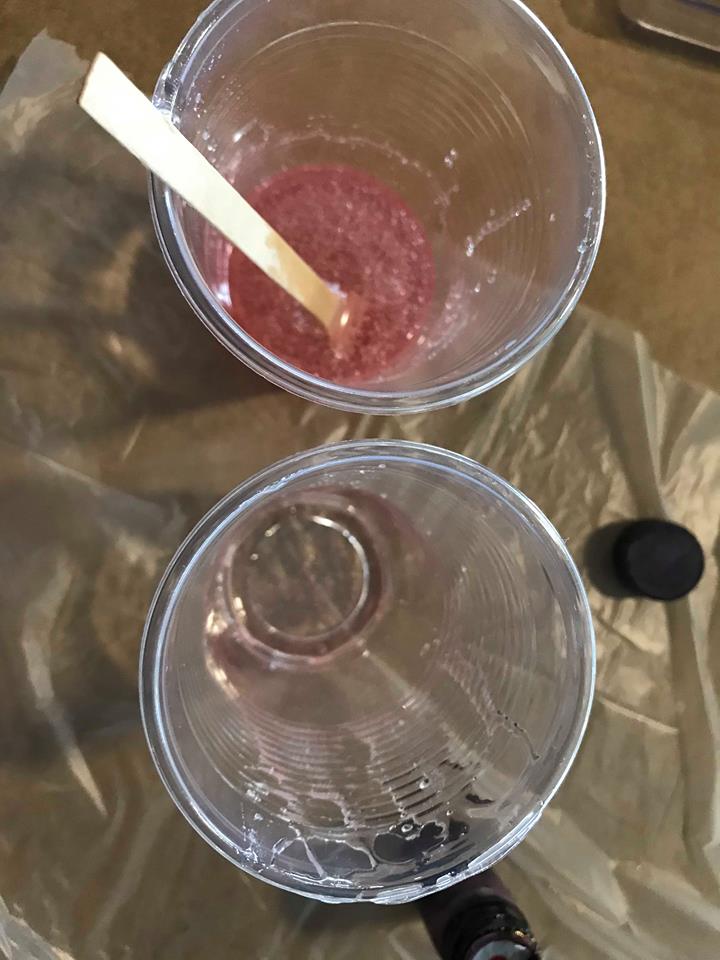
The result after mixing very well was a nice pink-ish color. I transferred my mix into my silicon mould.
To get rid of the bubbles that formed becuase of the mixing, I went over the resin with a hot gun. The heat gun gets rid of the bubbles. I set the tempreture to 350 degrees C
The video above shows the heat gun popping a bubble in the resin after casting it.
Extra experiments
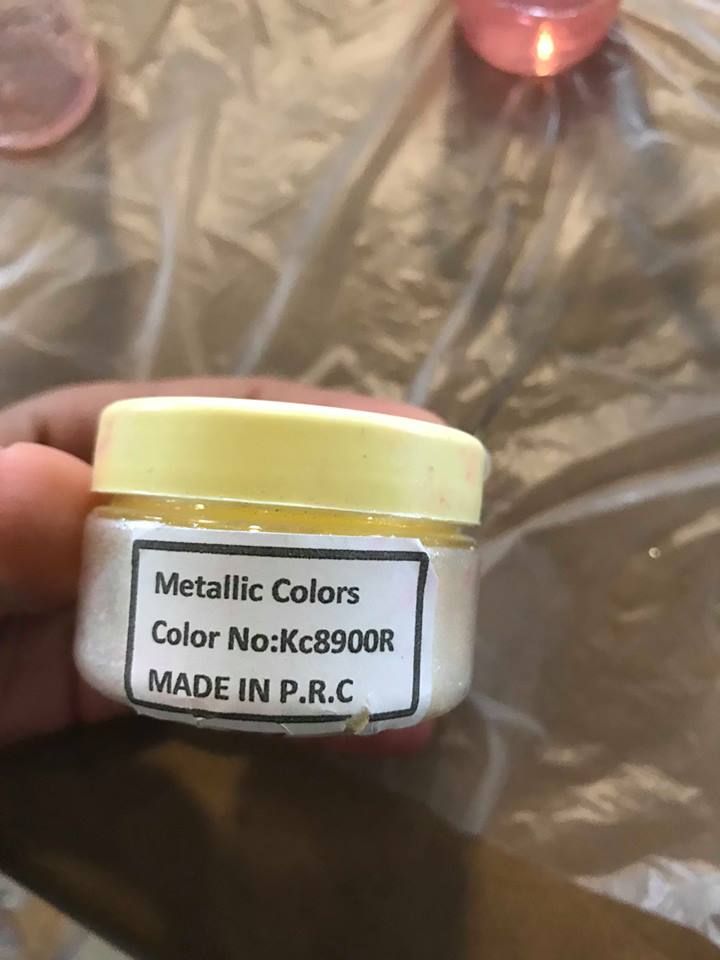
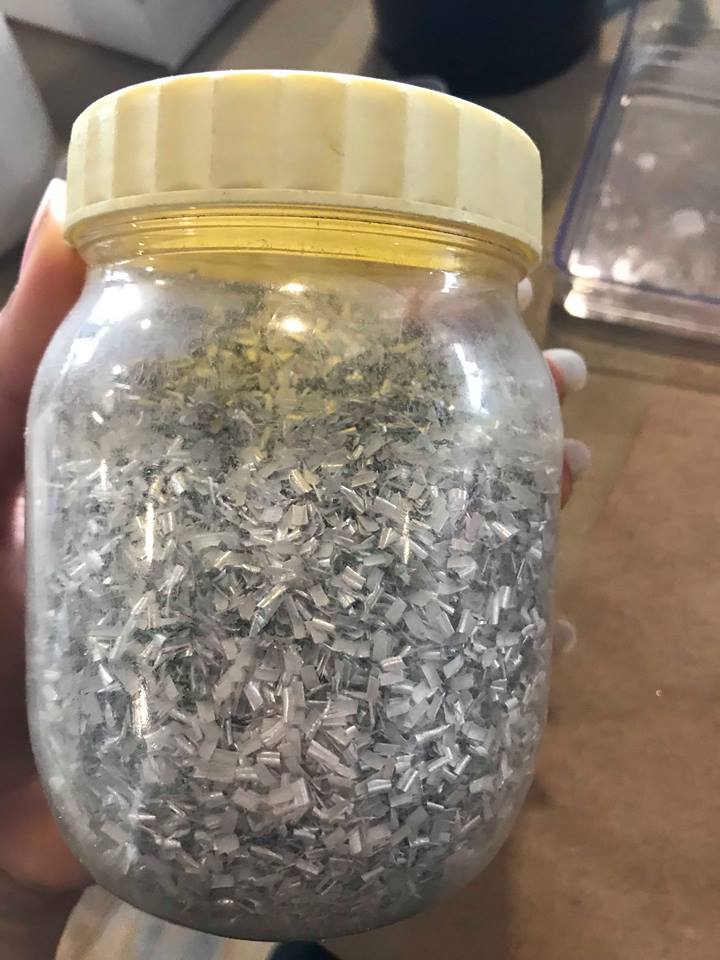
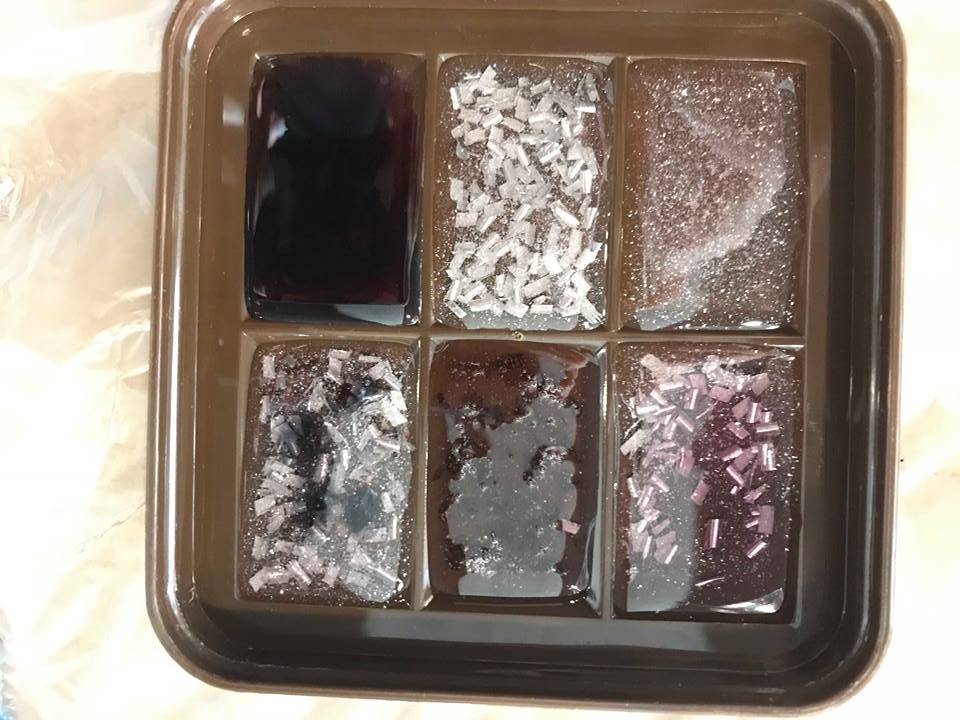
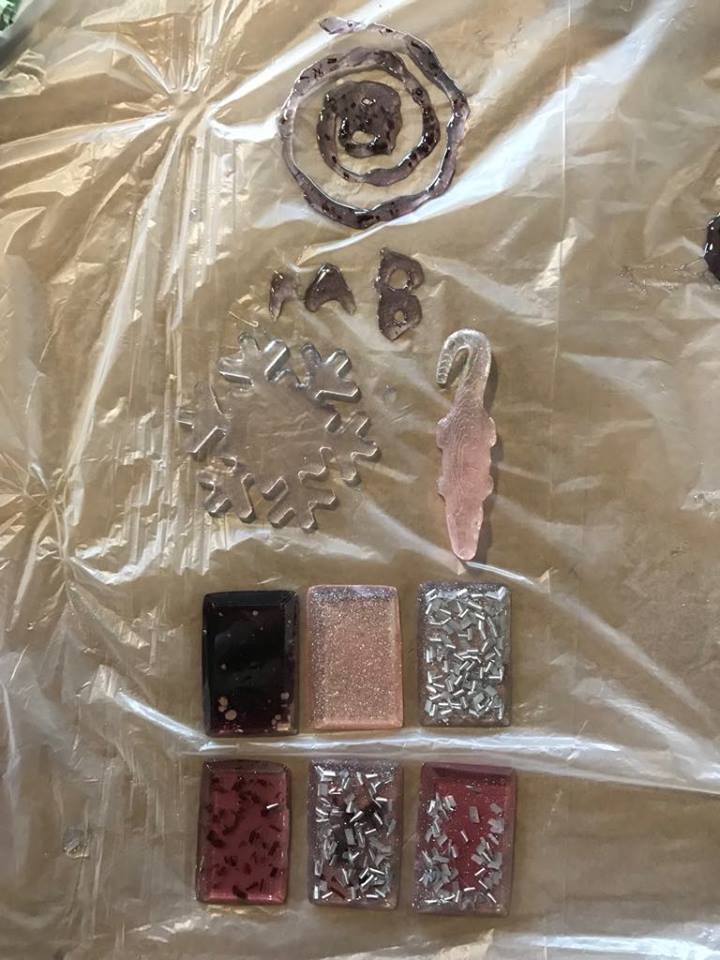
I experimented with the extra resin I had on hand. I added things like metallic colors, aluminum shavings, wood shaving and drops of color to it and left it to cure in a mould I already had on hand

I also wanted to expirement with free style drawing with the resin after it cured for a few minutes and was no longer super liquied. Drawing with a wood stick did not go so well so I kept it in a syringe and started playing around with it. It gave some good results and I wondered if it was possible for me to create a machine that dispences resin in different shapes. That qould be quite tricky looking at the fast cure time and it would just be like a 3d printer that takes forever for the filament to cure. It is an interesting thought though.

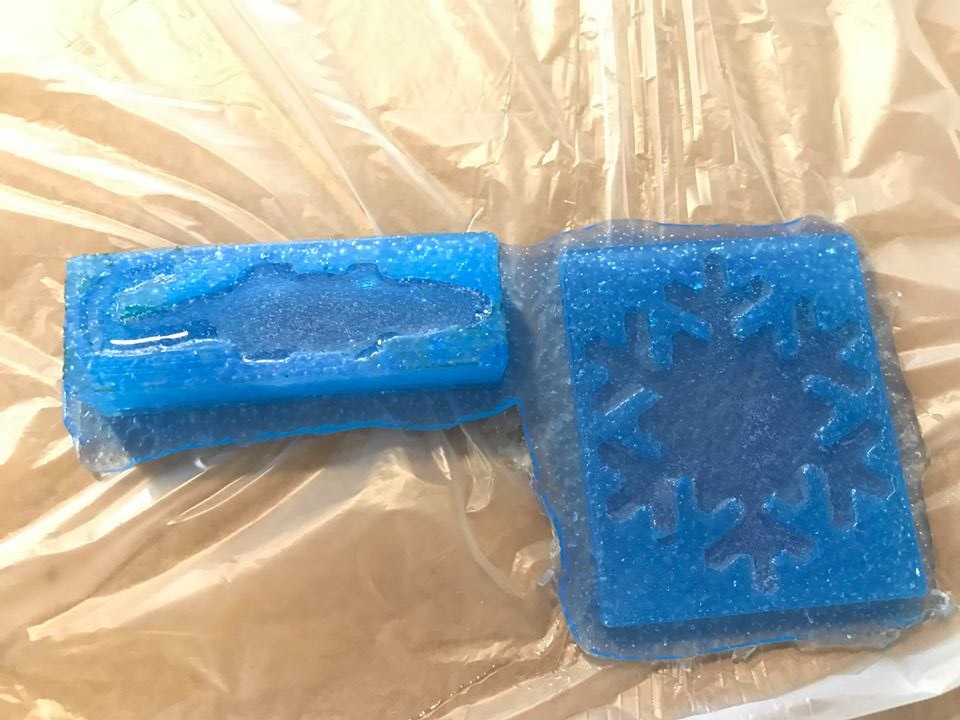
The result
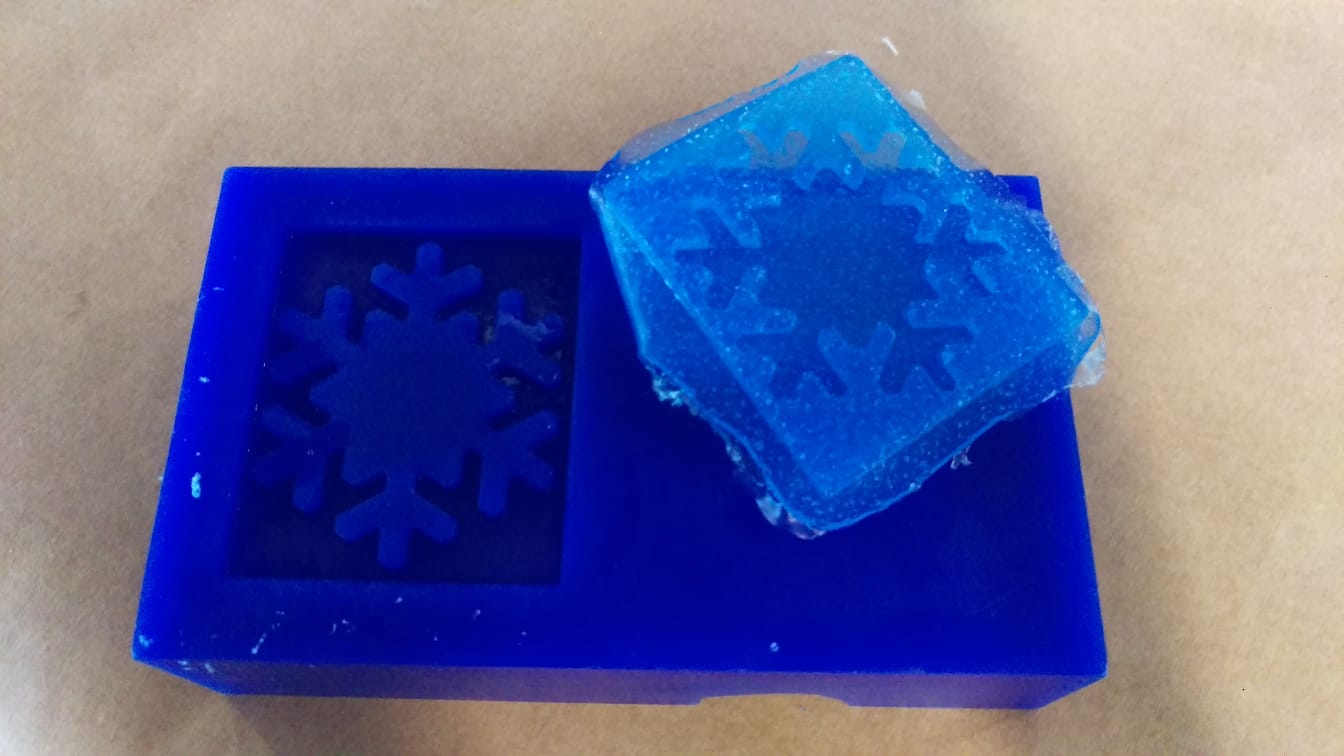
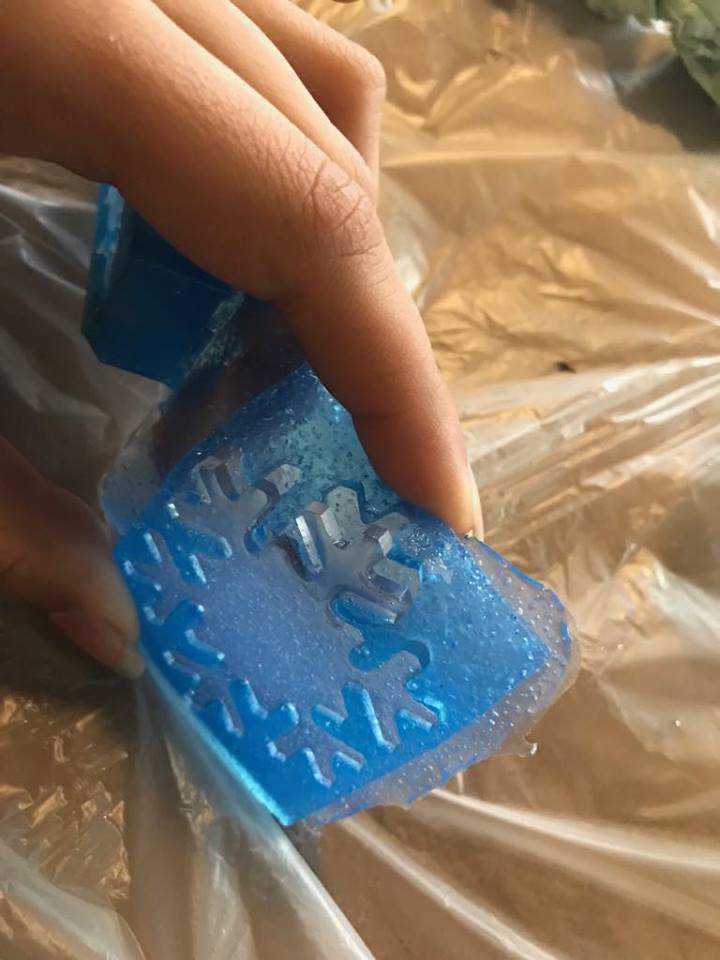
24 Hours later, my resin has cured and it was time for the reveal. The fact that the moulds were made of scilicon made things so much easier and the removal went quite smoothly. The whole thing cured and it did not have parts that didnt which means that the hardner mixed in well.
Safety
The Gédéo Crystal Resin comes with a published product sheet Found here That mentions safety procedures and tips for dealing with the resin.
The product sheet advices to store the product in a closed pot after opening the bottle up to six months. The bottle was not opened when used and it was closed and resealed afterwards with the opening date labeled on it for future use.
The product sheet advices that the Ideal storage temperature is between 15°C and 25°C. The lab is kept at 24°C which is a little bit on the high end but is still within the allowed limit.
The product sheet states to avoid contact with skin and eyes, and wear gloves. Gloves were worn during the process.
The product sheet advices to not exceed 150 ml of Crystal Resin preparation per mix to limit any risk of overheating. The amount of resin used was less than 50grams. well below the specified limit
Contact with water will be avoided even after curing as per the product sheet.
Downloadable files
This section contains the downloadable files to all the digitally fabricated files this week.
The skull design STL file download link
The crocodile design STL file download link
The snowflake design STL file download link
The snowflake design SVG file download link
The snowflake design PNG file download link