1- Making the Website
So the first assignement in the Fab Academy is to build a personal website that will be used to document all the progress and achievements in the Fab Academy
Tools used to build the Website
Various tools were used to create and upload the website online
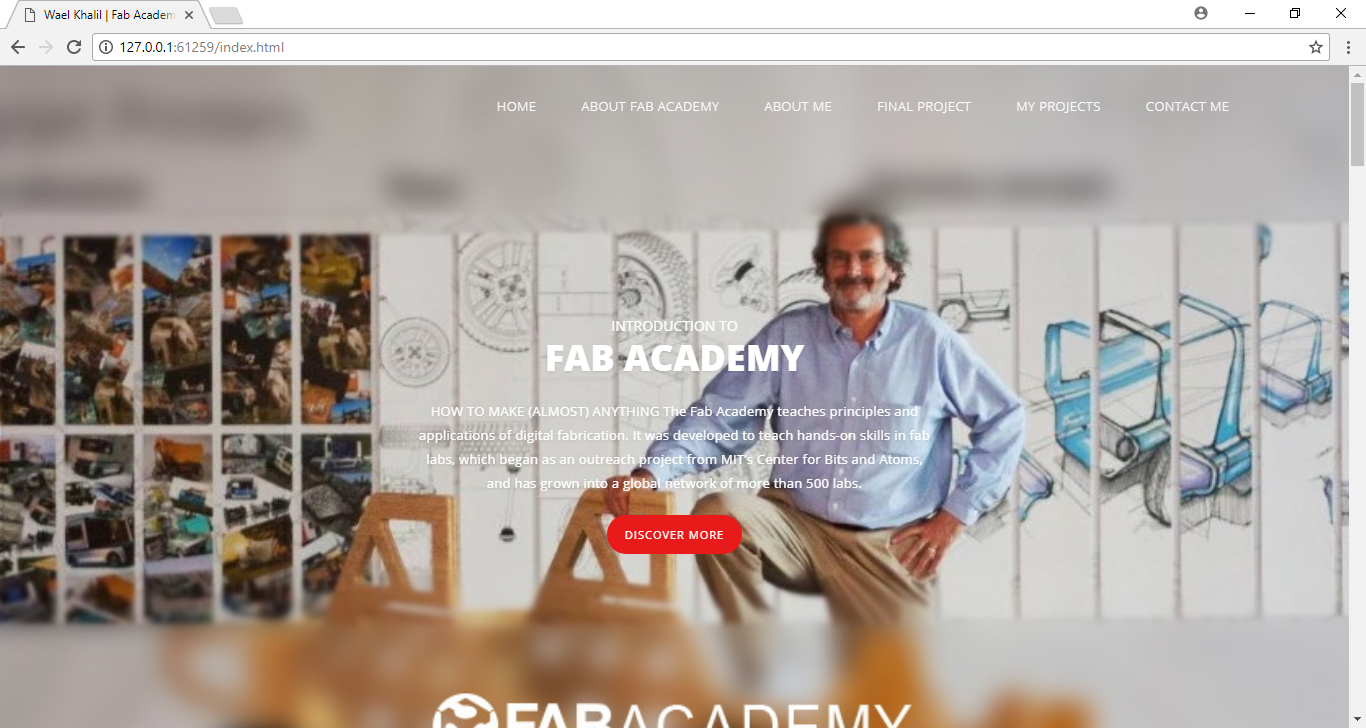
Building the Website
To build the website, the following steps were followed
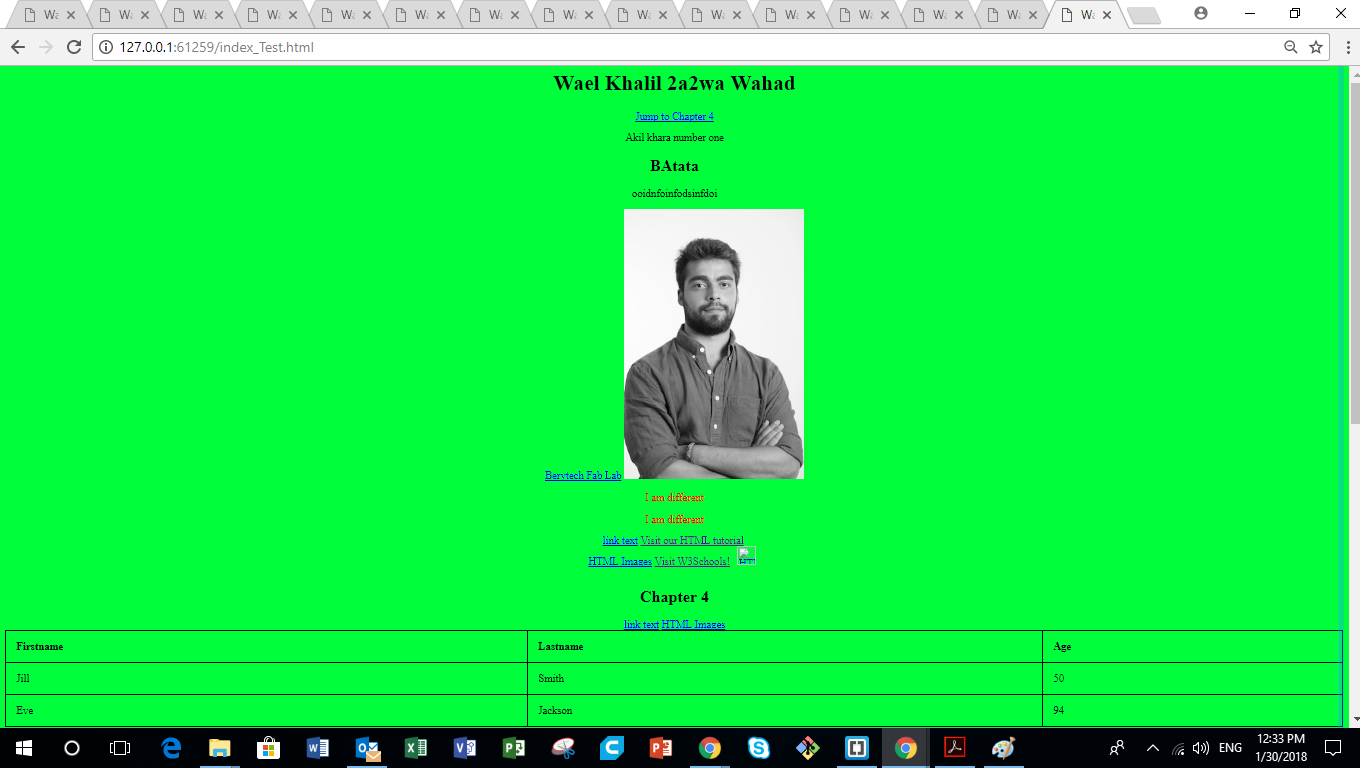
1- Training on HTML
By the help of our instructor, and the various resources available on the internet, I started training first and getting used to the HTML Language. One of the main websites used for training was the HTML tutorial available on the w3schools.com Website. A basic index page was first made for testing, using various comand, to check out what I am capable of doing using HTML.
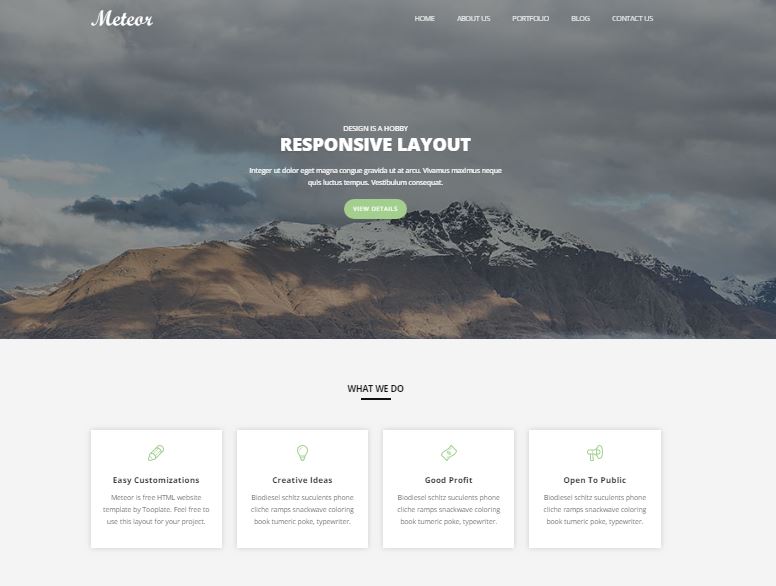
2- Searching for Available Templates online
There are various websites available on the internet that could be used to find different templates, that are already designed to fit various needs.
- w3schools.com . The CV Template was used from this website
- tooplate.com . The Meteor Template was used from this website as the basis for my index page
3- Editing the Template
After downloading the Meteor Template used for my index page, various changes were made to edit this template to meet the needs of my website.
- The parts that were not needed were deleted from the main index page
- The related css files were edited to fit my needs as the following:
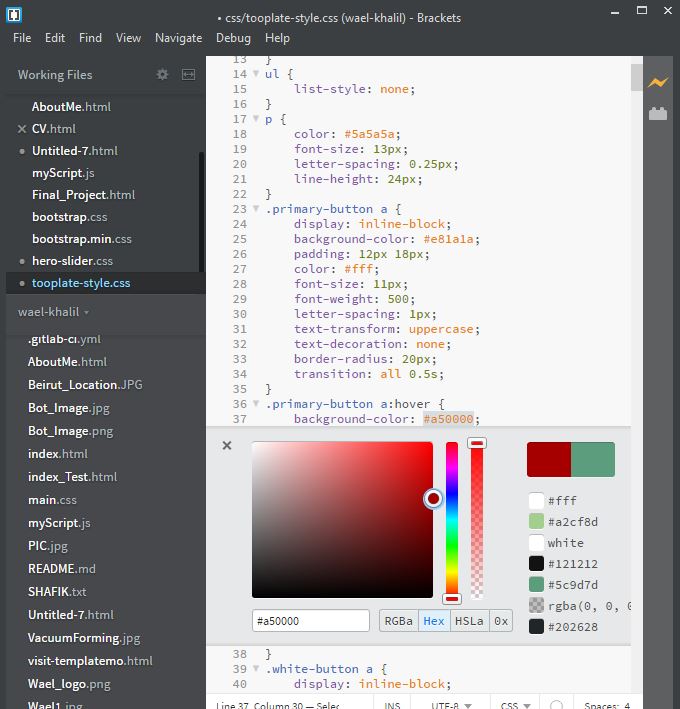
- The color of the Background was changed.
- The color of all the fonts of the various classes was changed.
- The button colors were changed to fit the new theme.
- The images shown in the main hero-slider and the other parts of the website were changed to meet my website's needs.
- Some additions were made to "My Contact" part of the website. Contact info was added.
- The buttons on the navigation bar were scroll-linked to the various parts of the website on the index page.
- Links were added to all the buttons used on our index page. Some of the links are linked to external websites. Other links were linked to other pages in my website.

4- Building the various pages of the website
Many different pages were made for the website. The template used for the index page was copied and pasted in the new designed page, and changes were done to meet the requirements and type of each page.
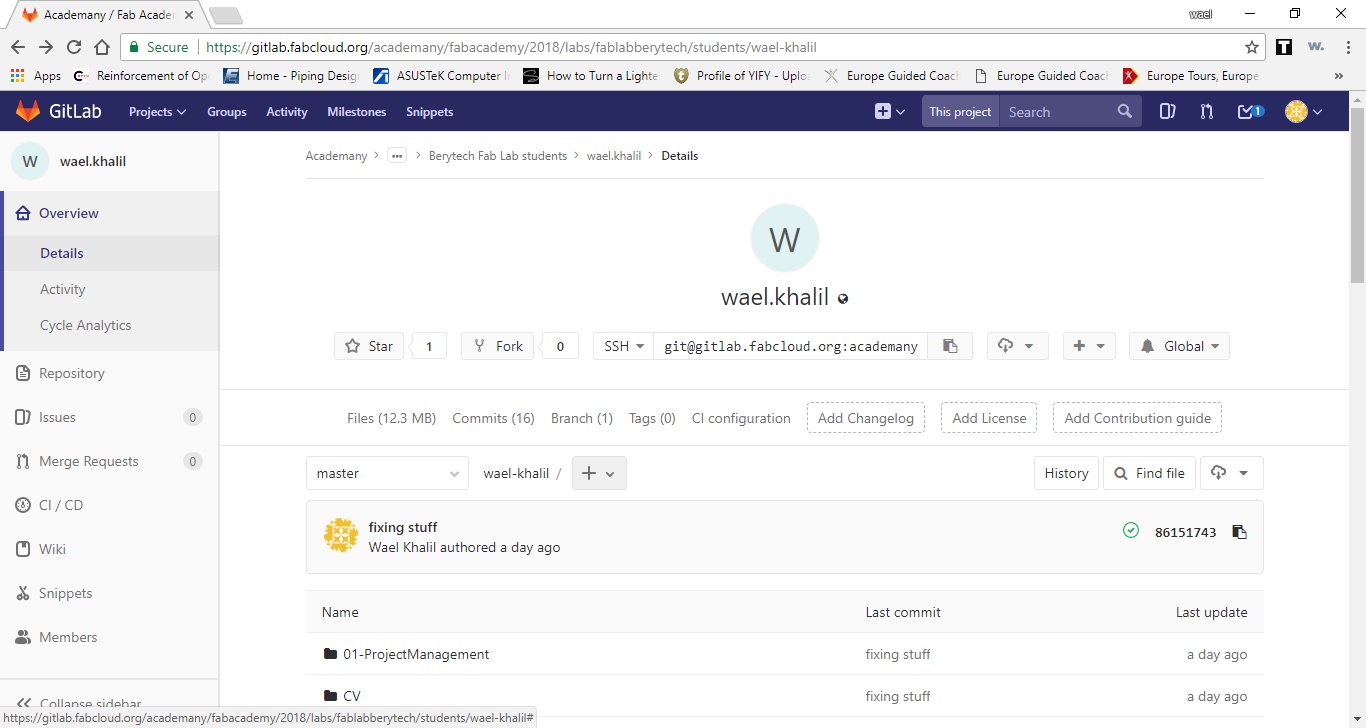
2- Configuring GIT and Uploading Files
The fab-academy archive is hosted in a private server in Git-Lab at the following address: GITLab Fab Acaemy
To upload the website online, I had to setup GIT on the Computer first. To be able to store code and continuously improve it, Git is used as a repository. It stores information on your machine as well as on a server and enables subversions. GitHub is an web-based repository which enables to collaboratively develop code. GitLab is a self-hosted version of GitHub, if you want your code to be in a private environment, this is probably the prefered option.
1- Download GIT platform and Setup
After downloading the GIT platform form the GIT for Windows Website, I had to setup GIT on my computer.
- Configure the username and email
- The next step is to choose the editor in which we will operate git.
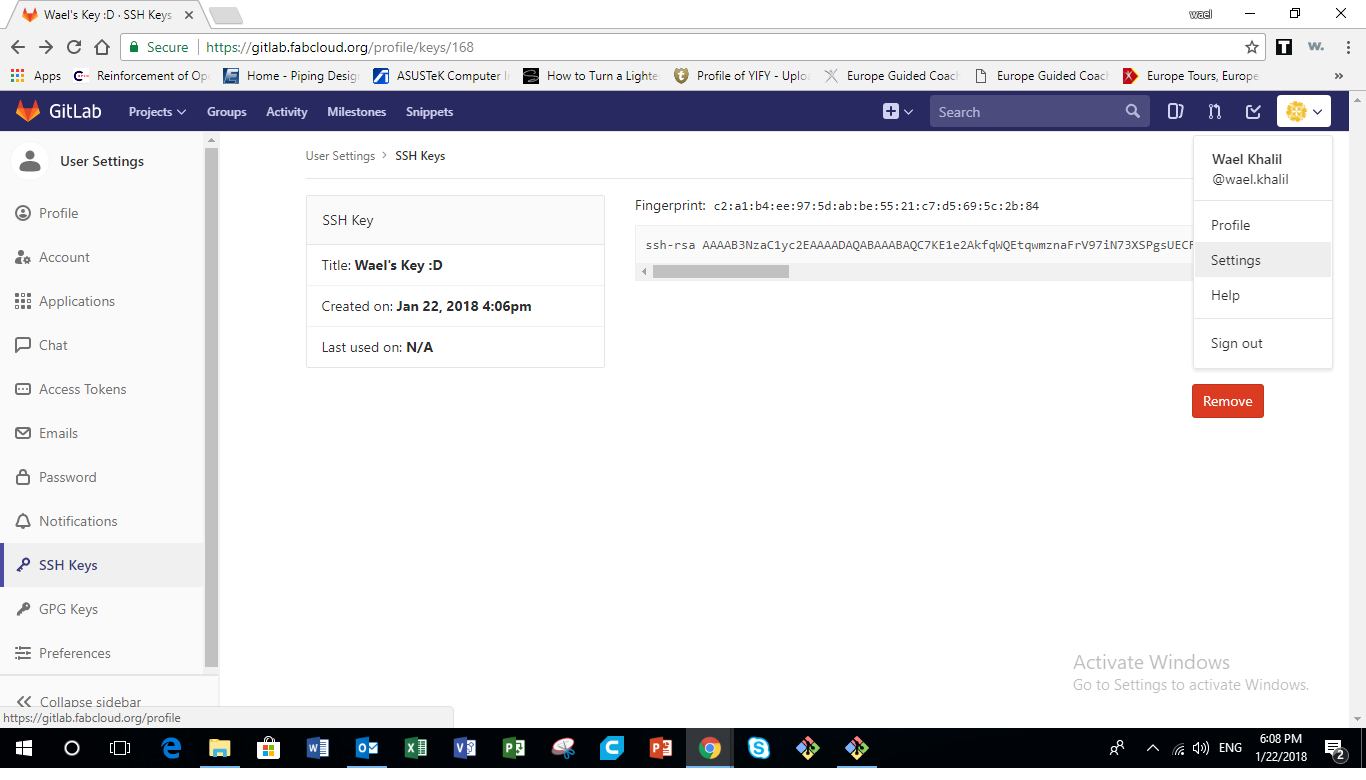
- The last two commands are done to generate and enable the ssh key.
- Lastly, we paste the ssh key we generated to gitlab website on the ssh key part of the website.
git config --global user.name "Your User Name" git config --global user.email johnjr@example.com
git config --global core.editor "'C:/Windows/System32/notepad.exe' -multiInst -nosession"
ssh-keygen -t rsa -C "your_email" // used to generate the ssh key cat ~/.ssh/id_rsa.pub // used to copy the ssh key
2- GIT workflow and upload
Our local repository consists of three "trees" maintained by git. The first one is our WORKING DIRECTORY which folds the actual files. The second one is the INDEX which acts as a staging area and finally the HEAD which points to the last commit we have made.
Every time we push a new version of our web page, a new version will be created, keeping the old versions as a reference, to keep track ofchanges. Version control is a system that records changes to a file or set of files over time so that you can recall specific versions later.
- I created a working copy of my local repository to git. As git is a remote server I used the following command:
- I entered the file created by using the cd command
- After that, I add the files I created to the index and commit them to the head.
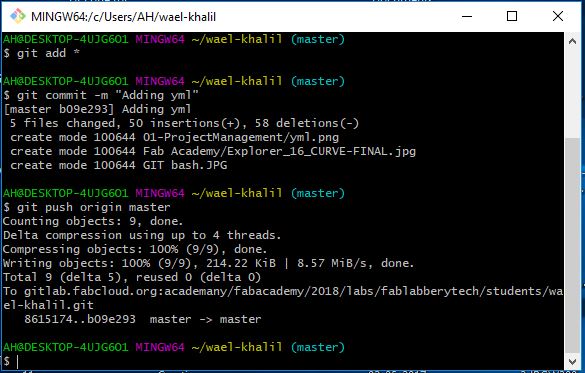
- git add * or git add -a // used to register all new files in the index repository to be commited
- git commit -m "First commit" // used to hand over file to your local repository, commit a change and keep a comment
- Finally, I pushed my files to the repository.
- Before adding and commiting, it is important to enter the file which our local repository is via git using the cd command. Also, the "git clone" command is executed just once for the initial commit. Besides git clone we paste the ssh instead of the http on the git website. After the first commit, we can ignore it.
- In addition to the previous commands, there are additional commands that we could need sometimes.
- git pull origin master //used to pull changed files to lo a local repository.
- git status //used to check which files have been changed since last commit.
git clone git@gitlab.fabcloud.org:academany/fabacademy/2018/labs/fablabberytech/students/wael-khalil.git // whichis used to copy the files from the repository to my filesystem
cd/path/to/repository
git push origin master // used to hand over files to your remote server repository
3- Inserting the YML.
In order to upload our webside, I had to insert the yml file before that.
- Add a new file on GIT.
- On the template tab, choose ".gitlab-ci.yml" from the drop down menu.
- In the "Apply a template" dropdown menu, choose "HTML".
- Add a comment in the "Commit message" window.
- Lastly, press the "Commit changes" button to commit the changes.