01
03
22
week 18 | invention, intellectual property and income
23
To decide which license is the most suitable for my work, I had to compare at least two license models.
24
MIT License (original text)
Copyright (c) 2018 Nils Daniel Bruns
Permission is hereby granted, free of charge, to any person obtaining a copy of this software and associated documentation files (the "Software"), to deal in the Software without restriction, including without limitation the rights to use, copy, modify, merge, publish, distribute, sublicense, and/or sell copies of the Software, and to permit persons to whom the Software is furnished to do so, subject to the following conditions:
The above copyright notice and this permission notice shall be included in all copies or substantial portions of the Software.
THE SOFTWARE IS PROVIDED "AS IS", WITHOUT WARRANTY OF ANY KIND, EXPRESS OR IMPLIED, INCLUDING BUT NOT LIMITED TO THE WARRANTIES OF MERCHANTABILITY, FITNESS FOR A PARTICULAR PURPOSE AND NONINFRINGEMENT. IN NO EVENT SHALL THE AUTHORS OR COPYRIGHT HOLDERS BE LIABLE FOR ANY CLAIM, DAMAGES OR OTHER LIABILITY, WHETHER IN AN ACTION OF CONTRACT, TORT OR OTHERWISE, ARISING FROM, OUT OF OR IN CONNECTION WITH THE SOFTWARE OR THE USE OR OTHER DEALINGS IN THE SOFTWARE.
This is a very nice - and even not licensed, which is important to use this as a fast and secure option to share your software - license for software, but does not cover all of my work I've done here. All the parts like CAD, electronics design etc. are not covered. Pity!
25
Creative Commons


The name of the owner hast to me mentioned in case of use.

The work is not allowed to be used commercial.

The modified work has to be licensed under the same license.
These are only some options of the free Creative Commons license. I decided to use this license (as you can see in the footer) and explicit these options to license my FabAcademy work.
This license is open for any kind of work instead of the software aspect direction of the MIT License. The option to prevent the commercial use of your work but allow everybody to use it for educational and personal use is very nice. As university staff, you honor people who license their work like this.
26
Possibilities and probabilities:
My final project was a nice idea many, many years ago and I never had the idea to make any income with it. There was never any cash incentive. I just wanted to build the stuff I need to make great timelapse videos. I would be glad, if anybody who is not intent or capable to afford a commercial system or just wants an open-source and fully able to modify system uses my work. The income is the possible feedback to develop this project further.
27
How make almost any the presentation slide...
I made my slide with Adobe Photoshop. This is not the best way to make a slide, as you would normally prefer Adobe Illustrator for such tasks. I decided to use Photoshop, because I'm very familiar with this software.
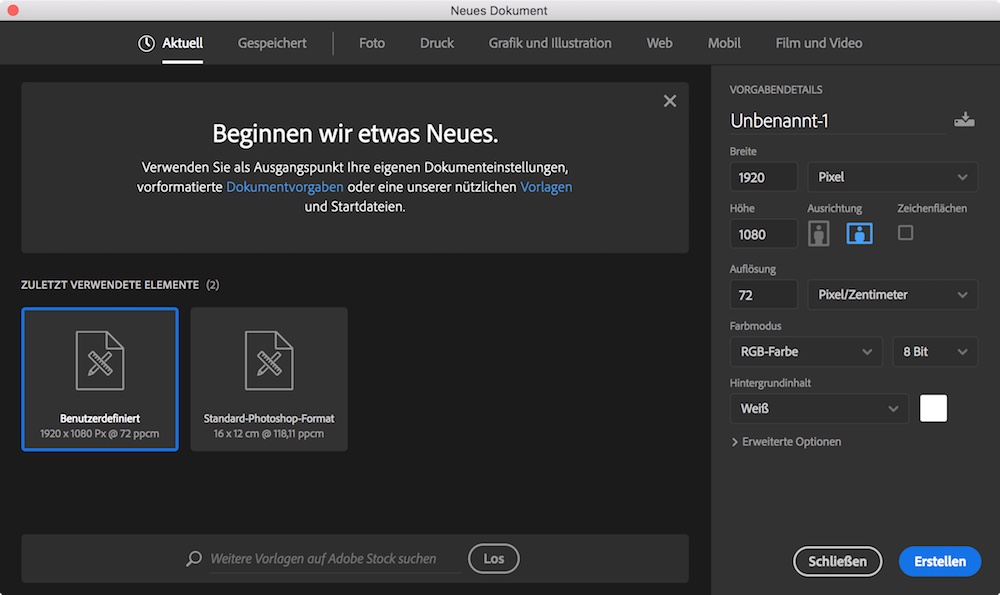
The first step is to open a new file. The Task was to make a .png with 1920x1080 pixel. The ppi value is for graphics on a computer absolutely irrelevant. This is just a meta data for later printing. 1920x1080 pixel are 1920x1080 pixel on a monitor. No matter what ppi value is set. I chose 8-bit color depth as the most normal monitors do not have more than 8 bit and I don't wanted a high-glossy-super-mega-fancy magazine print.
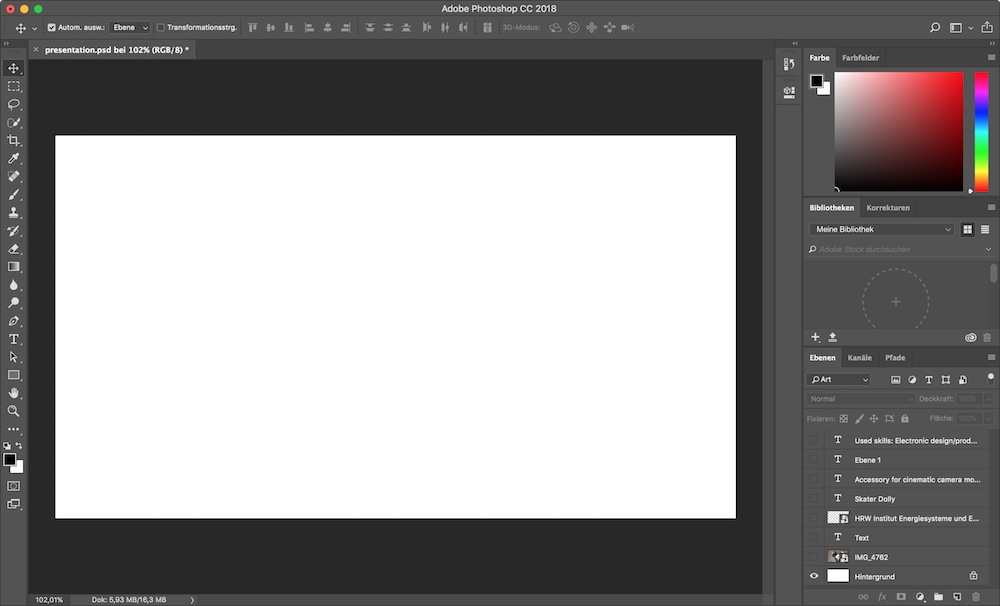
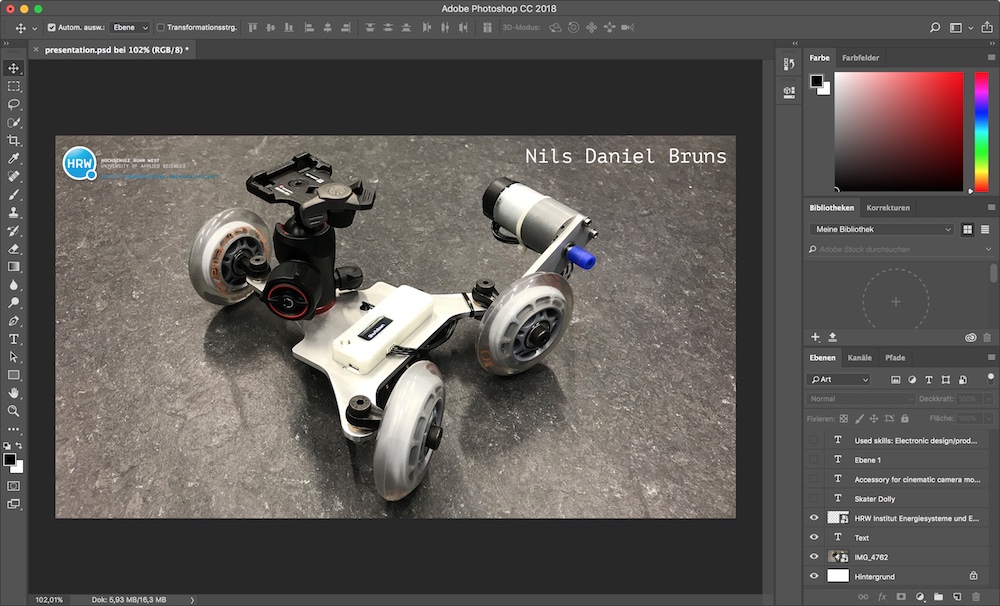
This is the empty slide. The following step was to generate some single layers for the different steps like background, text, logo etc..
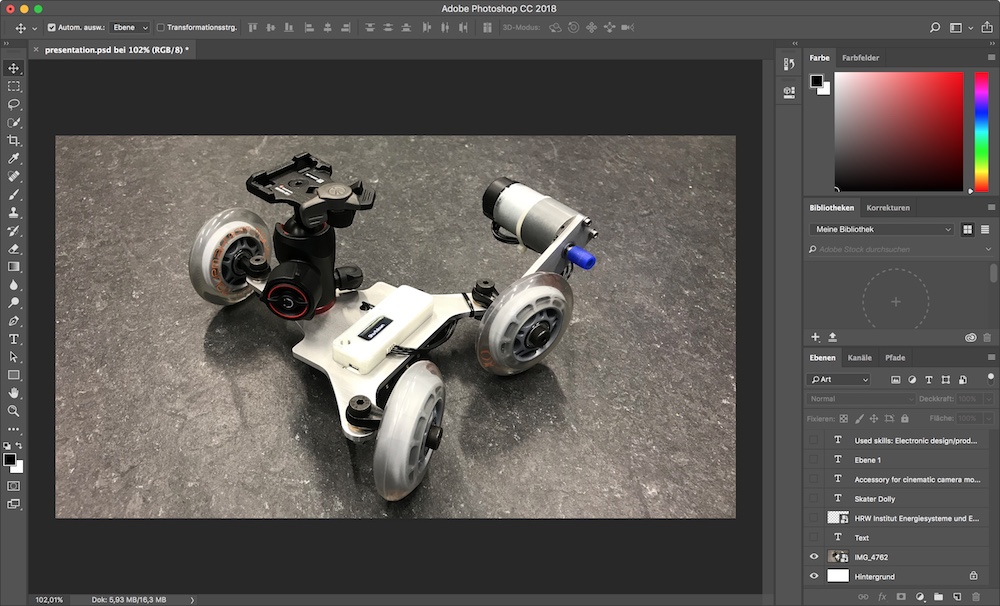
I've added one of the pictures as background to have a large overview over the project.
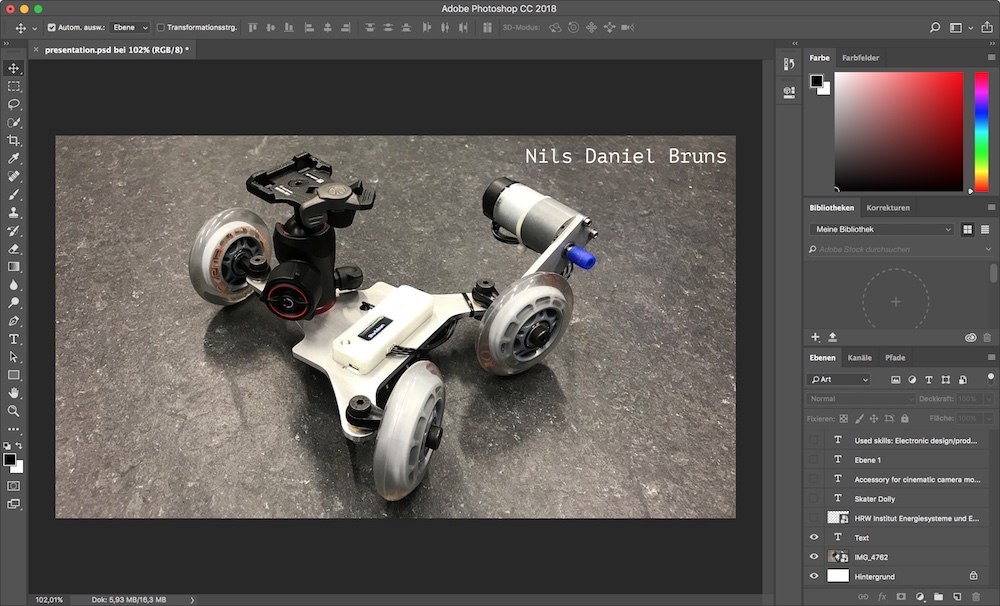
The first textbox with my name. This textbox is on it's own layer to have the full control on opacity etc..
I got the logo of our university as .psd file with alpha channel (without background), so there was no problem to add this to the slide on an own layer.
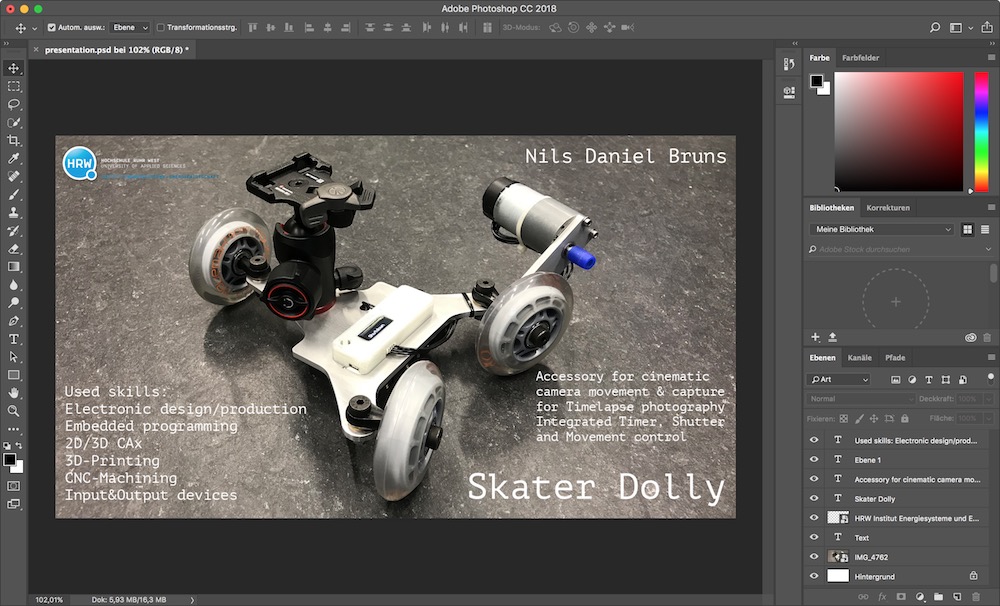
I've added all the content as own boxes on own layers as last step, before saving the file as .psd and .png.
This is my finished slide as .png.
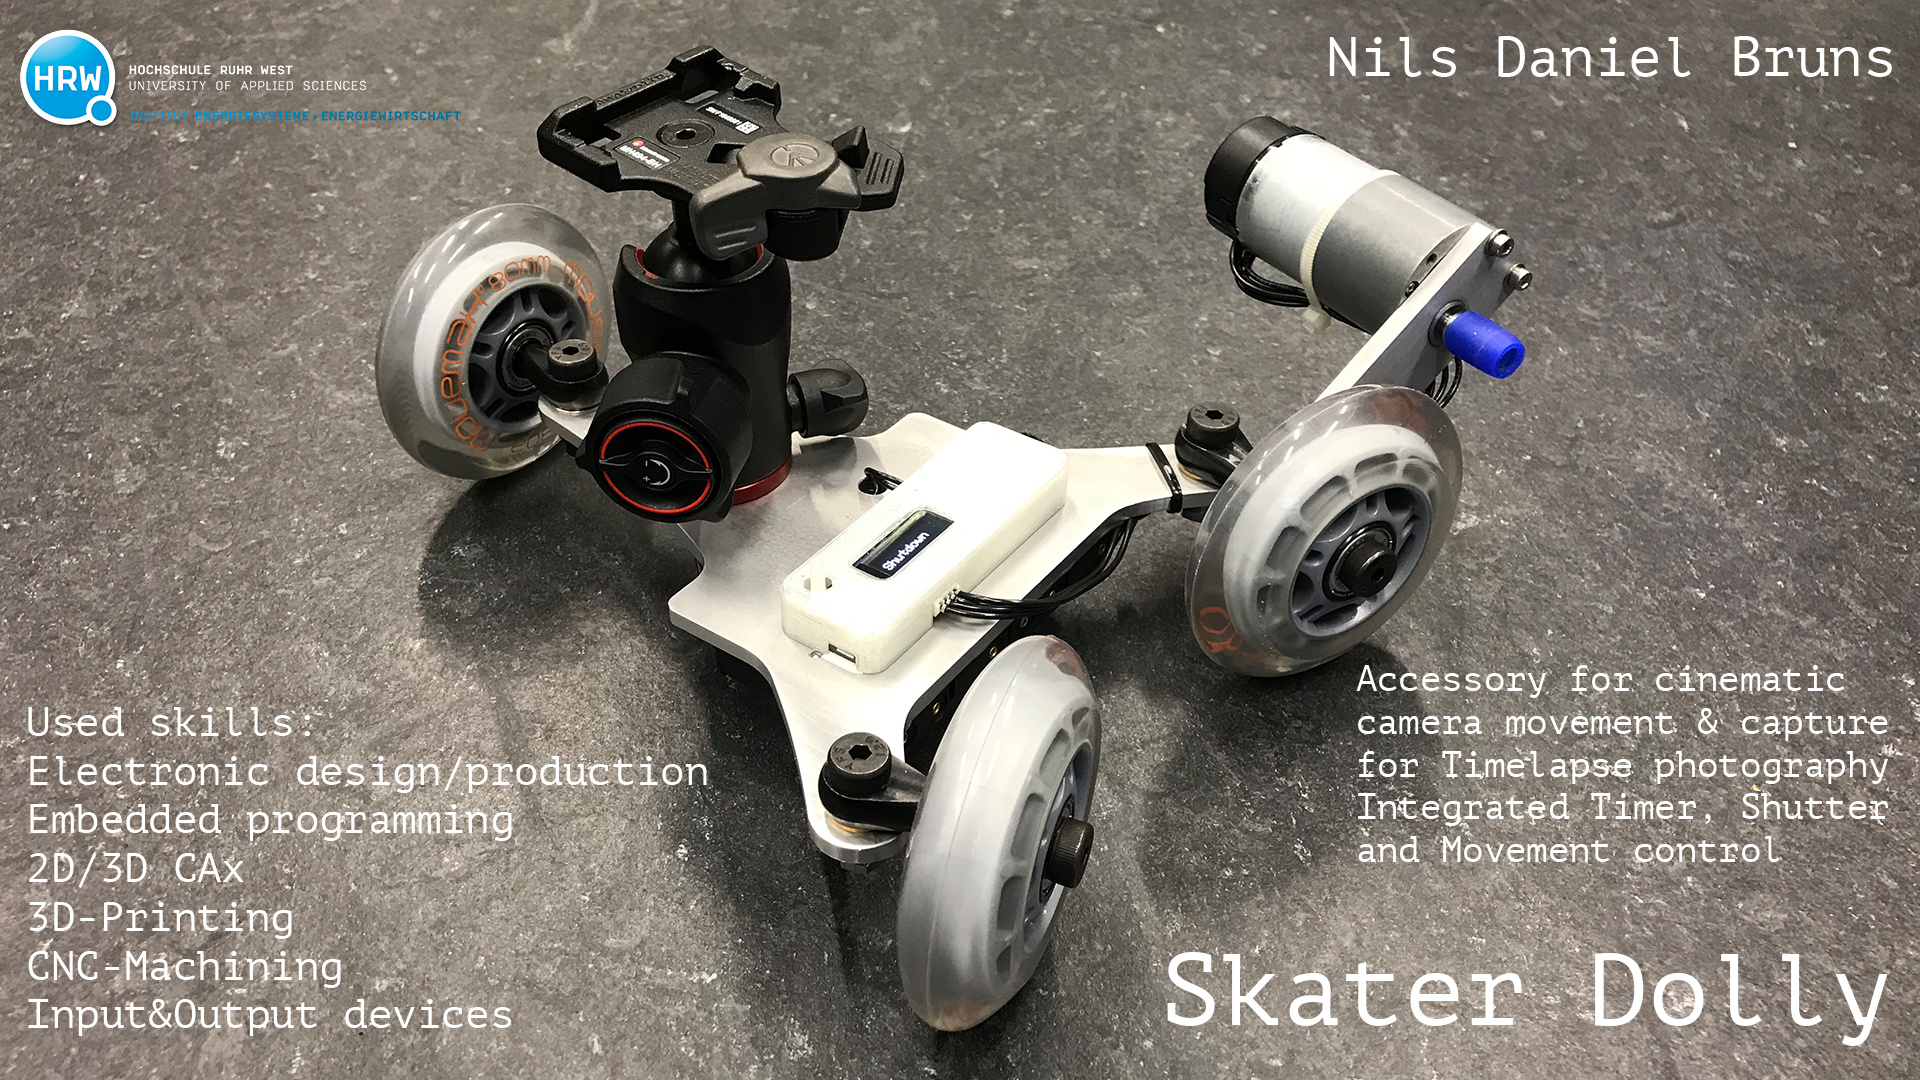
Download my slide as .psd file
How to make a flip-book final presentation video
As I'm an Adobe-guy, I chose Adobe Premiere Pro for editing my final presentation video. Apples iMovie would do the same for this job and would be even faster, easier and smarter, but I opened Premiere reflexive instead.
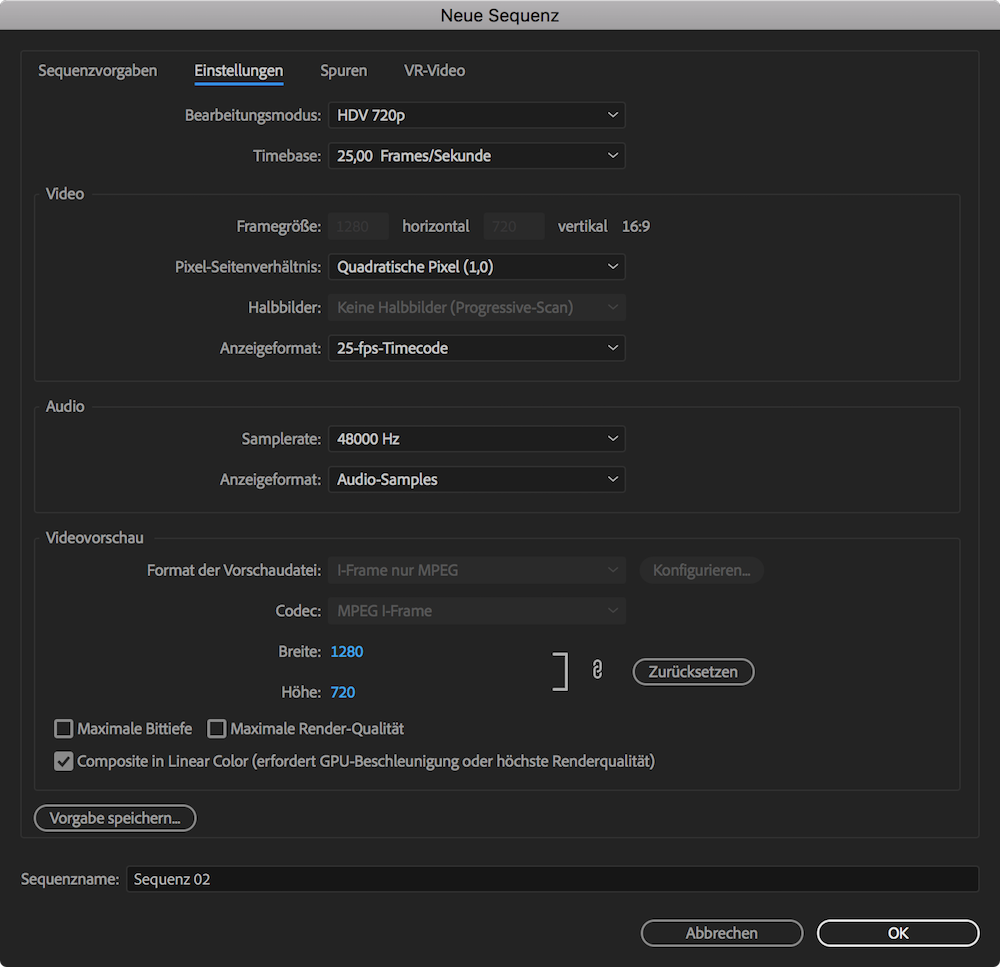
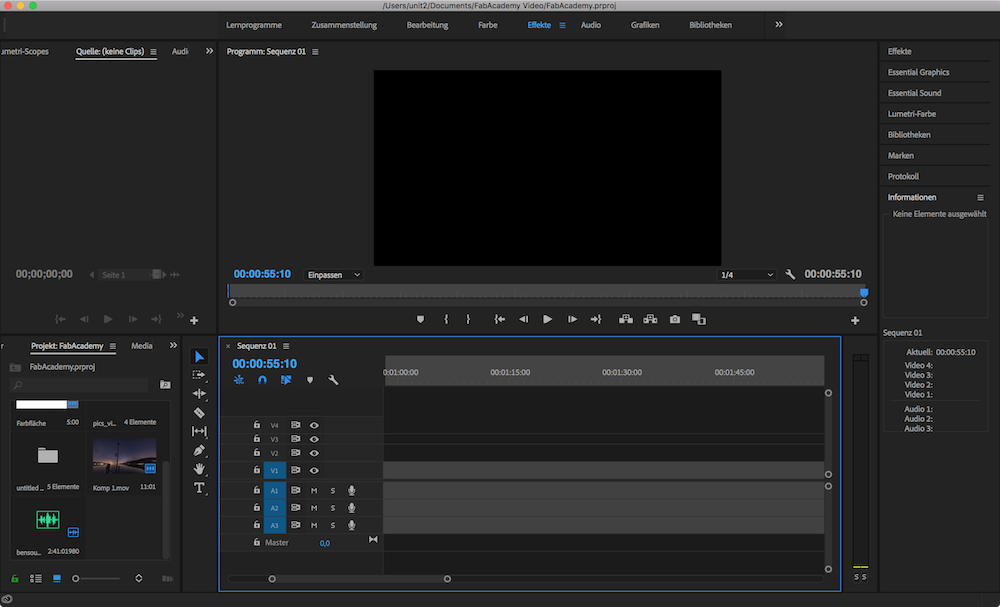
The first step is to set up a sequence with proper settings. As there is a file-size limitation, I decided to use 720p with lower compression and a higher bit rate instead of using 1080p with much more compression to achieve ~10MB file size.
The needed files (including the audio files) must be imported in the lowe left section with a right-click.
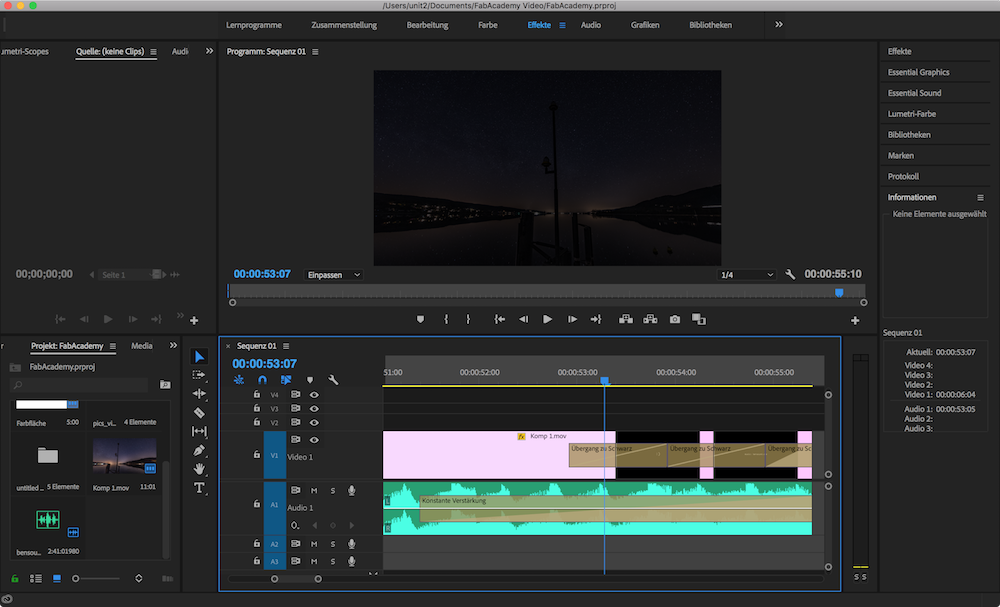
To gein a proper and nice video I put the audio file into the sequence and started editing the video. The intro is a simple text on dark background with 'fade to black' crossover to the next scene. This gives a nice natural and smooth look. Just drag the files into the timeline, align them as you need and watch it often...
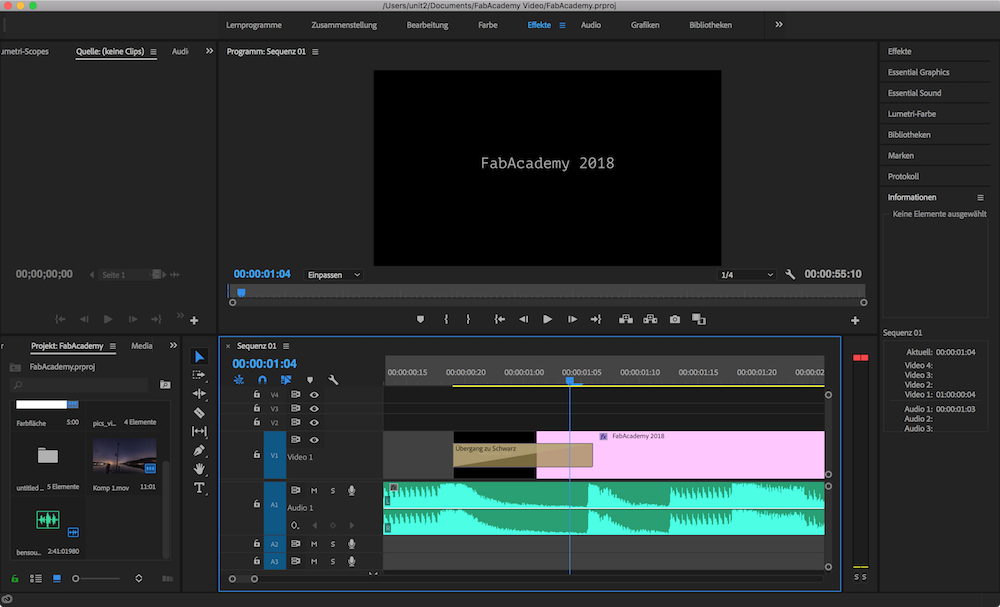
This is the first video file in my Premiere project. Just grab, trim or accelerate up these files. To not waste that much time, I accelerated this file up to 500% via a right-click on the file in the timeline.
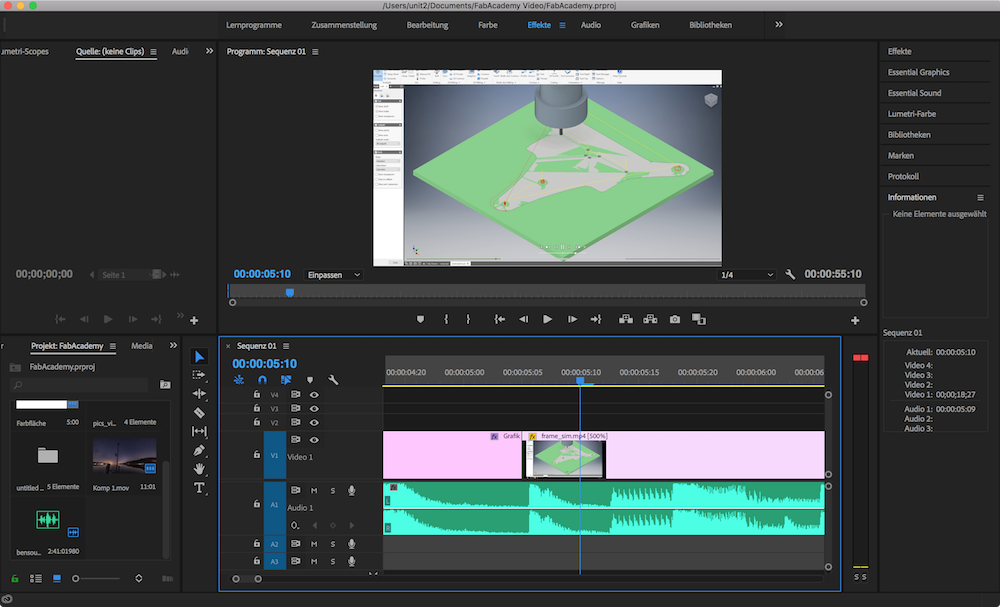
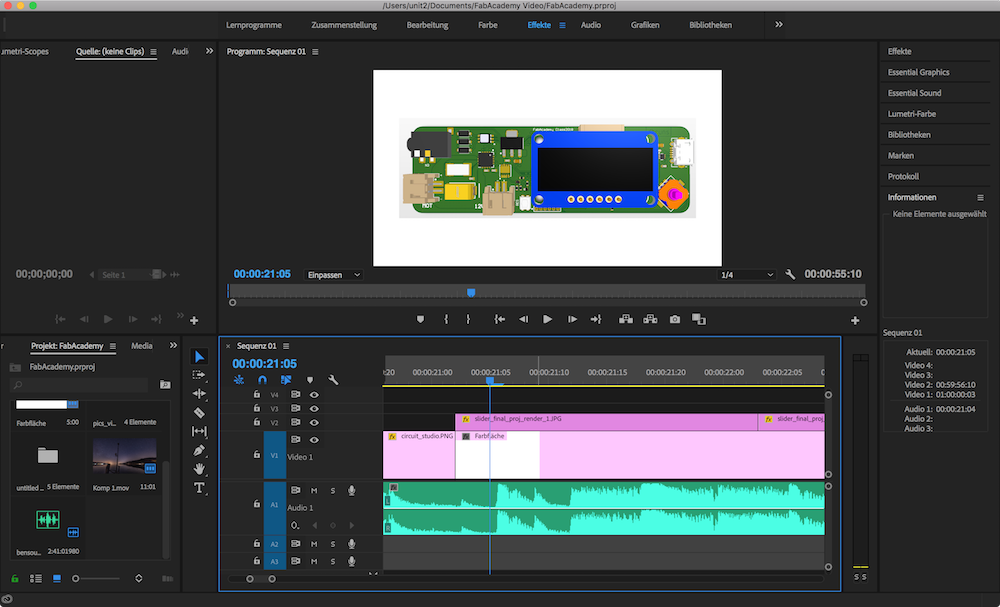
To arrange this picture the right way, I created a white background in the import browser in the lower left. This is a background for textboxes or too small files like my rendering.
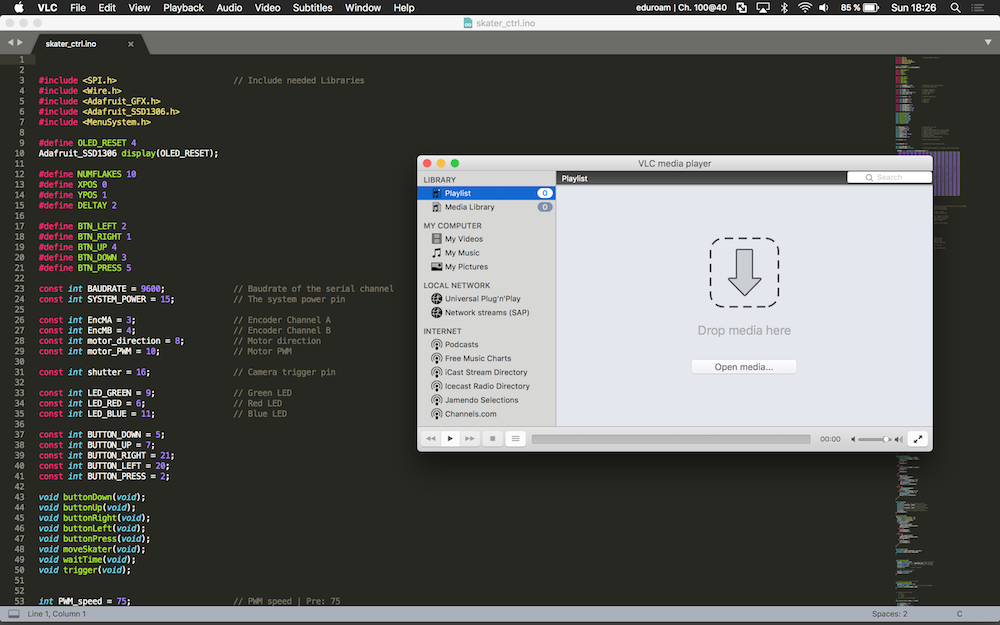
To realize the scroll down in the code, I had to capture my screen. The absolutely easiest option to do this, is using VLC. I opened the code in the background, opened VLC...
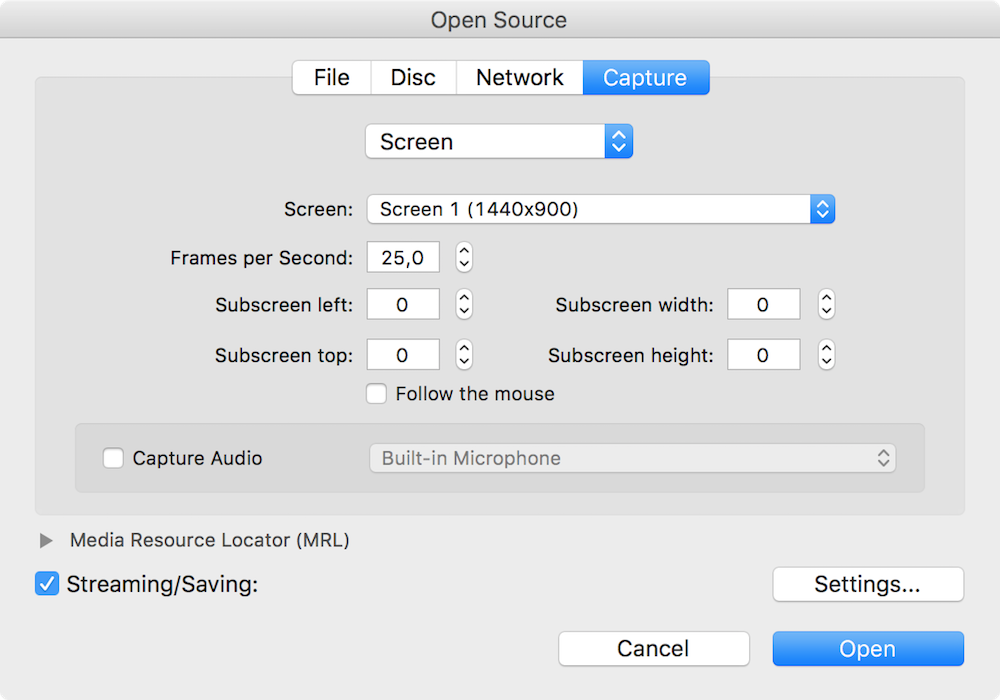
Just click on 'open source' in VLC, select 'Screen' and mark the 'Streaming/Saving' box.
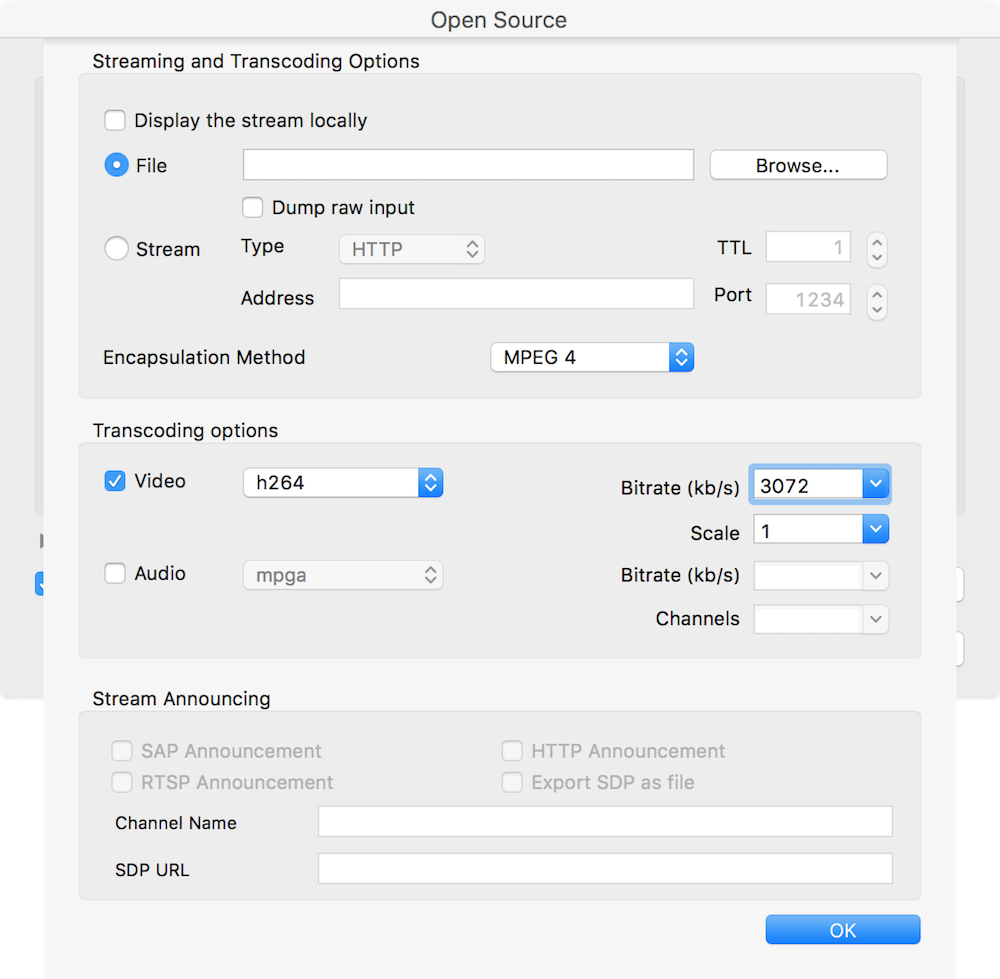
I decided to use MPEG4 as encapsulation, h264 as this a common transcoding format and the highest available bitrate. Just exit with 'Ok'.
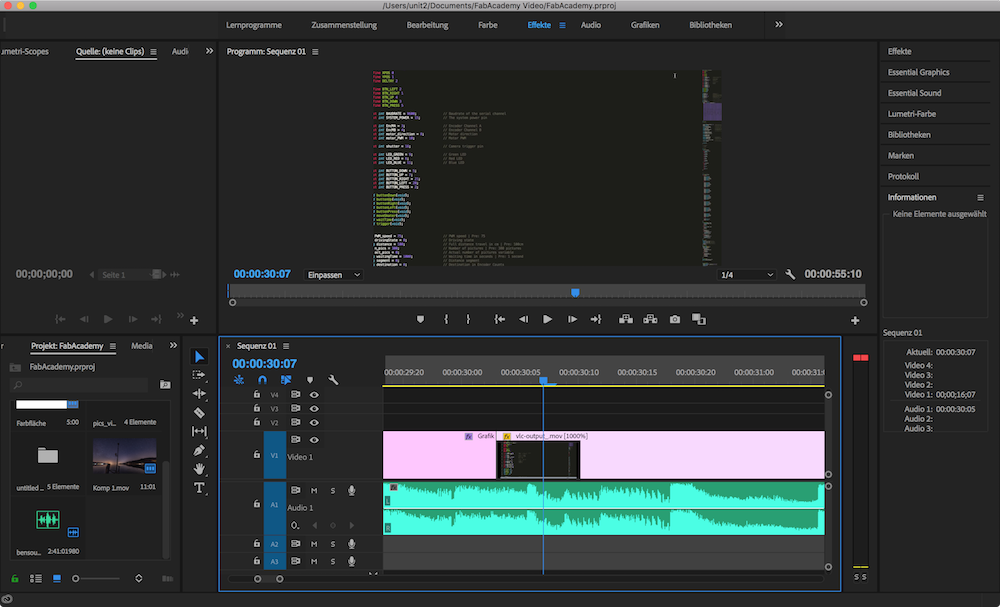
After capturing the screen, just add this file to Premiere and to the timeline.
The end of the video is made with text and some 'fade to black' effects. The audio is even faded out at the end, with a fading effect.
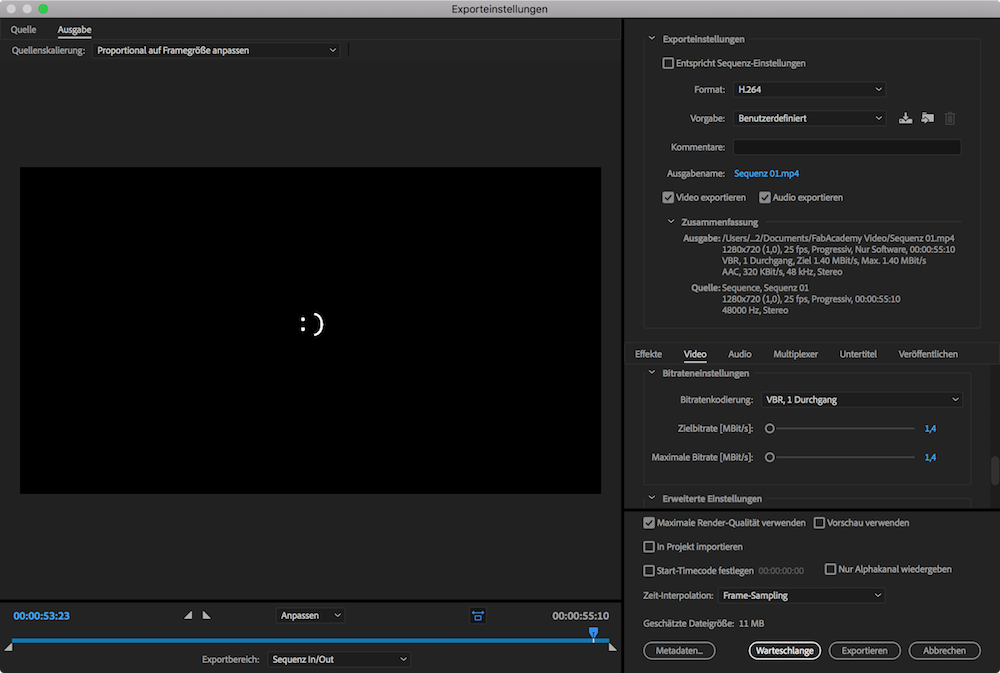
The last step to get a proper video was to export the file. This is made with the export option. To achieve the ~10MB file size limitation I had to lower the bit rate down to 1.4MBit/s. To gain a better quality even at this very low bit rate, check the 'use maximum render quality' box. Just click on export and wait :).
This is my finished final presentation video
Download my final presentation video as .mp4 file

This work by Daniel Bruns is licensed under a Creative Commons Attribution-NonCommercial-ShareAlike 4.0 International License.