
Task: Work through a git tutorial and then build personal website in the archive describing you and your final project
HTML + CSS
SETUP THE DESIGN CONCEPT
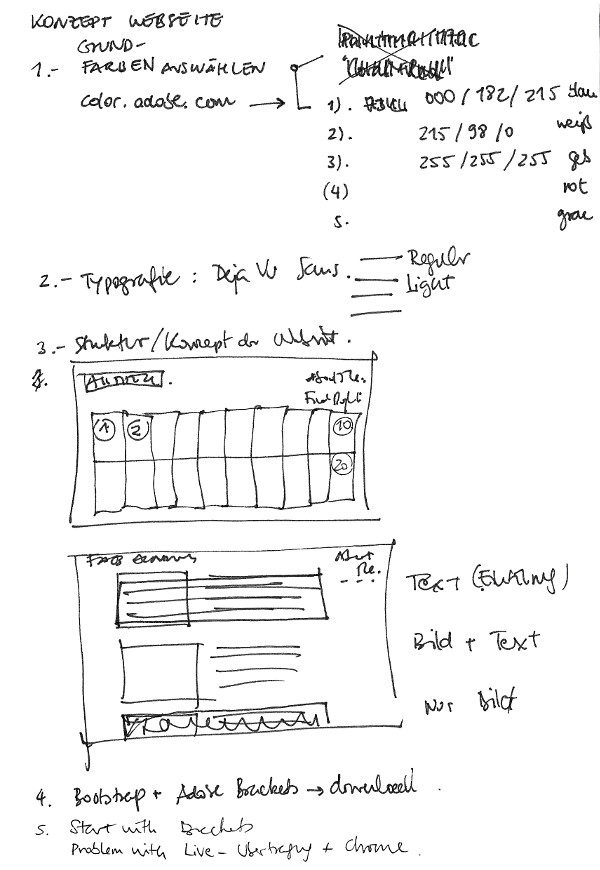
As a first step I want to create a simple and clear design concept and sketch some ideas for the structure of the template. Then I will choose the primary colors for the website (graphic below) and look for a nice license-free font: 'DejaVu Sans'.

 Idea
Idea BRACKETS
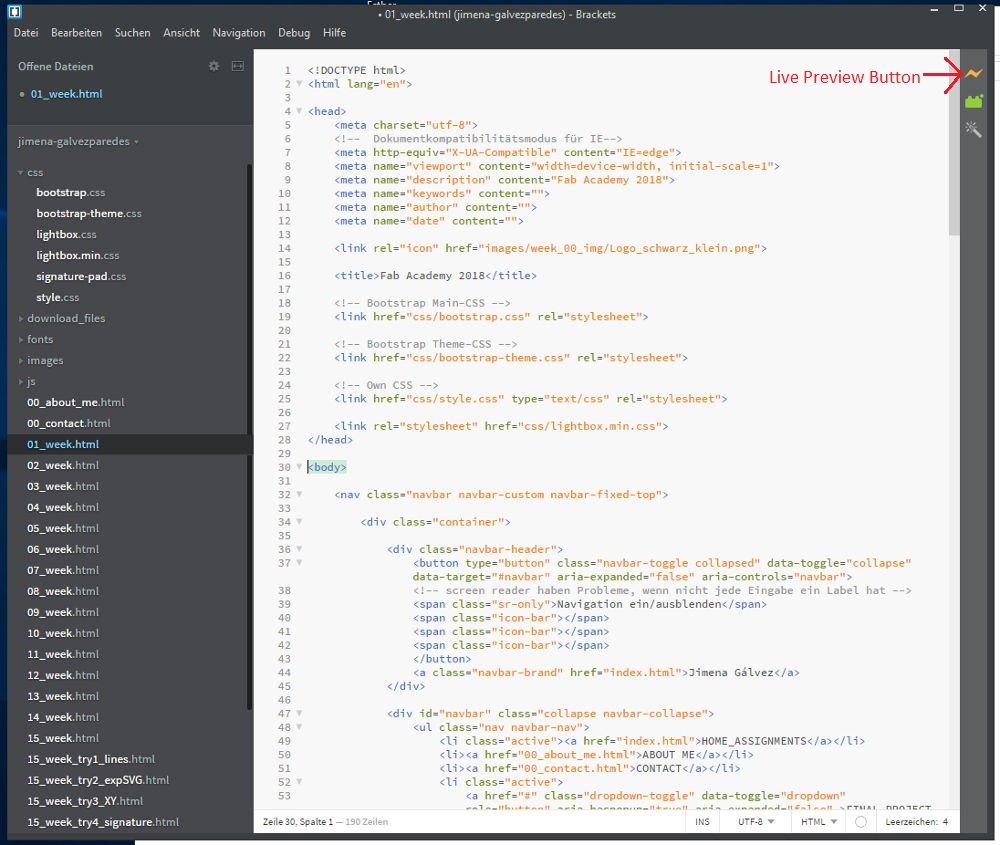
Brackets is a modern, open source code editor for web development.
Brackets has a live editing functionality for HTML, CSS and JS: the web browser immediately shows the output or changes as you modify the code. This is very useful, so the mistakes can be corrected very quickly.
You can also open a folder with its sub-folders so that you load the CSS, JS, and HTML code at once and check your website, with all its features. If you add other folders, such as images or fonts, you can also see their contents in Brackets.
The folders are displayed on the left side of the editing area.
To open a project folder, choose >File >Open Folder.
 Brackets
BRACKETS | BOOTSTRAP
I use a Bootstrap based website template from a previous course about “How to make your own website” and adapt it to my own template and design concept.
Using Brackets, I make some changes to the basic HTML structure and CSS. I also link new pages for each week and choose a license for the footer.
Here are some tutorials I will apply:
- Bootstrap Layout Documentation
... or just ask for help in the HRW Fab Lab Team. Thanks to Florian for the feedback!
 Brackets
BRACKETS | CSS
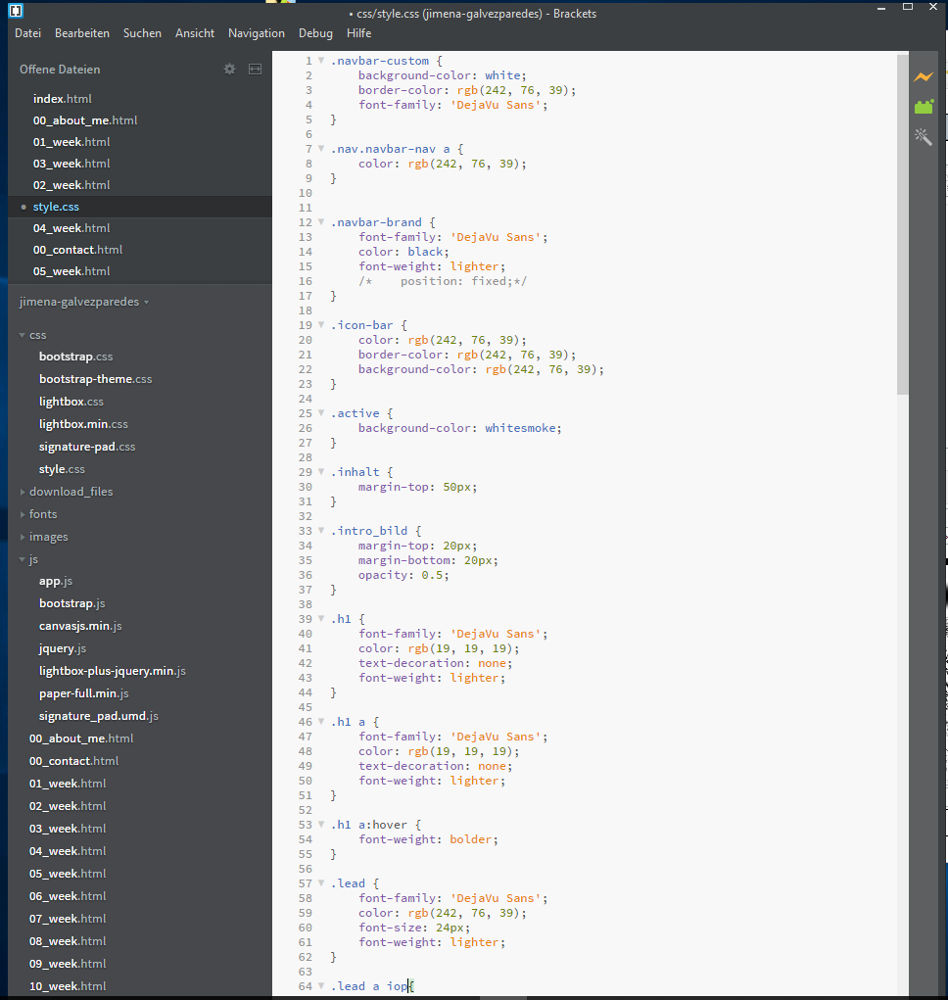
The most difficult part for me is to change the navigation bar of bootstrap. I will replace the class “navbar-inverse” with the class “navbar-custom”, then it will be possible to change the predefined colors and style in CSS.
You can find the website template with the CSS file 'style.css' in the download section.
 CSS in Brackets
 USING GIT
Git is a version control system for tracking changes in files. I log in to gitlab.fabcloud.org and follow the instructions on fabcloud.org/help/ssh/README and of the recitation about Git (Fiore Basile) to create the SSH key and use Git. This is a summary of the steps:
SETTING UP LOCAL IDENTITY AND FIRST GIT REPO
First, you need to configure your identity with these commands:
→ $ git config --global user.name “Name”
→ $ git config --global user.email “Email”
Then, to open a folder, you need to enter “cd” (create directory) followed by the name of the folder. This is how you create a path until you open the folder you want:
→ $ cd (type the first letter of the folder, with Tab complete the path where the new folder should be inserted)
f you want to create a new folder, enter the following command:
→ $ mkdir my project (the new folder will not be added yet)
To initialize an empty Git repository in /Path…/.git, you enter:
→ $ git init
Now the new folder will be added in the path.
You can use these commands to read the contents of the folder. So you can check which files are saved in the folder you have chosen:
→ $ ls
→ $ ls -la (or read the entire contents of the folder, including hidden files)
CREATING THE SSH Key
SSH (Secure Shell) keys are an access credential and work similar to the use of names and passwords, for automated processes.
(‘→’ for the commands in the terminal)
The first step is to install Git on Ubuntu and search for an existing SSH key. Enter this command in the terminal:
→ cat ~/.ssh/id_rsa.pub
To create the SSH key with your email and a name for the folder, you need to enter this command in the terminal. The files will be created in the current folder:
→ ssh-keygen -t rsa -C "your.email@example.com" -b 4096 and a name for the new key, for example ‘fabacademy’.
The next step is to move these files to the ‘SSH’ folder and enter the command ‘mv’ = ’move’:
→ mv fabacademy .ssh
→ mv fabacademy.pub .ssh
Now it is important that you can change the permission for the SSH key with the command ‘chmod’ = ‘change mode’. To do this, you must first open the folder with 'cd':
→ $ cd .ssh/
→ .ssh$ chmod 600 fabacademy
To copy the SSH public key to the clipboard, it is also necessary to install xclip.
→ sudo apt-get install xclip
After installing xclip, I copy the SSH key to the clipboard and continue with GitLab.
GITLAB
The first step is to add the SSH Key in GitLab (which I previously copied with xclip) in the settings: >Student > Settings > SSH Keys.
CLONE YOUR REMOTE REPOSITORY
If you have more than one SSH key, it is important to define the destination in the title.
Then I copy the URL of my project page to clone it to my local repository, I use this command followed by the URL:
→ git clone URL → git clone git@gitlab.fabcloud.org:.../jimena-galvezparedes.git
The next step is to copy the files from my website to the local repository.
To check the changes in your local repository, use this command in the terminal:
→ $ git status
To add these changes or new files to the GitLab repository, use this command:
→ $ git add -A
To add changes in your local repository to the remote repository, use the following command and describe the commit so you or your team can read what was changed/added. The commit is not visible in GitLab yet.
→ $ git commit -m ‘description’
To upload the contents of the local repository to a remote repository, use this command, the changes or new files will be visible in GitLab.
→ $ git push
PUBLISH THE FAB ACADEMY PAGE
Add a new file in the project folder so that my page is visible on the students site
Go to the + button > Select ‘A new file’
> Then click on ‘Choose type’ > and select ‘.gitlab-ci.yml’ >Apply a GitLab CI template > Select ‘HTML ‘
> now describe the Commit message ‘added website’ > and finally choose ‘Commit changes’
 GitLab Student's Settings
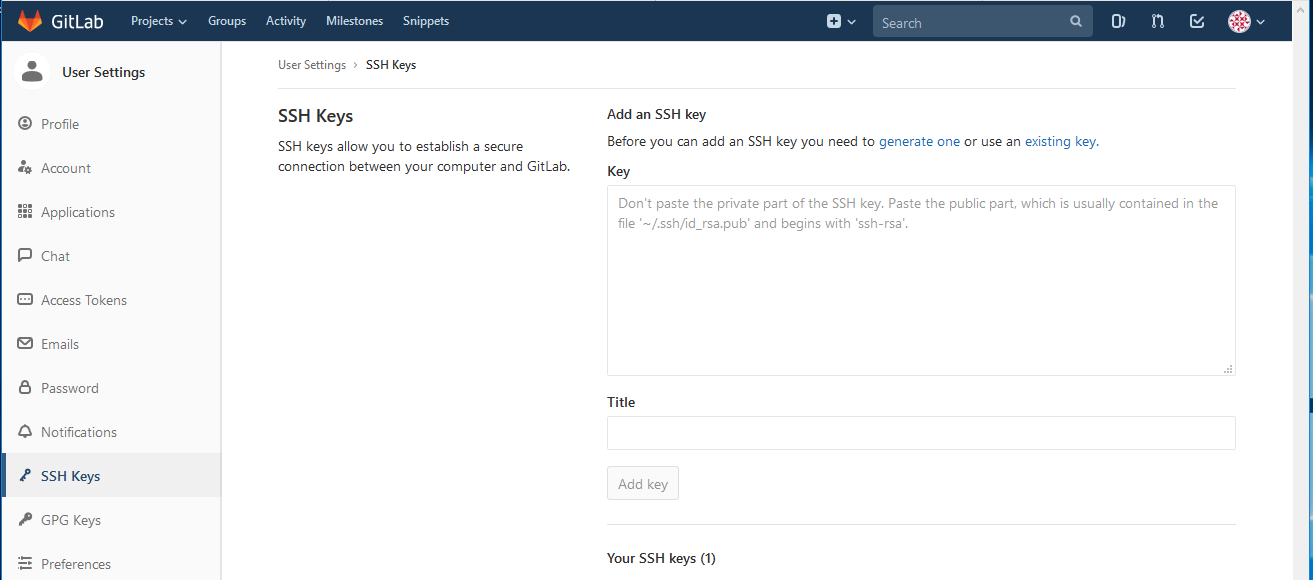 GitLab SSH key
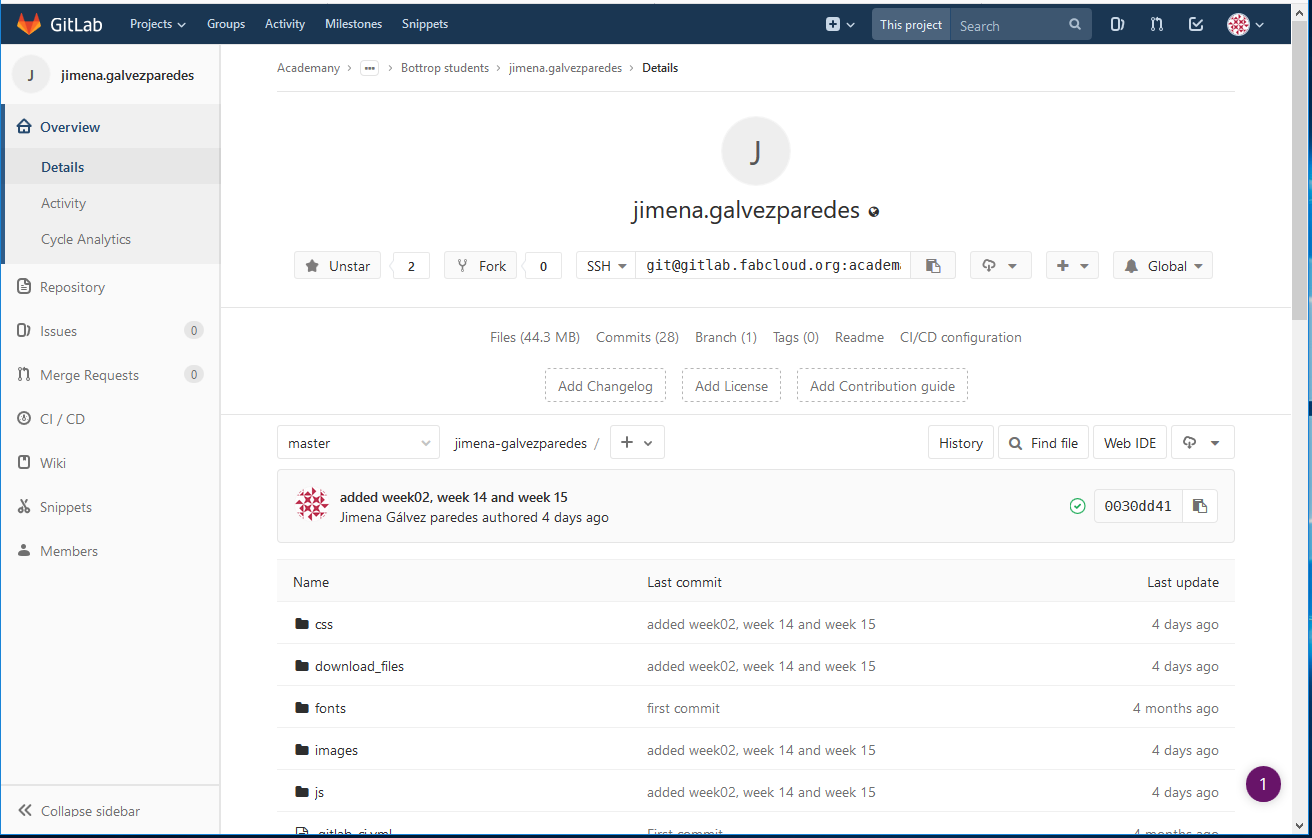 GitLab Copy URL
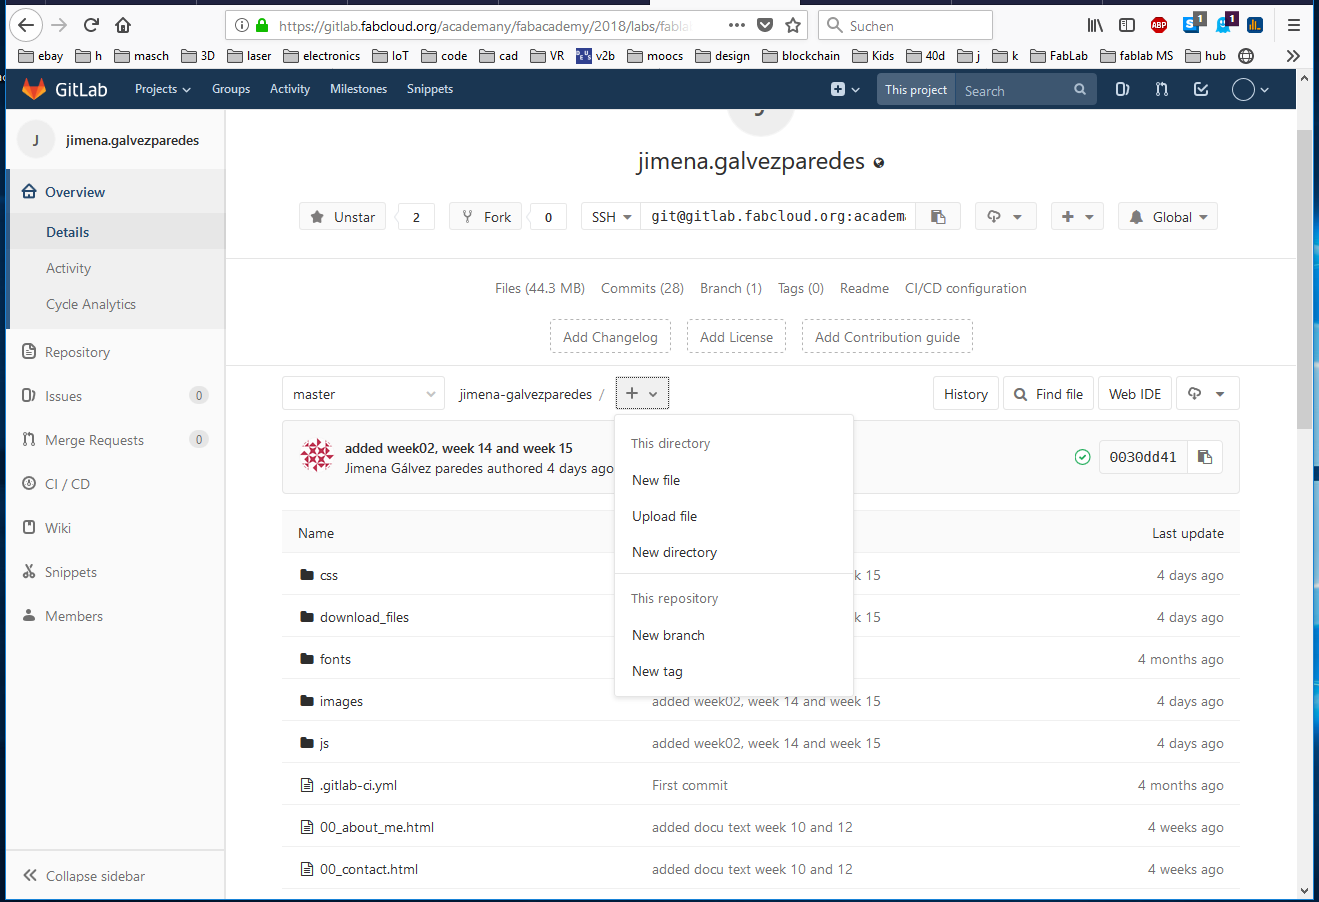 GitLab Add new file
UPDATE YOUR LOCAL REPOSITORY
After a few days I try to push the latest version of the website and it does not work. My instructor Florian explained me that I need to update my local repository to push the new commits. The file gitlab-ci.yml that I added in GitLab is causing this conflict.
To update my local repository I use:
→ $ git pull origin master
A new window opens with the text editor nano and asks for a commit description.
→ in nano: ‘commit description’
To exit the text editor, I use these commands:
To activate the mouse function → in nano: ‘Esc’
and then to exit nano → Ctrl+X
Finally, I can upload the changes with:
→ $ git push
Note for the group assignments:
If someone added their part to GitLab while you were writing your part/documentation, you must commit or stash your changes before pulling/merging. If you don't, your files will be overwritten by merge.
→ $ git add -A
→ $ git commit -m "changes"
If you push you'll see this git message:
To pull the last status of the group page before adding your part, type:
→ $ git pull origin master
Now you can push your changes
→ $ git push
New repository for my Fab Academy Website
There are some changes and fixes to my website that should be uploaded to the new repository. I am trying to push the entire website at once, but it's not working. After a few tries, I found out that the maximum size allowed to push is 10 MB. The staged and committed files need to be reduced in size. To do this, you need to “undo” the last commit with:
→ $ git reset --soft HEAD^
The changes are now only in the cache/stage area.
To delete the last commit INCLUDING the files in the working directory (be careful with this command!):
→ $ git reset --hard HEAD^
To append changes to the last local commit, use these commands:
→ $ git add
→ $ git commit --amend -m "new commit message"
Download
| Website template (zip) | Download |