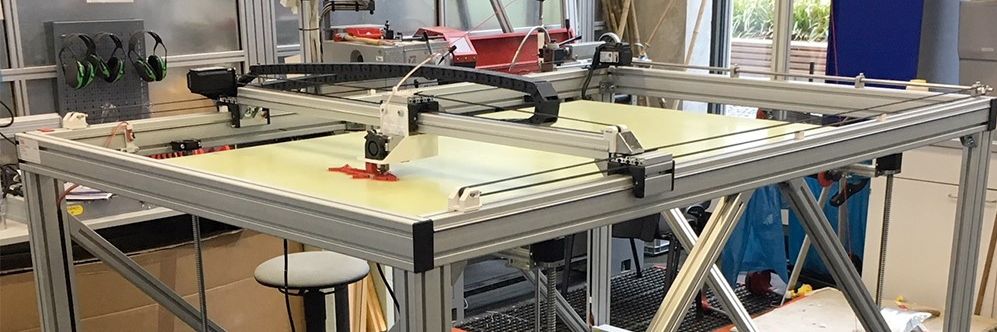
Big 3D-Printer
With a maximum volume of 150 x 90 x80 cm
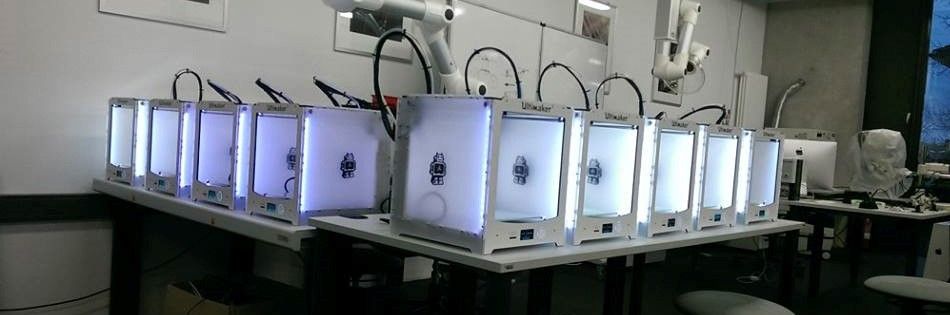
Some of our Ultimaker
We´ve got more than 25 3D-Printer of diffrent types
Greeting
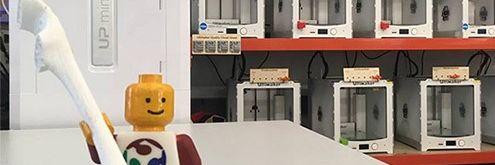
Our best employee in HRW FabLab
Assignment 18:
invention, intellectual property, and income
Task:
- develop a plan for dissemination of your final project
Work:
There Are a lot of different types of licenses, before I´m able to choose the right one for my project, lets take a closer look at what I´m willing to reach with my final project: I want to show, that the digital fabrication methods and tools of a FabLab are able to produce functional assistant systems for people with disabilities. The final project is a highly individual solution for a very specific disability but it should show the possibility of the FabLabs. So the project isn´t that final as it is called. It should be developed to the next stage with more options and functions. Or be edited for other disability cases and for other people.My final project should be a part of a global movement which makes the word a better place to be, no matter what disabilities you´ve got.
For that reason I chose a creative commons license model.

There are four important variables and steps for describing a creative commons licenses.

Attribution - The name of the originator must be mentioned.

No Derivatives - The work must not be altered.

Non-Commercial - The work may not be used for commercial purposes.

Share Alike - The work must be passed on under the same license after changes.
You can select our own setting of the different types of license for your individual project. See some possible options below:

For my final project I chose the license with the setting of attribution, no commercial and share under the same conditions.
Everyone should use my documentation to develop own solutions and get ideas of how to develop a project like this. Therefor it would be fine to use the attribution to name me and my project. Additional I think the result of my project should be available for all people, don´t matter how rich or poor, so I don´t want to commercialize the project. So I also want, that the next developing stages are also free for all and available. For that reason I chose the share alike option.
To make my results and my work available for as many people as possible I think there are several ways. At first I think this documentation is a good start, cause it includes all necessary informations to rebuild my final project and learn how to find individual solutions.
Additional I plan to present this project at Thingiverse. I think that is a great platform to reach a huge couple of intrested persons.
As my work as a scientific research assistant we are working at a research project of how the net digital fabrication methods could be use for people with disabilities. In this project I want to spreak with people with disabilities about my project and go on with the development. We will be at conferences and fairs too to present this project.
Slide and vide production
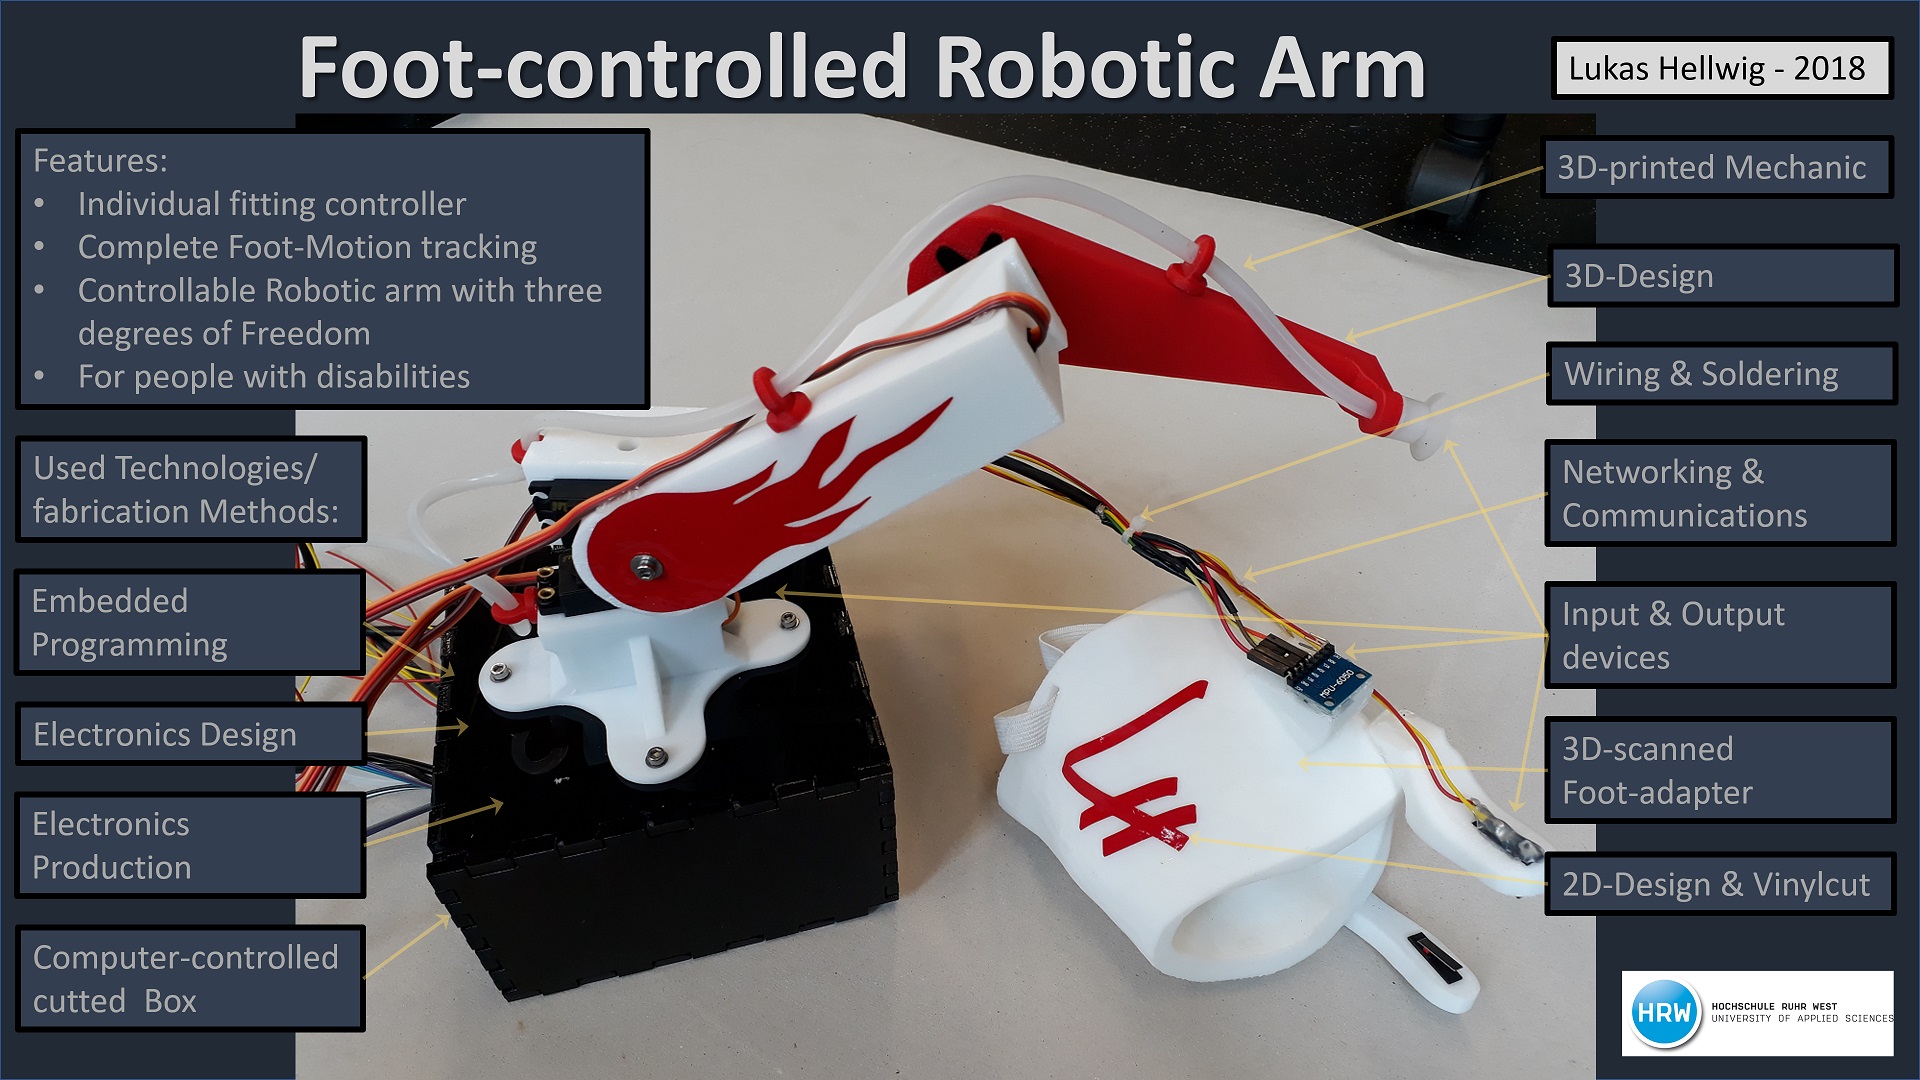
To build my presenting slide of my final project I used PowerPoint. PowerPoint is a absolutels easy tool to creat good locking static pictures. Here you have a lot of preinstalled graphics and geometric forms which could be edited with simple clicks. See the GUI below: You also can easily ad references between object which allows you to moce single objects witout losing the connection. Powerpoint wors with different layers so cou can move all parts to any time. My final project is self introducing, so I made one photo in th ecenter and added all neseccary in sinple textboxes around this. Additions I added some arrows to show where the single technologies were used. See here the finl slide:
show download
For my videoproduction I used the Windows Movie Maker. It is freeware and includes a necessary functinos. You easily add your videofiles and pictures via drag & drop. Now you can cut the clips so you only get the wantet parts. The rest can be deleted. For the pictures you have some settign options. For example you can chose how long a single picture should be shown and if there should be a animation. There a some basic animations preinstalled. For making a smal video to explain my final project this functions are enough.
 AT the end I added the text in this video. Therefore you can chose between a title, a picture title and a end titles. Also here you can add animations and you individual text.
 You can change the order of the pictures, text and clips by changing it on th timeline. It is a simple drag & drop system. See here my final Vide clip: show download
