Week 1: Project Management
In this week we had following assesmennts:1. We should build a personal site describing me and my final project.
2. Upload it to the class archive.
3. Work through a git tutorial.
Learning outcomes:
1. Explore and use website development tools
2. Identify and utilise version control protocols
This is one of my first attempts to make an web page using Hyper Text Marcup Language (HTML). This is where I found the Dropdown menue which I used for menue "final project" also at w3schools. Aleksandra Konopek, my kind collegue, recomended W3schools to me and I can highly recomend it for html programming for beginners. It is also powerful free online tool for many other programming languages.
This image is a simple scheme for html programming. First part of the html code including "head" will not be displayed in the browser.
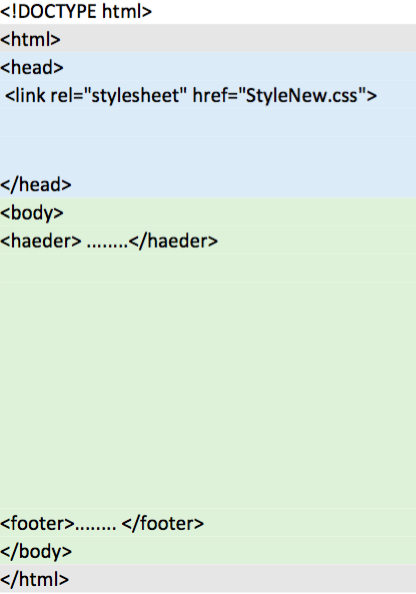
In the second part of the code I wrote the paragraphs, inserted pictures and links.
Following text shows the code, which I wrote using html before I found the dropdown menue below.
               <!DOCTYPE html>
            <html>
            <head>
            <title> Tanja-E001 </title>
                <style>

                    ul#menu {
                    padding: 0;
                    }

                    ul#menu li{
                    display:inline;
                    }

                    ul#menu li{
                    background-color:forestgreen;
                    color:aliceblue;
                    padding: 10px 20px;
                    text-decoration: none;
                    border-radius: 4px 4px 0 0;
                    }

                    ul#menu li a:hover {
                    background-color:aliceblue;
                    }

            </style>
            </head>

            <body>

            <h1> This is my Fab Academy: </h1>

            <pre><code><ul id="menu">

                <li><a href="logo.FabAcademy.jpg"></a>About</li>
                <li>  Final </li>
                <li>  Contact </li>
                <li>  Assignments </li>


            </ul>
                </code></pre>
                </body>

            </html>
This is how it looked like in the browser:
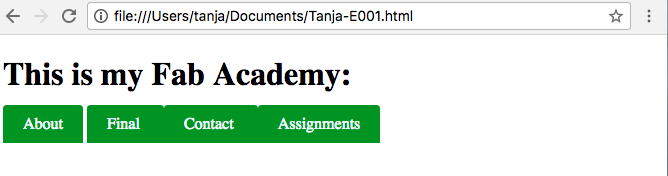
In the code above I wrote all styles in the same html-file which was not so easy to handle.
Later I learned that it is much easier to source out the styles into .css file.
The new solution for dropdown menue I found at w3scools.com. For this solution it needed java script.
This is the html style code for the new dropdown menue using java script. I did not have nough time to learn how to write java script code, I simply adjusted the code module for the dropdown maenue for my needs:
            li a, .dropbtn {
                display: inline-block;
                color: white;
                text-align: center;
                padding: 20px 18px;
                text-decoration: none;
            }

            li a:hover, .dropdown:hover .dropbtn {
                background-color:chartreuse;
            }

            li.dropdown {
                display: inline-block;
            }

            .dropdown-content {
                display: none;
                position: absolute;
                background-color: #f9f9f9;
                min-width: 160px;
                box-shadow: 0px 8px 16px 0px rgba(0,0,0,0.2);
                z-index: 1;
            }

            .dropdown-content a {
                color: black;
                padding: 12px 16px;
                text-decoration: none;
                display: block;
                text-align: left;
            }

            .dropdown-content a:hover {background-color: white}

            .dropdown:hover .dropdown-content {
                display: block;
            }
To make this connection between 'Style.css' and other html-files the following link has to be inserted into the head-section of each html-file:
< link rel="stylesheet" href="StyleNew.css" >Typefaces < and > are substitutes for the left and riht angled parenthesizes from html code in the "pre" paragraph. I did not want the link to be underlined. For that I used following Style: "text-decoration: none".
For real-time display of each change in my html files I activated live-Link in Brackets which only works combined with Google Chrome.
For uploading my home page to the Git Lab class archive I needed to upload separately on "index.html" file and all ther files I put into another folder. When I reffered to an image out of my html-file I had to write it like this :
"../home/StyleNew.css"if the file was in the folder above my current html-file and to write it like this
" W2/file.jpg"if the file was below my curren html-file.
Following text editor I used for editing my html files: Brackets.
GitHub and SourceTree
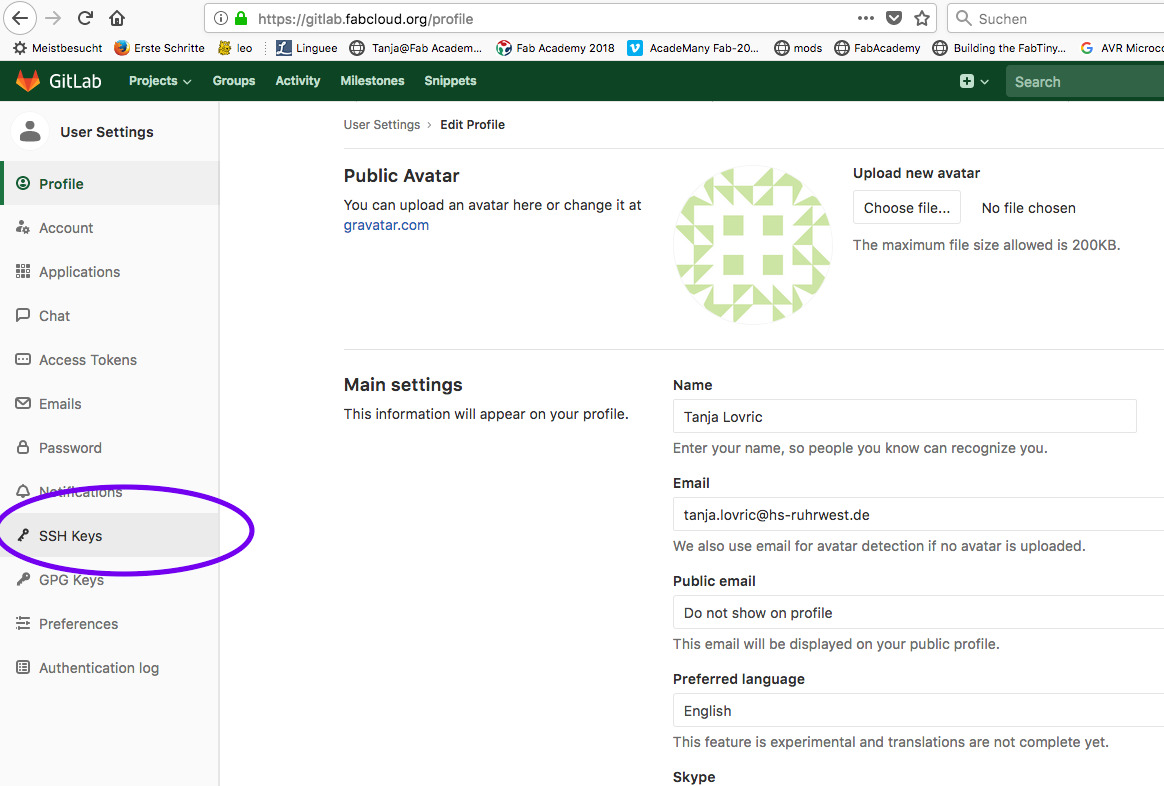
For documentation of our assignements we needed to use Git Lab and to connect our computer using Secure Shell (SSH). SSH is a cryptographic network protocol for operating network services securely over an unsecured network.
How to generate SSH Key
If you want your computer to automatically connect to Git Server at each commit, then it would be good to choose the SSH connection.To generate the SSH Key for my computer I wrote the following command into the command line of my Terminal:
Tanjas-MacBook-Air:testing-git tanja$ ssh-keygen -t rsa -b 4096 -C "tanja.lovric@hs-ruhrwest.de"
You can find your Terminal (on Mac) hier: 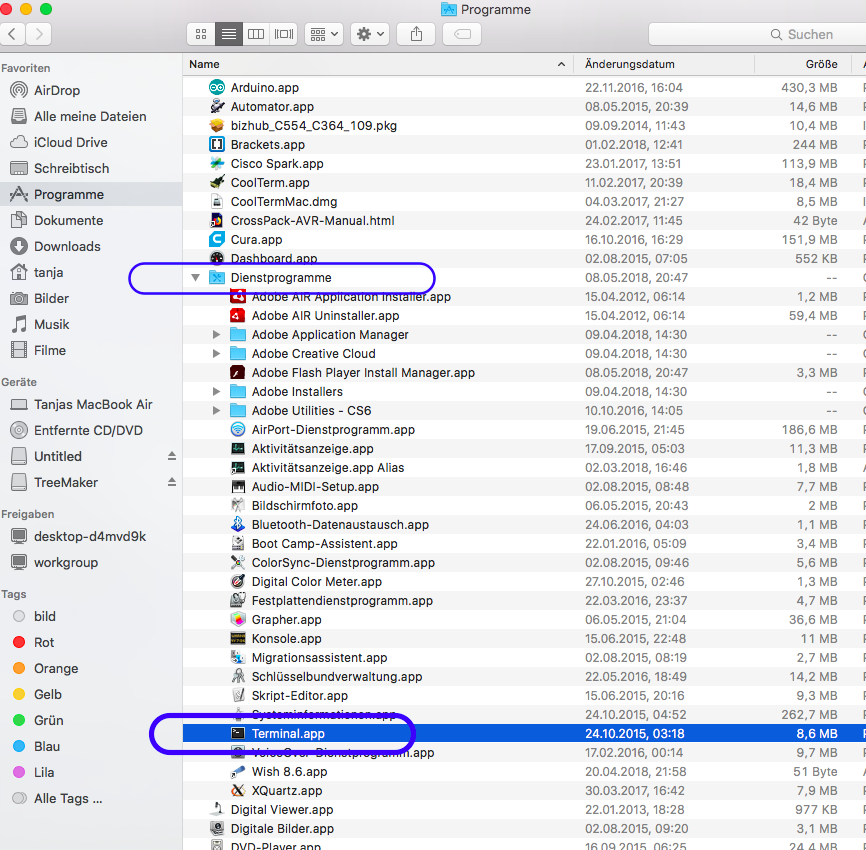
To the work with Terminal it is also usefull to know some of the bash commands, which aou can find here:
bash commands .
Testing-git was the name of the repository I generated for testing Git on my PC, as I allready had one repository for my home page and did not want to make some changes on it.
Following I got then as a response on my terminal:
        Generating public/private rsa key pair.
        Enter file in which to save the key (/Users/tanja/.ssh/id_rsa):
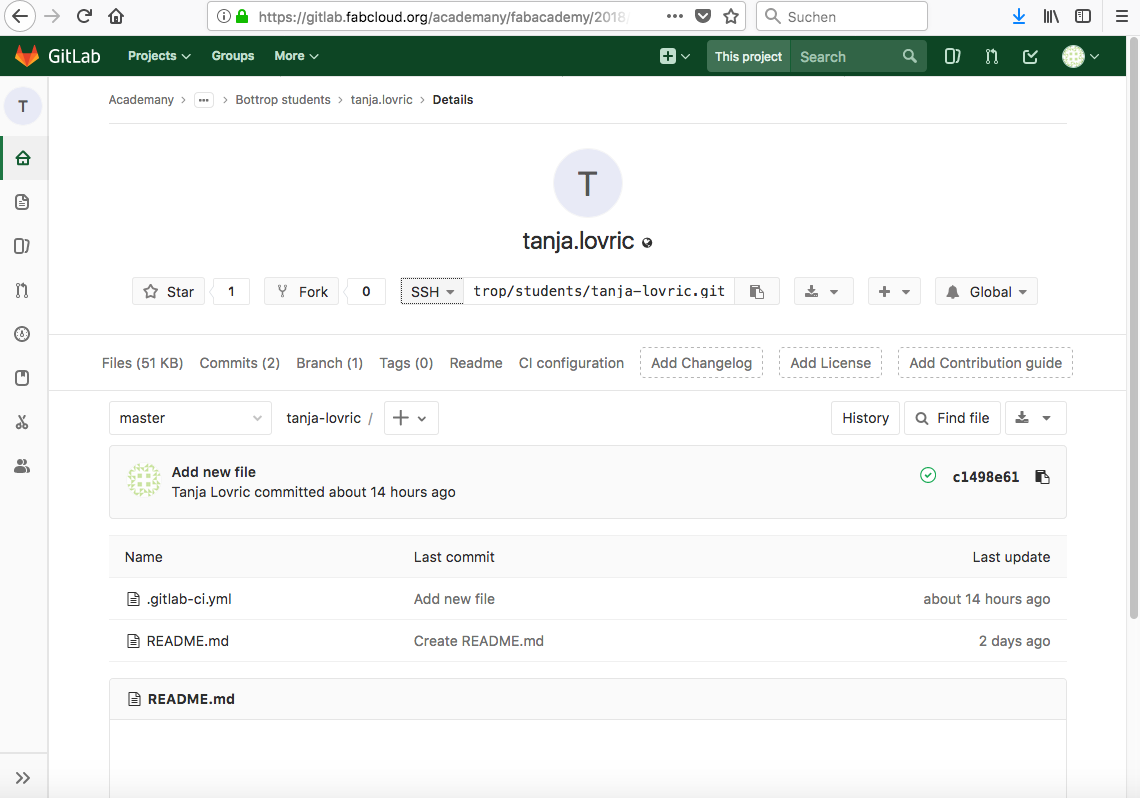
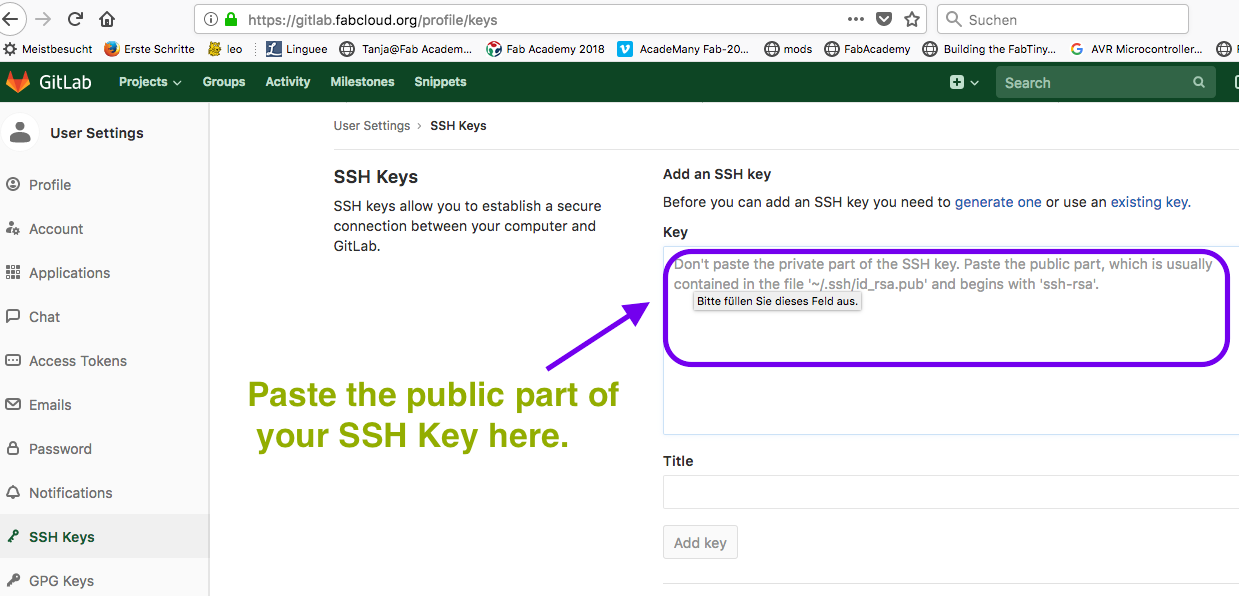
Hier I just needed to press enter to generate the key in default repository. After that I copied the SSH Key to the folowwing git folder (at my GitLab profile, SSH Keys page)):
As I suppose that my tips will not help much, I would like to recommend following tutorials for generation SHH key:
git tutorial , ssh key tutorial.
Using Git Commands
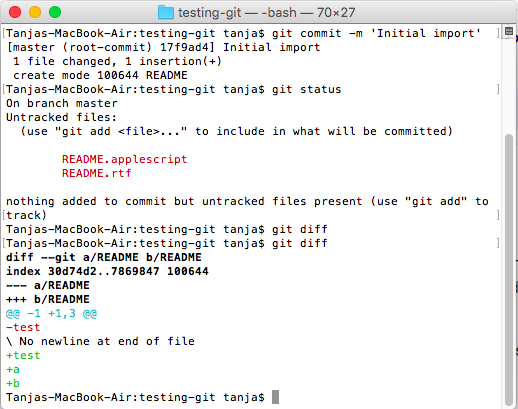
To find out if there are some changes in your repository you can type this into the command line: git status
As a response to it you get the list of files included in your repository with coresponding changes.You can also type diff to find out which changes were there.
To add the files to you want to push to your git repository, you have to type following command into your terminal command line:
git add *filename*
After that you need to add some message to commit the changes:
git commit "message"
Finaly to push tha changes, type following into command line:
git push origin master
At the same time I could see the cahnges in Source Tree which happened while working in terminal.

To find out if someone else added changes to the shared folder, you need to write this into the comman line:
git pull
nstead of using terminal for upload of the files to Git Hub, I have choosen Source Tree , which is very user friendly free Windows and Macintosh Git client which I can recomend to use.

This is how does SourceTree user interface look like.
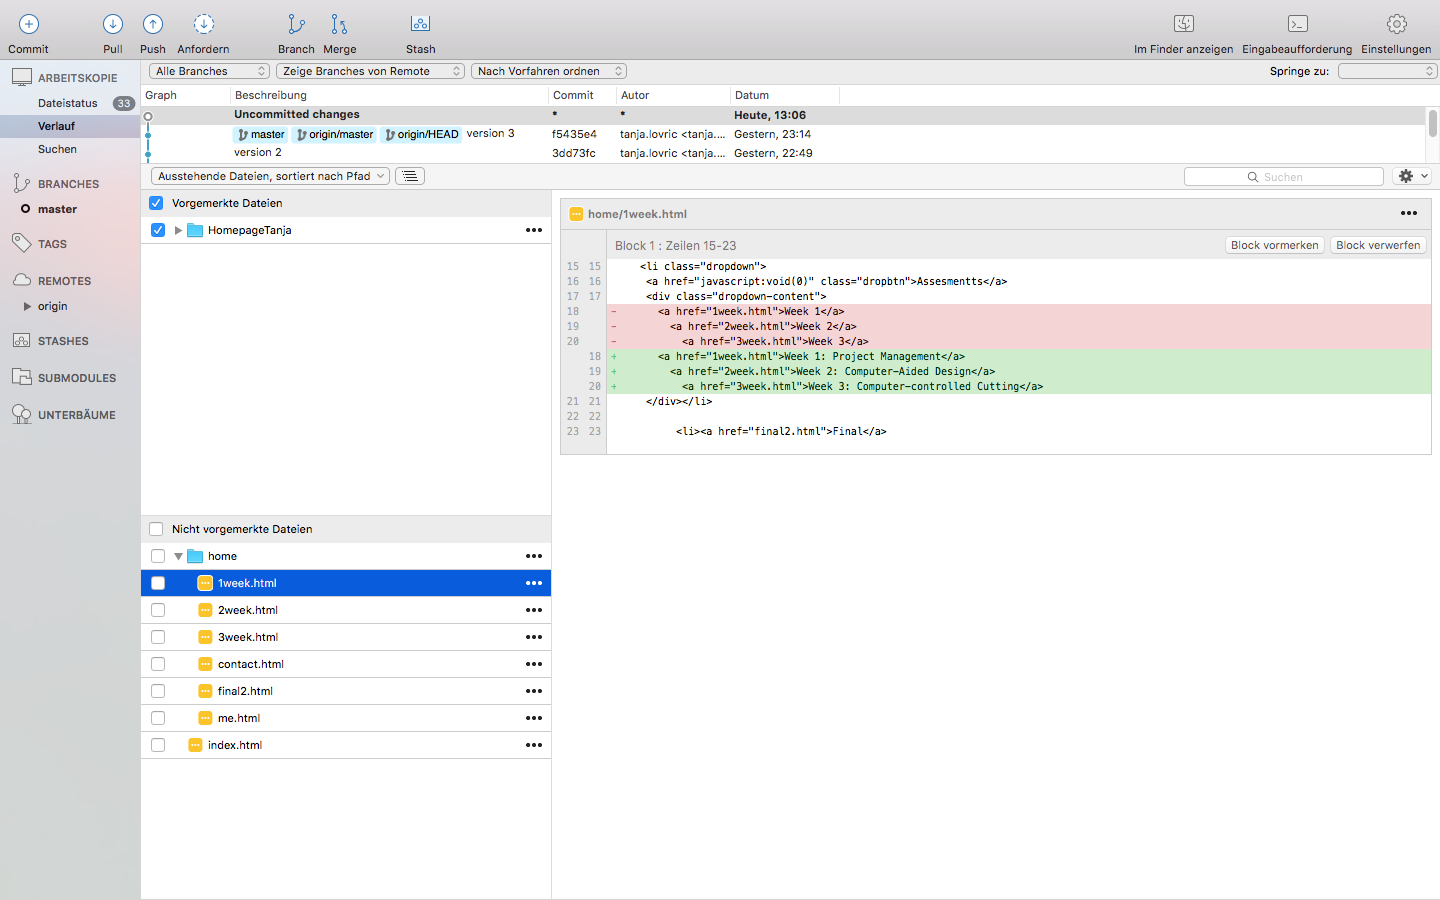
This is how SourceTree user interface shows if there are any changes in my Git folder. I can simply choose each of the assigned files and commit them into my Git repository. While choosing the images I can see the preview of those and so decide if this is the right version of this image. But do not forget to push your commits.
Downloads
|
Download html Template TanjasSite.zip
Download Tanjas Site Style.css |