Week 5: 3D Scanning and Printing
This week we should test design rules for our printer (groupassignment). We used Ultimaker 2 and 2+ with PLA filament. PLA or polylactides, colloquially also called polylactic acids are synthetic polymers that are among the polyesters. PLA can be used to produce deformable plastics (thermoplastics) by supplying heat. Polylactide plastics are biocompatible (source: wikipedia).
Fused Deposition Modeling (FDM) or Fused Filament Fabrication (FFF) refers to a manufacturing process in the field of rapid prototyping, with which a workpiece is built up layer by layer from a meltable plastic or - in newer technologies - from molten metal (wikipedia).
3D Printing Group Assignement: Distance Tests
Individual Assignment: 3d Print
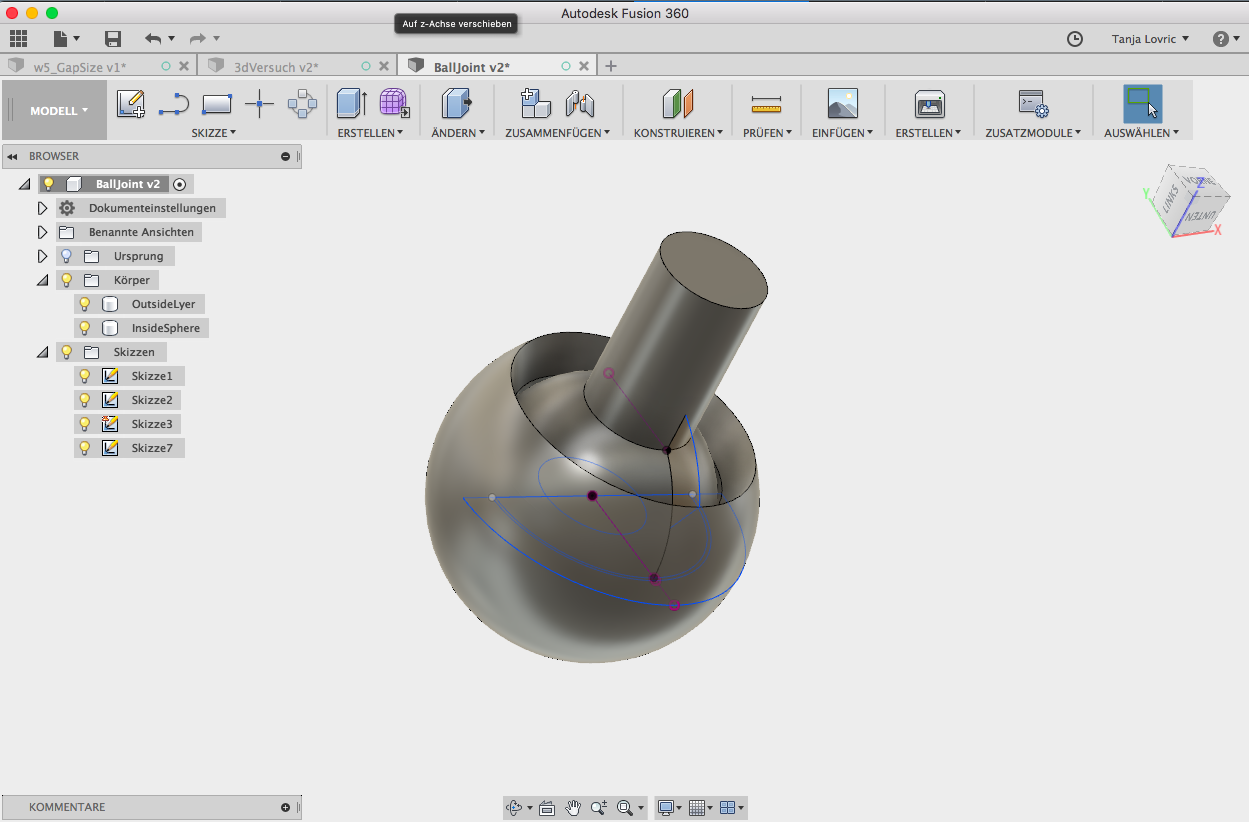
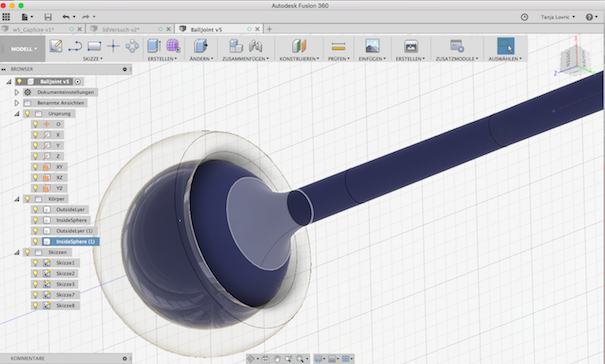
Part of the task this week was: Design and 3D print an object that could not be made subtractively. For this I decided to design a ball joint.For the design of my 3d printig object I used Fusion 360. I designed a sphere and joined it to the cylinder. For the design of the outer ball I simply made another sphere with an certain offset.
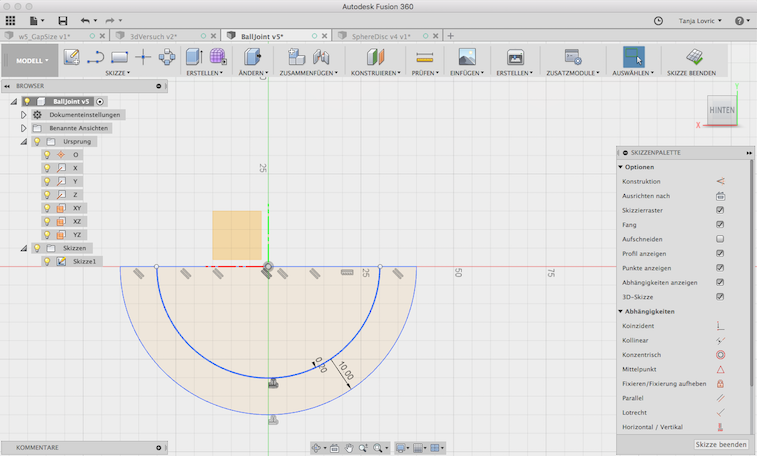
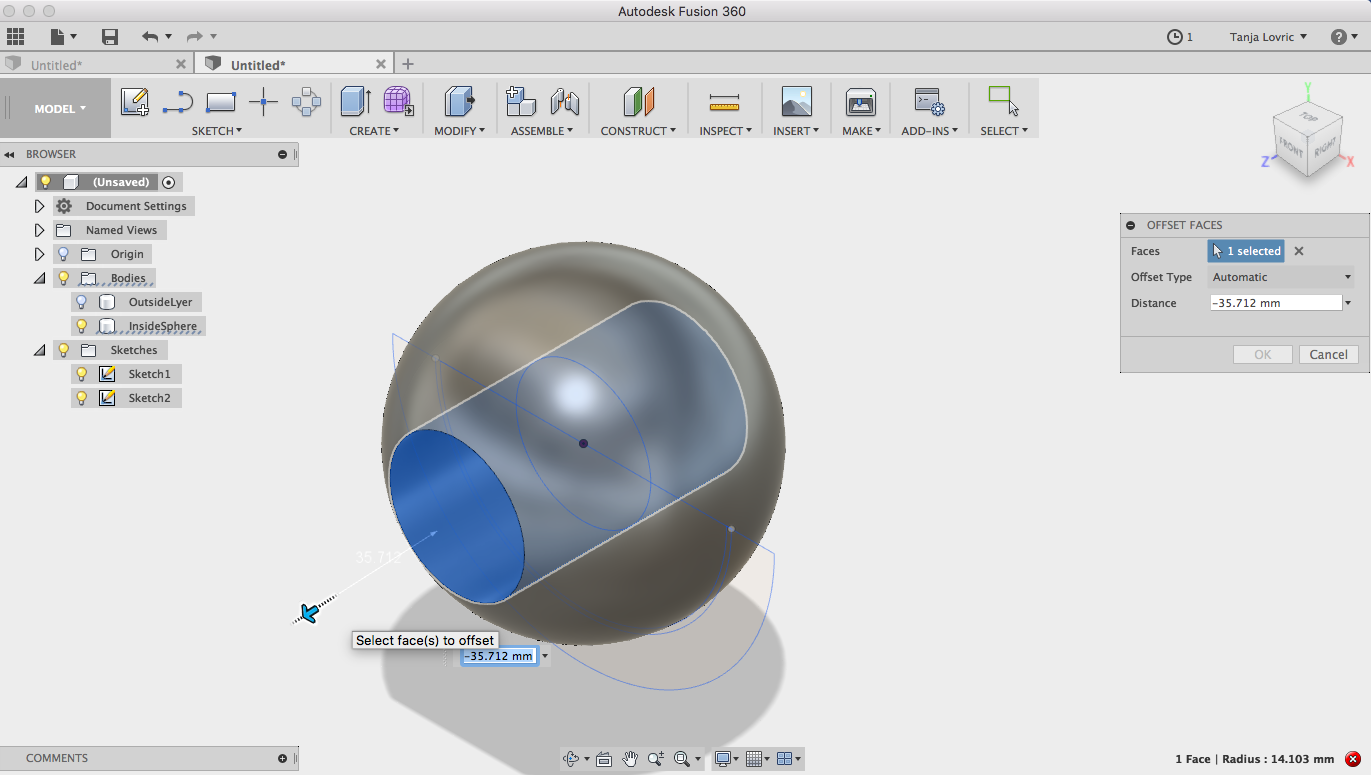
In order to be able to move it, the outer sphere had to be cutted out at the point where the axis was led out.
For reasons of time, I took UP Box instead of Ultimaker to print the ball joint. For the printing of the first version (small ball joint), the printer needed only 25 minutes. The second version, which is twice the size and consists of two ball joints connected together, took 3 hours and 35 minutes.

Here you can find the manufacturer's page and download the corresponding software.
UP Box+
UP Studio App
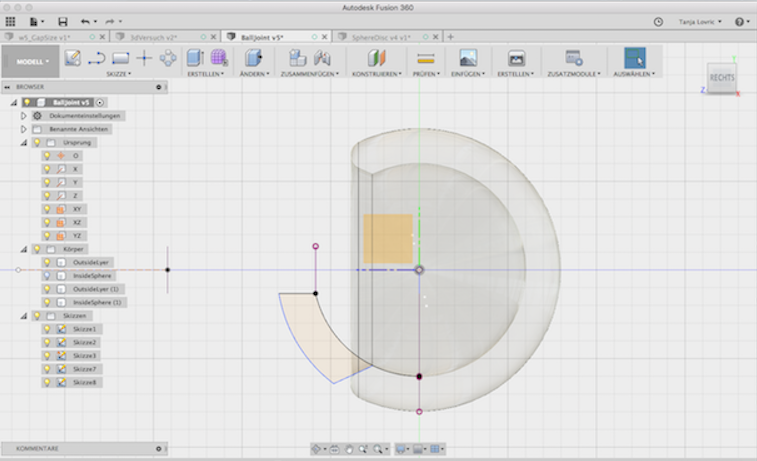
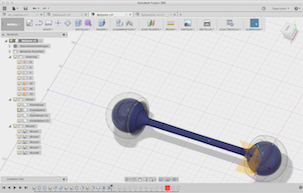
After designing and printing the single ball joint I decided to extend it and to make a double ball joint as to see in the Fusion 360 drawing below.
The following animated image shows the layer structure of the ball joint in the slicer program UP Studio animated using ( gifmaker).
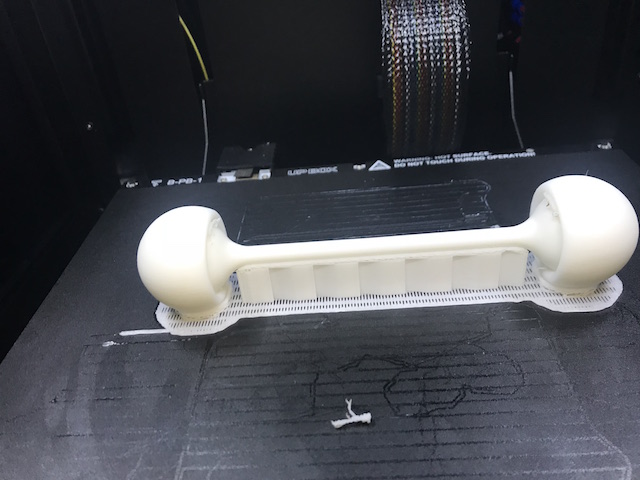
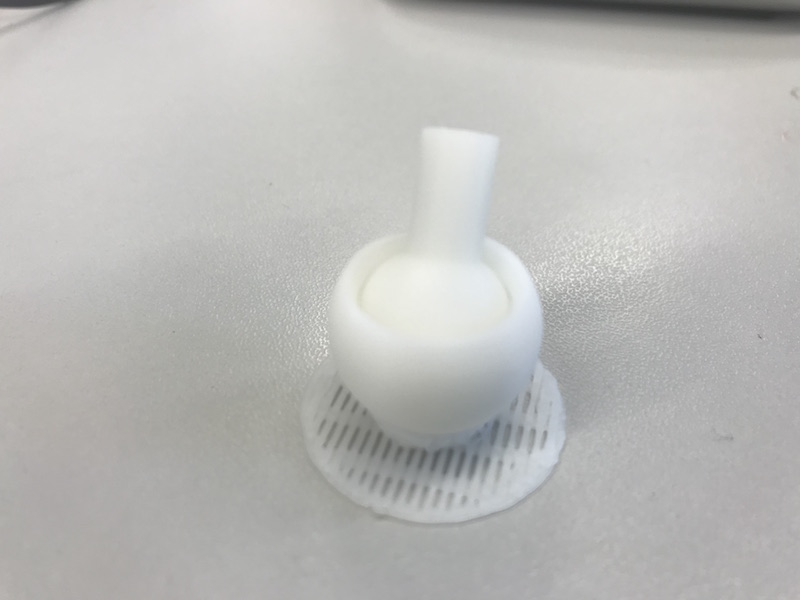
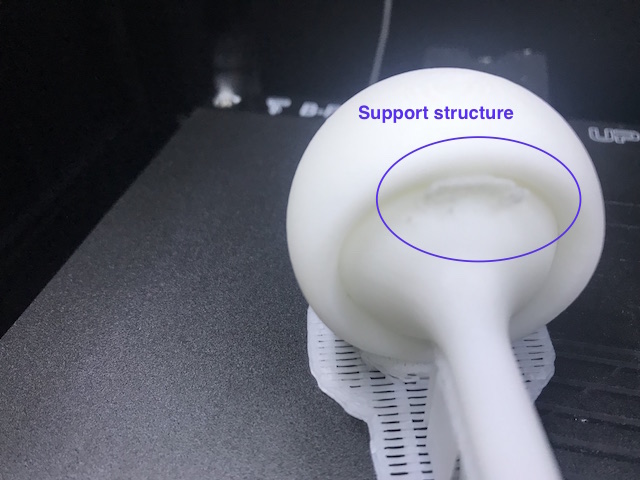
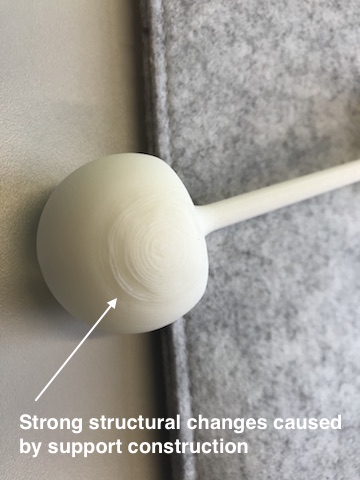
And this is what the finished printed ball joint looks like. There are some support constructions to see, which I could easily remove. The structural change in the lower side of the sphere which occured during the printing was a bit disruptive.
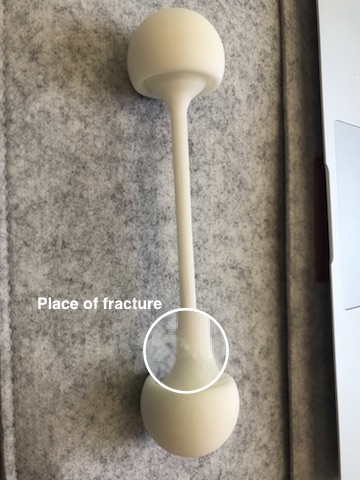
My intention was to design a ball joint and to use it for some tasks. The single joint I made with the great gap between the inner and outer sphere. So they could easily move mutually. For the design of double ball joint I reduced this gap. I hoped that the spheres could move again. But this did not work and the axis broke as I was trying to twist the parts. I printed a few more versions with less support construction and bigger gaps, but they still were not big enough. As the next assignment week started I had to stop my experiment. I am going to perform some furter test as soon as possible.
3D Scanning
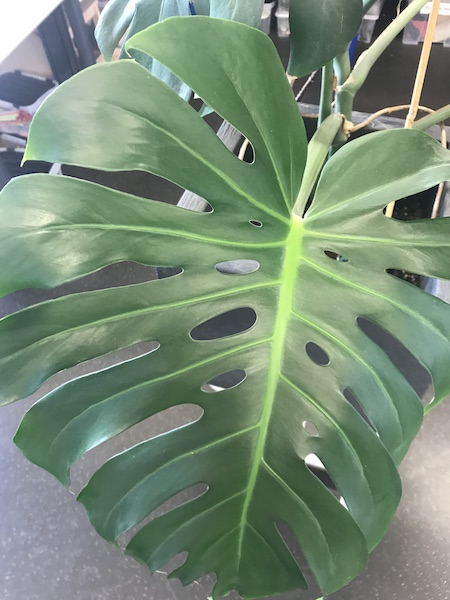
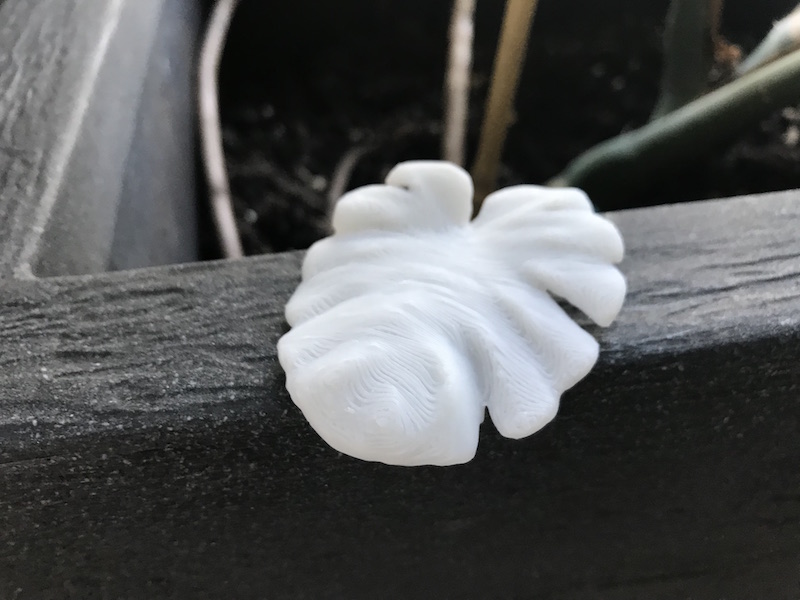
For the task part scanning I have chosen a houseplant Monstera deliciosa. Because of the plant is very big, I have decided to scan only one leave.
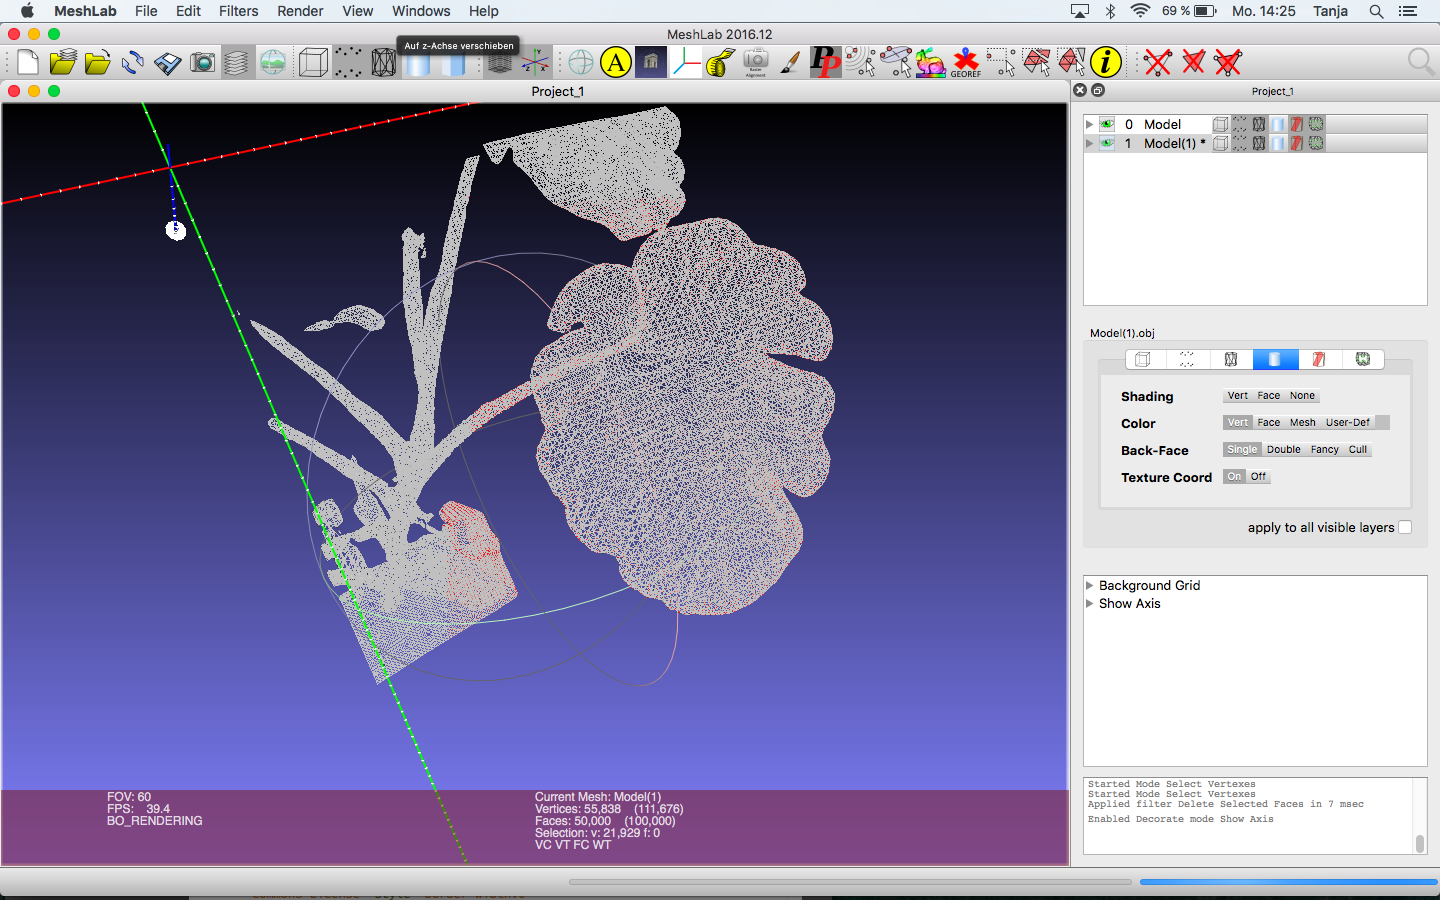
I later cut out redundant parts of the plant using the software MaeshLab for editing.
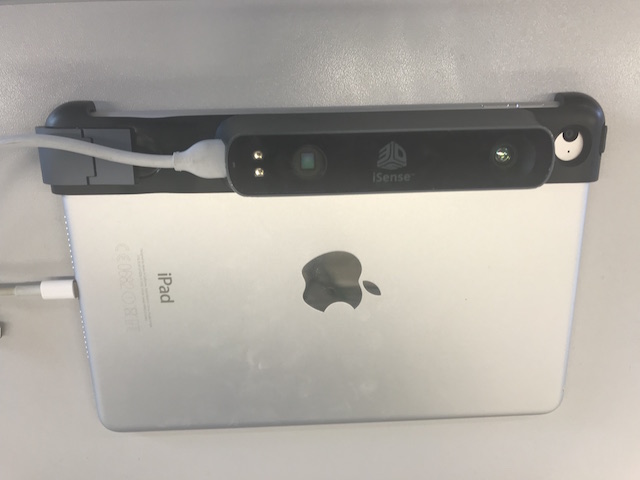
For 3d scanning we could use
the iSense Scanner combined with an Apple iPad in our lab. The scanner needs an iSense App which can be downloaded free of charge from the Apple Appstore. The iSense application produces STL, OBJ and PLY files from the final scan. It is not necessary to make a manual calibration of the scanner. It is possible to scan objects between 8 and 118 inches (20 - 200 cm).
Optimal distance to scanning object is, according to the manufacturer, between 15 and 60 inch (40 and 150 cm).
It was quite easy to use the scanner. I just had to move very slowly around the scanning object, otherwise the scanner showed a message on the tablet display to move slower. It was also important to keep the object which I am scanning within the virtual cube, which was mounted around the object by the scanner and displayed in the tablet display.
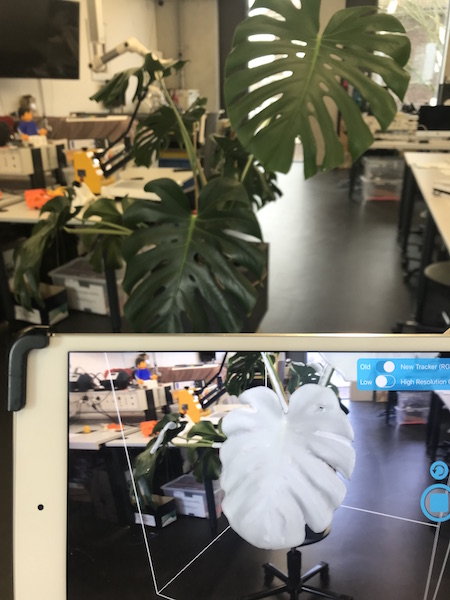
For the further processing of the scanned object I have used the program MeshLab, which is available freeof charge. I have not made any manipulations of the image, just selected the area which is going to be printed on the 3d printer.
meshLab Download
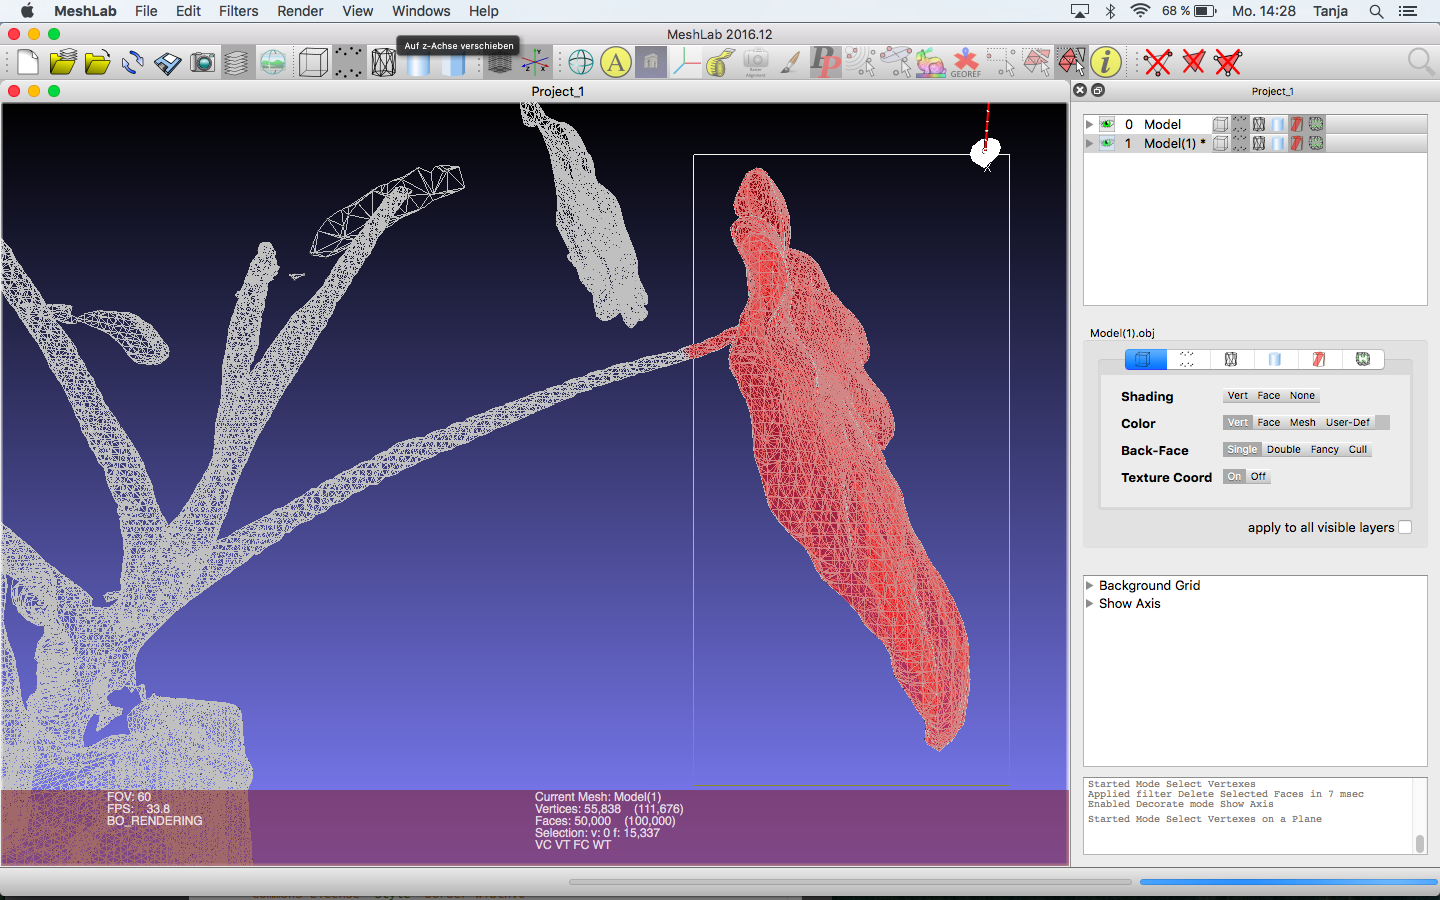
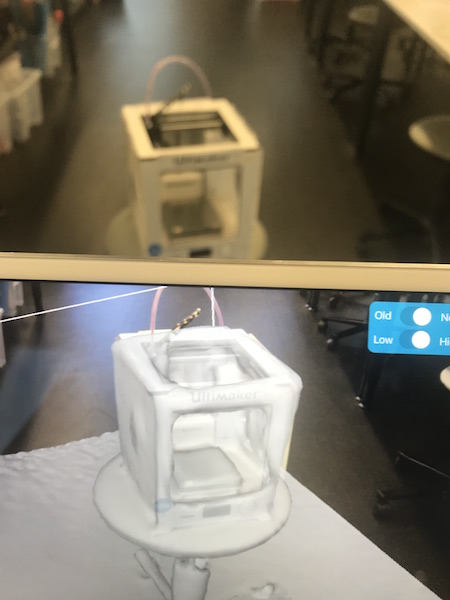
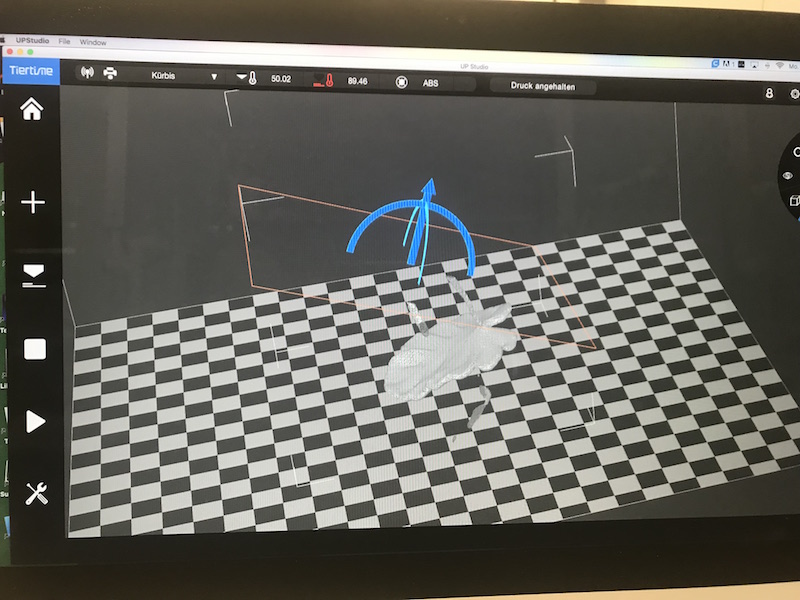
The following figures show the 3D printing of the scanned sheet from the front and the imported file into UP Box software UP Studio. The 3D Print was made with the UP Box.
Downloads
| Ball Joint, stl (zip) | download |
| Plant Scan, obj/mtl/jpg (zip) | download |