For 2017 Fab Academy I used a joystick during Input Devices week. The Joystick was new to me and I wasnt sure of the output so I used a simple code to measure the output in the serial moniterusing this tutorial:
Once I new the range of analog values I would recieve and what I would get at each joystick position I could begin to figure out the code to control the motors and the math to relate the joystick output to motors speed. This cooincided at a time when my computer had been fried during the Machine Building assignment, so I used a very analog process to understand this very analog output.
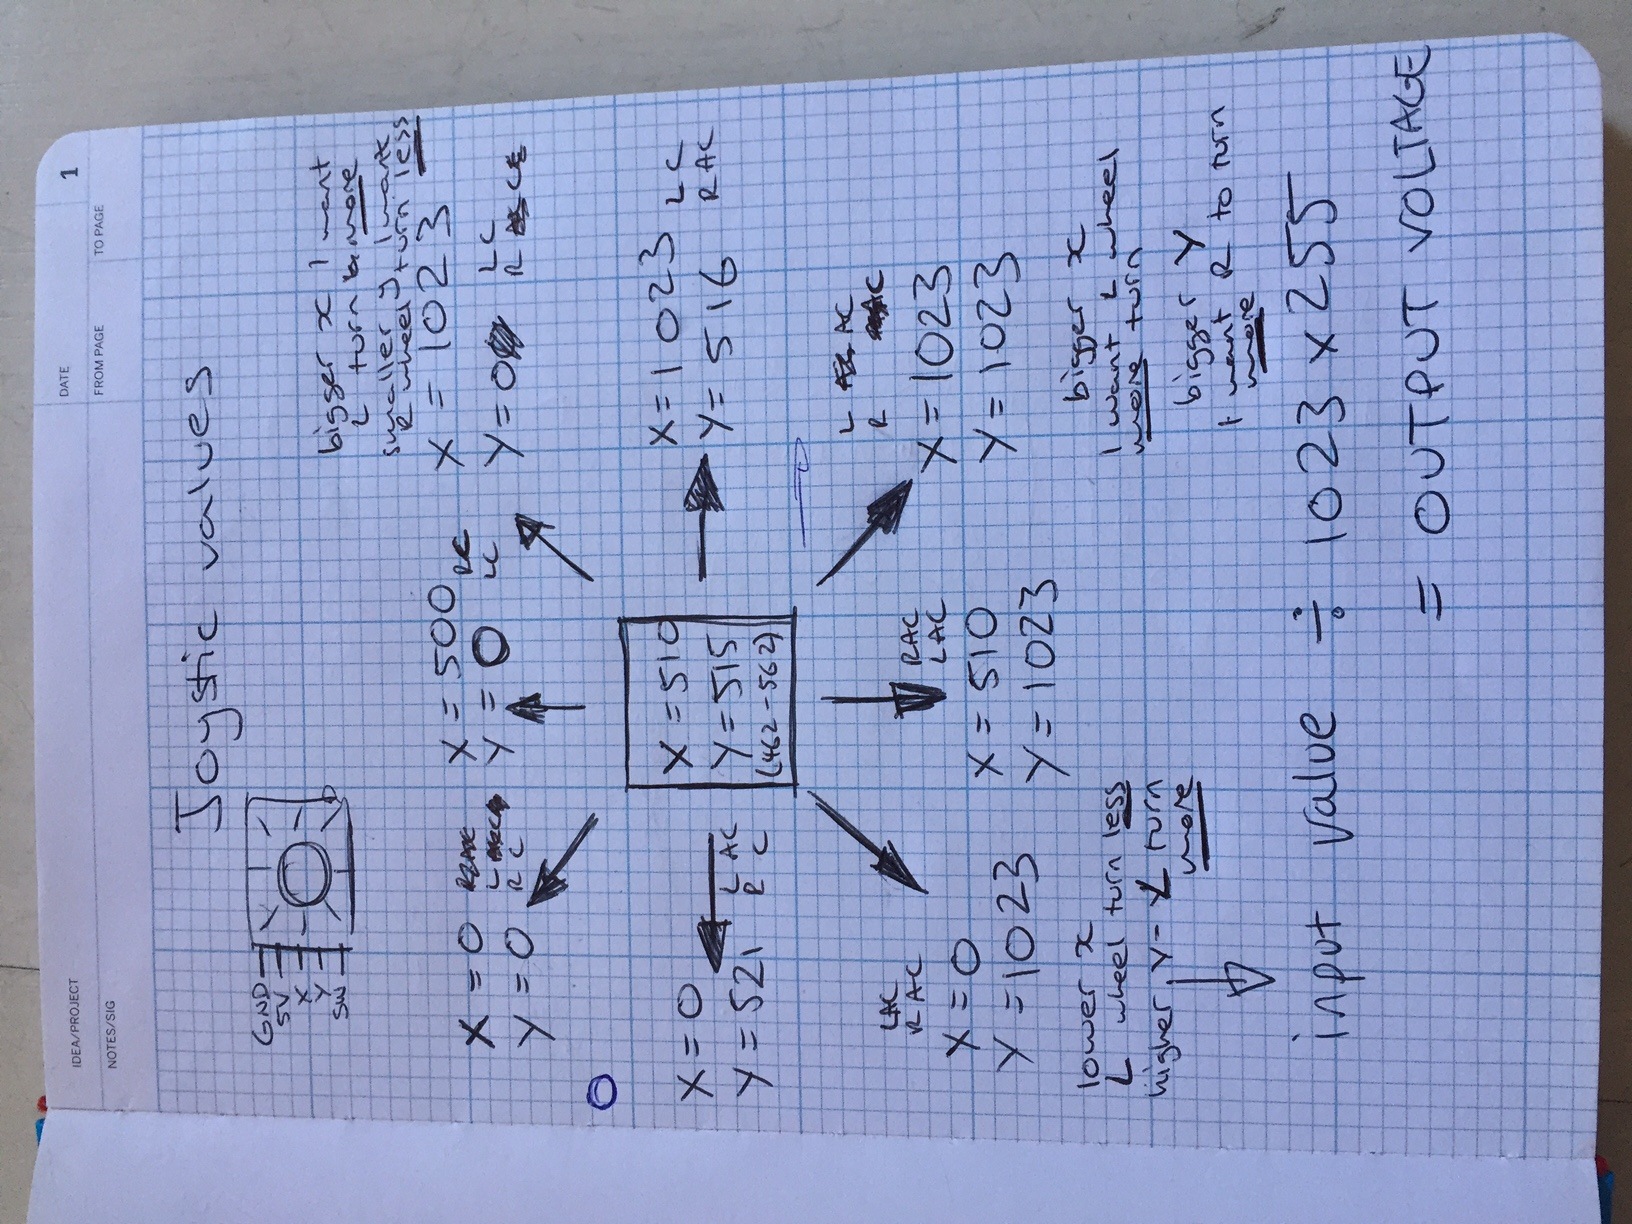
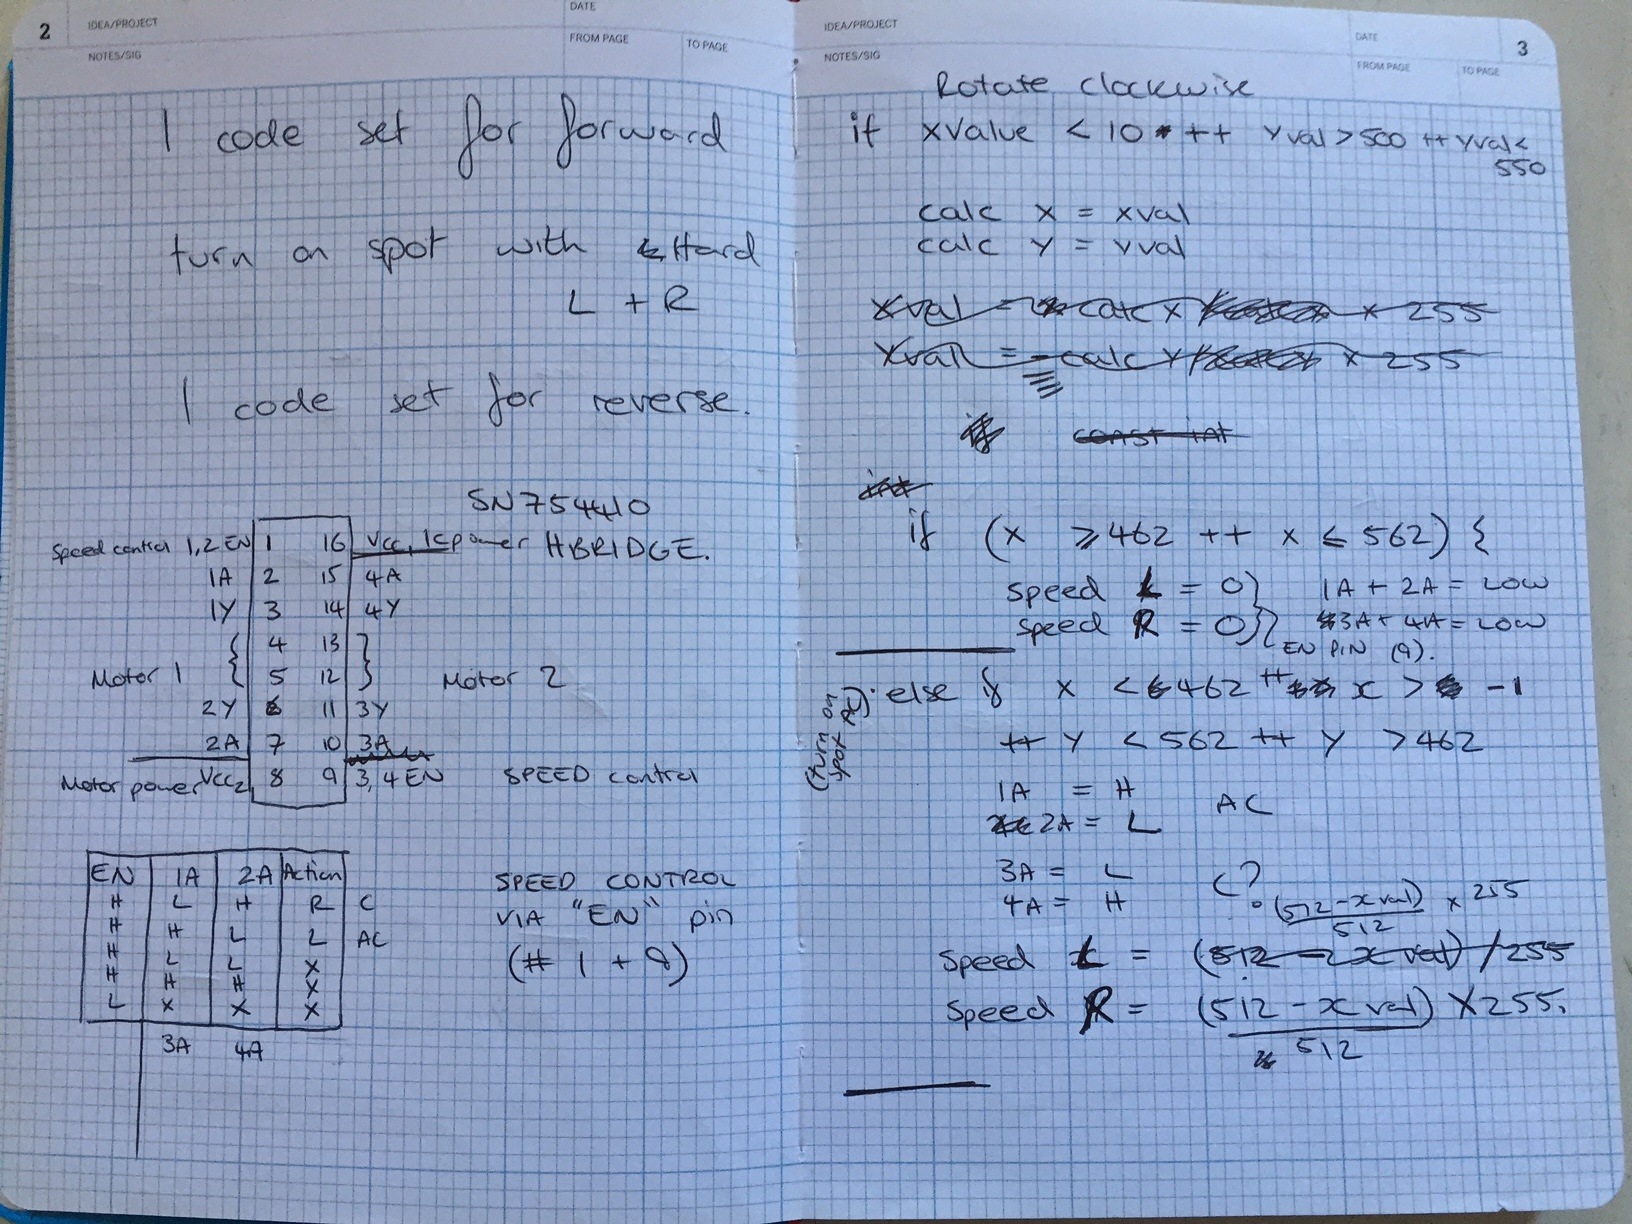
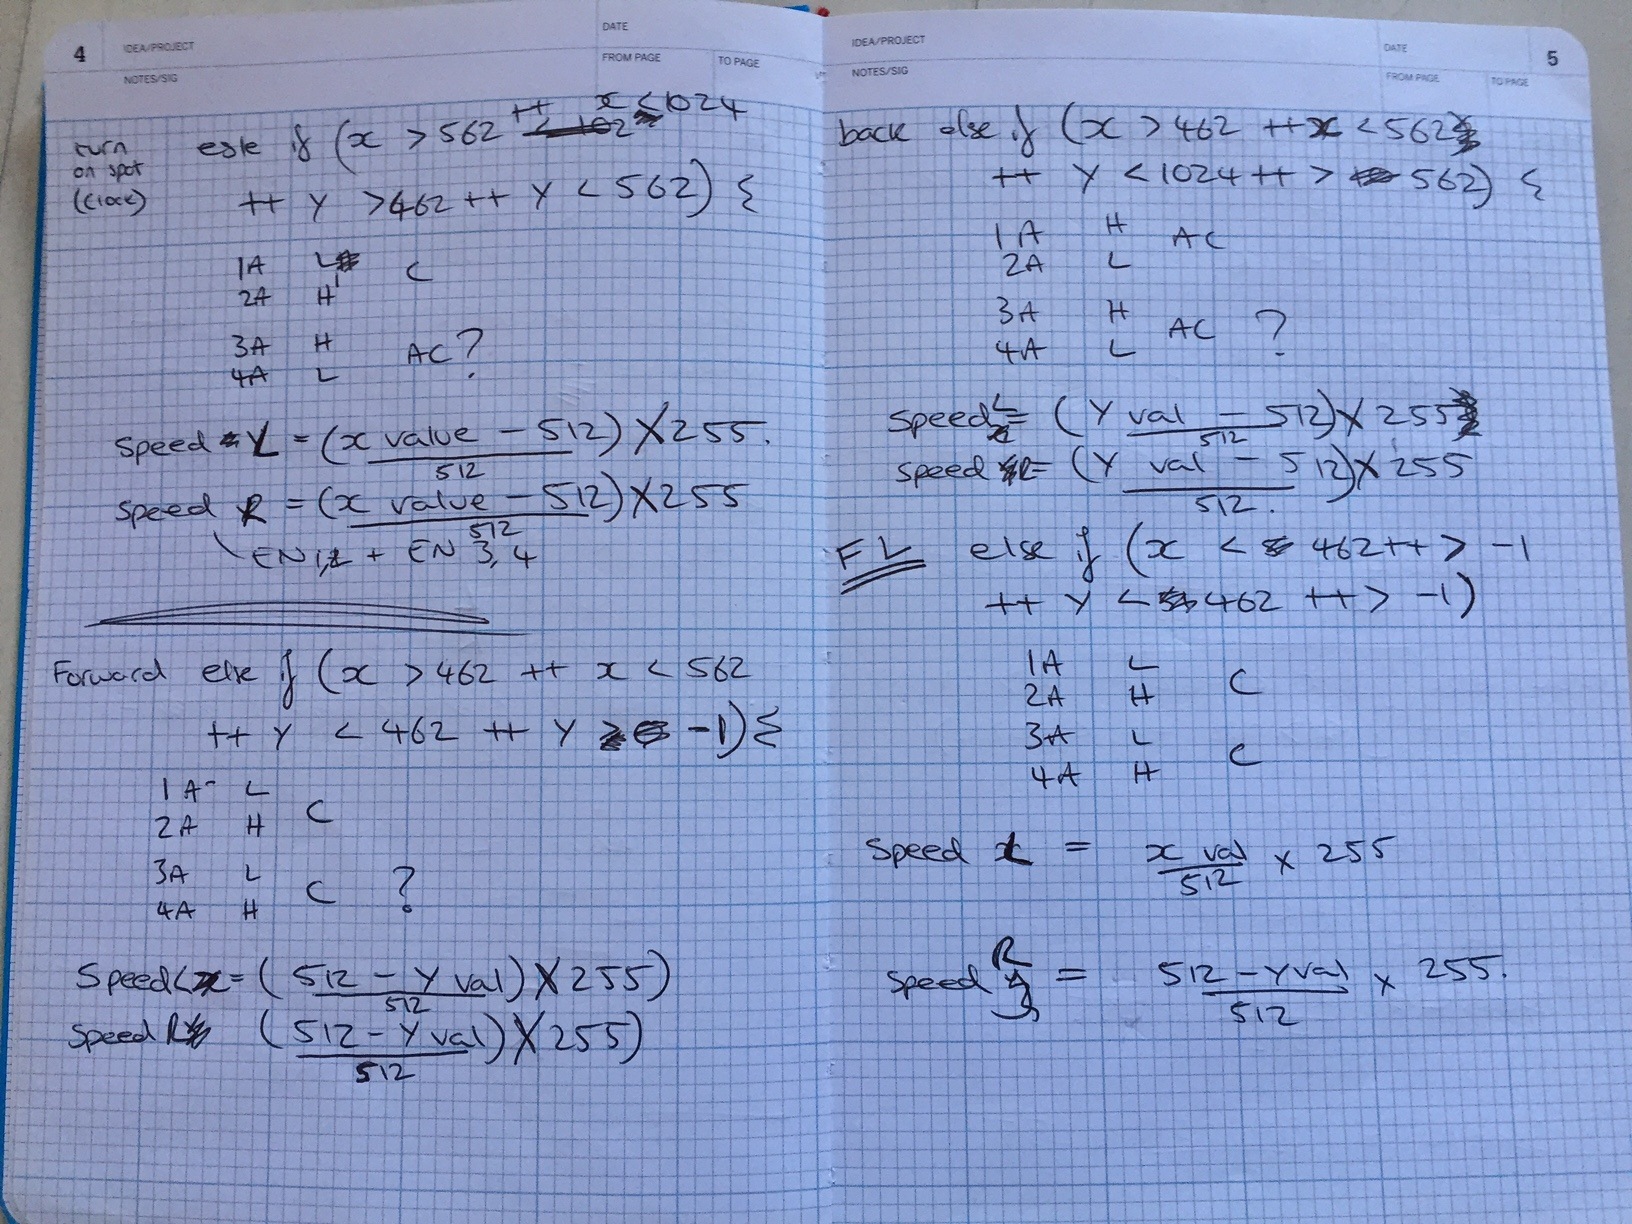
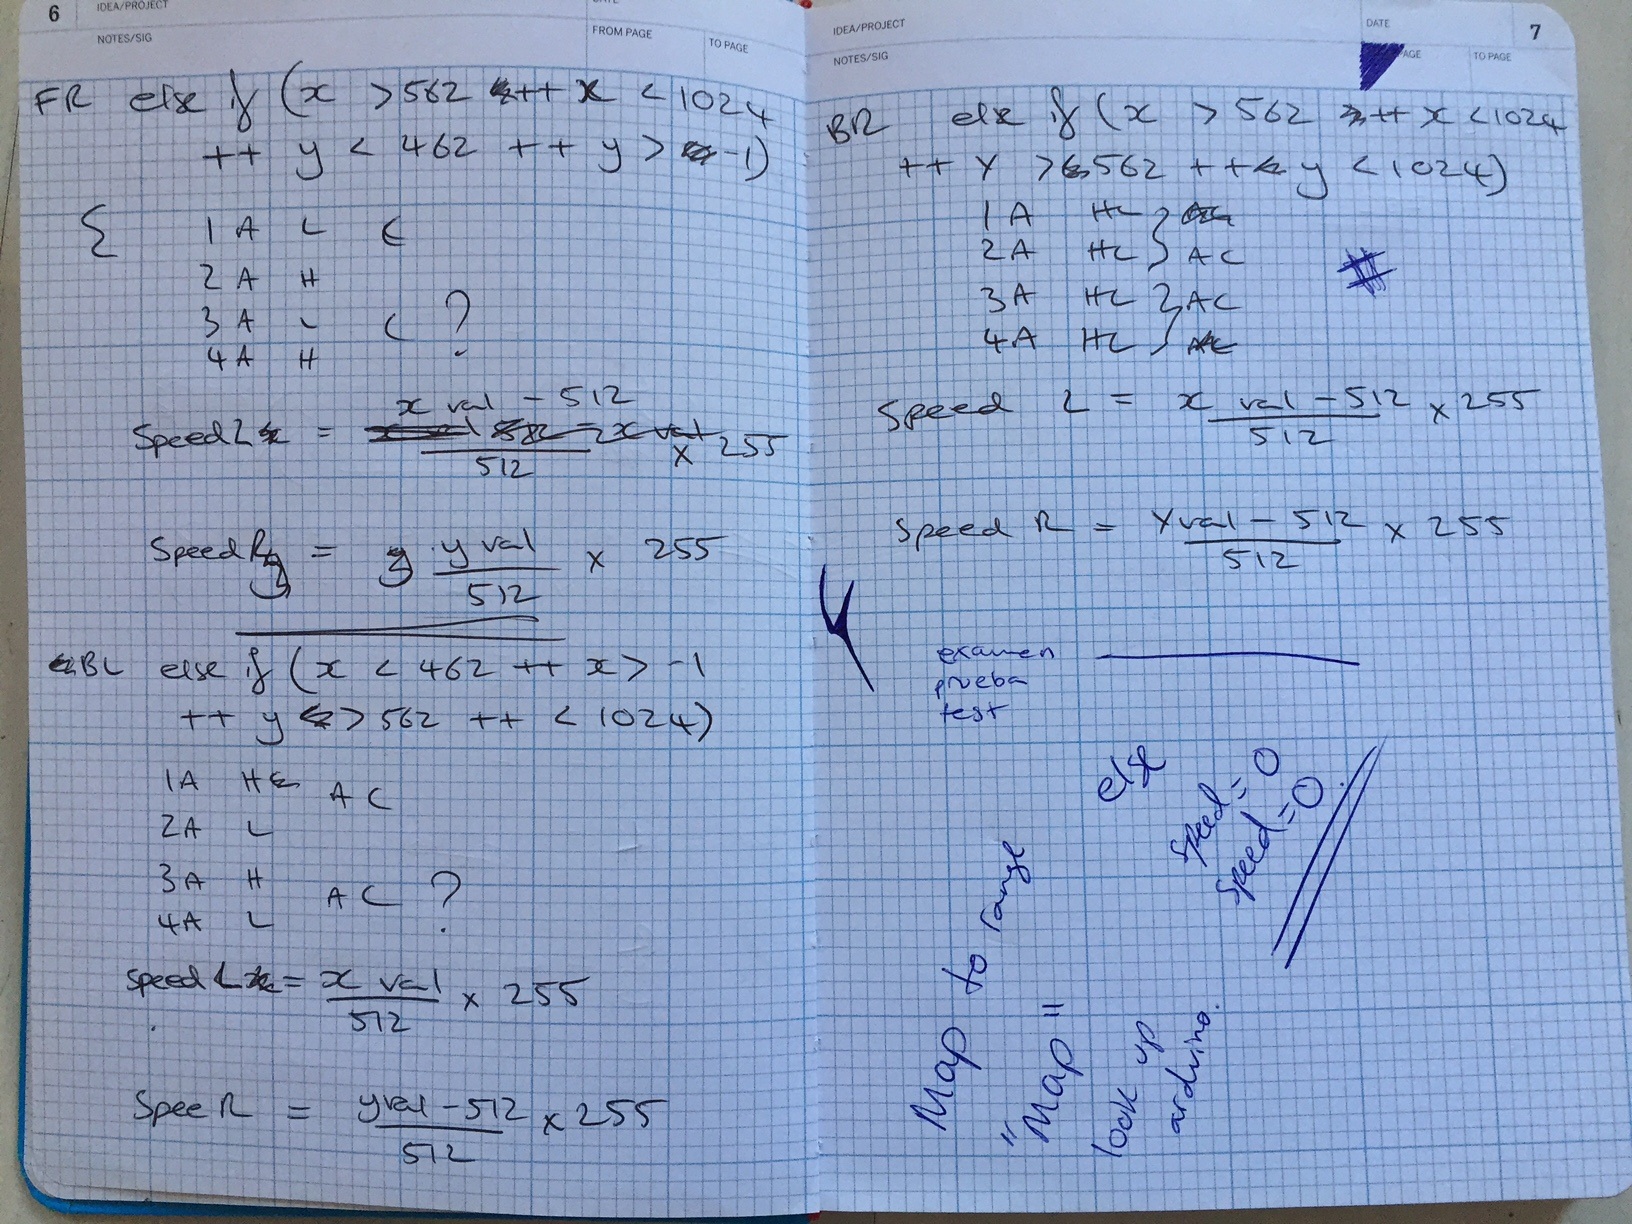
It was unusual writing code like this. Especially when I only had a basic grasp of the structure of Arduino code. It was quite nice to get to oldskool pen and paper and I think it helped in working out the maths.

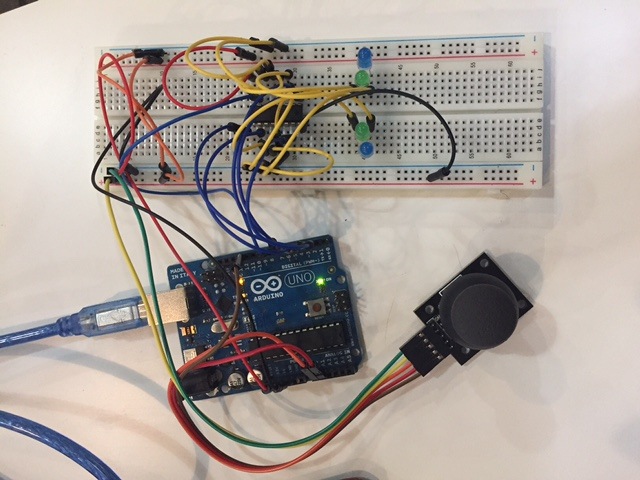
I am really enjoying using Fritzing to put together circuits and map them for my breadboard experiments. It is a very clear and visual interface. I haven't pushed its limits, but for this process it is fantastic.
I got all wired up, using four LEDs to indicate the left and right motor and their direction. My first iteration of code unfortunately did not work. Even after recieving some help on the structure of 'IF' statements and analog/digital output. I eventually found out that my issue was with how arduino works out its mathematics. I was using integer maths and my calculations were always being 'truncated' to zero which meant my robot was going nowhere. After some online forum help I used 'float' maths that simply meant I had to add a '.0' to some of my numbers. I researched this further and ideally 'float' maths should be avoided as it takes much longer, but for my simple sums the delay is unnoticable. I need to continue to research, but it can be avoided by using large numbers and being happy with approximations.
>After this success, I am experimenting with using an NRF24L01 radio transceiver to make the robot remote control. I will be using this tutoial. I also need to start considering the design of the robot and how to power the motors (The require more power than the Arduino can provide).
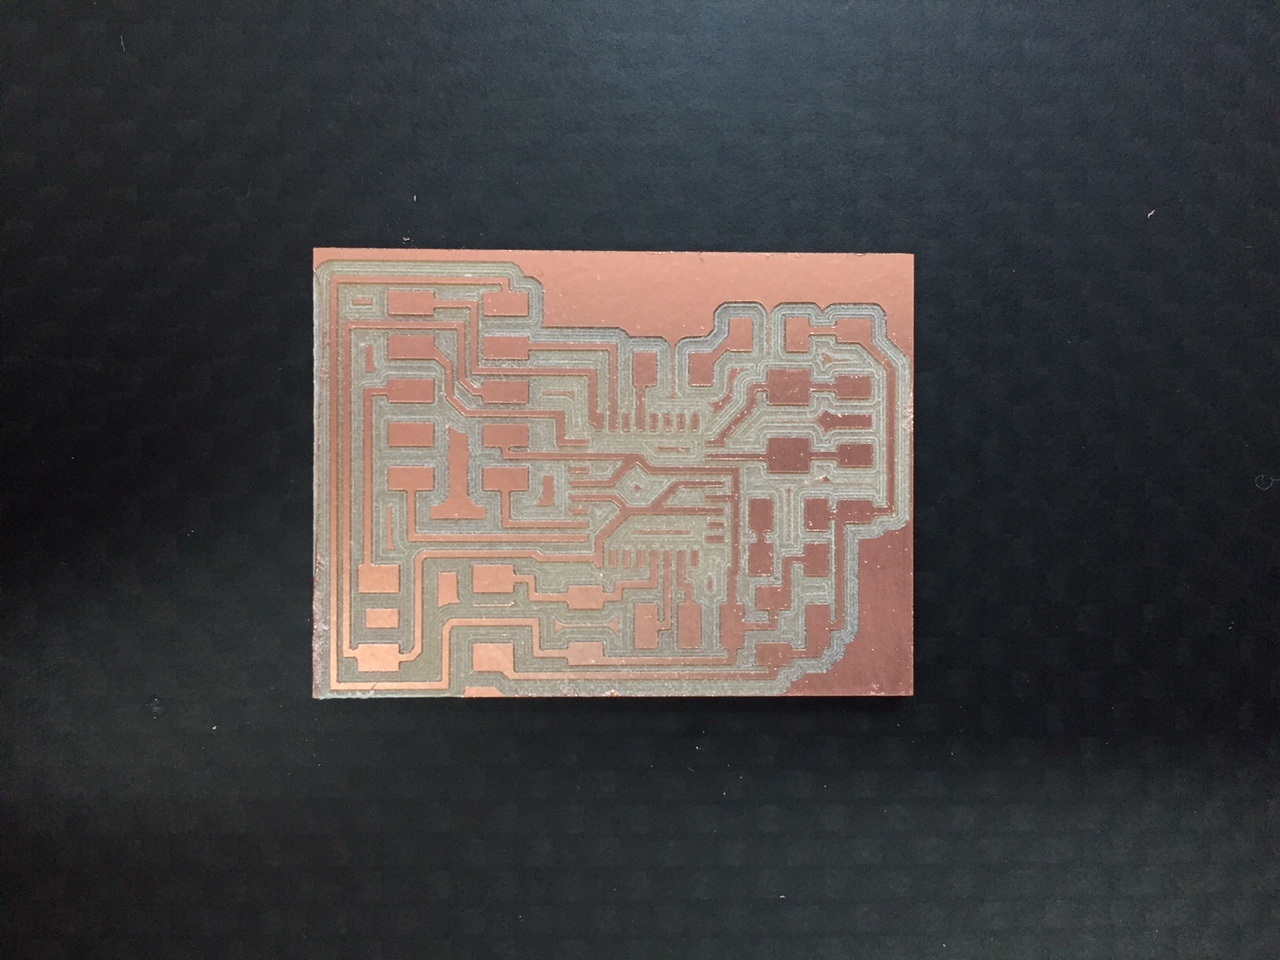
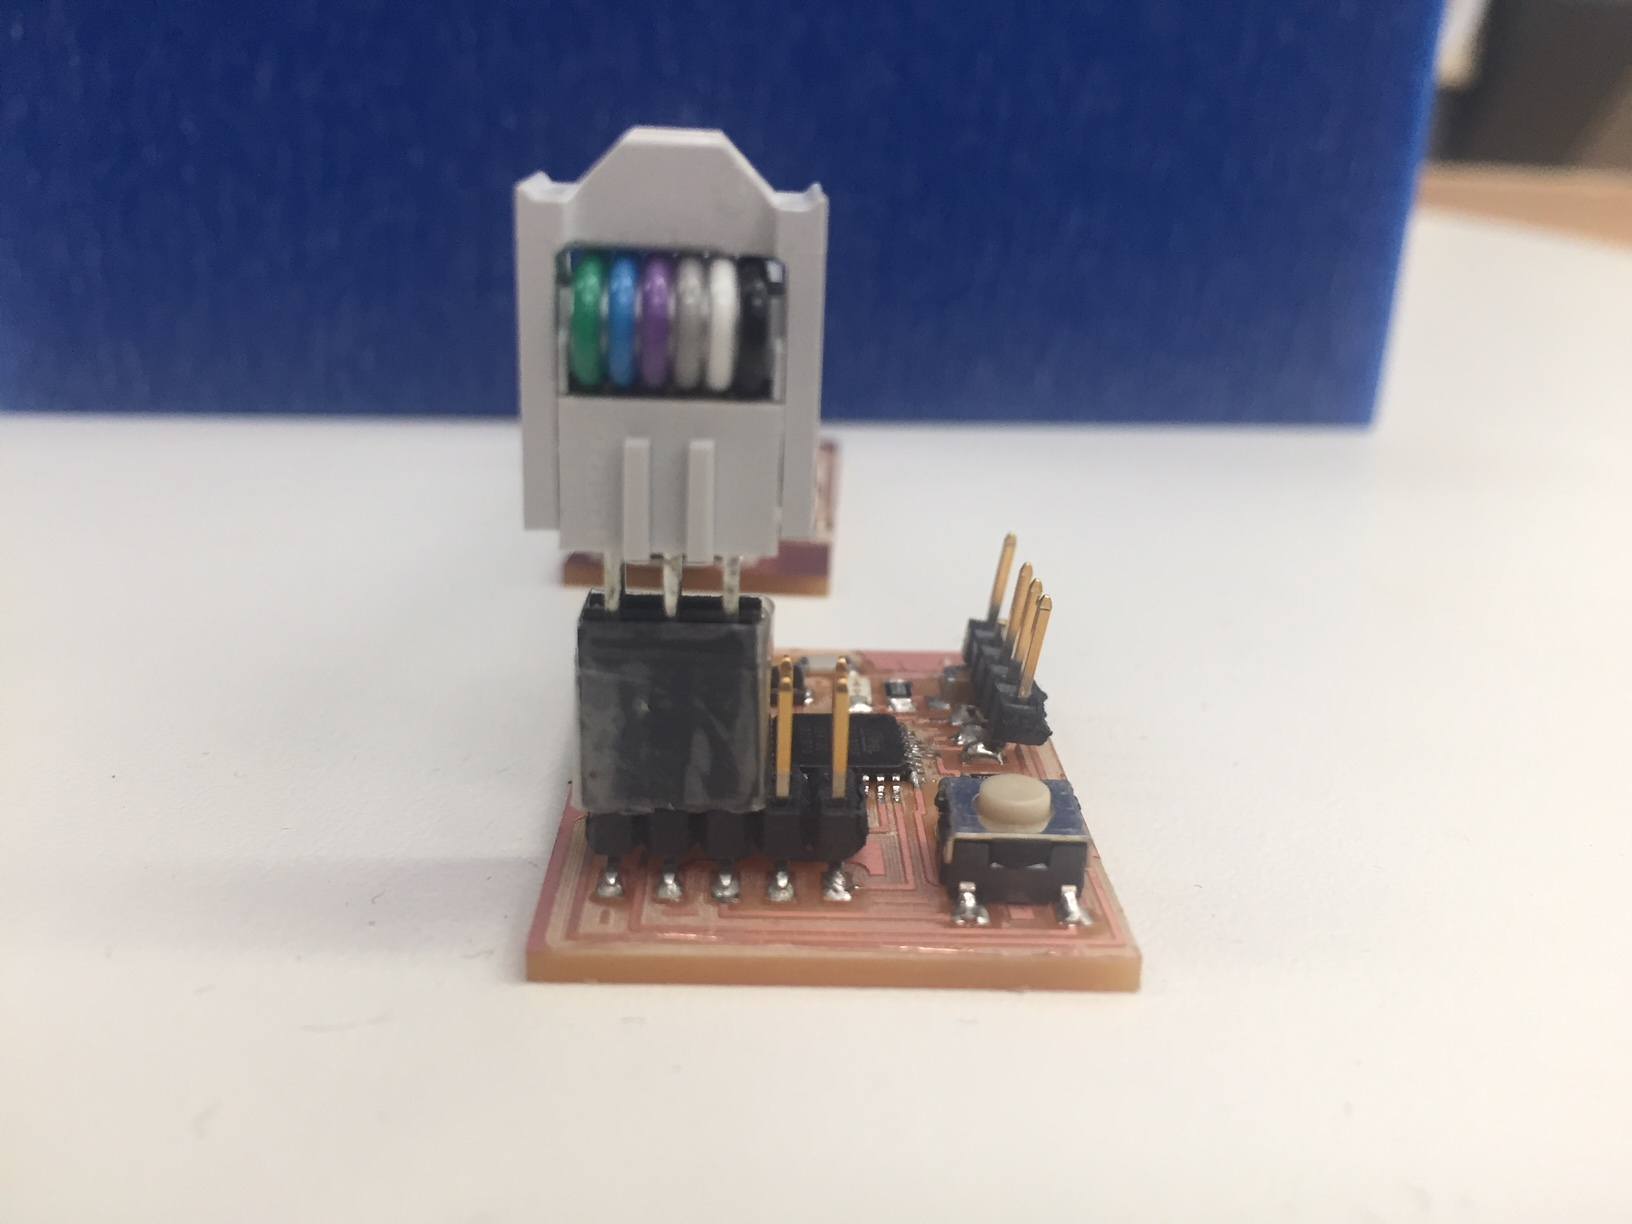
In 2017 I managed to get all this working on an Arduino, but I was never able to create the board. For my Final Project this year I have started by making a basic Arduino blink board. I will build on this with subsequent weeks to complete my final project. I learnt a few things from my first iteration and milled my board and populated it.
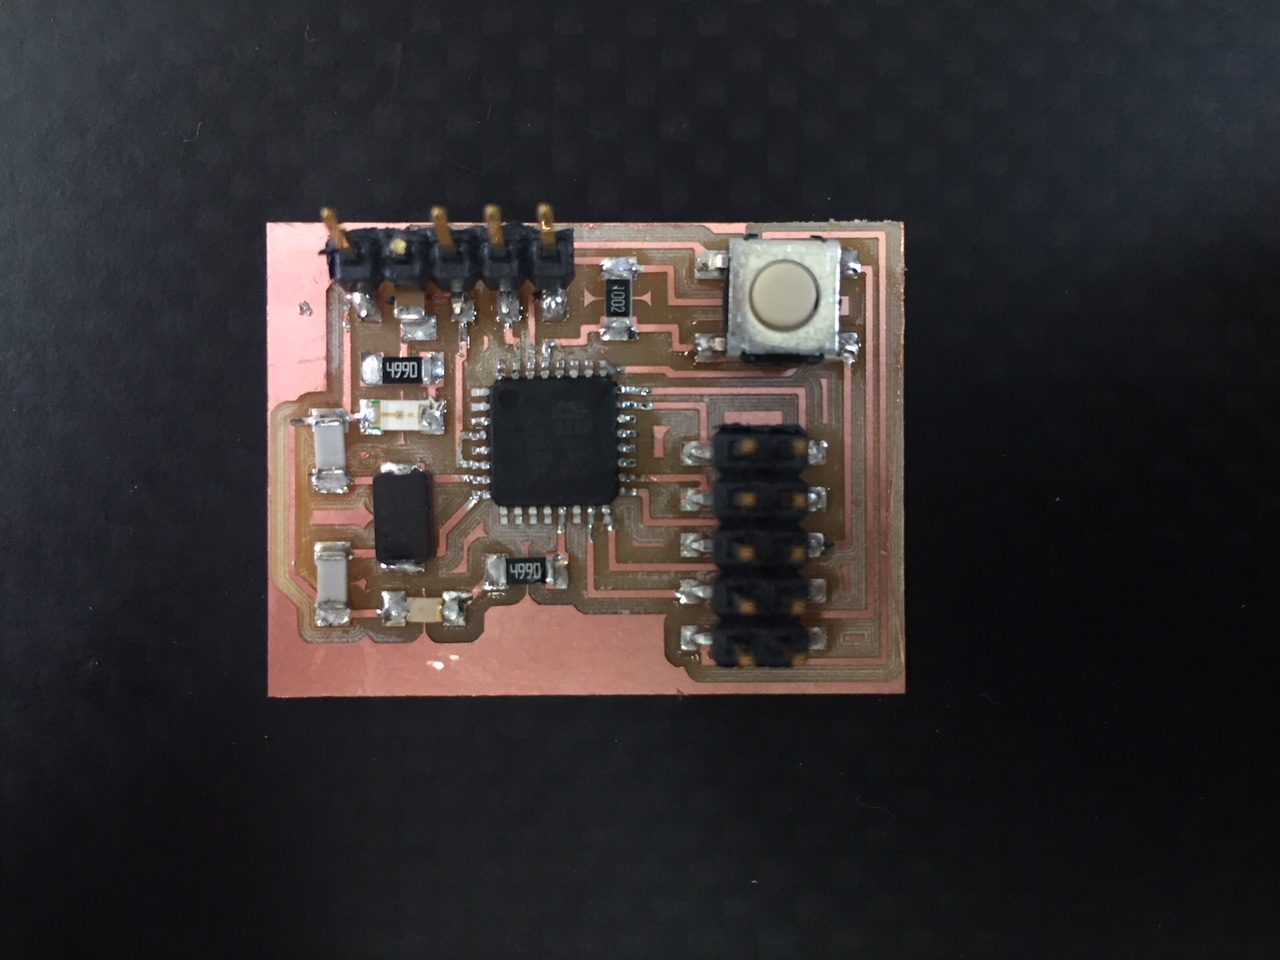
The connecting pins for my FABISP didn't allow me to connect the wires, so I created and little extension using some female headers. I tinned them slightly to get a tighter fit for into the header.
I uploaded a simple blink code using the Arduino IDE to test it was working. Next I severley edited my joystick code from last year to give me a HIGH LED value whenever the Joystick was moved from rest.
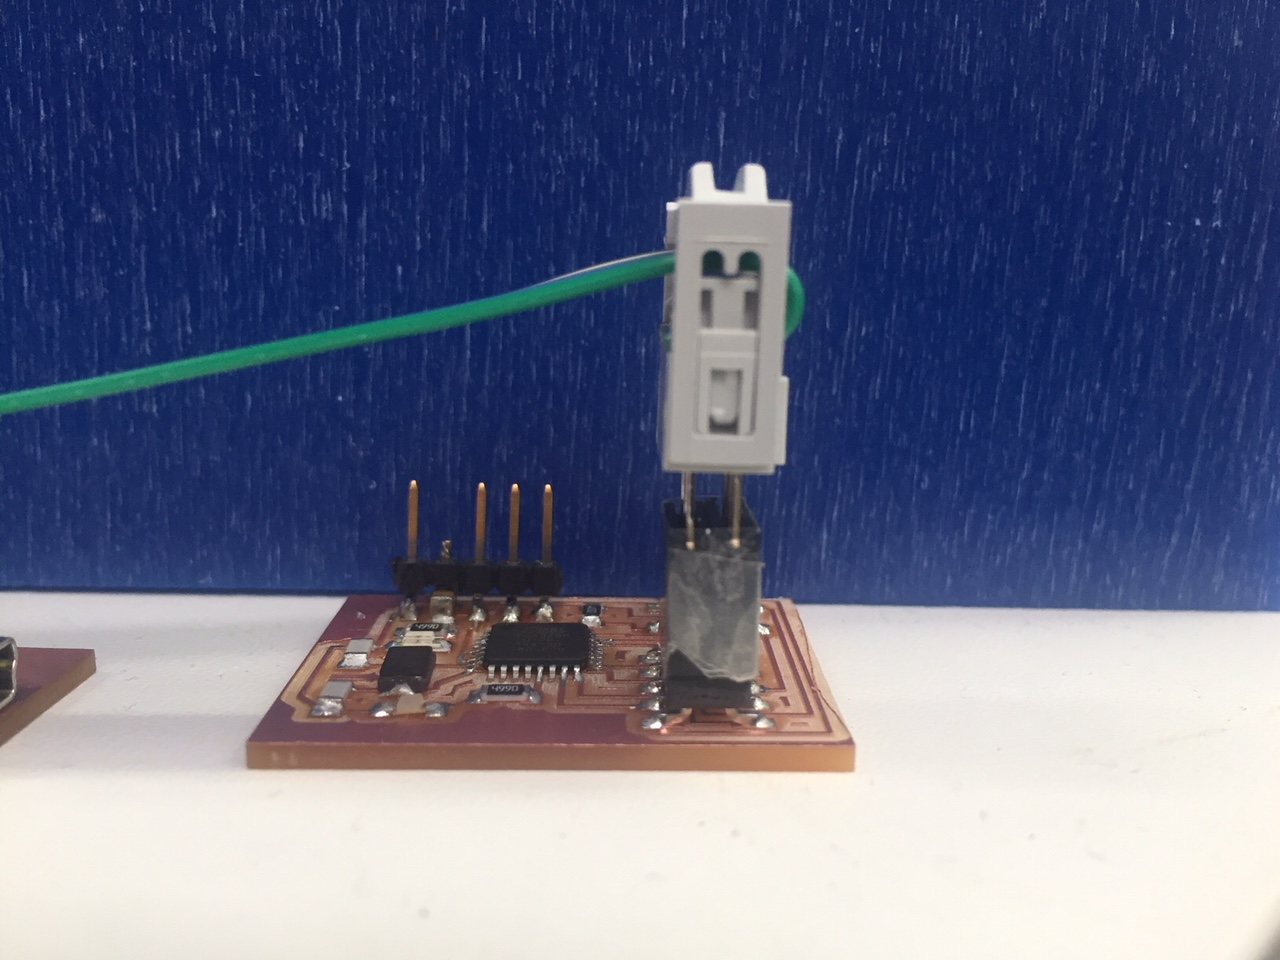
Finally I managed to hook up my Parduino to my computer via the FTDI cable, making sure to swap over the rx and tx connections (rx to tx and vice versa - I will need to change this on my board for future iterations so the FTDI can plug straight in). With this I was able to do a simple Serial.PrintLn that told me Too Slow!
if I wasn't using the Joystick and Too Fast!
if I moved the joystick from rest.

During our group assignment this week, we measured the analog and digital singals of an input device.