In Wednesday's Lecture, we were encouraged to use as many different 3D and 2D software tools listed to get familiar with different systems and figure out which one we feel most comfortable with. I am slightly familiar with Blender having done some tutorials on it some years back, and I am currently using Unity in my University project to create my game. The rest of the systems listed I have either heard of (like Maya) or never heard of.
In our local recitation we looked at Fusion360. I wrote myeslf a little starter/pre-starter to "Fusion360 " 101 list of commands so that when I forget how to do certain actions, I had a place to look.
-Fully defined lines are black
-Hit d to find out dimensions; click on blue
I drew a sketch of what I wanted the controller to look like. I also noted down what features I wanted it to have:
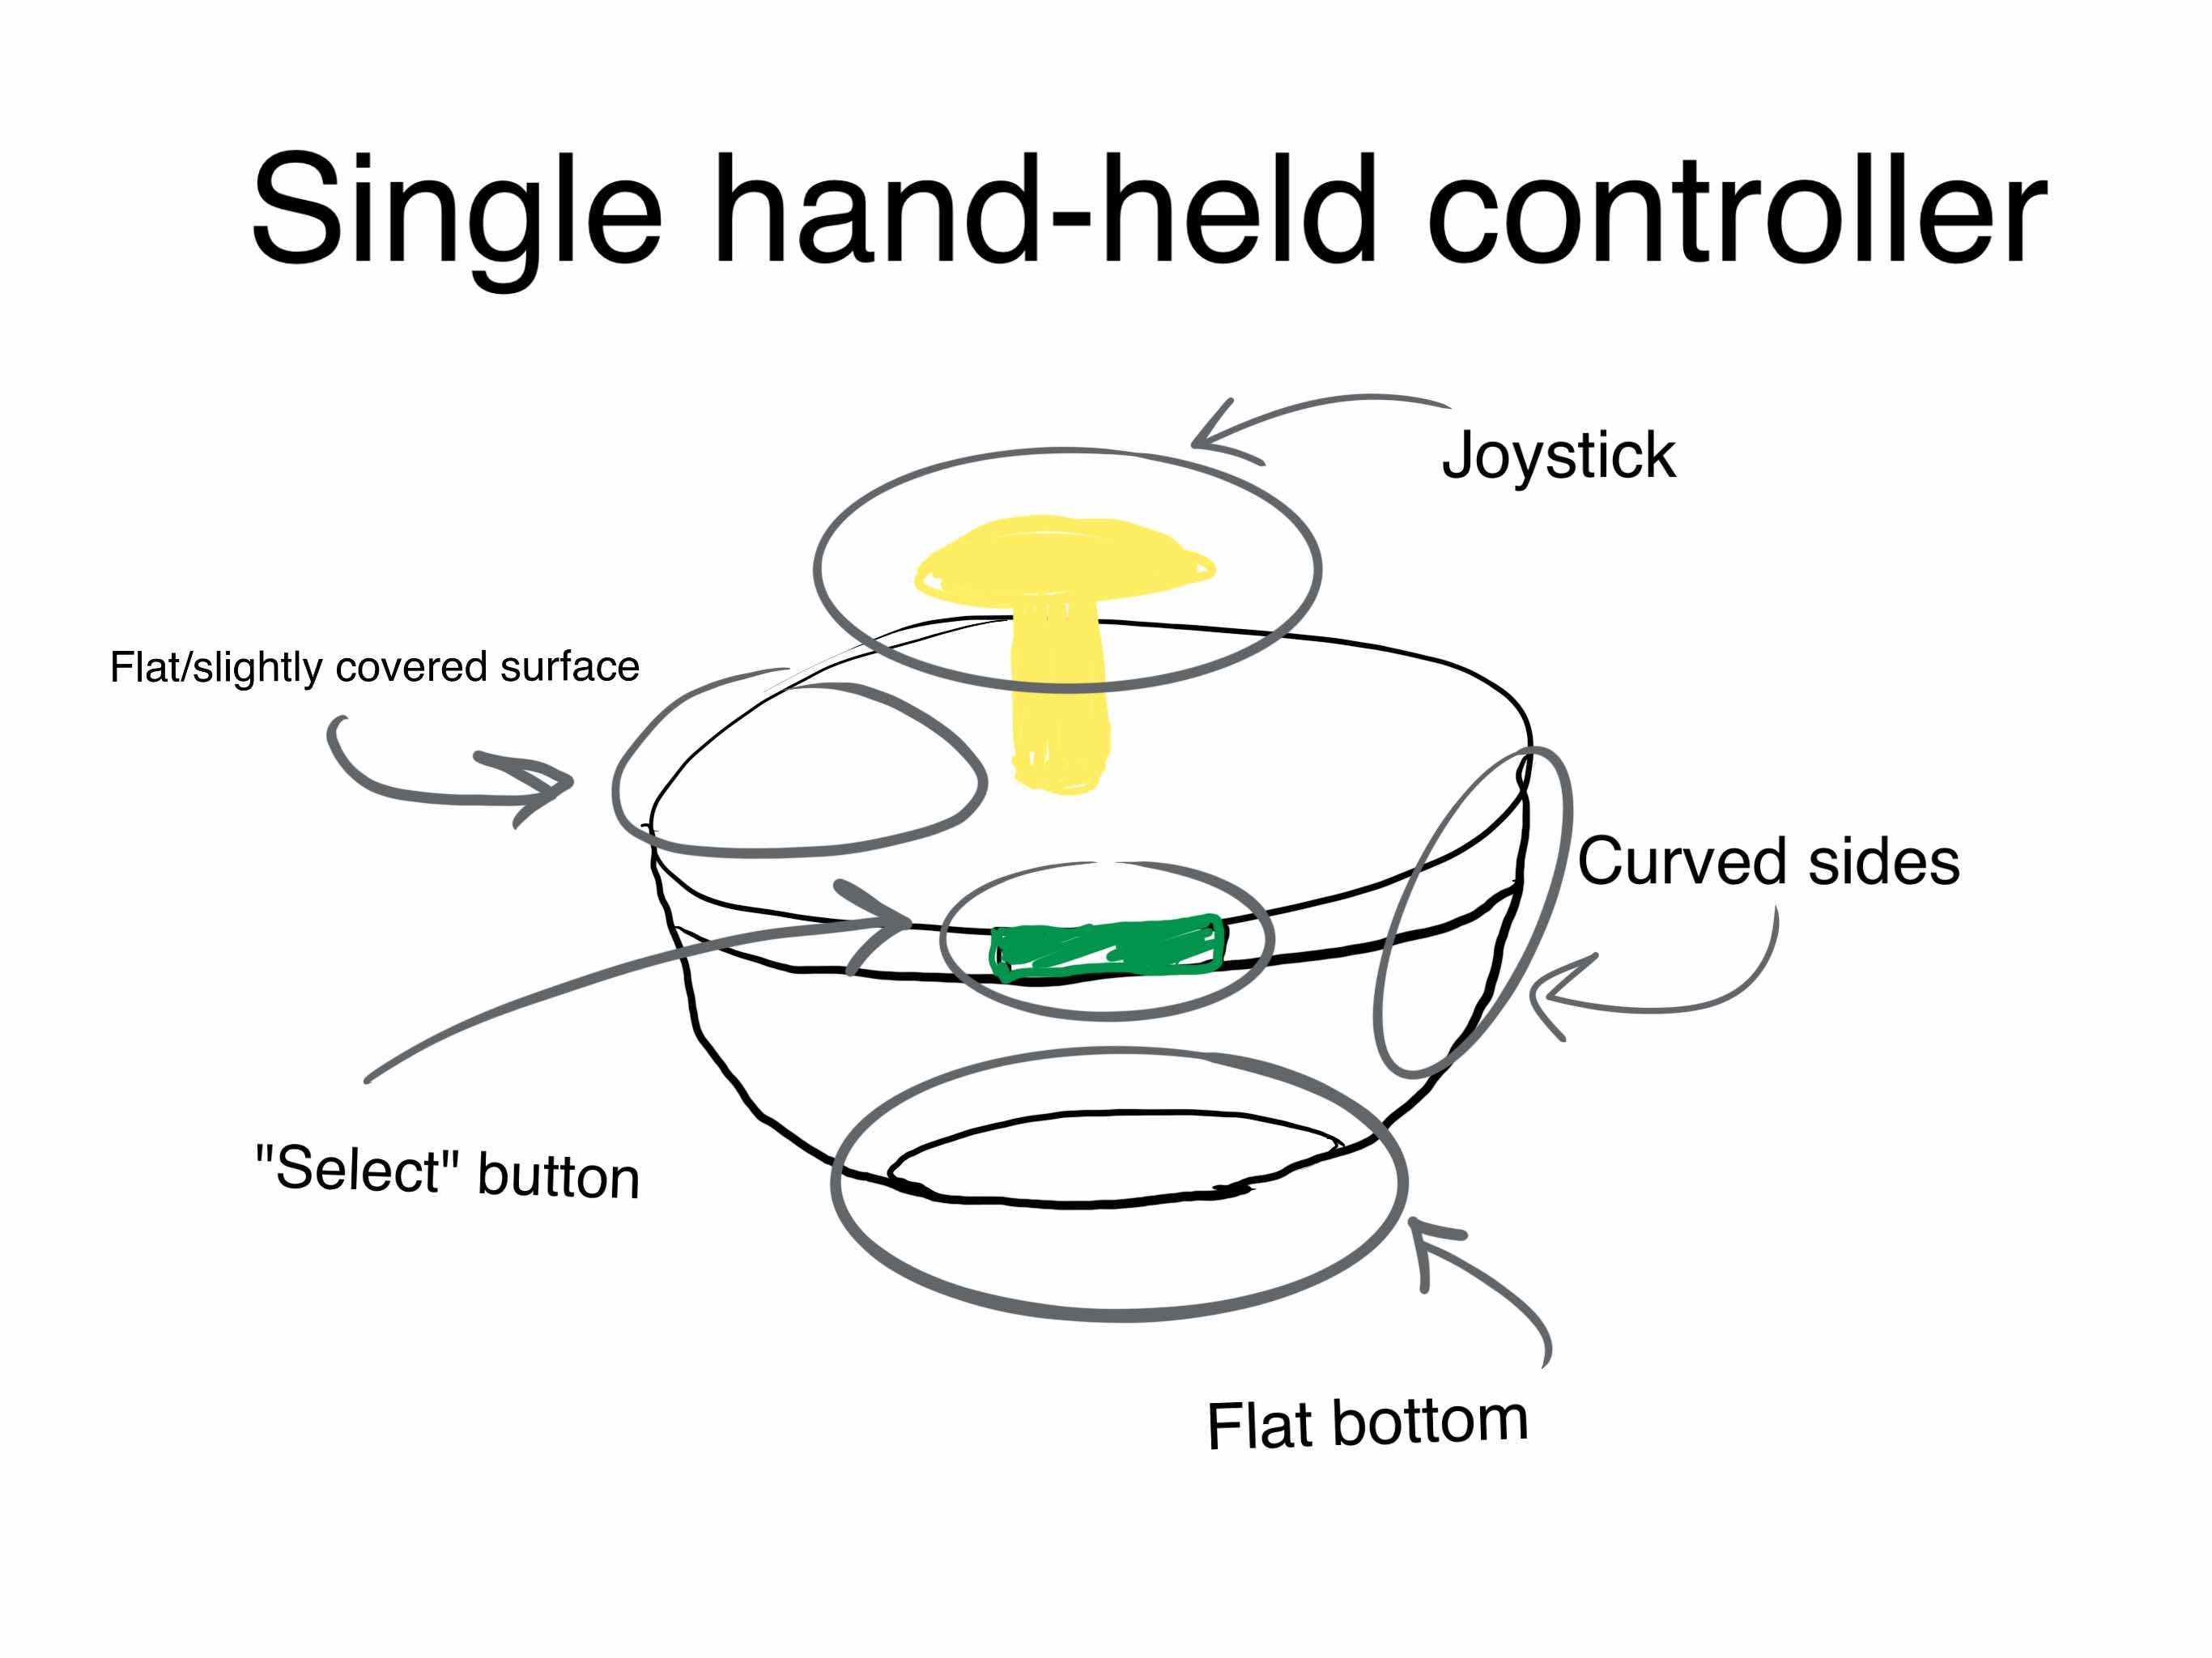
The gray circles are to indicate which section or part of the controller the text is referring to.
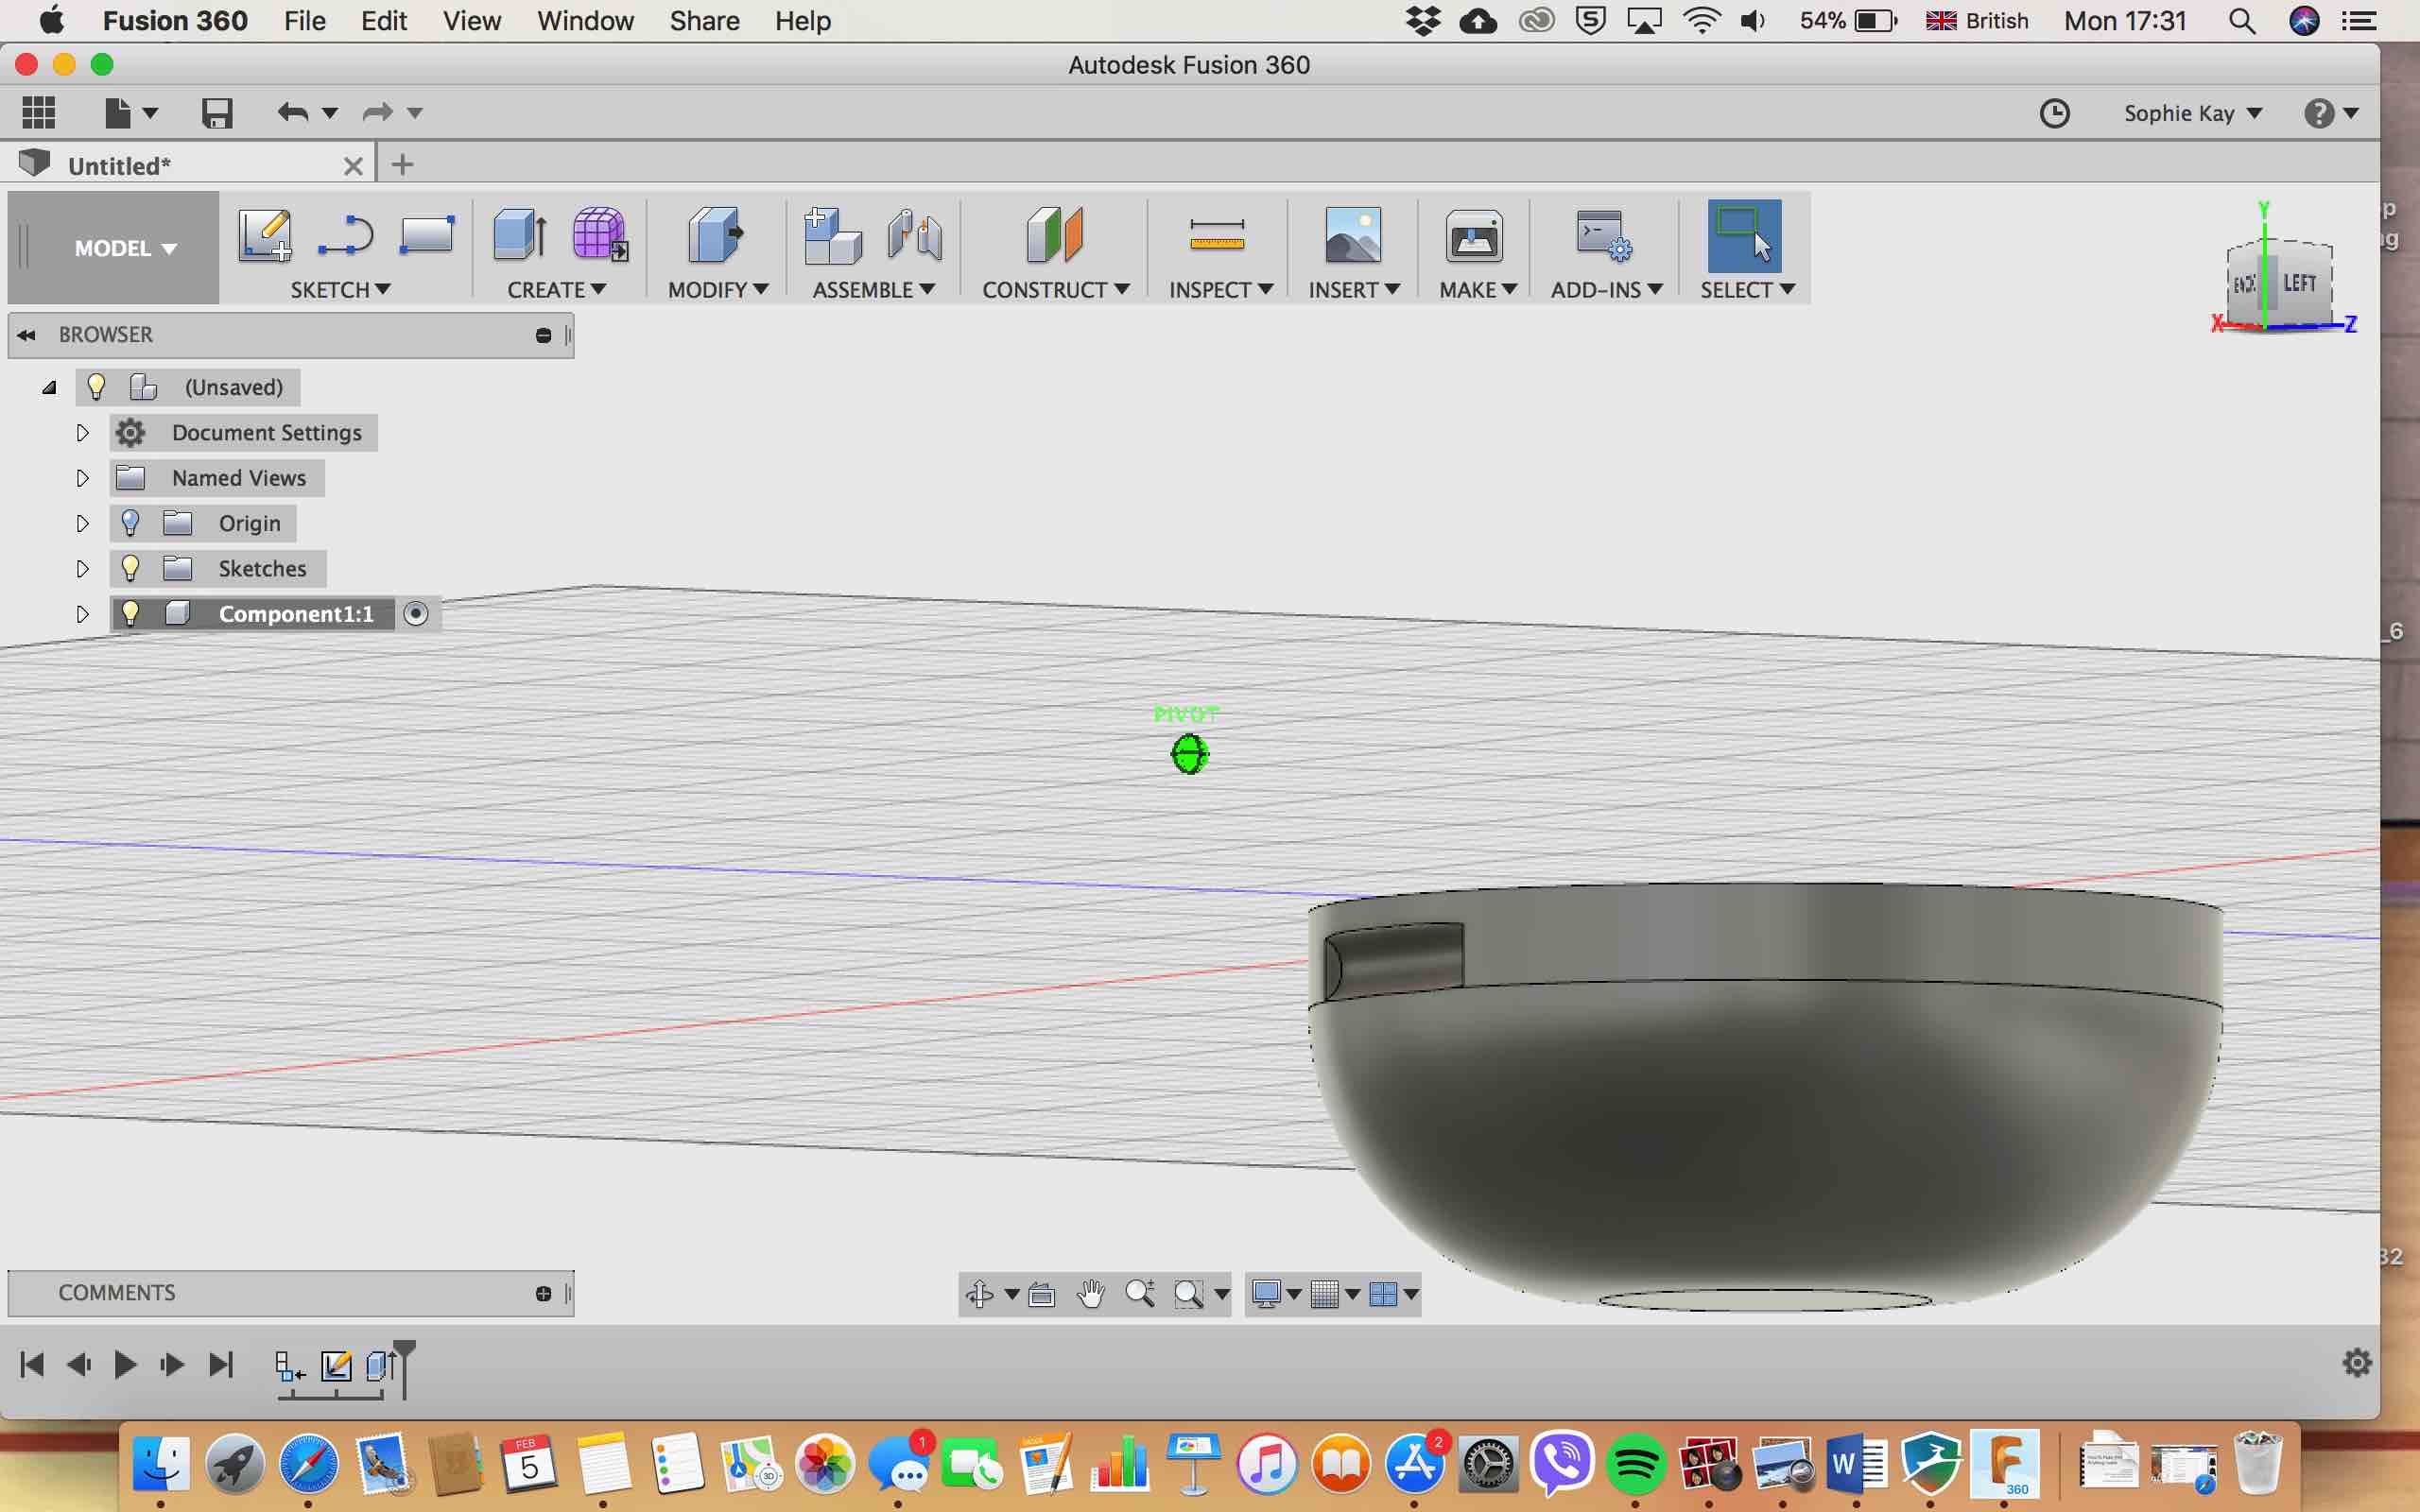
Although I began already to try to make my sketch reality on fusion, I took some time out to play around a bit in Fusion to start to get a small idea of its various functionalities after having a small workshop session with Kyle:
Originally I wanted to have my gloves be the controller. But as the days went on and I rethough the functionality requirements of my controller, it occured to me that because I only will need one button and a joystick, it might be nice to stick to the single hand-held controller idea.
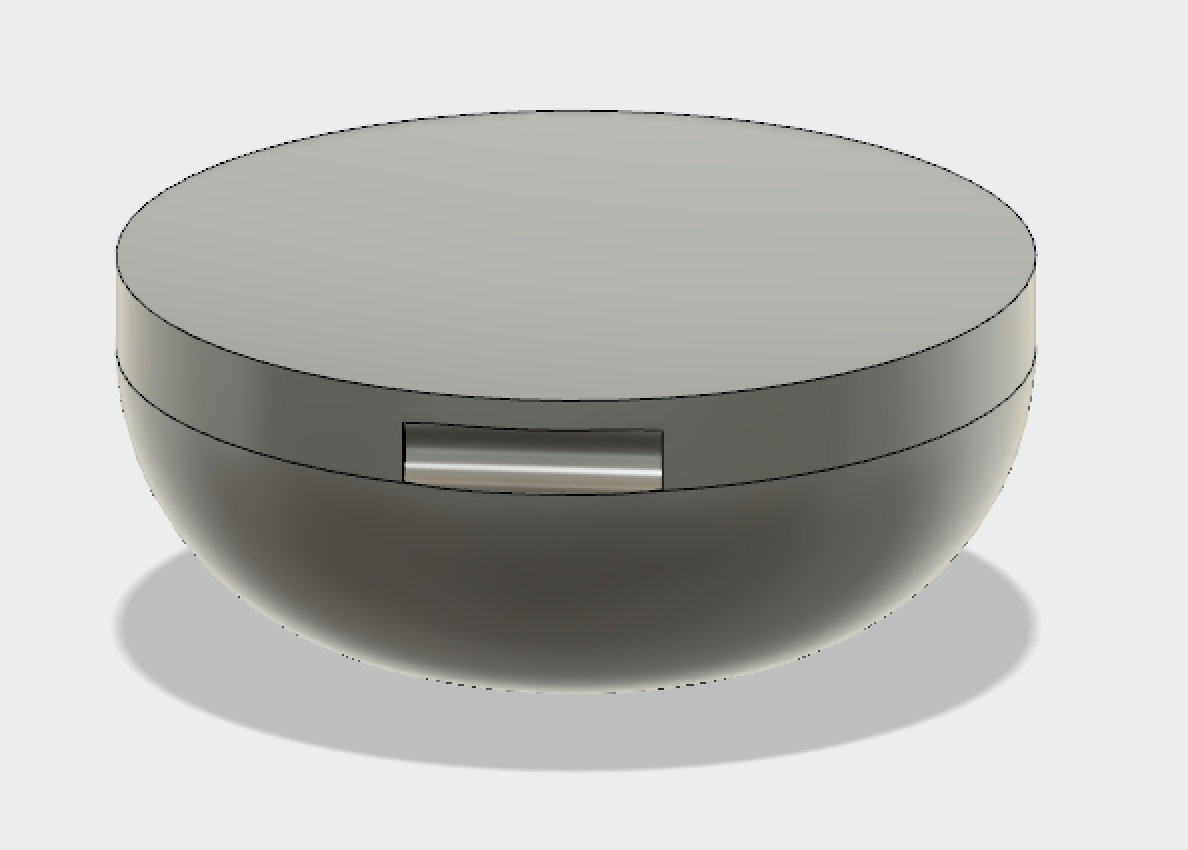
I figured the nicests form is a curved one. Initially it was to be a flat surface circle, but i realised this would pose two problems. 1. It might not be very comfrotable to hold and use. 2. Either it would be slim and the circuit would be in your face, or it would be thick and not like visually pleasing.
This is when I thought of adding a bottom bit to it that will look and feel nice. I knew I wanted to top part to be flat because it would be easiest to create and use, but the bottom part I thought for comfort reasons, could be curved. So in the end it would be like a sphere cut in half. I also brainstormed some materials too because wood would not be very comfortable to hold for the bottom bit, so I thought perhaps silicone as it is soft.
Through creating I came up with more functionality ideas for my controller such as making it have a button that was wider so that it would allow for reachability regardless of the users hand size (as i want my controller to be useable by many people of different hand sizes), having the bottom part flat so that it could be stable when the controller is put down and not constantly roll off say a desk, and finally a thumb holder to make it more comfortable for users to hold. The first idea came to me accidentally. I initially wanted my button to be circulars, but when I was getting assistance from my course friend, I realised that a wide button instead would allow for more usability. As for the
Whilst struggling to create my thumb holder, my course friend asked me what I was doing. It was through explaining to him what I was creating that it occurred to me that I do not need a thumb holder as it will be the one operating the joystick. It made me realise that I need to rethink the shape and material. I am still leaning towards silicone but perhaps a more malleable one that will feel more comfortable in the hand for the curved bottom bit. The top bit will either be wood or a harder silicone.
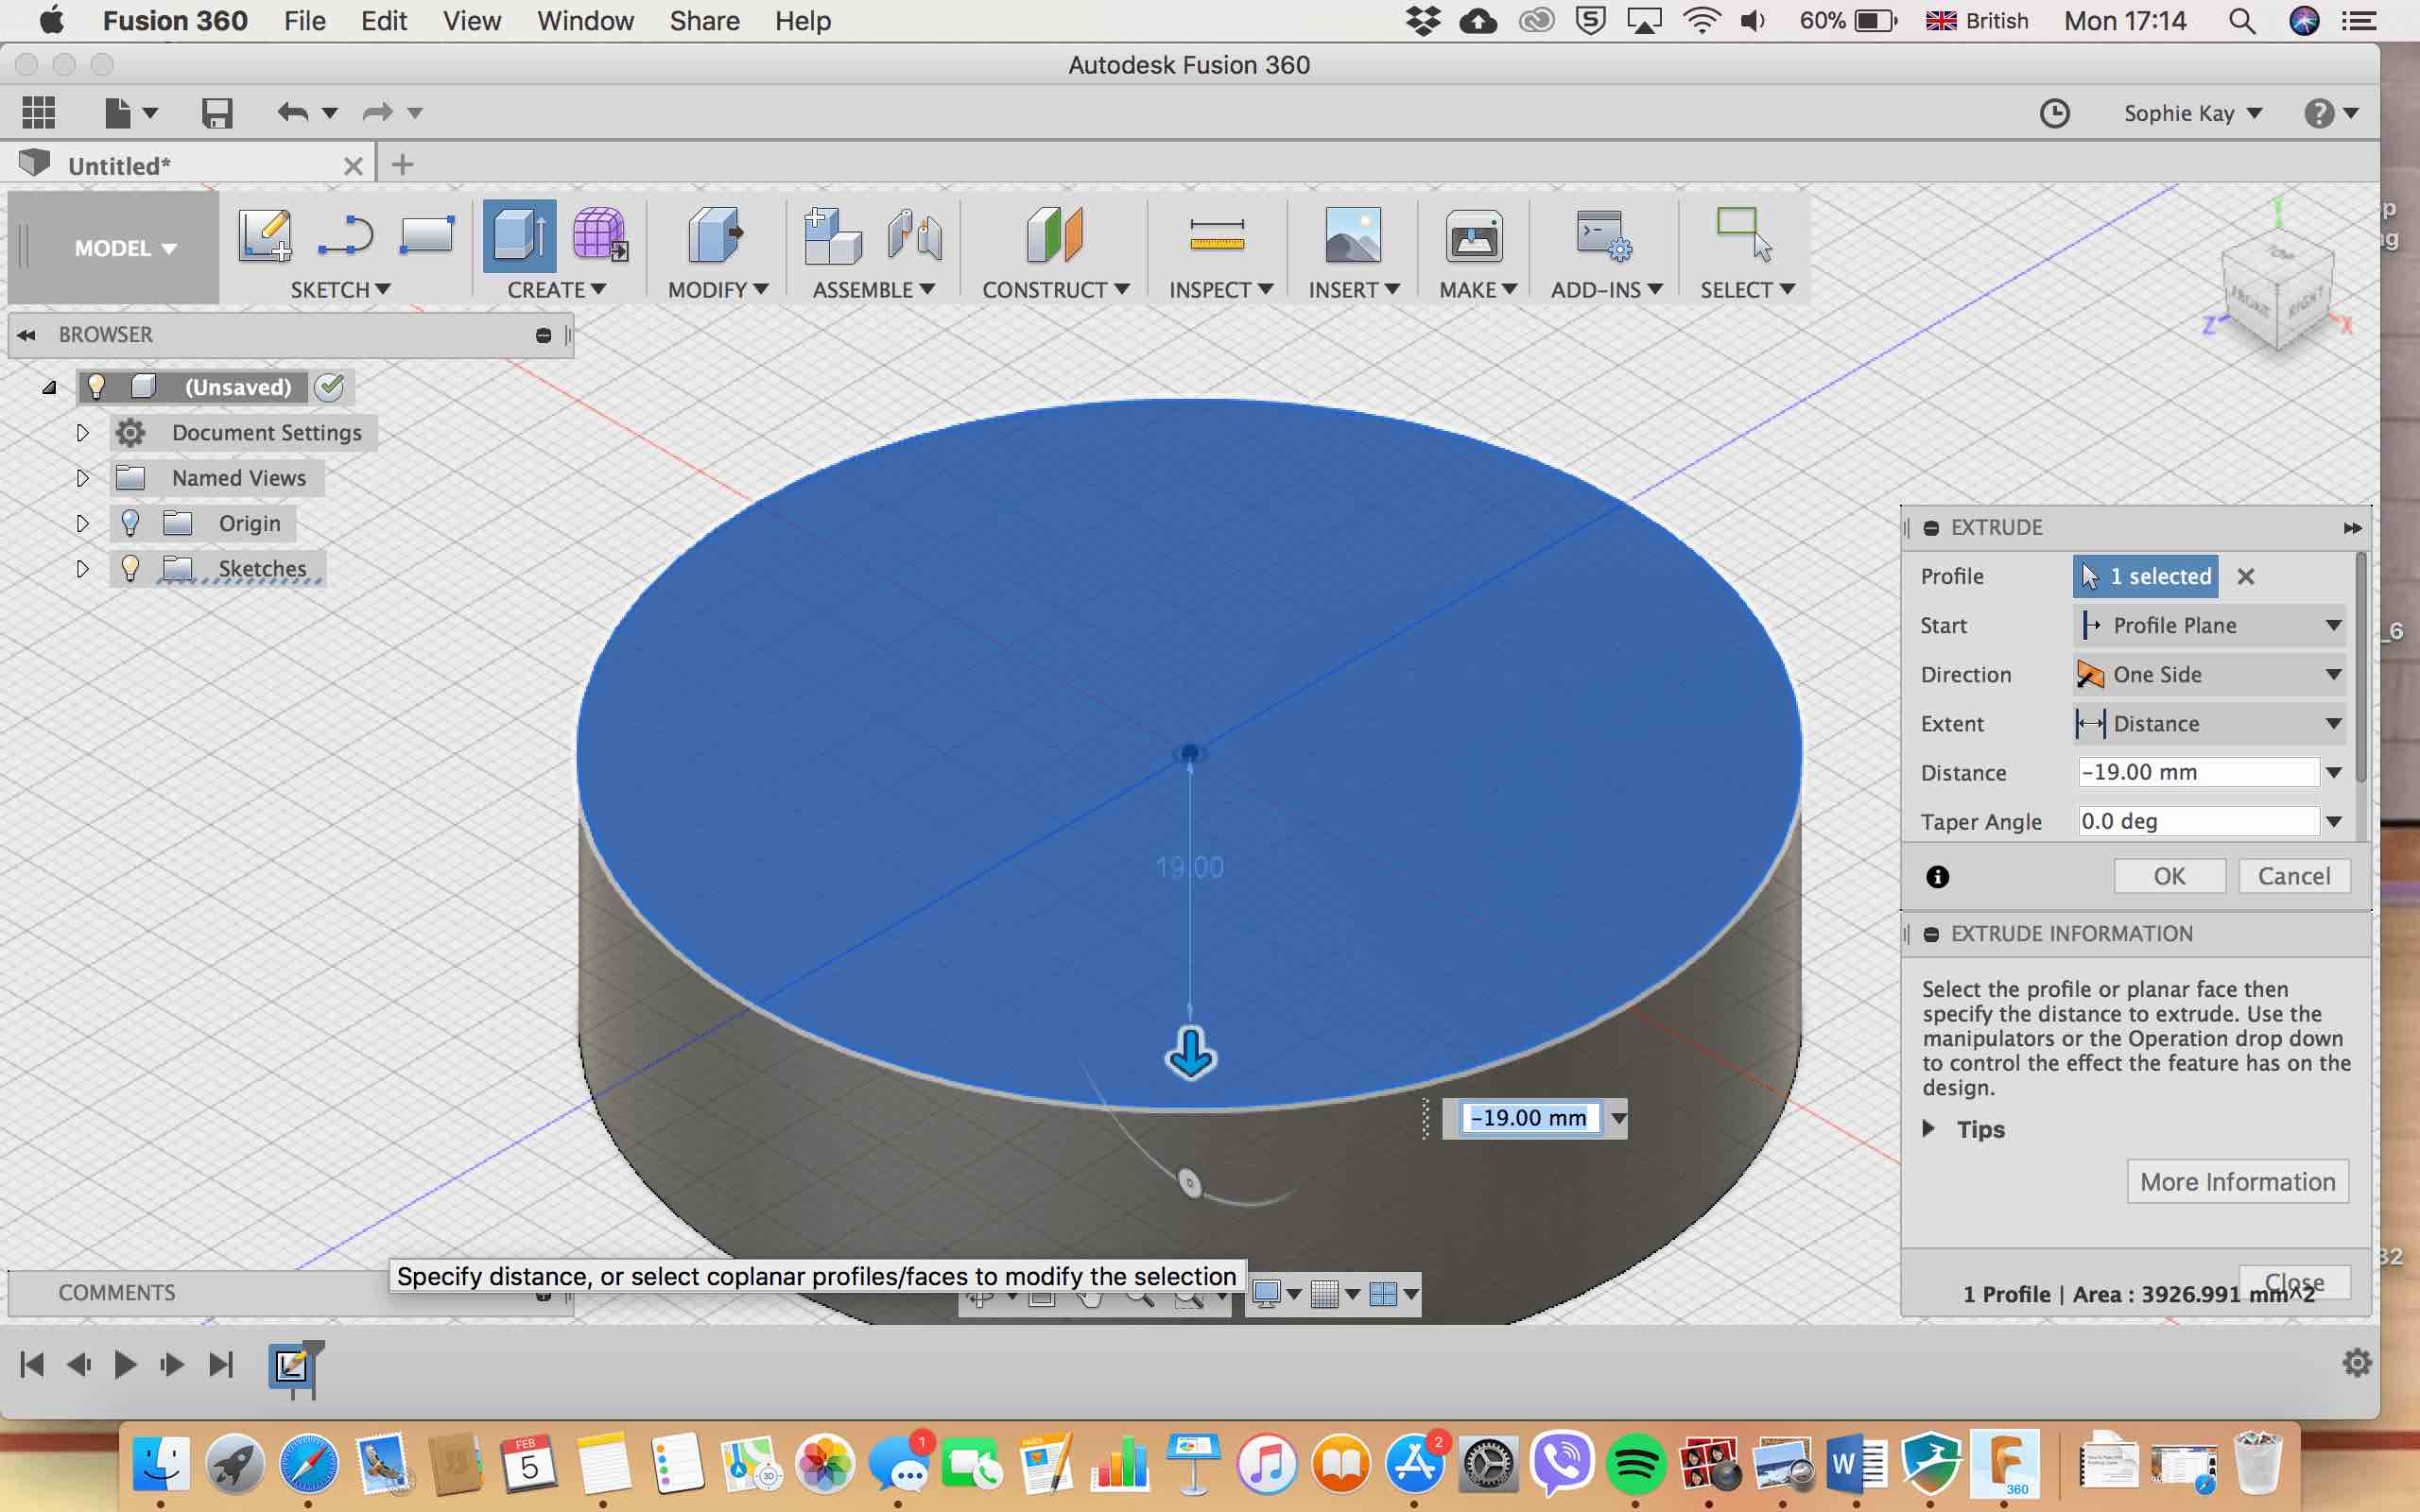
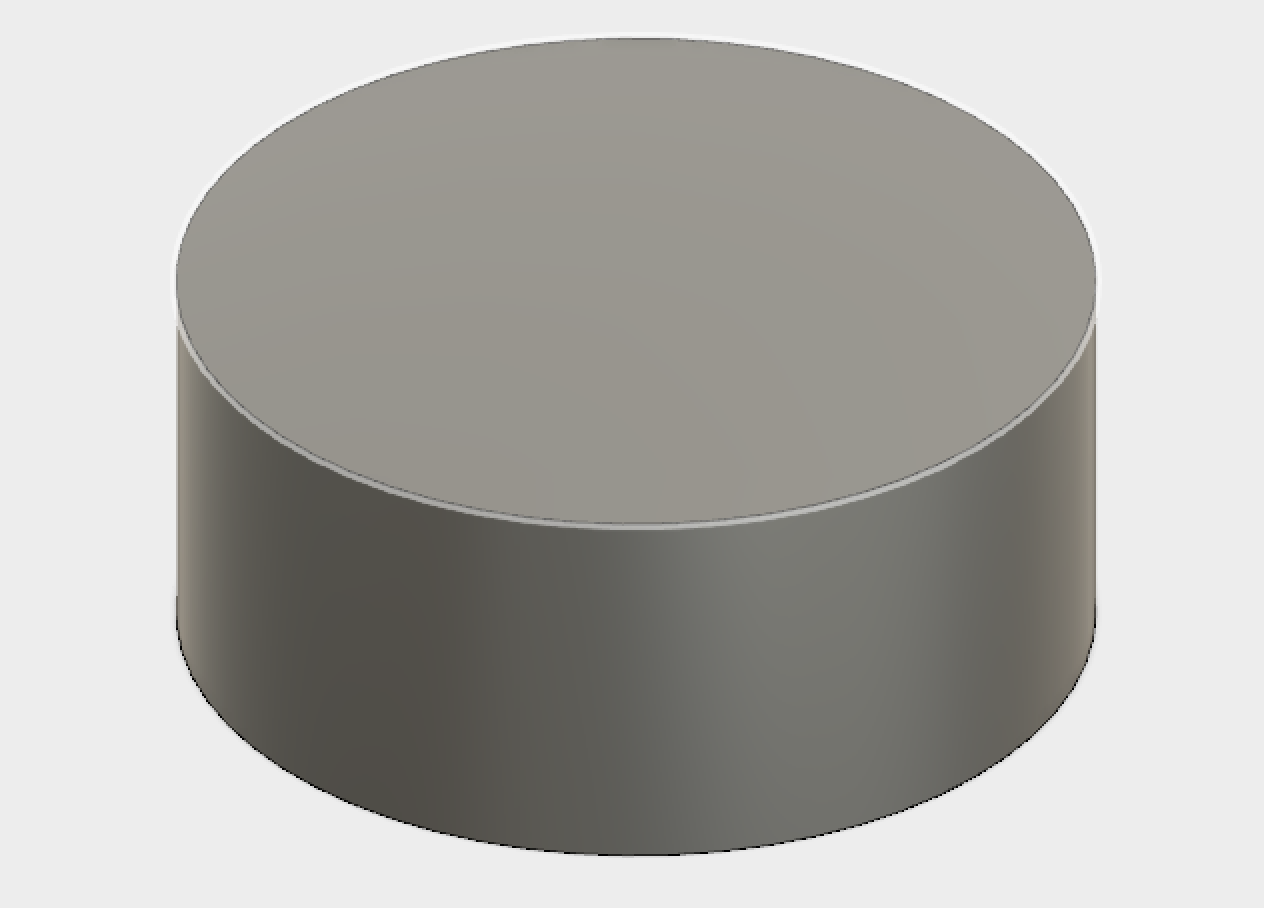
To being with, I began a new sketch and drew a circle. I then extruded the circle downwards, so it looks like this:
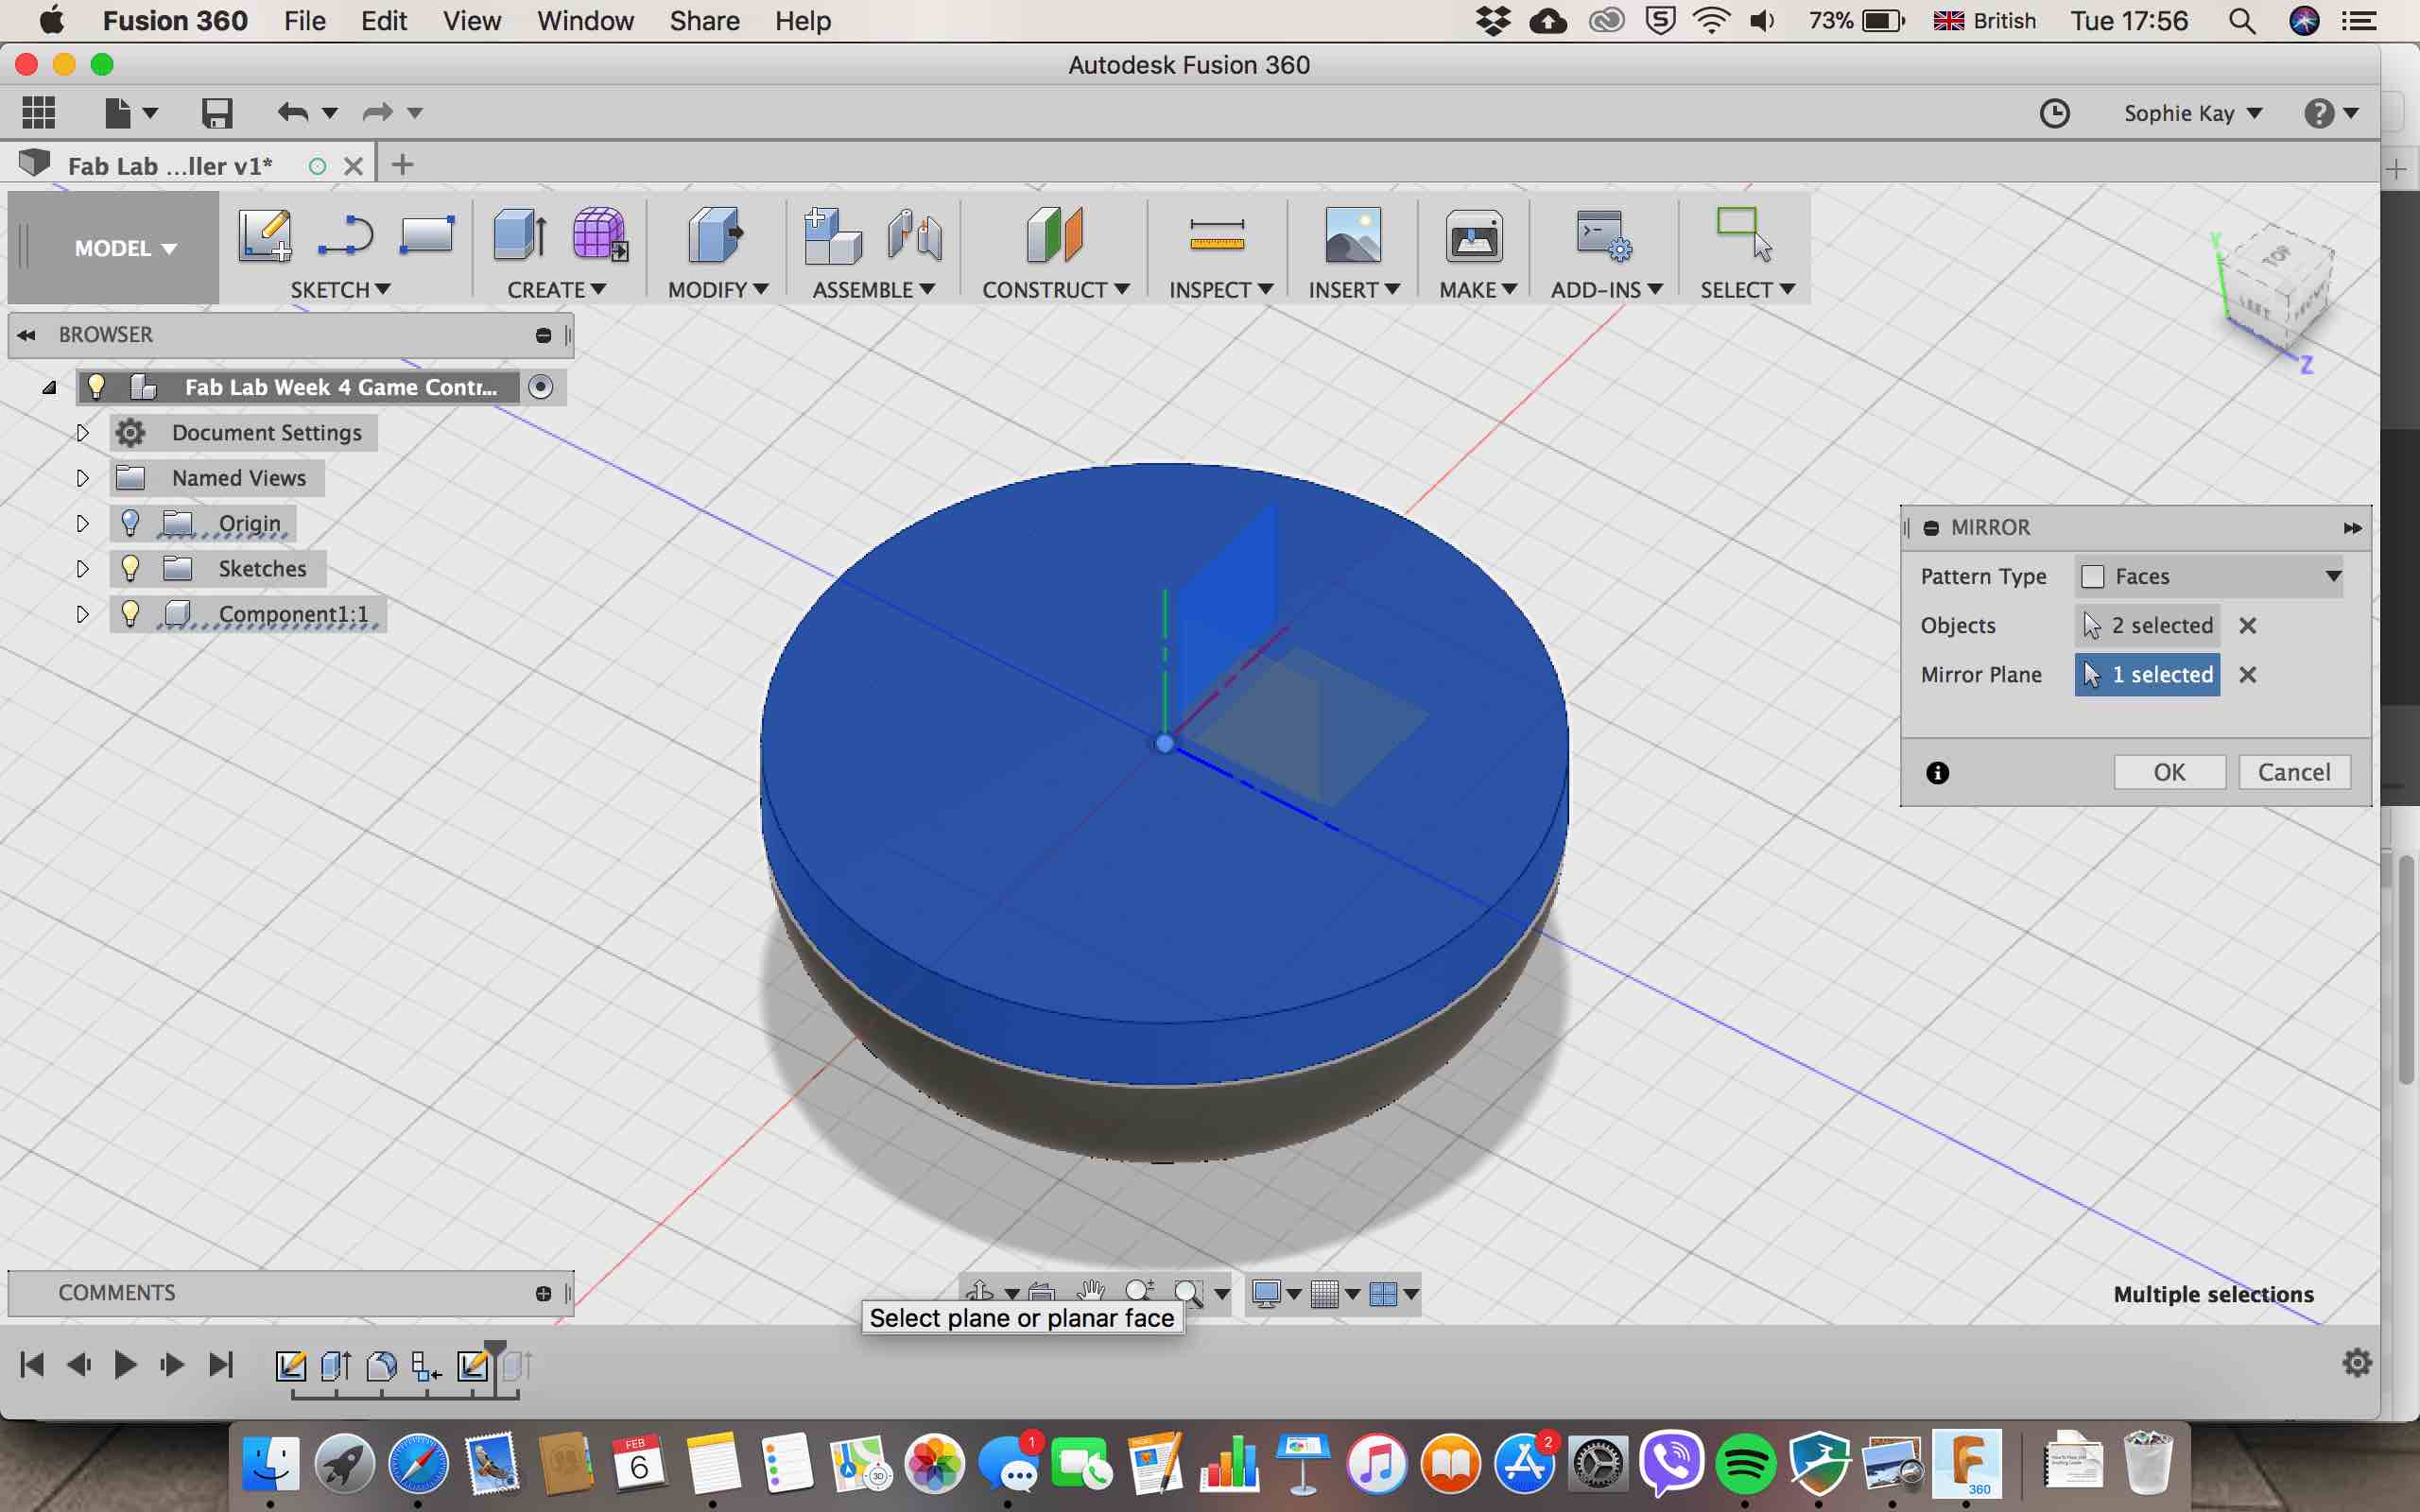
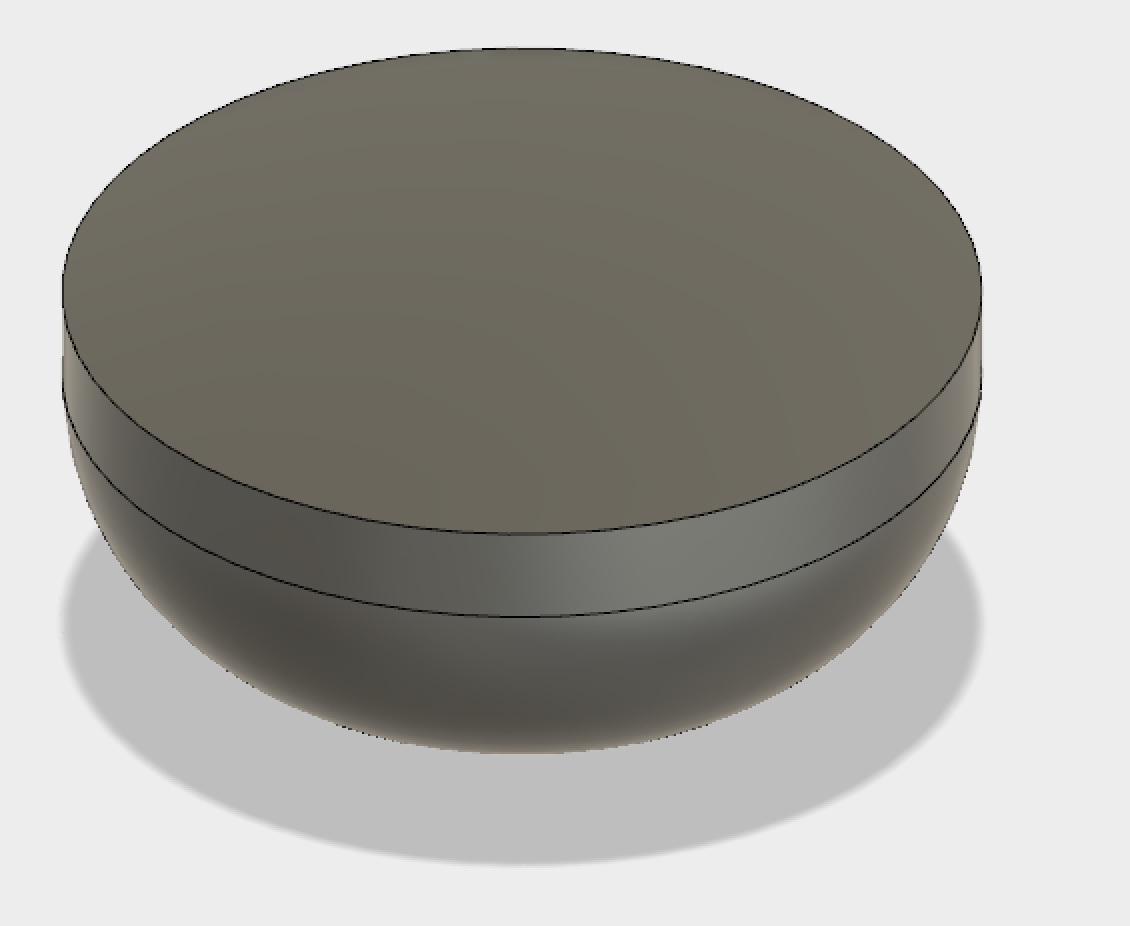
Then, using the the fillet tool, I curved the bottom of the circle, leaving a bit of the bottom part alone to make the flat surface at the bottom, and leaving a bit of the extruded part to later add my button, then made a new component from the body. This is the result:
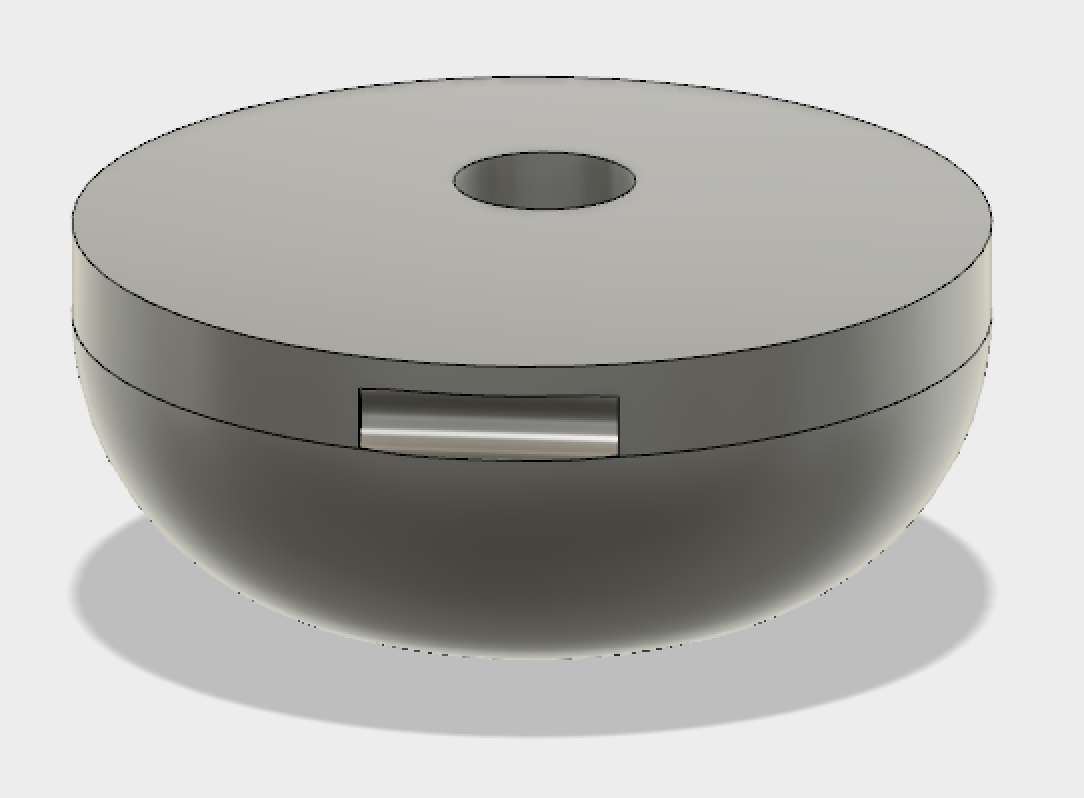
The next thing I did was to create a new sketch on which I drew a circle again but this time onto the component. I then extruded the circle so that it cut into the compnent. This was to make space for the button. I wanted a bigger longer button so that I could account for peoples various hand sizes. Then like previously, made a new compnent:
Onto the Joystick section....Here I again started a new sketch which i placed onto the top of the first compnent. I drew a circle with I then extruded. This would be the "space" where the joystick would then fit in:
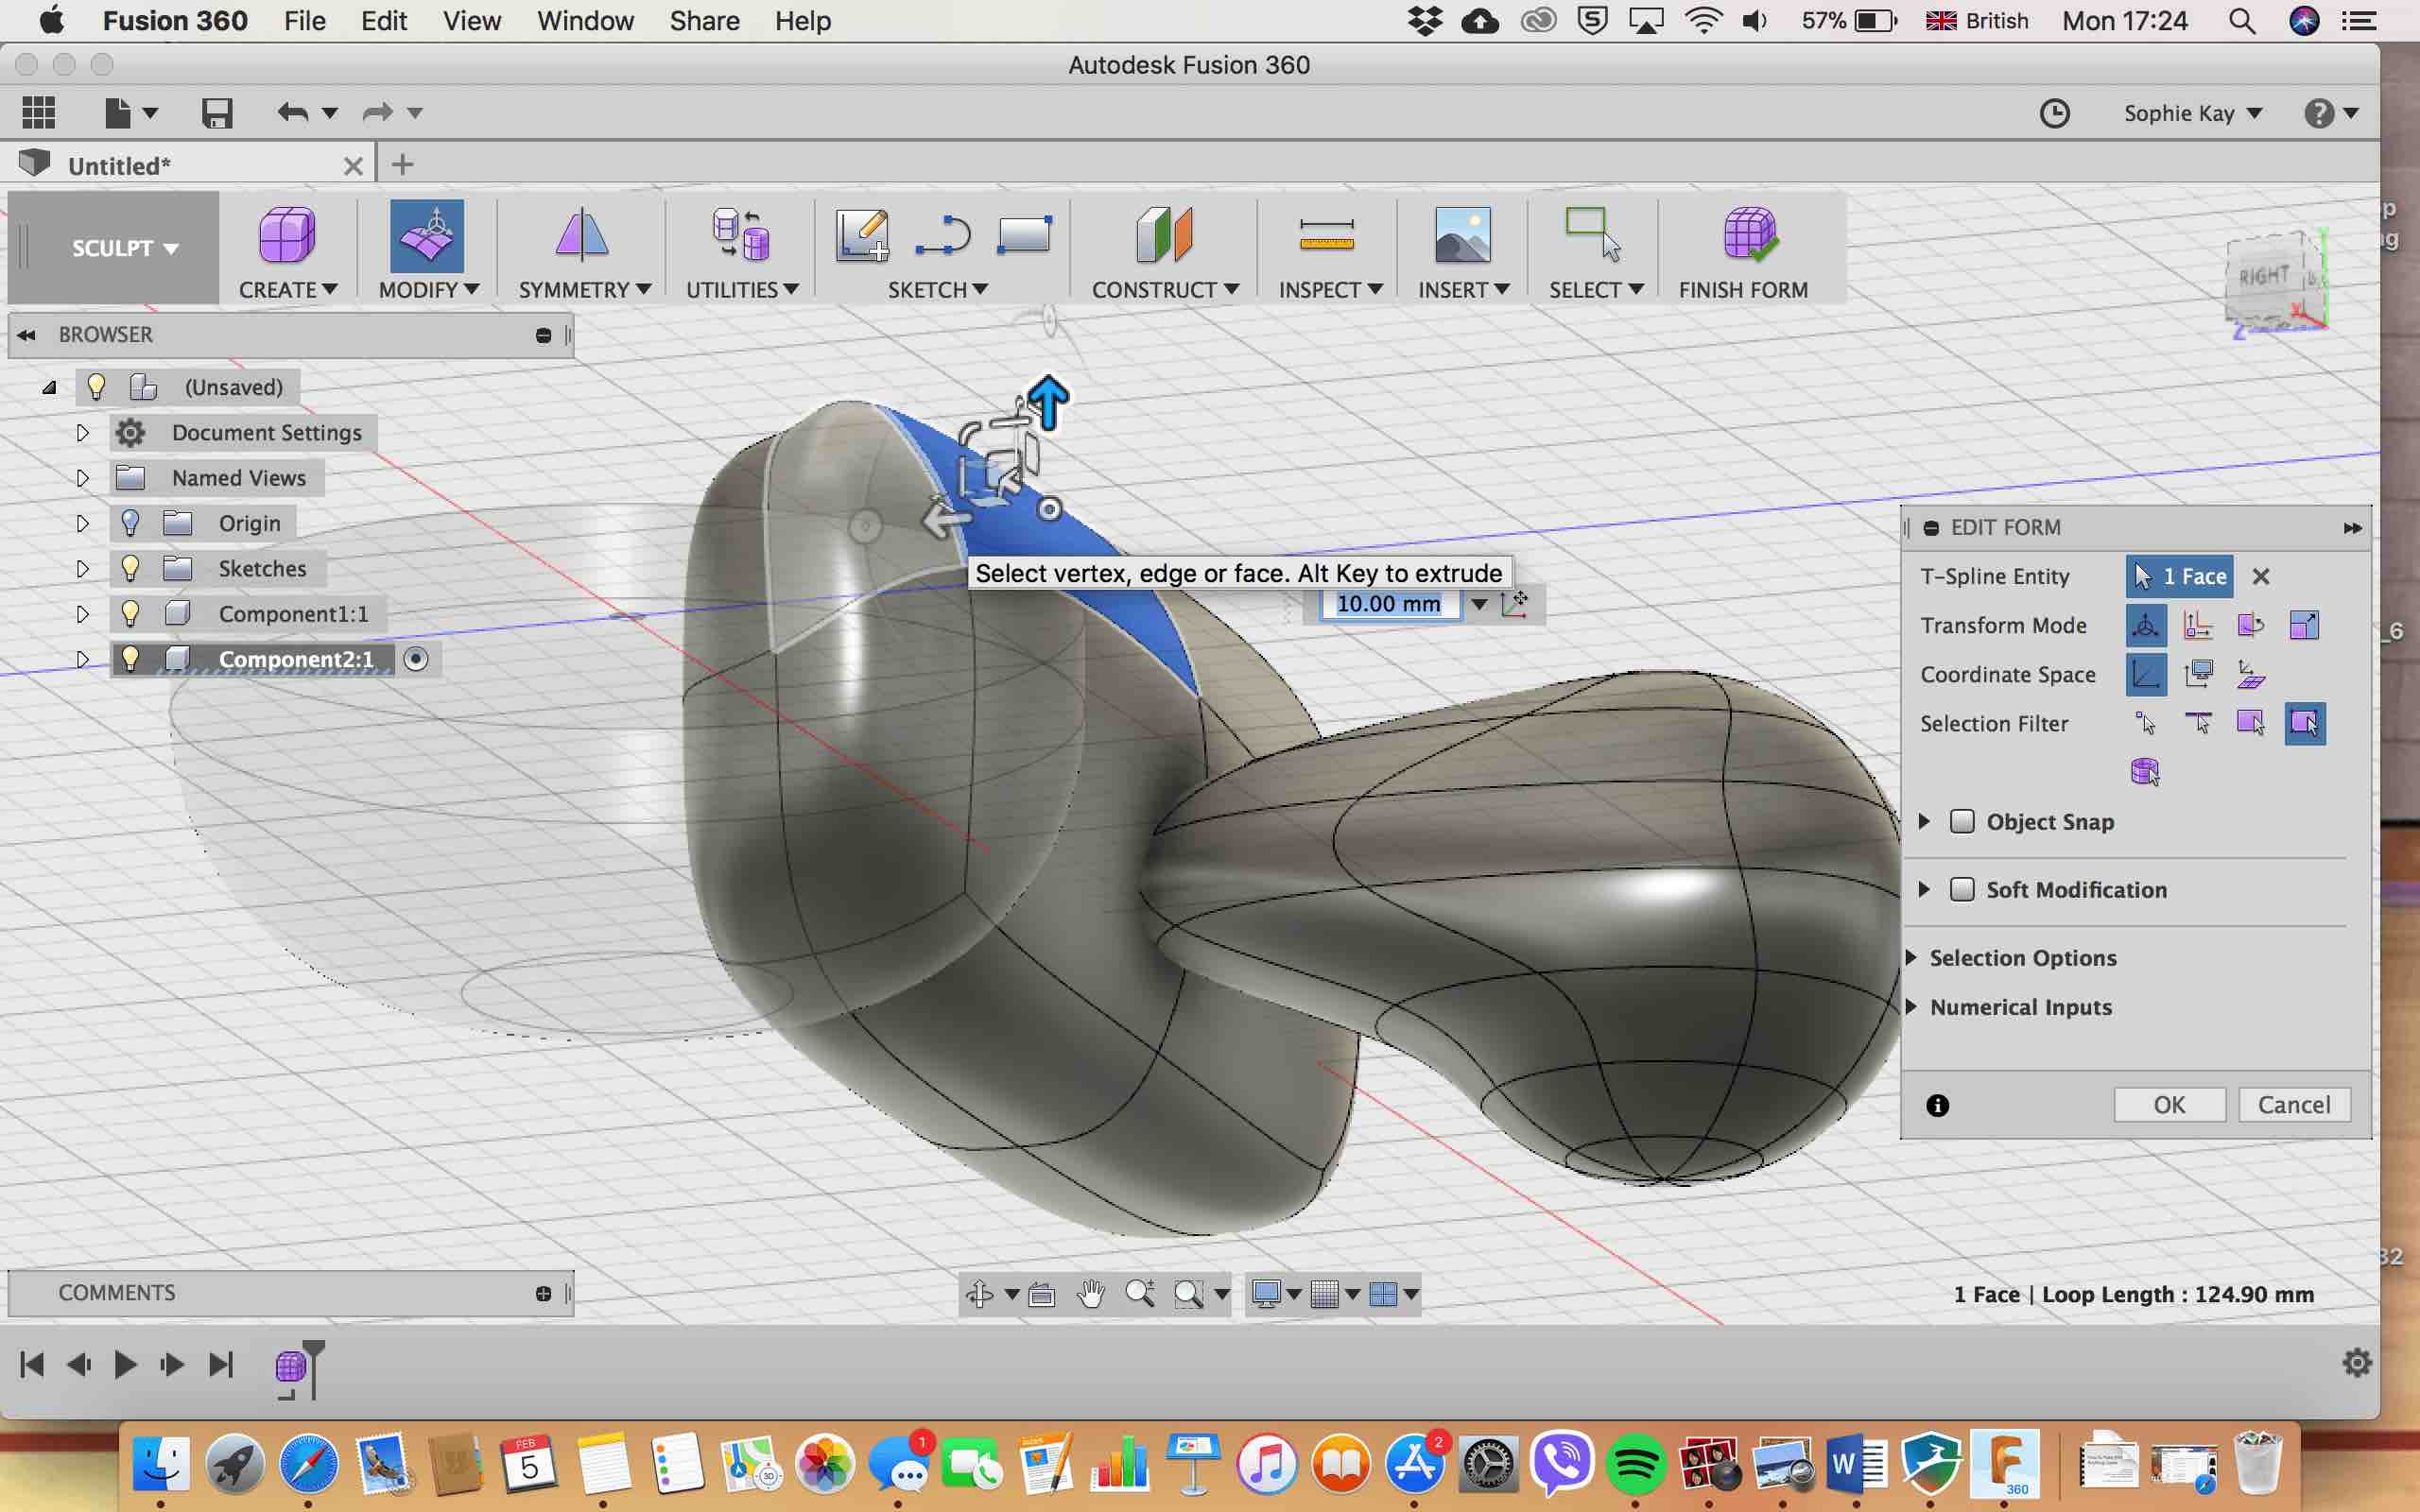
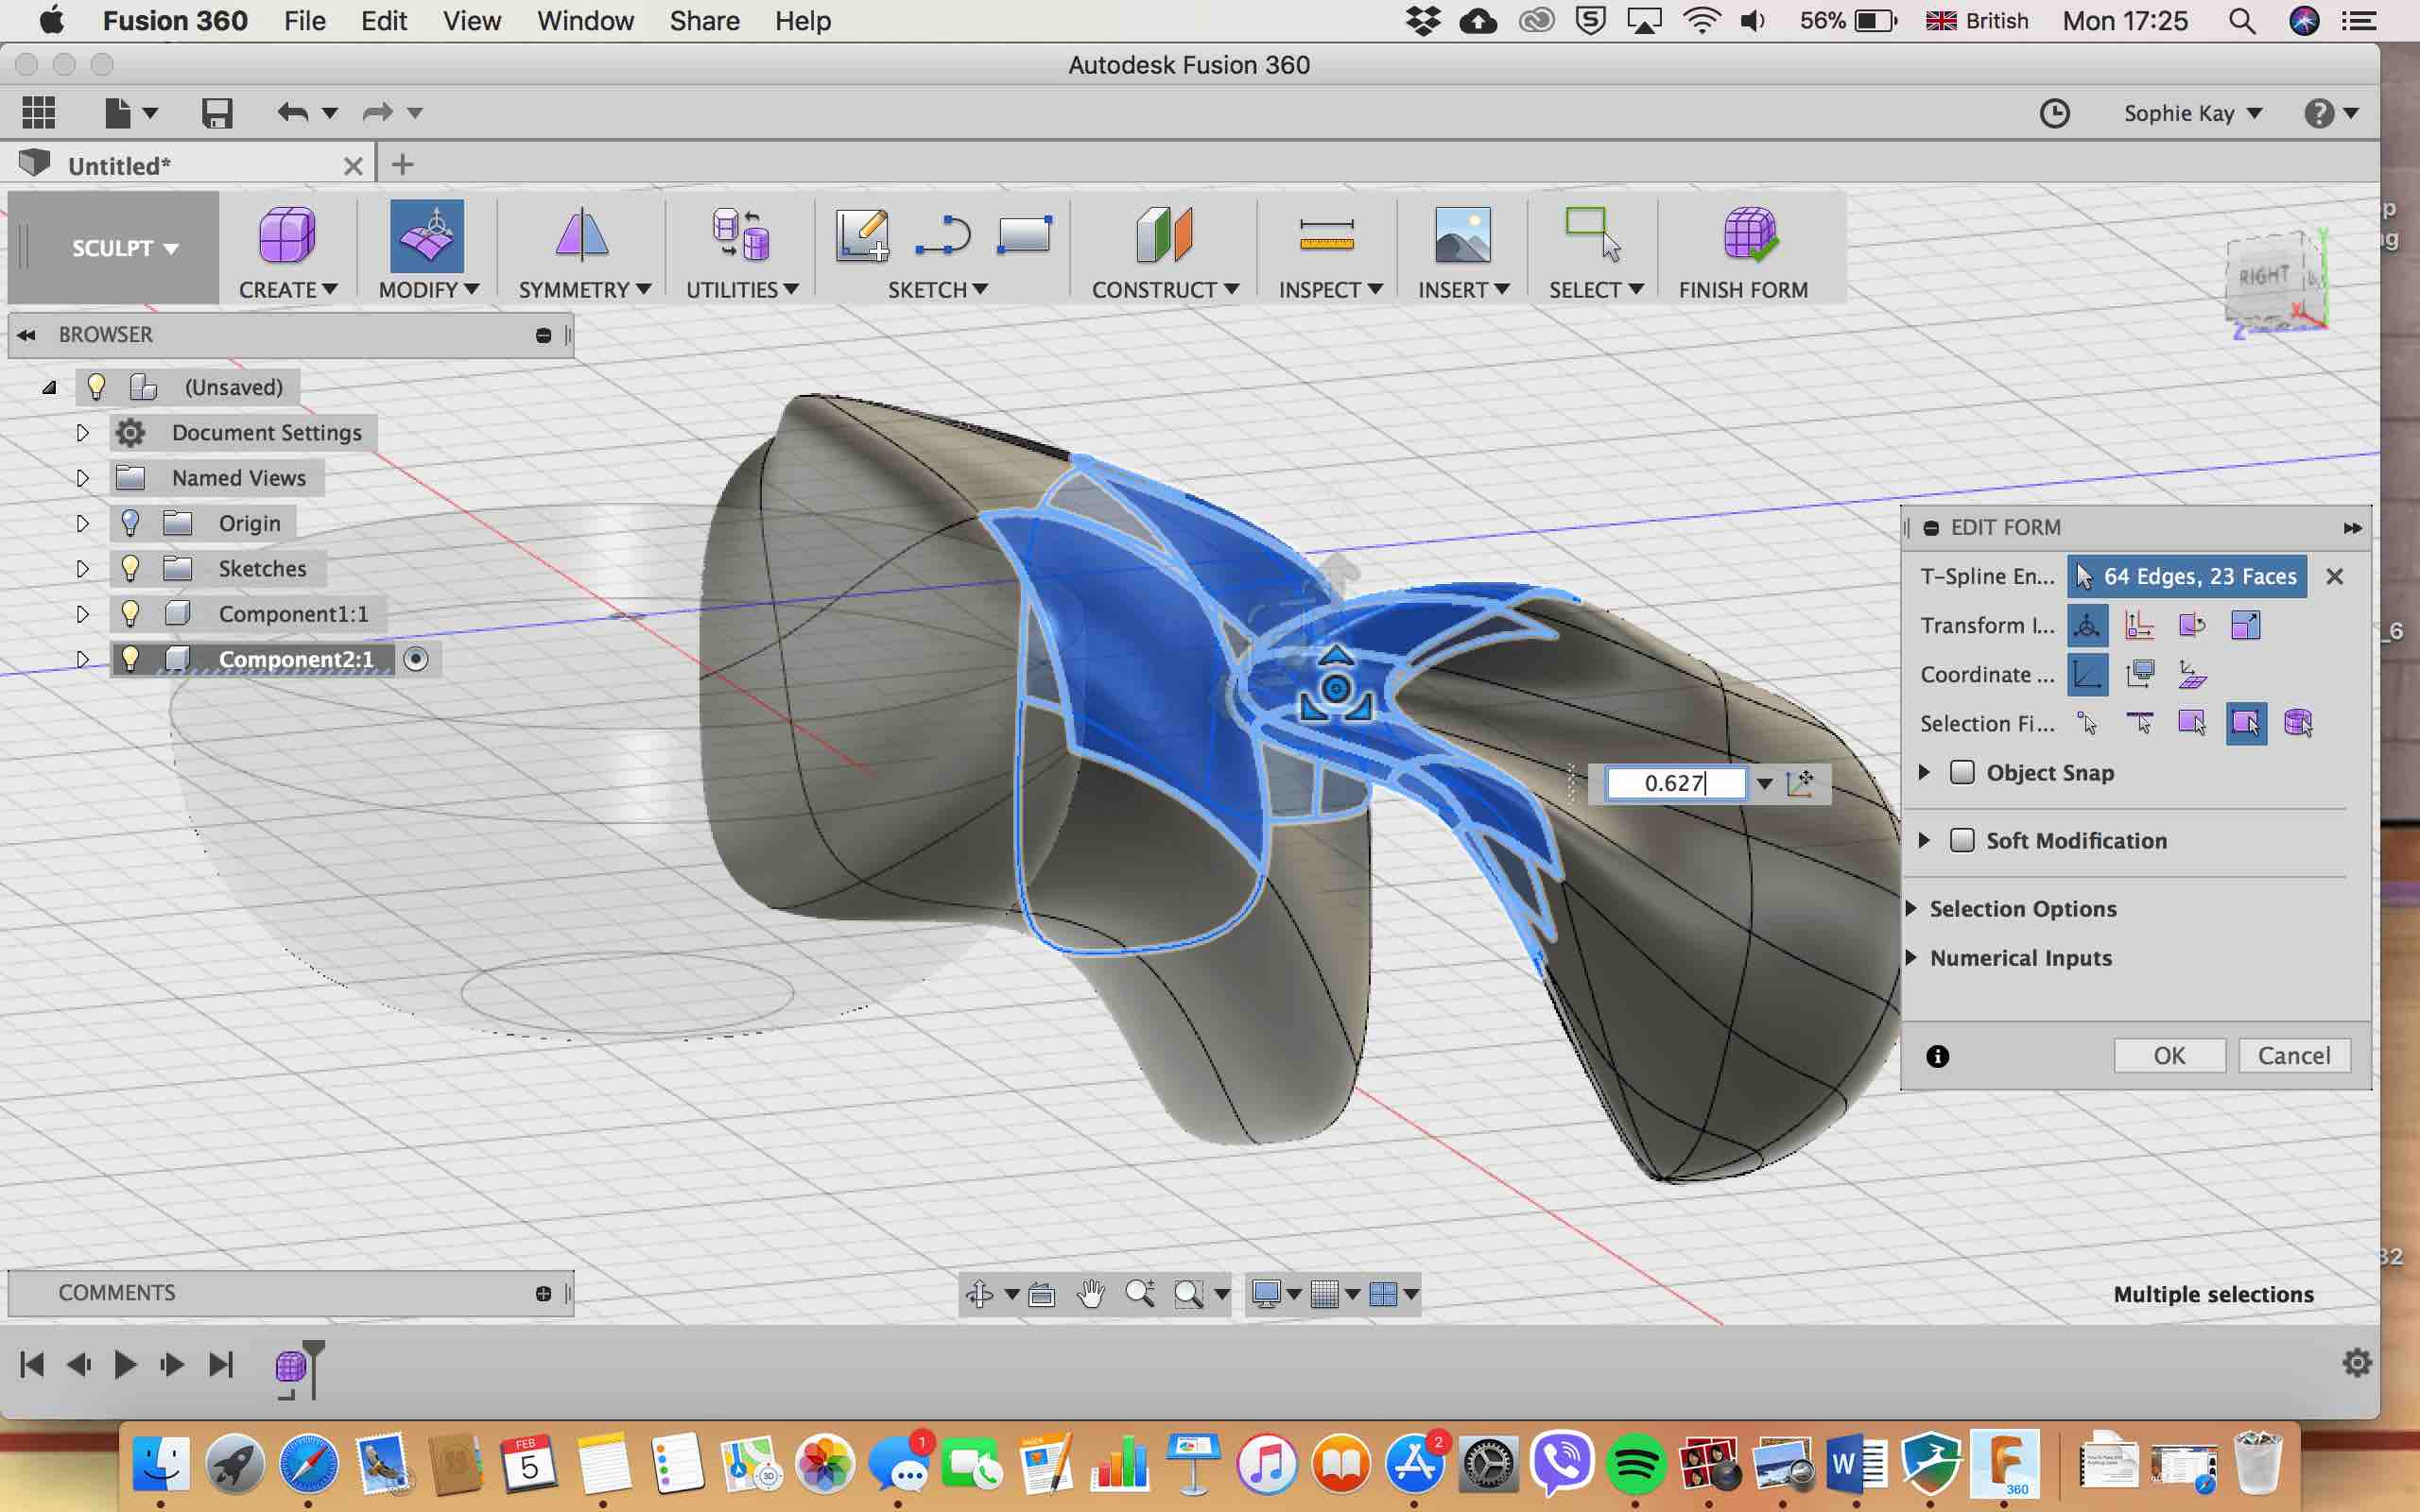
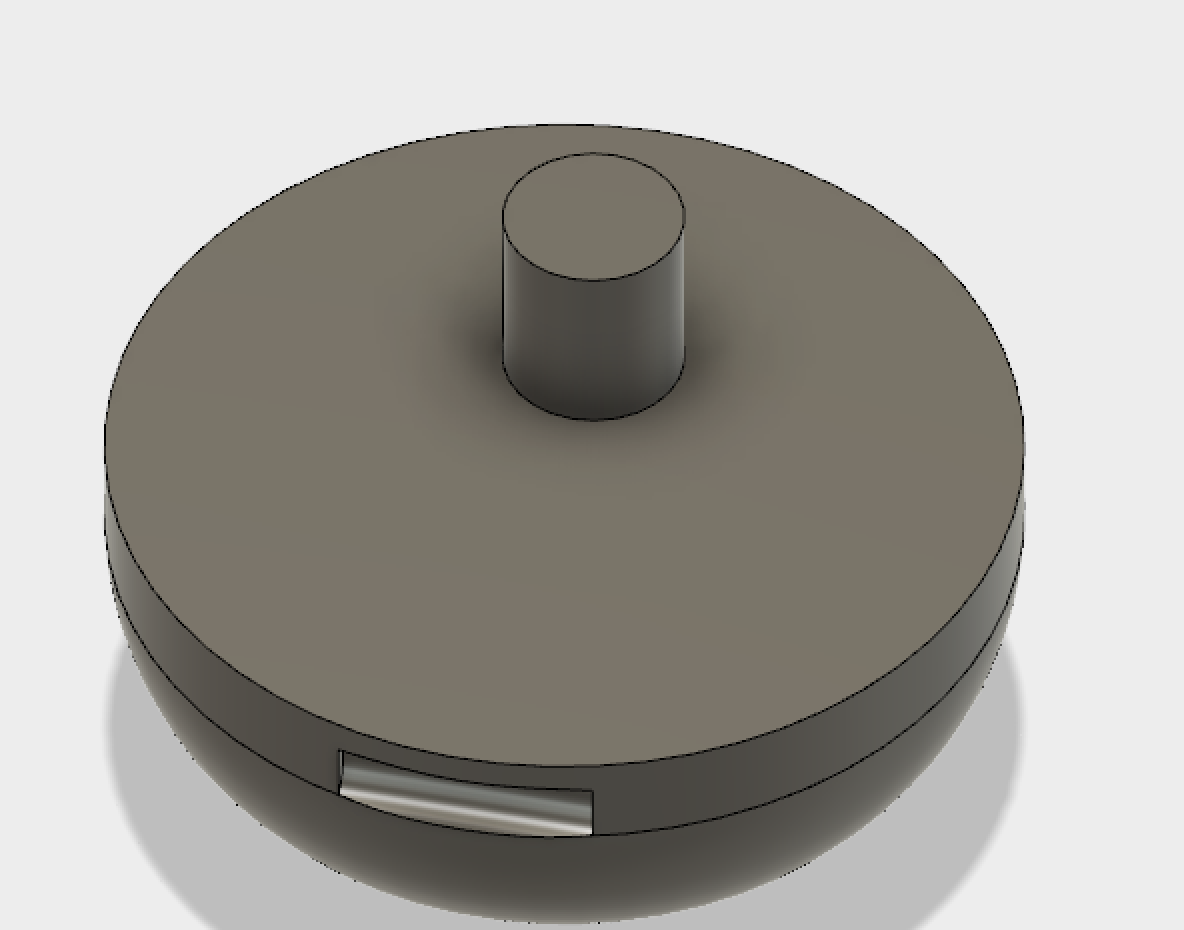
For the joystick section it was a bit tricky for me given that I am still new to Fusion. What the issue was, was figuring out how to create the top bit of the joystick. I began first by taking the empty space hole I made an extruded it upwards. Then I began a new sktech to make the pad bit ontop separate. This is where my little issue came in - the order of doing things. I first attempted to extrude this circle bit upwards, but that didn't work out well. So what I then decided to do was to extrude the pole bit of the joystick first, having the circle page bit still present. I then used the history scroll tool to go to the new circle sktech and extruded it by 1mm less than the joystick controller had been extruded by (the extra bit). This worked thankfully.

Although it took a bit to properly get the hang of Fusion, it's simplistic layout, to me, looked very clean and helped a lot when searching for tools. Especially considering the amount of time I had to learn it, I think the fact that I have now at the end of the fab academy cycle gotten quite used to it to a point that I have found myself helping others, proves that it is a relatively easy software to get to grips with. I found it much less intimidating than Rhino. Rhino felt very overwhelimg and I only ended up using it once or twice during the fab academy course run. I am not sure if it because of having all the tools displayed (or at least multiple) whereas there aren't as many in Fusion, plus the color of Rhino, just made it hard to "get along with".
Although I have used Photoshop before, and both Illustrator and Photoshop are somewhat similar and made by the same company - Adobe, it has taken some time to get to know it and it's functions. I am still getting to know it. Bit of a love-hate relationship.
I decided to go back to it afterwards and create a simple shape by hand to then vinyl cut later. I thought this would be a nice way to use two skills at once and refresh my memory on how to vinyl cut in the process
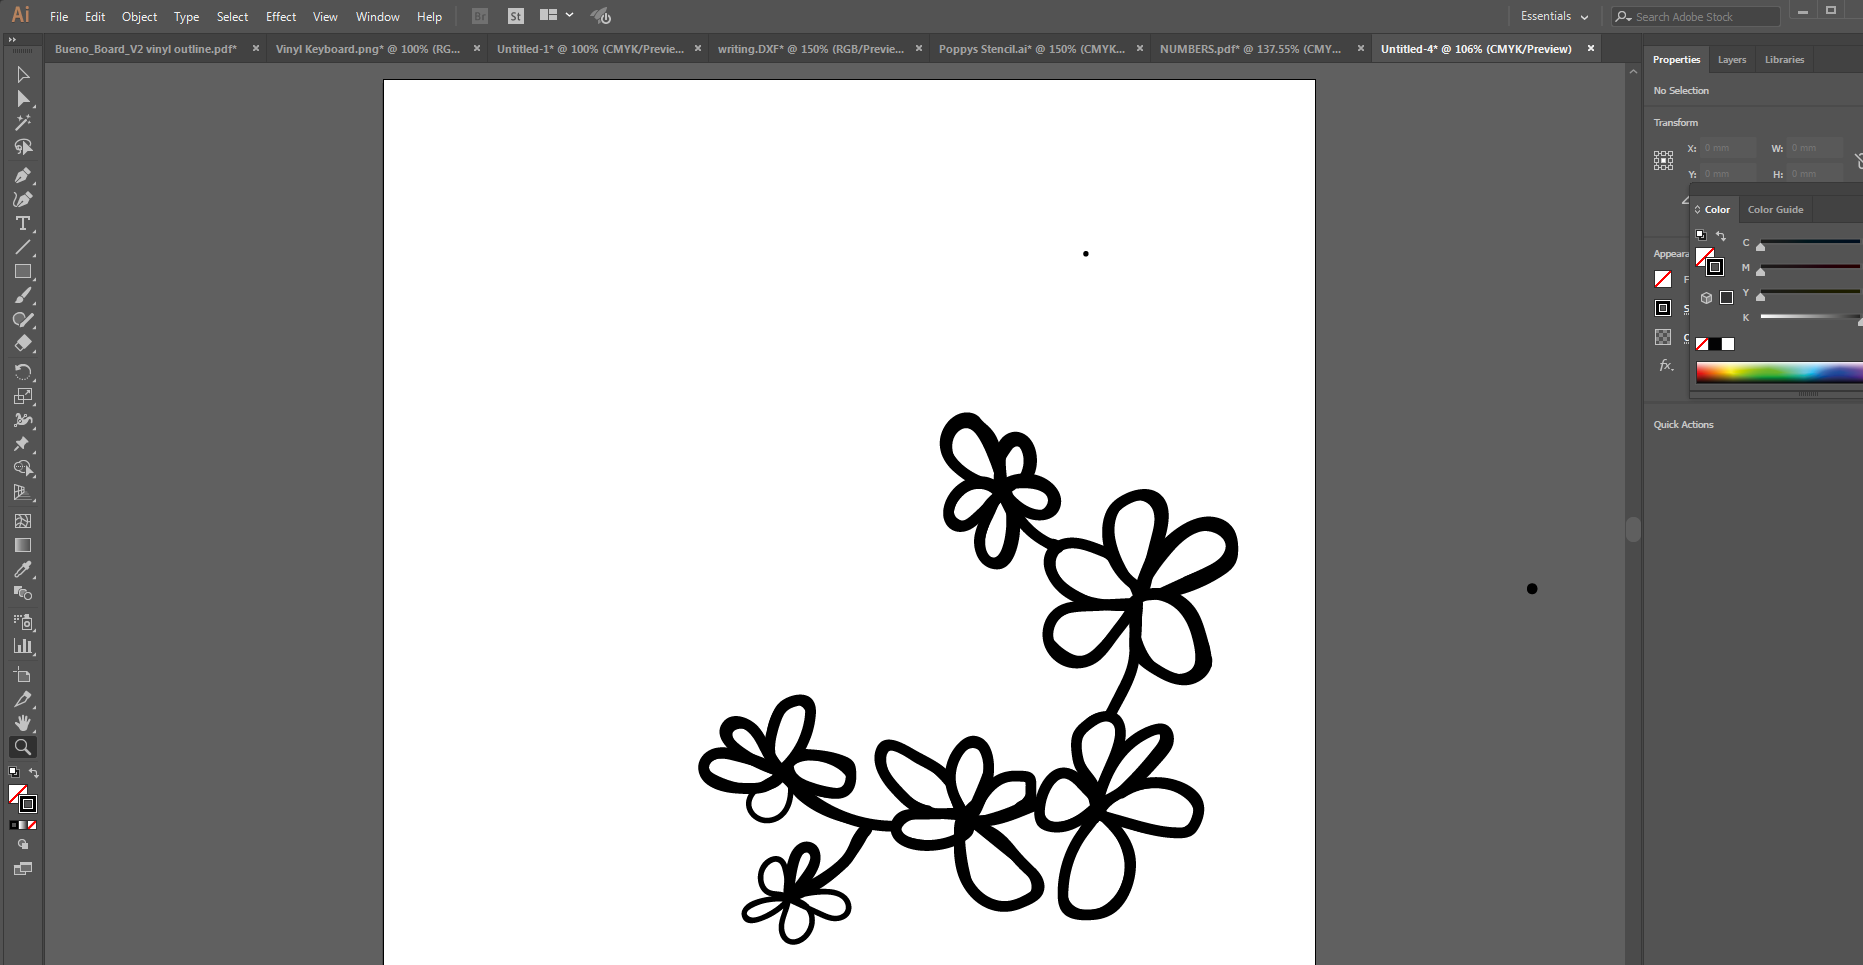
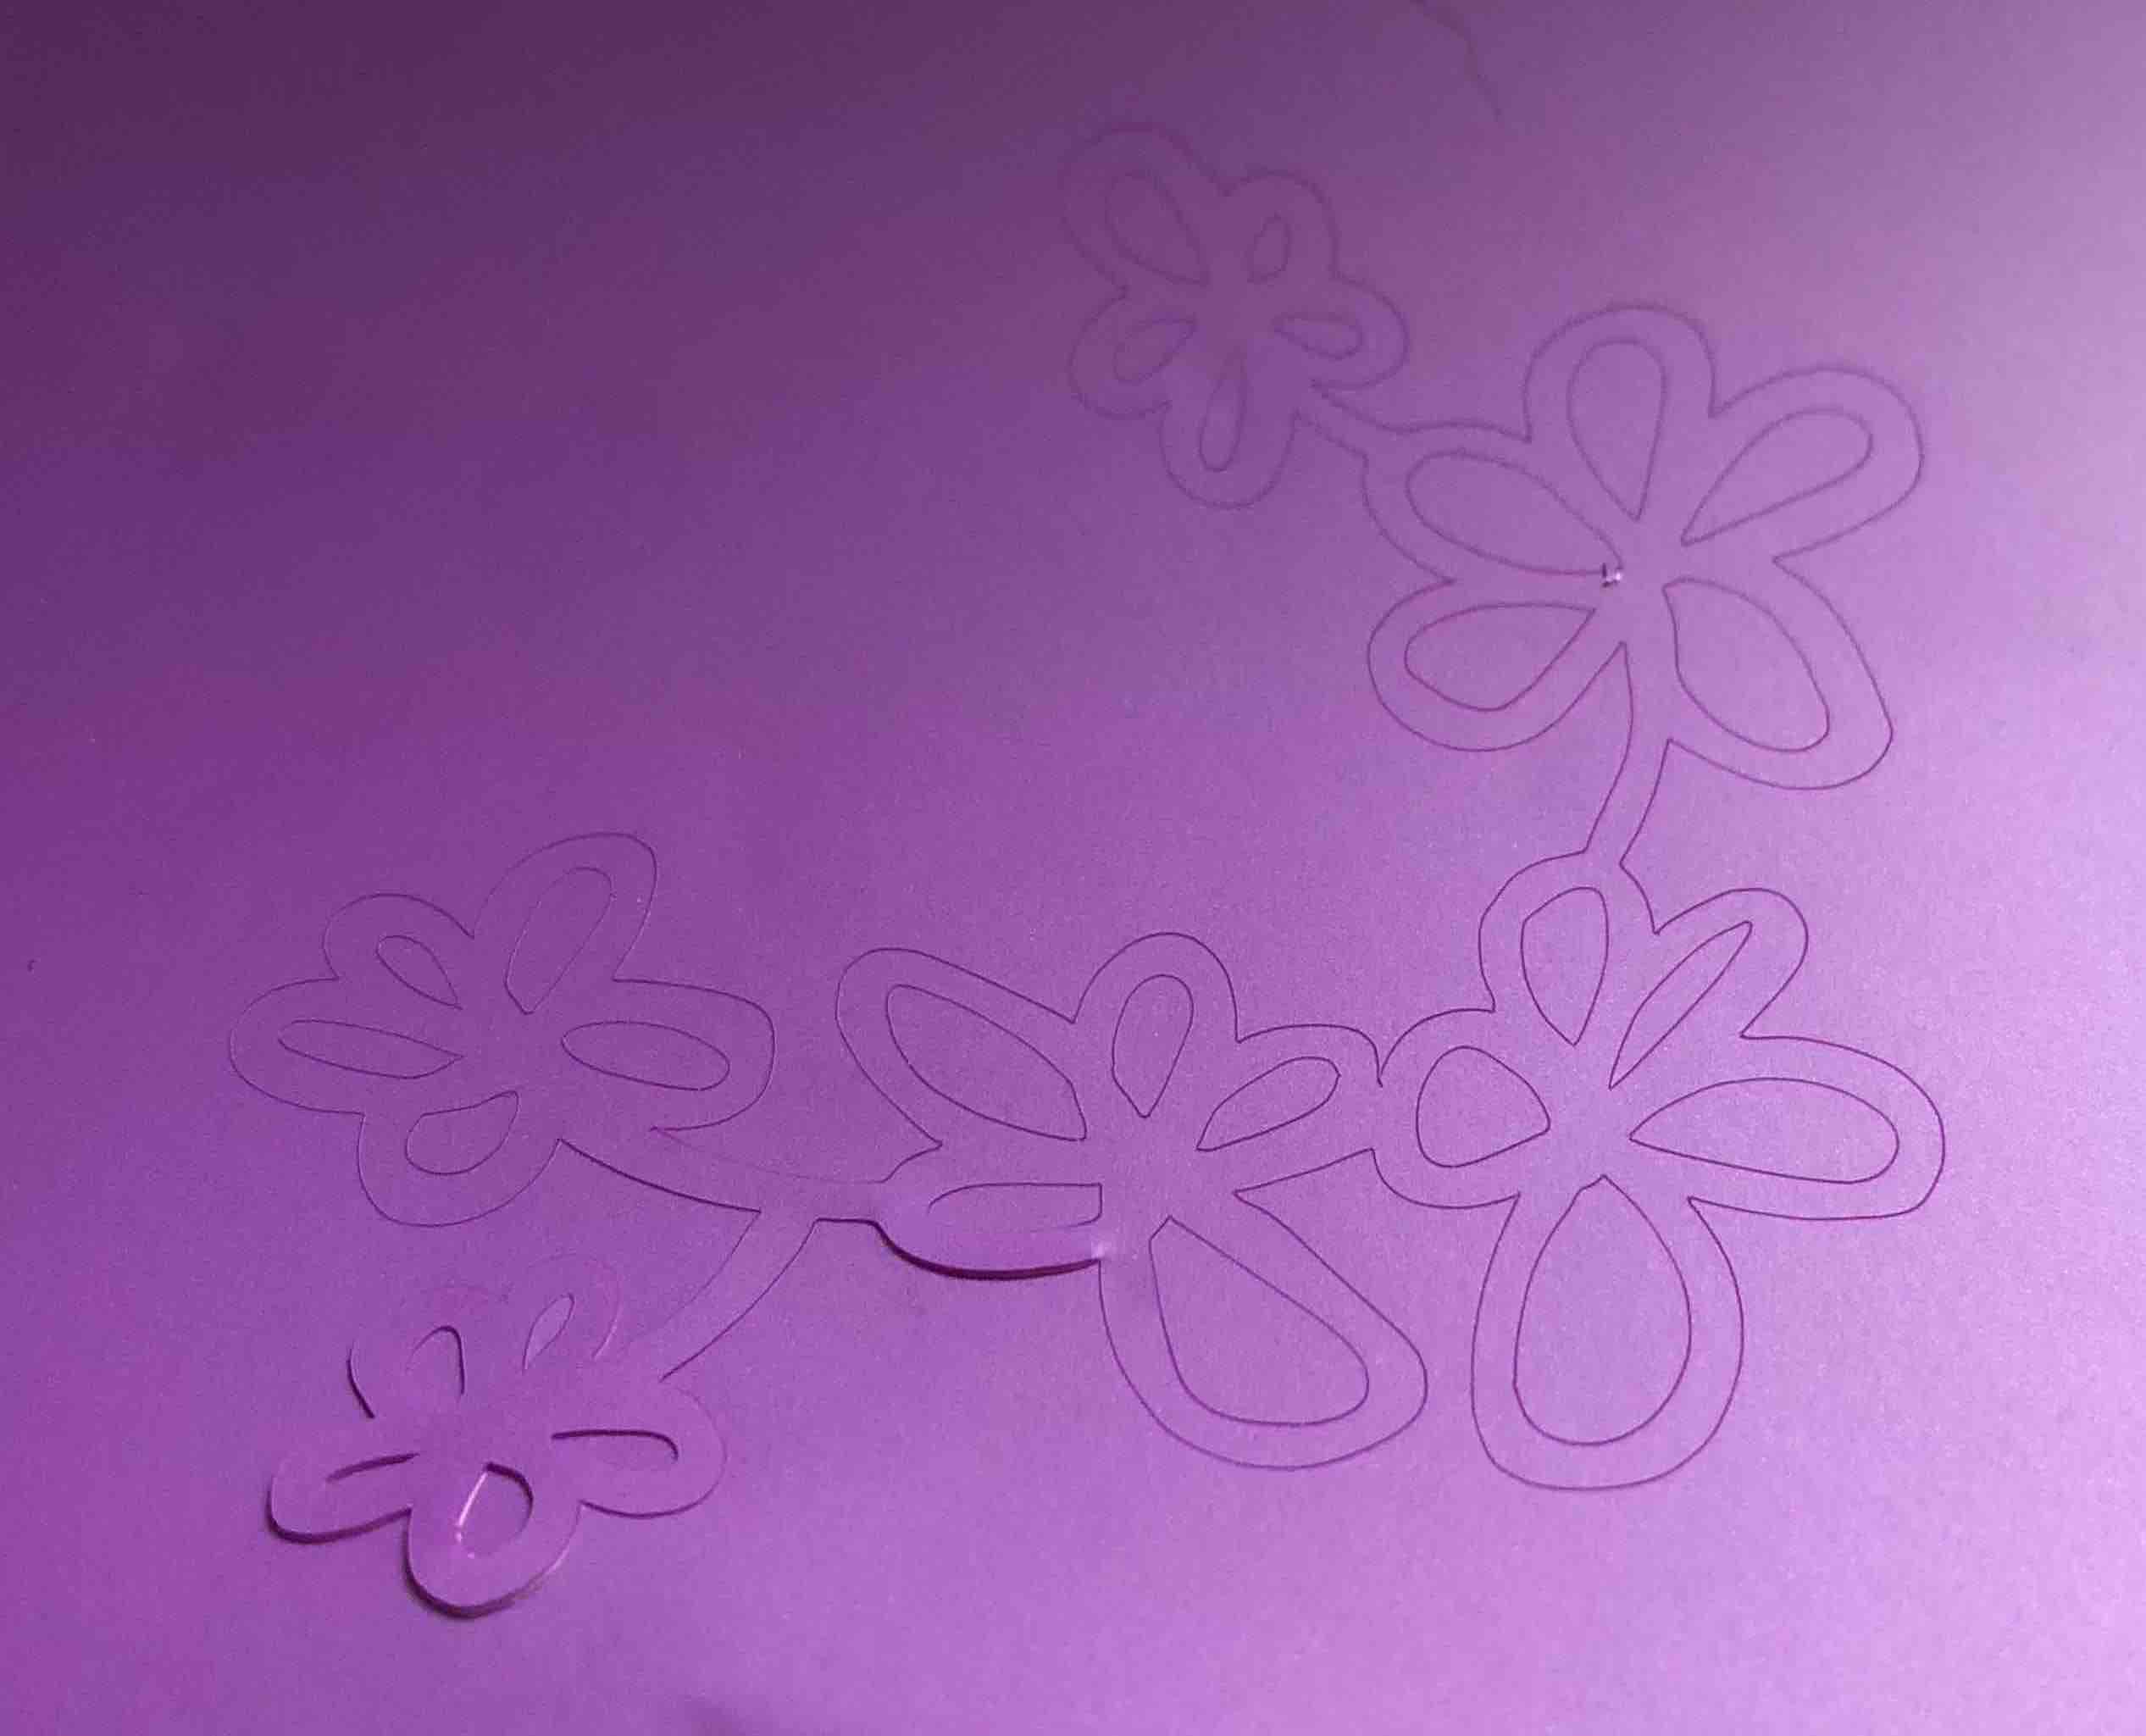
When I doodle, flowers are always my go to thing to draw. They aren't perect ones but I always draw 5 petals, always starting from the inside going outwards. So I hoped on to illustrator in the hopes of turning my flowers into a sticker.
I began by drawing the flowers like I usually do. Till it occured to me that as things were, it was just a bunch of stickers. So i connected them all with a line that was curved so it looked more incorporated. Usually I make my flowers close knit together so I can form shapes from them, but I forgot that this situation would differ.
The next thing I forgot to but then acted up, was to take into account the width or diamter of my brush tool as it would be the thickness of the stickers that are cut. So I had to go over my flower all over with a thicker brus. This was a bit tedious because I had to make sure I wasn't completley eradicating the shapes in some places as some of the flowers as you can see in the image are smaller than some of the others, and some of the petals of some flowers are closer together than in others.
To see how I did the vinyl cutting/to find out how I did it, go to my documentation for week 3
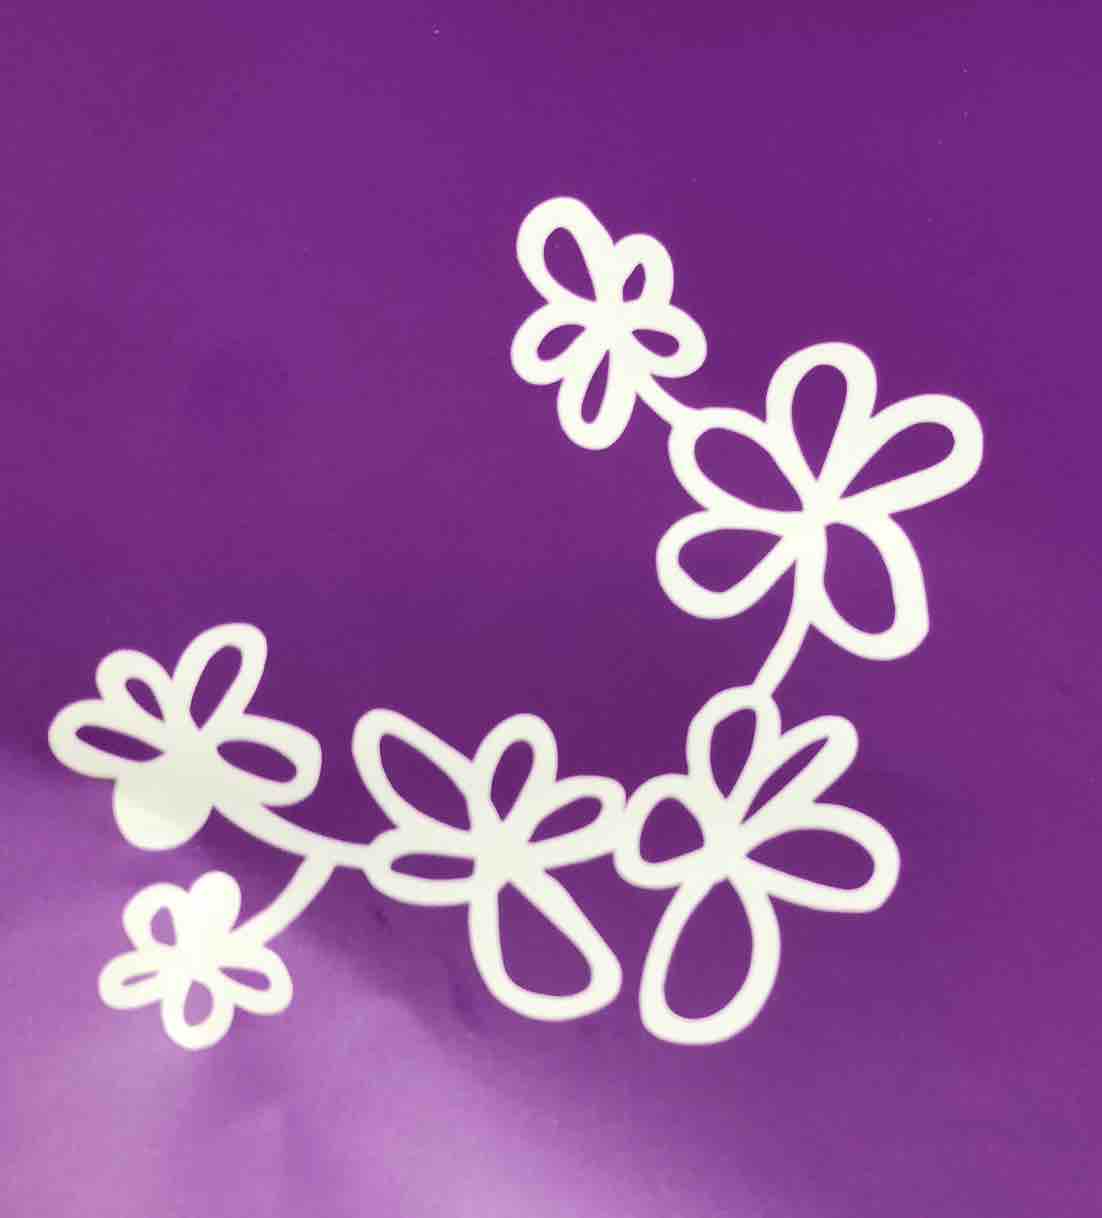
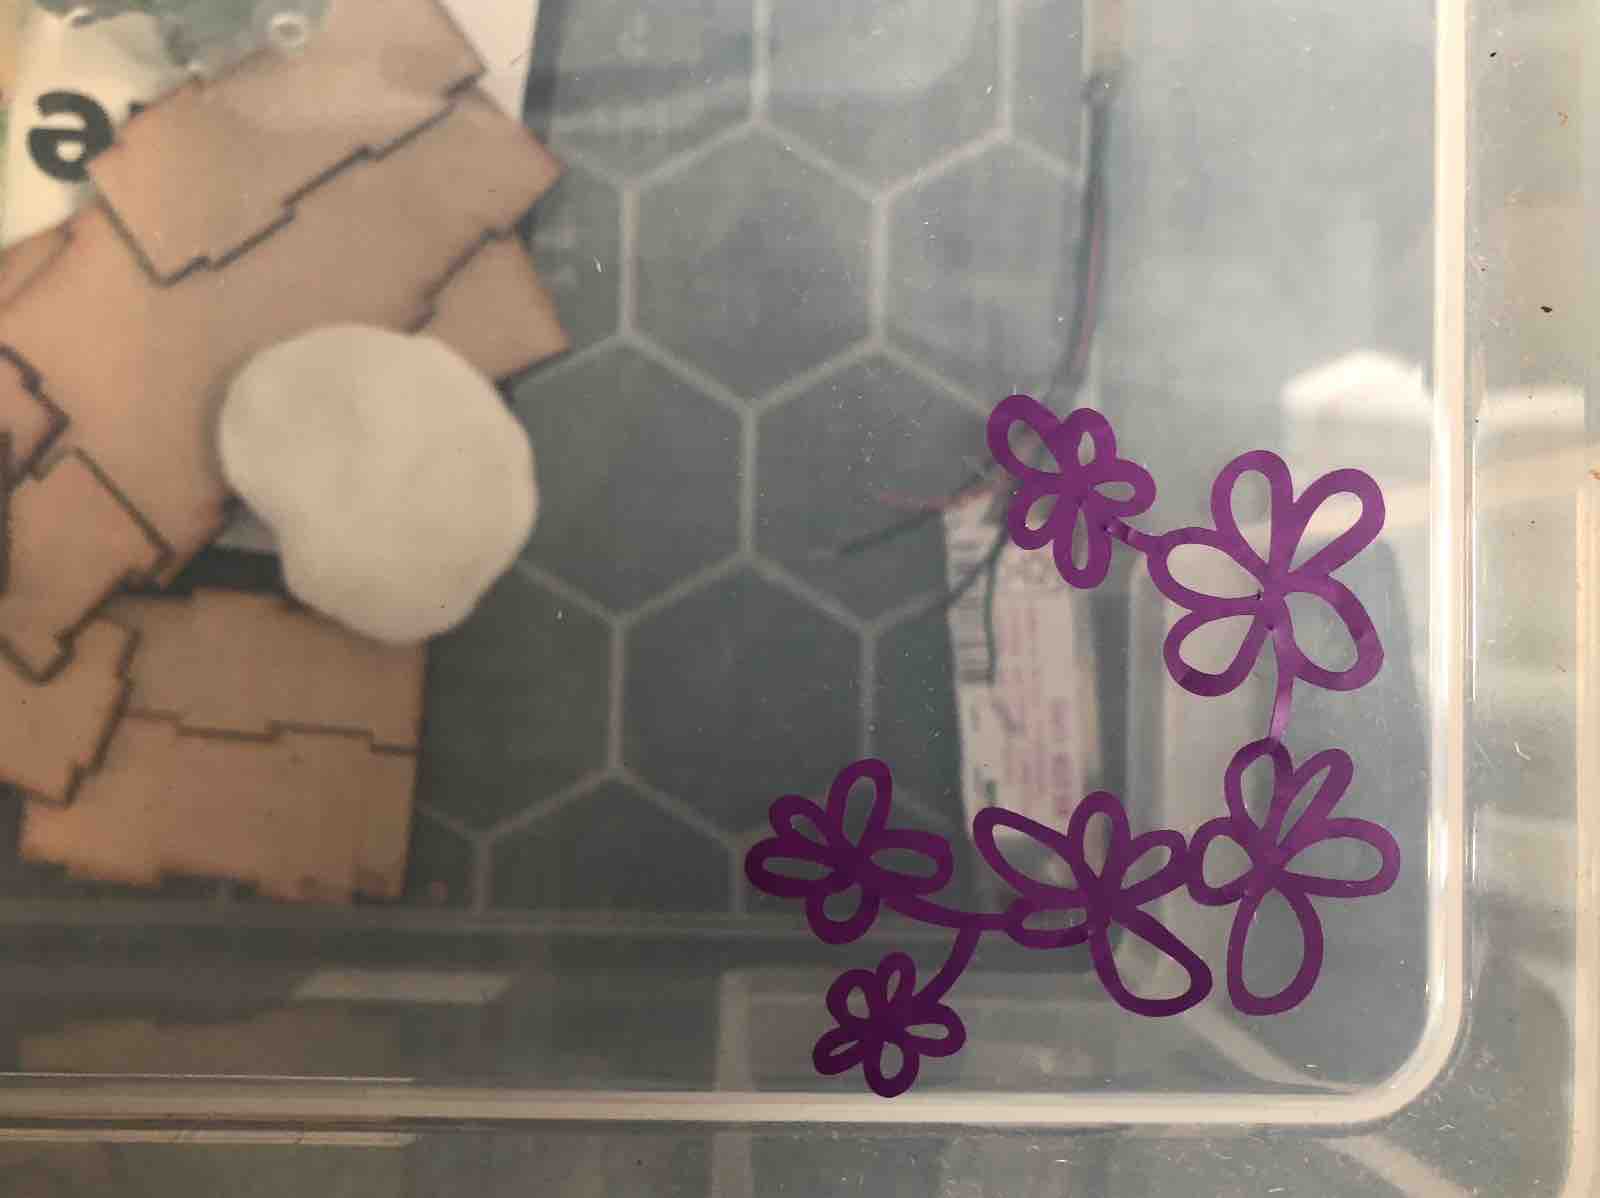
Once I did all that, I hit print and, well, it didn't come out right.This was proof that it was definitely worth refreshing my memory on vinyl cutting. What had happened was that the machine had read the previously drawn lines as they weren't all group together. To fix this, I simply exported the image and a .png and then "placed" it back into Illustrator to hit print again. This time it printed without fail. Check out the images below.
This weeks homework: