


Creating website using Adobe Muse
Here are basic steps i follow for creating my fab academy website using muse , it cover only essential steps rest i recommended you to go through the links i mentioned in Week2 Page for better understanding of all options and to start
yes befor this you must download adobe muse and register your self on abode cc
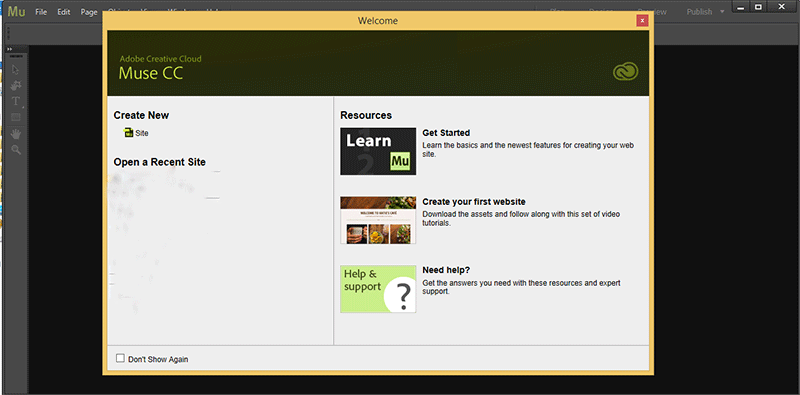
Step 1 when you open muse you get this window to create a New Site click on new
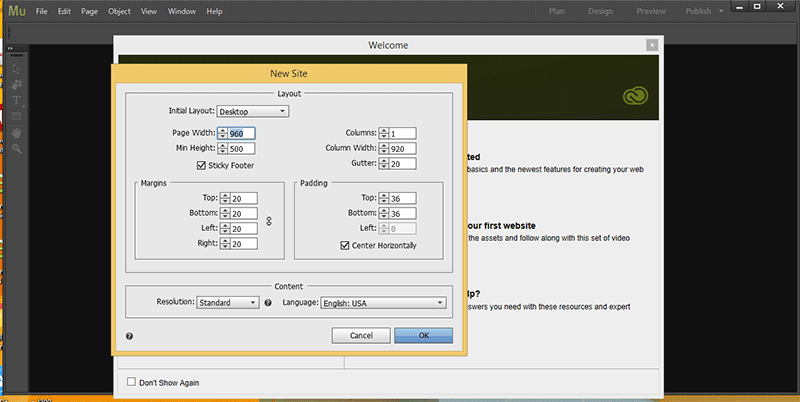
Step 2 it will ask you for specifying the layout of the Website, which includes Page width, Minimum Height (height will increase as and when more data is added) and margin and click ok
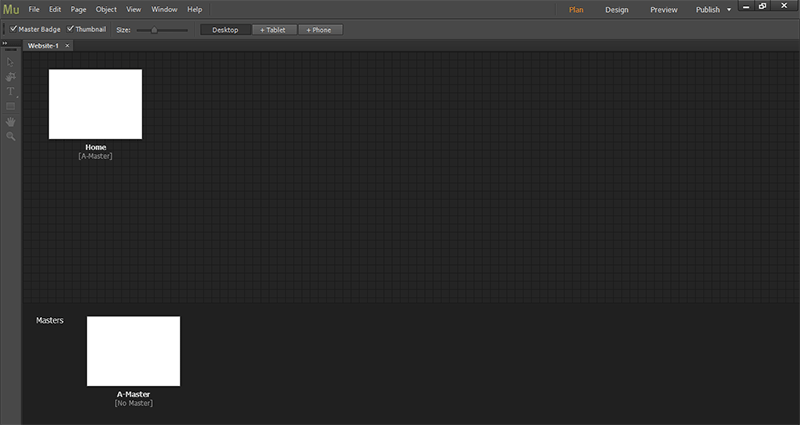
Step 3. This is how the website layout looks like. it has only home page which will be the first page of your website when you open website in web and master page , the data on master page will be on all pages and here i save website as fab2 using save option on file menu
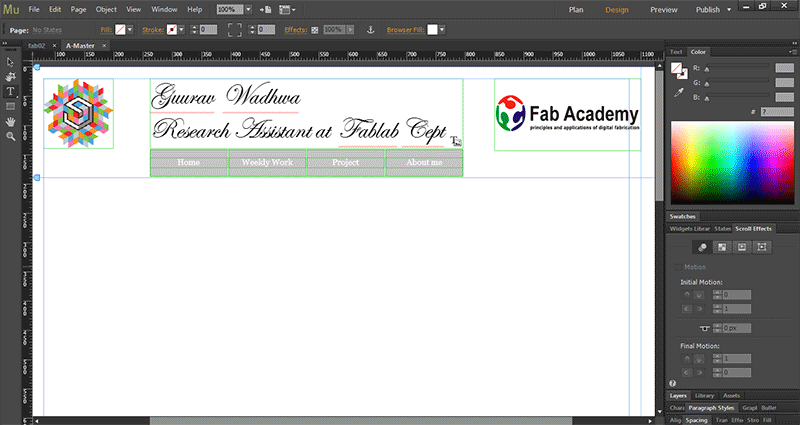
Step 4. Logo and some tabs which you want in all pages were added in the Master slide , here i save website as fab3 so you can see previous versions this is how you can save diffrent version which you create
Step 5. Other pages were added to the layout this is basic structure of your website .
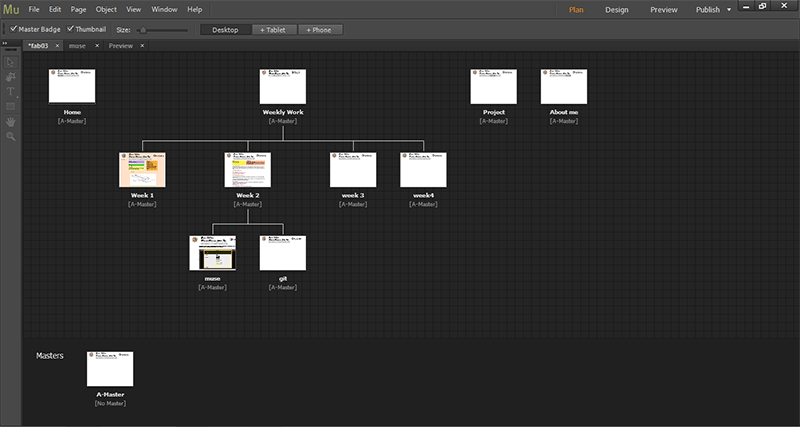
Step6. To export the file, go to File and export as .HTML
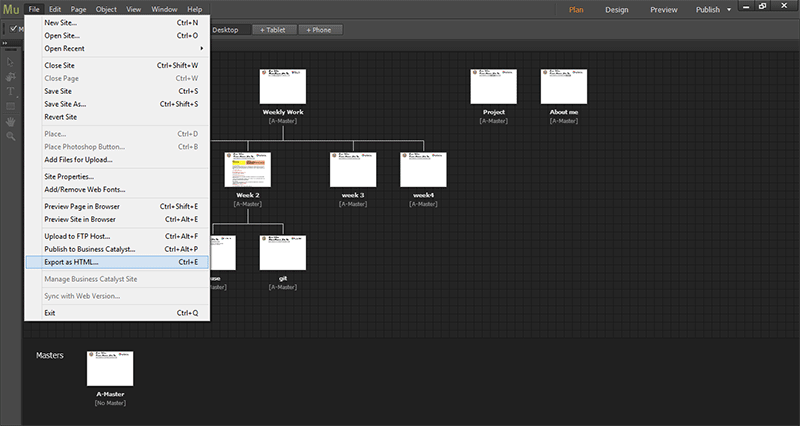
Step7 Note location of your file and go to that location and you can put any web address in site URL
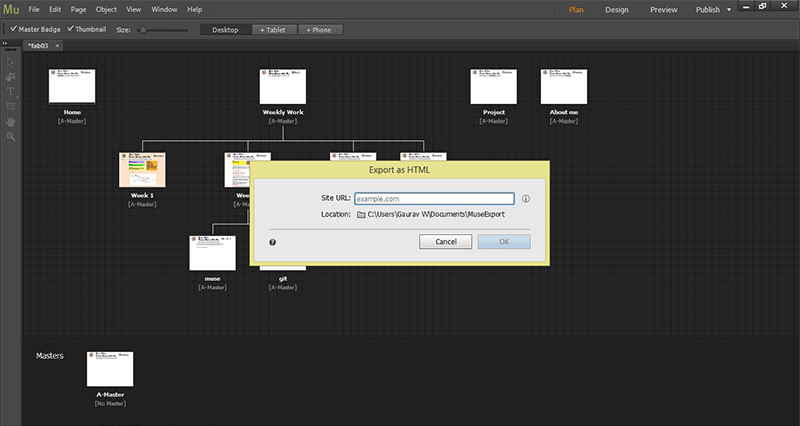
8 copy all data from here and paste in the folder where you have created your git repository folder in your computer .
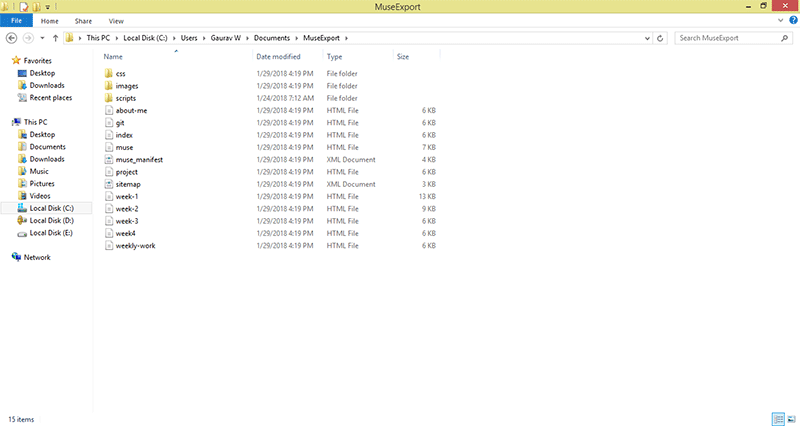
Step 9 this is location of my git repository in my computer where i paste all data now using loaction of this place i push my data on gitlab
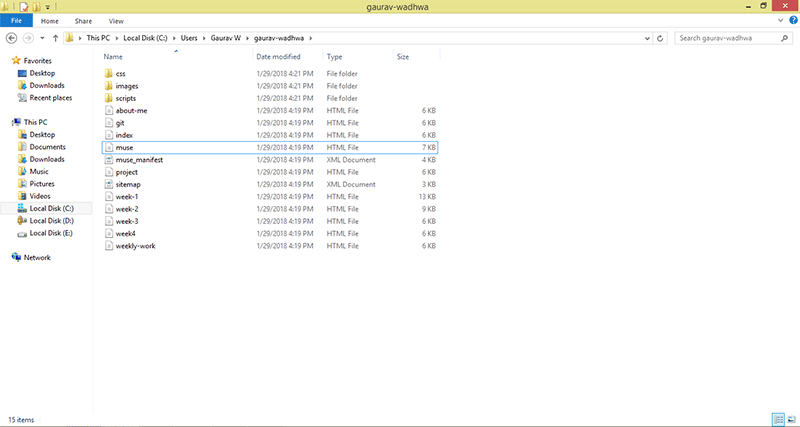
Congrats you are done with creating your website explore more from links i mentioned on week 2 page for up-gradation

This work by Gaurav wadhwa is licensed under a Creative Commons Attribution-NonCommercial 4.0 International License.