Exercise 05 - 3D Scanning and Printing
Assignment
group assignment: - test the design rules for your 3D printer(s) individual assignment: - design and 3D print an object (small, few cm) that could not be made subtractively - 3D scan an object (and optionally print it)
Group Assignment
The group assignment was to test the design rules for our 3D printers, which are Lulzbot Minis. We did this by test printing the tolerance figure at high speed. The images are below.
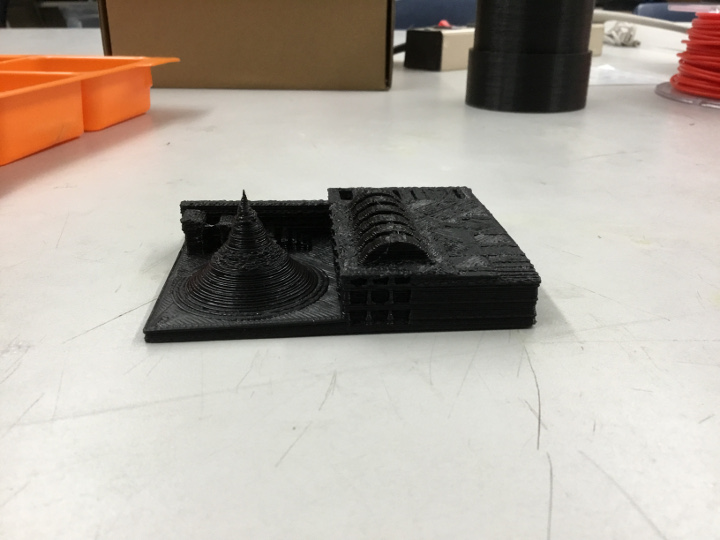
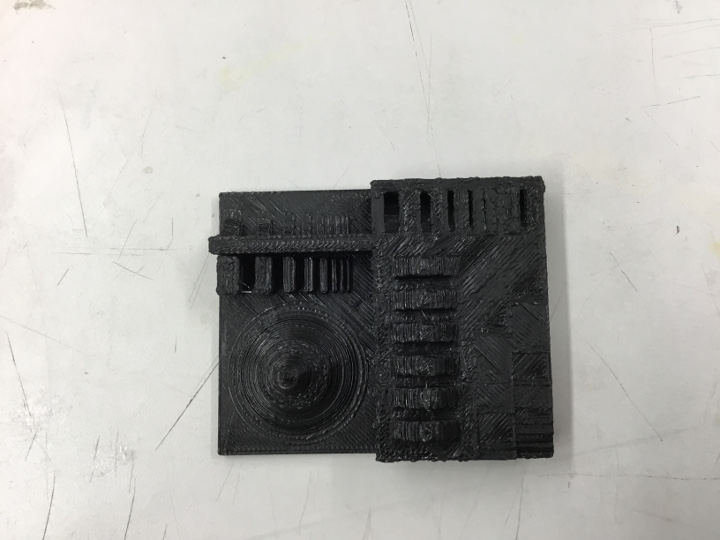
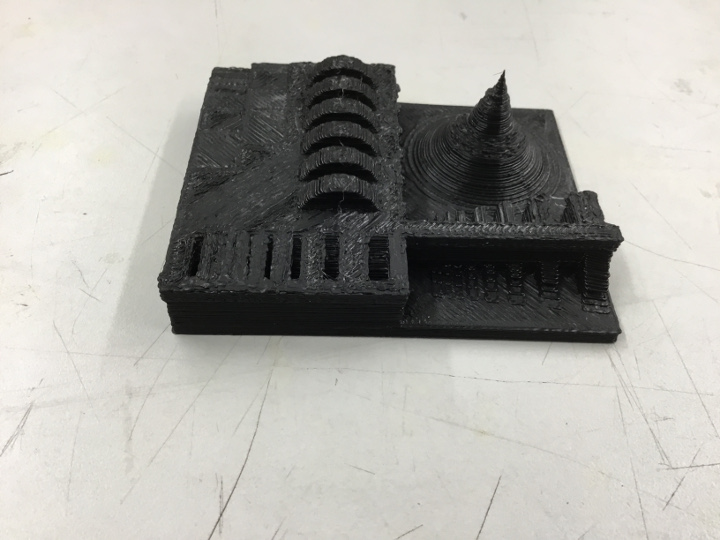
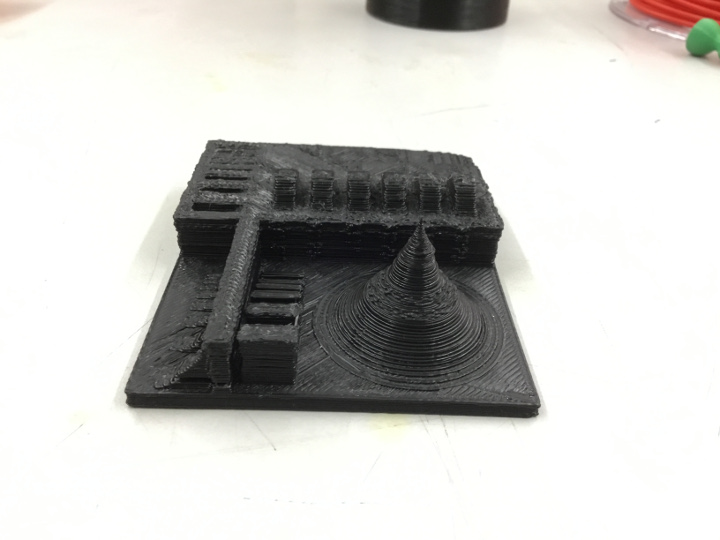
As you can see, the print is pretty good.
I think the Lulzbot Minis are a pretty solid 3d printer option for a fairly low cost. This figure looks pretty good and my gears in my individual assignment, which had pretty small teeth, turned out really well.
Individual Assignment
3D Scanning
Our 3D scanner is a Matter and Form brand tabletop scanner. I realized fairly quickly it was not going to be very useful. My lab mate Will scanned something and it was too detailed and the scan looked pretty bad. I did not, however, learn from his lesson and tried to scan something fairly detailed as well. I borrowed a rattlesnake skull from the biology department and set the scanner to auto scan. 45 disappointing minutes later, the model below is what I had. I used SketchFab for hosting my models so that users could look at them from all sides. I attempted to use the Matter and Form interface in the software to clean the files, but it didn't help much.
After that disappointment, I decided to take the Matter and Form scanner home with me over the weekend. MANY scans later, I realized a few things.
Rattlesnake skull
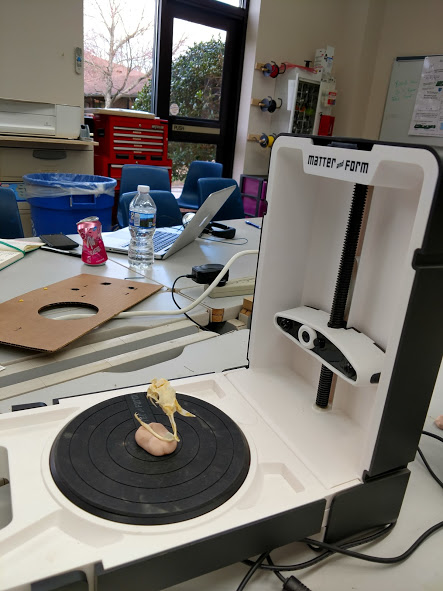
The rattlesnake skull on the scanner bed.
Chess Pieces
I decided to try several chess pieces that I had at home. Despite other sets, the larger Staunton chess pieces seemed to scan the best.
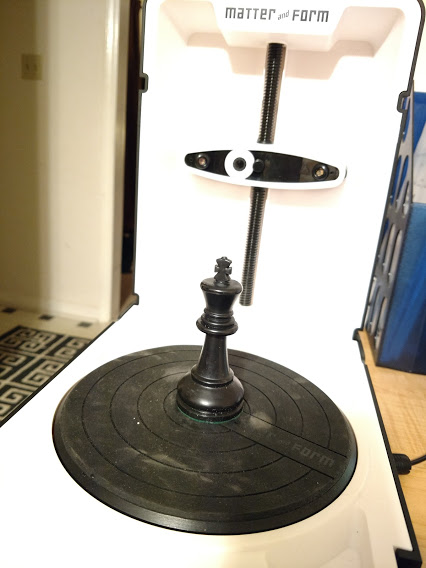
The King on the scanner bed
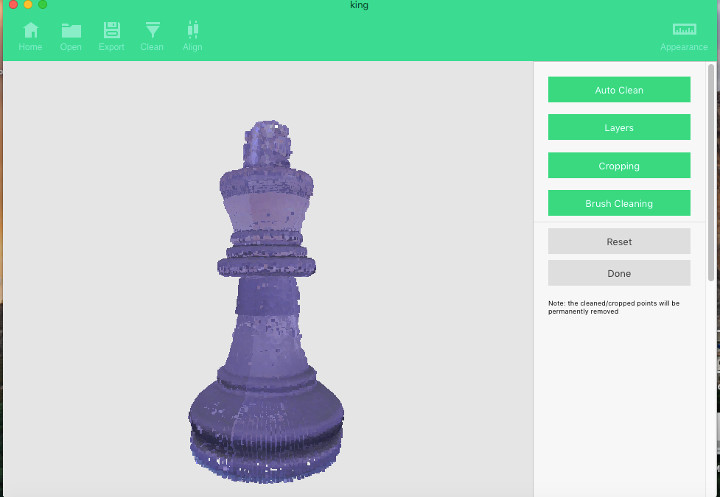
The king piece in the Matter and Form software
I scanned the king one time and decided to try scanning the rook twice, and meshed the two rook scans together. I don't see an appreciable difference. In fact, in the .stl file, all the "turret" detail of the rook is lost.
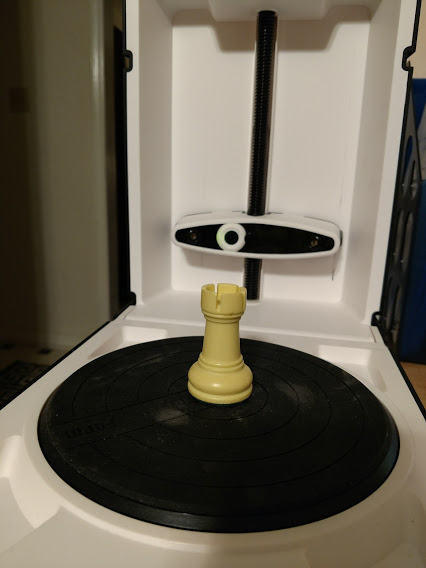
The rook on the scanner bed
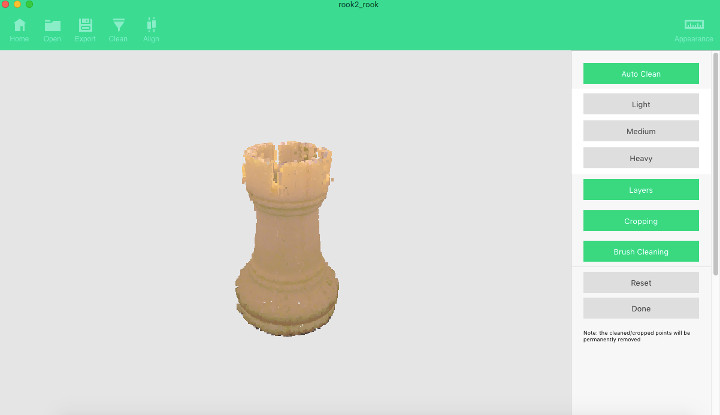
The rook piece in the Matter and Form software after a bit of cleaning in post processing
All in all, I was pretty disappointed in the scanner. I read the manual, I changed multiple settings, I tried just auto-scanning items, and nothing turned out very well.
3D Printing
Ideas and Tutorials
The assignment was to make something on the 3D printer that could not be made subtractively. I thought about it for a while and had lots of ideas. Originally, I wanted to make something like armor bracers or a pauldron. I especially liked the pauldron idea because I could imagine the pieces fitting together like an armadillo and being movable. Our instructor, Terence, suggested I think SMALLER. I remembered an armor ring my daughter had bought at the Renaissance Festival and I did a google search for a design that might be made to be printable.
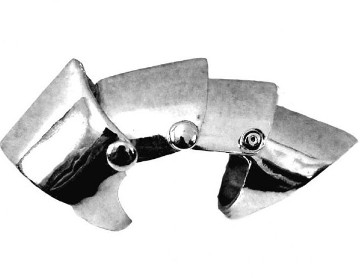
Something along these lines
I talked about my idea with my labmate Will and he said it reminded him of a planetary gear ring. He found the ring at Kinekt Design and I was sold. I loved the ring and initially thought about making it into a 3D printed cuff bracelet. Then I saw the heart necklace and I knew I had to do something along those lines.
The gear ring video from Kinekt Design
The heart gear ring from Kinekt Design
Now that I had a couple ideas in place, I needed to learn how to execute them. I was still deciding between the armor ring and the gear necklace but I had no idea how to design either one in Fusion 360. I did some google searching and found the following resources incredibly helpful.
Making 3D curves for sweeps in Fusion 360
That last link led me to the following YouTube video, which was incredibly helpful and I worked through and watched it over and over. This decided me on making some kind of version of the heart necklace, however, I could not find an appropriately sized ball chain to drive the gears, so I just decided to make a free standing gear train for my 3D print and increase my skills to make something like the heart necklace for myself later.
A *great* tutorial on gears in Fusion 360
Design
I opened Fusion 360 and got to work. I began by following along with what the video did and then started branching off on my own. The final design I came up with was a base with three shafts coming off of it for the gears to fit on and spin. It does nothing functional, but it's actually pretty cool to look at and kind of fun to play with.
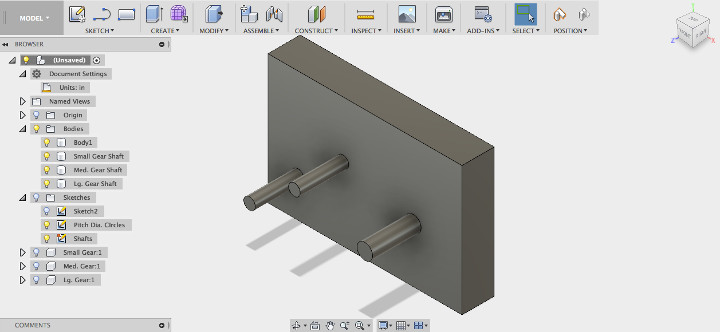
The base for the gear shafts
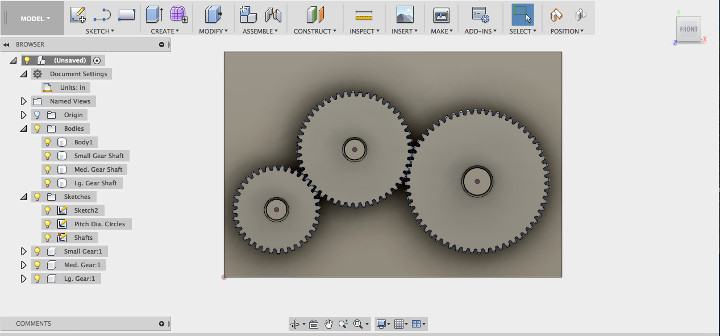
Front view of the gear train
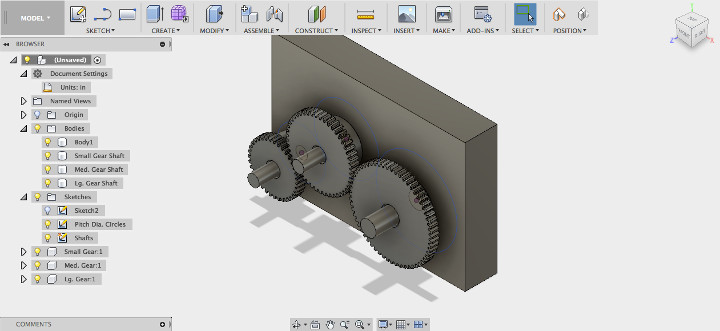
Orthogonal View of the Final Design
I am providing the design files for download here. Be careful, as the elements are laid on top of each other - I turned on and off different parts to export the base and then each gear individually for 3D printing.
Printing
I exported my design in 2 parts to 3D print separately. I wanted the base and the gears to be different colors for contrast. The type of 3D printers we use at our lab are Lulzbot Minis. These printers actually do a pretty good job and I have been impressed with a lot of the stuff I have seen printed on them. I uploaded my .stl file for the gears to the printer and got that started. I was worried that the gear teeth would be too small for the resolution level of the printer, but they turned out great. The 3D software we use is Cura for Lulzbots. When I first imported my design into it, Cura scaled it down. Additionally, I didn't realize Cura only used mm and my design was in inches, so I had to convert the measurements and scale the design within the Cura platform.
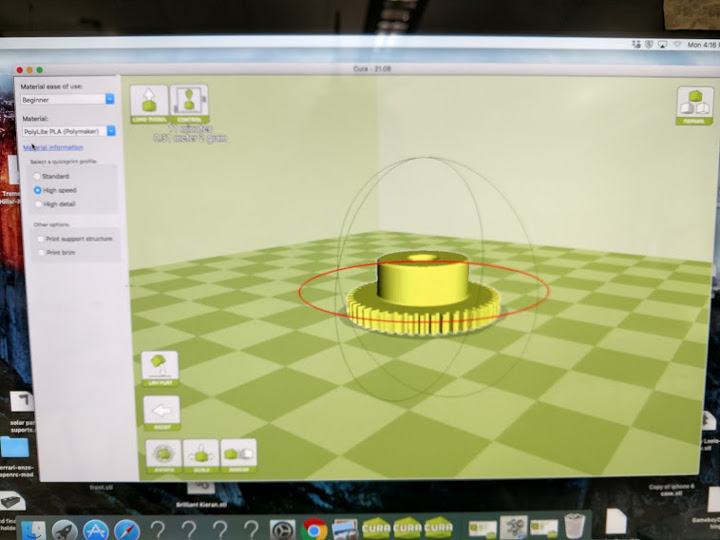
Loading the gear designs into Cura, the software for the 3D printers
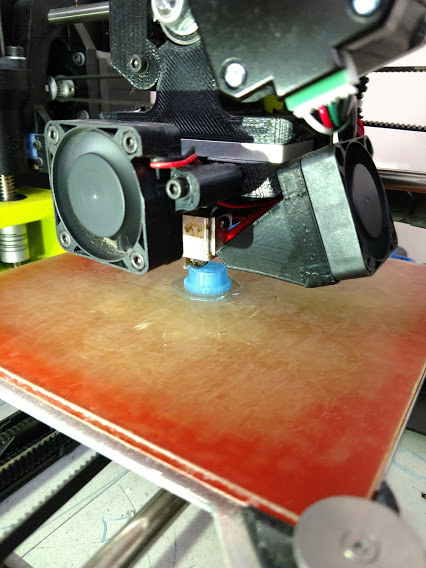
The first gear is printing!
A quick video of the gear printing on the Lulzbot Mini
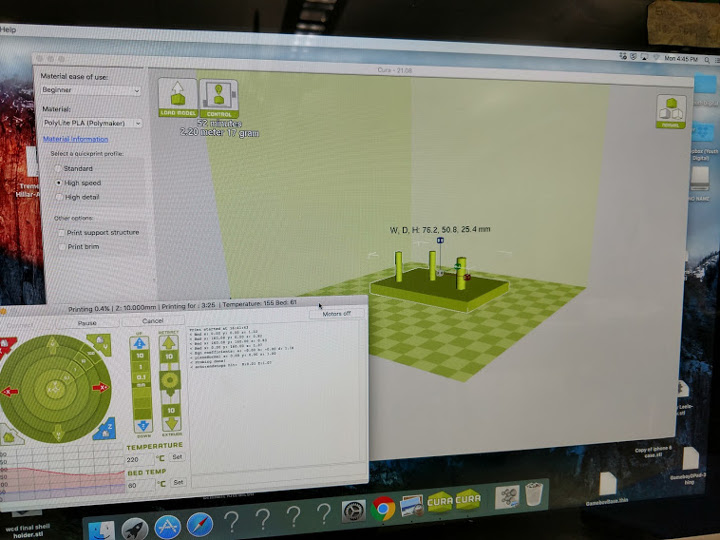
Loading the design for the base for the gear train
Finished Product
The first print of the base I made had shafts that were too large. I think something happened in the conversion process when I had to convert the measurements and rescale the .stl file. Also, I broke one of the shafts trying to cram the gear onto it, so I needed to redesign the base to have slightly smaller shafts. I had gotten proficient enough with the extruding and constraining of elements in Fusion 360 that it only took about 15 minutes to quickly redesign the base. I ended printing it in black and I liked that better, so that worked out.
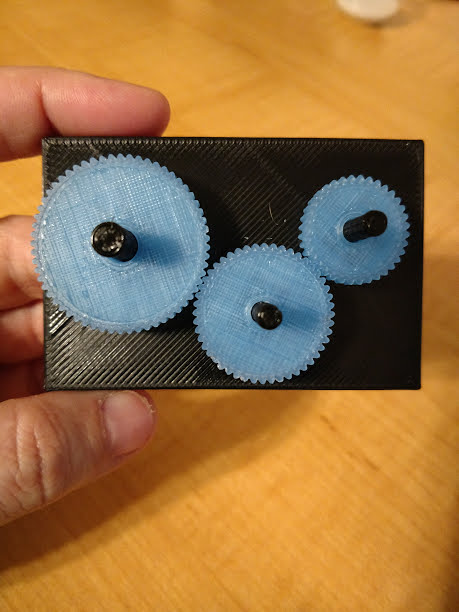
The final product!!
A video of the final product showing the gears moving, engaging, and being removed and replaced
3D Printing, Part 2
It came to light during Global Evaluation that my gear project, while kind of cool and well researched, was actually something that COULD have been made subtractively, and therefore did not fulfill the assignment. So, I made a new design that fit the rules and printed it. I made a captive ball inside a cage and it was actually pretty cool to do. I love the way it turned out.
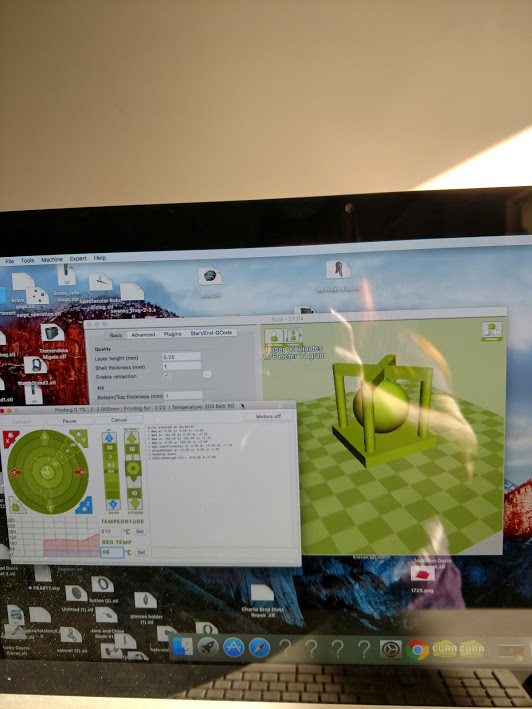
Here is the design being created in the Cura software for our Lulzbot printers
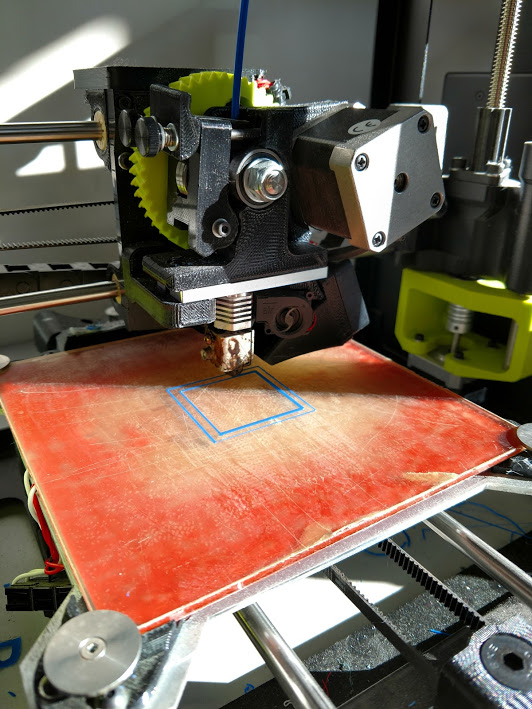
The new print just getting started
A video showing all the angles of the captive ball
I keep this item, along with the gears I printed earlier, on my desk at work. They are both very soothing to play with when I need a mental break!