Week 16 assignments:
- Design and produce something with a digital fabrication process not covered in another assignment
Refractory cement casting
For wildcard week i opted for composites... but for my final project i'm going
to need a furnace chamber made out of refractory cement.
I wasn't able to find cheap refractory cement so i'm going to add rockwool to
lower the cost a bit and add tensile strength (otherwise worse that standard
portland cement!), the cover will be also reinforced by "rebars".
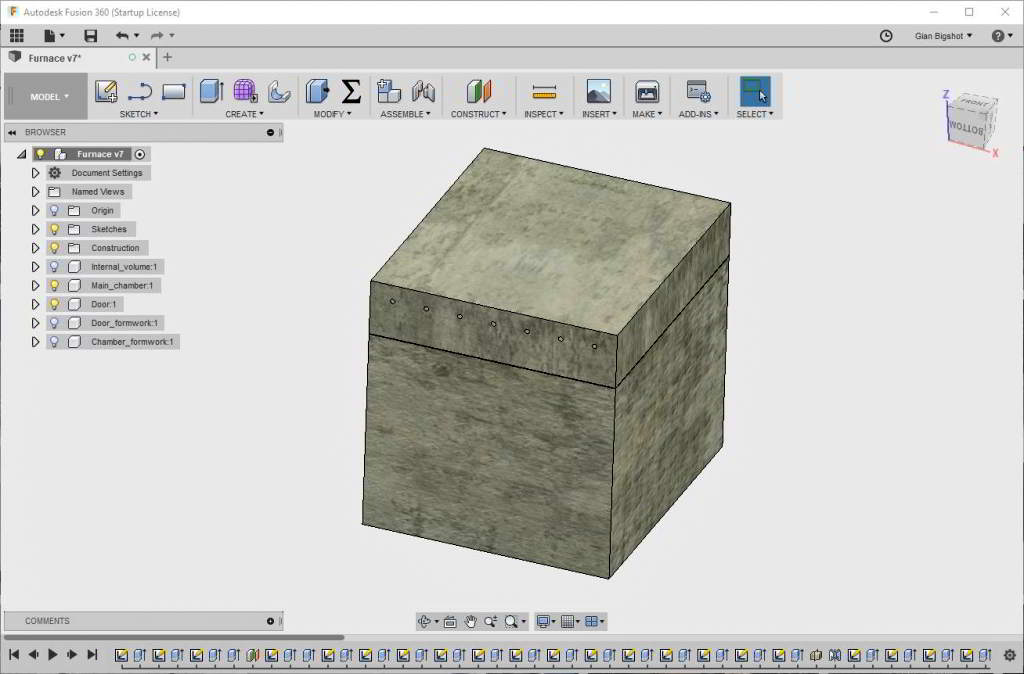
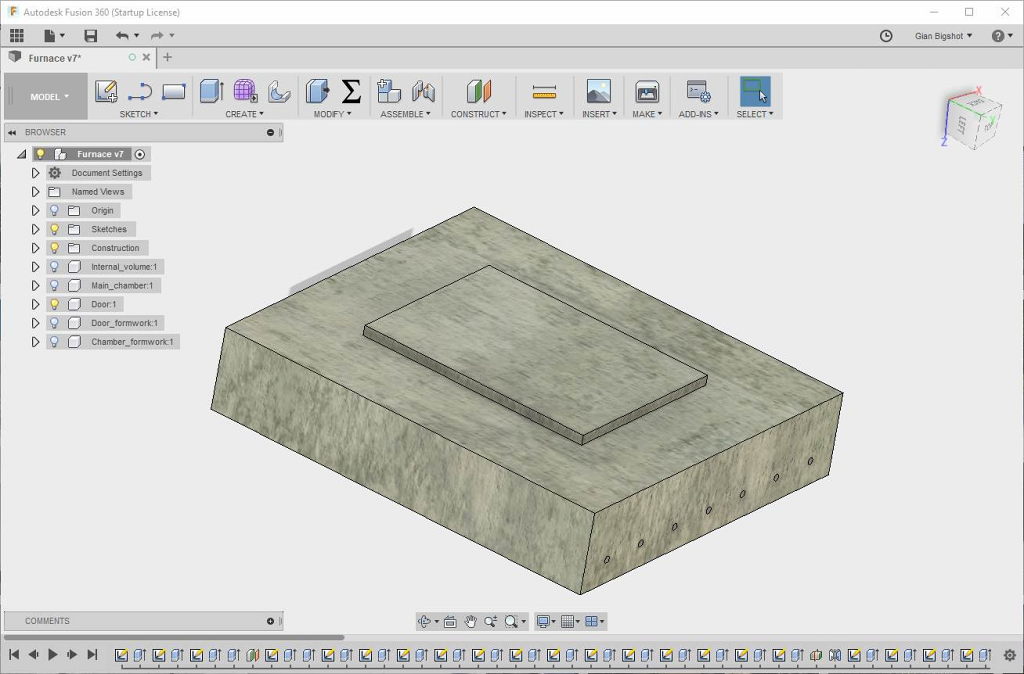
Full 3d model of the refractory cement cast.
I designed the main chamber with identations for the heating elements, i need them to be of a precise length so i can't chisel them by hand when the cast is cured.
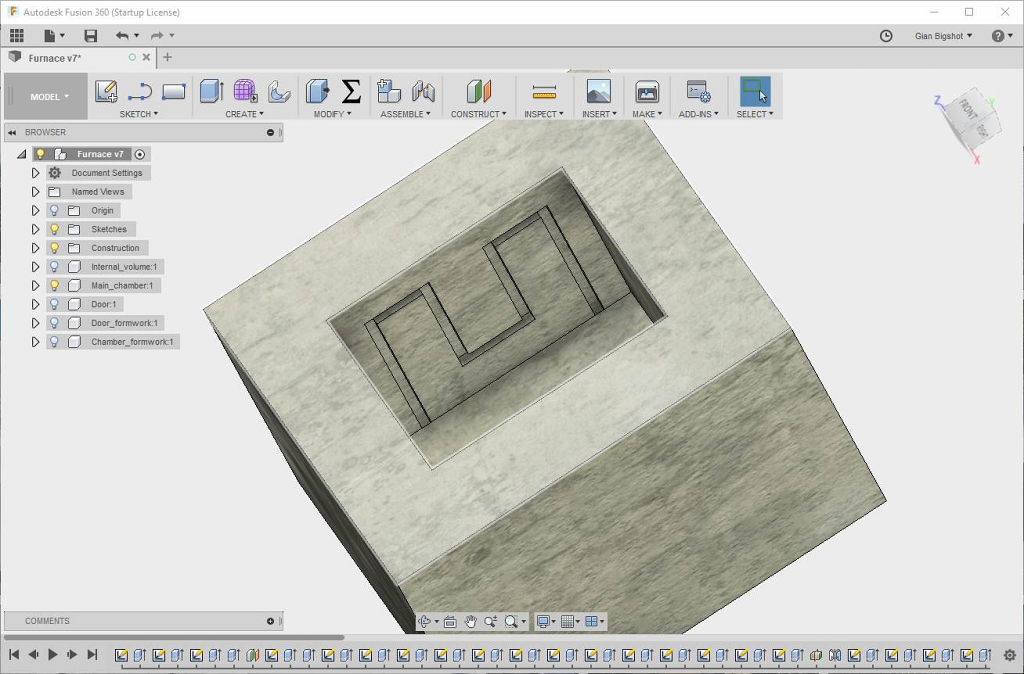
Detail of the groove for the heating element.
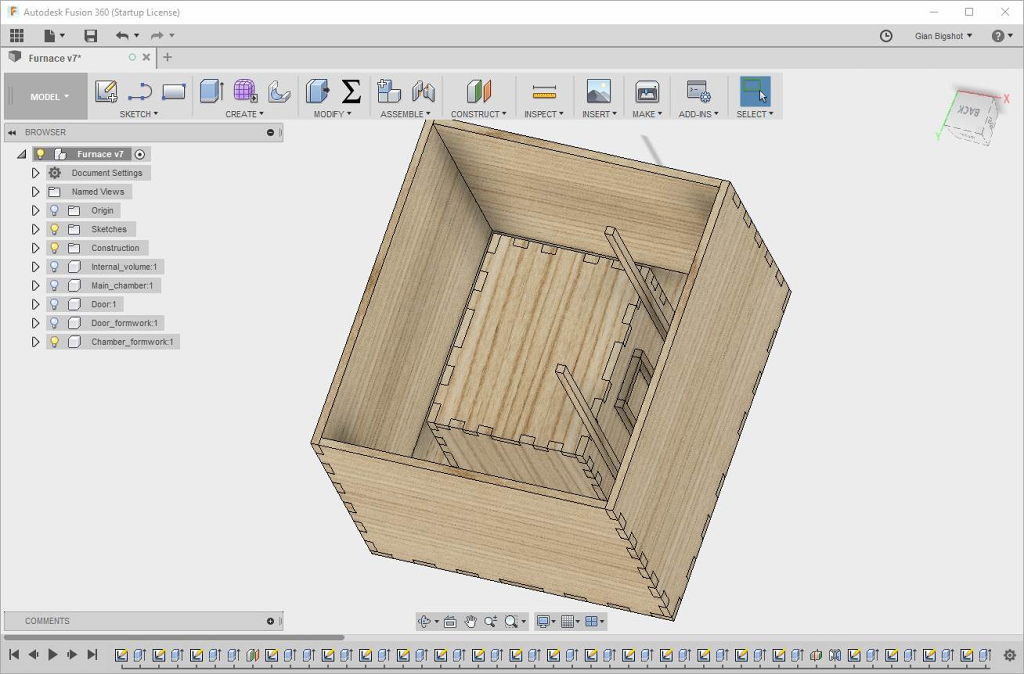
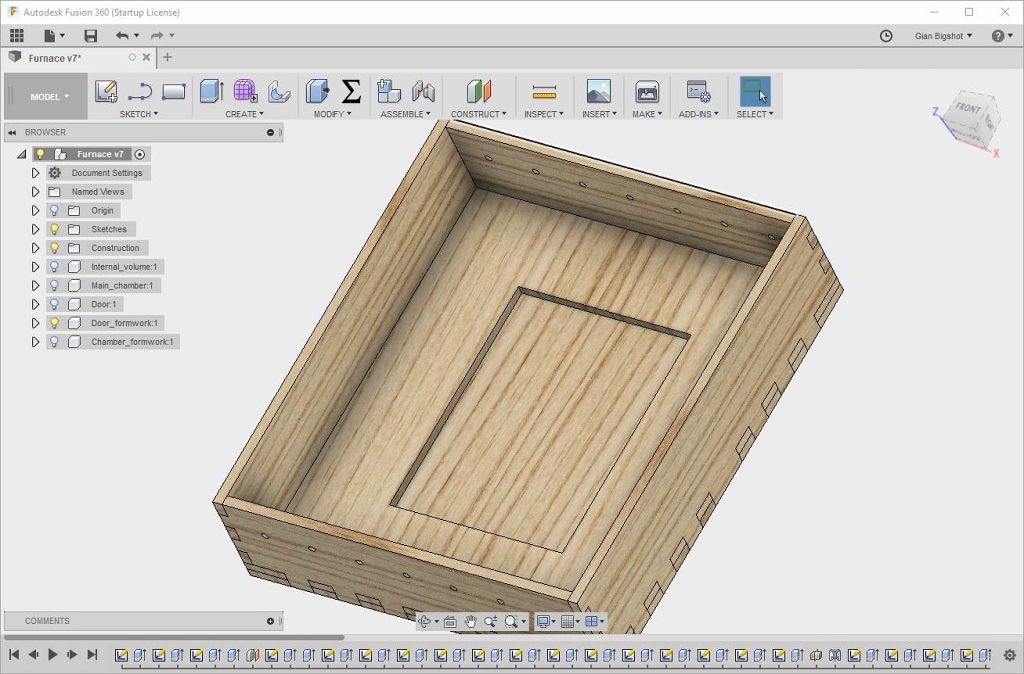
Formwork of the main cast.
Main cast + formwork.
The cover of a furnace have to close with the smallest gap possible to keep the heat
inside.
I recessed the contour to make a snug fit.
Cover with recessed contour.
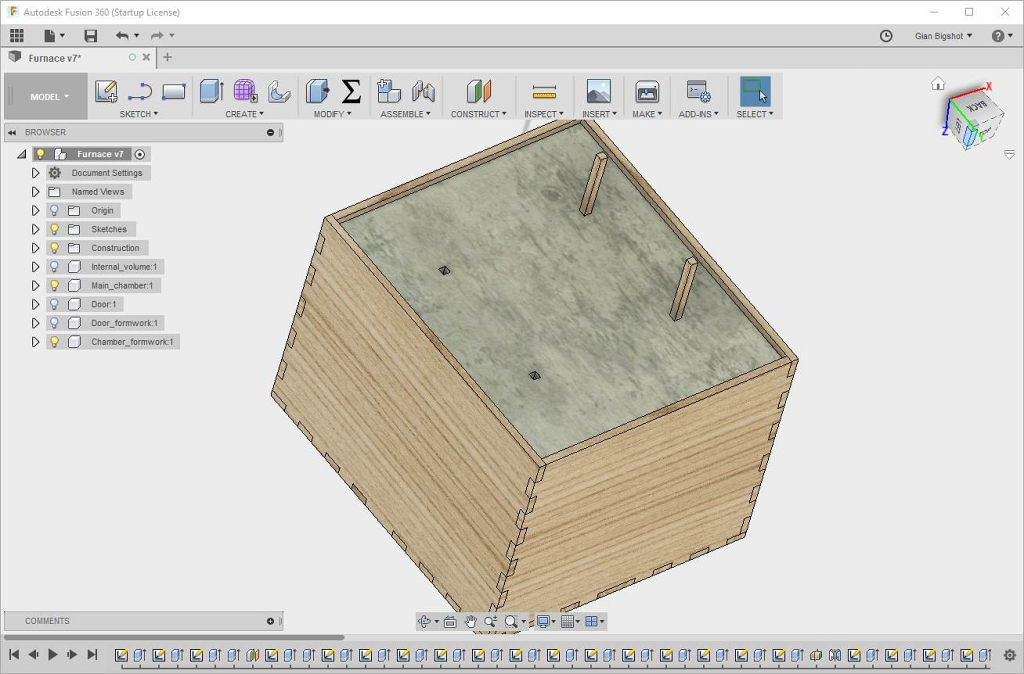
The formwork will have pre-drilled holes as a guide for rebars.
Formwork of the cover.
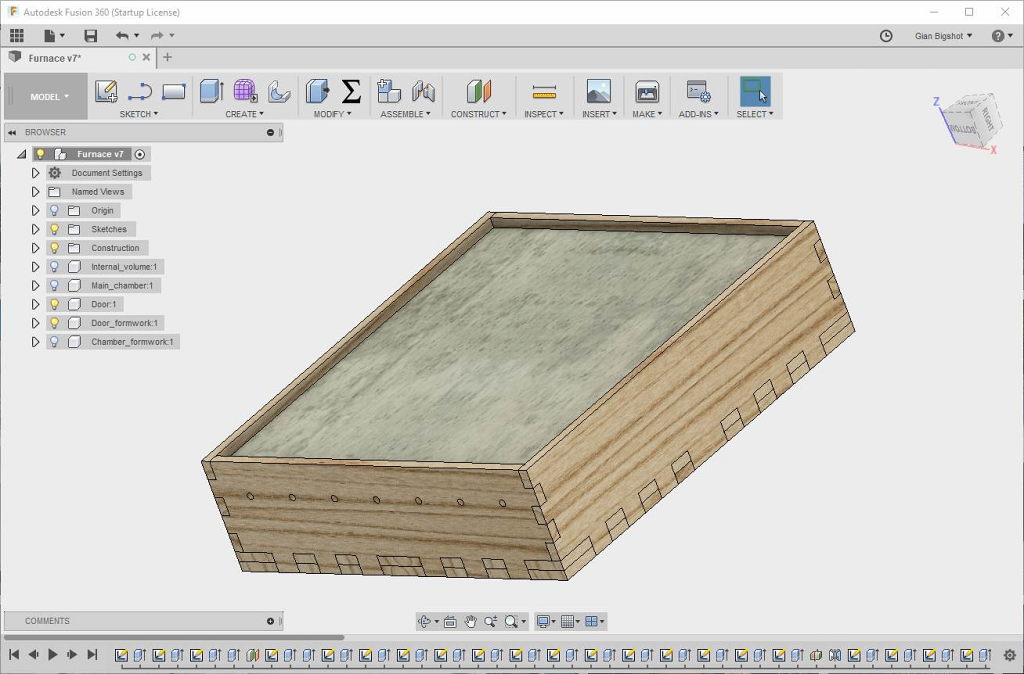
Cover cast + formwork.
I cutted all the panels with the lasercutter out of 6mm birch plywood.
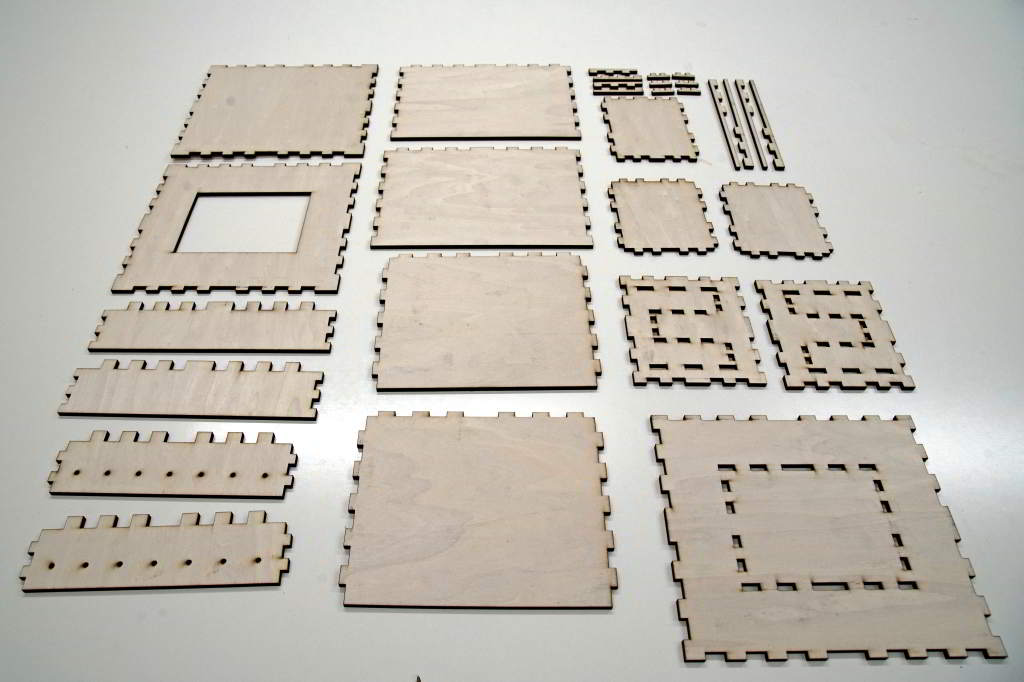
Fresh out of the lasercutter: formwork kit.
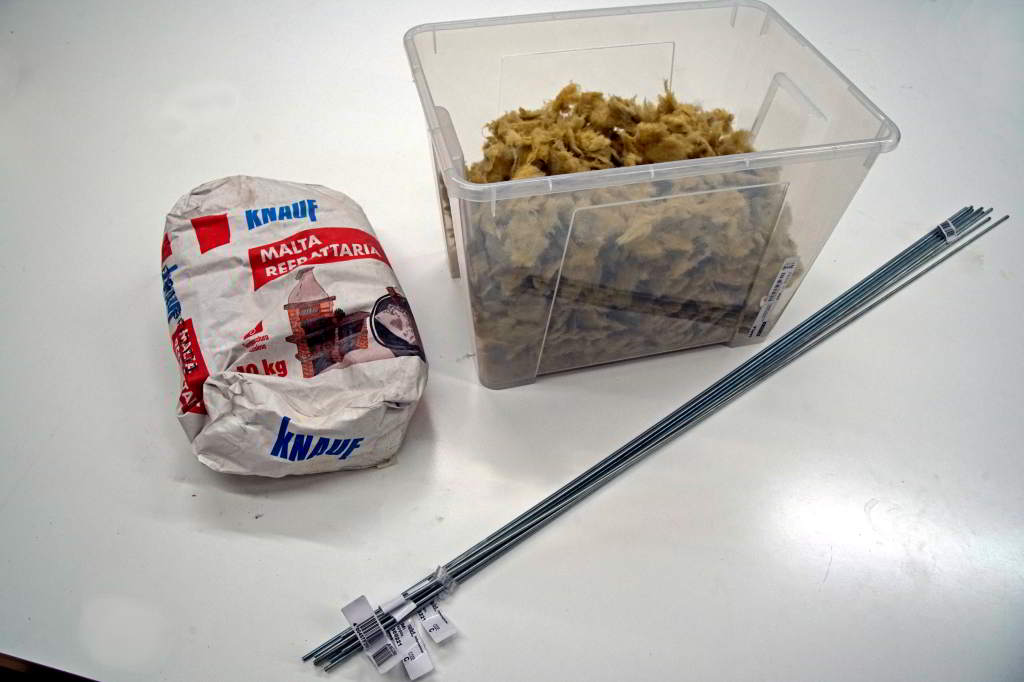
Raw materials: refractory cement, rockwool flakes and rebar (M4 threaded rods).
I glued the formwork, then added a layer a polyvinyl and a layer of petroleum jelly to be sure to be able to demold the cured cement.
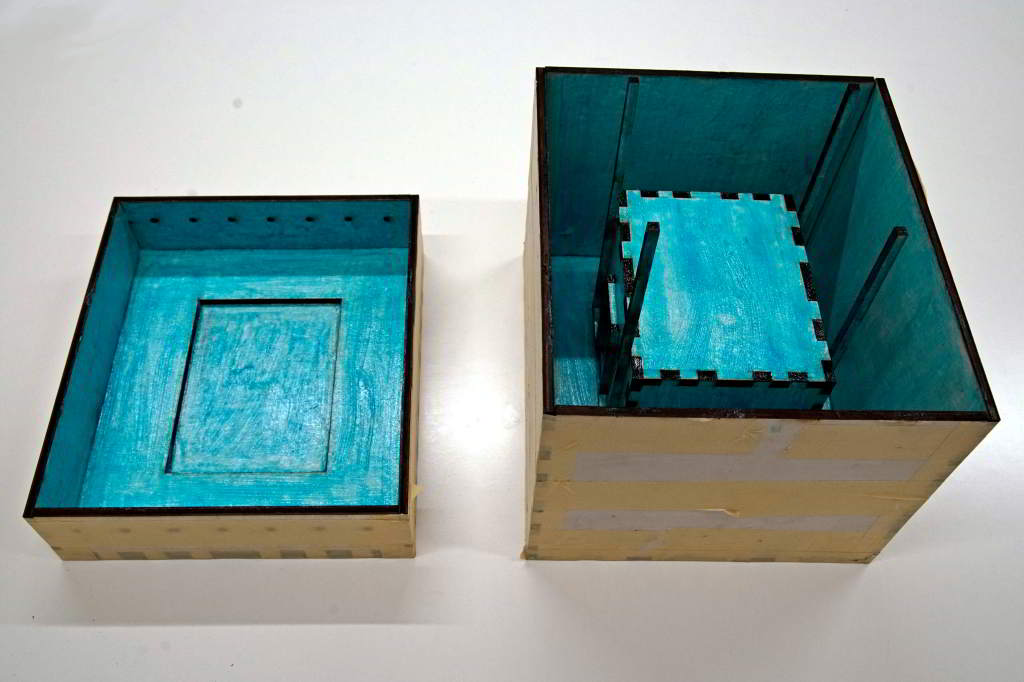
Assembled formwork.
The cement was ready-to-use and i just added 25% of water and mixed it with a cordless drill, i added the rockwool when the mixture was homogeneous.
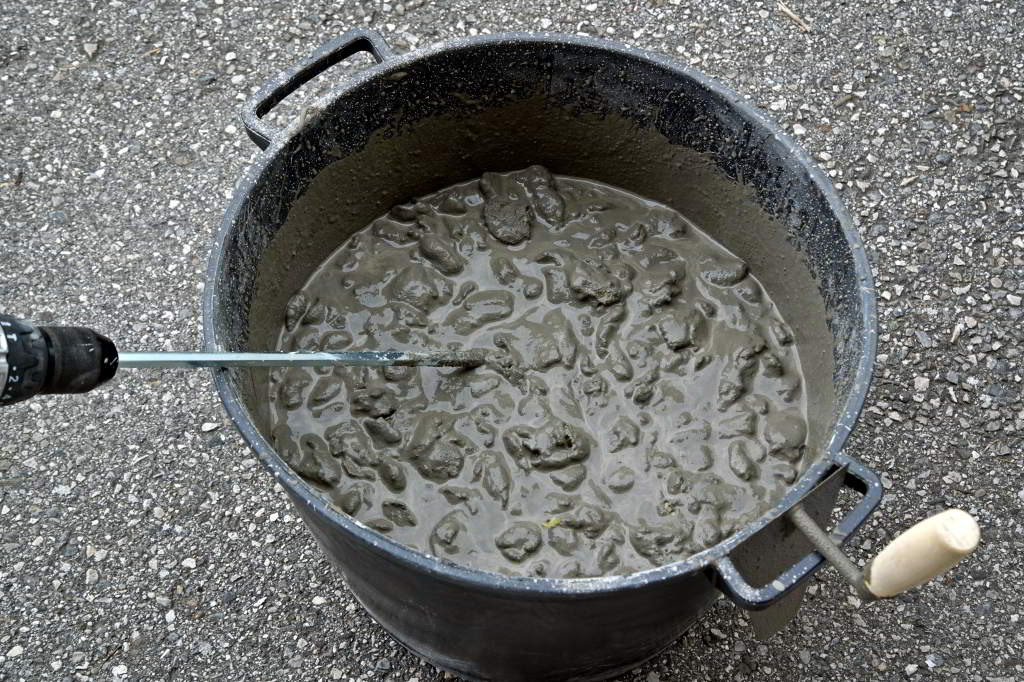
Mixing cement with rockwool flakes.
Positioning the threaded rods through the holes in the formworks the was very easy, now that i know that small scale reinforced concrete objects is not hard to make i will use it again!
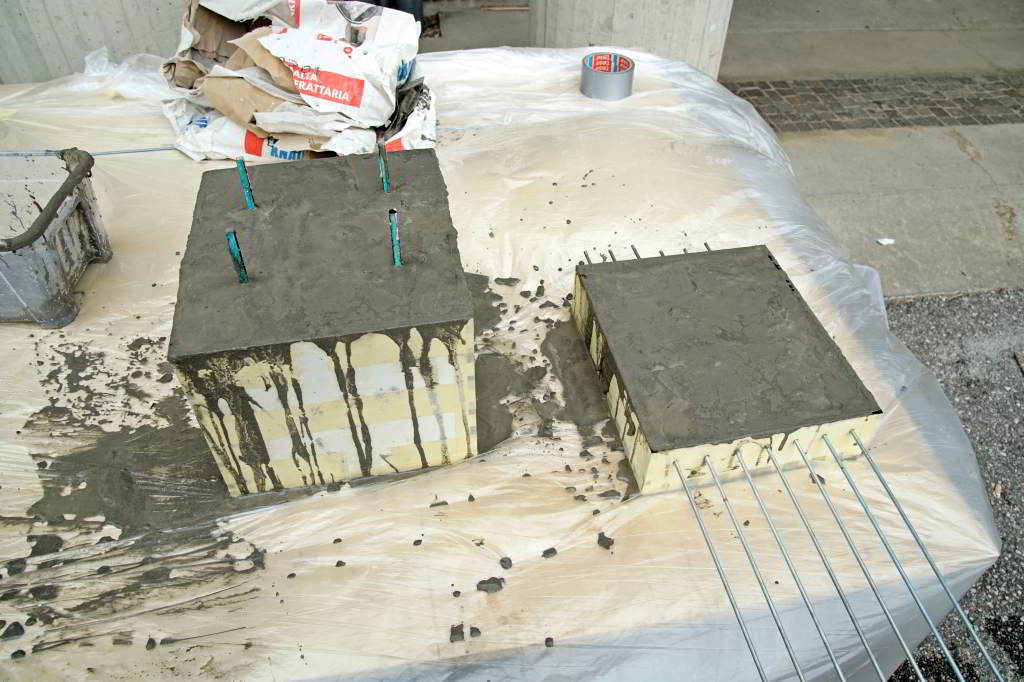
Fresh cement just poured into the formworks.
After 24 hours i remove the formworks, however the cement was still very wet and
i needed to wait few days to fully cure.
For my next furnace, if i will use this concrete again, i will redesign the internal
formworks, it was hard not to damage the heating elements groove on the sides,
sometimes usine the hand drill to "mill" away the glued hinges between the
plywood panels.
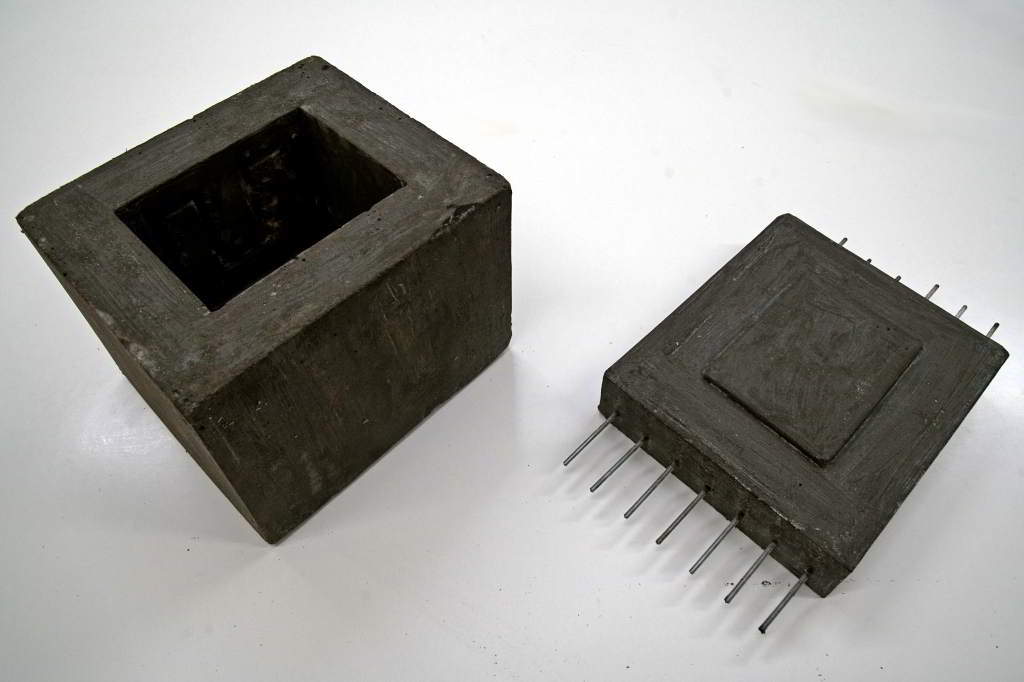
Hero shot: formworks stripped away! The cement is still a bit wet anyway.
Furnace chamber model
Formworks dxf files
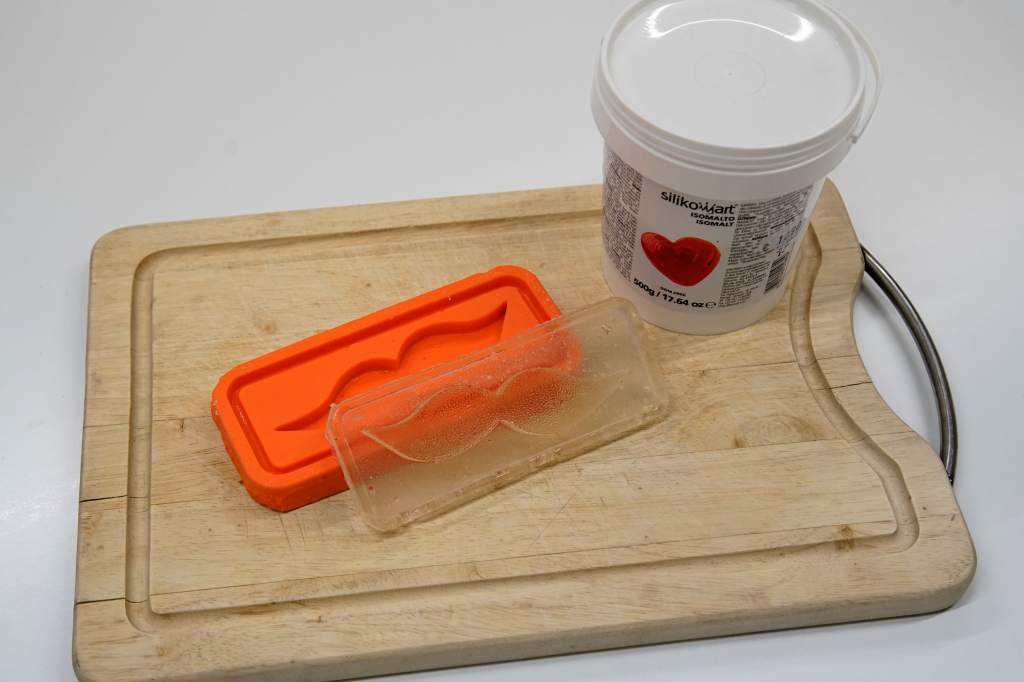
Bonus: Isomalt casting
As a bonus assignment i tried an "edible experiment" with isomalt sugar.
Isomalt is used for complex candy designs, usually hand modeled using infrared lamps
to soften it or casted in commercial silicone molds... but i can make silicone molds!
I washed and used the mold from
week 9, anyway i'm
not going to eat the result because the mold it's not made out of food grade silicone
and the results it's way too big (isomalt cannot be absorbed by humans but can make
your gastrointestinal microbiota way too "happy").
I also tried to cut a "glass panel" made out of isomalt with the lasercutter and the
results are encouraging so it will be something to try again in the future. The test
was so simple i don't have any photos but i was able to obtain a crystal clear edge
with very low power settings.
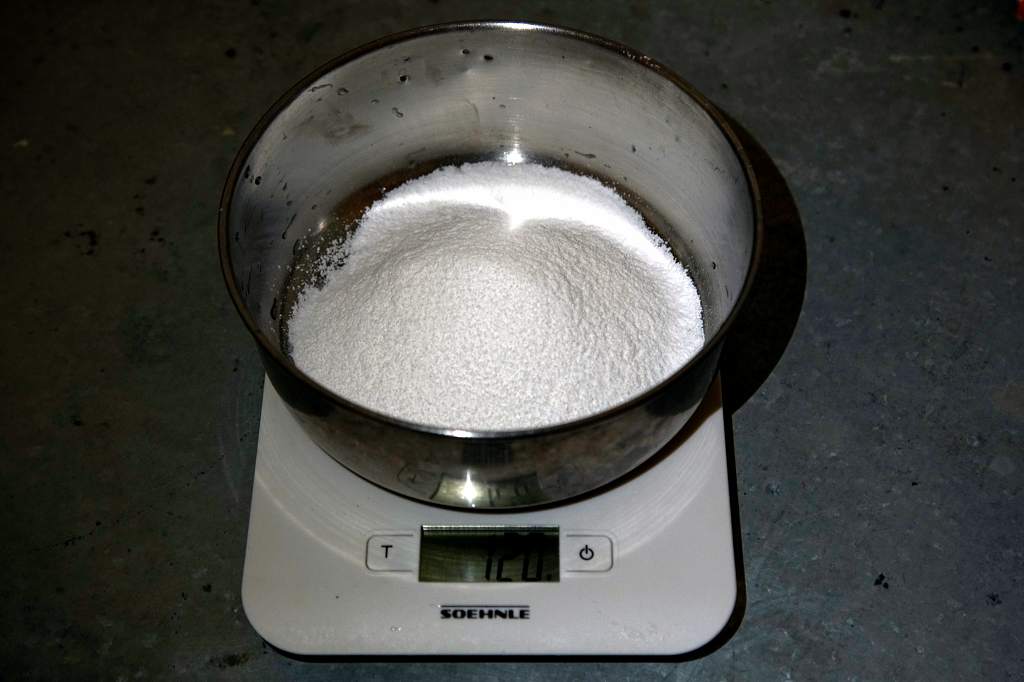
Dry and raw isomalt.
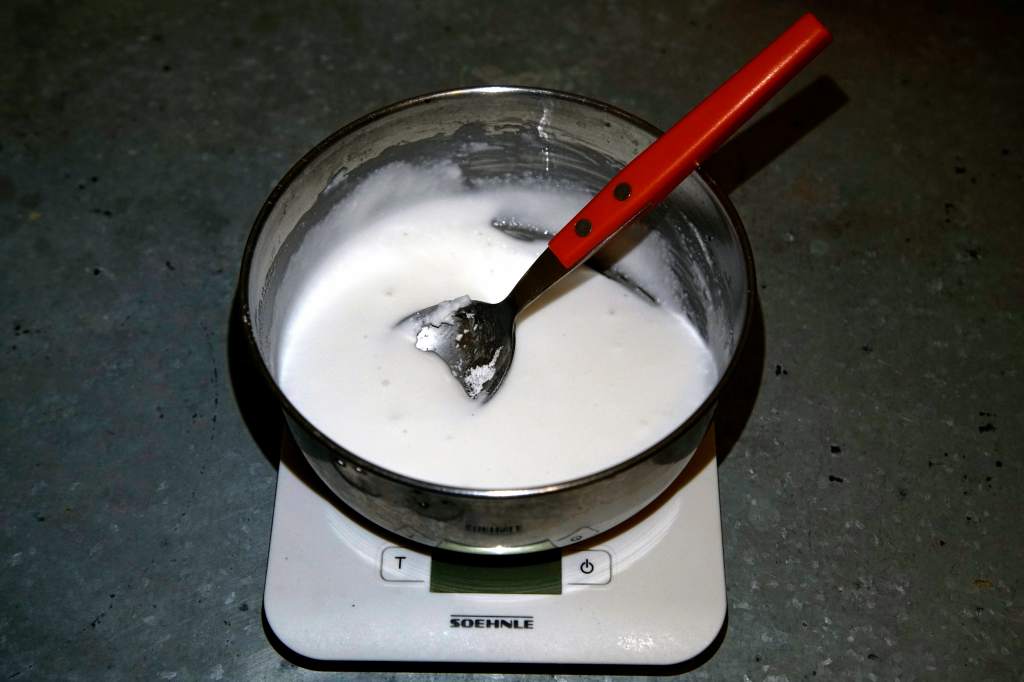
Mixing isomalt with water (4:1).
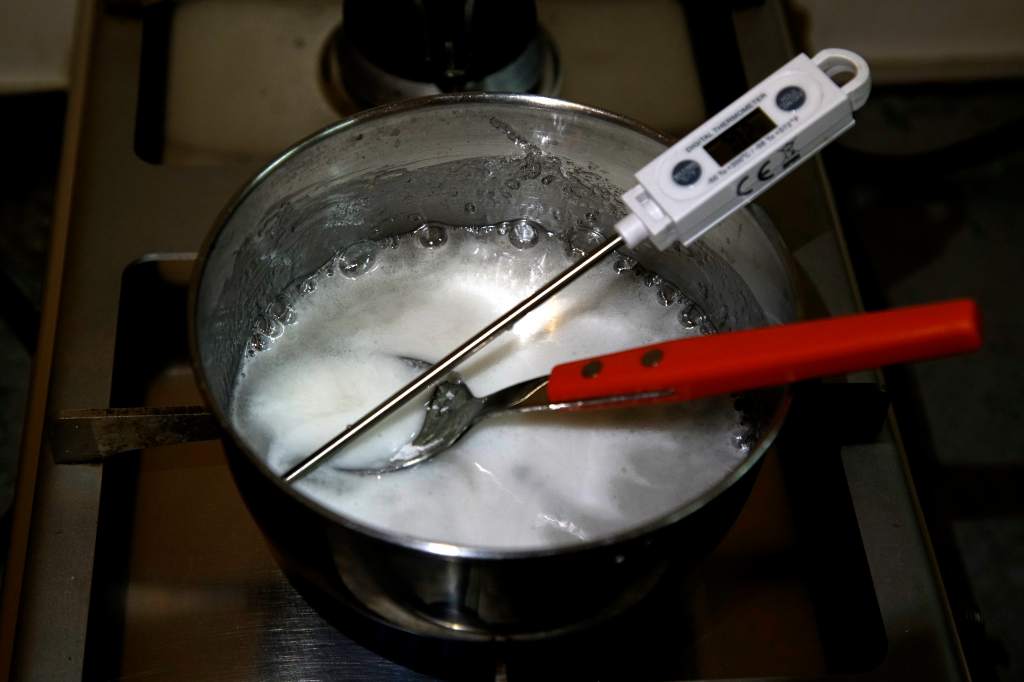
Isomalt melting.
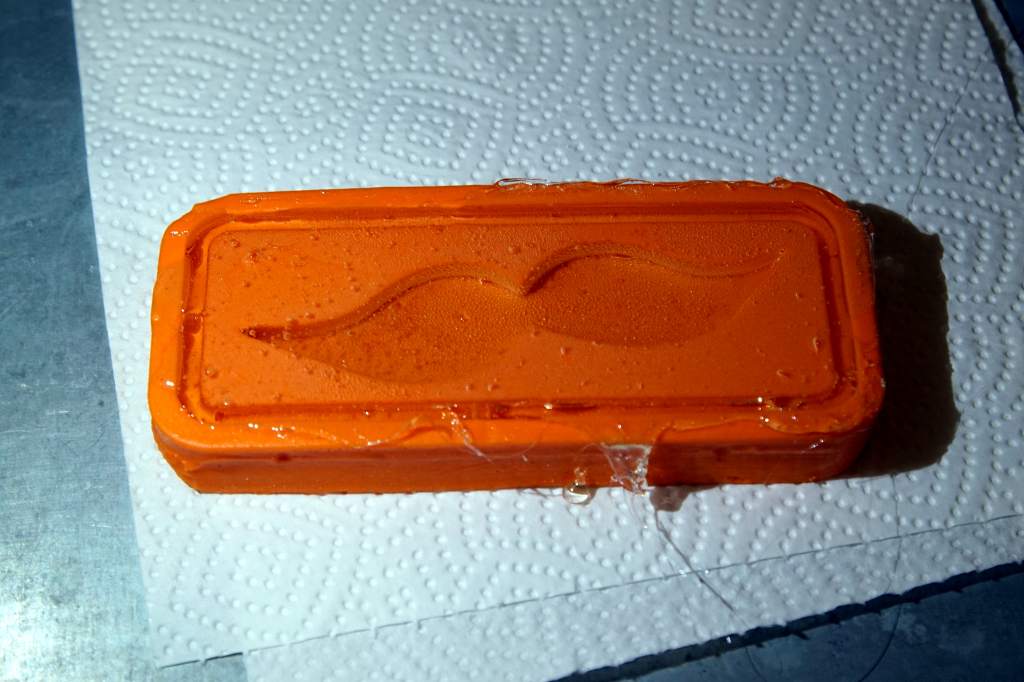
Messy isomalt cast.
Hero shot take 1 :)
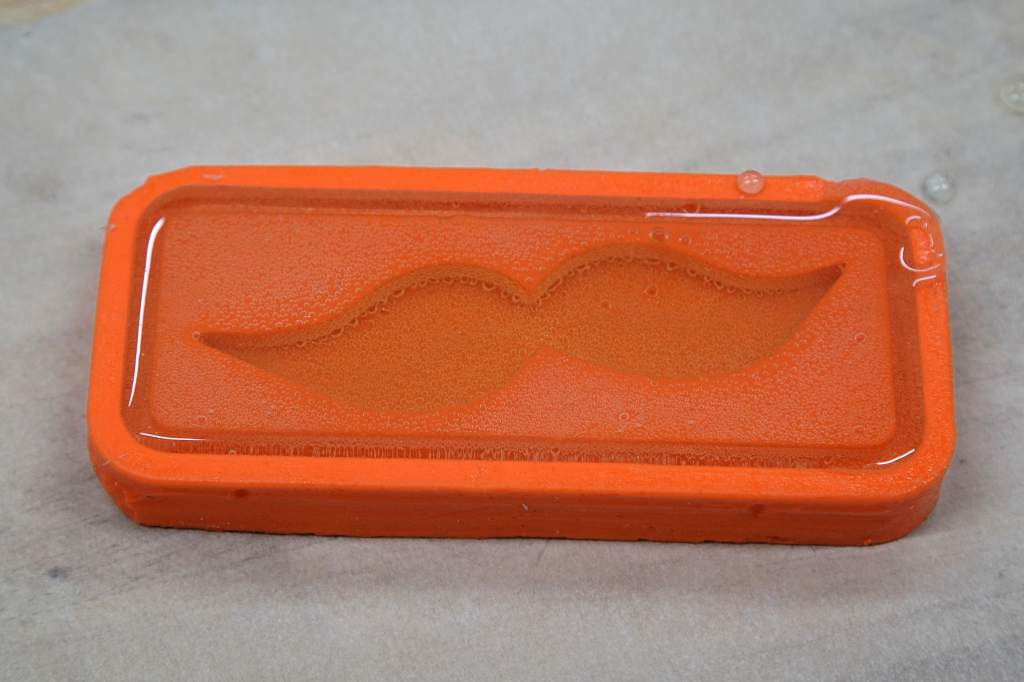
Trying a second cast.
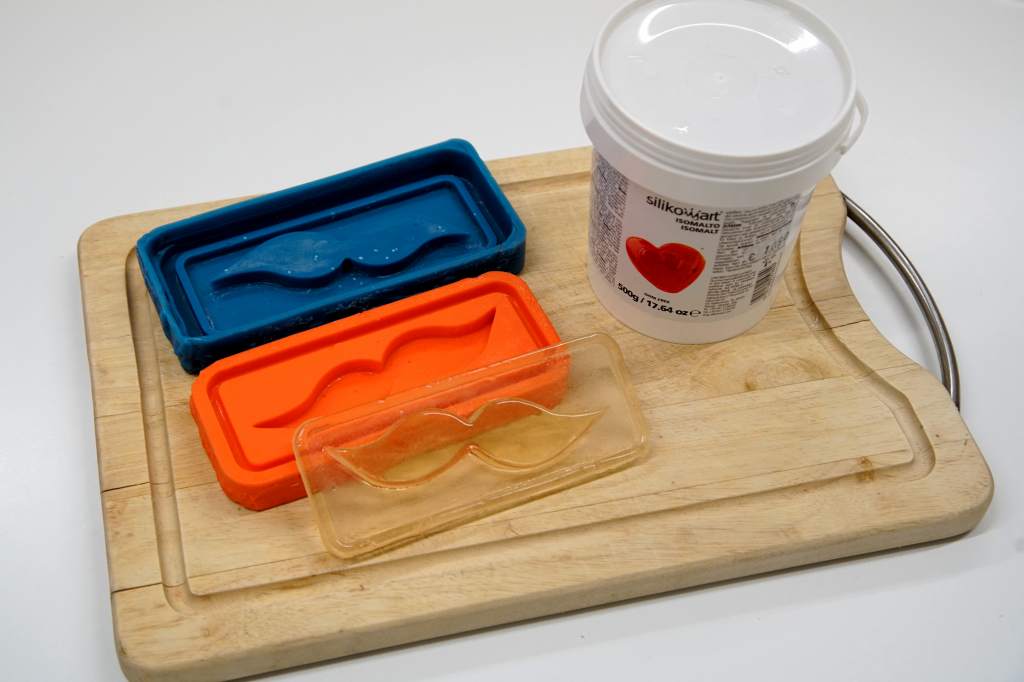
Hero shot take 2 :)