Exercise 14. Machine Design & Mechanical Design
Assignment: Mechanical Design
- Design a machine (mechanism + actuation + automation), including the end effector, build the passive parts and operate it manually.
- Plan and make a machine
- Automate your machine
- Document the group project and your individual contribution
Learning Outcomes
- Work and communicate effectively in a team and independently
- Design, plan and build a system
- Analyze and solve technical problems
- Recognize opportunities for improvements in the design
Evidence
Process
This exercise was a two-part group assignment in designing, building, actuating, and automating a machine. My group members include Oywdotun Ajweole, Greg Buckland, Emily Eikhoff, Saba Ghole, Sal Lama, and Pilar Perez.
Mechanical Design
We started out by brainstorming different ideas for the project. We put together a list and each voted on our top three choices. Top contenders were a card-dealer, a sand art robot, and an etch-a-sketch machine. From here we discussed the potential merits and challenges involved in building each.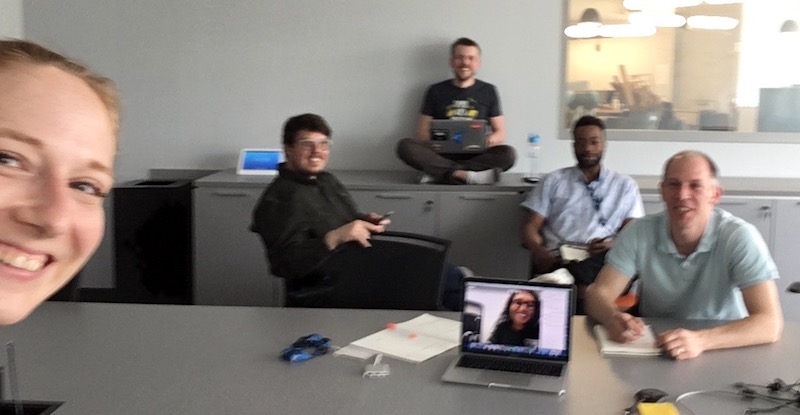
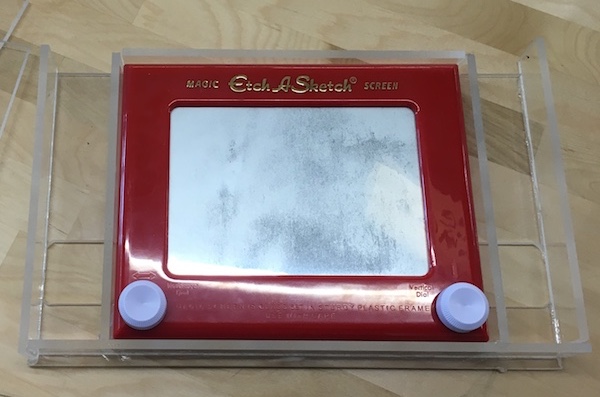
Once we decided on an Etch-a-Sketch machine we decided to reconvene on Saturday. Luciano ordered a TinyG Arduino shield for us to control motors. I picked up two Etch-a-Sketch toys for us to test with on the way in.
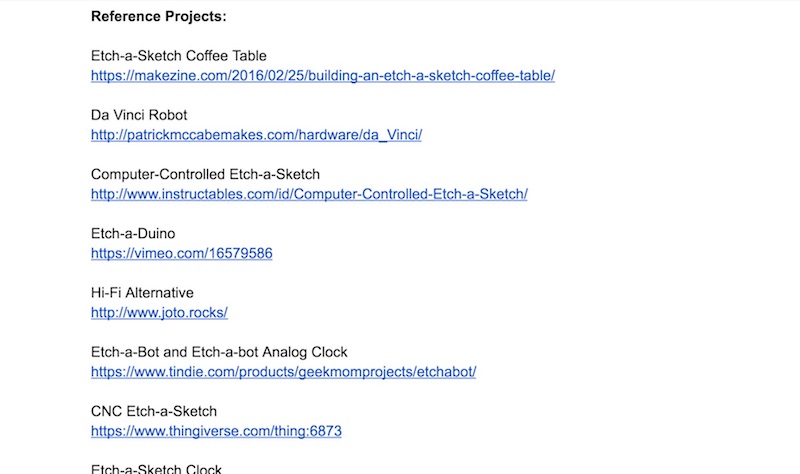
We thought about user experience, researched precedents, and calculated measurements. The key differences between ours and existing projects was that we planned to leave the Etch-a-Sketch intact with wheels to spin the knobs and enable a way for the toy to be inserted and removed from the machine.
While my teammates worked out gear ratios and stepper motor rotations, I researched building/programming precedents and recorded measurements of the Etch-a-Sketch.
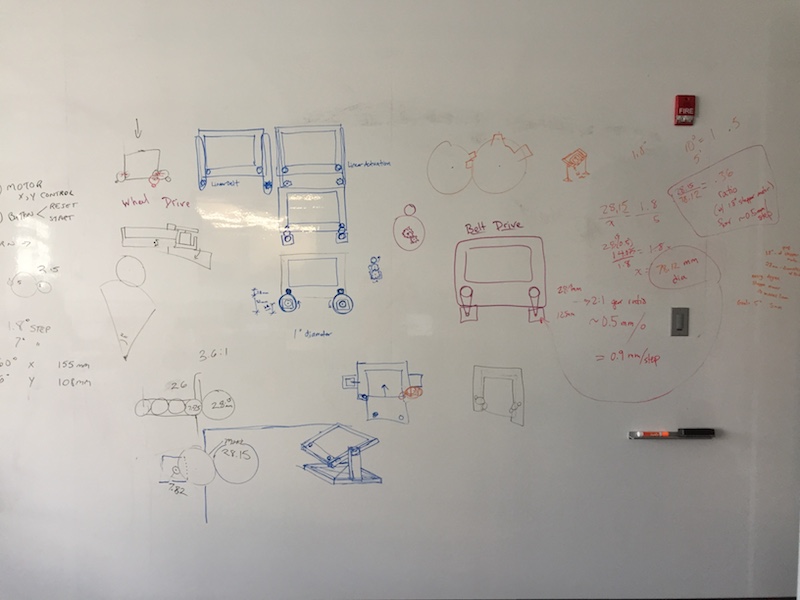

We discussed different ways to actuate the machine- turning the dials and flipping the chassis to clear the Etch-a-Sketch.
A simple wheel seemed like the best solution. Test wheels were designed and cut to test with the dials and we assigned ourselves the homework of creating some 3D sketches of a possible design.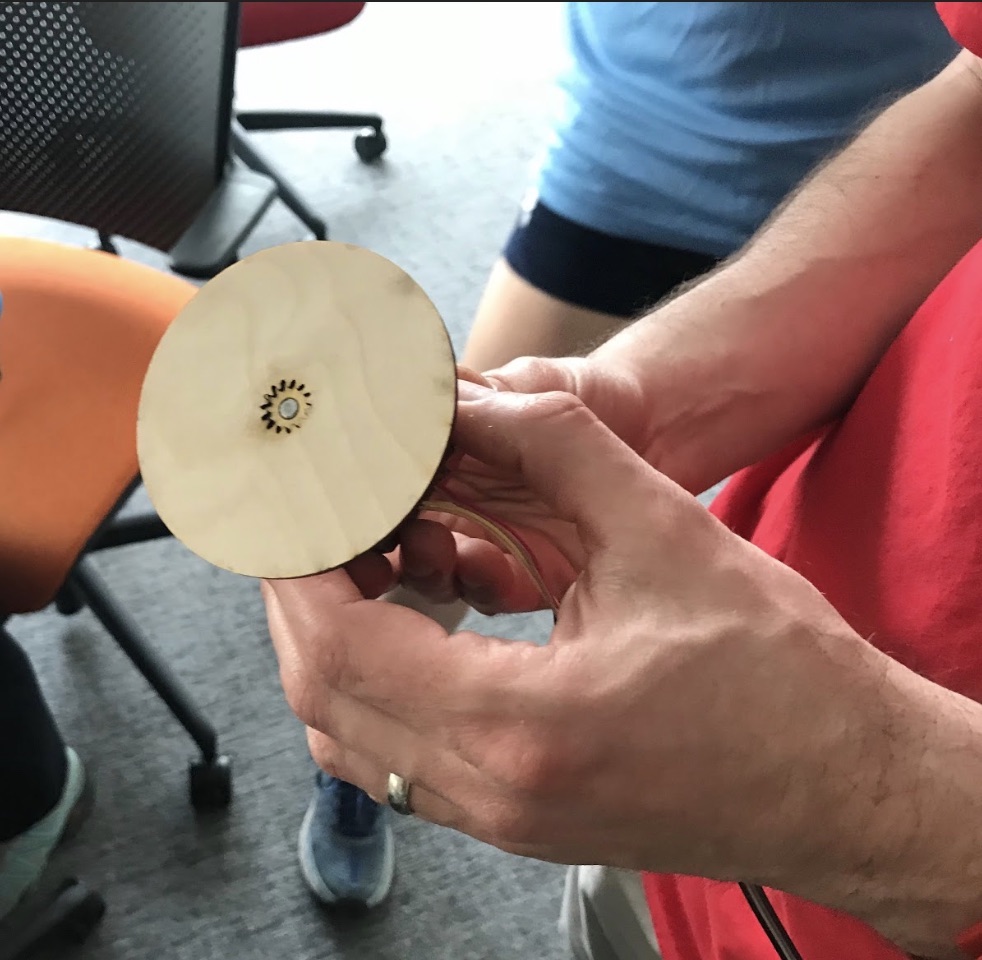
My design sketch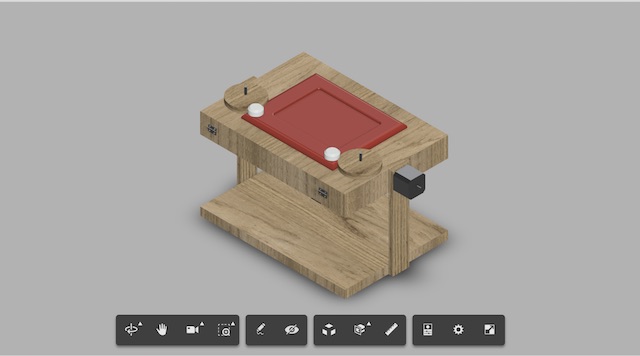
On Monday we shared our designs and decided to use Sal's, potentially prototyping Saba's as a second option.
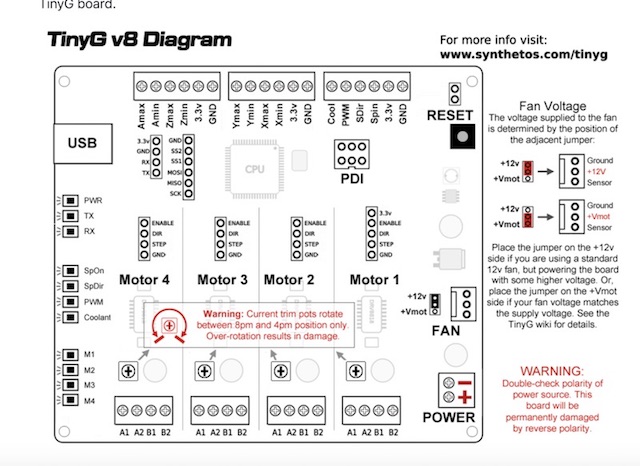
We discussed using a TinyG to control the three motors and spent time researching how stepper motors function. Jean Michel assisted us in connecting the stepper motor and experimenting with code.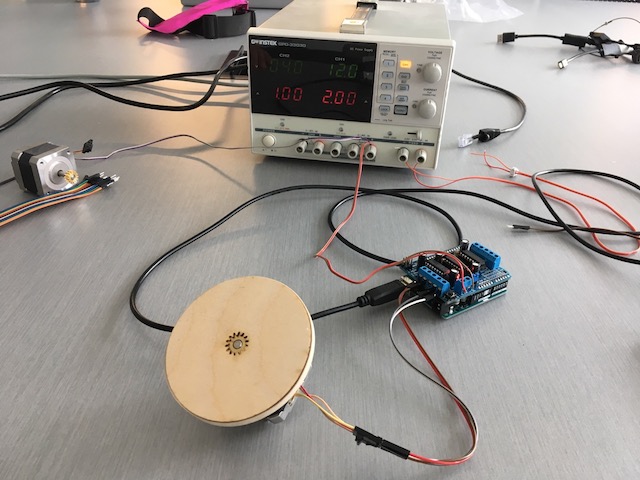
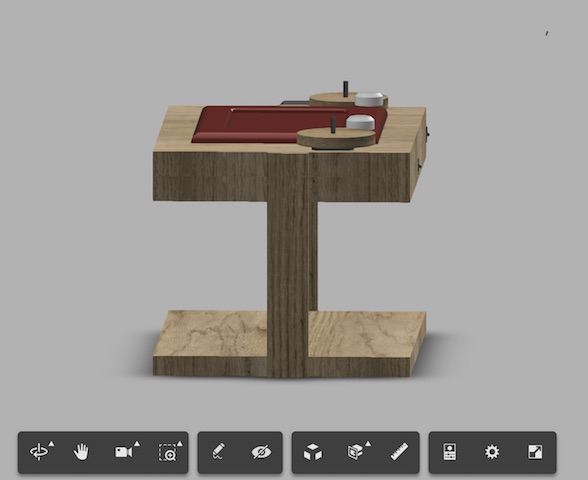
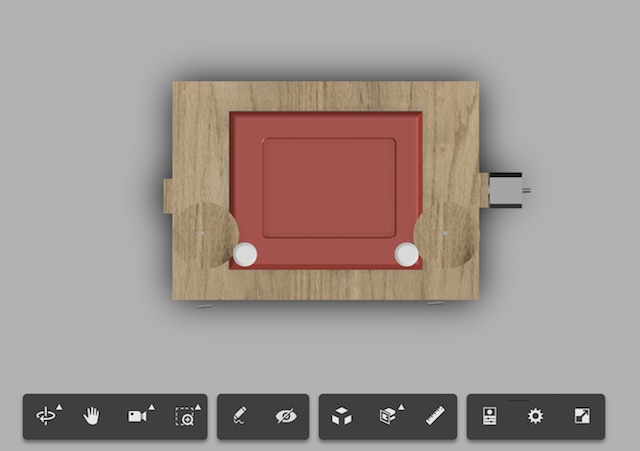
Pilar and I designed a second prototype using Saba's original design.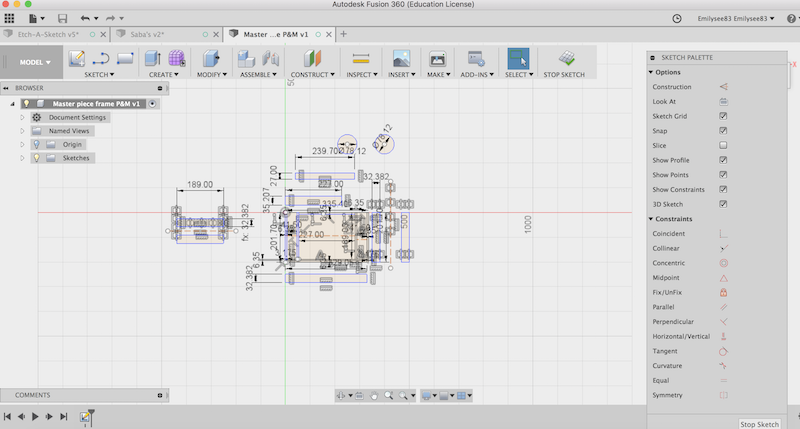
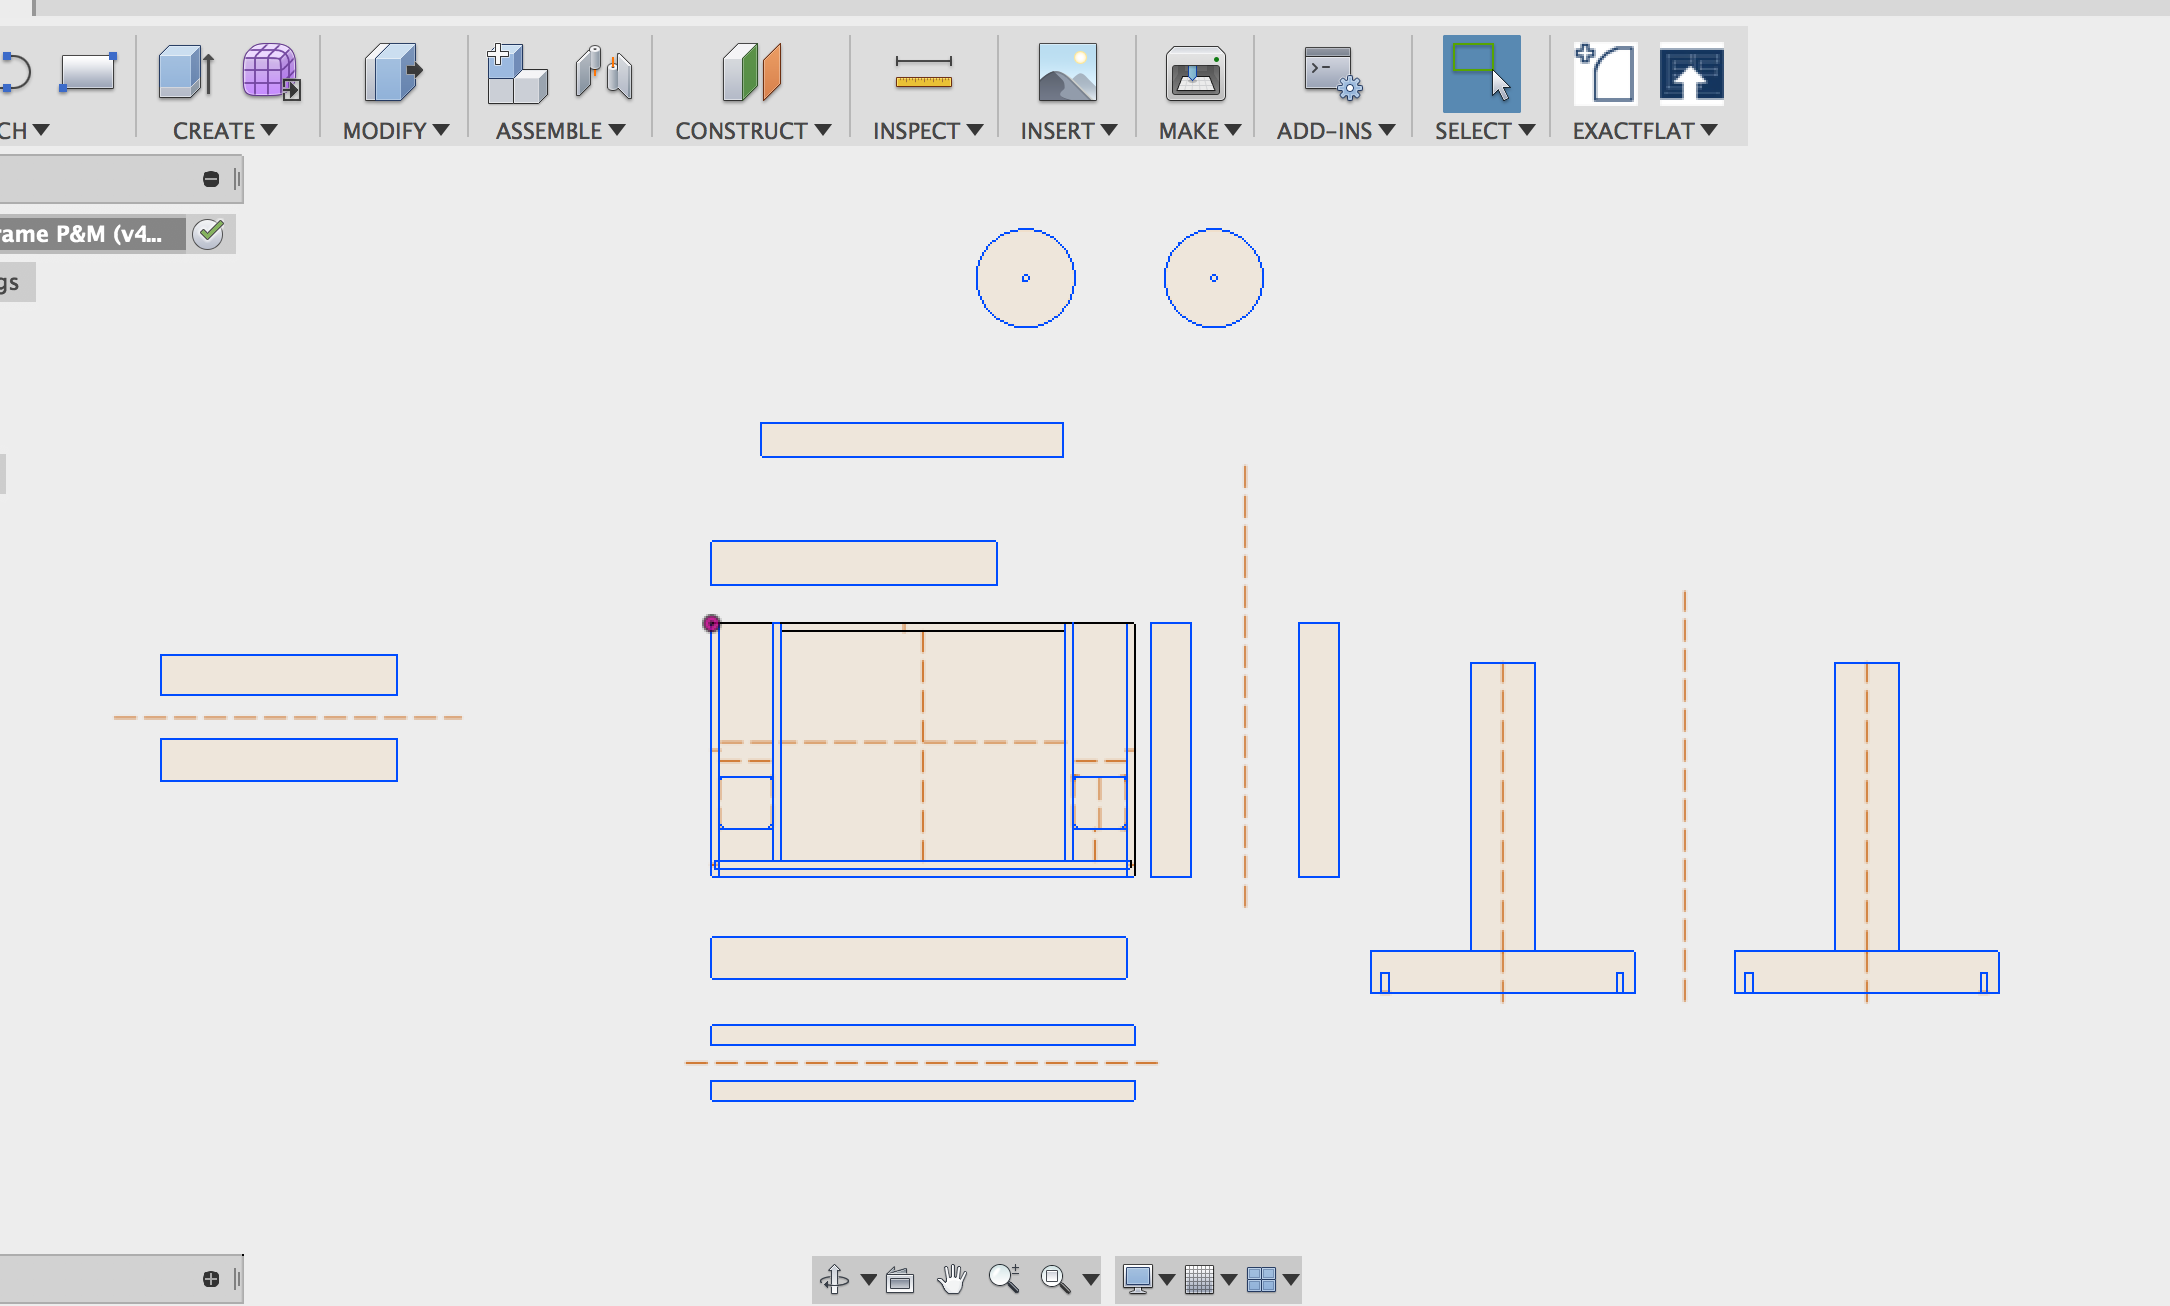
We realized we didn't have the plywood we'd anticipated having, and changing the thickness parameter negatively impacted the design. As a workaround, we eventually cut the design in acrylic of a similar thickness.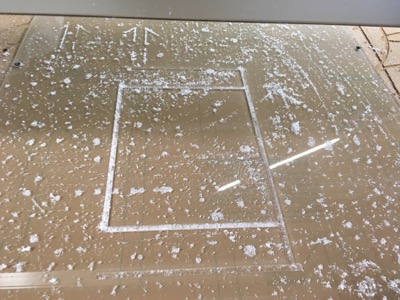
I had trouble converting the file to AI for the laser cutter and so we used the ShopBot. Although the design and cutting was additional experience for this beginner, it didn't get our group much closer towards our goal.
By end of day Tuesday we had a cut chassis and base from the designs my group members made.
Wednesday Pilar shared the group's machine prototype and the webpage during reviews.
Group Page
Machine Design
Oye and Pilar began learning to program the stepper motors that turn the knobs of the Etch-a-Sketch using the TinyG shield.
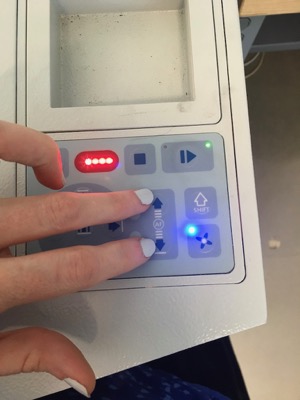
Setting up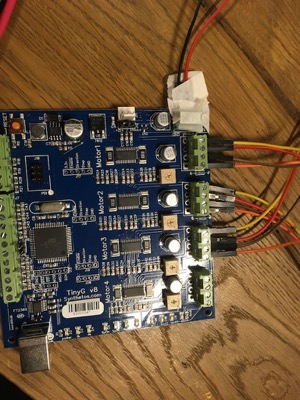
Connecting json serial port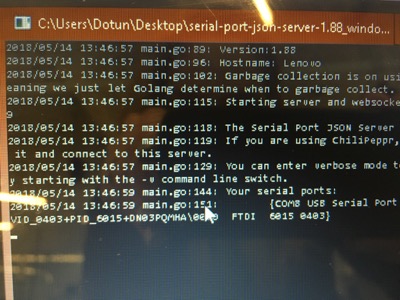
Coding in CoolTerm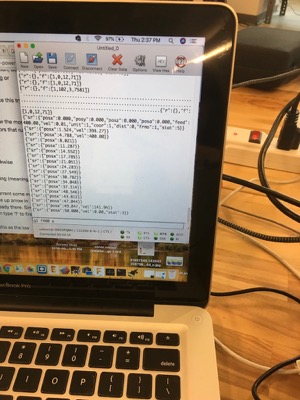
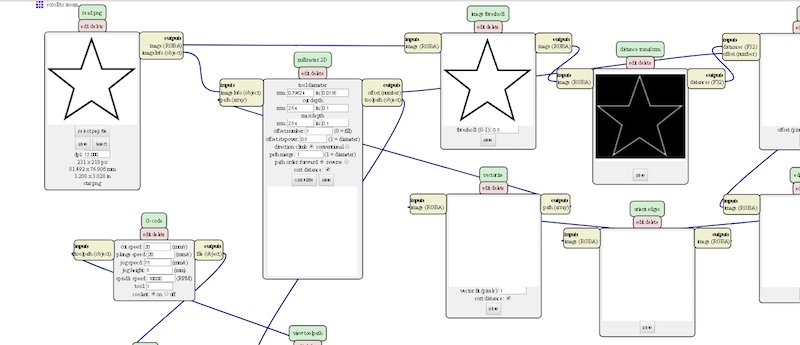
In the meantime I worked on learning all I could about ChiliPeppr and converting images into gcode. Once Pilar and Oye got the machine up and running they shared what they learned so I could experiment sending gcode generated from images.
At first we could only send one string of code at a time but then found we could send a whole .txt file with a string of code for an entire image.
Workflow for sending gcode
With wheels modified for more traction with the knobs, and some setting changes in CoolTerm, we were successfully able to send a rectangle with gcode Jean-Luc generated in Mods and have much smoother performance.
Saba and I realized with little time left before we needed to present a working machine, two key things needed to be figured out: a way to rotate the Etch-a-Sketch to clear it, and a way to stabilize the base while the motors were running.
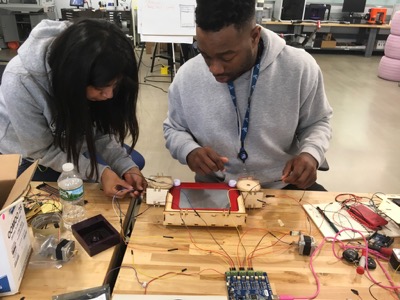
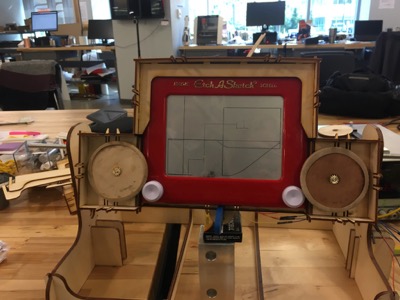
She made a lever based on our measurements and I got to work on designing additional base supports from Emily E.'s design. I hadn't used Solidworks at all since it's not compatible with my machine. With Sterling's help I created new crosspieces for the base of our machine.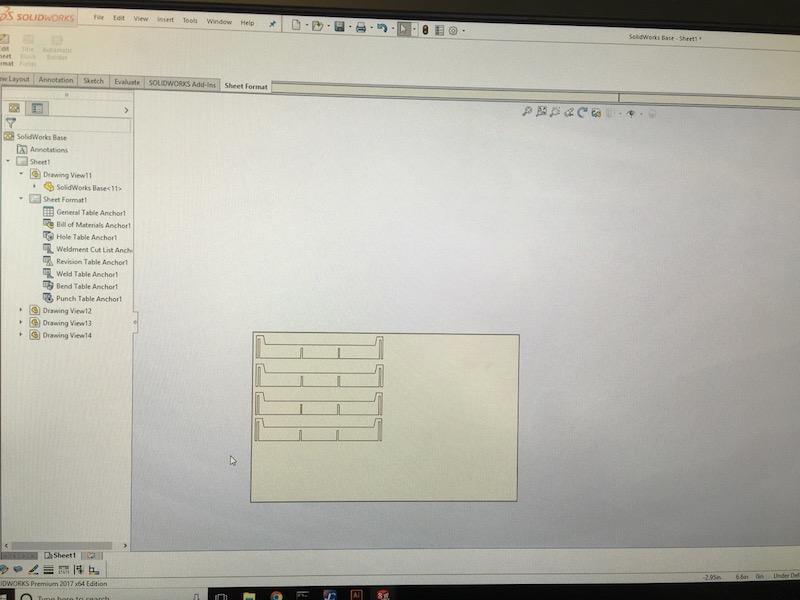
Slowly clearing the screen with the lever, our revised base and chassis
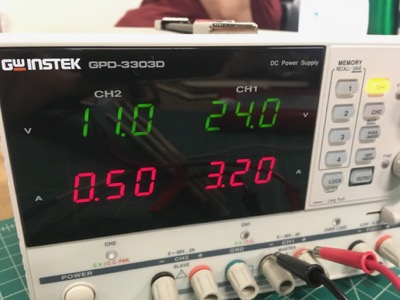
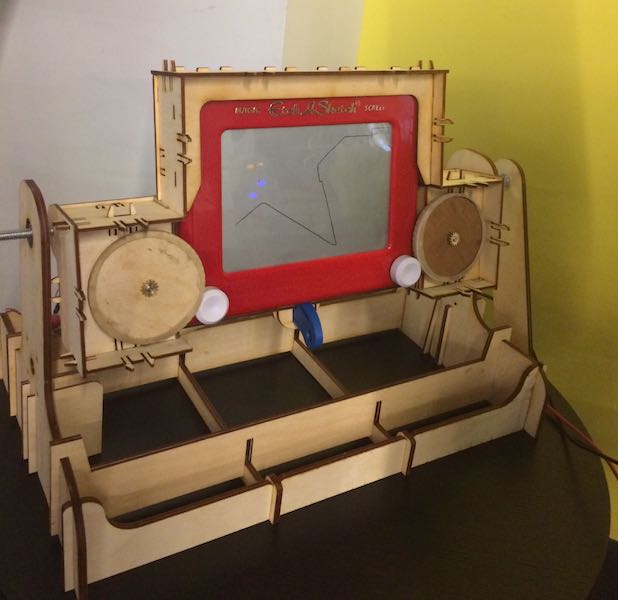
Jean-Luc and I were able to share the progress made on actuating our machine and just as we were lementing that we hadn't figured out how to input our screen dimensions into CoolTerm settings, Oye swooped in with some magnificent code that does just that.
lsa=1.8ltr=35.51mi=42sa=1.82tr=35.52mi=43sa=1.83tr=35.53mi=11po=12po=1xtn= 0xtm = 155
Now calibrated to our machine we were able to draw a star on our Etch-a-Sketch from gcode generated in Mods. Very exciting indeed!
Future Developments
- Determine how to adjust images so they fit the scale of our workplane before we convert them to gcode
- Set up the machine function fully on ChiliPeppr
- Coming up with a better solution to clear the Etch-a-Sketch
Files
Personal Contributions
3D Sketch
Body Design
Base Stabilizer
Additional Files
Design Files