Exercise 3. Computer-controlled Cutting
Assignment: Vinyl Cutting
- Design and cut one of the following: stickers, flexible circuit boards, textured surface/relief pattern, screen-print resists/stencils
- Ensure that you have used it in some way during this time and meet the objectives below
Learning Outcomes
- Identify and explain processes involved in using this machine
- Design and create the final object
Evidence
Process
Designing Stickers
For the vinyl cutting project I first tried to create a sticker by pixelating a photo and converting it to black and white.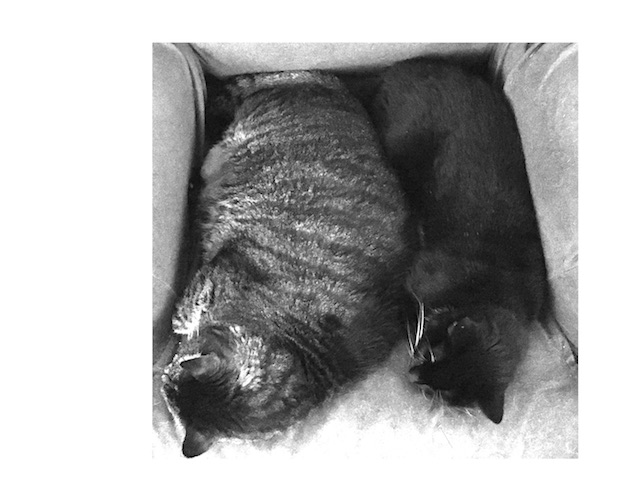
As a beginner, I found great difficulty manipulating the photo with Inkscape to be something suitable for cutting, so set this aside to make sure I could work with the vinyl cutter first. ★★
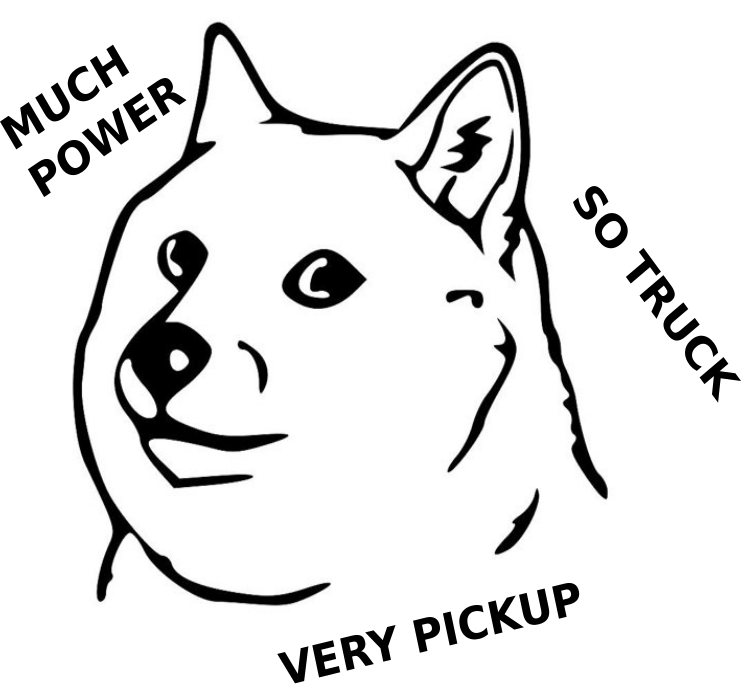
For my first cut with the vinyl cutter I found an image of the "doge" dog. I imported this into Inkscape and added meme-like text.
Cutting Sticker
I used Mods to prepare the png file for our Roland vinyl cutter.
Sending design to the vinyl cutter using Mods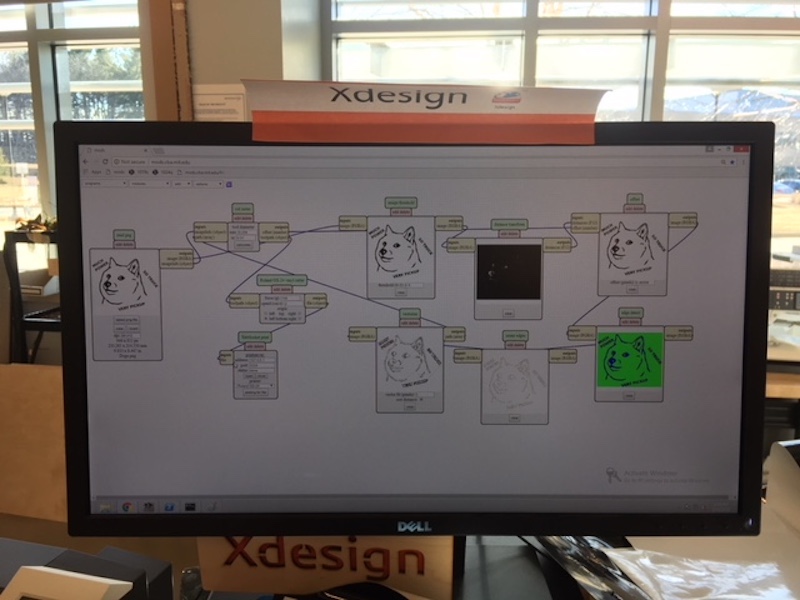
Cutting the vinyl sticker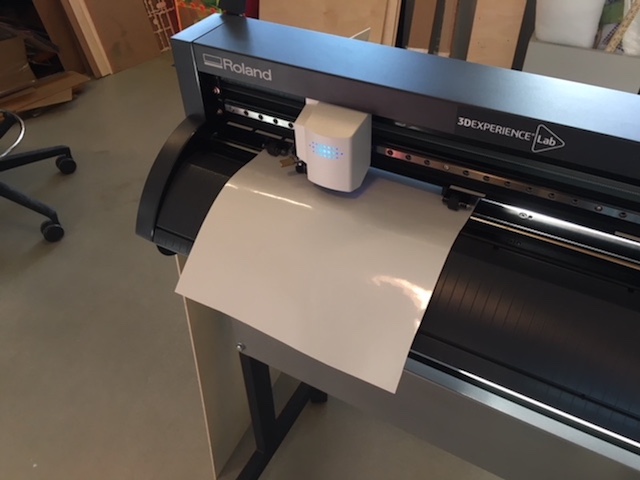
On my first attempt, while I measured my vinyl piece, I didn't take into account that the machine wouldn't be able to cut to the very edges of the piece. As a result, part of my image was cut off.
I scaled my image down and made sure to account for the vinyl piece dimensions on my second attempt and had more success.
Making sure that both edges of the vinyl are aligned within the white rectangles so the machine "sees" it.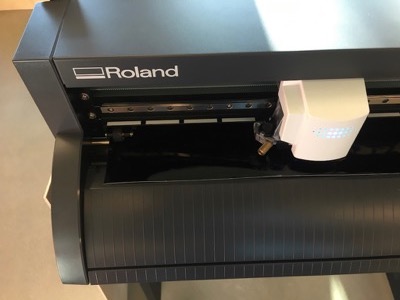
Vinyl cutter
After weeding the negative pieces I transferred the sticker using transfer tape.
Given their size and how they were cut, the text is tricky to separate from the backing. I'm sure that there is a fix for this in prepping the image in Mods moving forward.
Tweezers helped to make sure the smaller pieces stayed in their position and adjusting when they didn't. Now the sticker is ready to be applied to the truck.


★★ Once I was more comfortable with Gimp I returned to my previous idea of creating a sticker from a photograph.
This tutorial assisted me in the process of turning this photo

into this image ready to be cut with the vinyl cutter.

He's the Most Interesting Cat in the World.

I used the laso tools and the eraser to remove the background. Then I increased the contrast and brightness. In the Color dropdown menu, I utlized Threshold to convert the image to black and white, leaving enough contrast to see the cat. From here I used basic paint tools (draw, paint, erase) to add features, texture, and combine some lines for easier weeding of the final sticker.
Assignment: Laser Cutting
- Characterize your laser cutter, making laser cutter test part(s), making test part(s) that vary cutting settings and dimensions(group project)
- Cut something on the laser cutter
- Design, make, and document a parametric press-fit construction kit, accounting for the laser cutter kerf, which can be assembled in multiple ways
Learning Outcomes
- Demonstrate and describe parametric 2D modeling
- Identify and explain processes involved in using the laser cutter.
- Develop, evaluate and construct the final prototype
Evidence
Process
Designing Pieces
Before I started designing, I wanted to make sure I knew how wide the slots in my press-fit pieces should be.
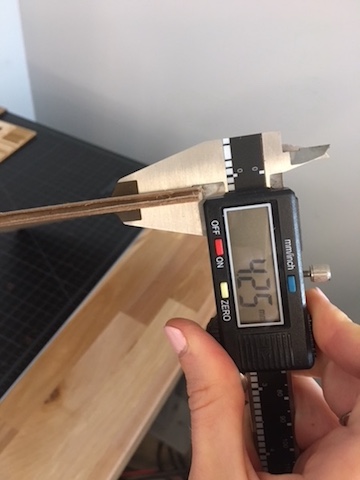
Since I still needed practice with Inkscape,
I started there, and then moved onto Rhino for my press-fit design.
I remember having a press-fit kit of various circles when I was a child and decided to try to recreate something akin to my memories.
Inkscape
After some initial sketching of piece ideas I moved into Inkscape. The following resources were helpful:
Parametric .svg Tutorial,
Inkscape
Parametric
Fab Academy Tutorial- Press-Fit Inkscape
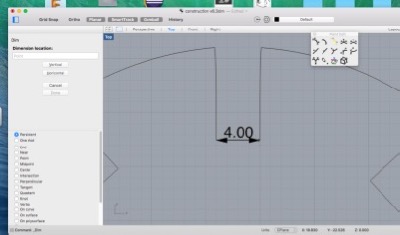
In Inkscape a good place to start (that I hadn't, initially) is work plane dimensions. It's also helpful to set your stroke to .001mm, or another measurement that you will be using for laser cutting.
Creating slot 4mm x 6mm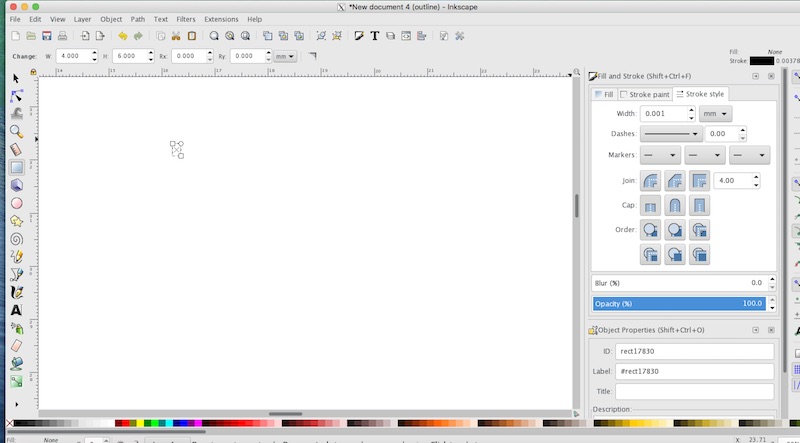
When creating my design it was important to take into account the machine's kerf so that my pieces would fit together snuggly.
I then created squares along the top corners, rotated them, and edited my line paths to create a chamfered top end. As I was cutting these pieces I worried the chamfer wasn't angled enough but this ended up not being a problem.
Adding chamfered slots to a piece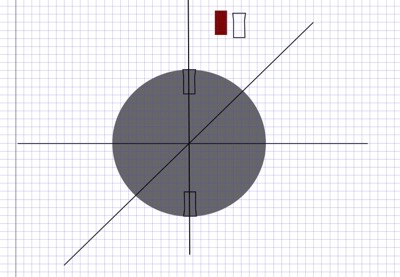
Rotating the slot around the center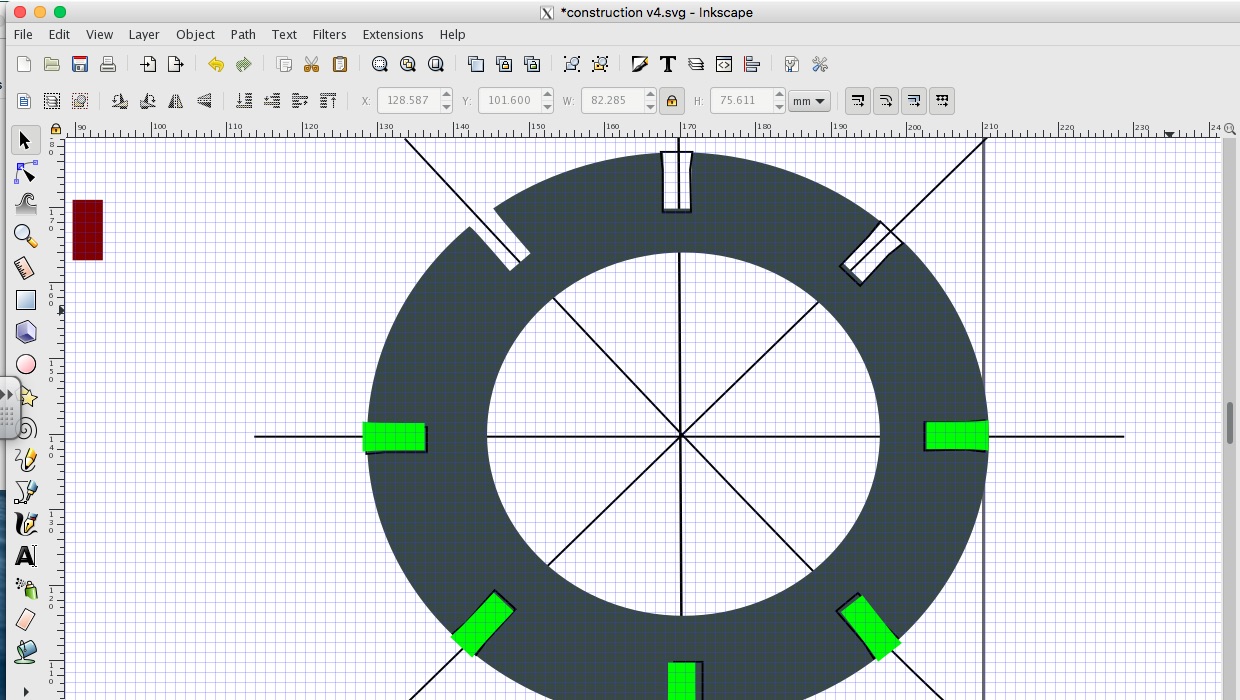
Combining components to make a new piece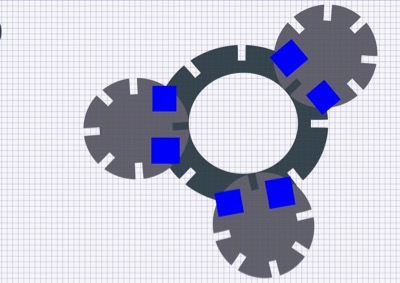
By cloning my initial slot I was able to create a number of different type of pieces that would fit together.
You can also add parametric elements to Inkscape via the XML editor.
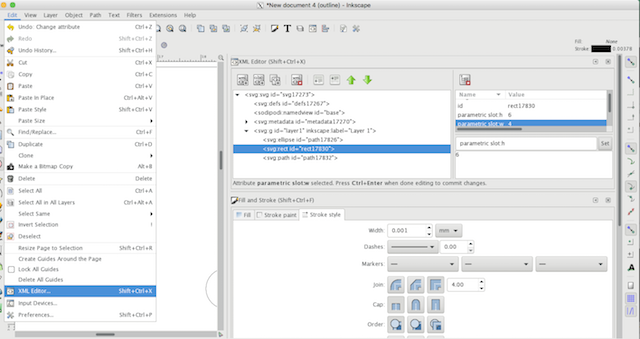

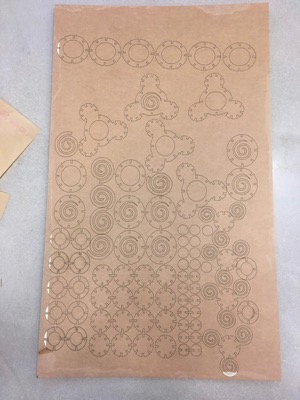
Tiling components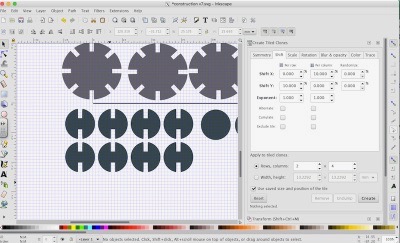
Pieces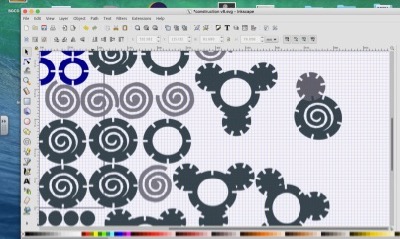
Rhino
Although I didn't use Rhino to initially design my pieces,
because I was having trouble scaling my image from Inkscape to the correct size in Illustrator- which integrates with our laser cutter,
I did move it over to Rhino to do this and run the print from Rhino. Once I set the slot size,
it followed that the rest of my layout would be scaled properly.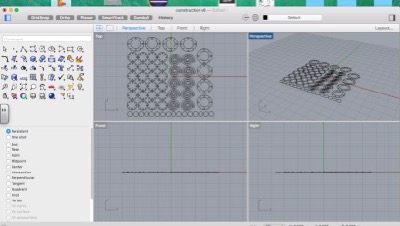
Preparing to Cut
Loading stock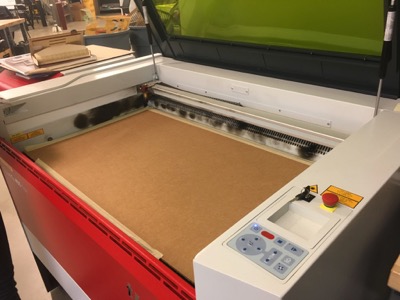
I taped the cardboard to keep it level
Checking settings for the material
Color mapping for cut
Since I'd only be cutting, I didn't need to map additional colors.
Cutting Pieces
The scale was slightly off on my first try. The whole pieces were about 4mm when the slot width should be that size.
It's important to check that your pieces will fit on your stock
Also to double check that your pieces are cut all the way through before removing them from the machine.
If you find that they haven't been cut all the way through while the stock is still on the machine bed, you can always do a second run.
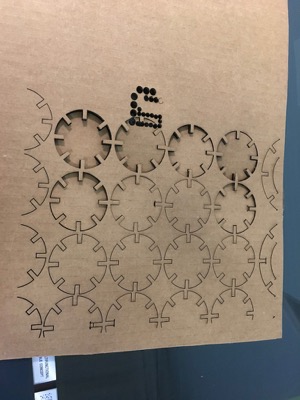
I went through four different cuts before I got it right but ended up with a complete press-fit construction kit.
Ready to build!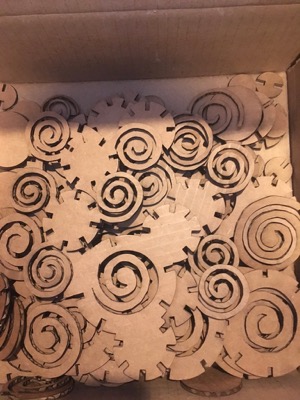
Laser cutter
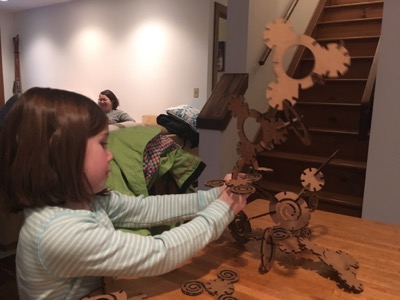
Assembling
Building with the first pieces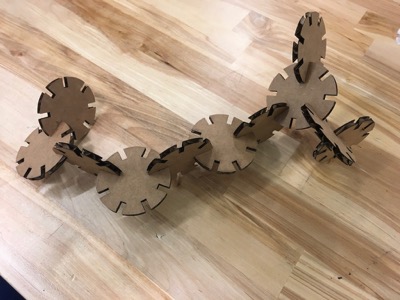
Some young friends were more than happy to test my construction kit over a weekend. We decorated a few with crayons first and then they began building. My testers were quick to notice shortcomings of the set:
There aren't any flat pieces. It's kinda tricky to start.
Some of the pieces don't fit together so well. They slide out.
Valuable feedback for next time!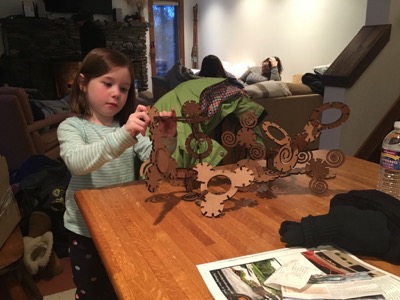
 ``
``
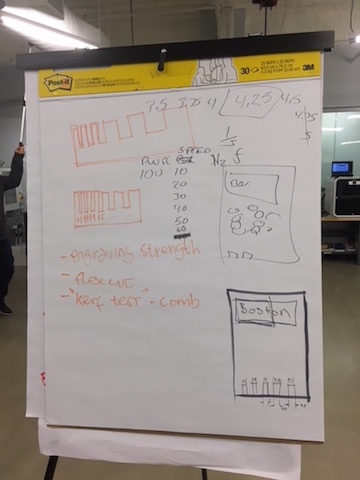
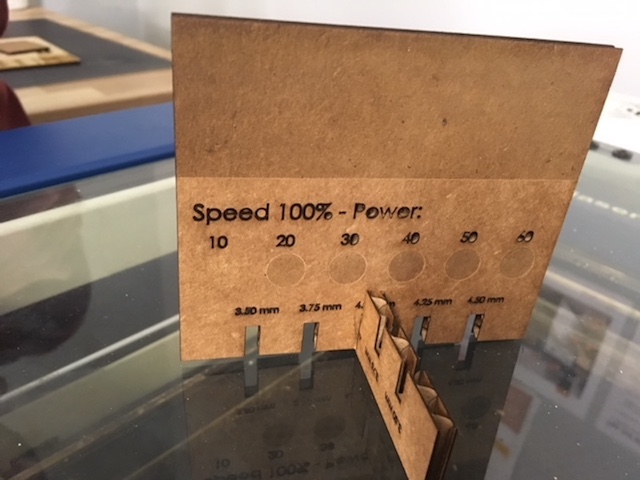
Group Assignment: Process
As a group we became familiar the two laser cutters in the lab- the Trotec Speedy 400 Flex and the Epilog Laser Mini. Our instructor introduced us to the Epilog and as a group we tested:
Power intervals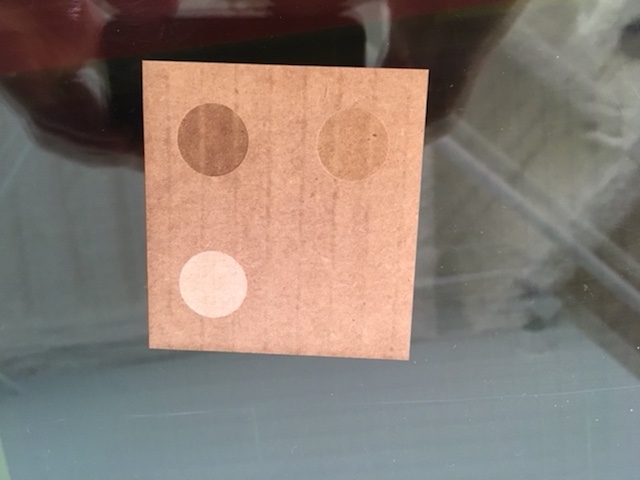
Etching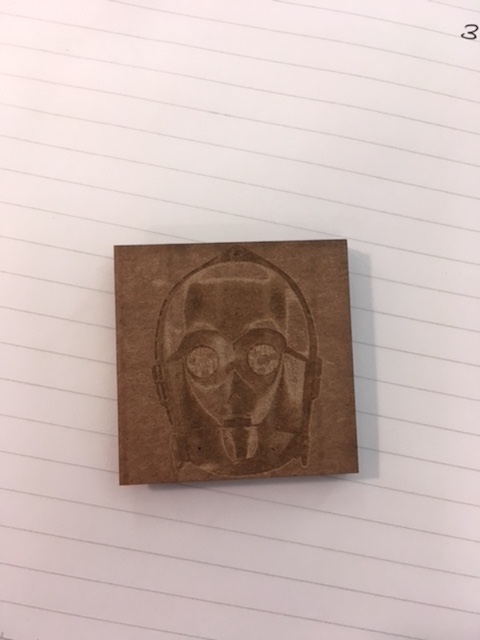
And creating a reference piece for future use.
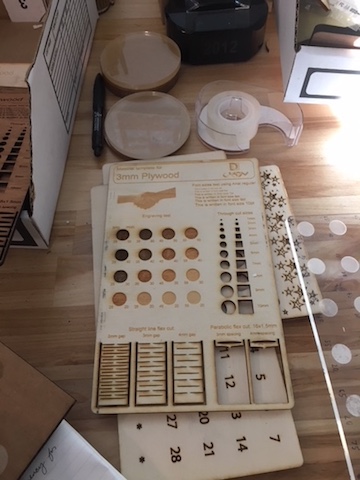
Some previously made reference pieces in the lab