Exercise 9. Molding & Casting
Assignment: Molding & Casting
- Design a 3D mould, machine it, and cast parts from it
Learning Outcomes
- Design appropriate objects within the limitations of 3-axis machining
Evidence
Process
I wanted to create a food-safe mold for ice cubes and chocolate. I decided on a shark fin.
Together with Luciano we made a test piece to go over the workflow. We used Smooth-Cast for the test piece, which isn't food safe but was easier to work with because it is more fluid-like and you have a little more lee-way in timing during processing before the material starts to set.
Critical Points:
- At least 3-5mm thickness of box boundary on sides and top
- 5-10º angled sides
- Casting usually goes from:
- Hard → soft → hard
- Positive → negative → positive
- If doing a two-part mold, ensure you have registers and entry points to pour the material
Designing object and mold
This exercise had me diving deep into Fusion360 in a way I hadn't with the 2-dimensional design for the cat wheel from Exercise 3. At Greg's recommendation I watched a lot of Lars Christensen's video tutorials. These are a tremendous resource for anyone looking to learn more about the tool. I spent days creating my humble design. New skills learned include copying, lofting, extruding, splitting bodies and faces, combining, subtracting, and more.
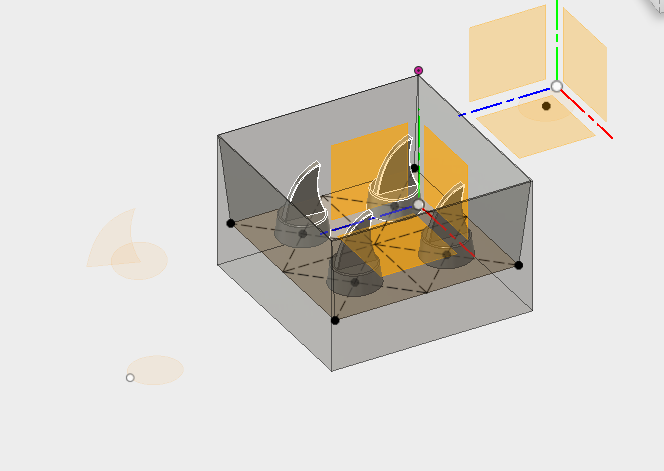
To design a mold, first you need to design the object, and then the box that will encase it.
2D sketching

Transforming to 3D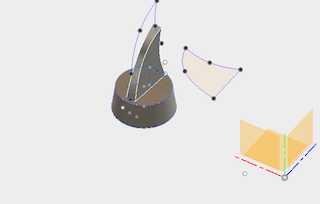
Wax Box cut where fins will be placed and the inner chamber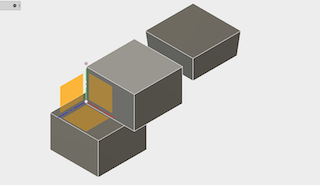
Snapping fins to chamber surface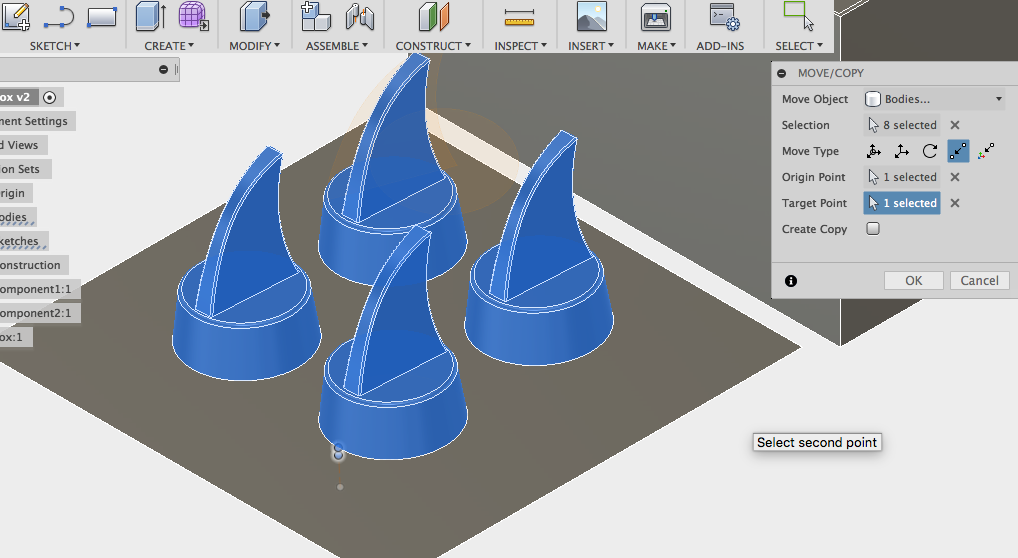
Chamber profile view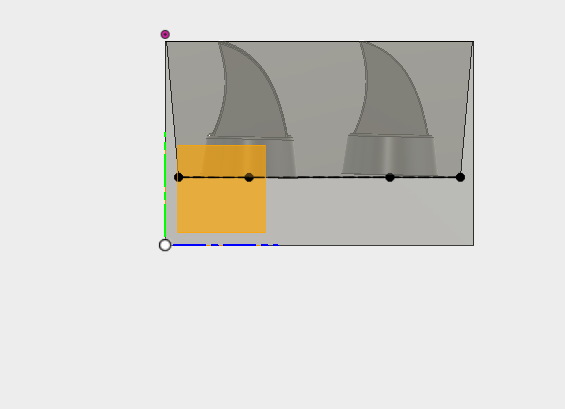
Once I was fairly close to milling it was pointed out to me that the fin might not be balanced enough to float on top of the water. This made perfect scientific sense but given the time I'd already invested in tweaking the design, I decided to forge ahead so not to fall behind.
Milling
Given the height of my initial wax block and the length of the bits I would need to mill to the tip of the fins, I used the Shopbot for milling. Given the height of my design, I was limited in my selection of milling bits.
The longest bit in the lab is a 0.5" ball-nose bit, so I ended up using this for both cuts.
Up-cut bits are best for milling molds and you must take care to ensure that your tool has enough space to get move freely and get to the lowest part of you design.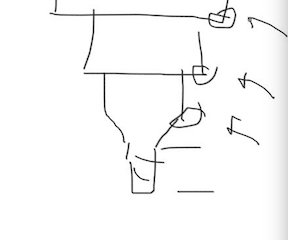
First I affixed my wax block to the sacrificial material with double sided tape.
VCarve
I moved into VCarve and set up my material size, XY position, and units. I imported my file, found the recommended feed/speed for my bit online, and began setting toolpaths.
Rough Cut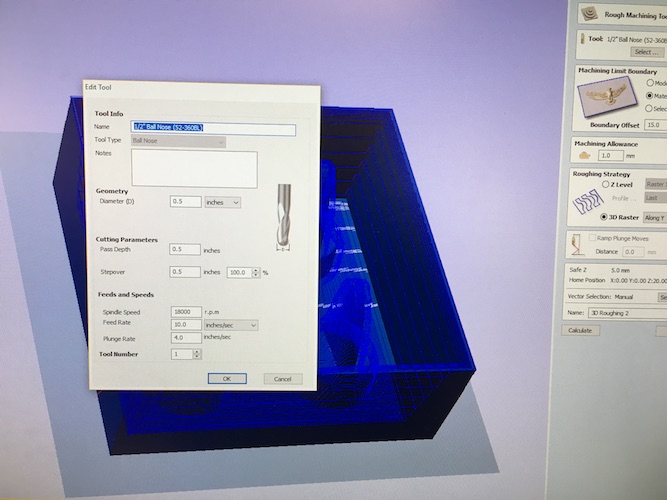
Finish Cut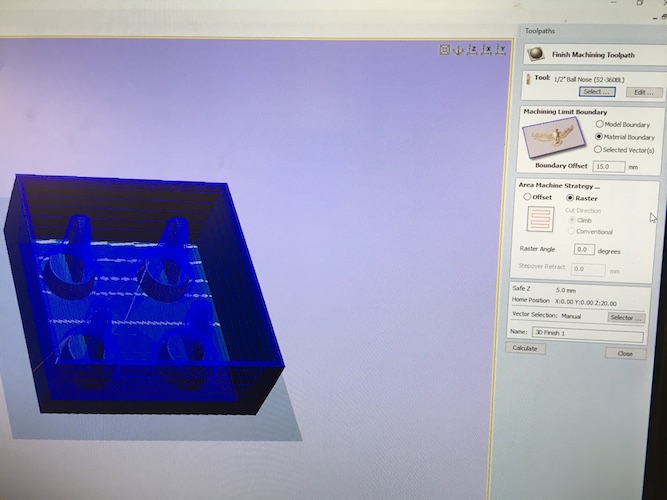
Shopbot
Once my toolpaths were all set I saved them as .spb files for the Shopbot software. I opened up the software and set my axes for the machine.
Setting axes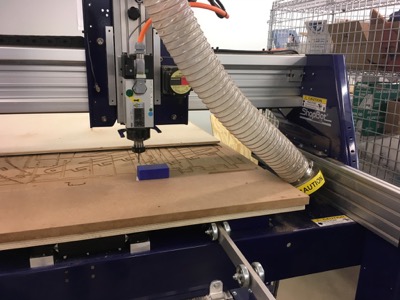
Sending first file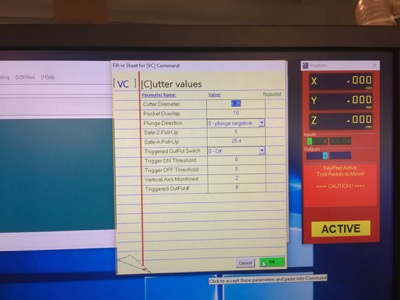
We mistakenly set the z to the bottom of the inner chamber which meant the machine milled a hole straight through the material to this surface. Luckily nothing is in the center of my design. We reset the z to the surface of the material and ran the job again.
Starting to cut
Roughing cut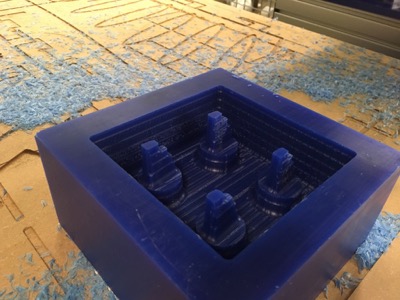
Milling the finishing cut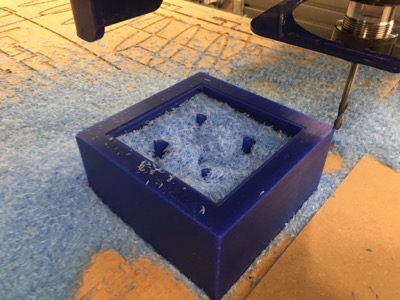
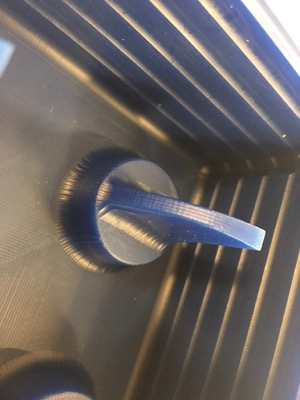
Nothing a little glue couldn't fix. Notice the center divot in the mold from when the drill went straight through the material on my first run.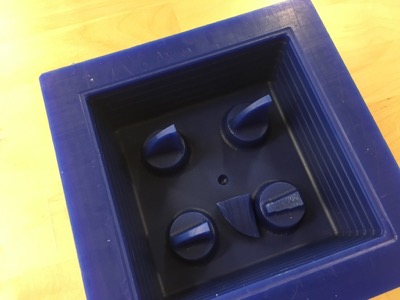
The rounded edges are from the ball-nose tip I'd needed to use because it was the longest bit we had in-house.
Finished Mold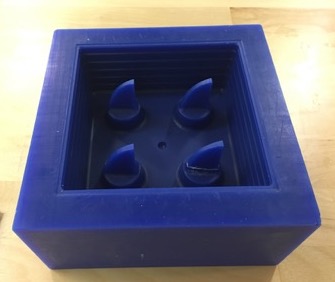
Casting
I used Smooth On Sorta-Clear 37 as it is a food-safe product. Before I started I read both the datasheet and the safety sheet for the product.
I got together all of my supplies and safety gear (gloves, goggles, apron, hair tie).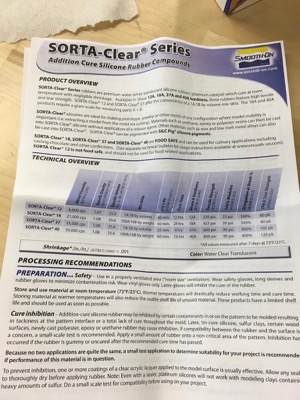
Measuring how much material is needed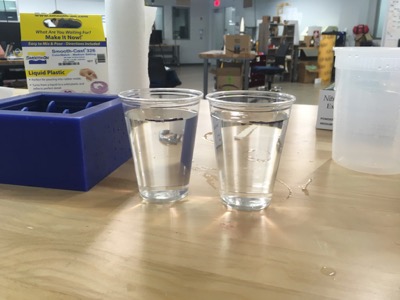
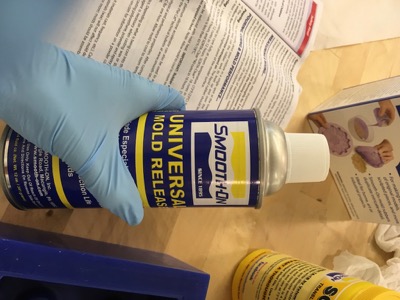
I rinsed the mold and dried it to remove any wax particles left behind. Then I sprayed mold release and let sit for 30 minutes. The instructions recommend you to spray and leave for much longer.
I added dye which in hindsight I realized was not labeled food-safe. It is very concentrated so only a little bit was needed.
Stirring Part B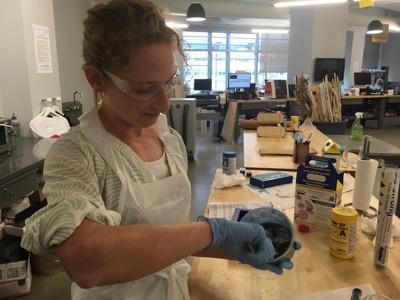
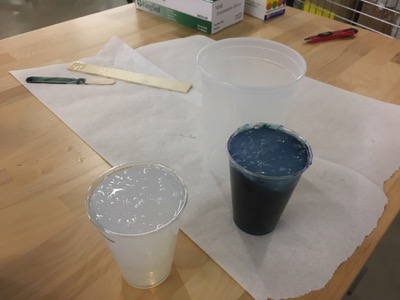
Poured Parts A and B into a larger container and continued stirring. Tried not to create too many air bubbles.
I slowly poured my A/B mixture into the mold starting from the shallowest parts and trying not to hit higher parts.
It was challenging to create a thin stream of material and avoid bubbles because the Sorta-Clear is very viscous.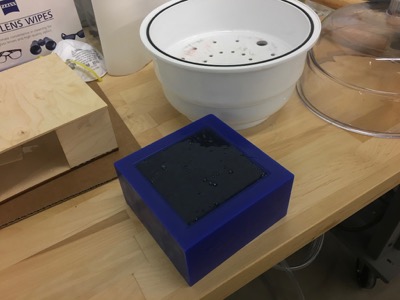
I put the whole mold into our makeshift vacuum but noticed bubbles weren't rising as they had in our test run.
Too late I realized the vacuum hose was connected so that air was going in to the chamber, rather than being sucked out.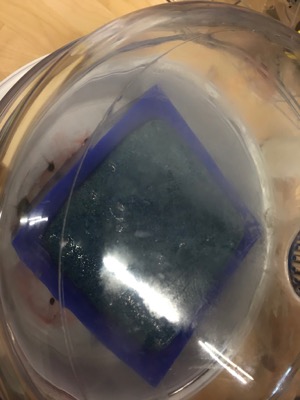
Luckily I didn't have any bubbles on the surface edges of the cast.
Post-processing
It was challenging to remove the cast from the wax mold even though I'd angled the sides because it was so deep and dense.
Heat cured per directions on the datasheet.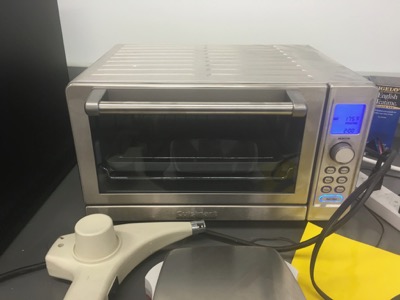
Finished Cast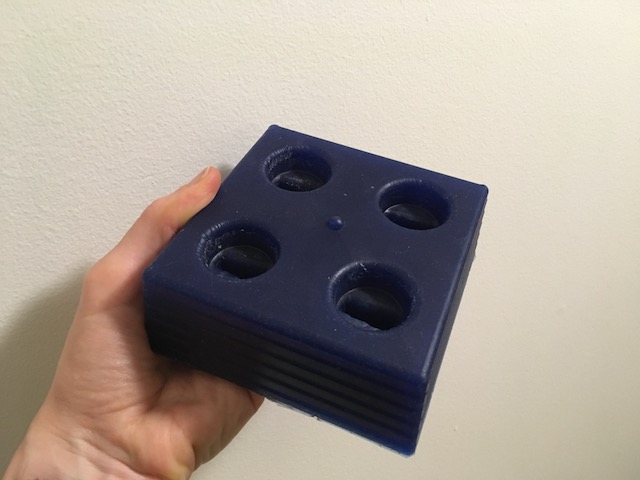
Using the cast
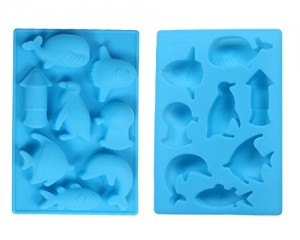
This is not an ideal cast given how large and dense it is and how small the components are. Even with removing sharp corners of my design it took considerable effort to remove ice and chocolate from the cast because so much material was left.
I now appreciate why commercial food molds are so minimal.
If I were to repeat the exercise I would do a two-part mold to cast a tray that cuts more closely to the objects like the one below.
Ice Cubes
Frozen fins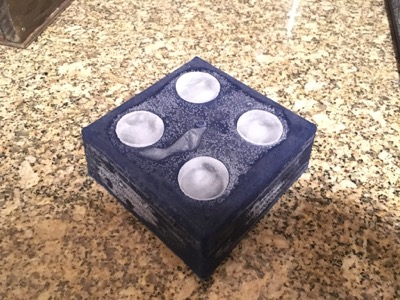
Sadness is a fallen fin.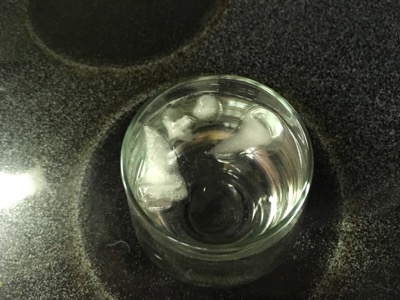
These whimsical ice cubes have a much larger base to keep them from tipping over.
And give pause to reflect on the realties of climate change.
Chocolate
Poured chocolate mold left to sit and solidify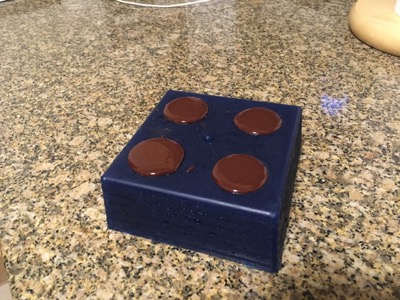
Some fin tip damage because of air bubbles even with careful pouring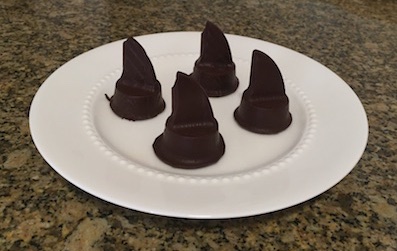
Go ahead...take a bite
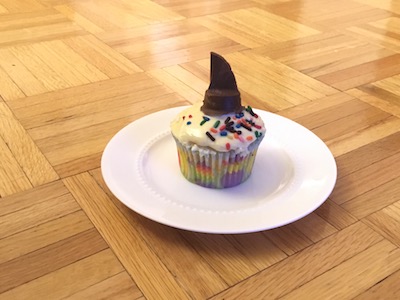
Not bad, but for chocolate topper, a smaller base would look better.