Casting is a manufacturing process in which a liquid material is usually poured into a mold, which contains a hollow cavity of the desired shape, and then allowed to solidify.
The solidified part is also known as a casting, which is ejected or broken out of the mold to complete the process.
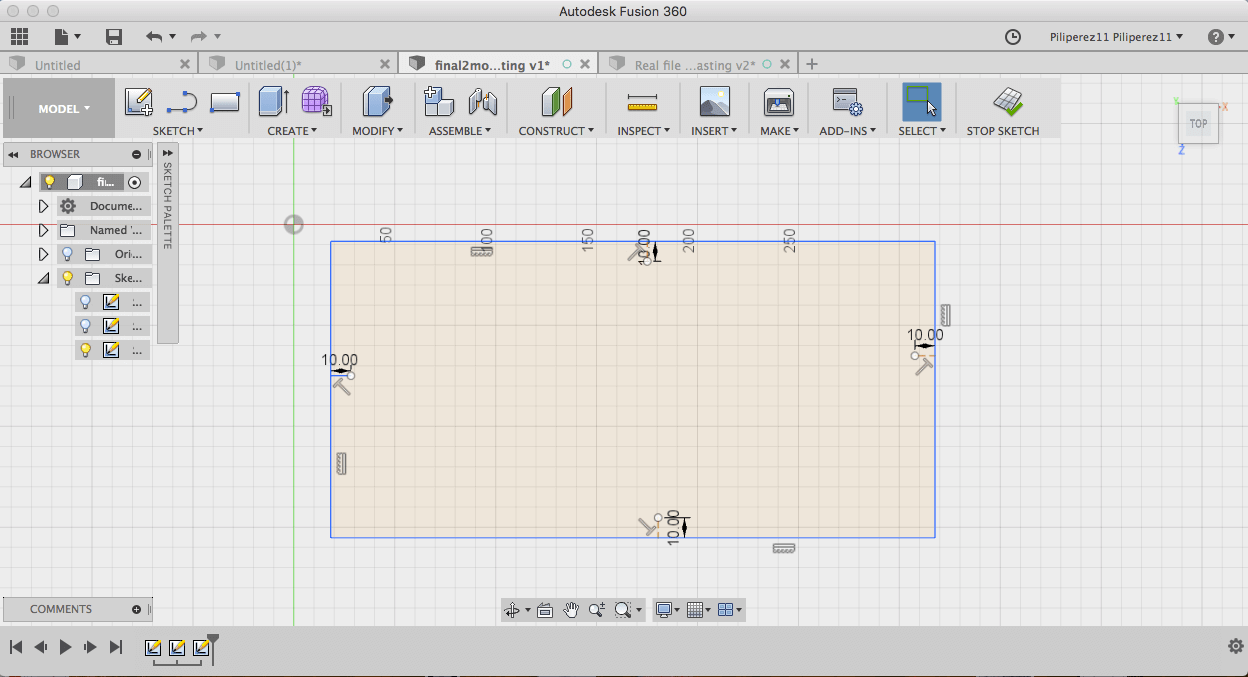
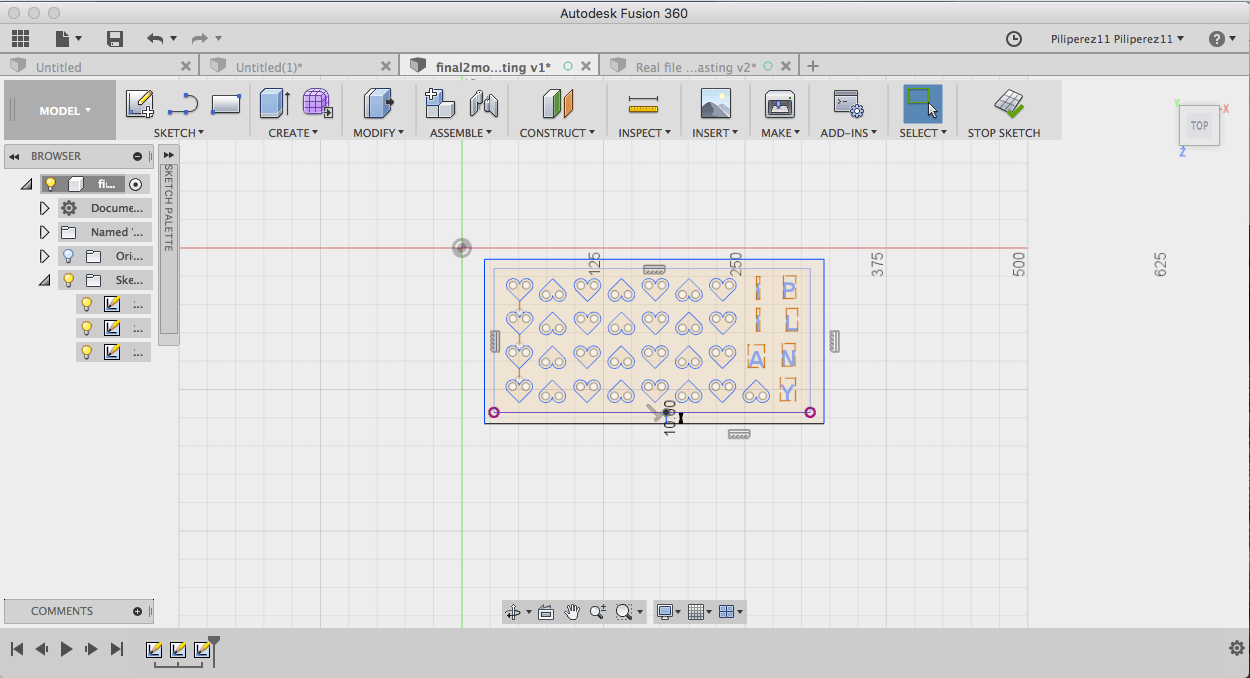
For molding and casting I had no idea what I wanted to make, but finally I decided that I wanted to make a mold for gummies. First I did a big square depending on how big I wanted and if it was gonna fit on my material.
Then I started to draw the shapes that I wanted to be in my mold. In here I had to decide how many I wanted them and how far the should be apart from each other. My instructor said give at least 5 mm space between them.
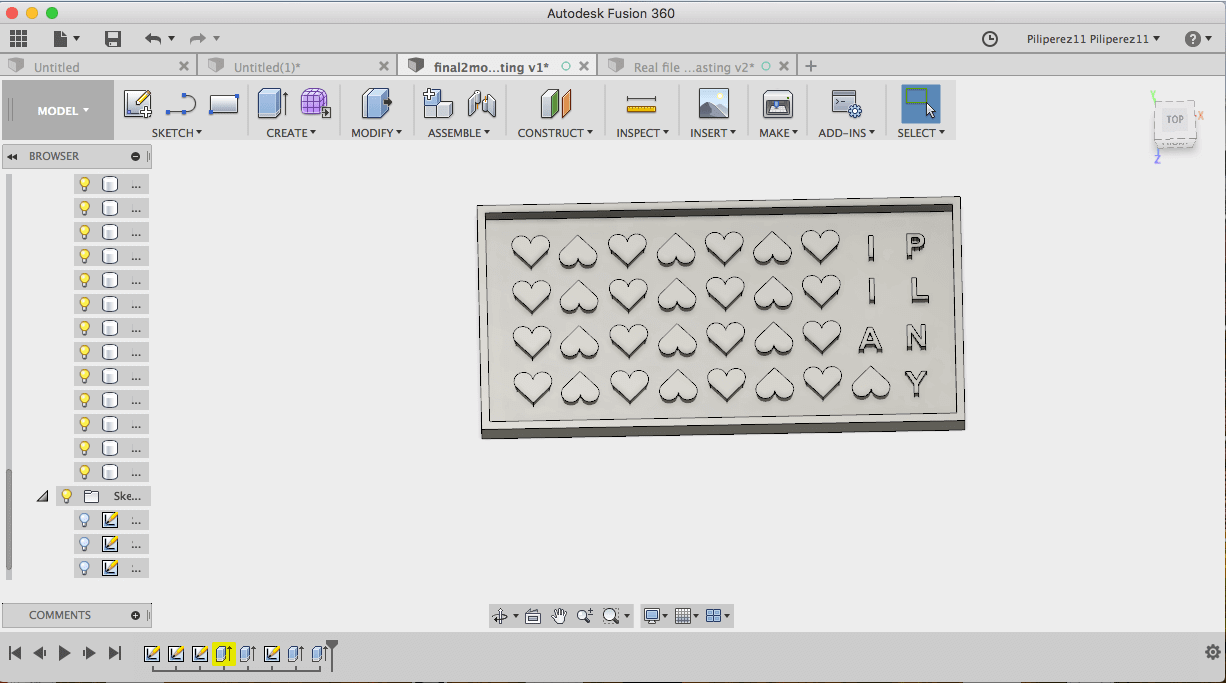
I have my design now did the measurements for how deep I wanted to go in my mold and how tick I wanted the shapes to be. So I went 18 down I left 5mm for the edges. Then 6mm for the space between the sape and the top. Lastly I did the measurement of how tick I wanted my gummies to be they are 7mm tick. In my shapes I did press pull positive 8. For me to make the box hollow I went negative 18mm.
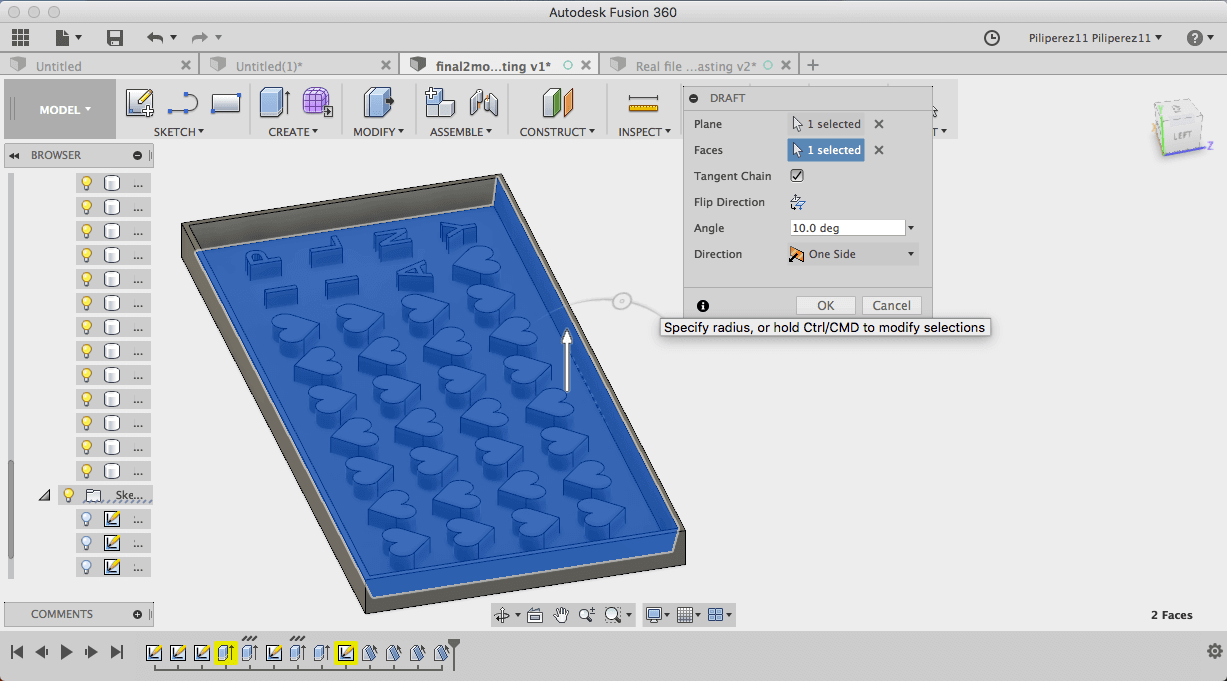
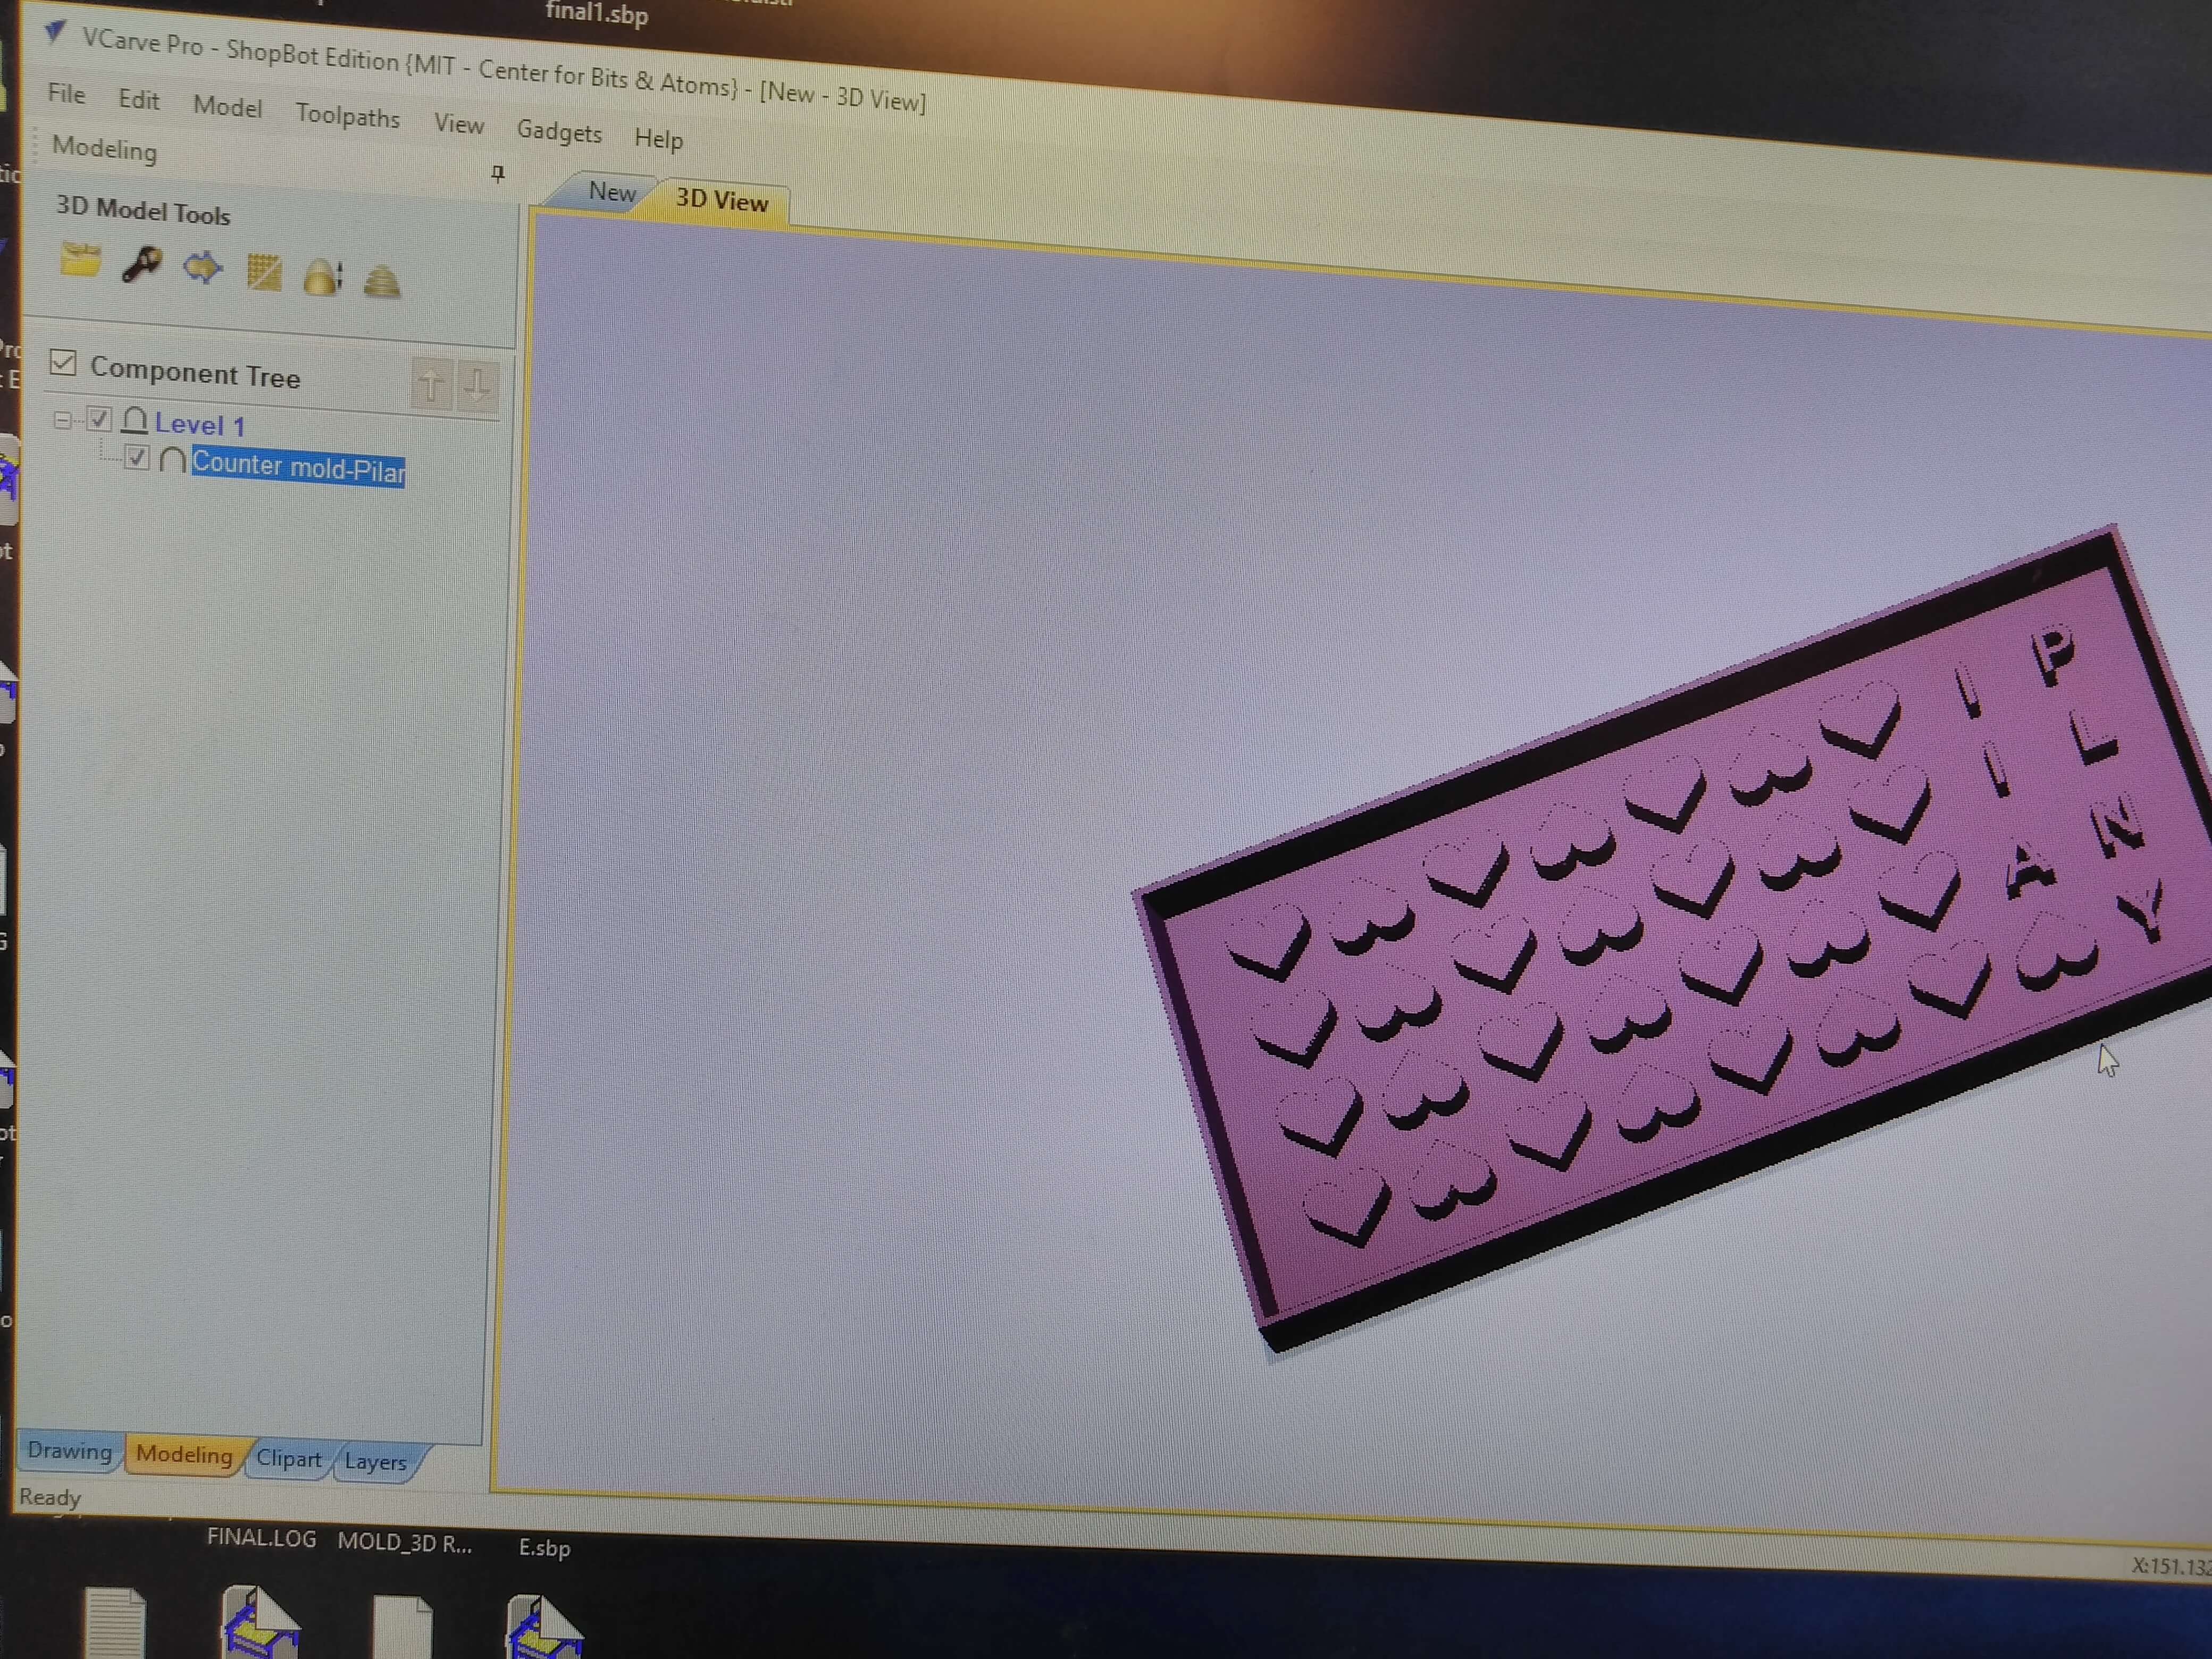
Now that I have my box I made my inside box to be in an angle, this is so when Im casting my product comes out nice. Did 10 degrees on my angle. Now that I have my drawing complete, Im gonna transfer as an stl so in can be open on the ShopBot Software.
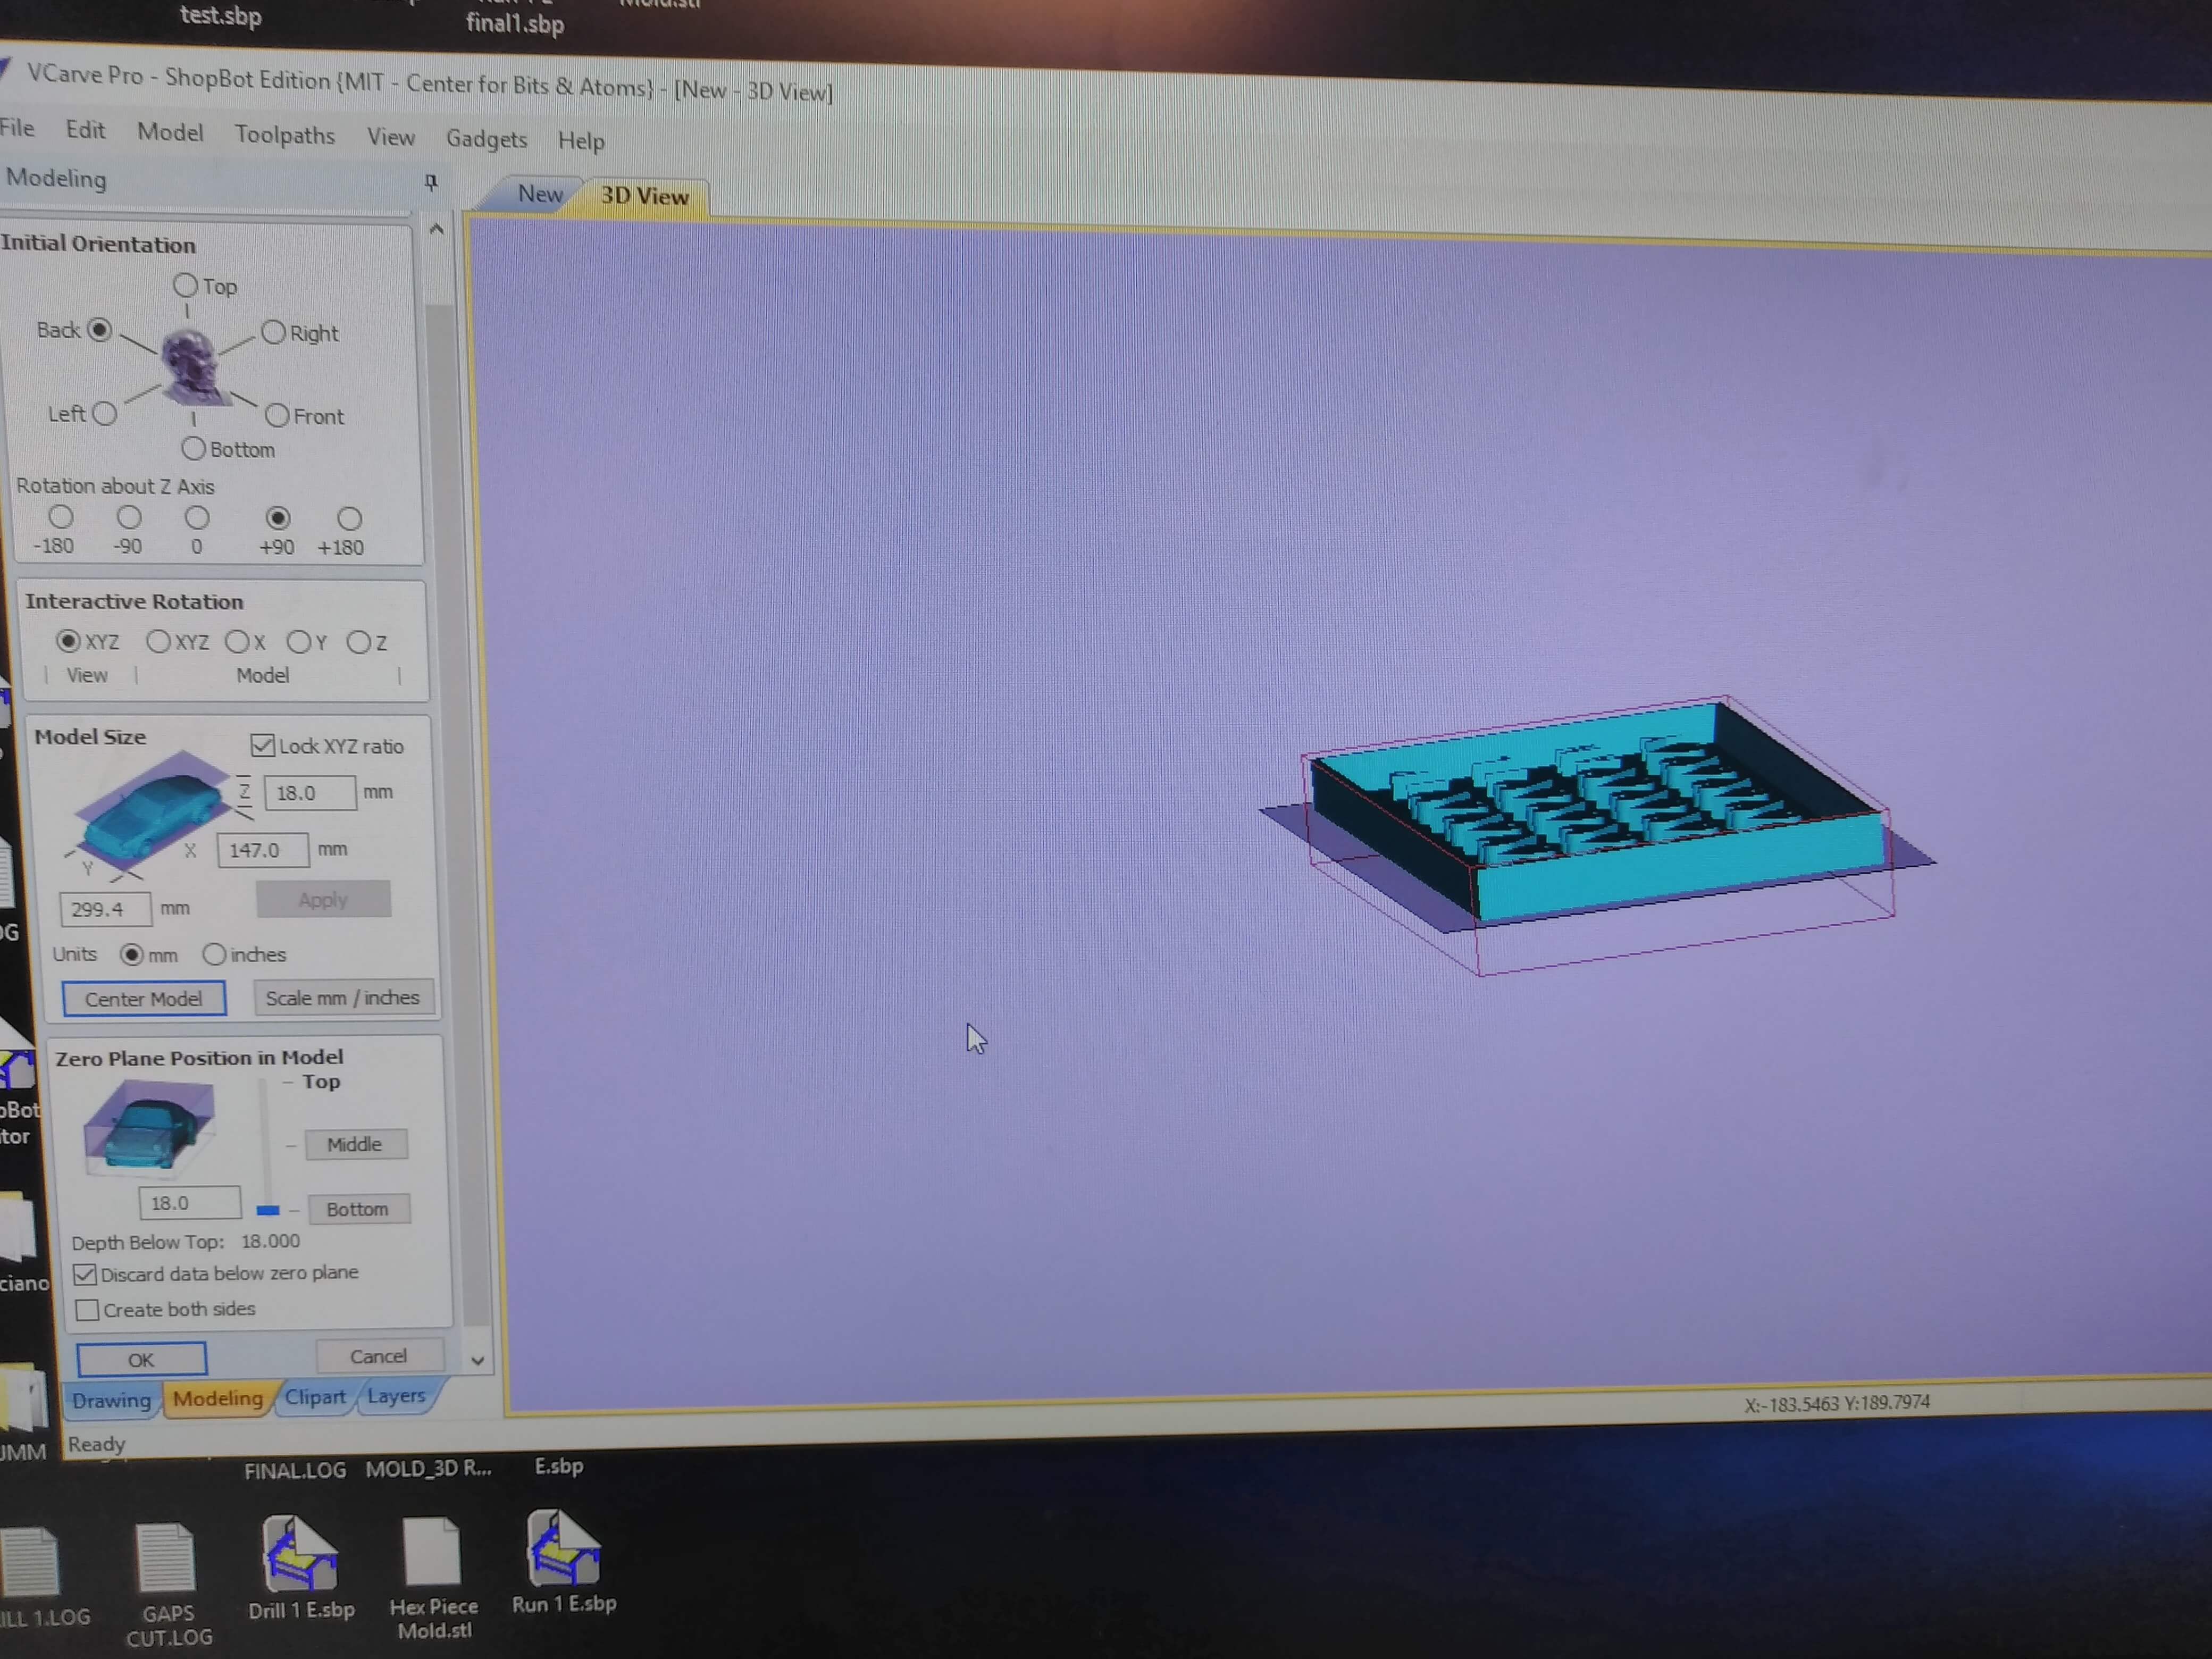
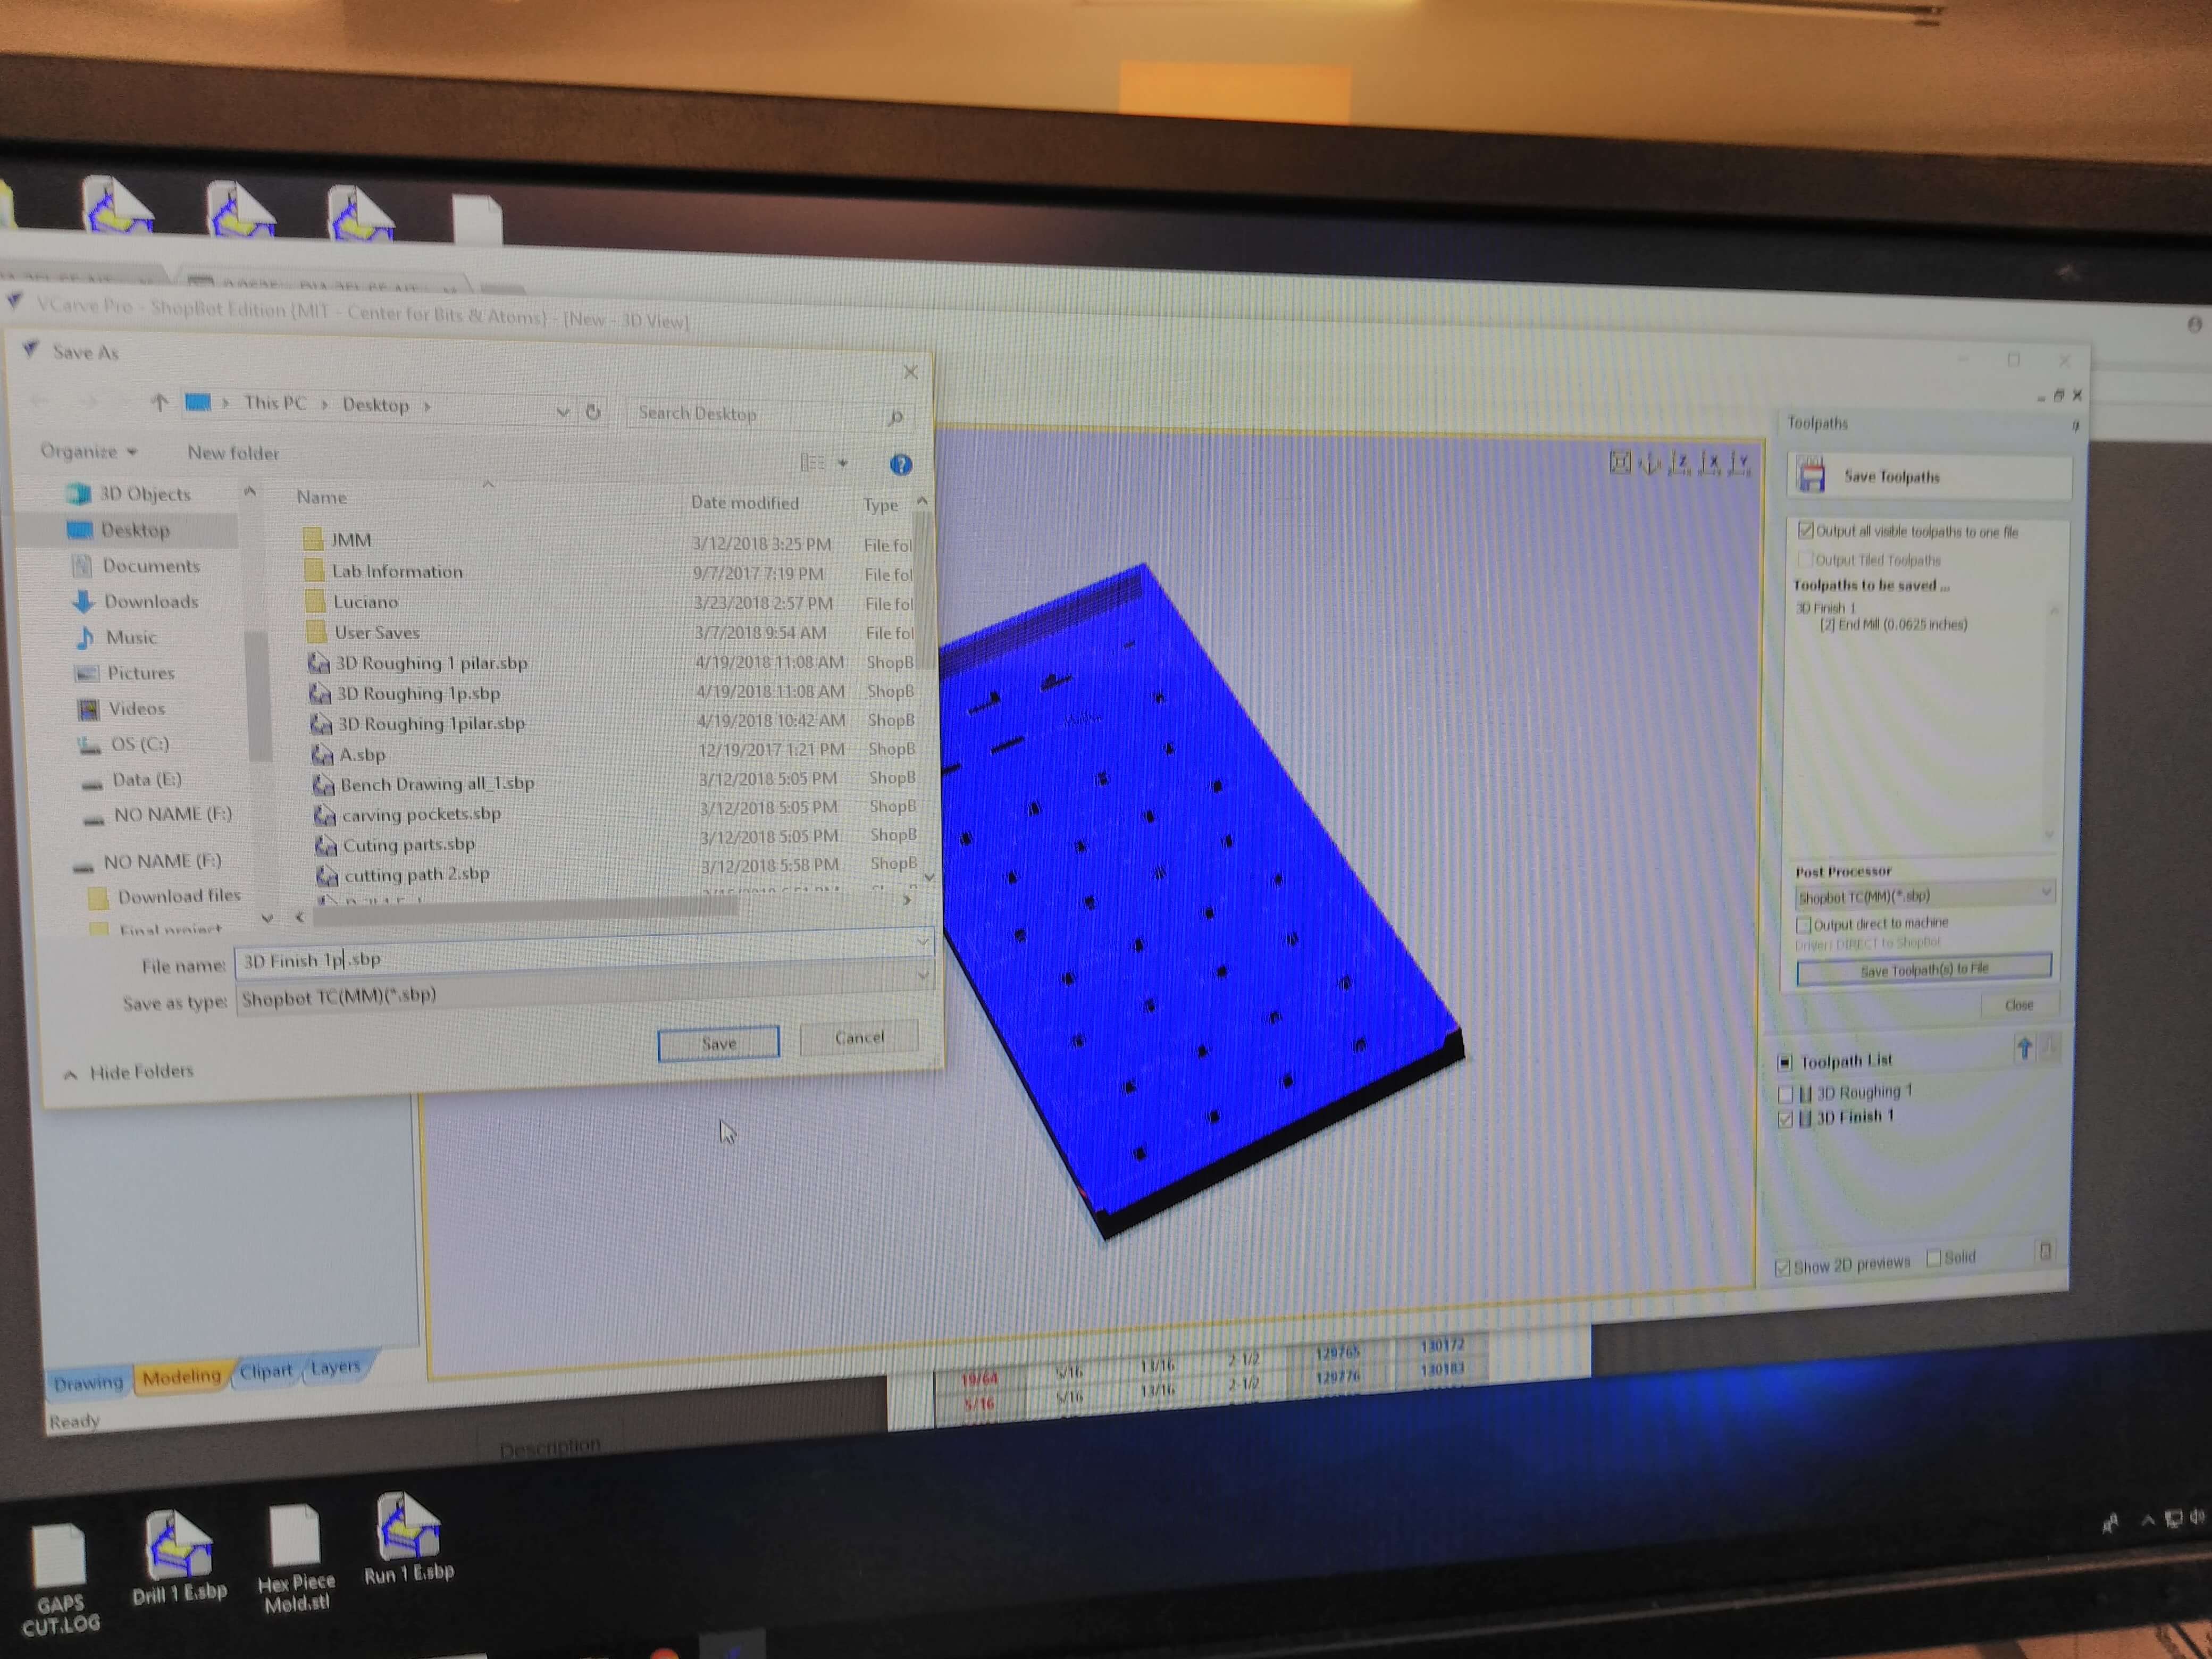
I opened Vcarve and what I did first I chose the size of my wax. Wax is gonna be the material that Im gonna used to cut my shape.In the software in apparences choose blues plastic.
In here this is a very important step, you have to move your design up or down depending how it appears when your file opens. The goal is that you need your need to zero your design to the top of the box because it will start milling from there. If your design is not to the top of the box the bit might not be able to reach all the way down to your design.
Once you do that just hit ok and then your mold appears with the right settings and ready to be mill
Then here you choose the bit you want to use. I choose a ¼ of an inch bit for the first pass. The bit that i'm using is an up cut bit.
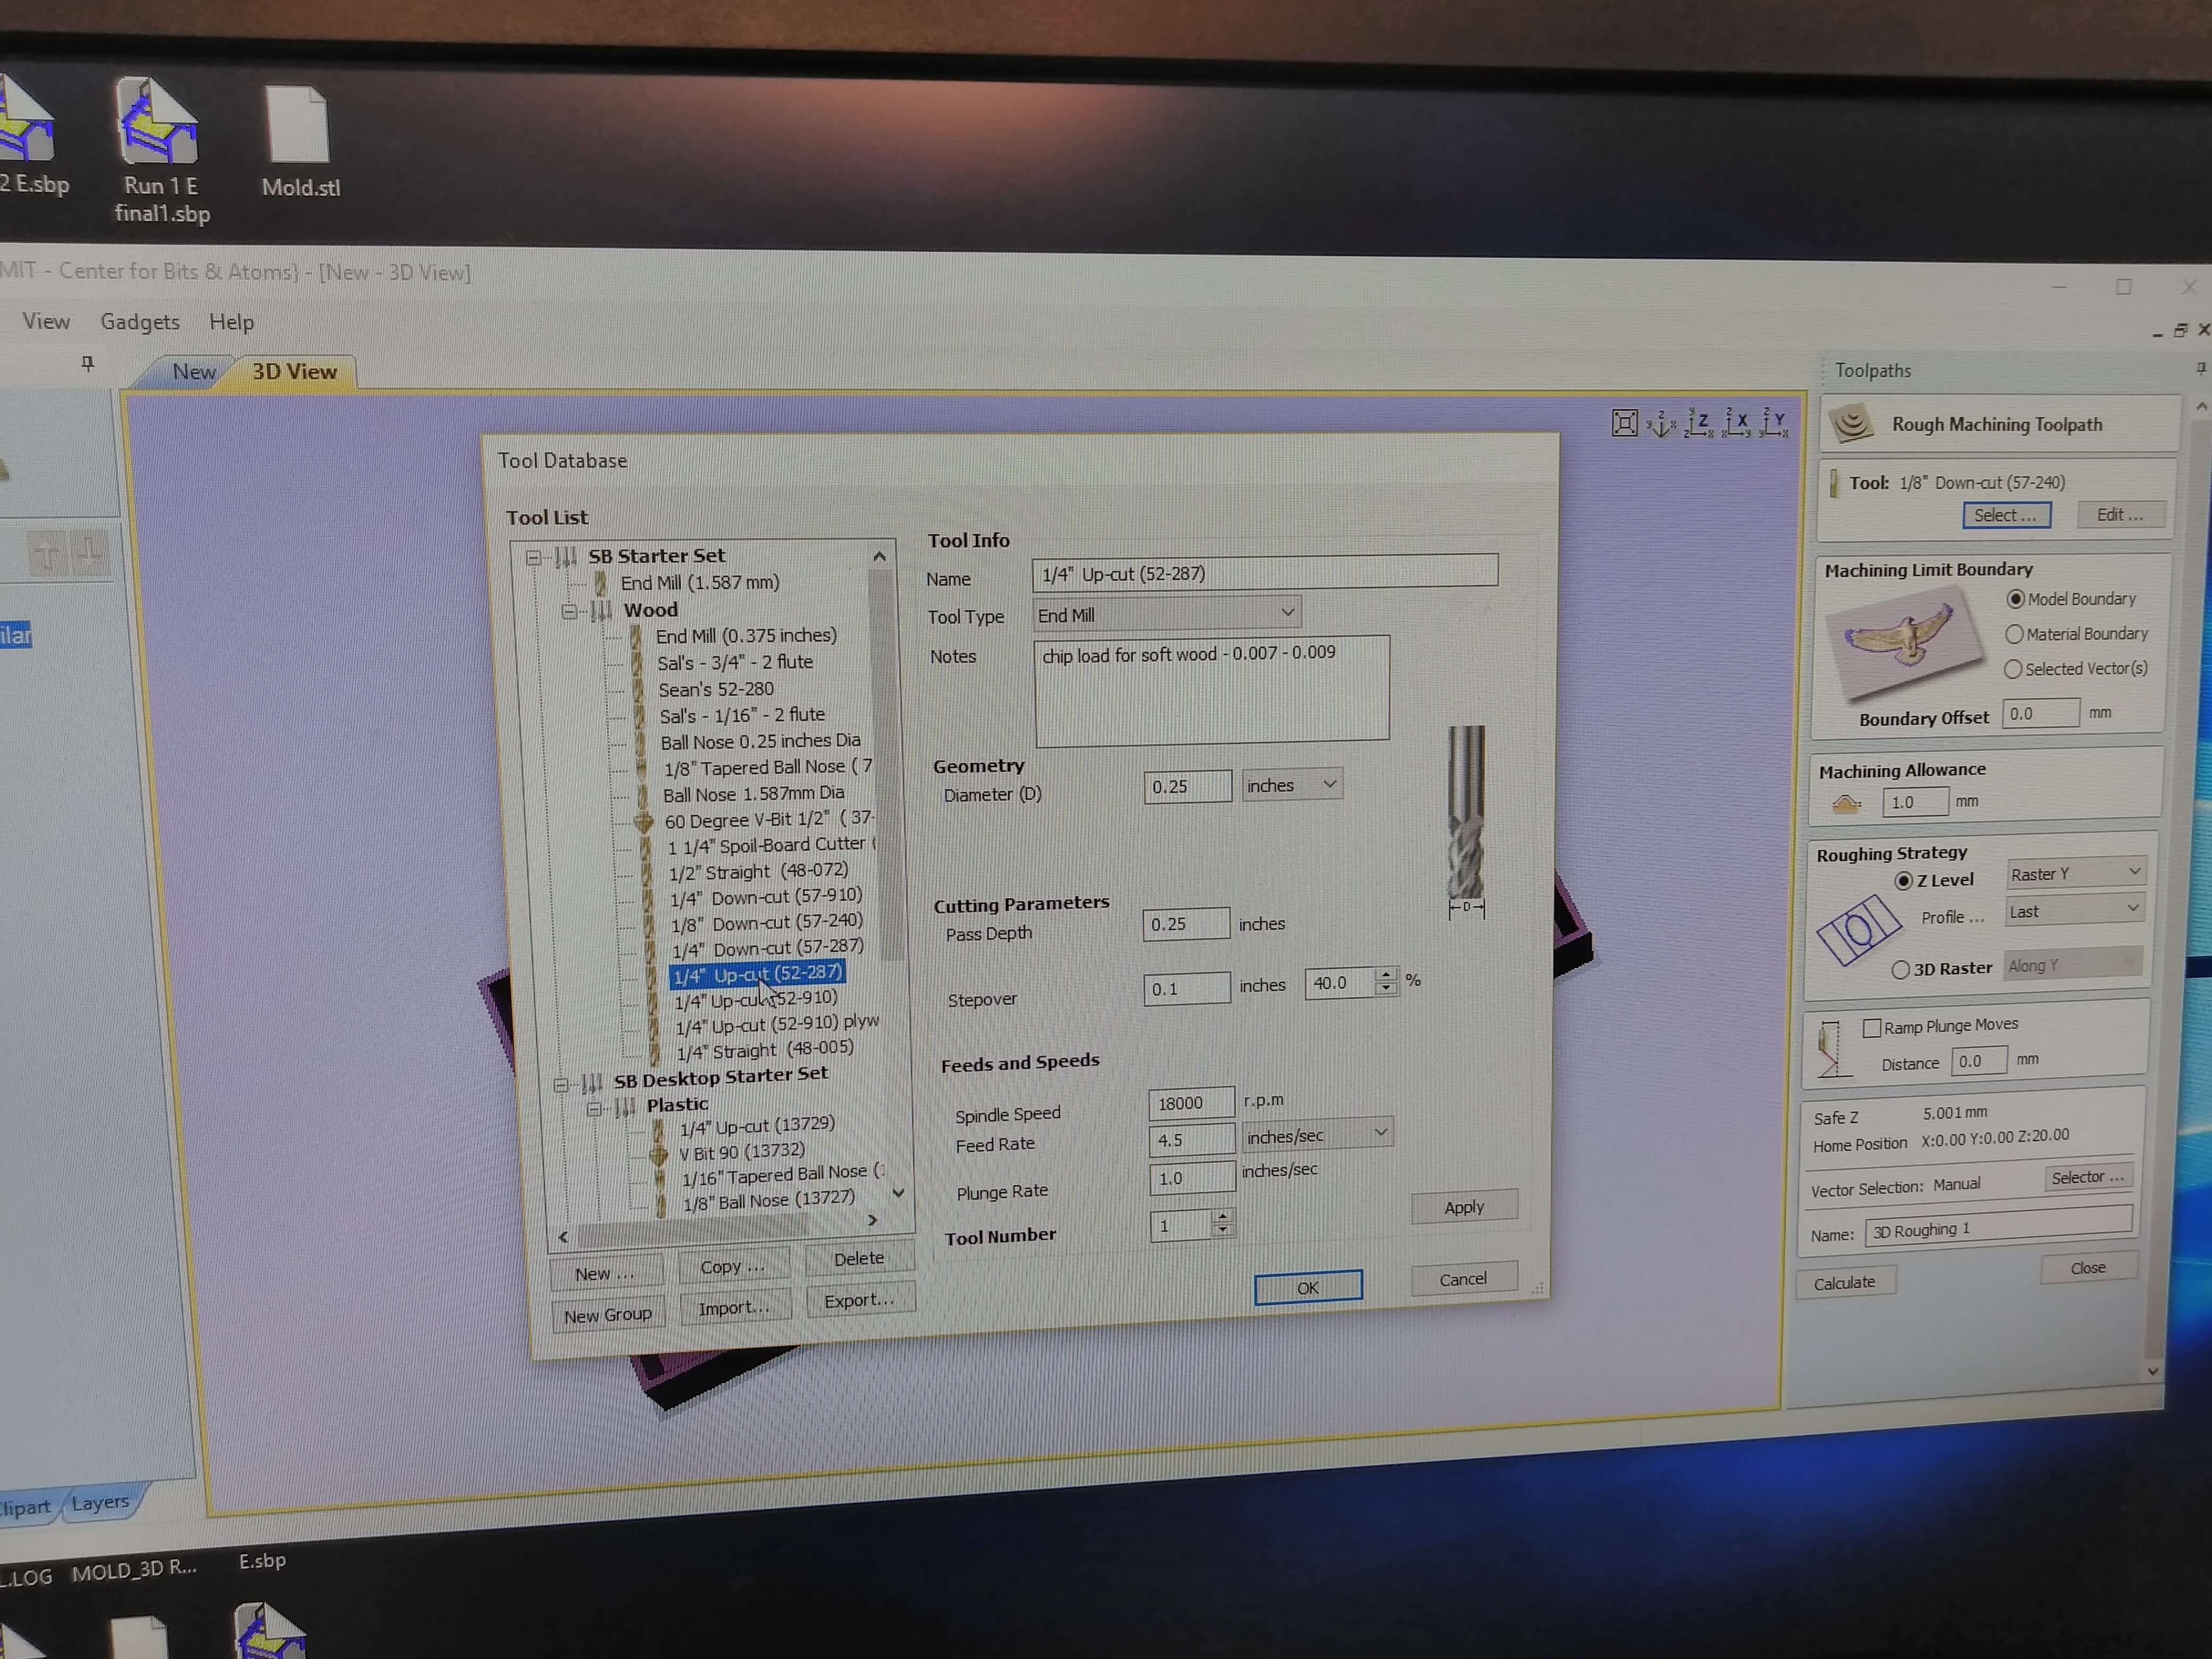
Once you have selected your bit you click ok to create your file and also you can now viewed in the 3d mode that the shopbot has.
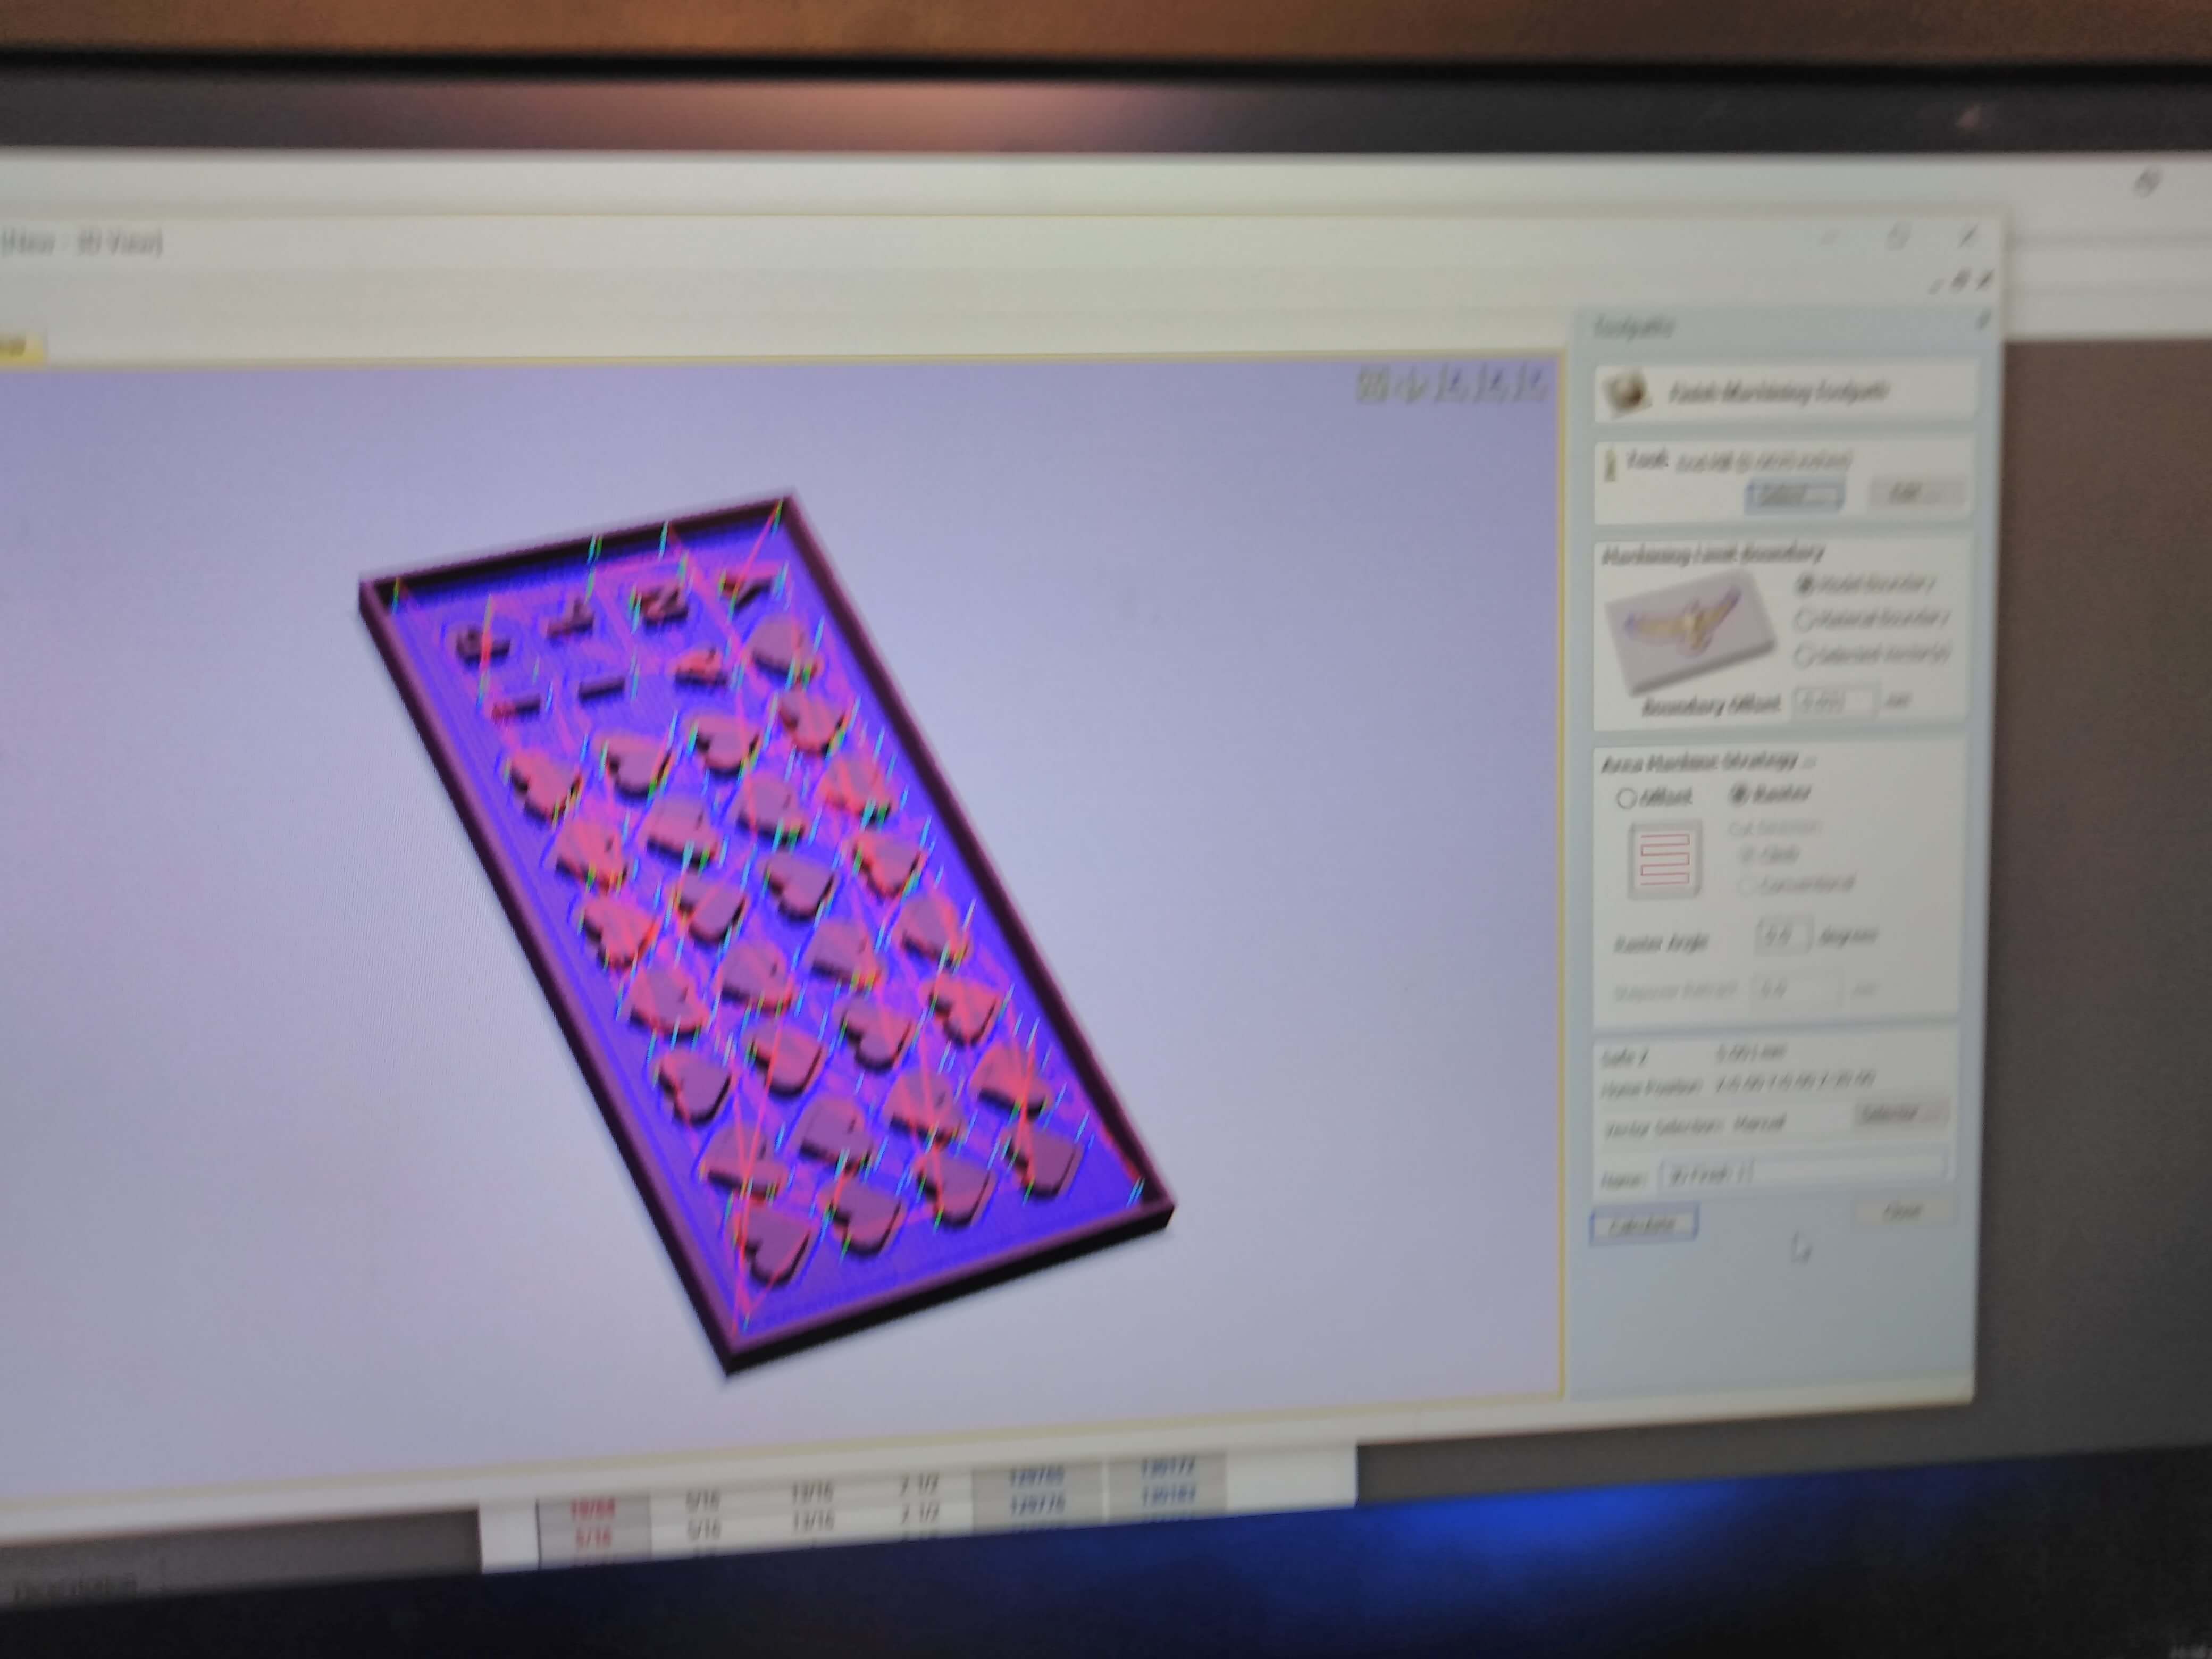
Now Im saving my model to the file that the machine uses. This means that it’s gonna converted to Gcode so the machine would be able to read where to go.
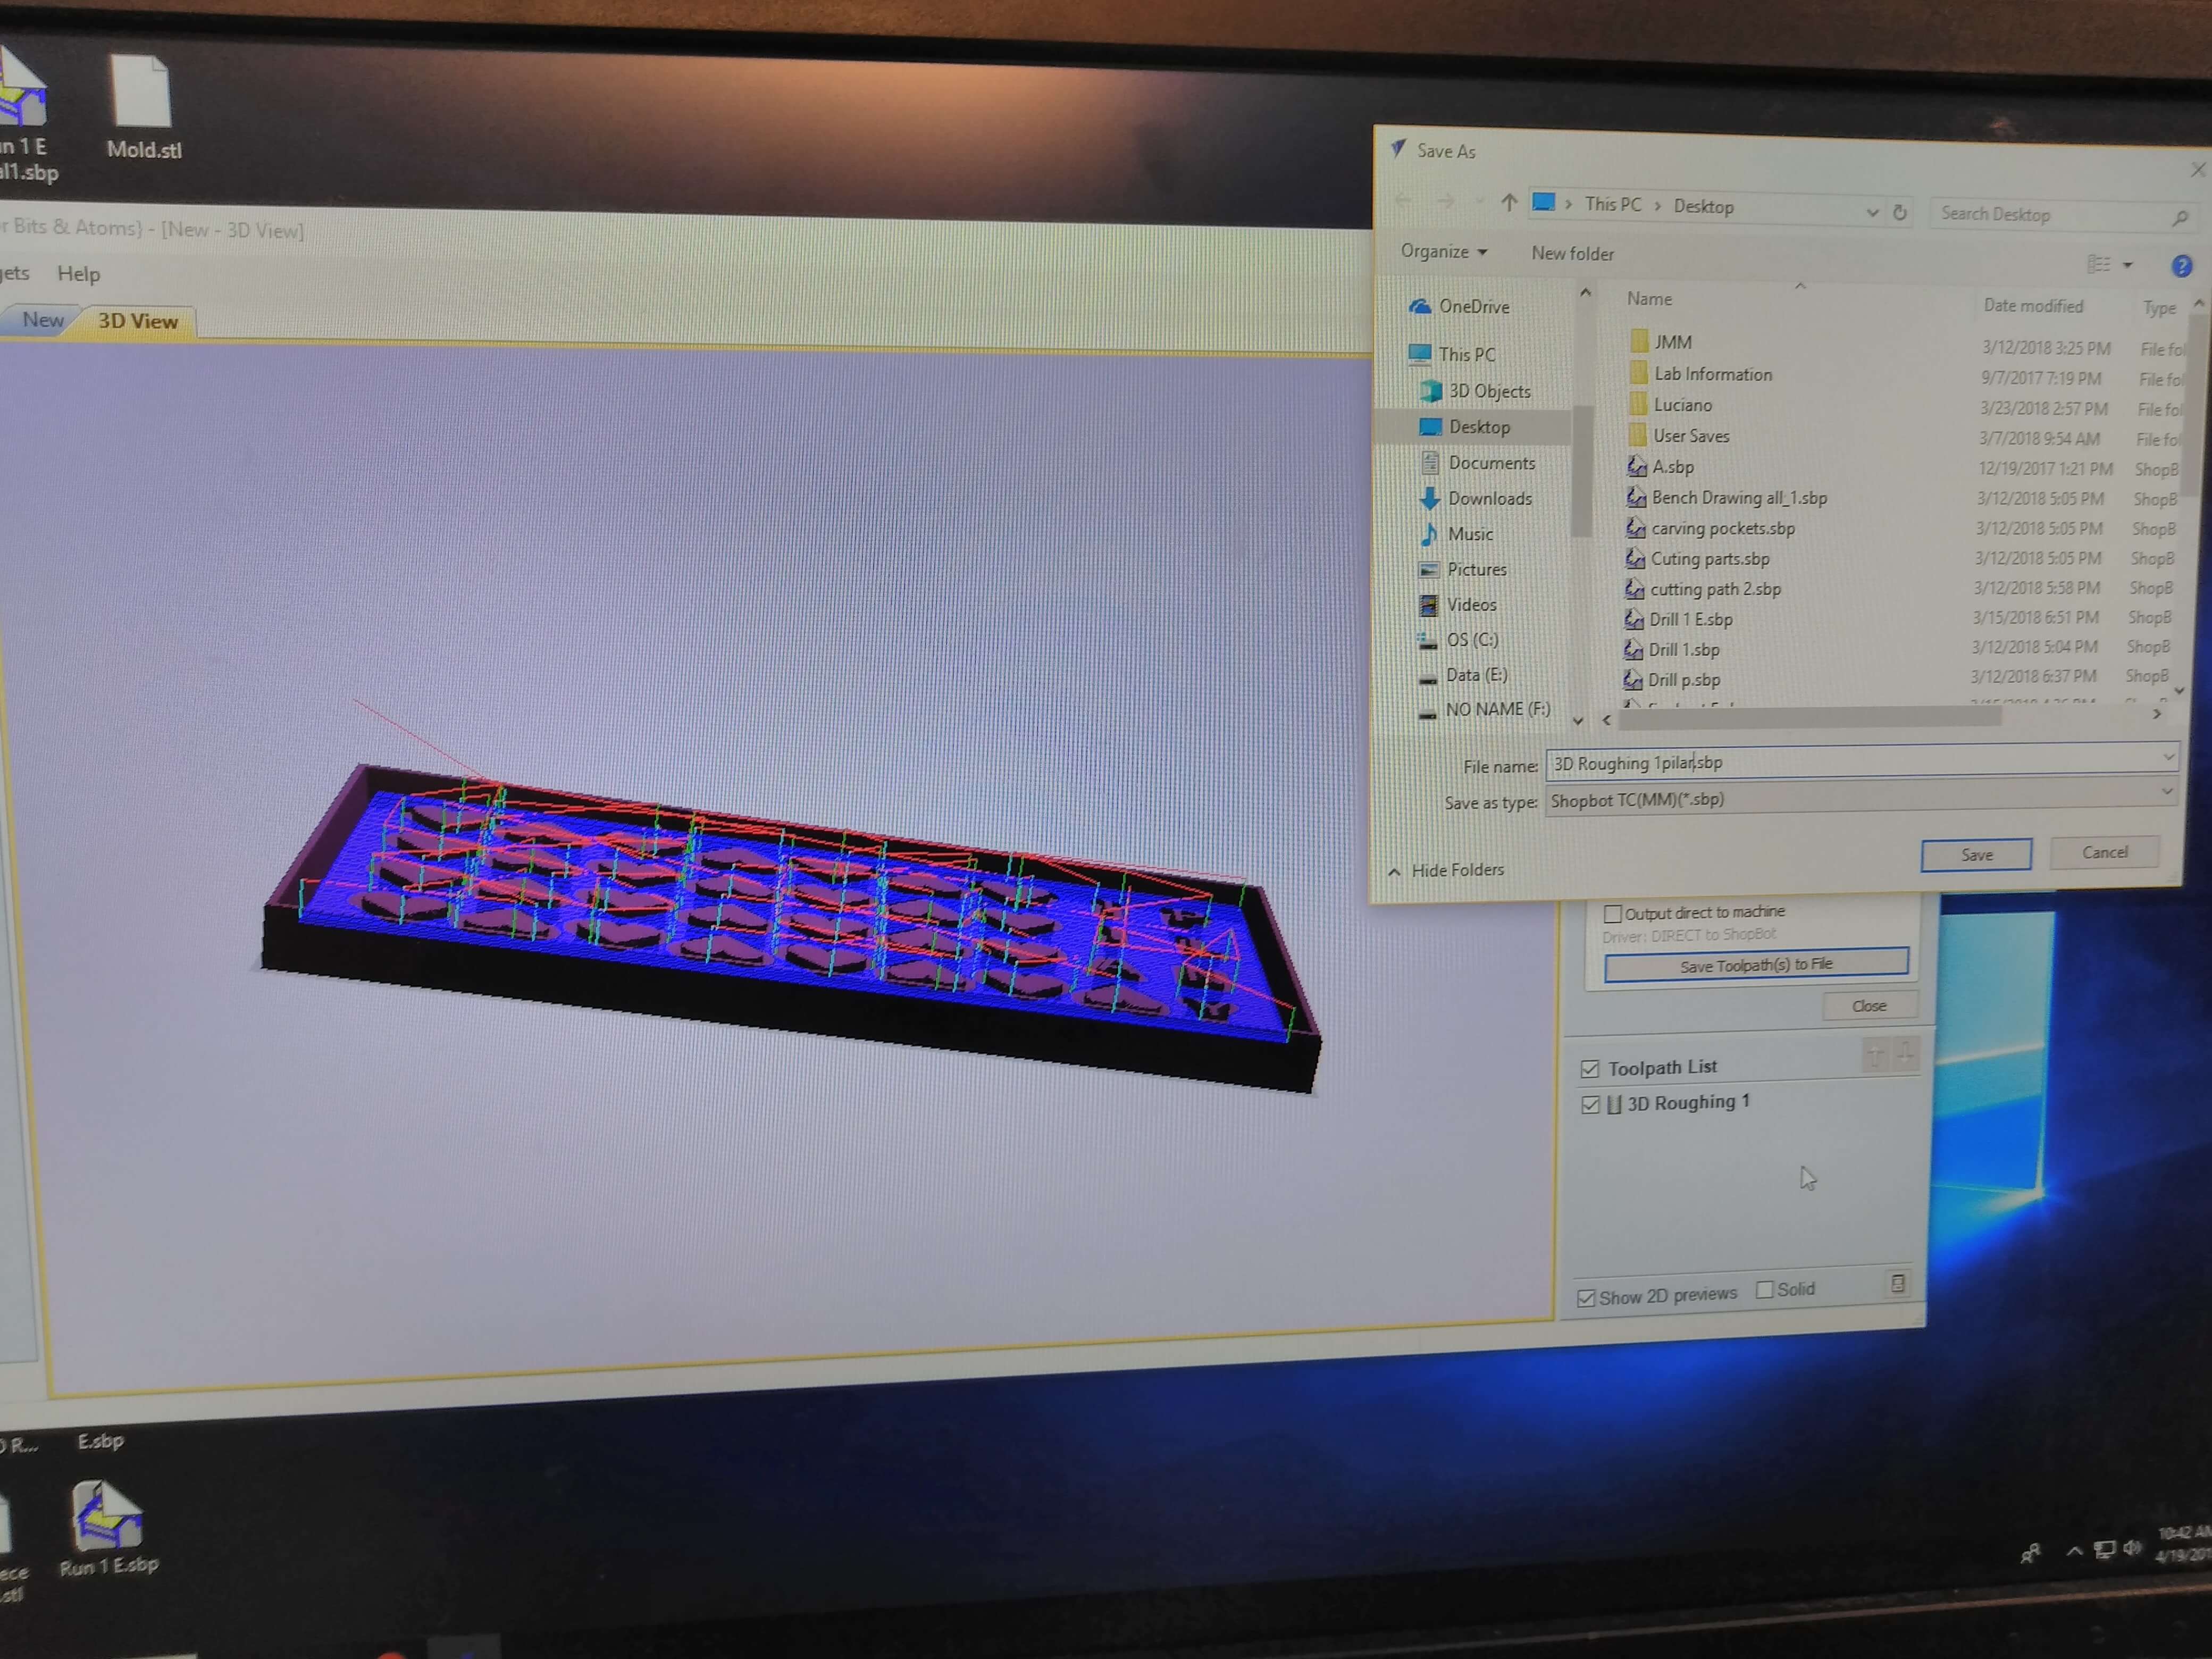
The previous was with the ¼ of an inch bit, now I'm going to use ⅛ bit. The ⅛ of an inch bit this will give it a better finishing on my mold.
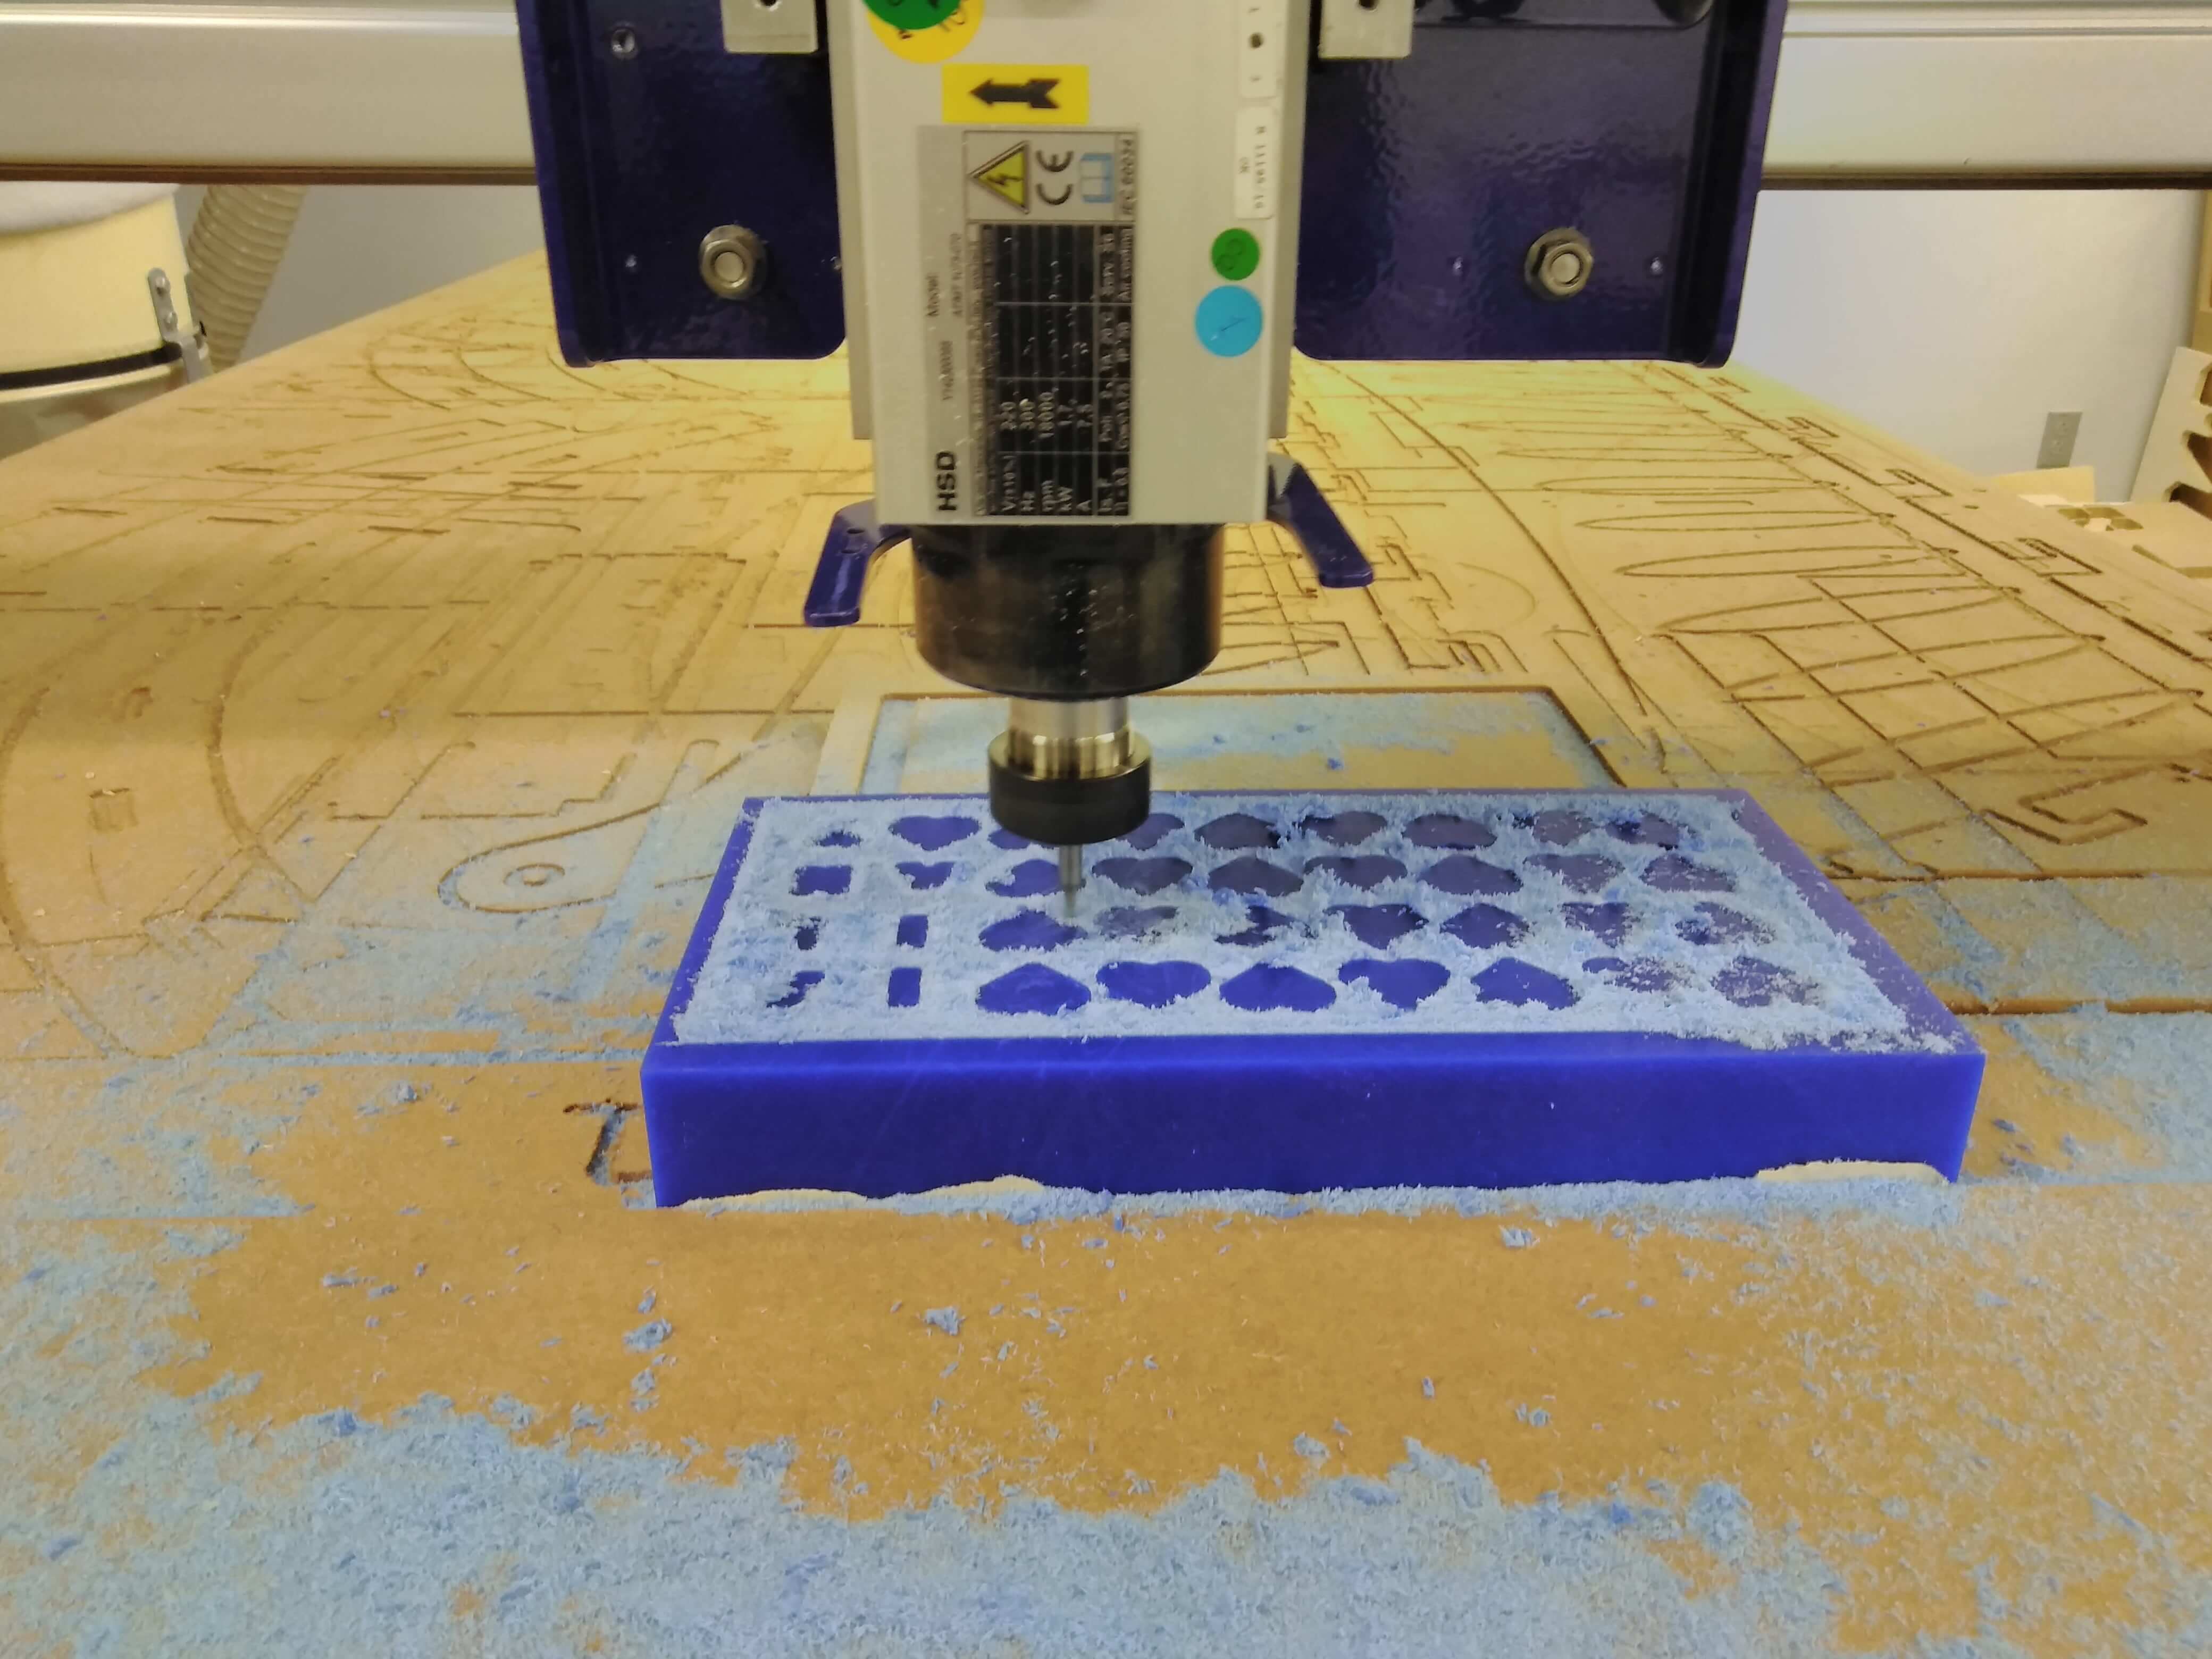
Loading my file to my shopbot. First you do your x and you y this is depending on where you place your material on your sacrificial layer. Then you do your Z axes on the machine as well. Click on cut choose your file and hit start and now you are cutting your material.

Now is cutting
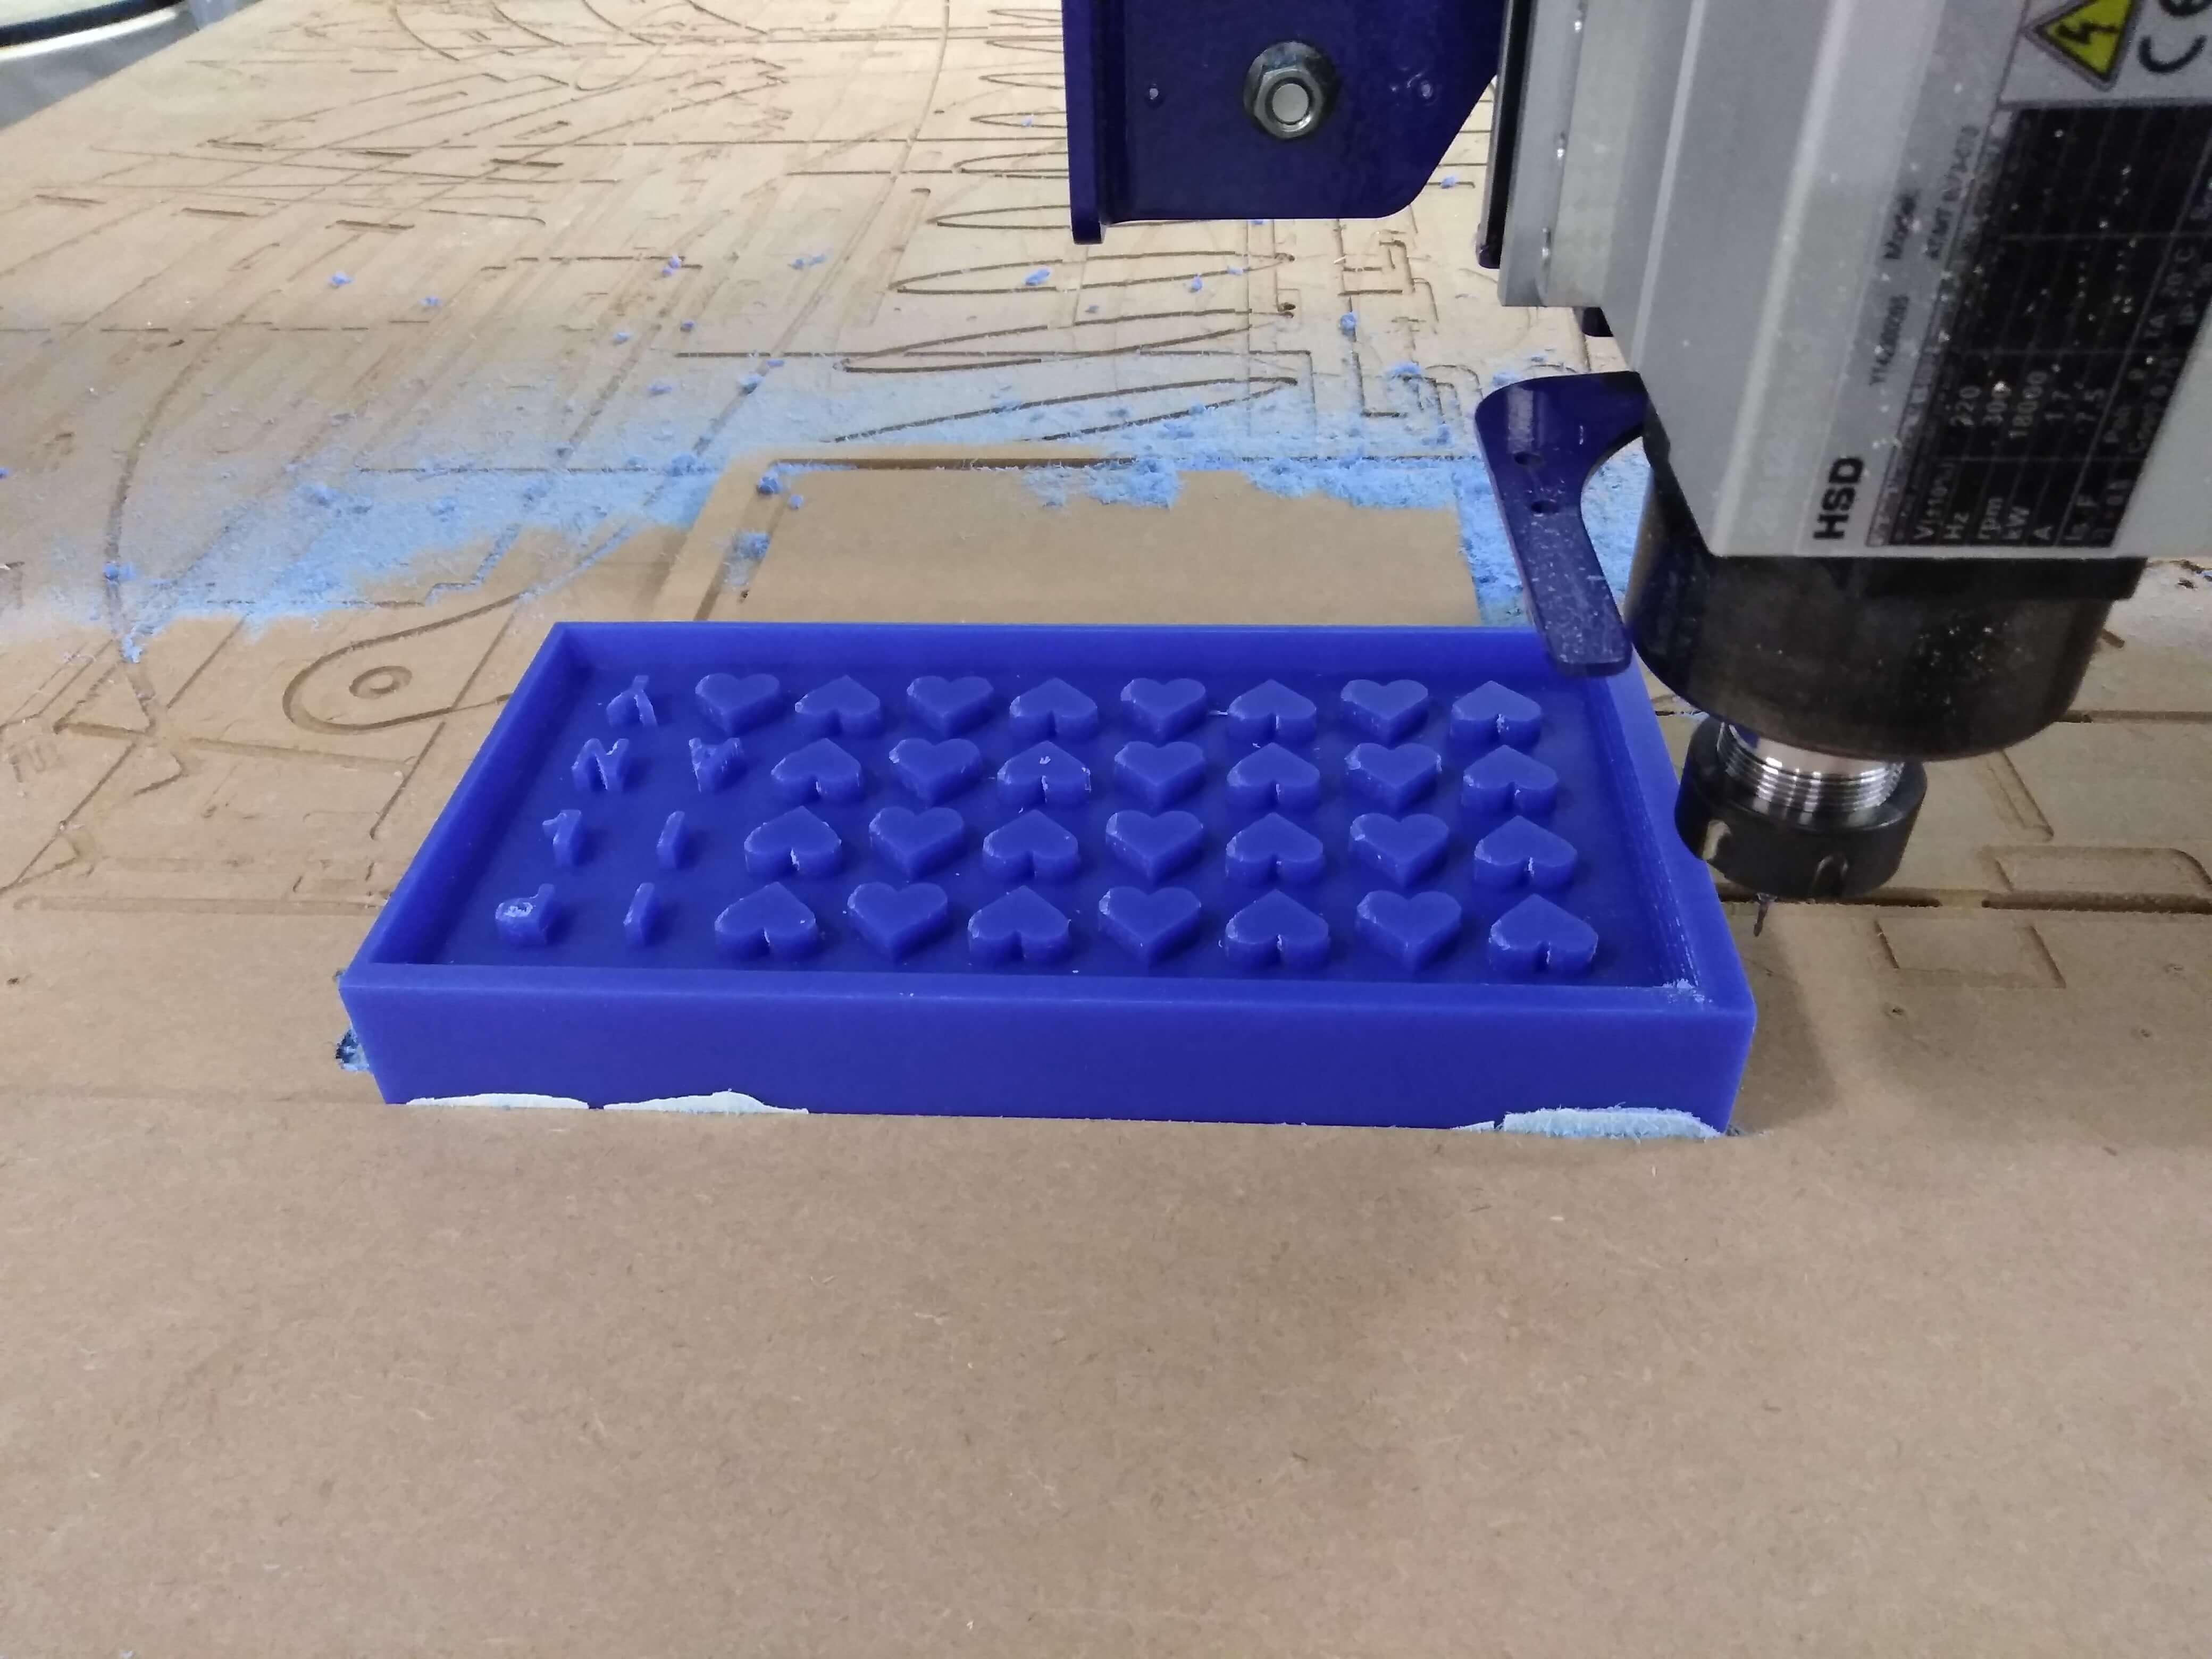
This is how my mold came out after running both jobs. The first with ¼ of an inch bit and then the ⅛ inch bit.
Now that my mold is ready the casting part comes along. I chose the material that I'm going to use. So I choose to used the Sorta-Clear Series. Before I used it it was very important to looked at the datasheet. By looking at the data sheet I learn about how dangerous the material can be. Also how much time I have to mix, once I have both liquids together. Then how much time should I vacuum my material.
HereData Sheet for my Material.
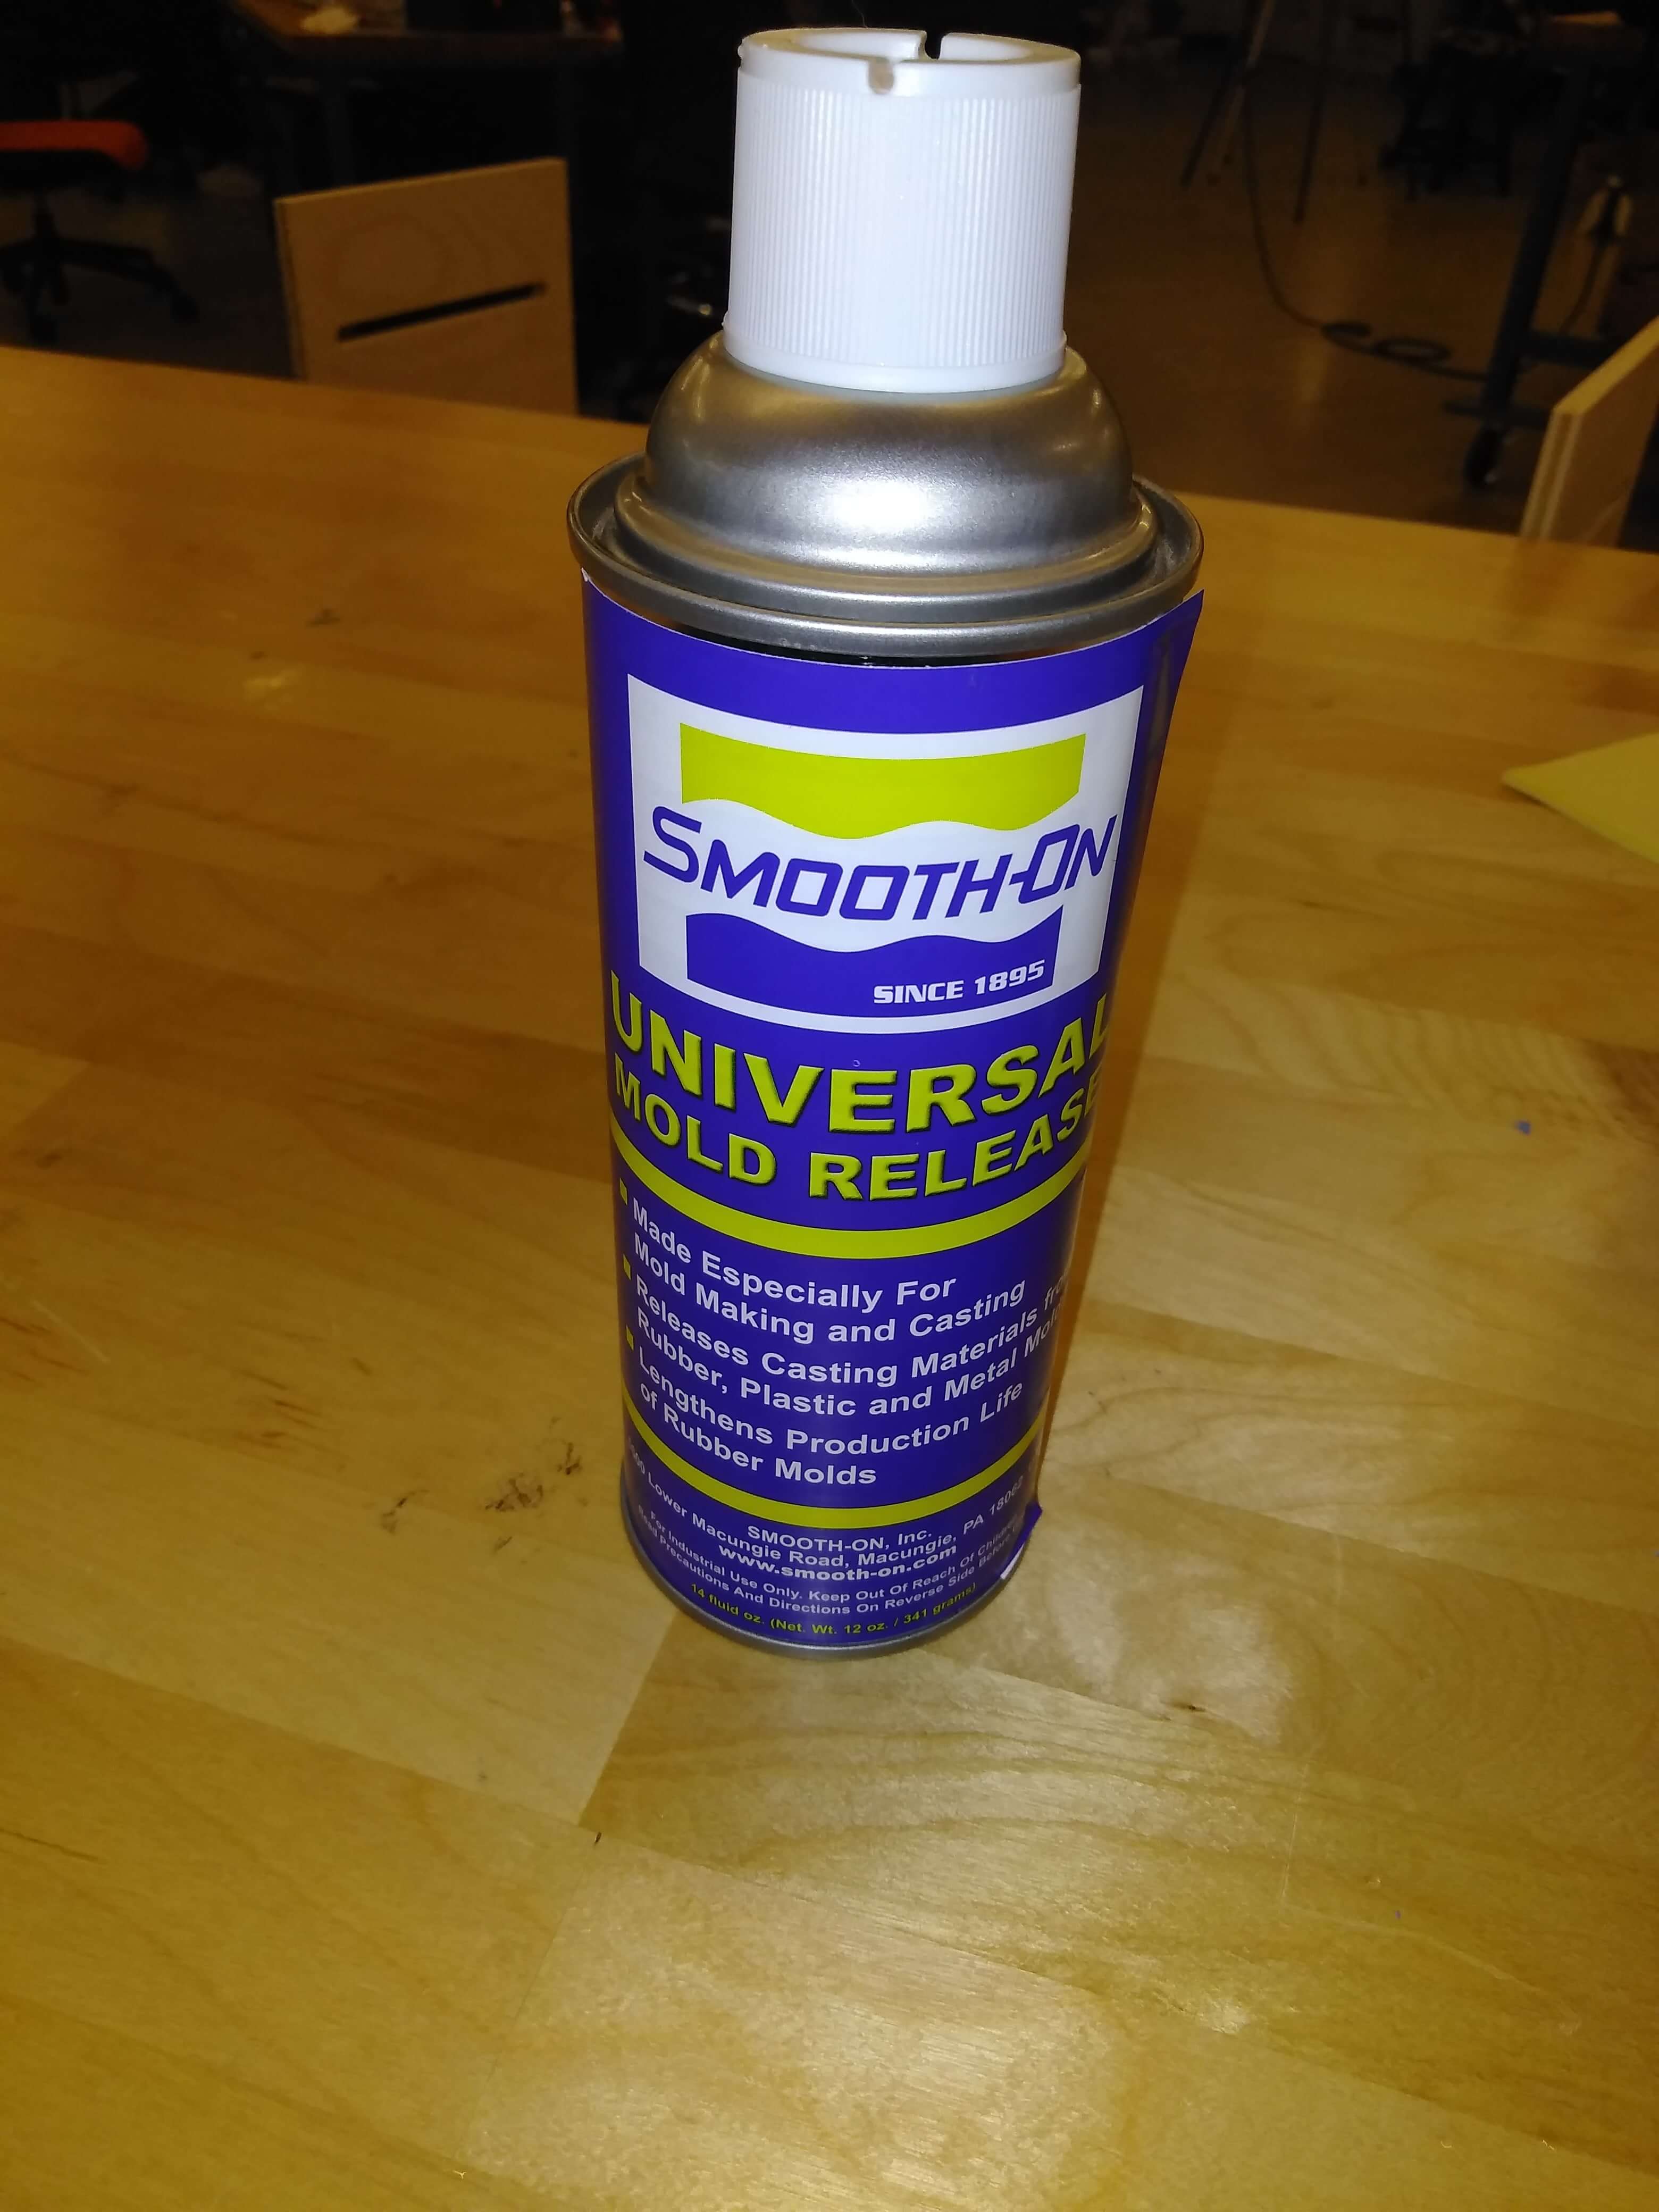
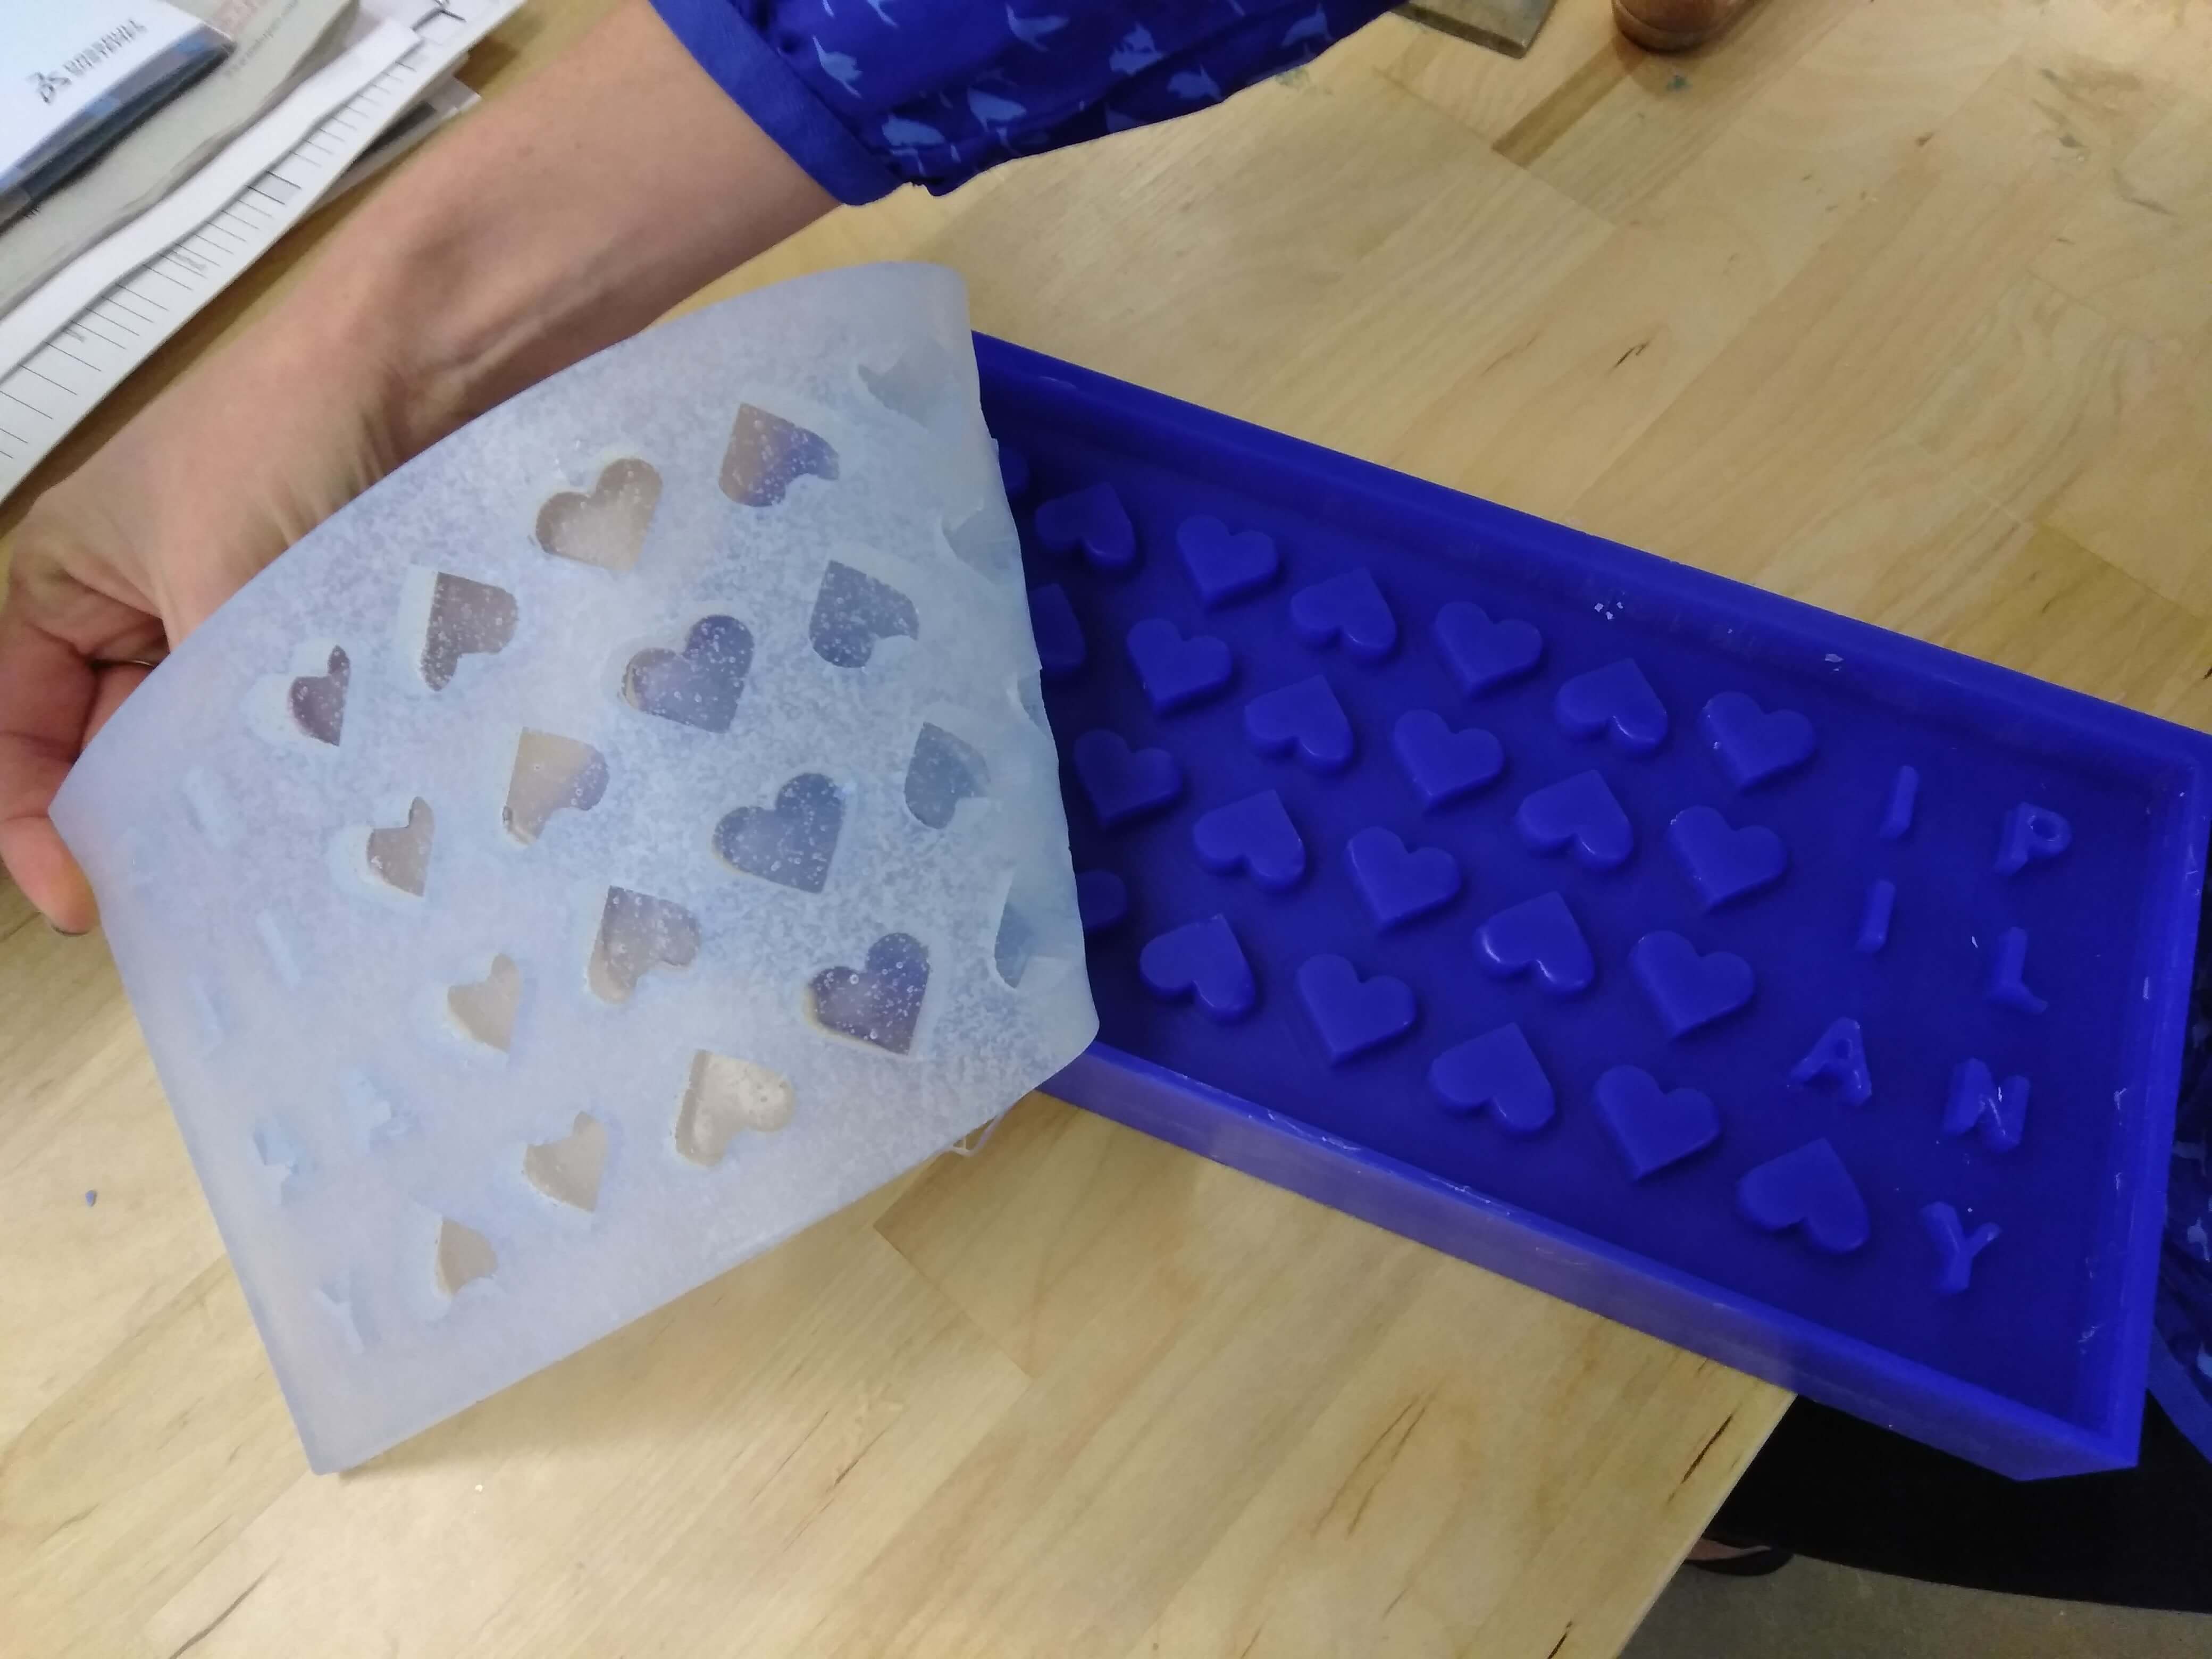
Then for your mold to come out more easily you will used Mold release.
I put water inside my mold then I put the water into a cup. Then I put a mark on it but I give it more space because you can always loose a little bit of material when you pouring it on your mold. So I put part a in cup number 1 and I put part b in cup number 2.
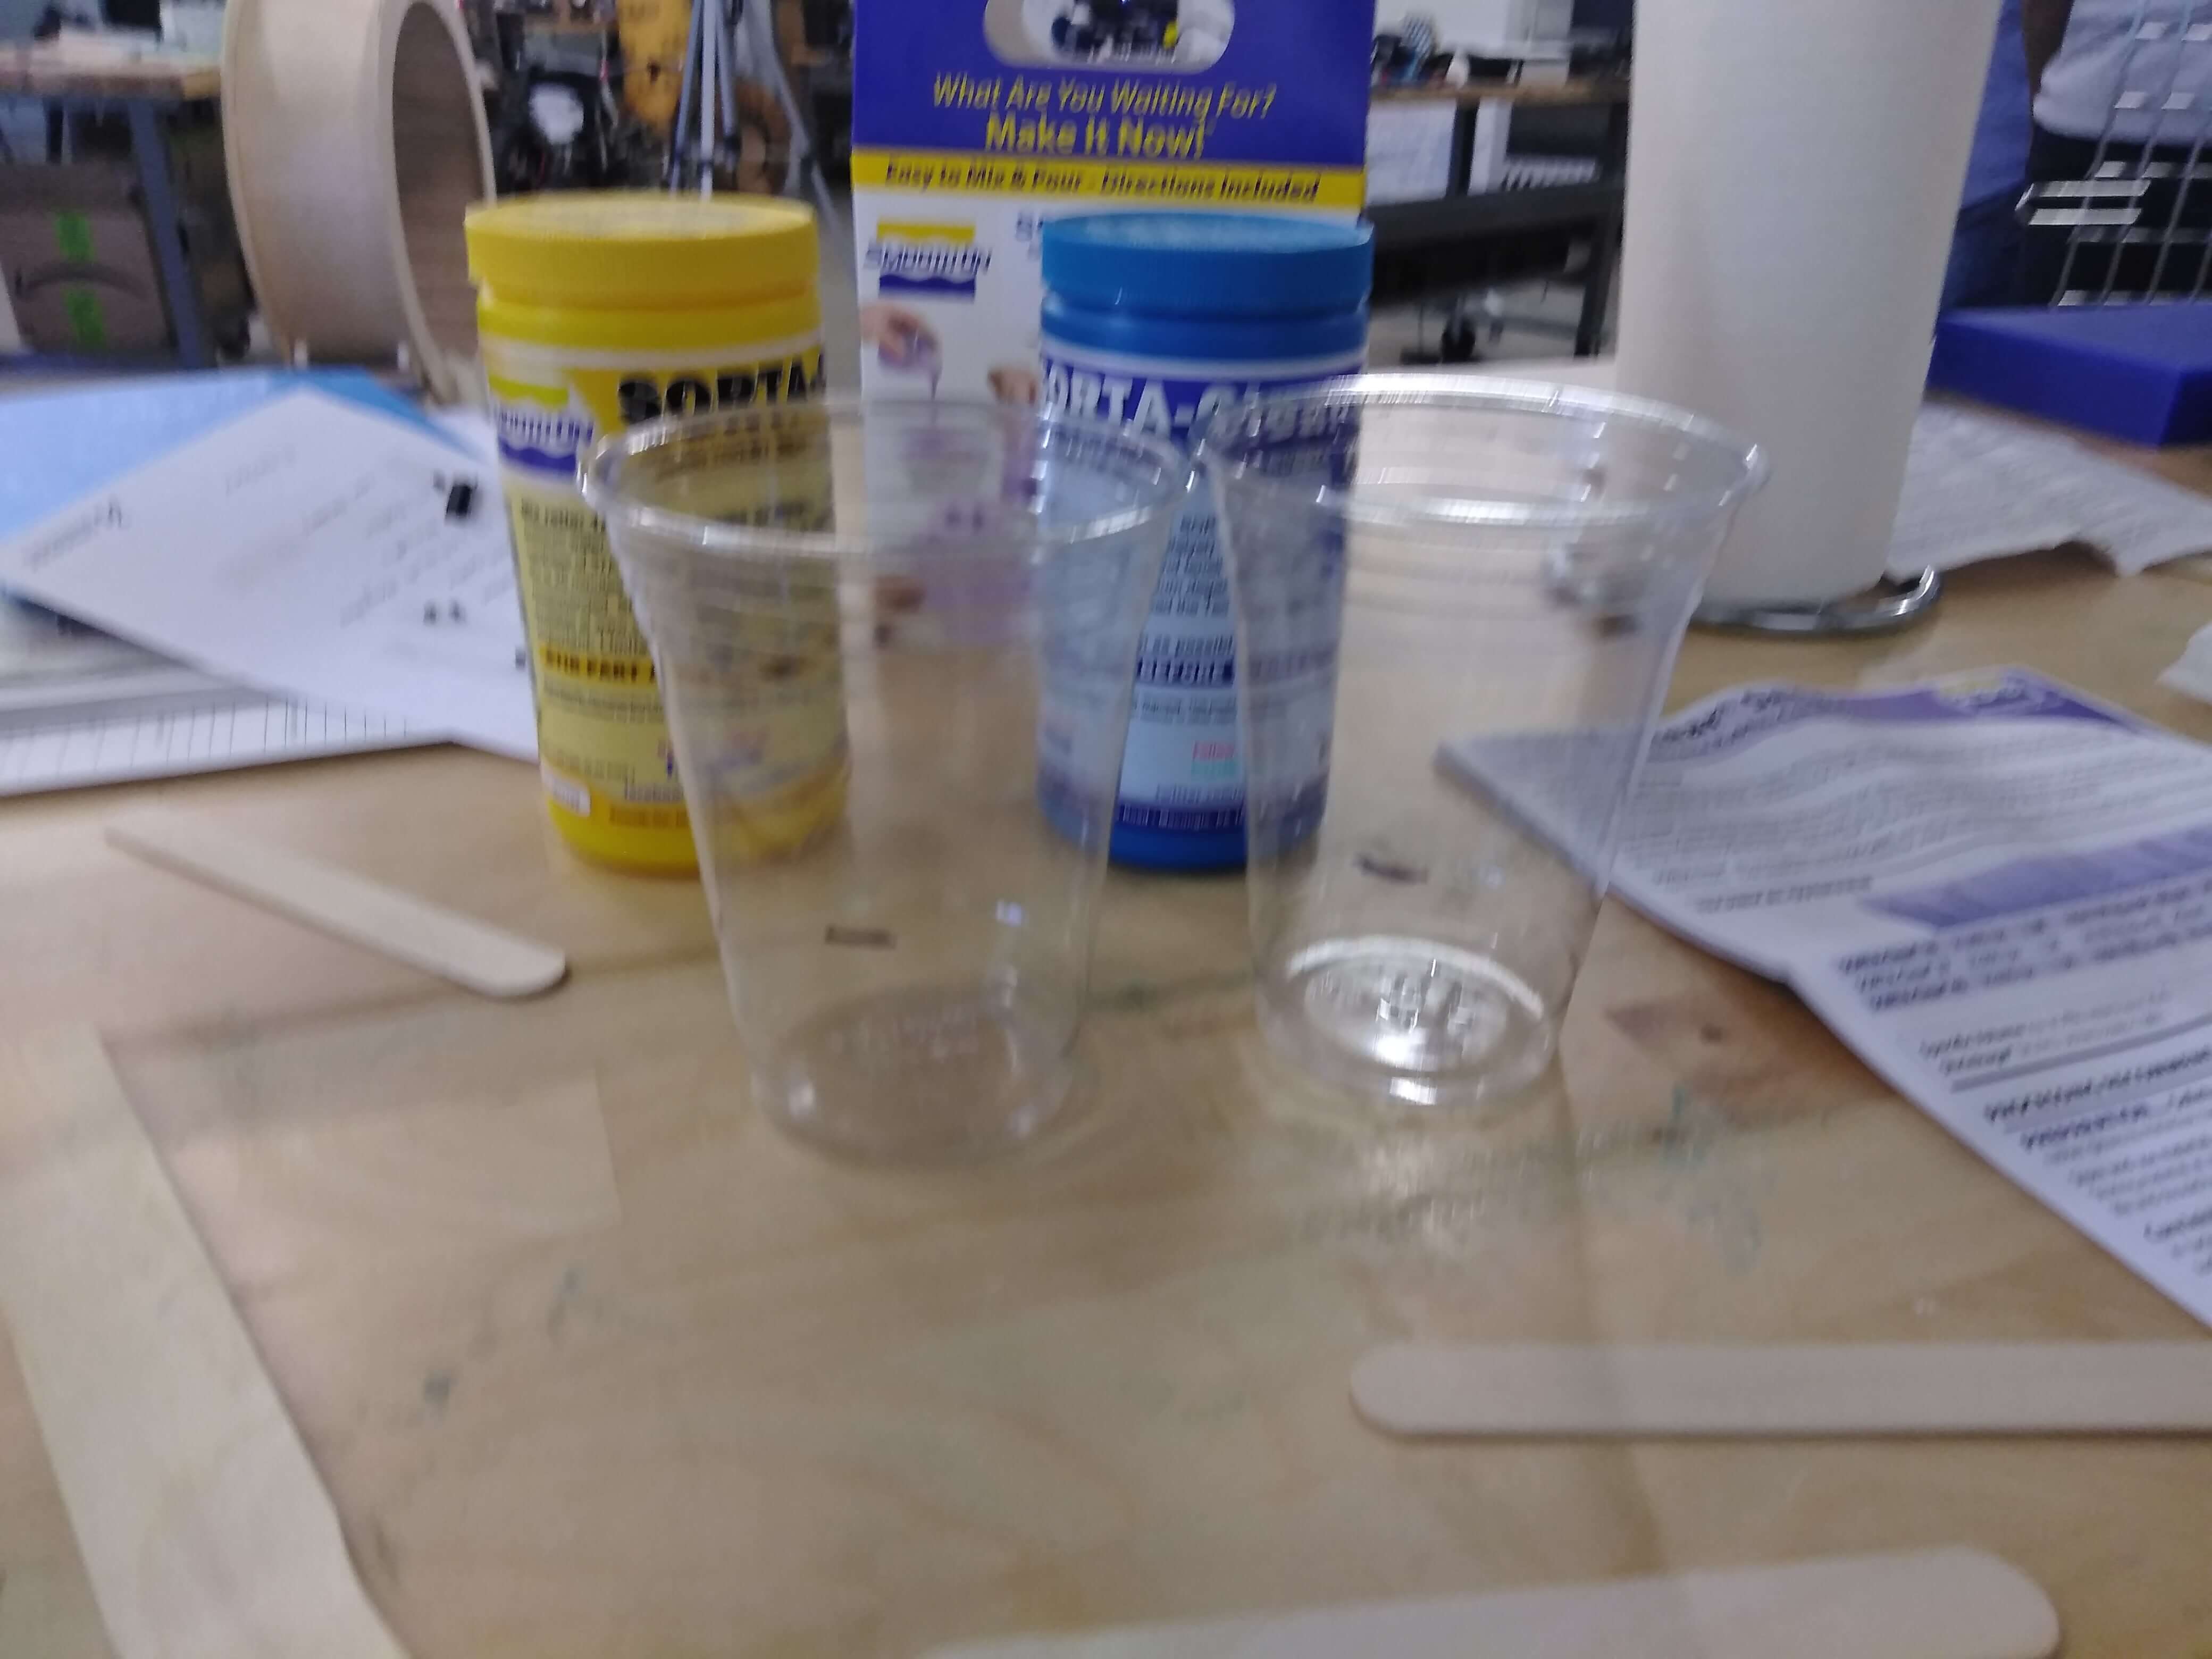
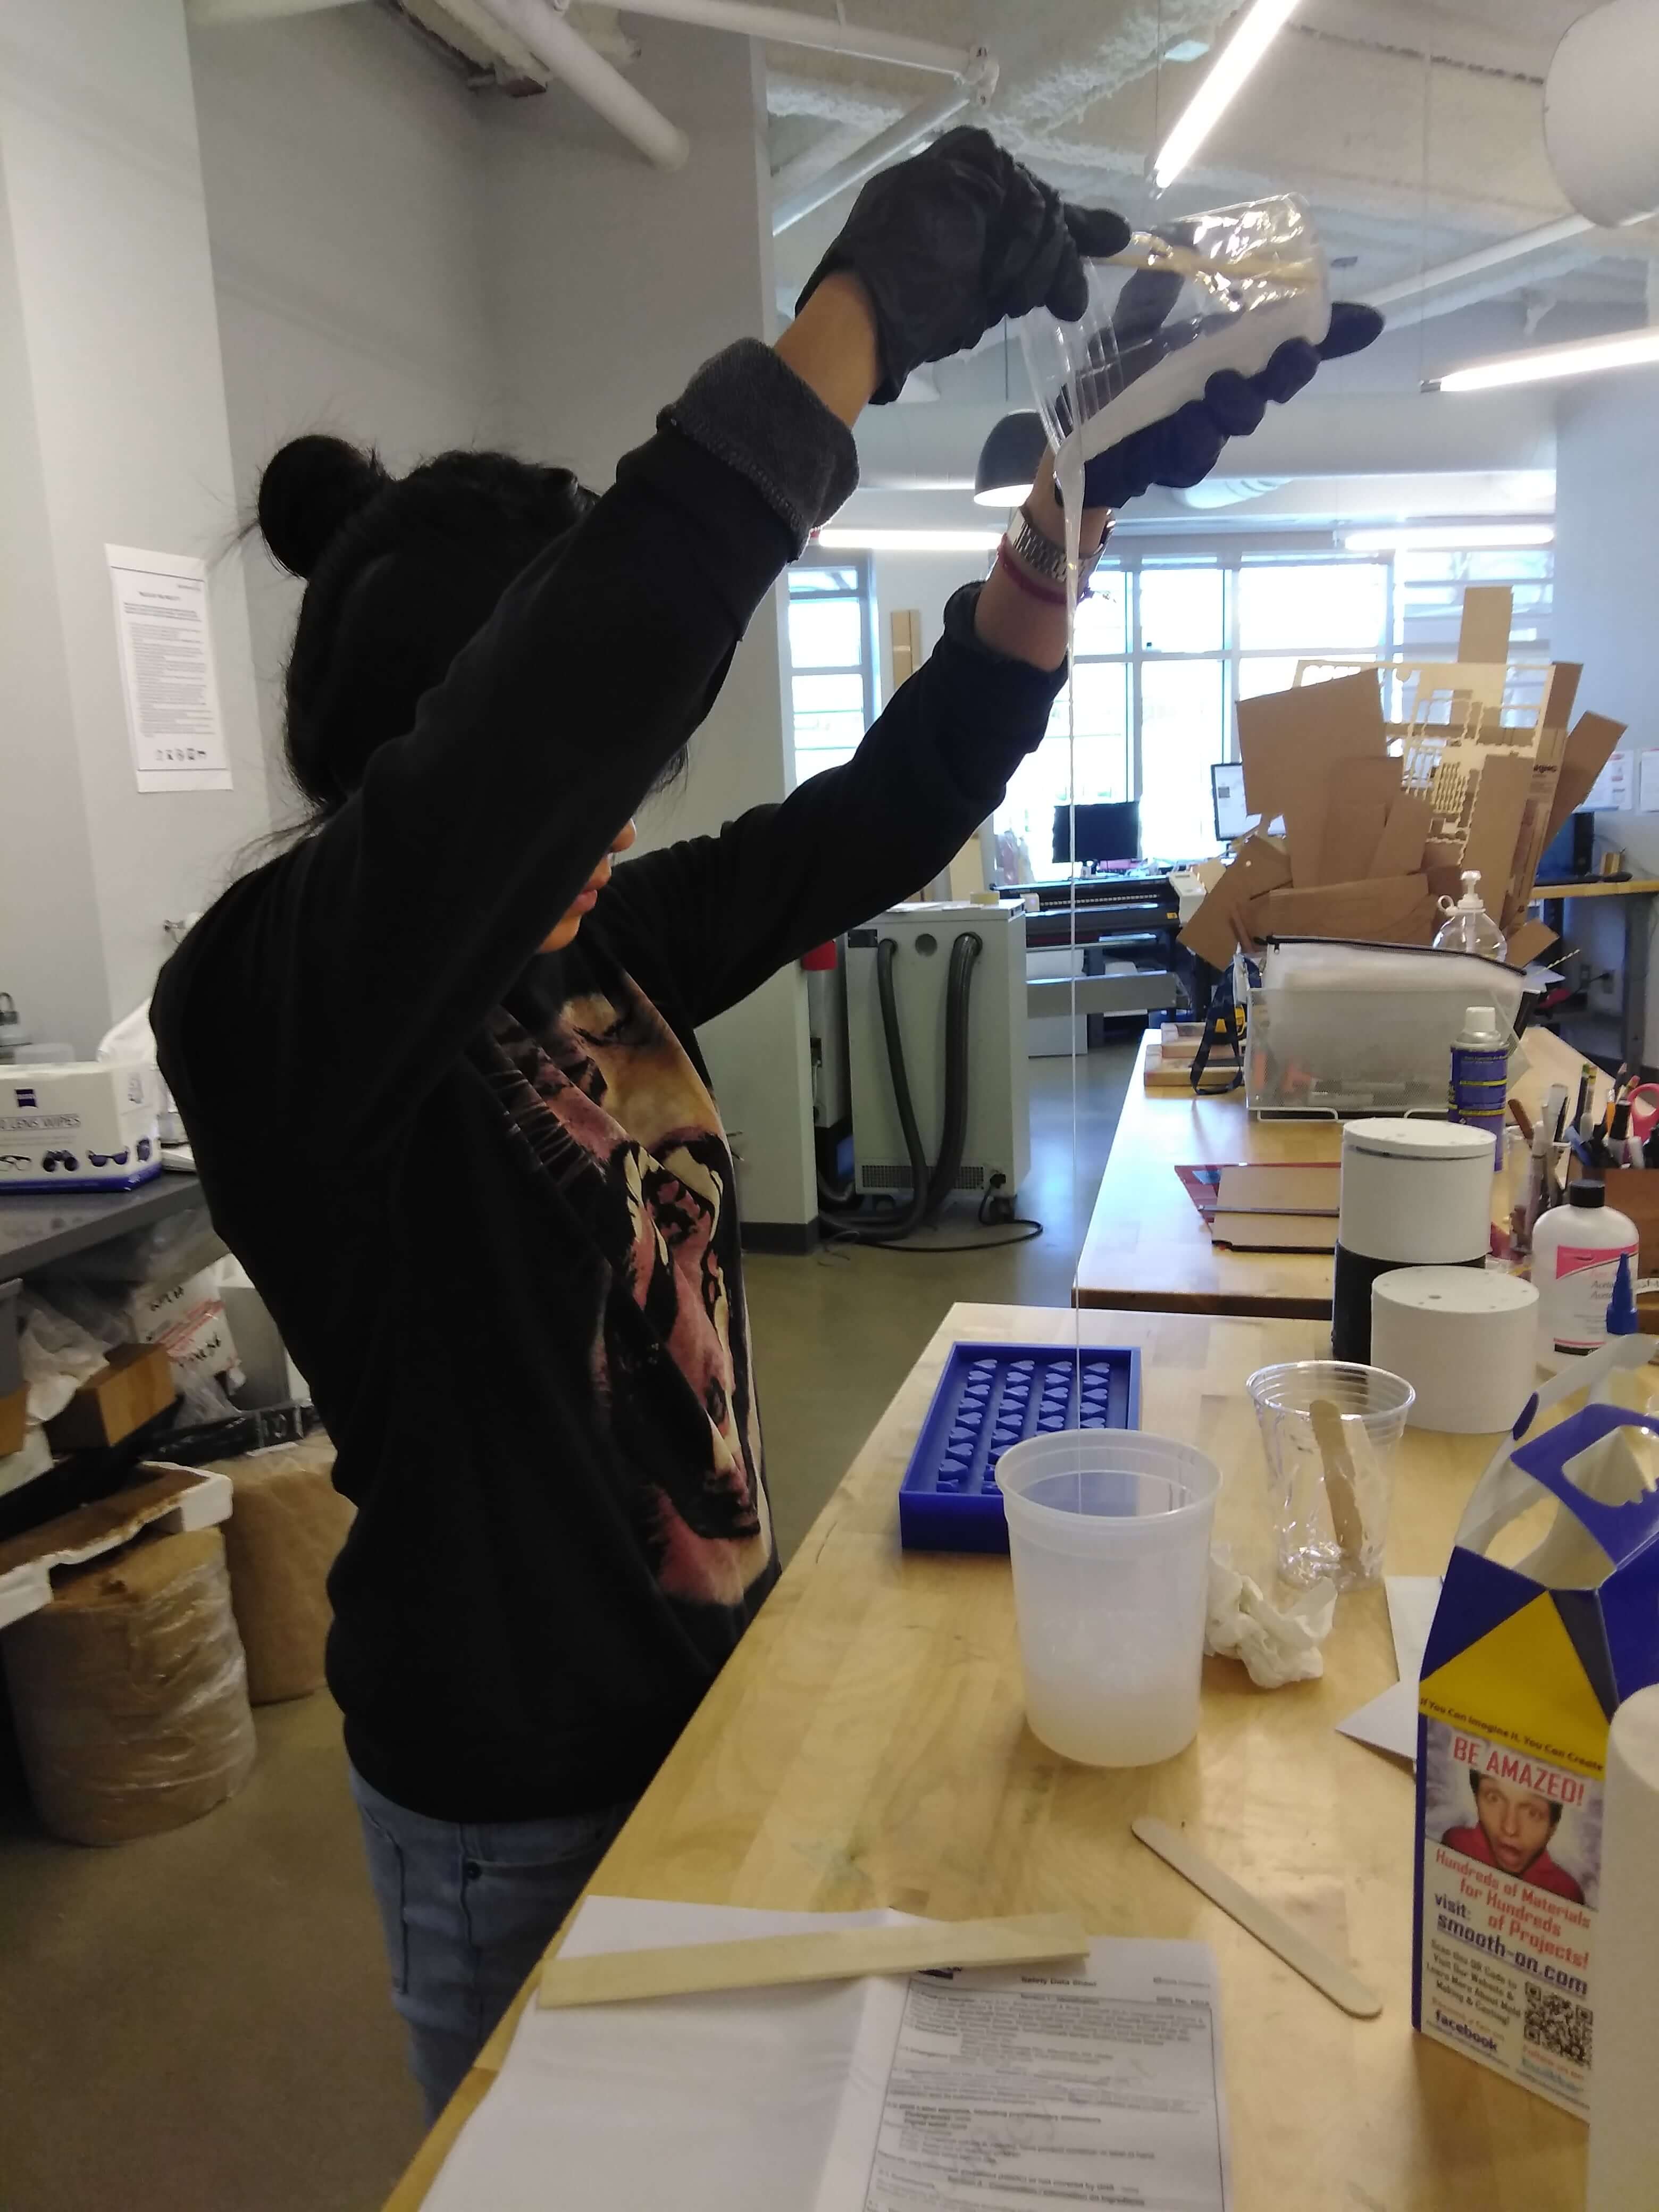
When you are pouring your materials together cup 1 and cup 1 into your 3 go as high as possible and make your pouring line as small as you can for less chances of bubbles. Now the mixing comes you have to mixed circularly otherwise because if you mixed different you have more chances of creating bubbles. But don’t mix to hard.
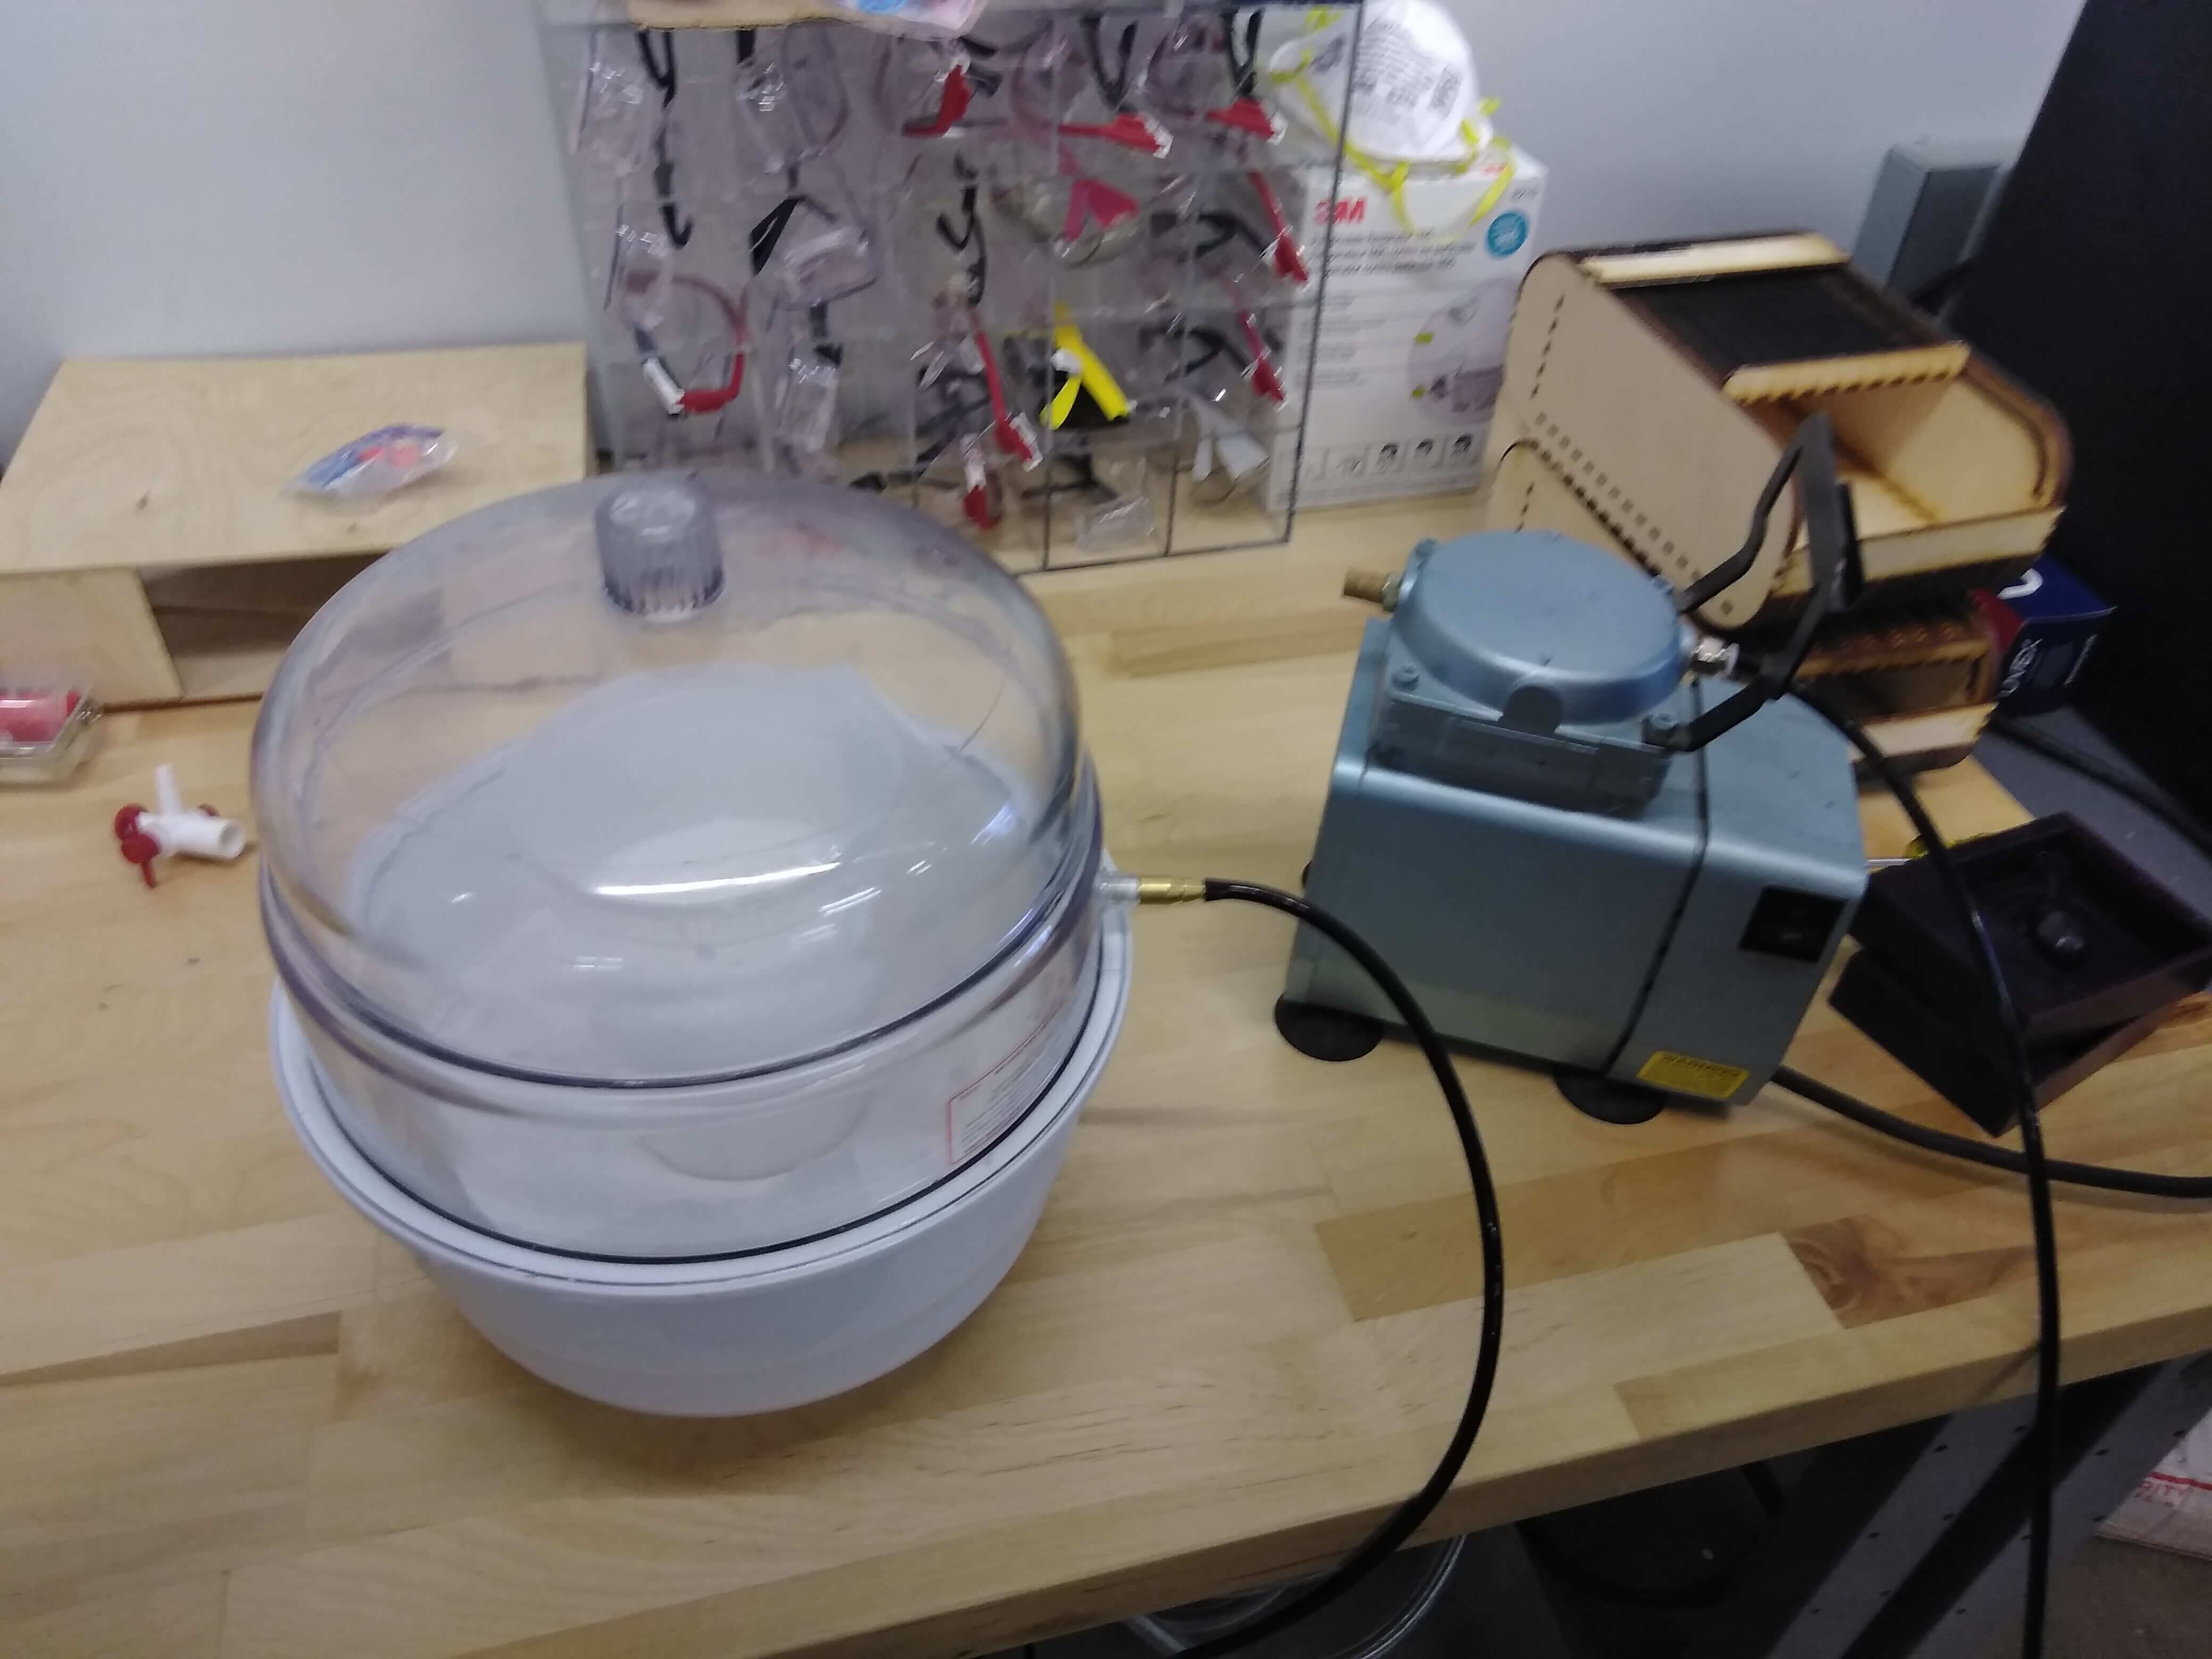
A problem that came across, usually you will pour your material on your mold and then vacuumed. But because my vacuum was smaller than my mold I vacuum my liquid first before putting it into my mold. Vacuuming is for the elimination of bubbles. The datasheet recommended 2-3 mins.
My material is ready, so I can start pouring it into my mold. Same trick try to have a small pass of material while you are pouring in it distribute equal parts.
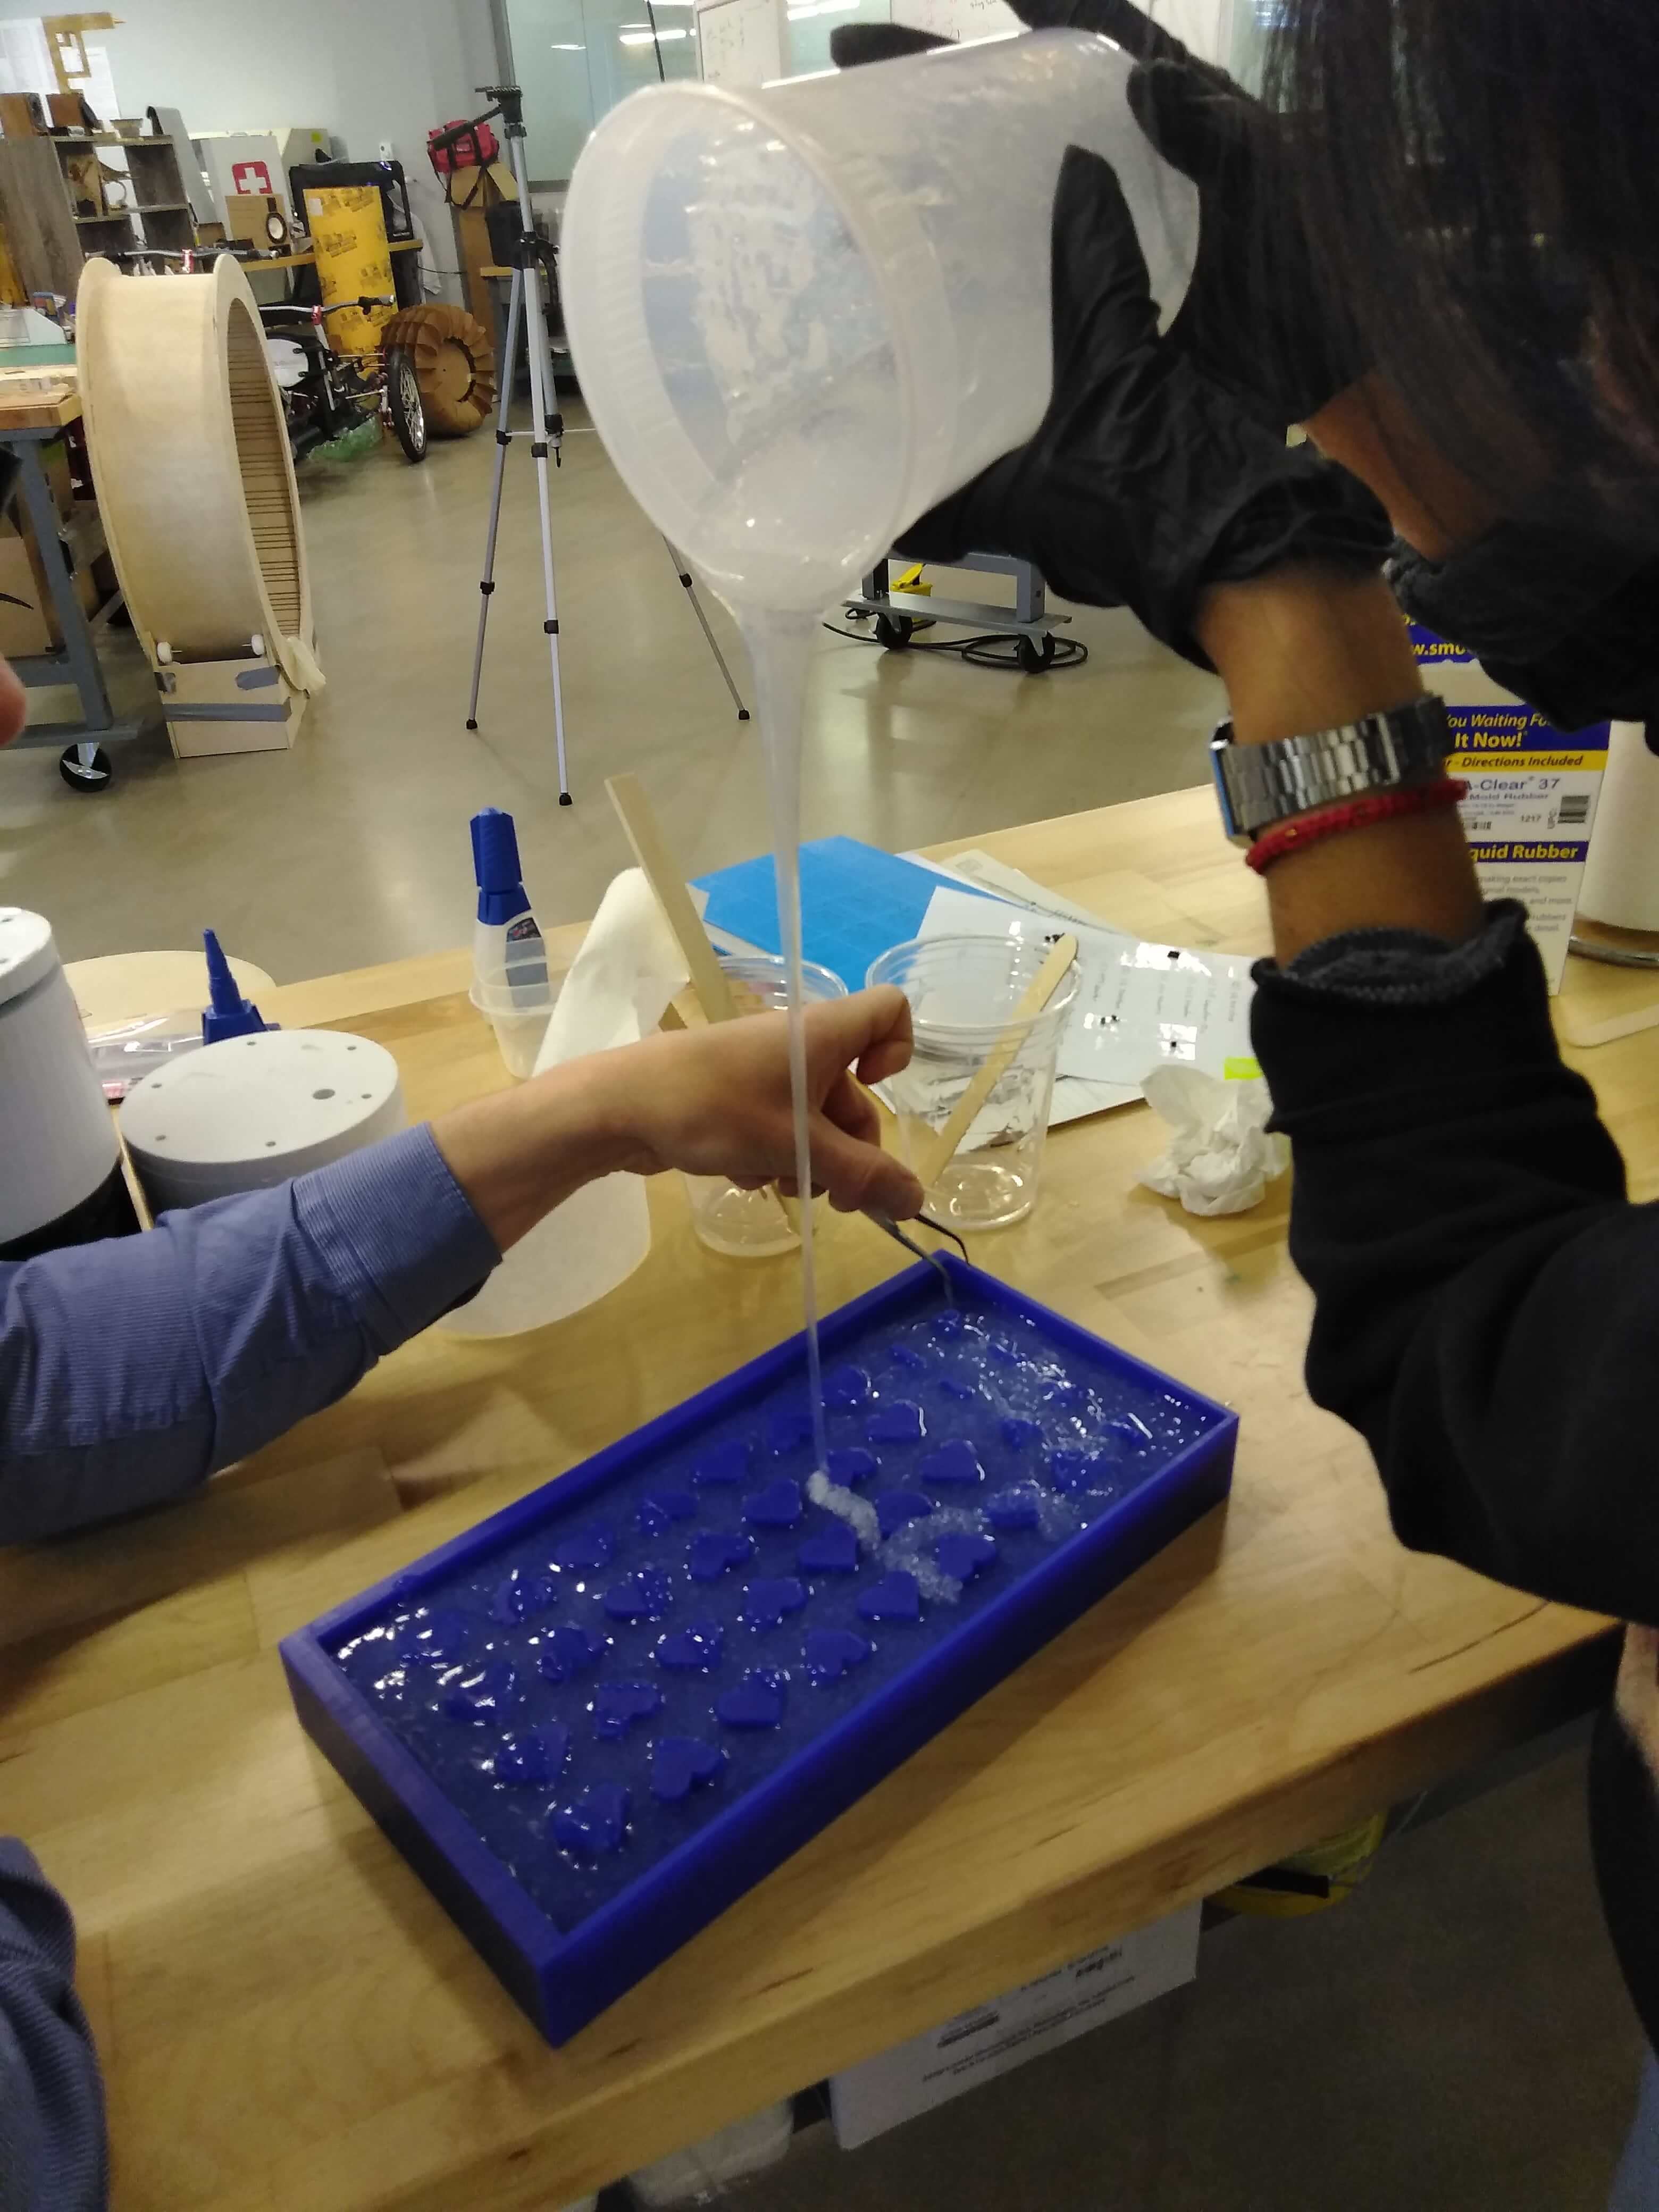
I have pour my material into my mold.
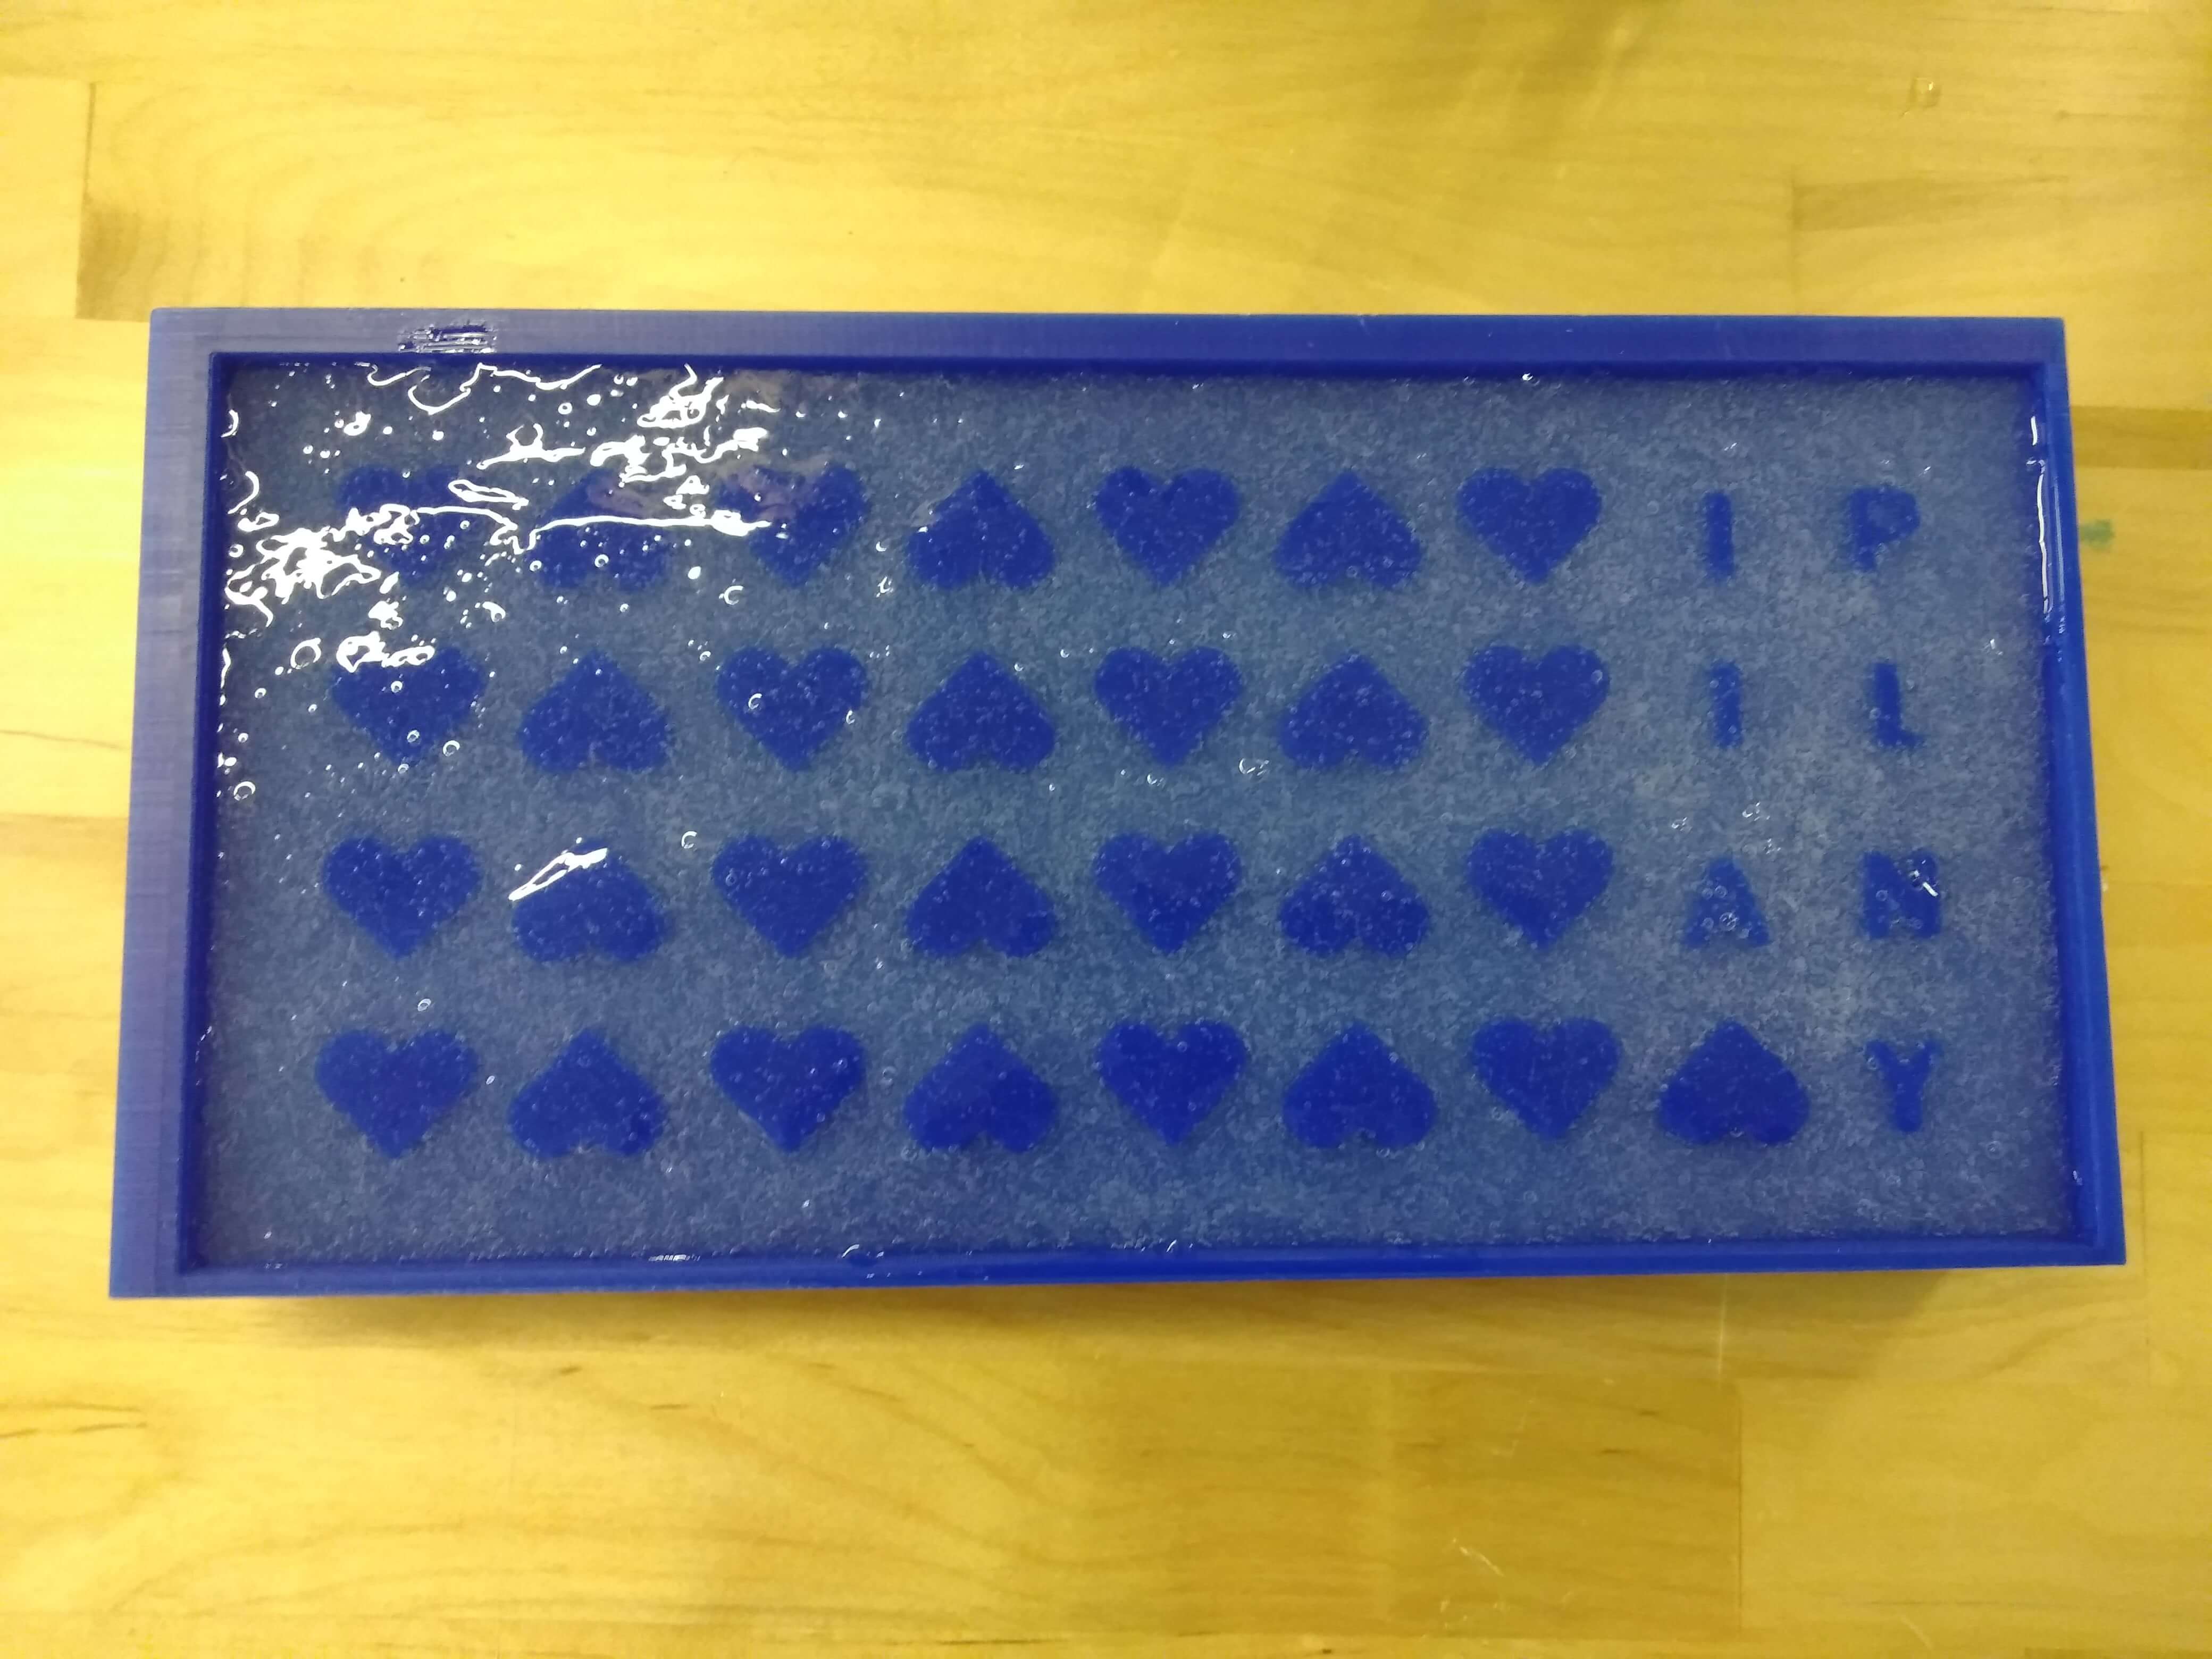
My Casting piece is ready now.
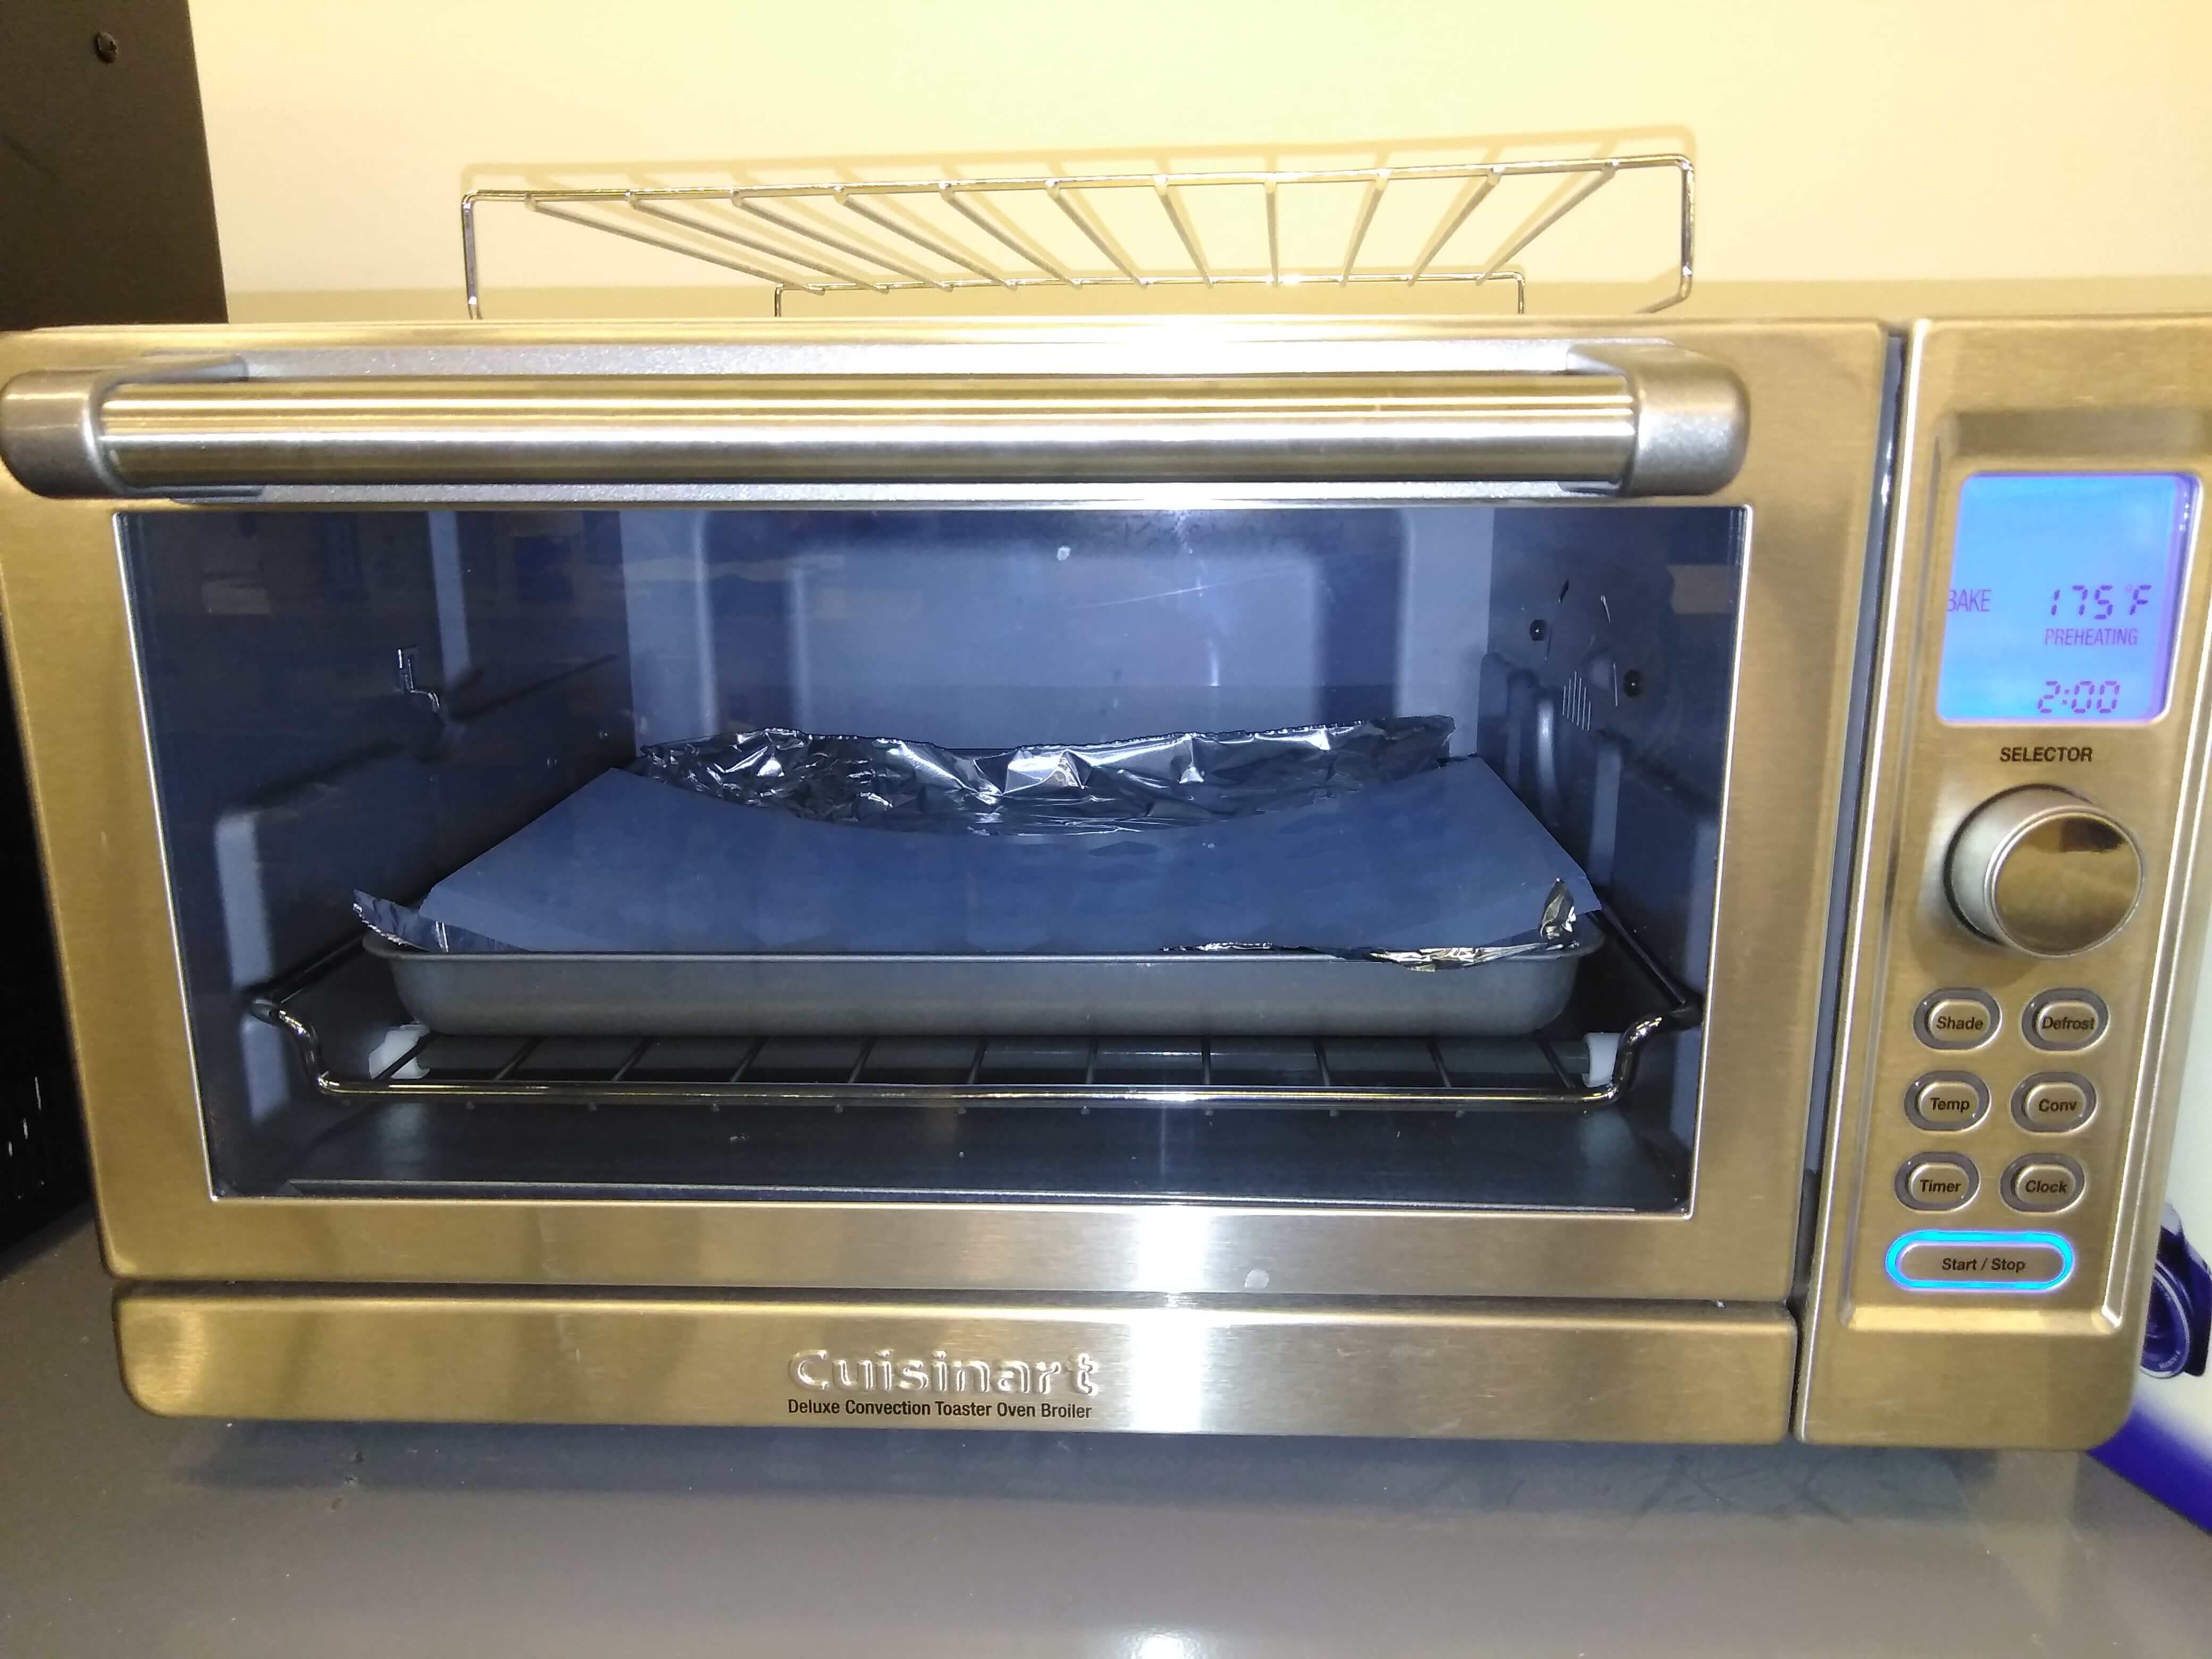
Now Im post curing my casting piece. This is what the datesheet recommended. Post Curing - Post curing the mold will aid in quickly attaining maximum physical and performance properties. After curing at room temperature, expose the rubber to 176° F / 80° C for 2 hours and 212° F / 100° C for one hour. Allow mold to cool to room temperature before using. IMPORTANT: Rubber will darken considerably when exposed to heat.
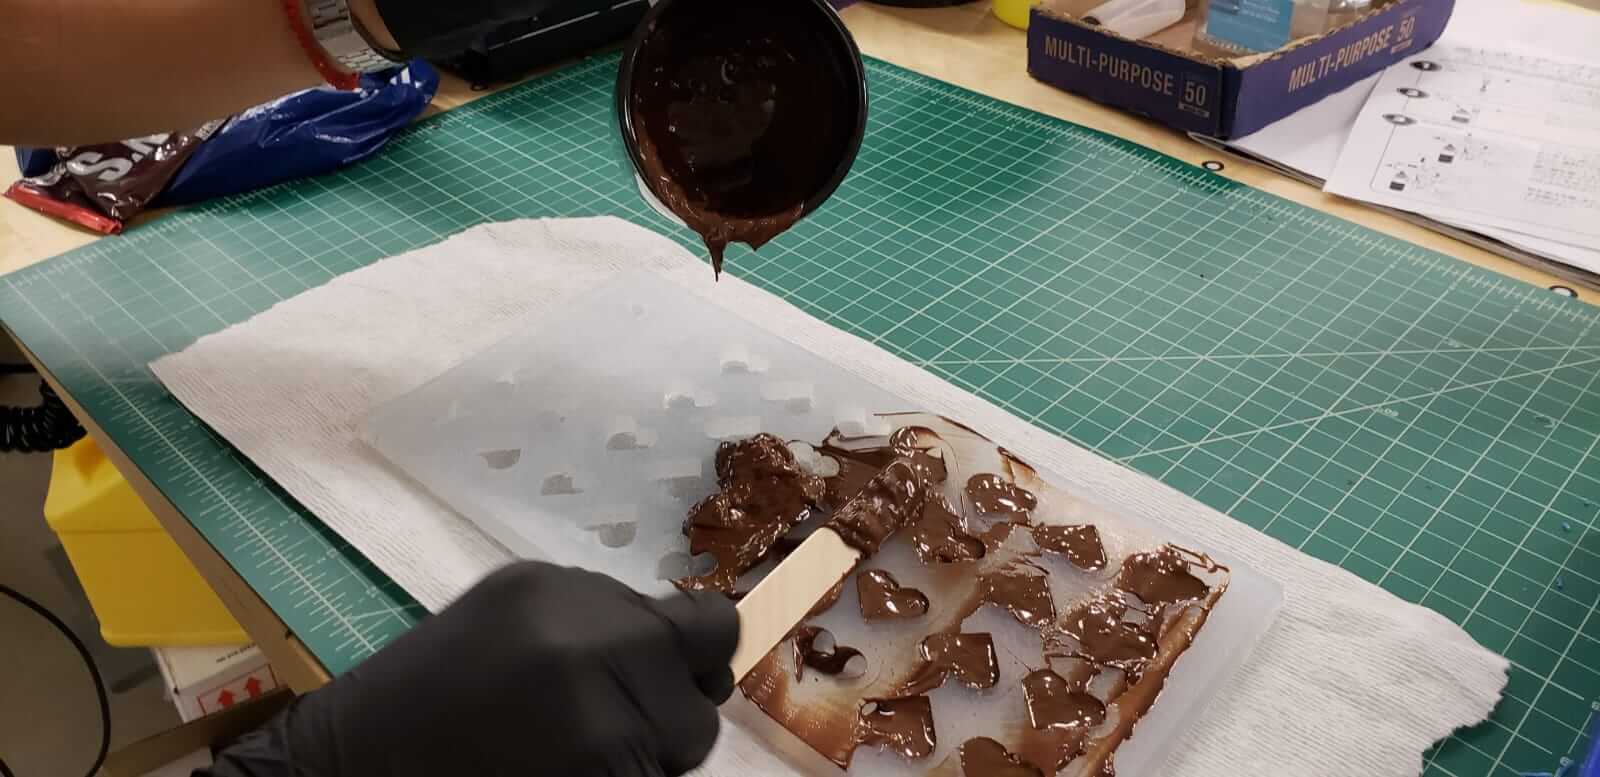
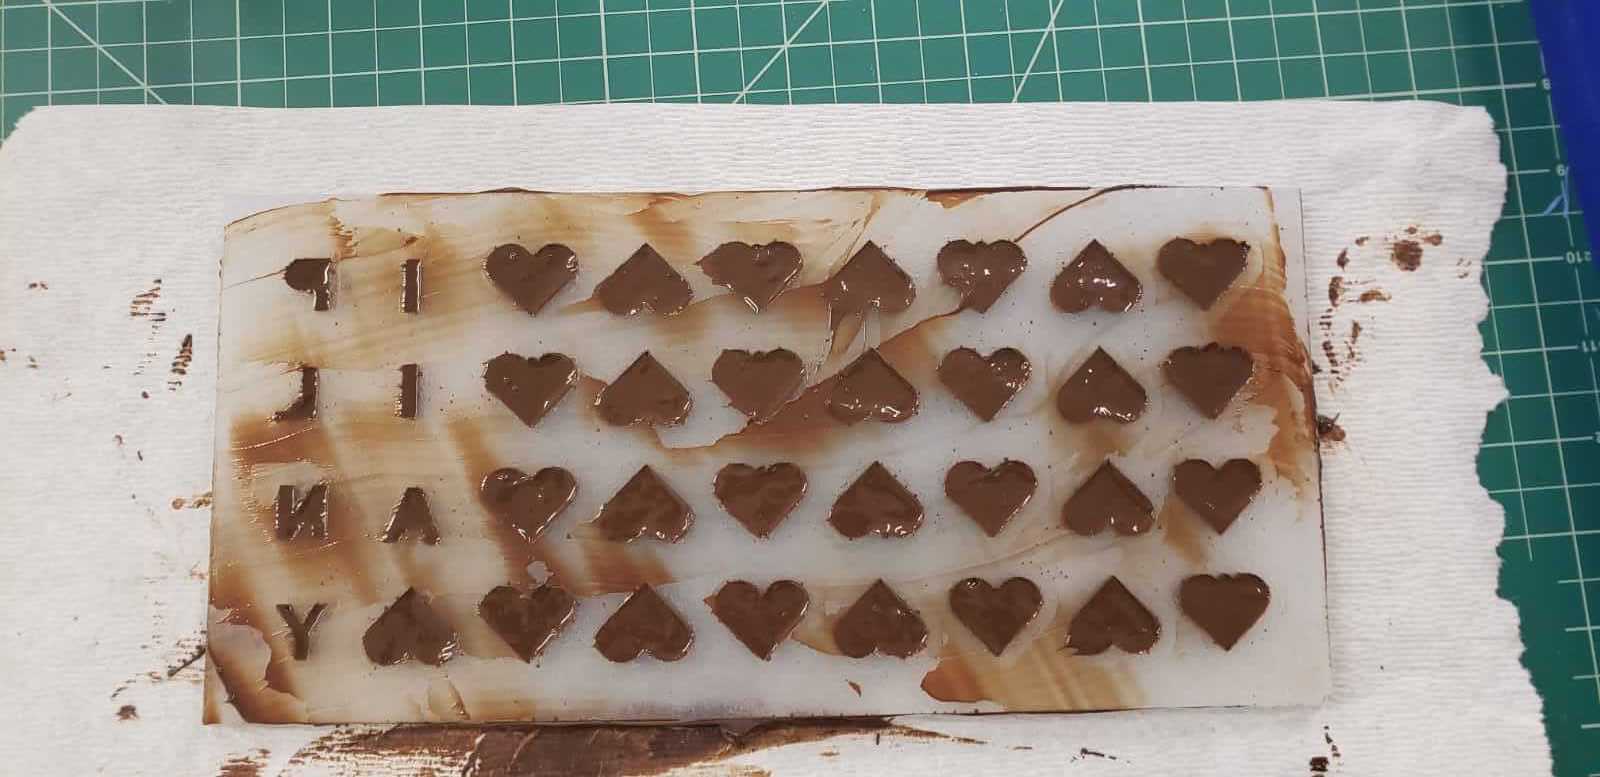
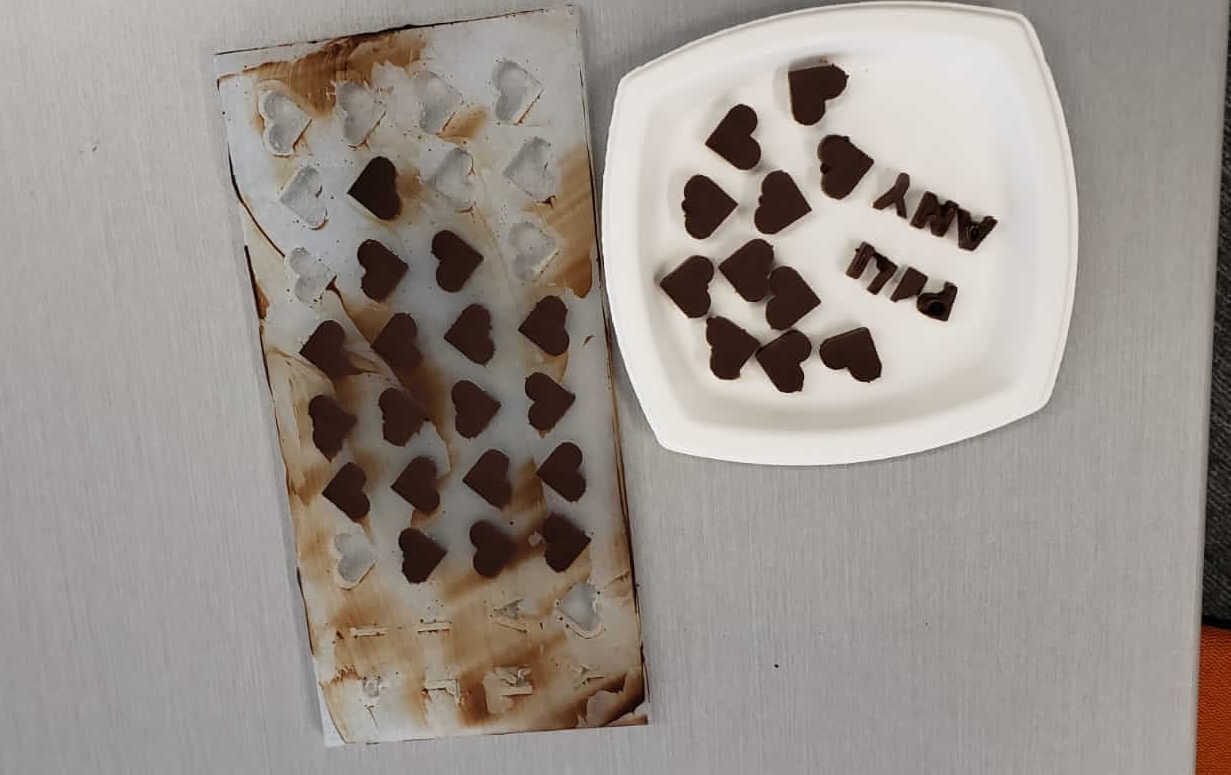
Now lets make some chocolate.