This week I learned about 3D printing
The program where I design my shape is Fusion 360. I watch a several tutorials because I was not very familiar with Fusion 360.
First I drew two lines. Then I used the spline line to create my curvy shape. As you can see in the video the first time I only choose two points for my curvy shape. It did not worked out for me because with two points it did not make a good shape. I deleted that line and I created a new one, but now with 3 points. After manipulating those three points I felt more comfortable with what was coming together.
Once I had my shape, I selected all my lines and I went to the revolve option. When I clicked on revolved that created a body. So now I have a sketch and a body. If at this point I did not like the body that I have, I can go back to my sketch and change the place of my point to make a different shape. Now I finally have a shape that I like.
Now I want to cut the top of my object. On fusion go to the option construct to created a construction plane. Now place the plane on the part of the body that you want to cut. After constructing your construction plane click on modify to cut. Then click on the option split body, click on the body then choose the construction plane and the red plane will appear now. If you select ok now you body is split and now you have two bodies.
To make my object hollow inside I click on the option modify and then you will find the tool called shell . You choose how thick you want your shape to be. First I choose 6mm but I thought it will be to tick, so I did it again and I choose 4mm.Now my shape is ready.
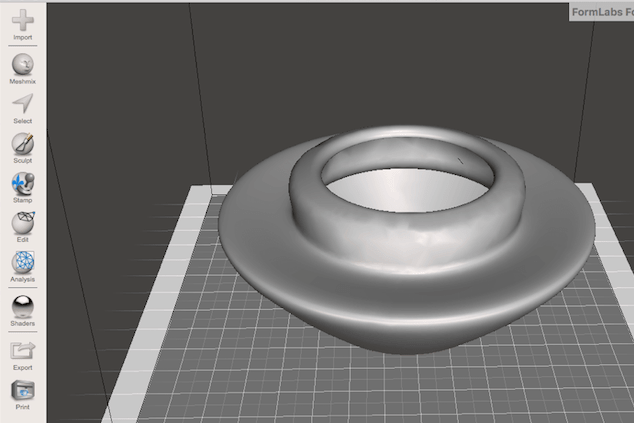
I found this program in a youtube tutorial called meshmixer. Meshmixer is a free 3D sculpting based and a extension of fusion 360. I open my file on meshmixer and this is how my shape looks like just like is showing in the picture below.
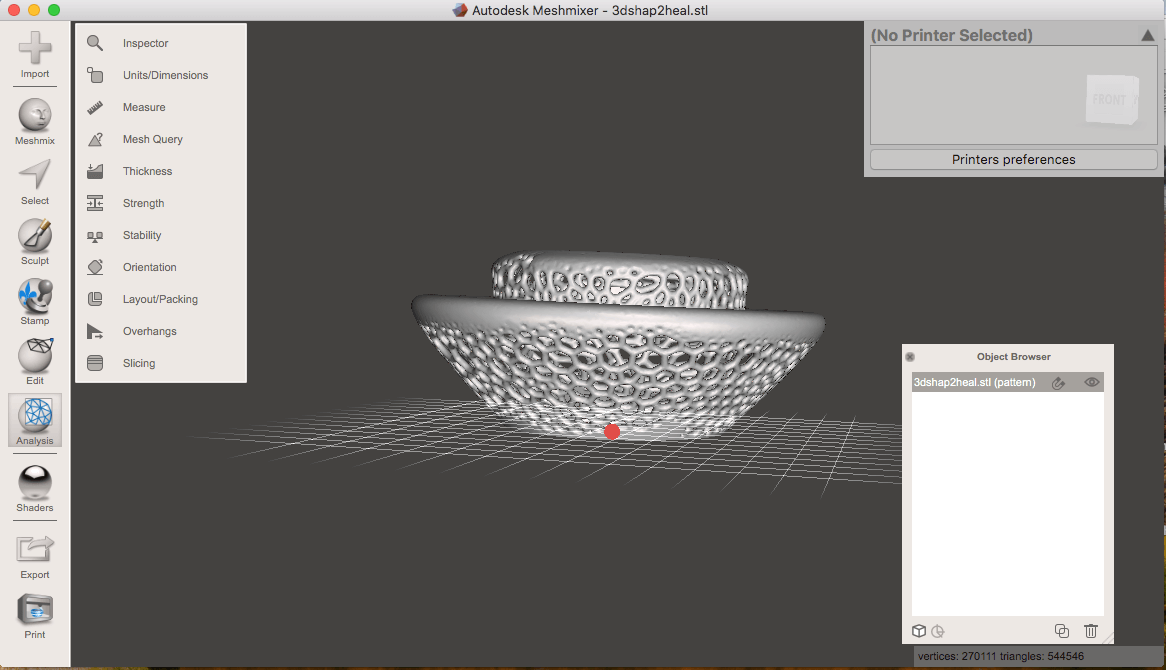
In order for me to make that nice mesh pattern. First I clicked on sculpt and you choose a brush. Their are different sizes of brushes and it gives you option to regulate the thickness of your brush. Meaning everytime you brush the shape depending on which one you choose that's how much will be take out from your shape. One trick I learn about brushing my shape is, not to brush the bottom and top edges it helps the shape to stand better. After I brush up my shape I clicked on edit and I chose the option make partner. There is different options to choose a pattern, so I choose the option dual edges. This is how it looked like when I did all does steps.
After I hit accept this shape came up now. If you see some holes bigger than the others is because I was playing with the variable of brush sizes. A very important step is to cut the bottom and sometimes top edge, but the bottom one is the most important one. Is important to cut the bottom edge because it will able to stand nice and flat.
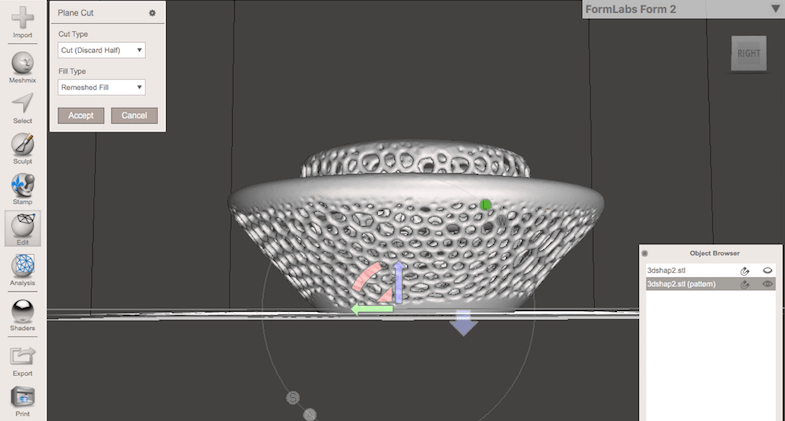
To cut the edge you click on edit, then plain cut. Plain cut allows you to cut a piece of your model to make it flat. Just like the picture is showing. Now my file is ready to print. Save file as STL.
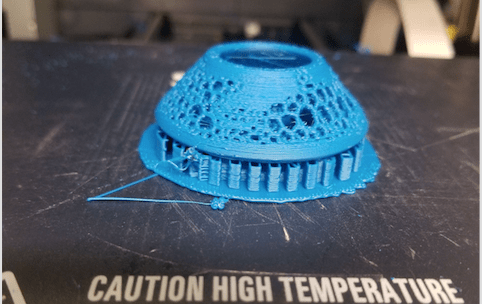
The 3D printers that are available in our lab are makerbot, ultimaker, formlabs and sindoh wox dp 200. At first I try to print my file like 3 times in the makerbot, but it did not work out. I think it did not work out because the supports weren’t strong enough to support the small partters that my object had. After a couple tries I decided to used the printer that Neil recommended during class the sindoh printer. I load my file on the sindoh program. The red color is my shape and the blue color means is the support for the shape.
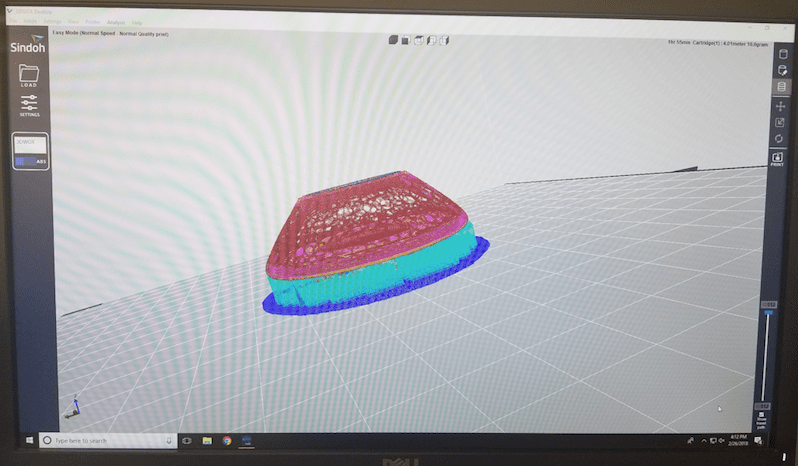
After preparing my file all the G-code gets created for my file to be ready to print.
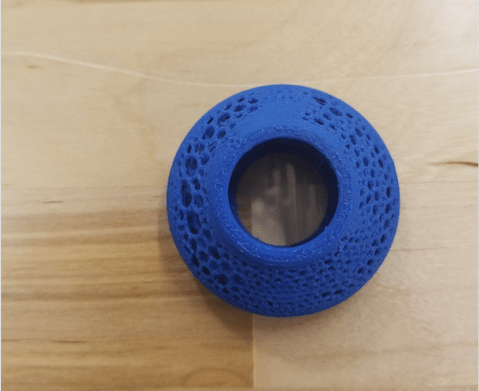
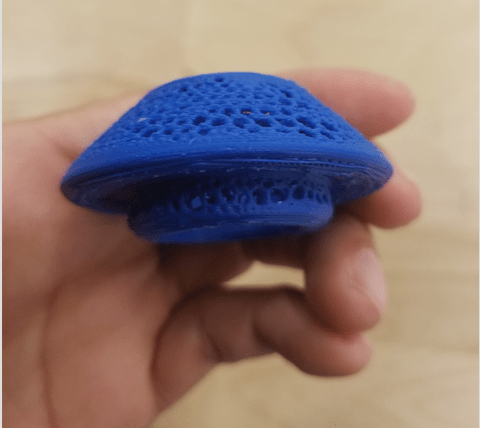
Final Product
This week I learn about scanning for 3d printing. We do this because we want to get things from reality to a virtual environment.
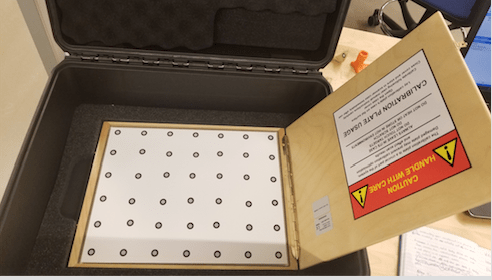
One of the scanner that I used is called handyscan 3D. So first you turn on the scanner and connect the scanner to the computer. The square big button is for the menu. Then their is a little square buttons the + is to move things up in the menu and the - is to move things down from the menu. Before you start scanning you have to calibrate the scanner. To calibrate the scanner you have to do what the computer tells you to do in order to calibrate the scanner. Is pretty much following dots with the scanner.
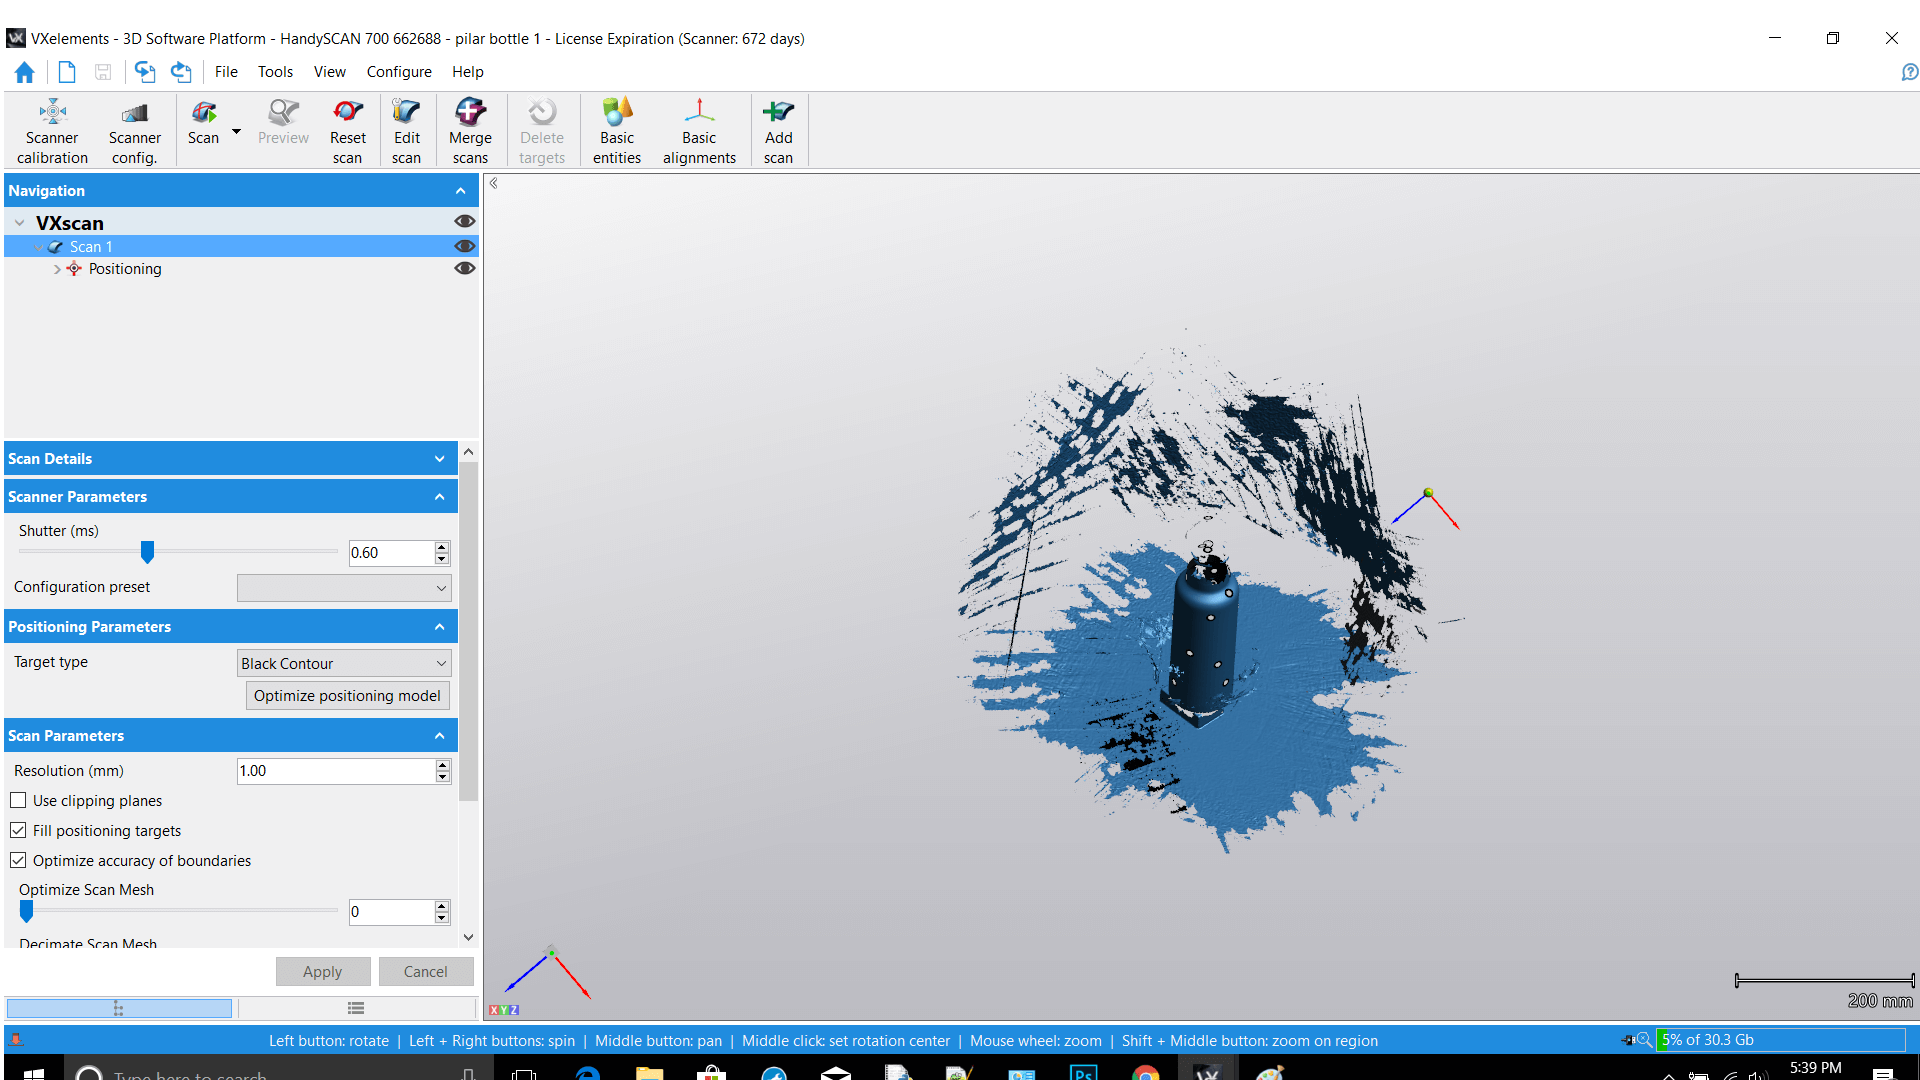
This is how it looks like when you open the window to scan your object. In this program you can also edit your object or you can combine different scan’s. Now you can choose the option to scan in the menu now you can start scanning. You have to attached the position targeting tape in order for the scanner to recognize the object.
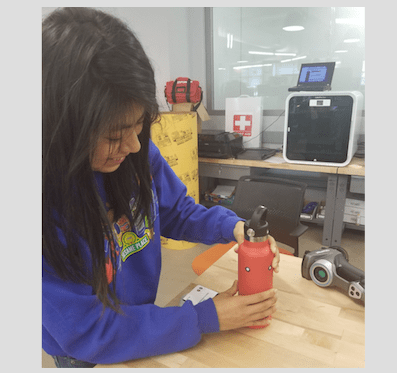

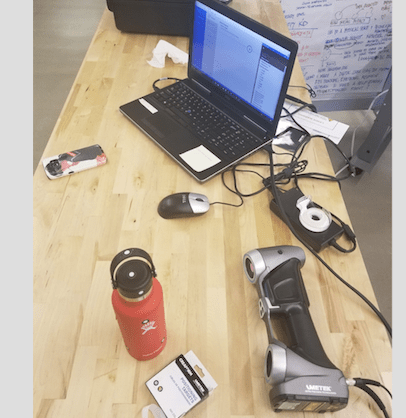
Things that used to complete my scanning assignment are; computer, scanner, position targeting tape and my water bottle.
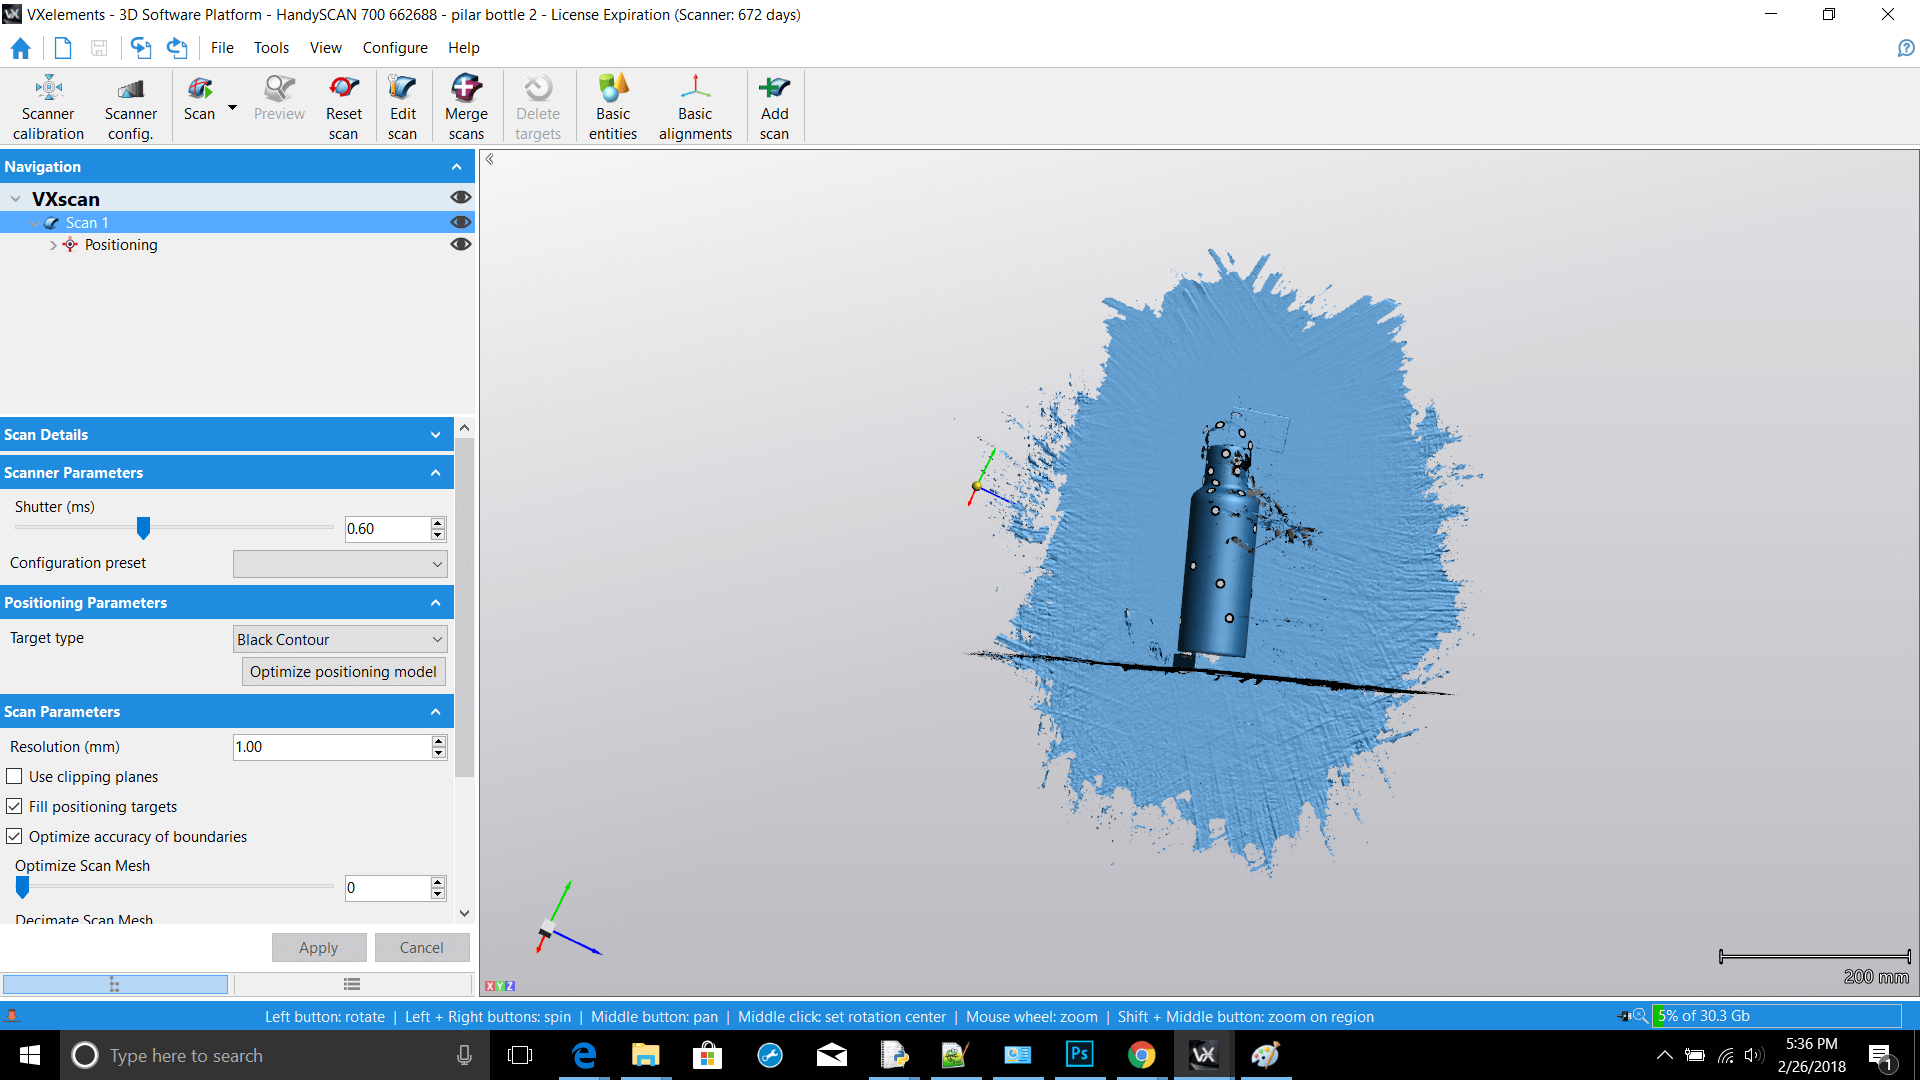
This are all the scans that I got to collect.