ProjectManagement
Step One...
The first step to documenting my progress on FabAcademy assignments was to create this website. As I've had little experience developing web pages, I started by going to: getbootsrtap.com
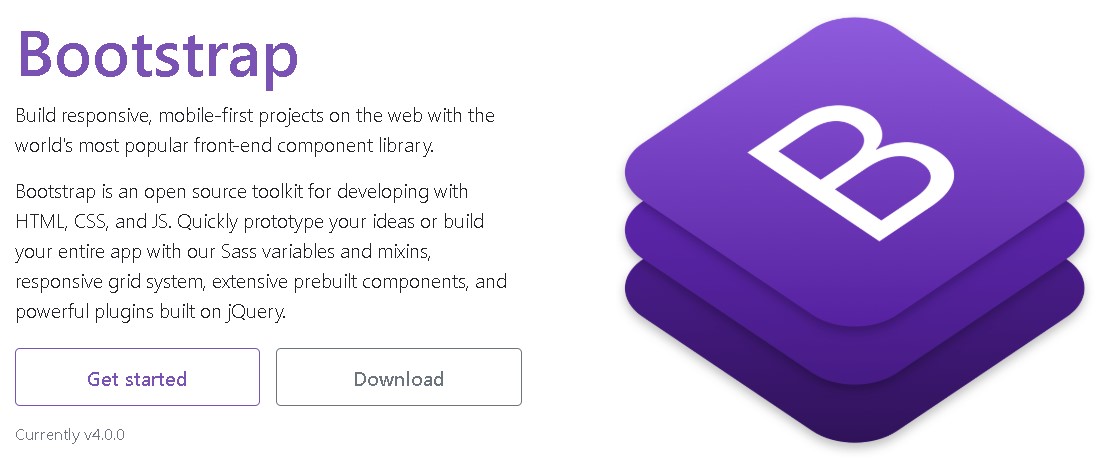
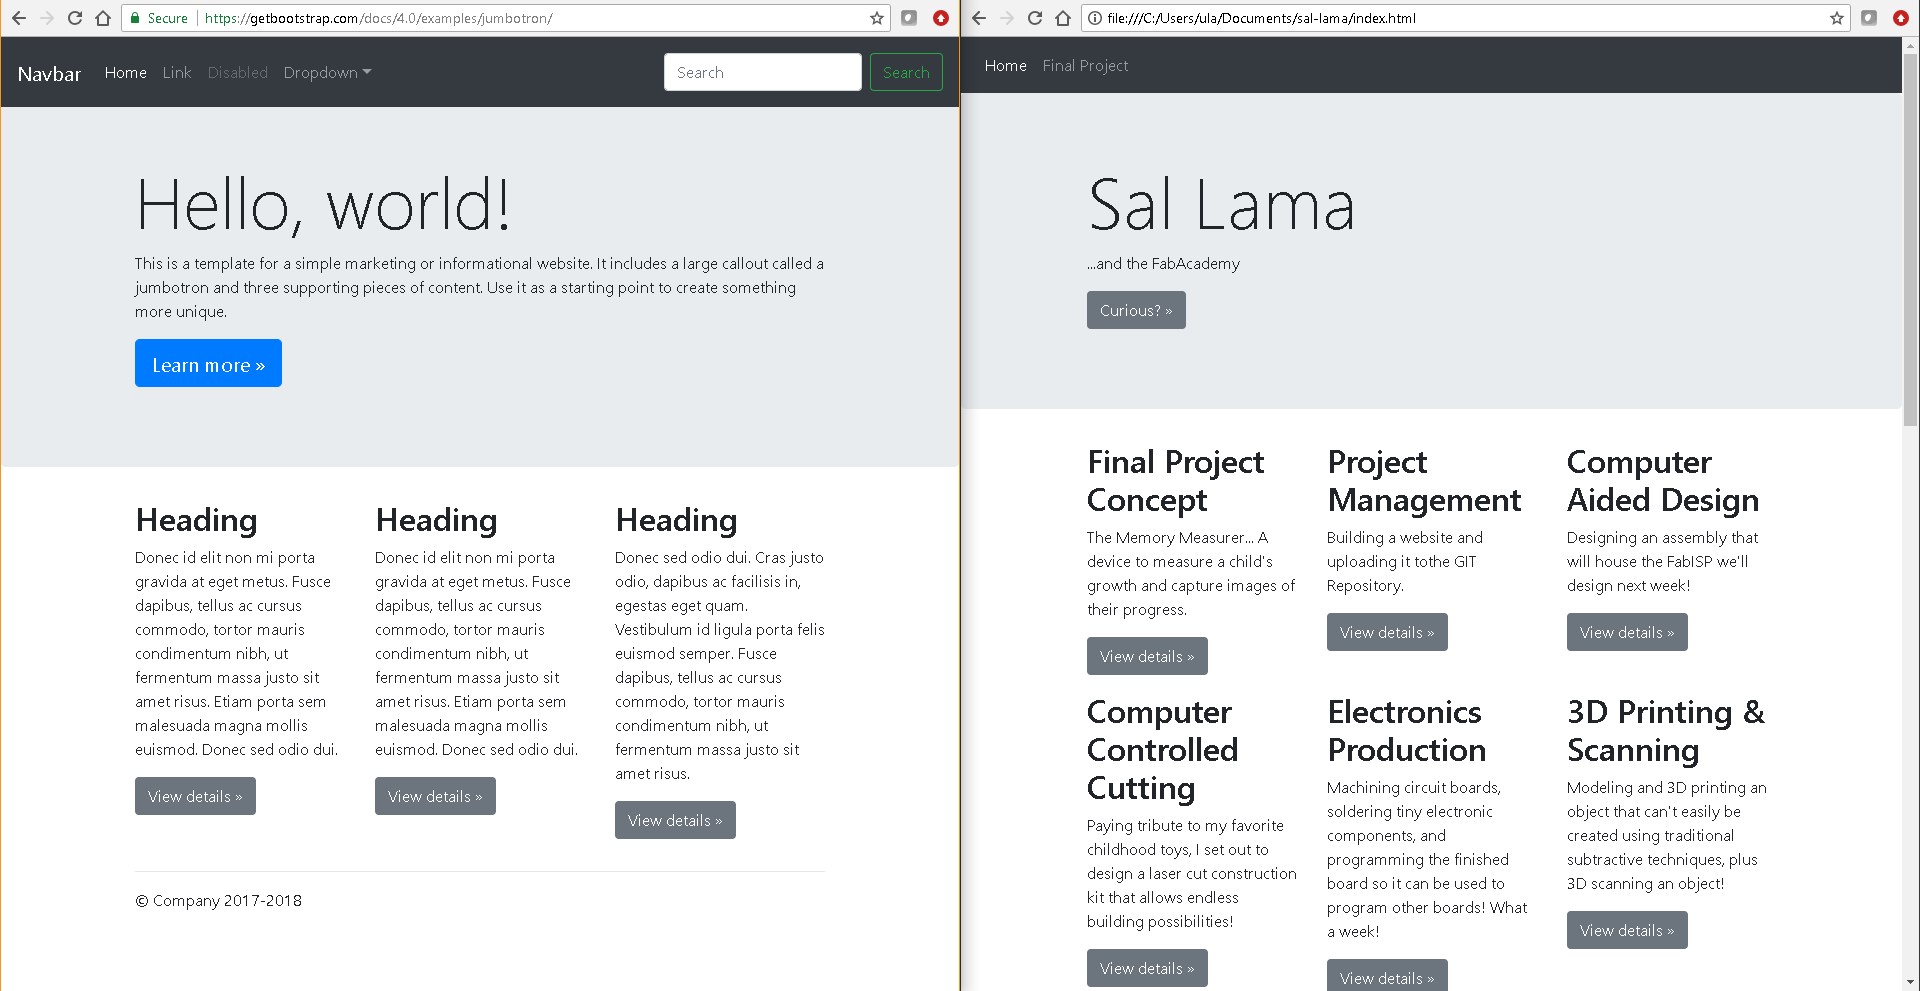
This site allows you to download Bootstrap - an open source toolkit for developing websites. There, you'll find a "CSS" file (a style-sheet) along with examples from which you can choose to jumpstart your website. I chose the "Jumbotron" Template.
I experimented with viewing the html source in Chrome (by pressing F12 on the keyboard) as well as editing it in Notepad, but ultimately I decided to use Notepad++ as my editor. It formats the text nicely and makes it easier to read.
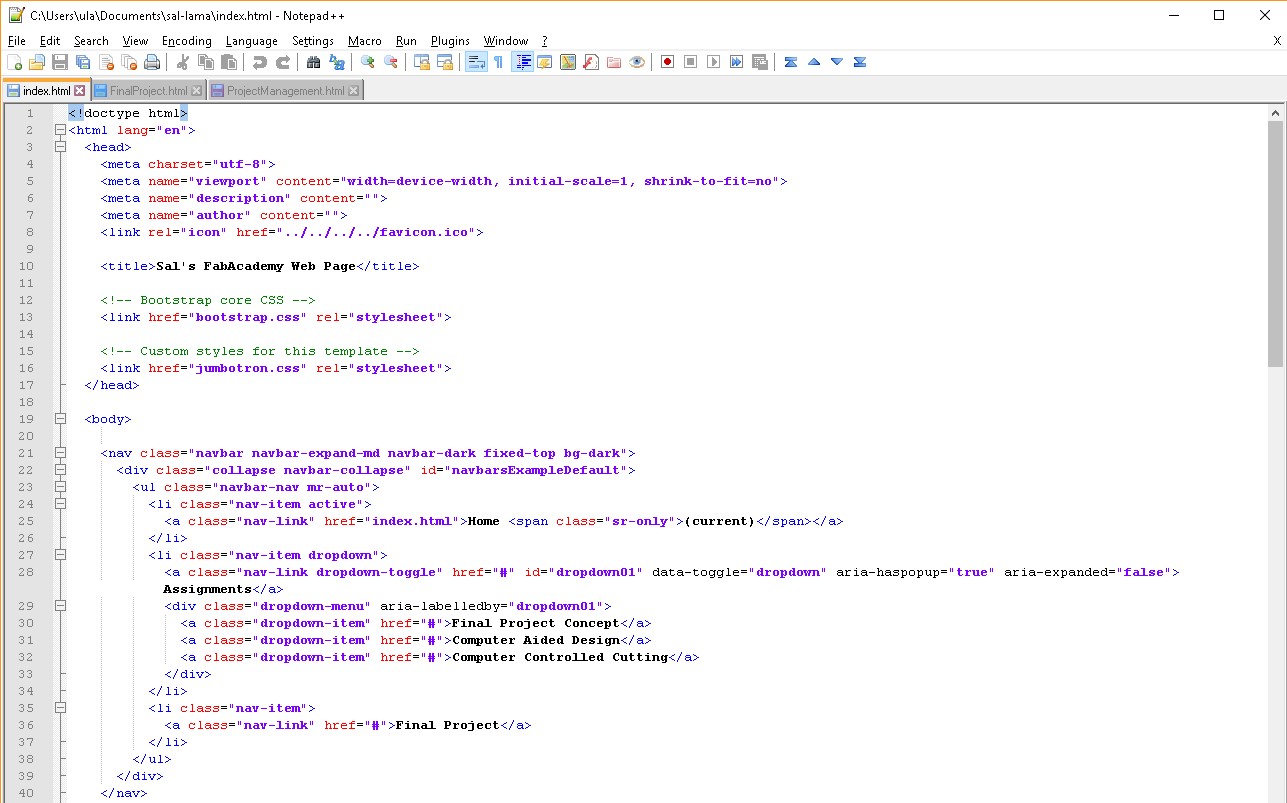
I edited the Jumbotron source from Bootstrap to remove some of the top bar navigation that I didn't want and to add more rows and columns of data to set up the site for all of the future projects I'll complete.
From this point forward, I'll add pages for each of the assignments. So far, I've learned that I can figure out how to add things to my site (like a hyperlink, for example), by finding an example on another site, and then viewing the web page's source. Again, you can quickly do this by pressing "F12" on the keyboard!
Step Two...
The second step to documenting my progress on FabAcademy assignments was to upload my website to a GIT repository. GIT provides version control for documents - developers use it to manage their code - my fellow classmates and I will use it to manage our websites.
I first had to establish a connection to the account the FabAcademy created for me on their GITLab site. Then I set up a local repository off of which I could work before committing changes to the master. I followed this tutorial to get things set up.
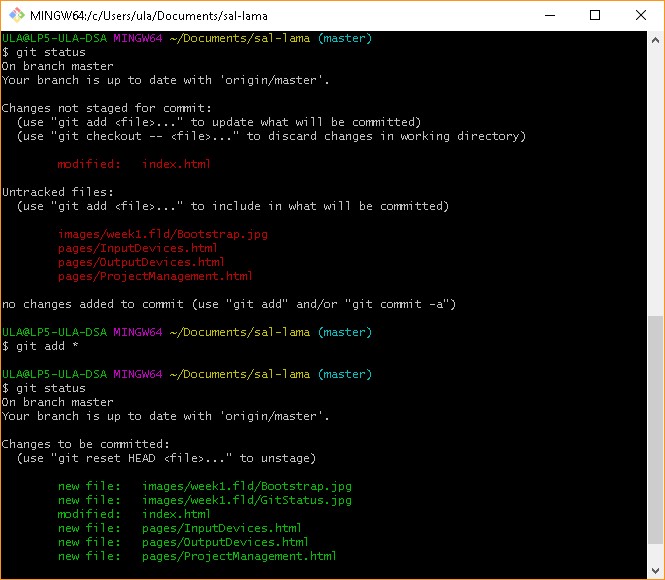
When I want to work on my website, I edit the files I keep locally on my machine - that way the master set of files are always safe on the GITLab server. Before I get started, open a Git Bash terminal and run a "git status" command. This will let me know if any of my local files are older than those on the server.

If there are new files on the server, I'll run a "git pull origin master" command to get the latest data. When I make changes to my local files and save them, those changes are still a few steps away from reaching the Git repository on the server - a few steps away from the rest of the world seeing my updated website.
First, I have to make my local repository aware of any new files I added. I do this by running a "git add" command.
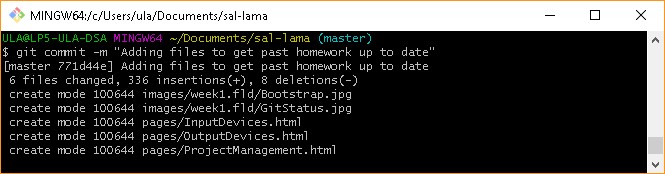
Then I have to commit my changes to my local repository. I do this with a "git commit" command... and I add a "m" folllowed by a comment in double quotes to describe why I'm commiting these changes.
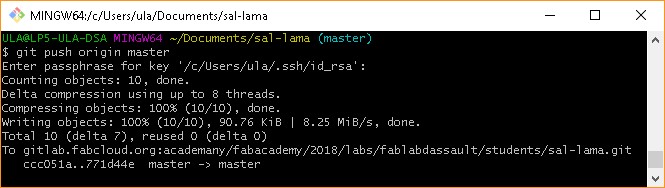
Finally, I push my local repository up to the master repository so the rest of the world can see my changes!