Milling the PCB
Let's make first Fab ISP Module
We are going to use Roland MDX-20
Well, I usually use CNC Machine (Shopbot) to milling the PCB, but in this assignment, I will try for the first time to use Roland MDX-20. Be patient and let's learn how to make ISP (Milling BCP).
Since I did the previous assignments using Windows I thought it will be easy to do Electronic Production assignment by using Windows. But, before I start to do the assignment I prefer to go back to the tutorial and read several previous works I decided to use ubuntu 16.04.
First of all, you have to install Fab Module in your system and to do that you just need to follow a good tutorial showed you the steps clearly. Here is the great tutorial to be able to use the MDX-20. Once you finish installing the Fab Module will be able to use Fabmodules web interface.

Remember you have log in as a root

It's a good tutorial to instal Fab Module MDX-20

I had an issue to assigning the serial port, and to solve this problem I did install the backends for Python and I get access to control the MDX-20
ISP
Prepare the ISP Module

The ISP Traces Layout

The ISP Cut Layout
Starting Milling the BCP
Once you finsh installing the Fab Module MDX-20 will be able to open the web page of Fab Modules

The Instruction to Trace the ISB
- Select the image(.png) for the ISP Trace layout as png
- Roland mill (.rml)
- PCB traces (1/64)

- In the output machine choose the MDX-20
- Write down your xyz 0 axis

Cut Depth = 0.6 mm

Calculate and send to machine

After trace the layout for the ISP

The Instruction to cut the ISB

the cut depth = 0.85 mm
The stock thickness = 2.3 mm

Calculate and send to machine

After trace the layout for the ISP
_________________________________________________
Soldering the ISP
Using SMD Components
The Electronics Components that used for the module:
- 1x Attiny 45
- 2x 499 ohms
- 2x 49.9 ohms
- 2x 1K ohms
- 2x 3.3V Zener Dioed
- 1x 2x3 in header
- 1x 100 nf capacitor
- 1x Red LED
- 1x Green LED

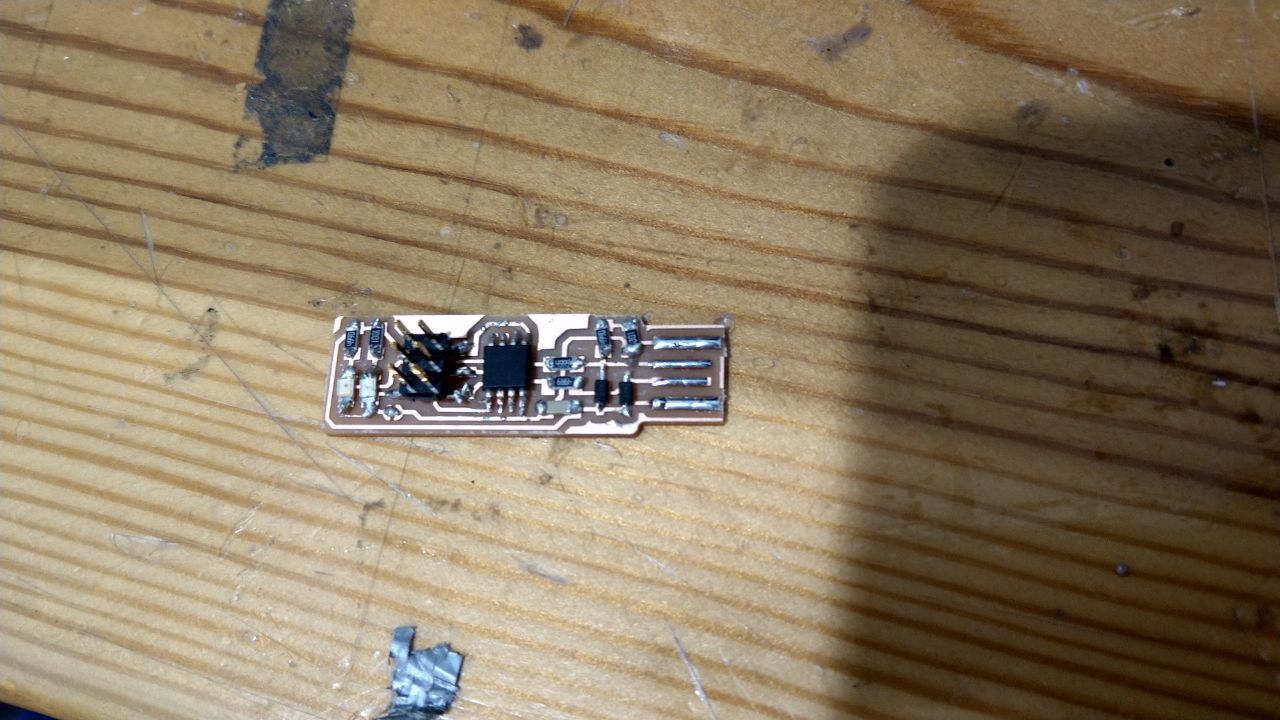
I had never solder SMD components before and this was first try

Second Try
First successful soldering
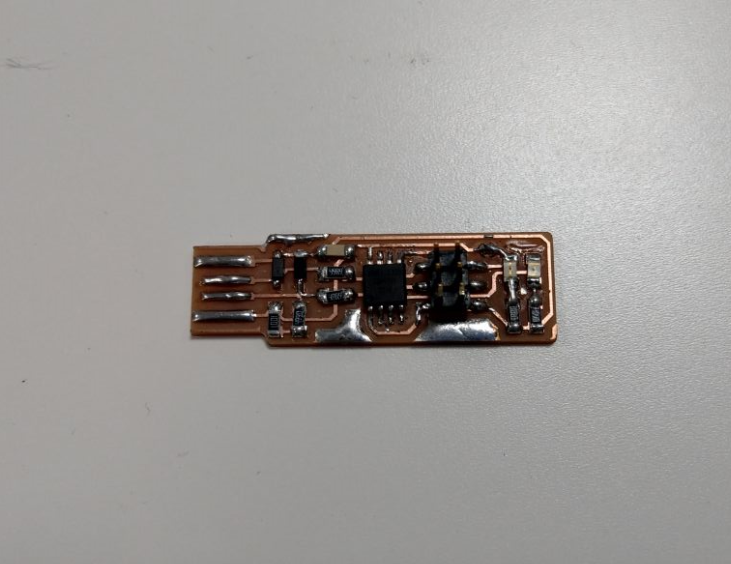
Perfect soldering ISP I have been done until this moment