Back to Mejdi_FabAcademy_FollowUp
Week9: Embedded programming
Assignment:
-read a microcontroller data sheet
-program your board to do something, with as many different programming languages and programming environments as possible
nRF52: a very complete MCU costing less than 3 Euro, that can talk RF
The good
The
nrF52 is a familly of ARM based MCU fabricated by
Nordic.
It has quite interesting feature both for the Gamma-project and the Gamma-Cool-Box.
- 32 bit, 64Mhz Cortex-M4 core
- 12bit 200ksps ADC with "easyDMA" => easy buffering?
- 16Mhz PWM clock => 60kHz PWM @ 8 bit resolution
- fully configurable I/O mapping ("AHB multilayer") => one can do what one wants with watever pin.
And of cource, last but not least:
- It can nativelly do short range radio comunication (2.4GHz) ant talk BLE!
This last feature, will allow to completelly isolate the power electronic PCB (that handles thermal PID with fans and peltiers, very noisy...) from the main PCBs, that is very sensitive.
Plus, it will should be possible to do what Nordic calls "OTA-DFU":
Over The Air Device Firmware Update.
Meaning that I could wirelessly program and monitor my MCU directly from a laptop, a RaspberyPi or even a smartphone!
The bad
As no MCU is perfect, the nRF52 still has some drawback:
- 3.6 Volt operation MAX. And it is not 5V tolerant => I'll have to be carefull
- No native USB driver
The
worst drawback of the nRF52, that I initially ovelooked since I didn't know that the ARM development workflow was differen from the AVR/Arduino one:
- The dev tools advirtised and supported by Nordics are almost entirelly closed sourced, expensive, and windows based only :/
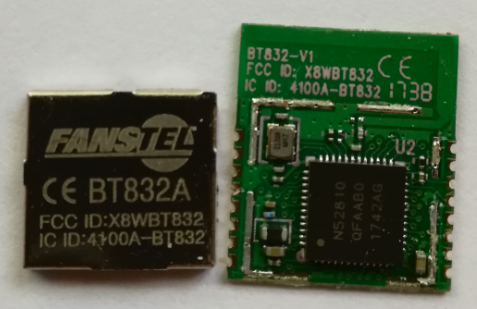
Implementation of a nRF52 module: the BT832A
As it was part of the courses, I decided to start with the
BT832A module of Fanstel.
This minimalist module only integrates MCU, quartz, RF antena+filter on a very tiny PCB.
Here under is a little memorandum i did about it:

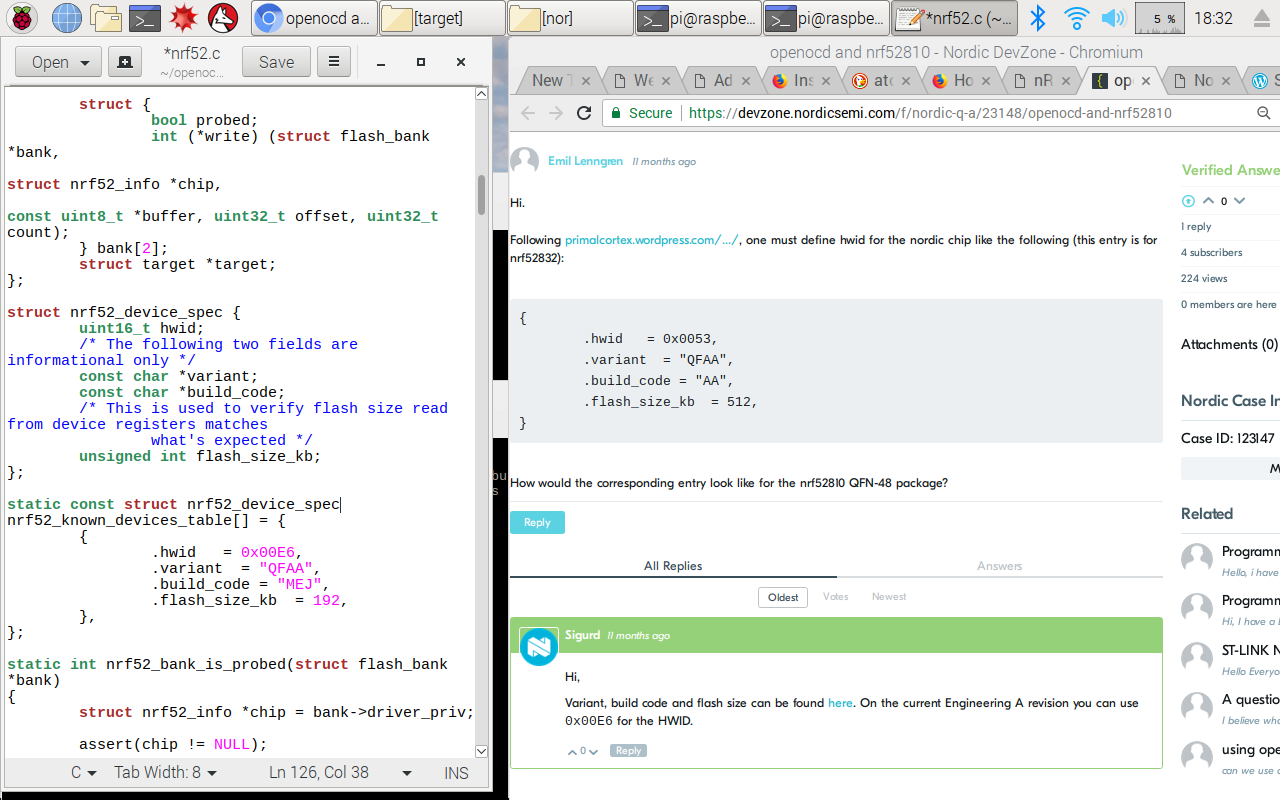
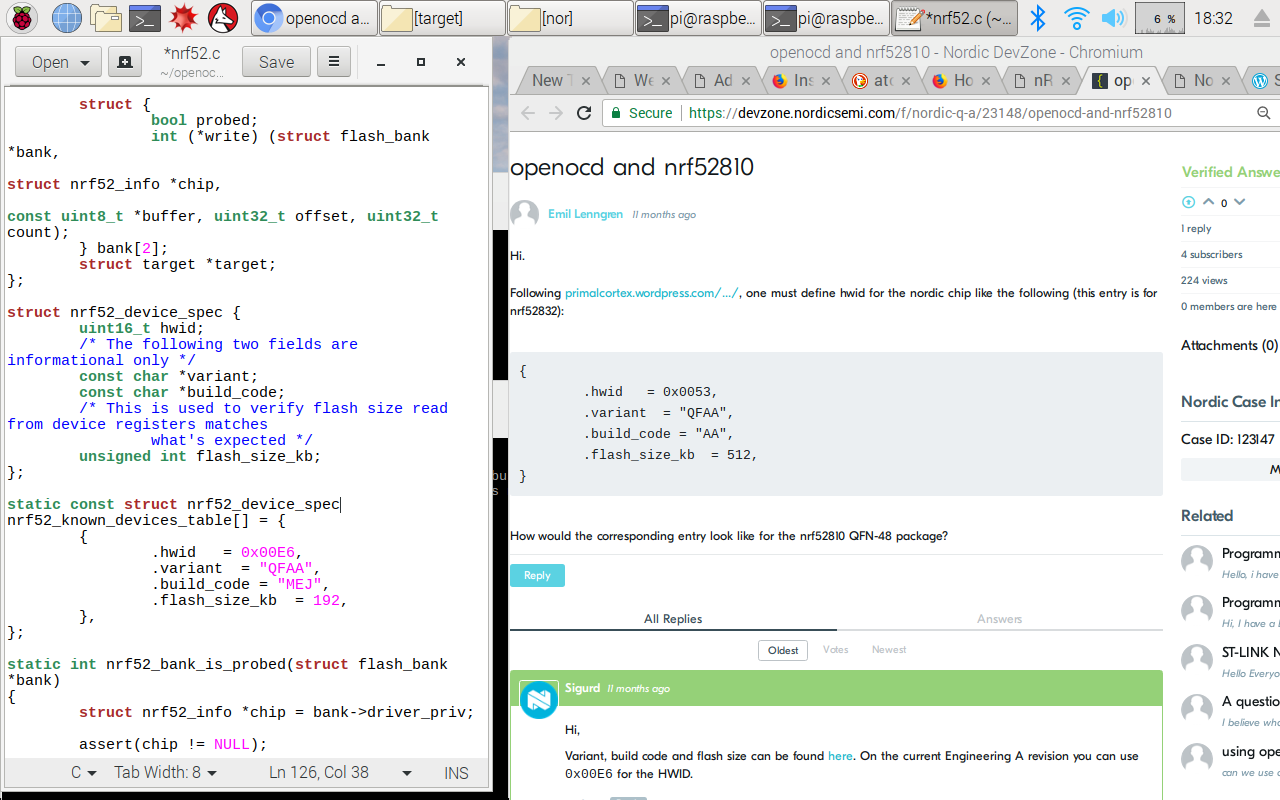
NB: The BT832A uses the
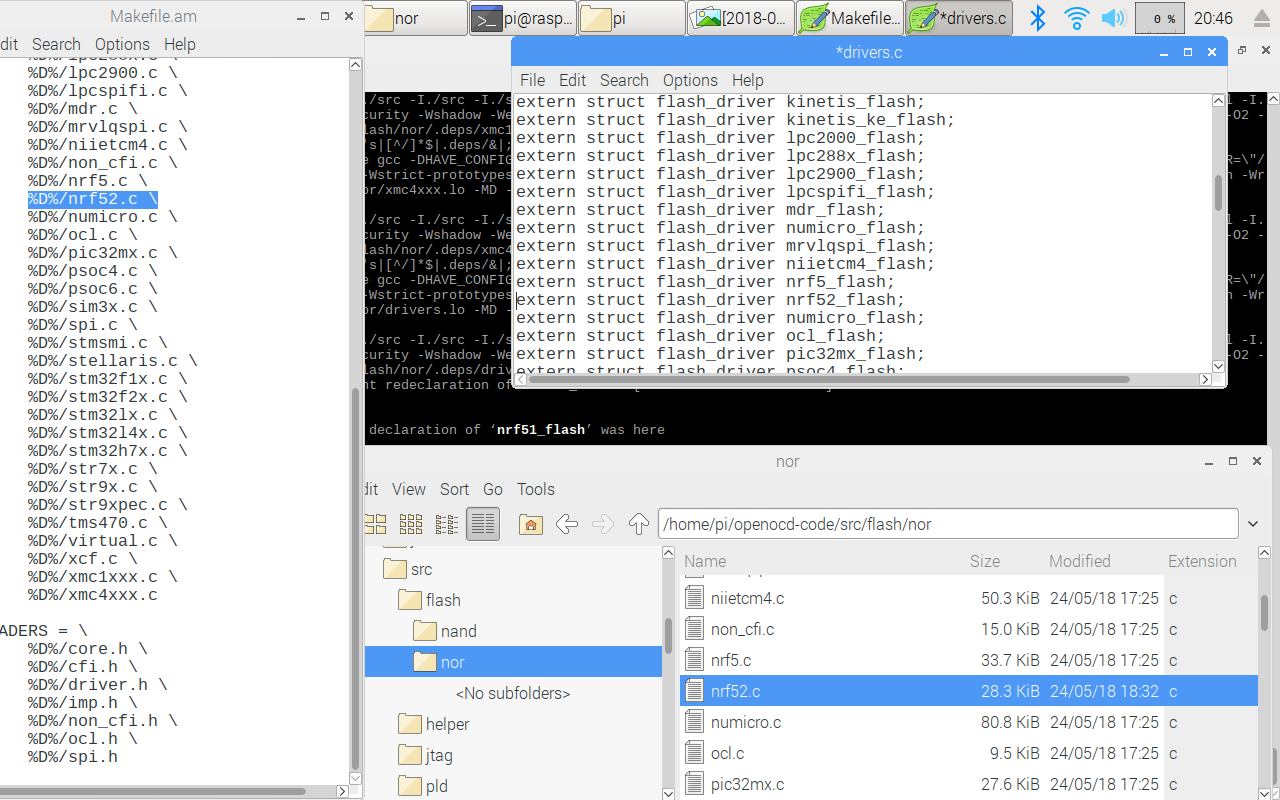
nRF52810 which is similar to the nRF52832 but has less memory (192kB Flash + 24kB RAM), and peripheral resources).
The BT832A cost 3.3€/unit, theoretically. I bought 20 of them and ended up paying 135€ = 75$ of parts + 43$ of "handling & shipping" + 33€ of "DHL import theft".
So, all in all, for a french maker, the BT832A is 6.8€/unit. Not bad.
They were delivered in 1 week. I could't resist to crack one open ^^
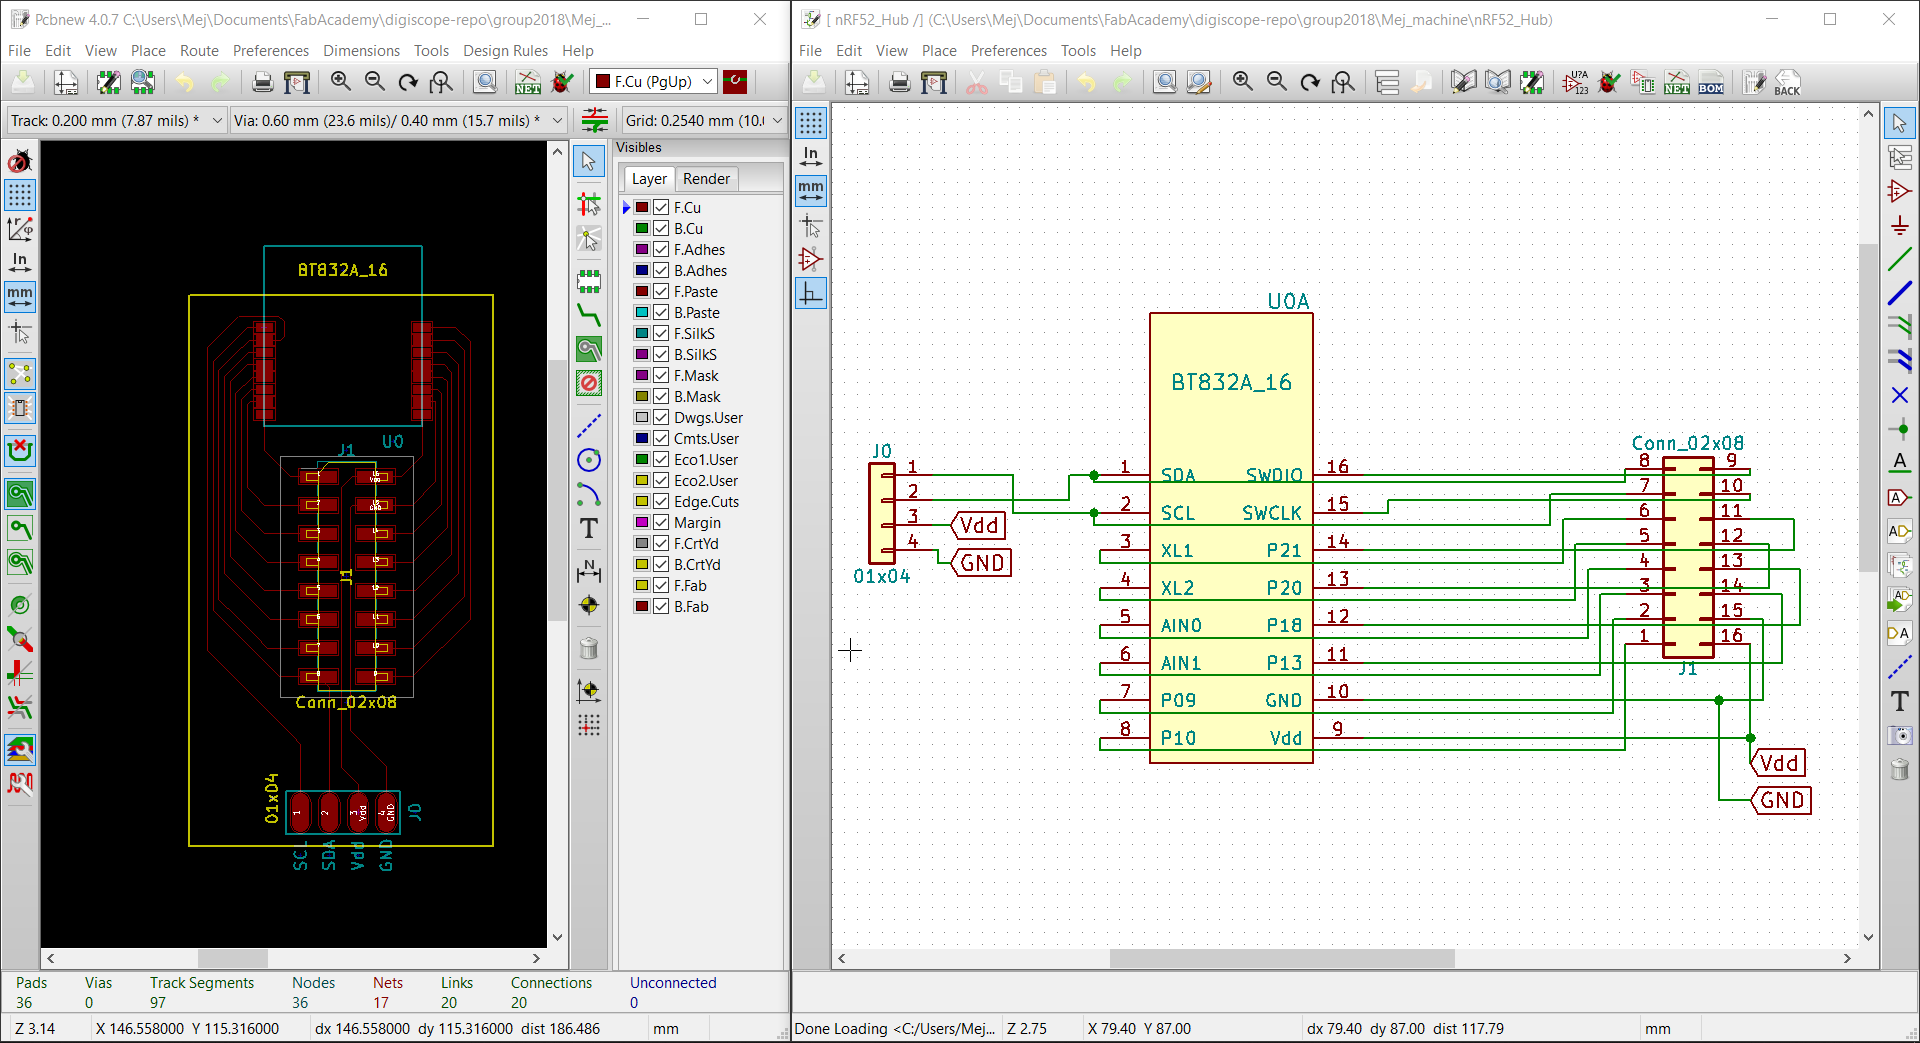
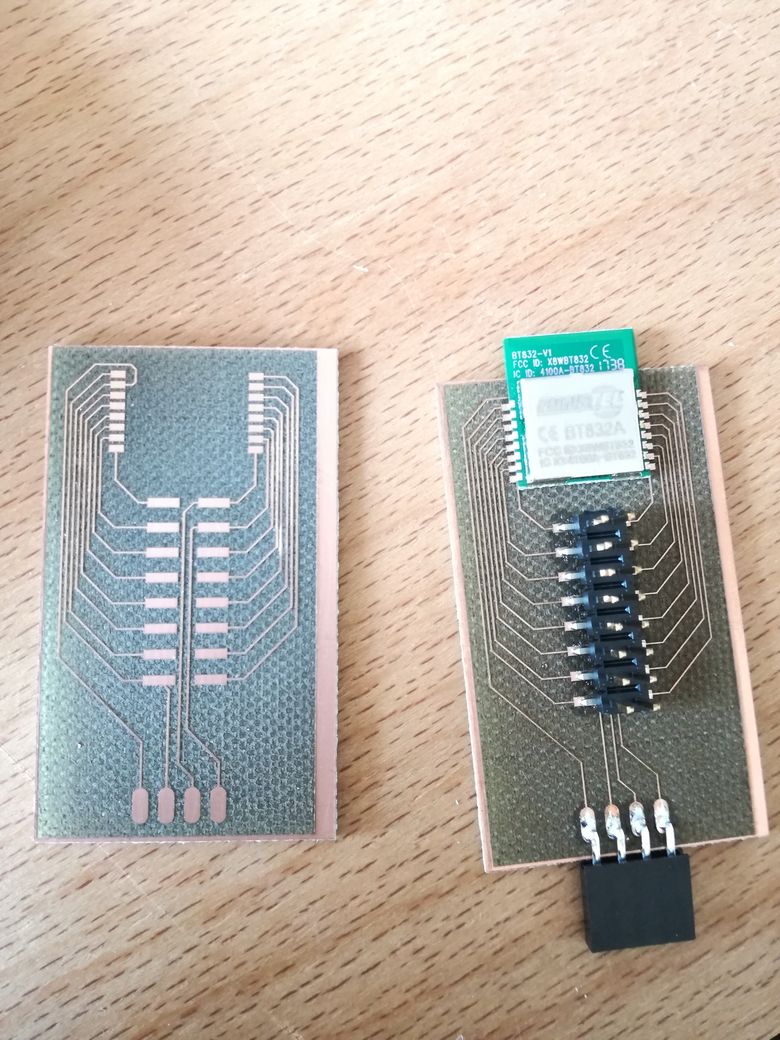
I designed a little breakout board for this module, using KiCAD. I created myself the shematics blocks and the footprint.
I ignored the "bga style" outputs, and only considered the 16 lateral pins.
The Kicad project is available in
this KiCAD project folder on gitlab.
Fabrication files are in the
fab/ sub-directory.
The essential fabrication files are:
I laser engraved the PCB and soldered it:
Bootloading and Flashing the BT832A - or fighting Murphy's law till death.
From AVR to ARM
Up till the Fabacademy, I was used to work with MCU only with "big" dev-board intergrating the MCU and a lot of periferic tools as well as pinheah connectors.
Exemples of such dev-boards based on the
ATmega32u4
and the
PIC32MX.
Those
dev-boards cost 10 to 40€ (or more for the one embeding WiFi or other fancy modules), when the
MCUs chips cost only 1 to 3€.
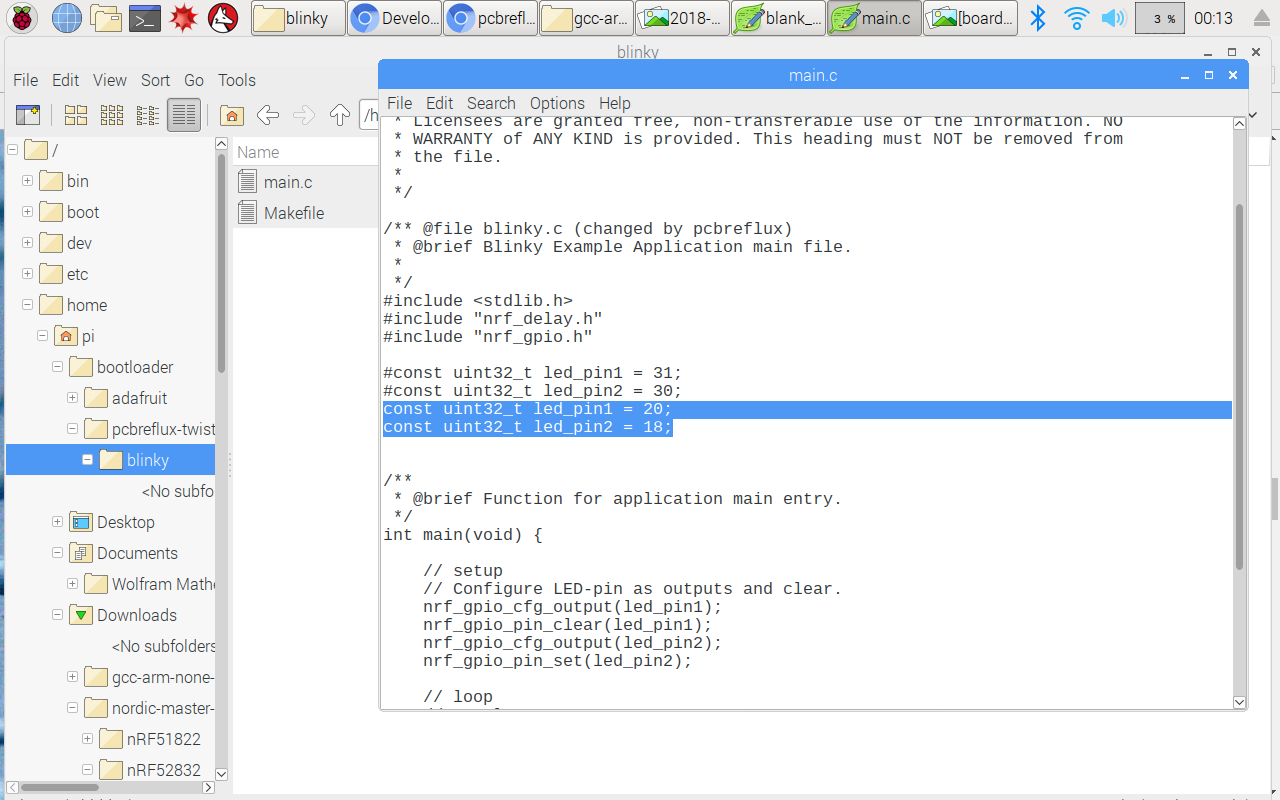
But with this "high" price comes confort: one can easyly bootload and program the MCU's dev-bord through USB using the Arduino IDE.
With Fabacademy I did learn how to bootload and programme AVR MCU with the ISP protocol.
I can directly talk to the AVR MCU whith the open-source-cross-platform
Arduino IDE and the fablab-made
ISP programmer PCB. I dont need the "expensive" dev-board no more :)
The ARM MCUs have a different architectures and works differently.
Theis interface is not ISP (In-System Programming) but
JTAG.
JTAG can be used for advance debuging, with up to 20 pins. It also have a simple variant: SWD (Serial Wire Debug).
SWD uses only few connections: SWDCLK, SWDIO, GND, 3.3V and an optional Reset. It requires an ad-hoc SWD programmer module like the
ST-Link whitch cost 20€
or the
Atmel ICE that cost 100€!
Needless to say that I dont like that...
Nordics tools and other internet sources
My goal:
set-up an nRF52 workflow with open-source-cross-platform softwares and minimal use of exotic programmer modules. For this quest I had three starting points:
- The Nordics online doc, on getting started with nRF5 MCUs
-
This repo of the CBA, on programing the nRF52.
NB: this project use the BC832 module of Fanstel, which is similar but not pin to pin compatible with my BT832 module.
- This repo of Sandeepmistry which explain how to pimp the Arduino IDE to program nRF52 using a SWD programmer.
Lets review the 4 tools nativelly supported and documented by Nordics:
- Keil is an ARM SDK. Closed-sourced and for Windows only. Plus, the free version is limited to 32kB program size! The cheapest licence is 1200€/year. No thanks.
- IAR is an other closed-source, Windows only, ARM SDK. Free trial of 30 days limited to 32kB. Pricing secret, probably over 1000€. No thanks.
-
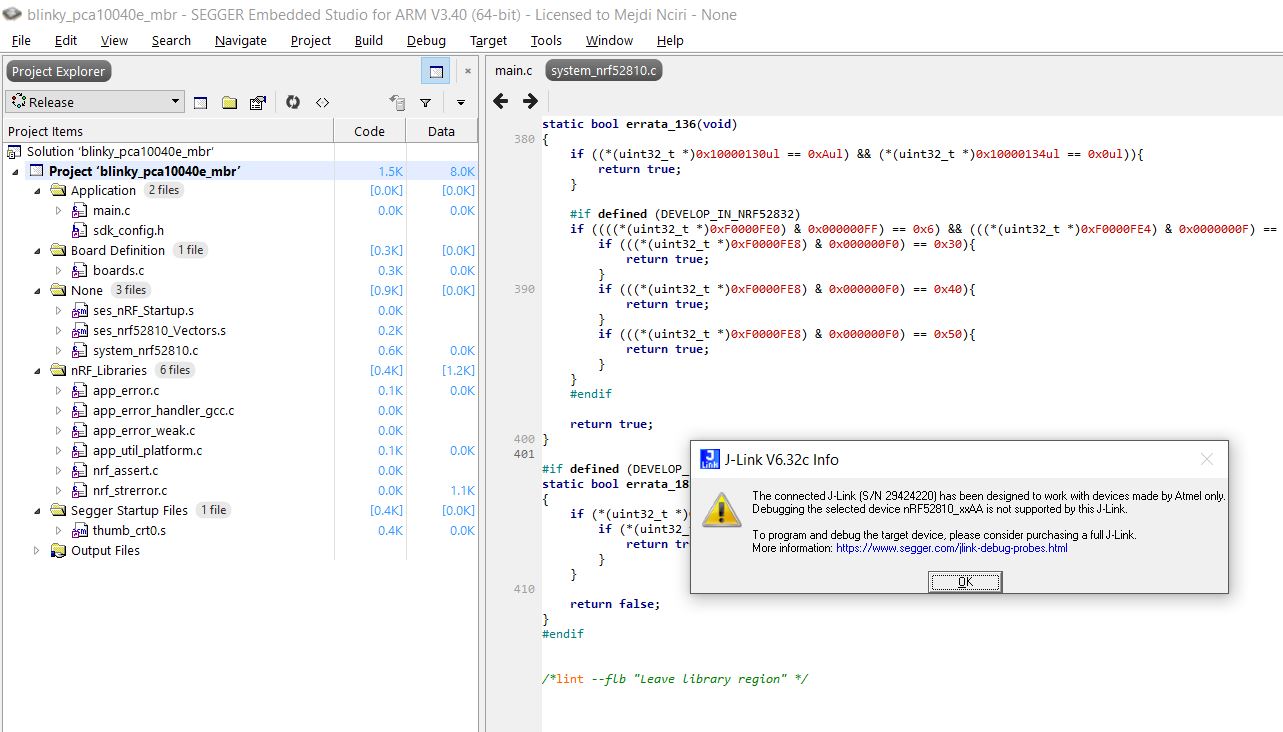
SES, the Segger "Embeded Studio". It is cross-platform (Linux/iOS/Windows) C/C++ IDE.
Through a ressent partnership
with Nordics it is completelly free for non-profit use (otherwise 1000€ licence). It sounds great!
There is even a youtube tuto made by Nordics. But there is a catch...
SES is only compatible with the proprietary segger J-link programmer, a USB harwares thats cost several 100€! No thanks!
-
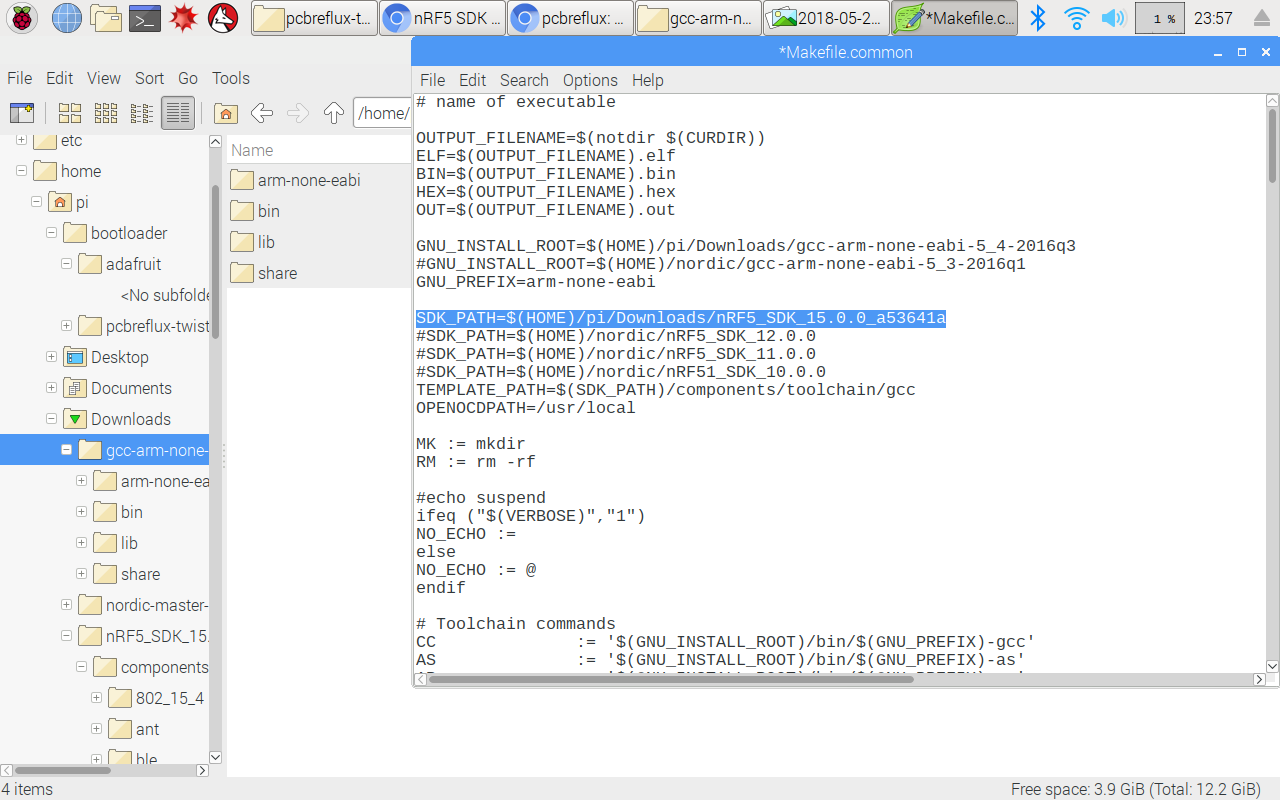
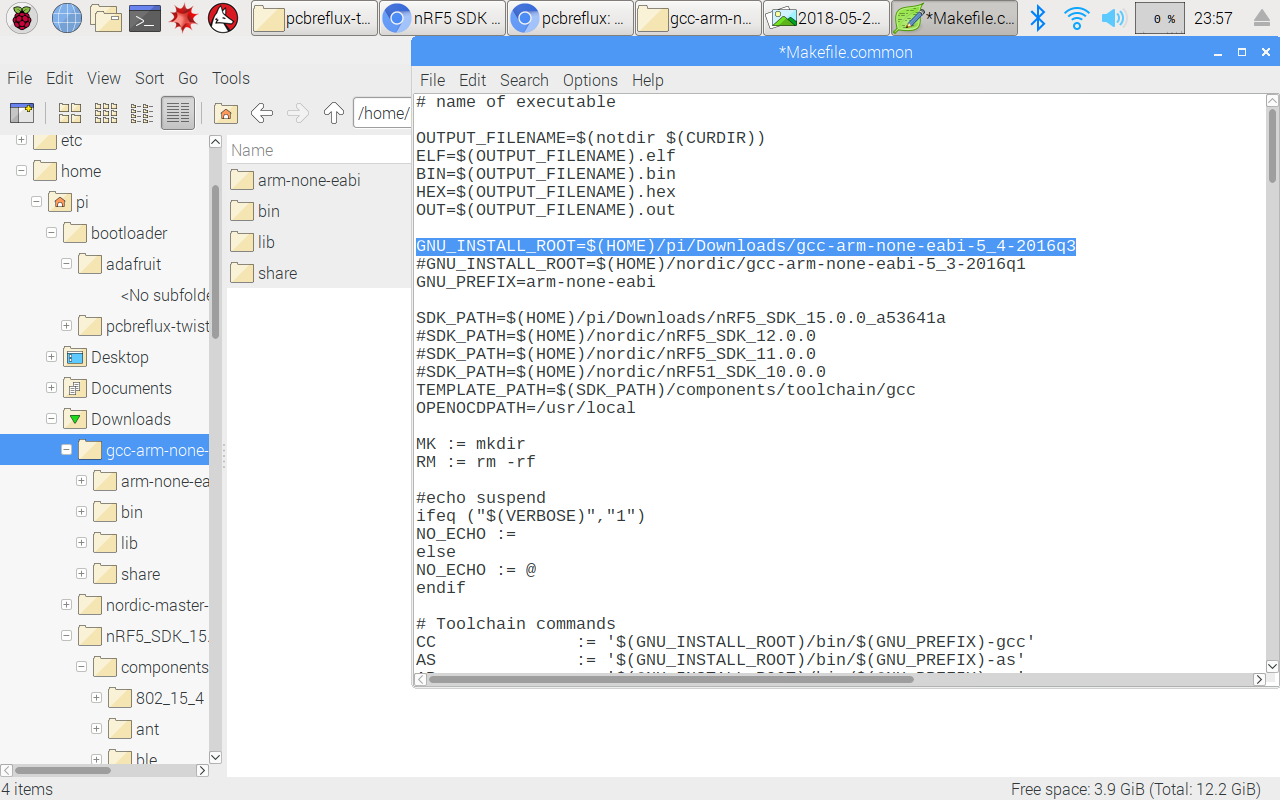
GCC and especially its fork: the GNU Arm Embedded Toolchain.
Completelly open-source and inherently multi-platform. The only really acceptable choice.
NB: all the tuto proposed by Nordics only covers big expensive nRF52 dev-board (like the
this one).
Even in
this tuto on bootlading for OTA,
it requires the big dev-board to be used as an USB->RF transponder.
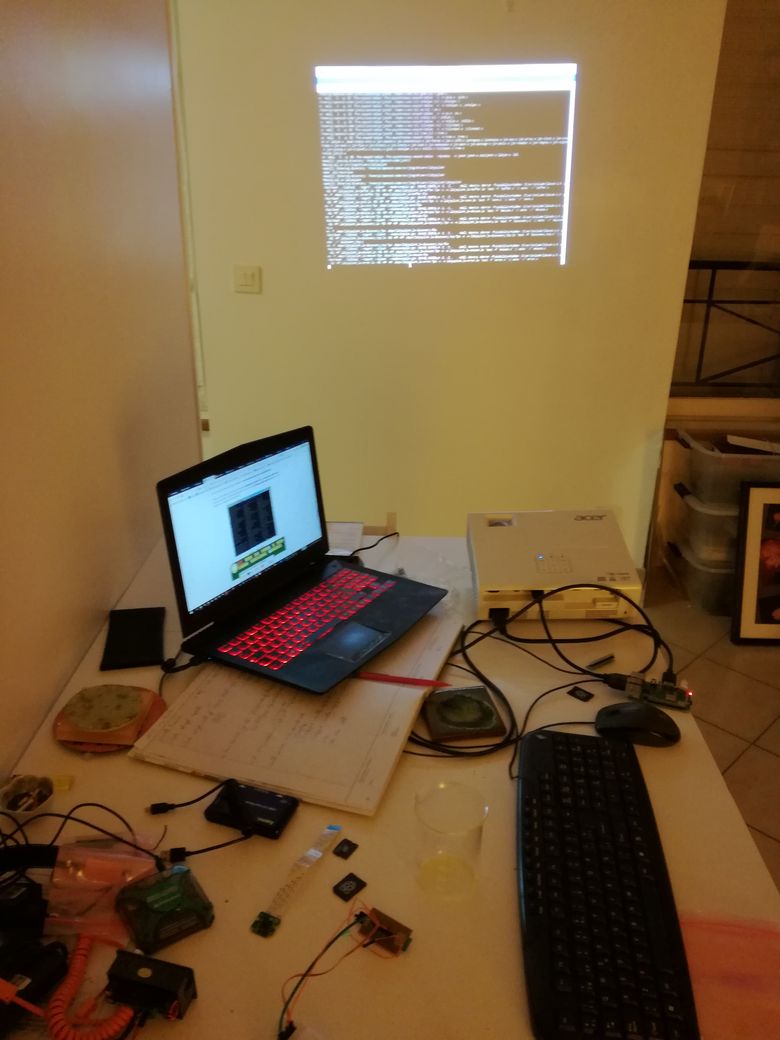
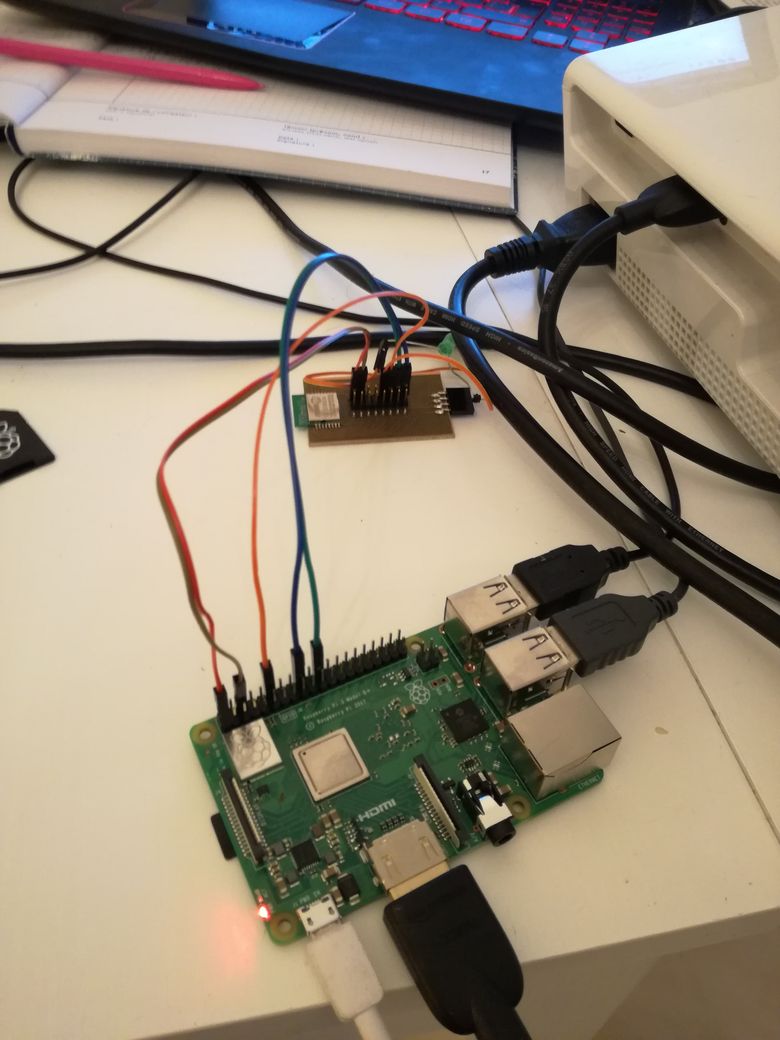
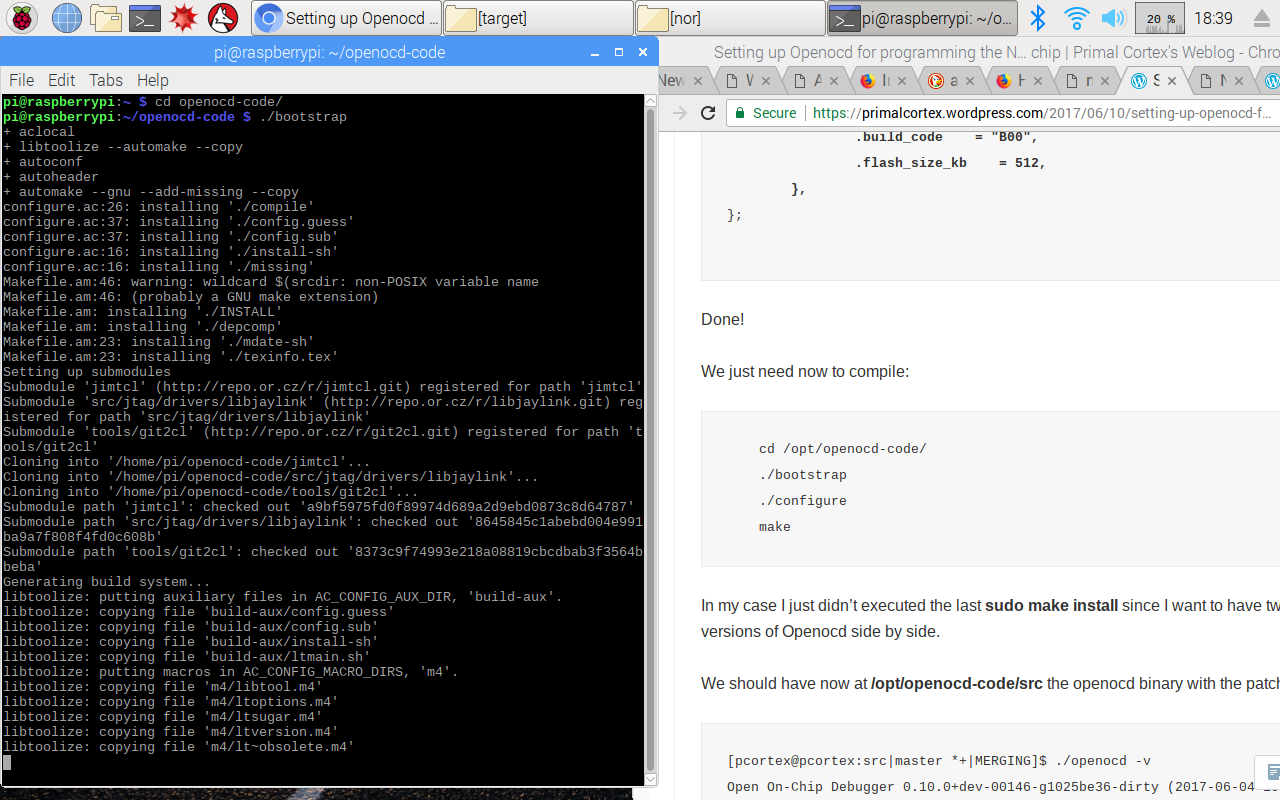
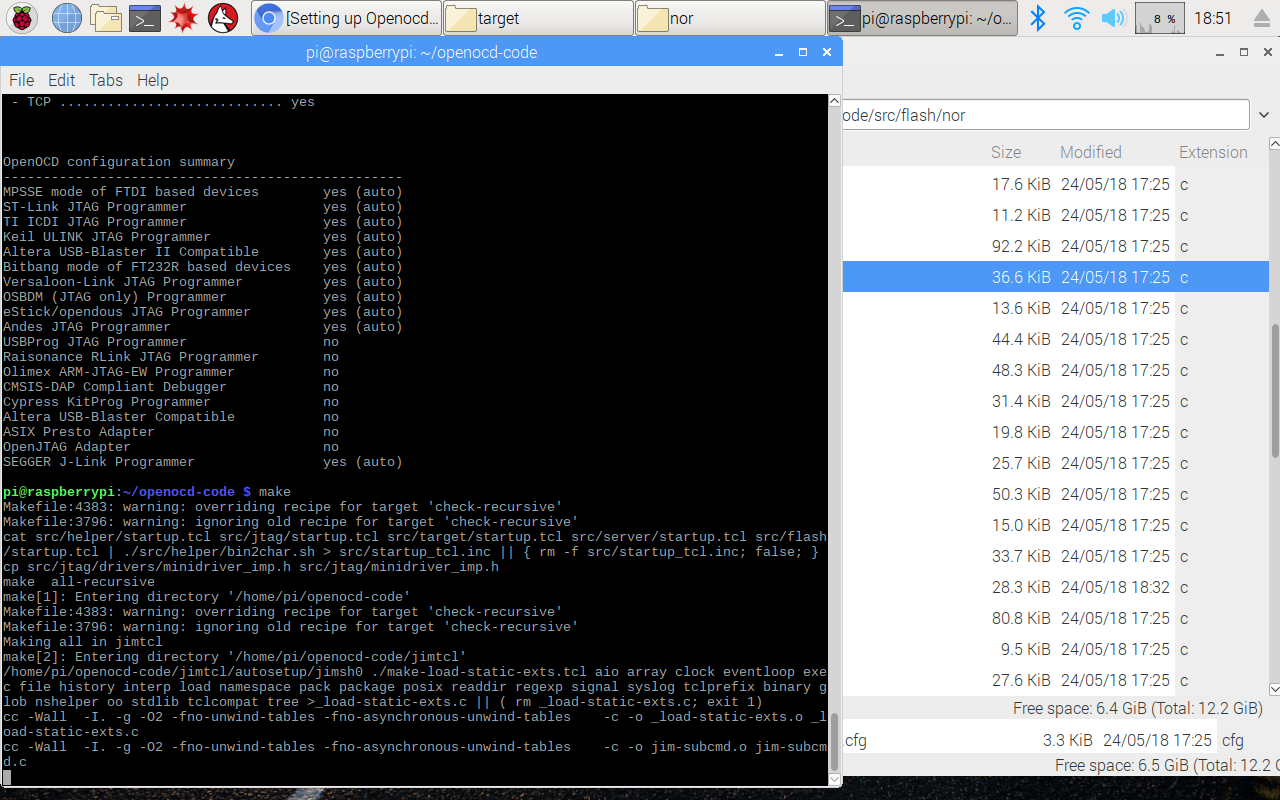
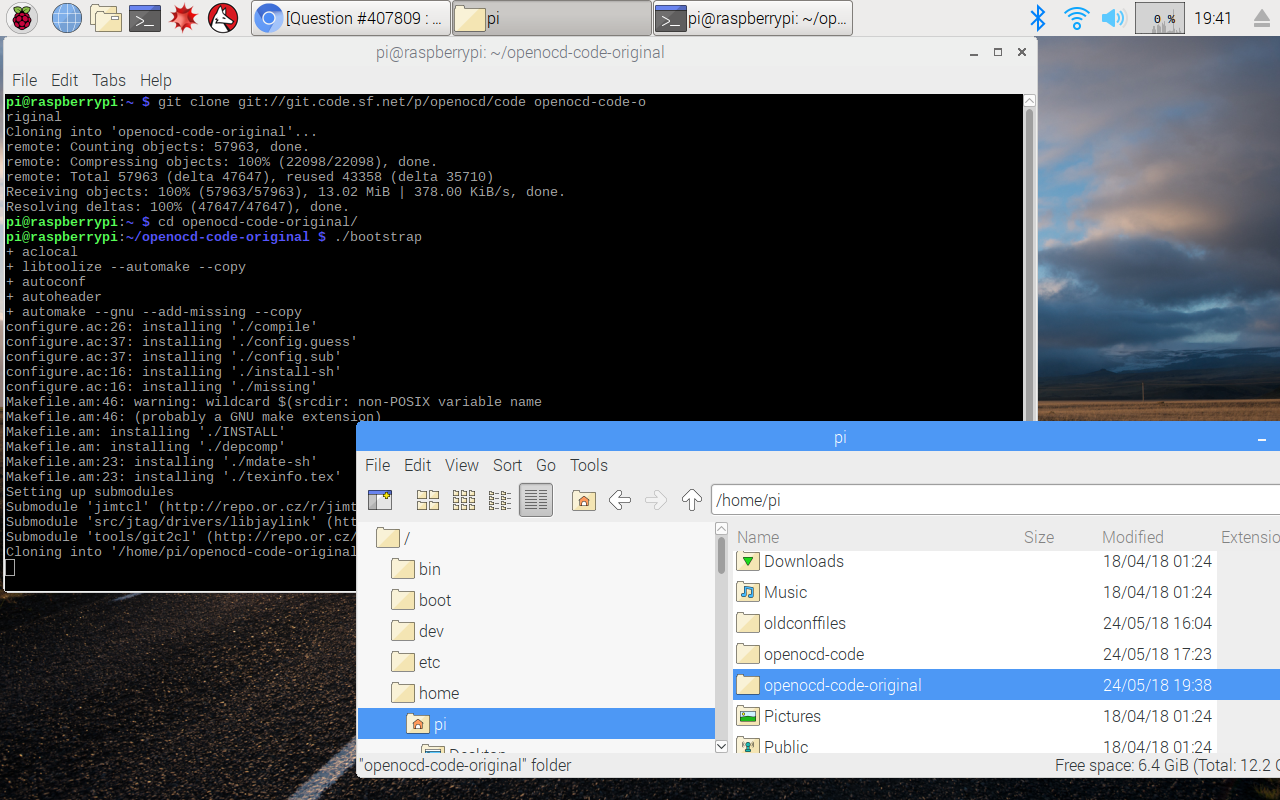
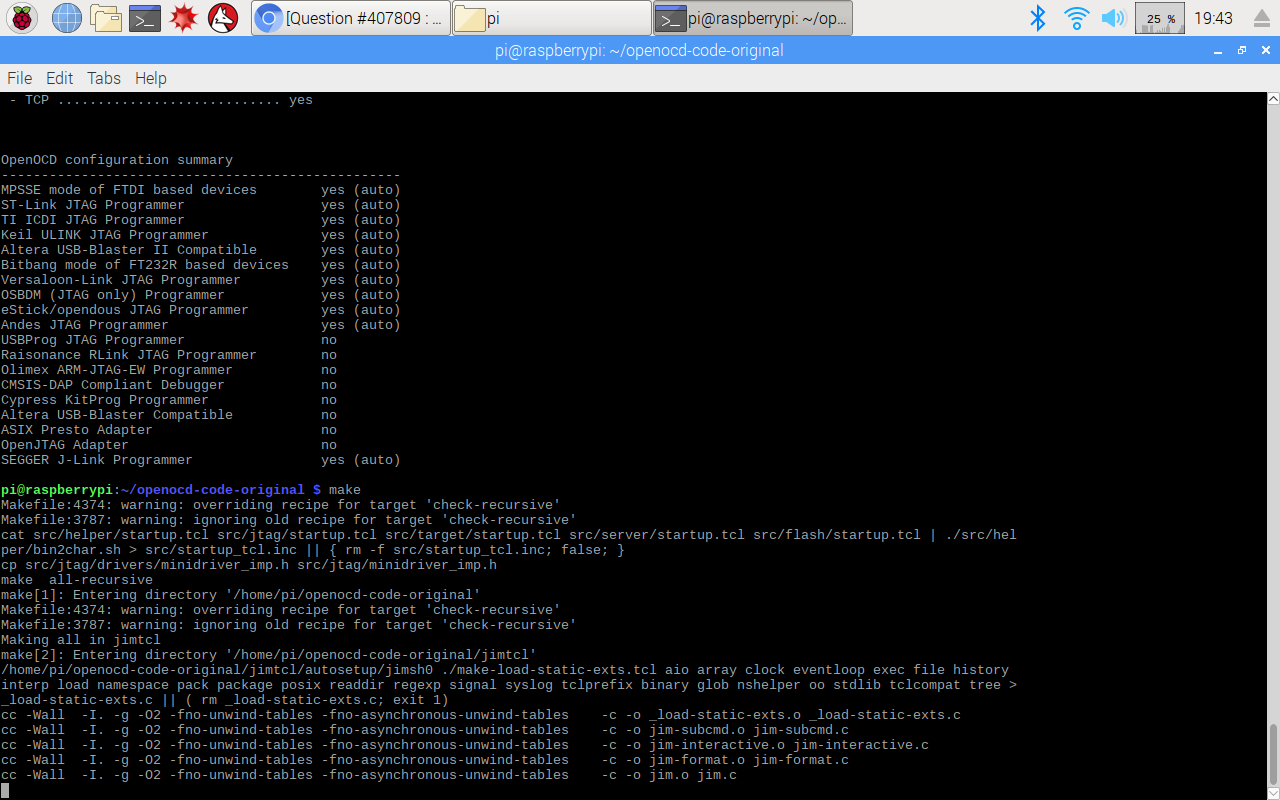
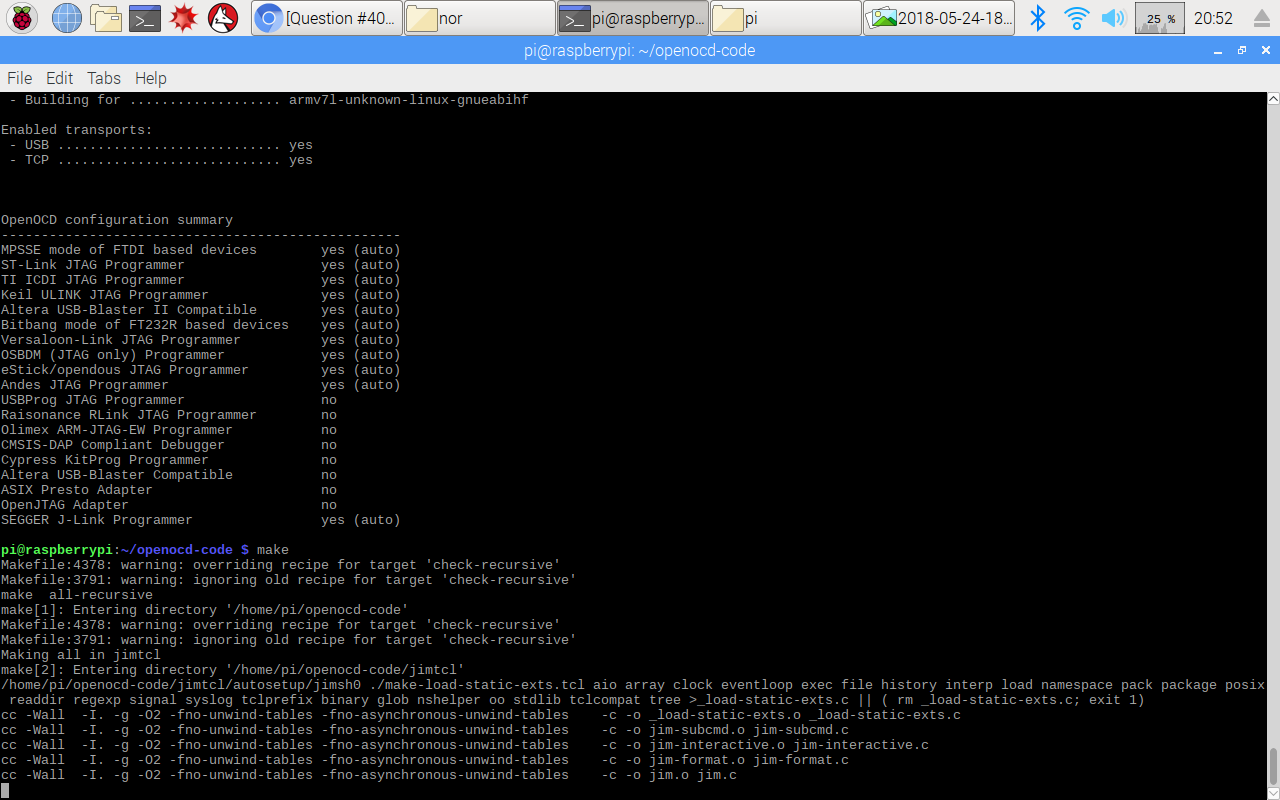
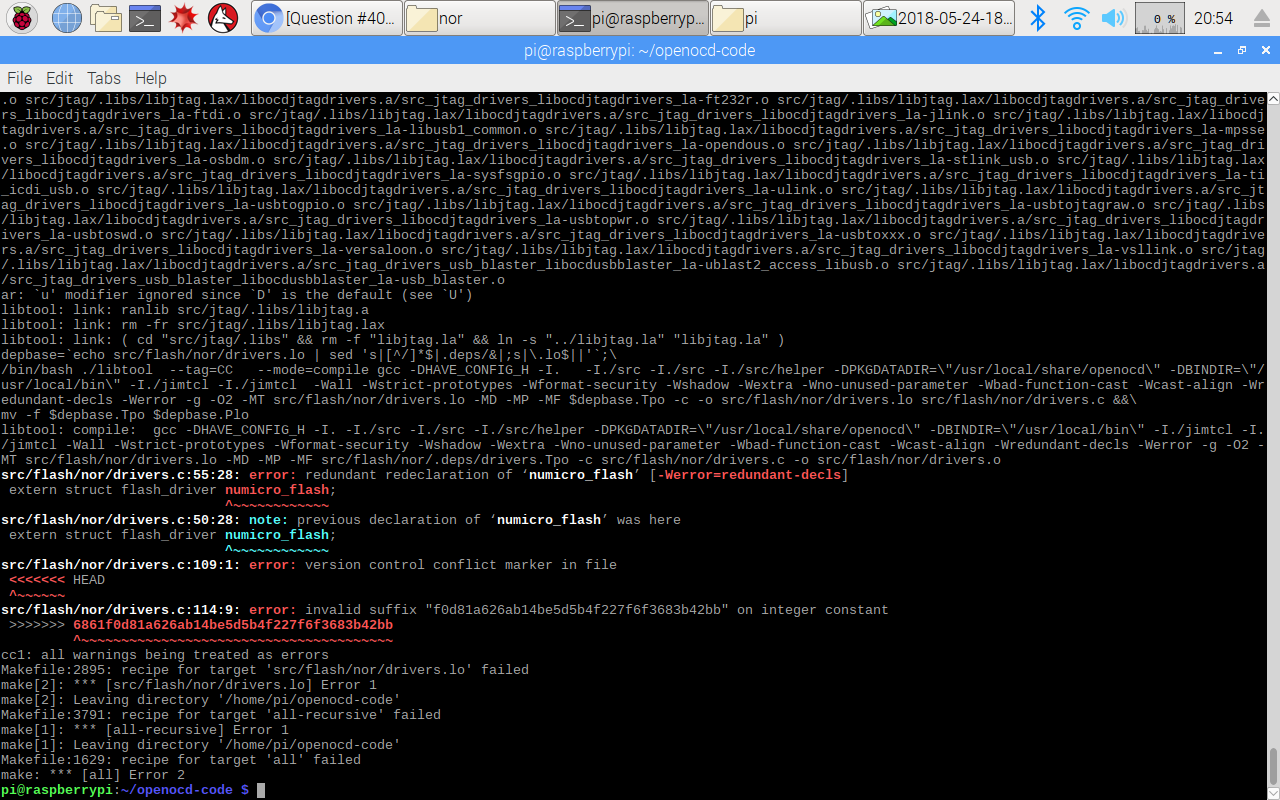
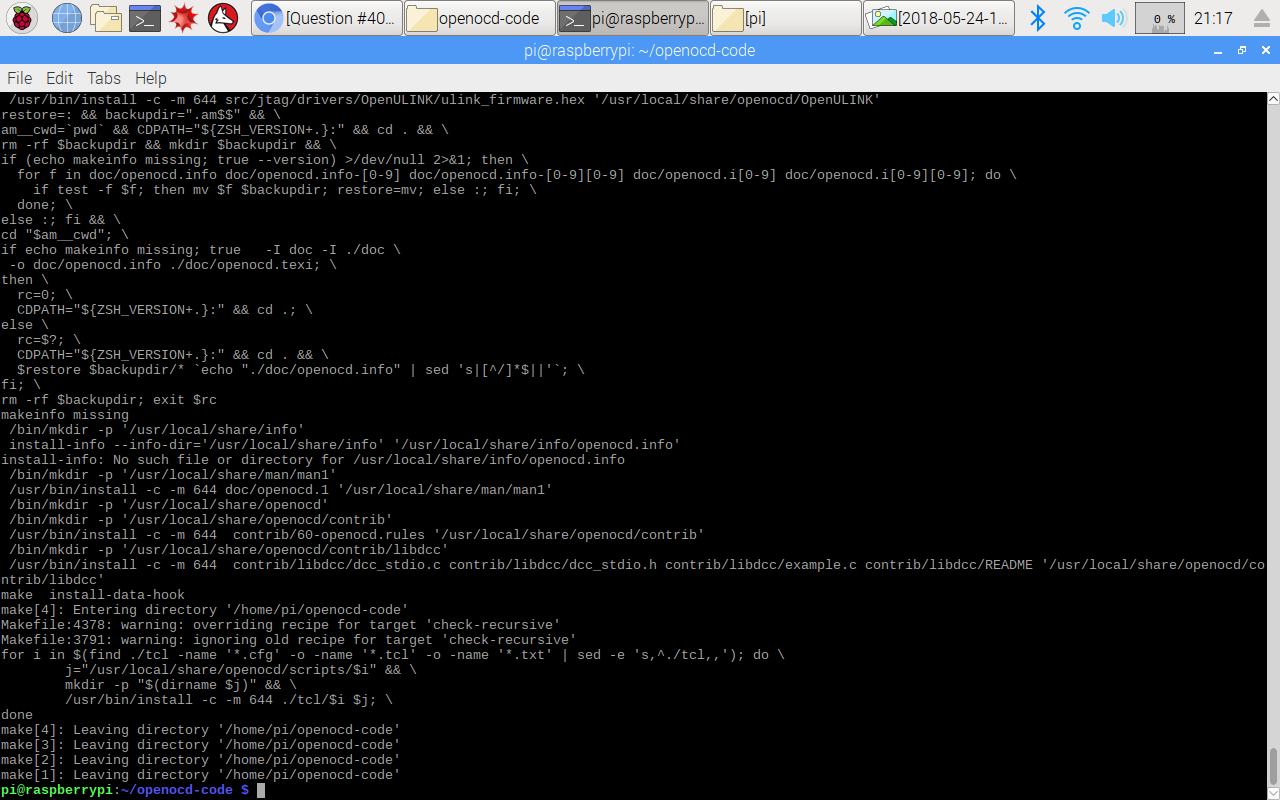
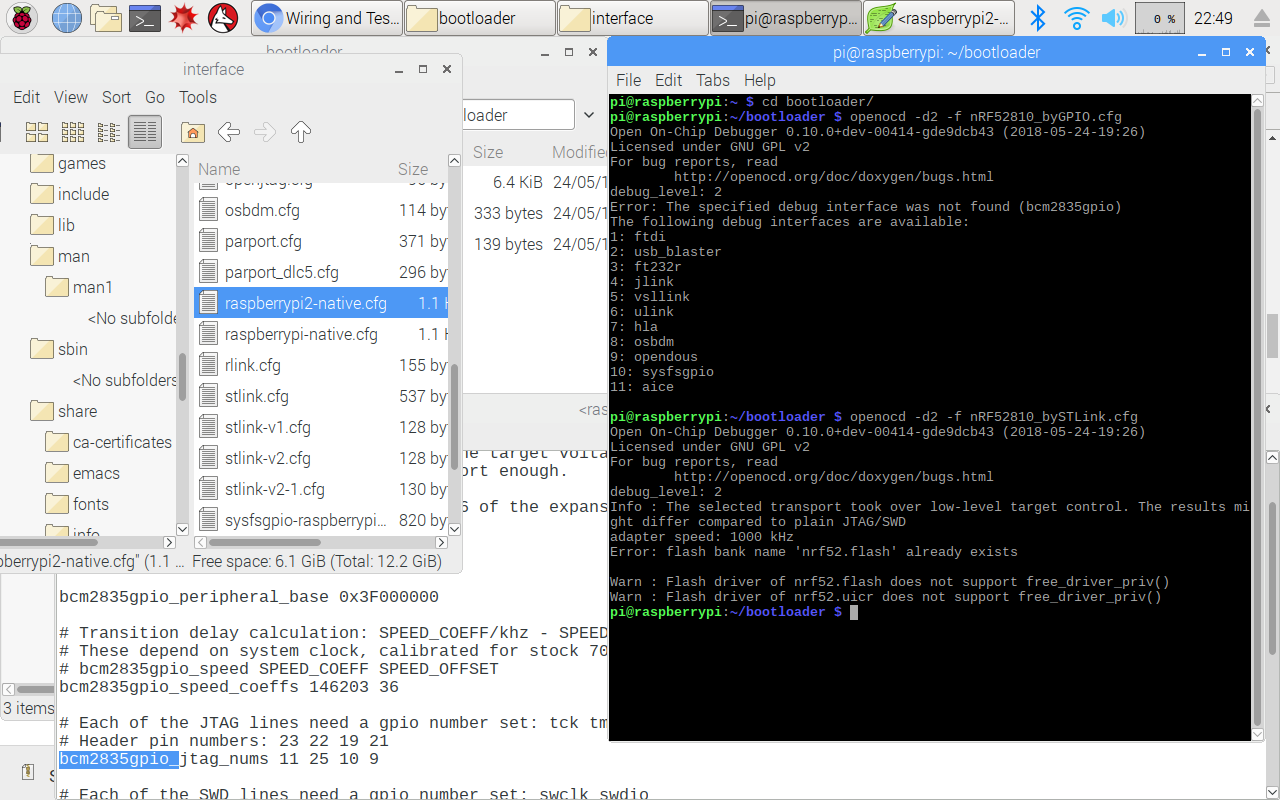
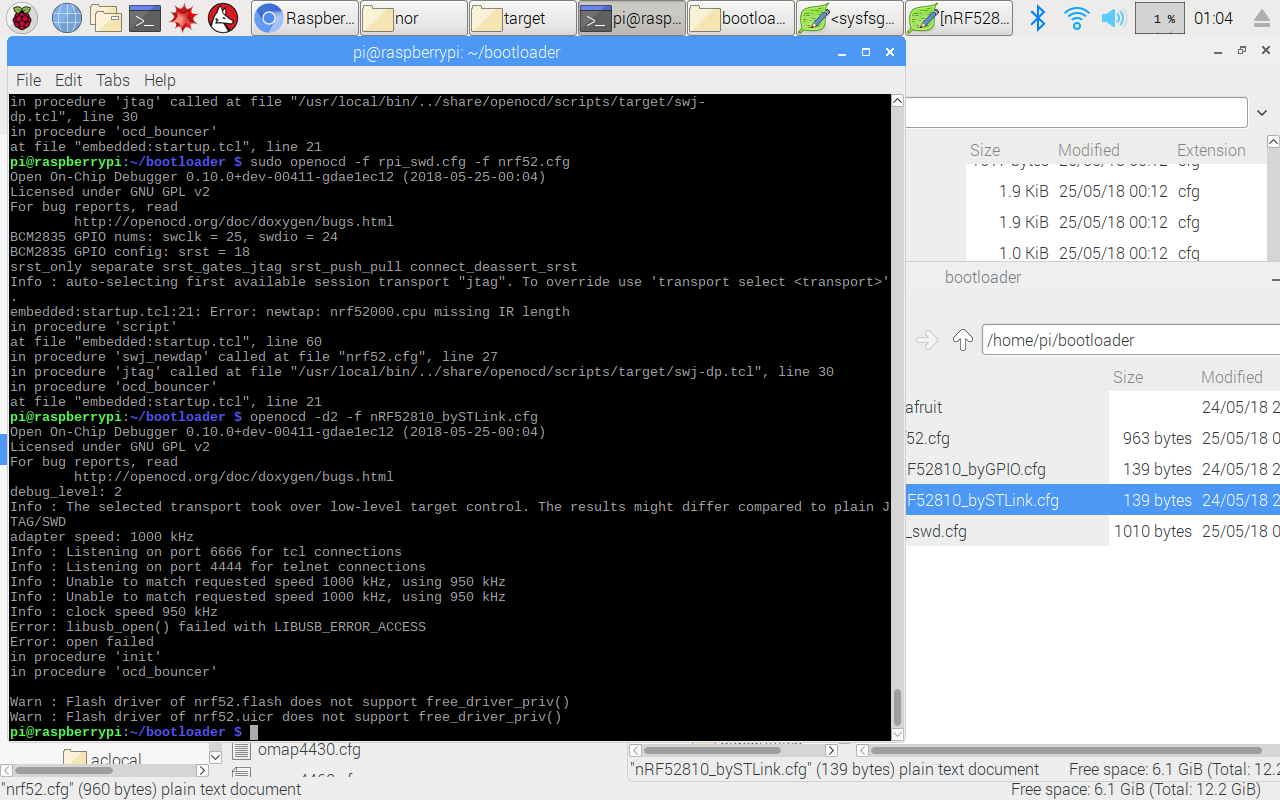
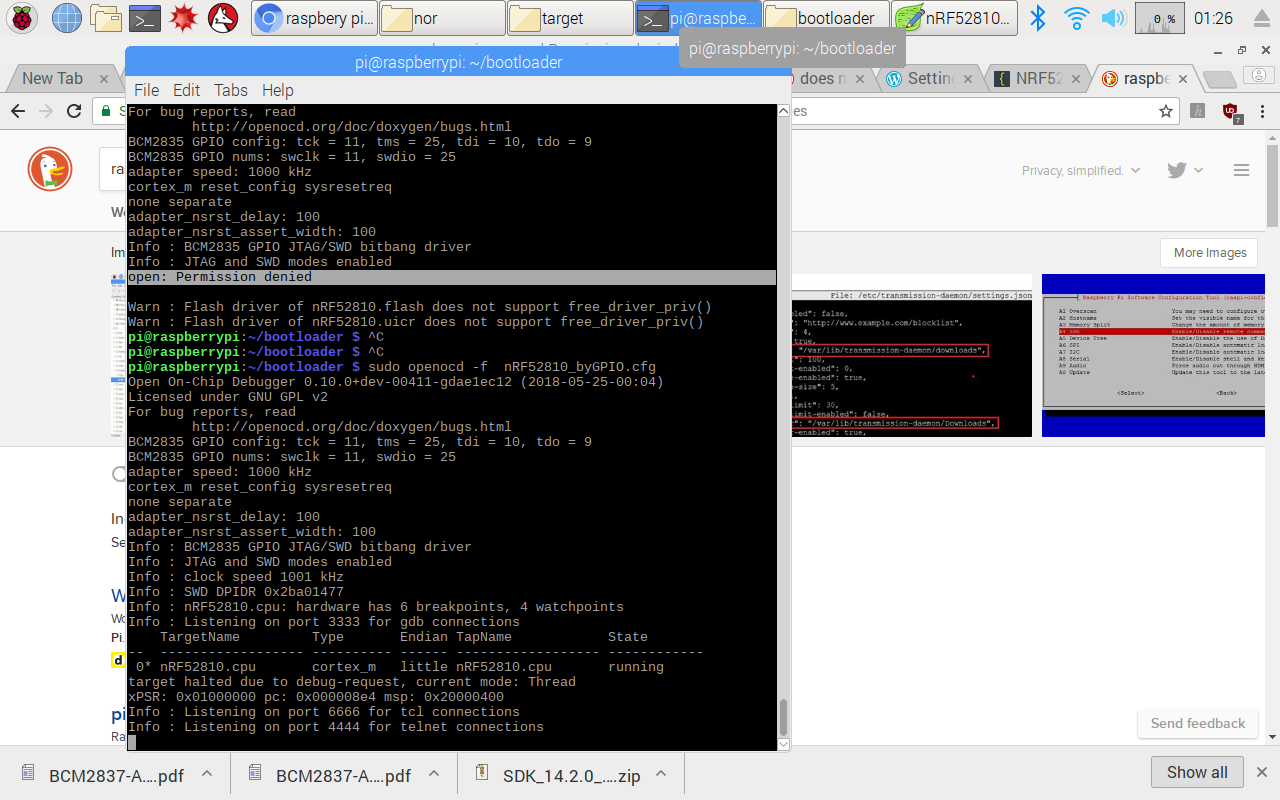
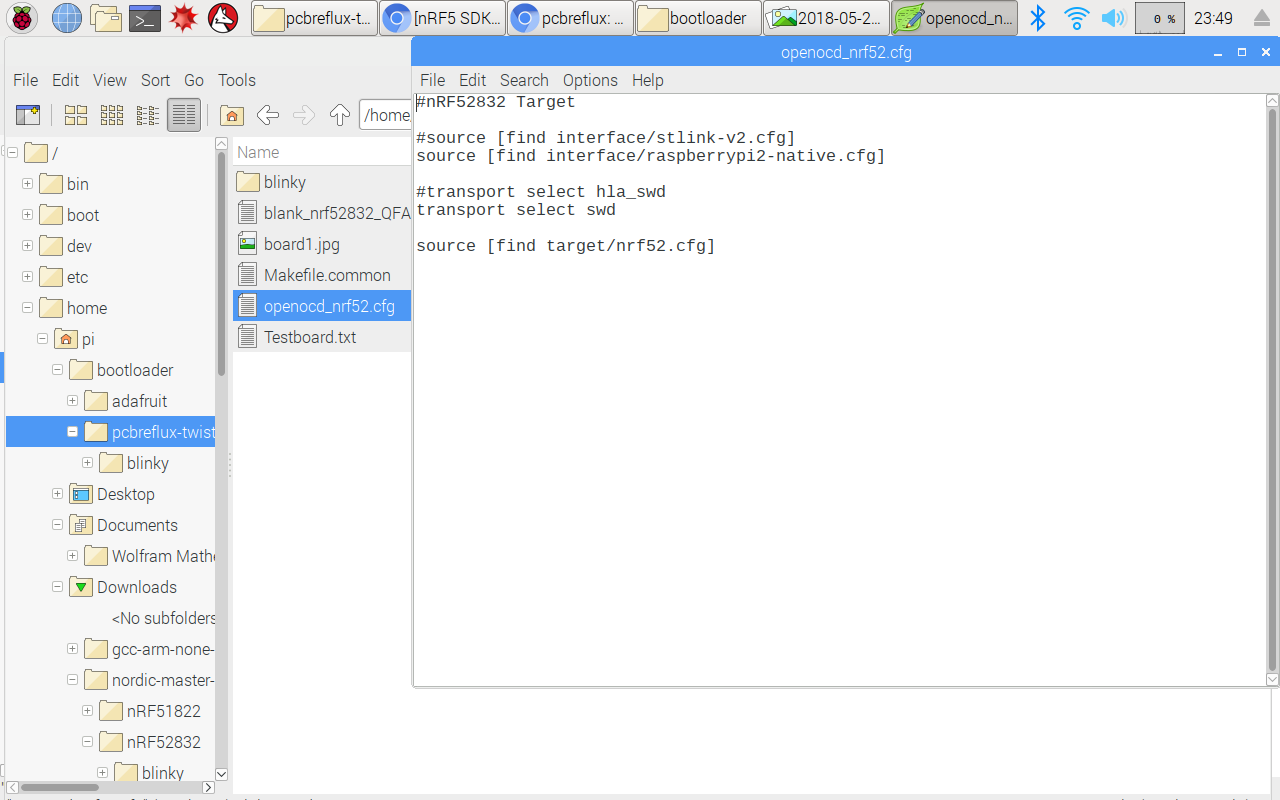
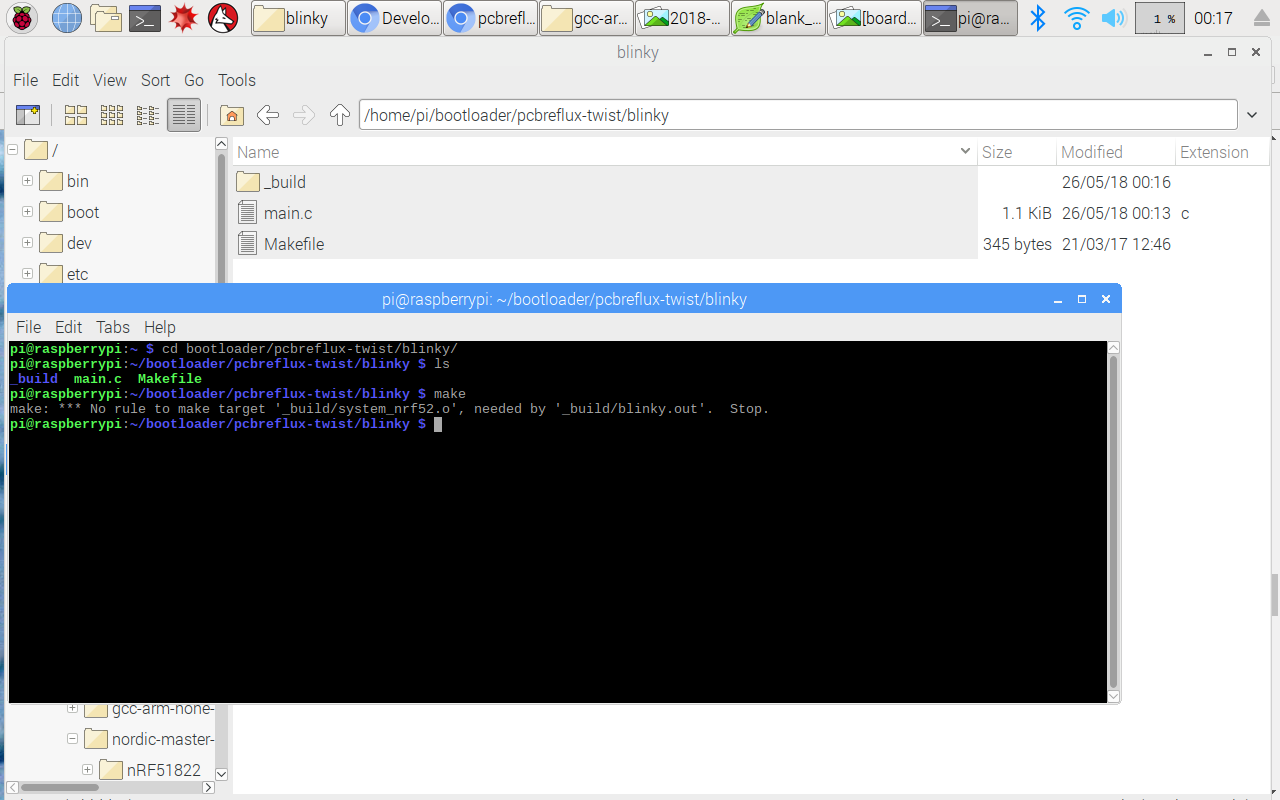
Using Raspi as programmer
Using 'cheap' programmer: the STlink and the Segger-Atmel-Ice
Following
this other tuto on Nordics forum.
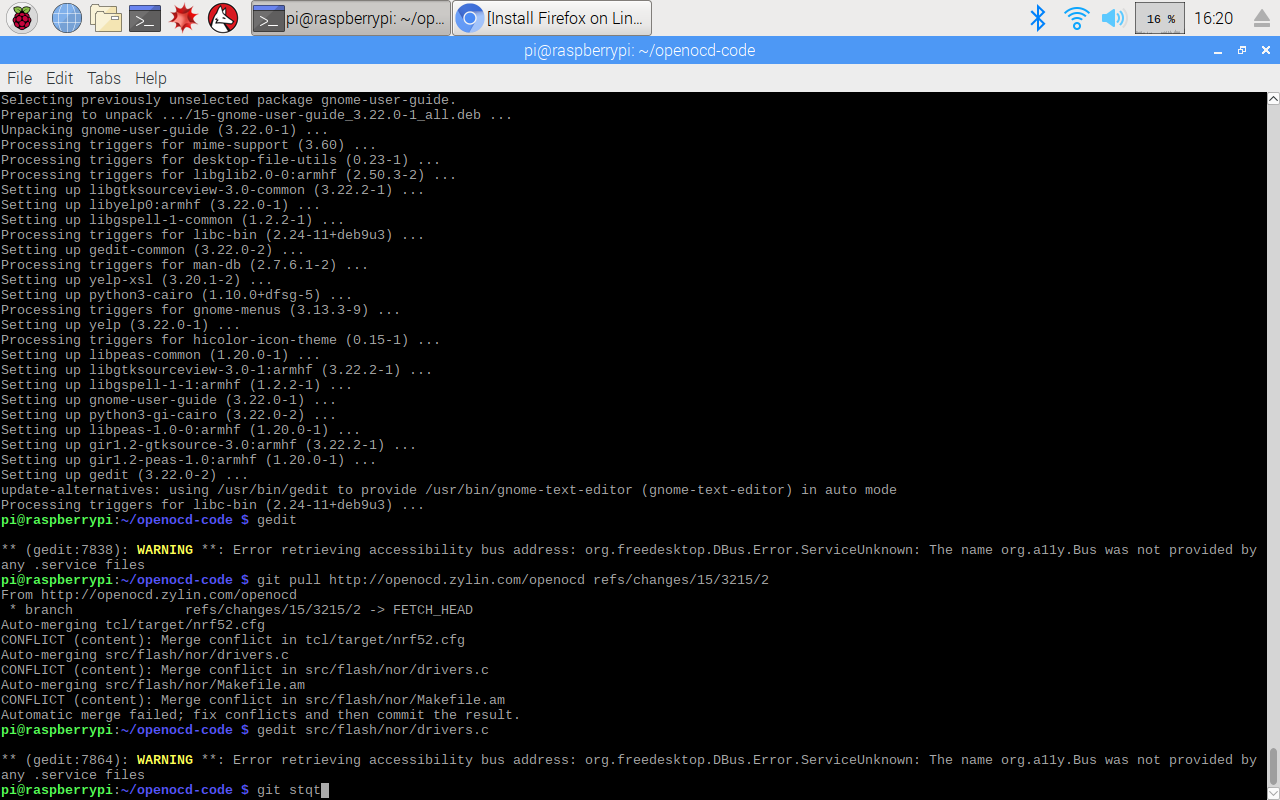
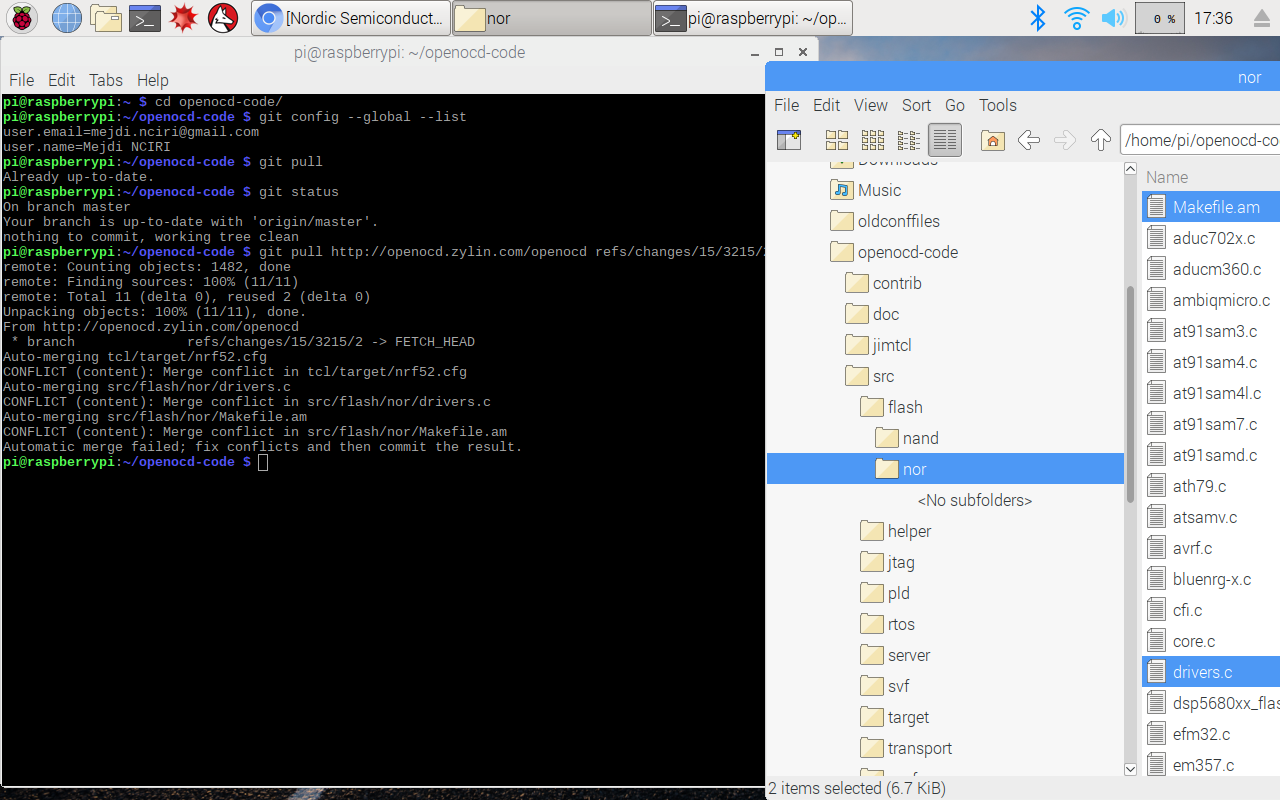
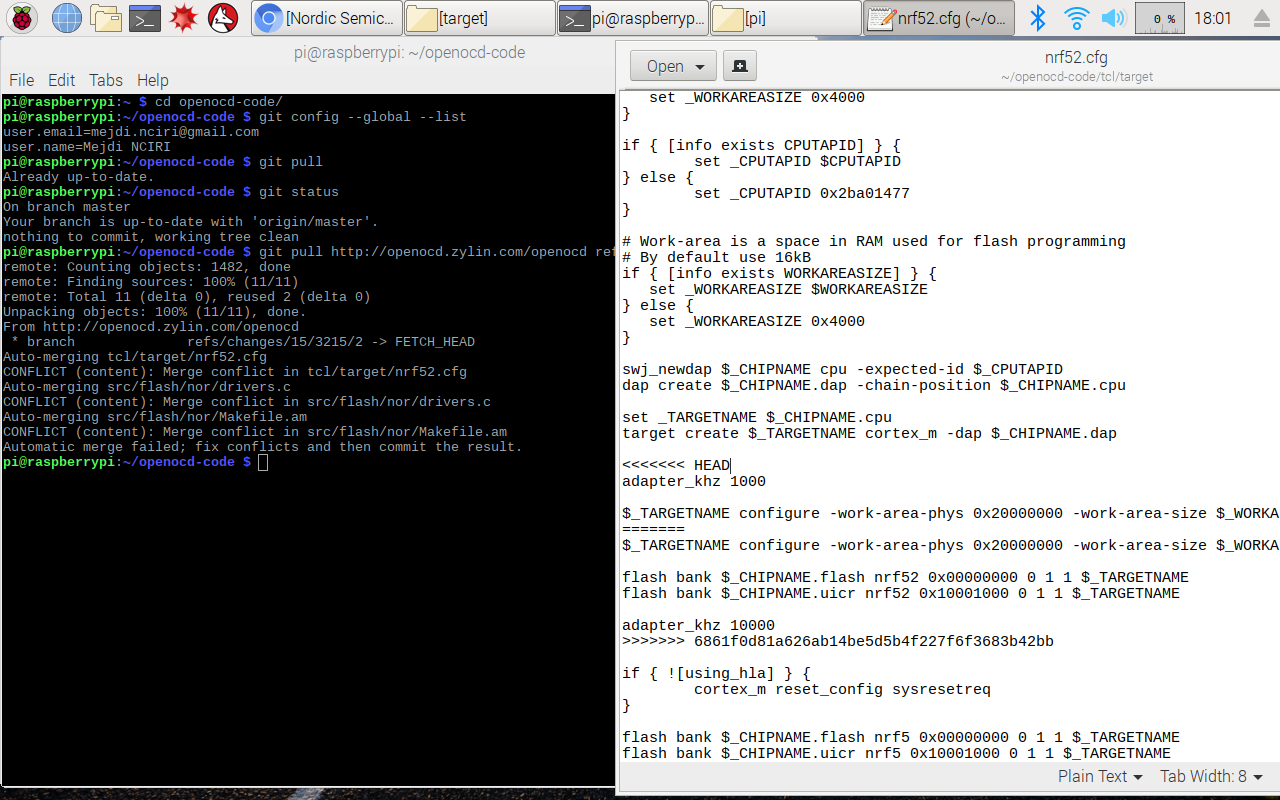
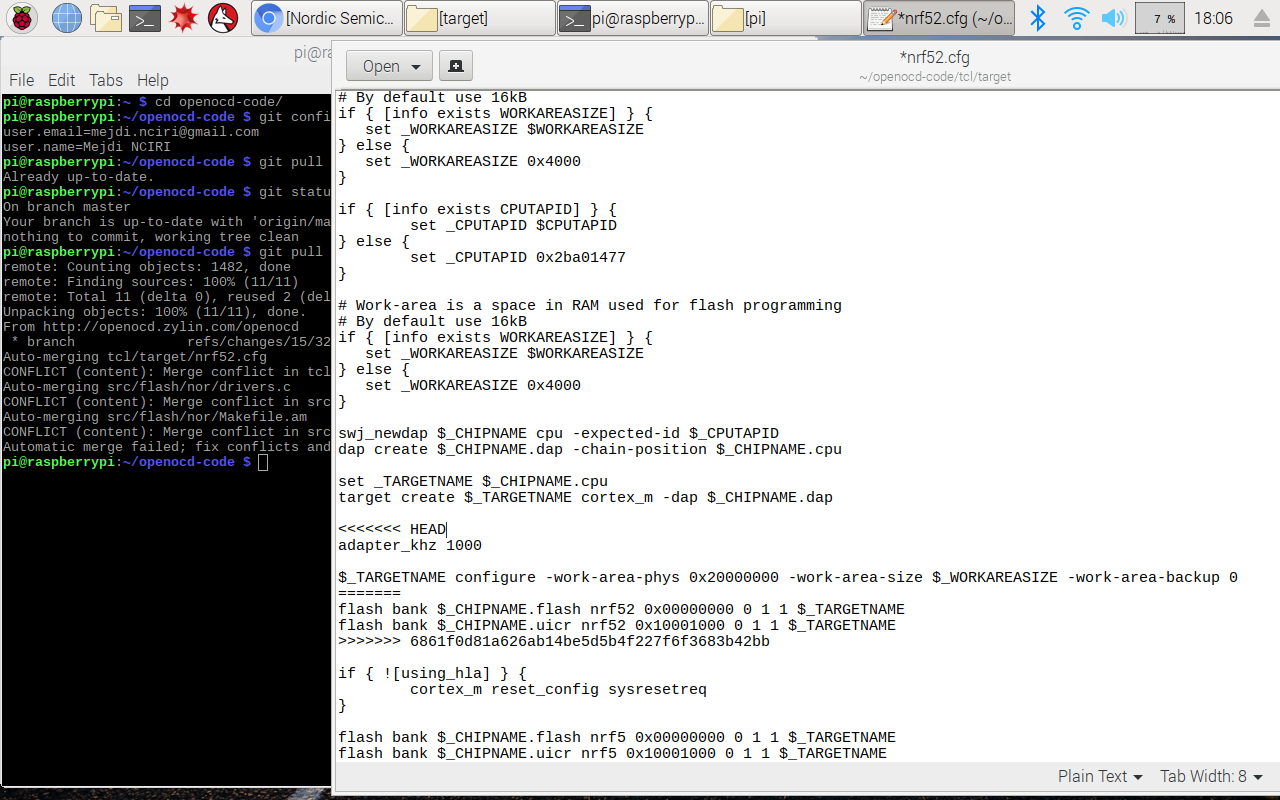
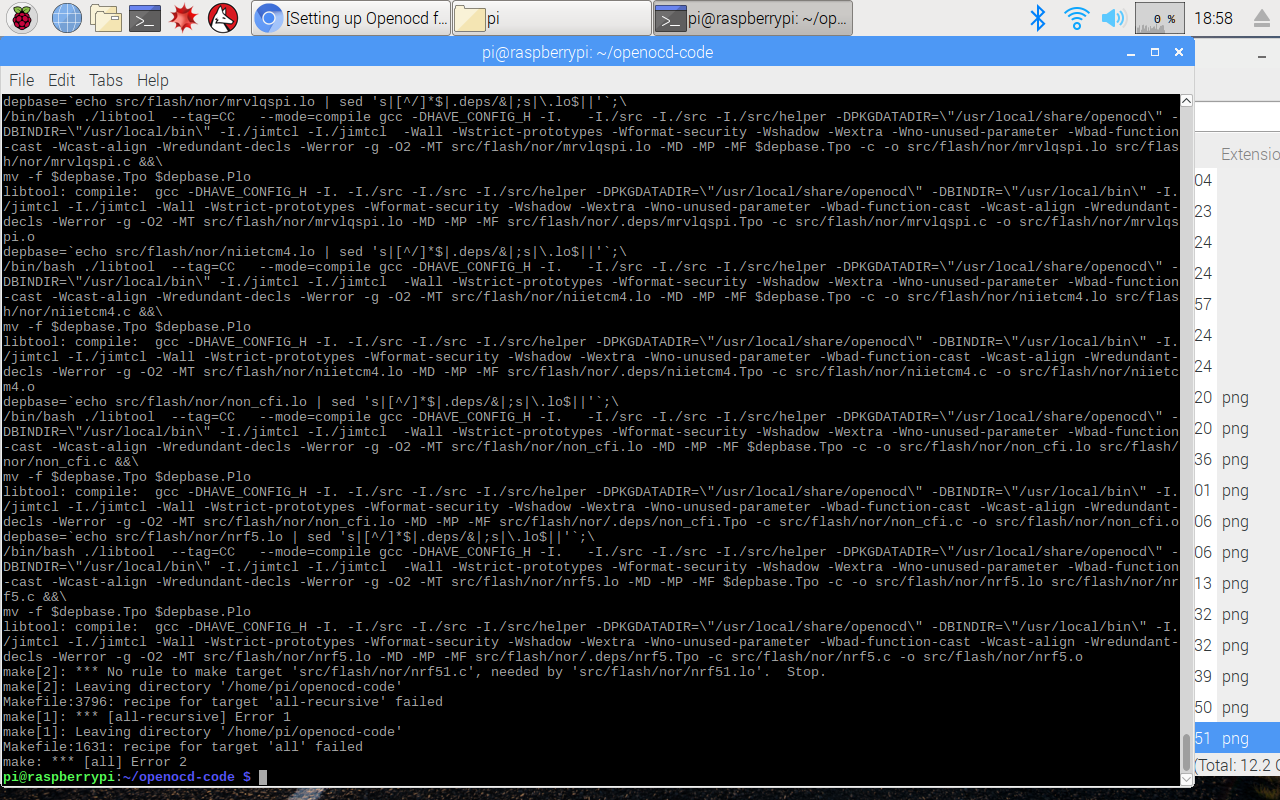
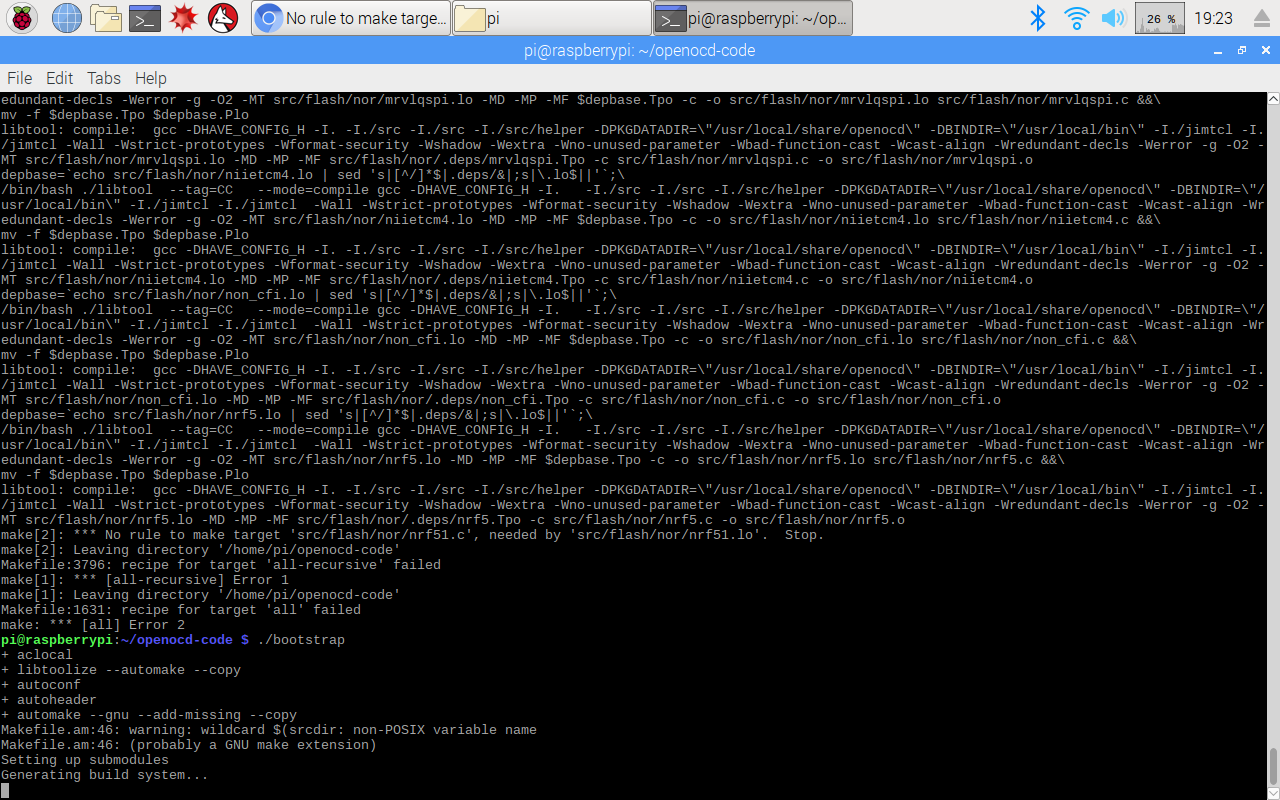
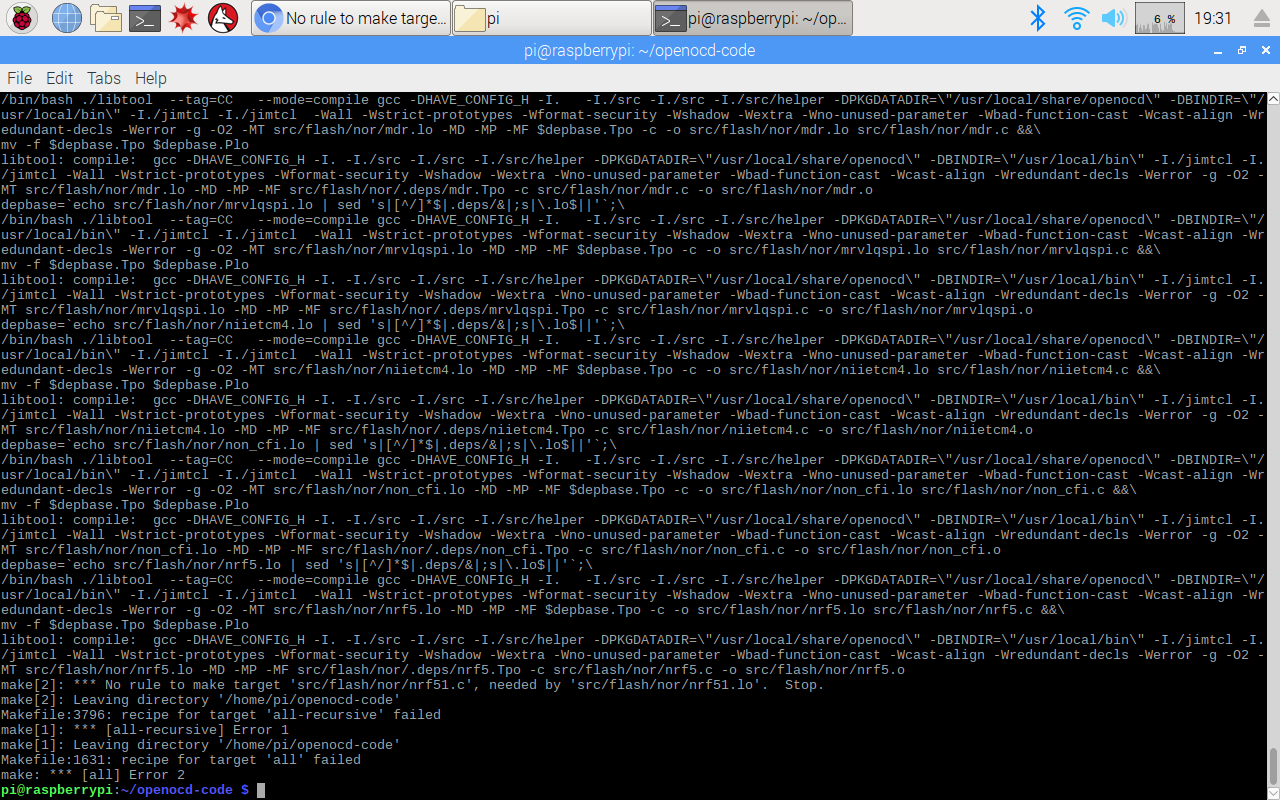
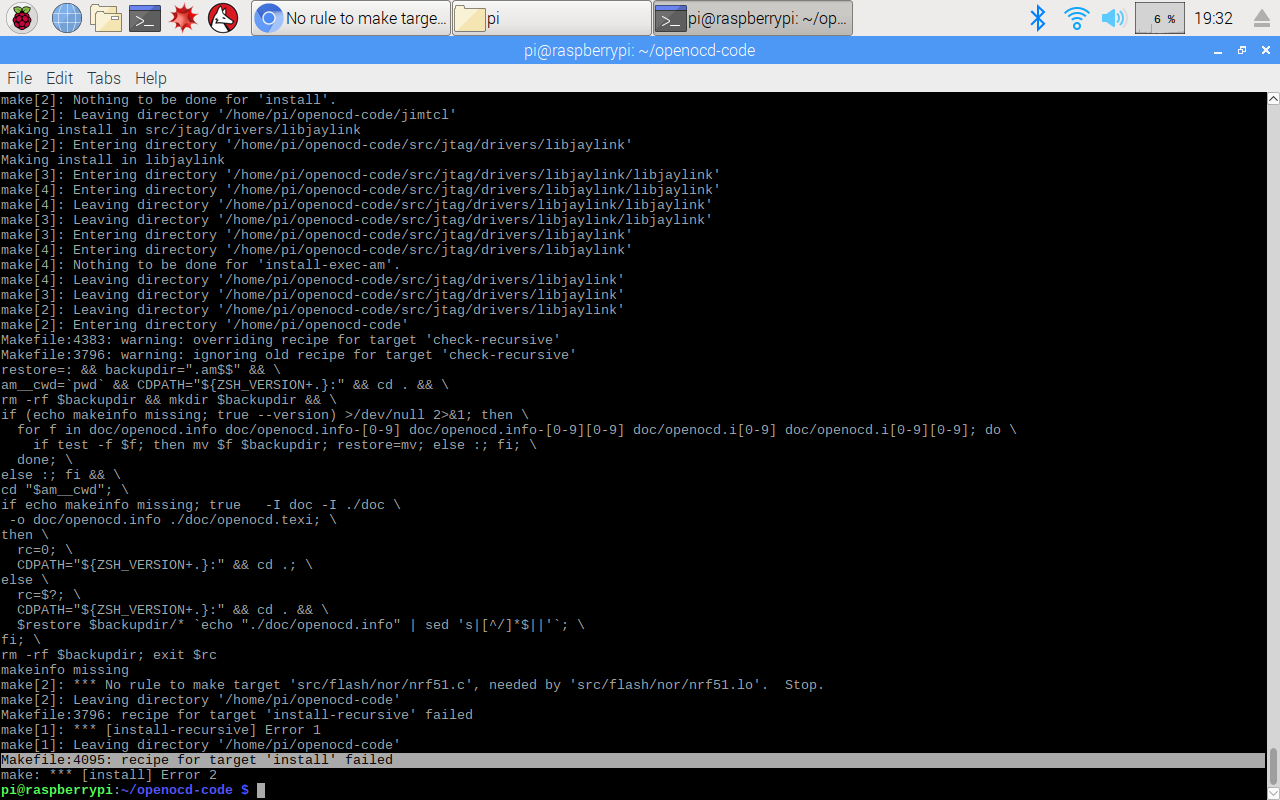
I struggled in my windows environment to program the nRF52 using the Arduino IDE and then the Eclipse IDE. I could not make the ST-Link talk to the chip. ST-link driver issue?..
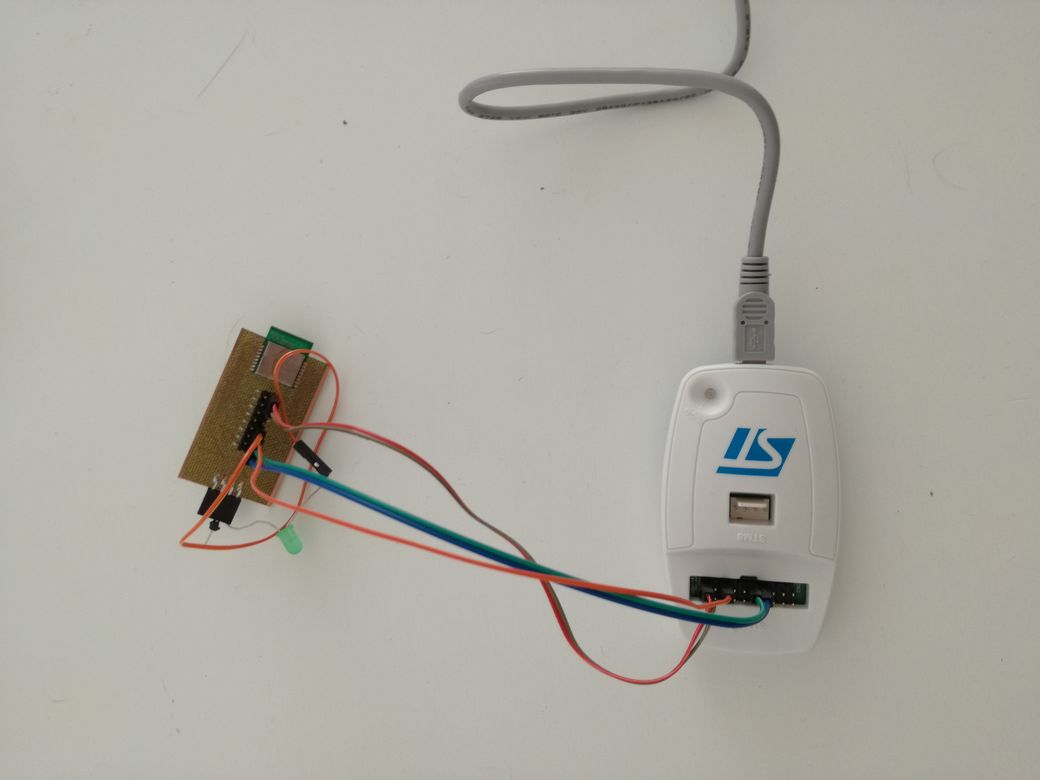
No. It wasn't. It is just that ST-link is not J-link. And the GCC tools of Nordics forces needs a J-Link programmer...
The was a Segger "Atmel Ice" J-link in the digiscope. It didn't work nor with the commandline GCC, nor with the Segger IDE.
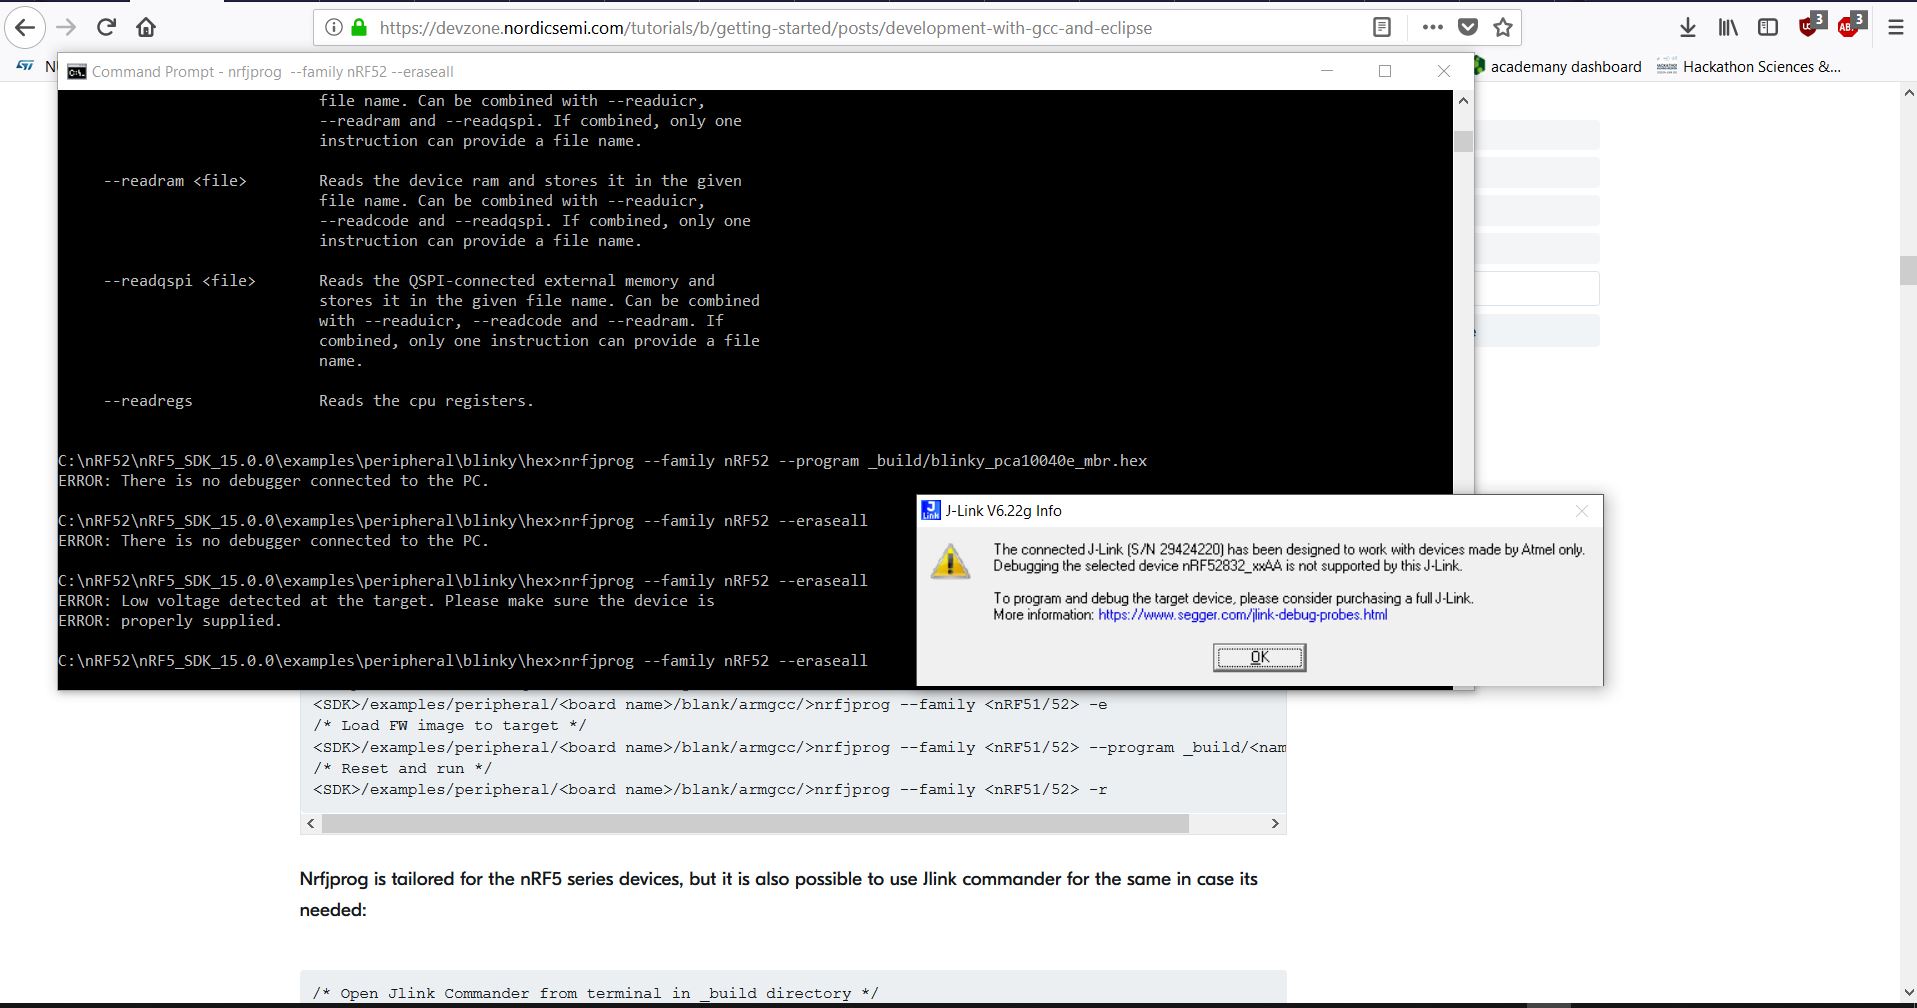
This strategy of Nordics is really anoying... Even to use the GCC Nordics tool, you need to buy a dedicated 300€ programmer from SEGGER or a complete 60€ nrF52 dev-board. Sad.
Back to Mejdi_FabAcademy_FollowUp


