Color Clock Circuit Board Designed & Tested
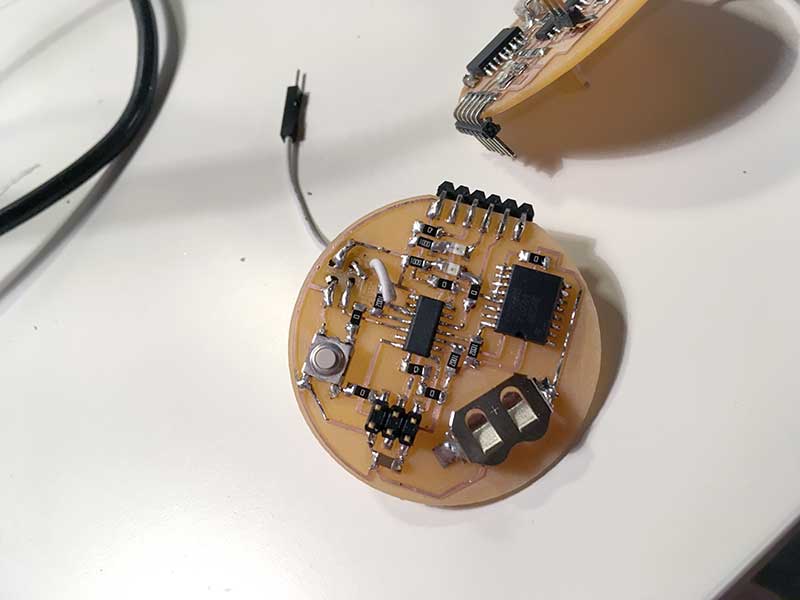
The Color Clock circuit has been designed and two iterations have been built and successfully tested.
Fab Academy 2018
At the time of this web posting (06/10/18) the following tasks have been completed.
The Color Clock circuit has been designed and two iterations have been built and successfully tested.
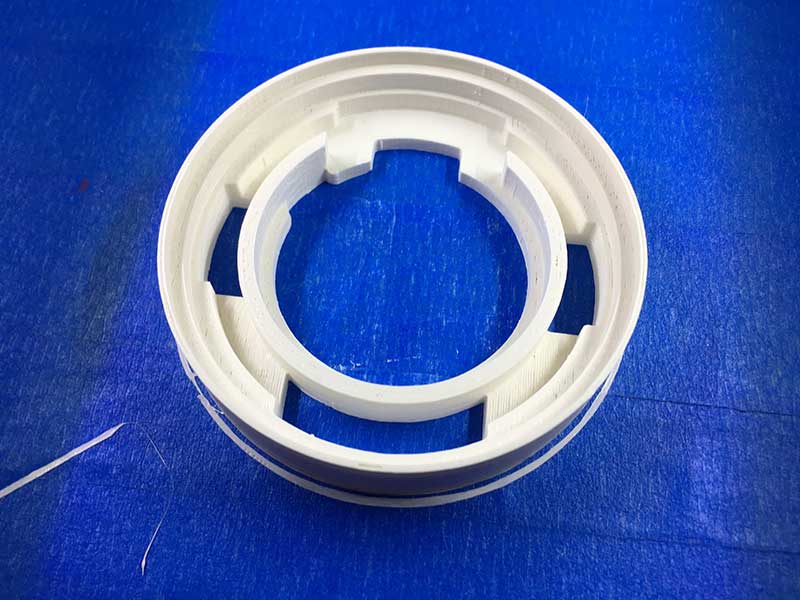
A final version of the circuit holder has been designed and made. It holds the clock circuit and NeoPixel ring. Adjustments have been made to allow for rear access to the FTDI.
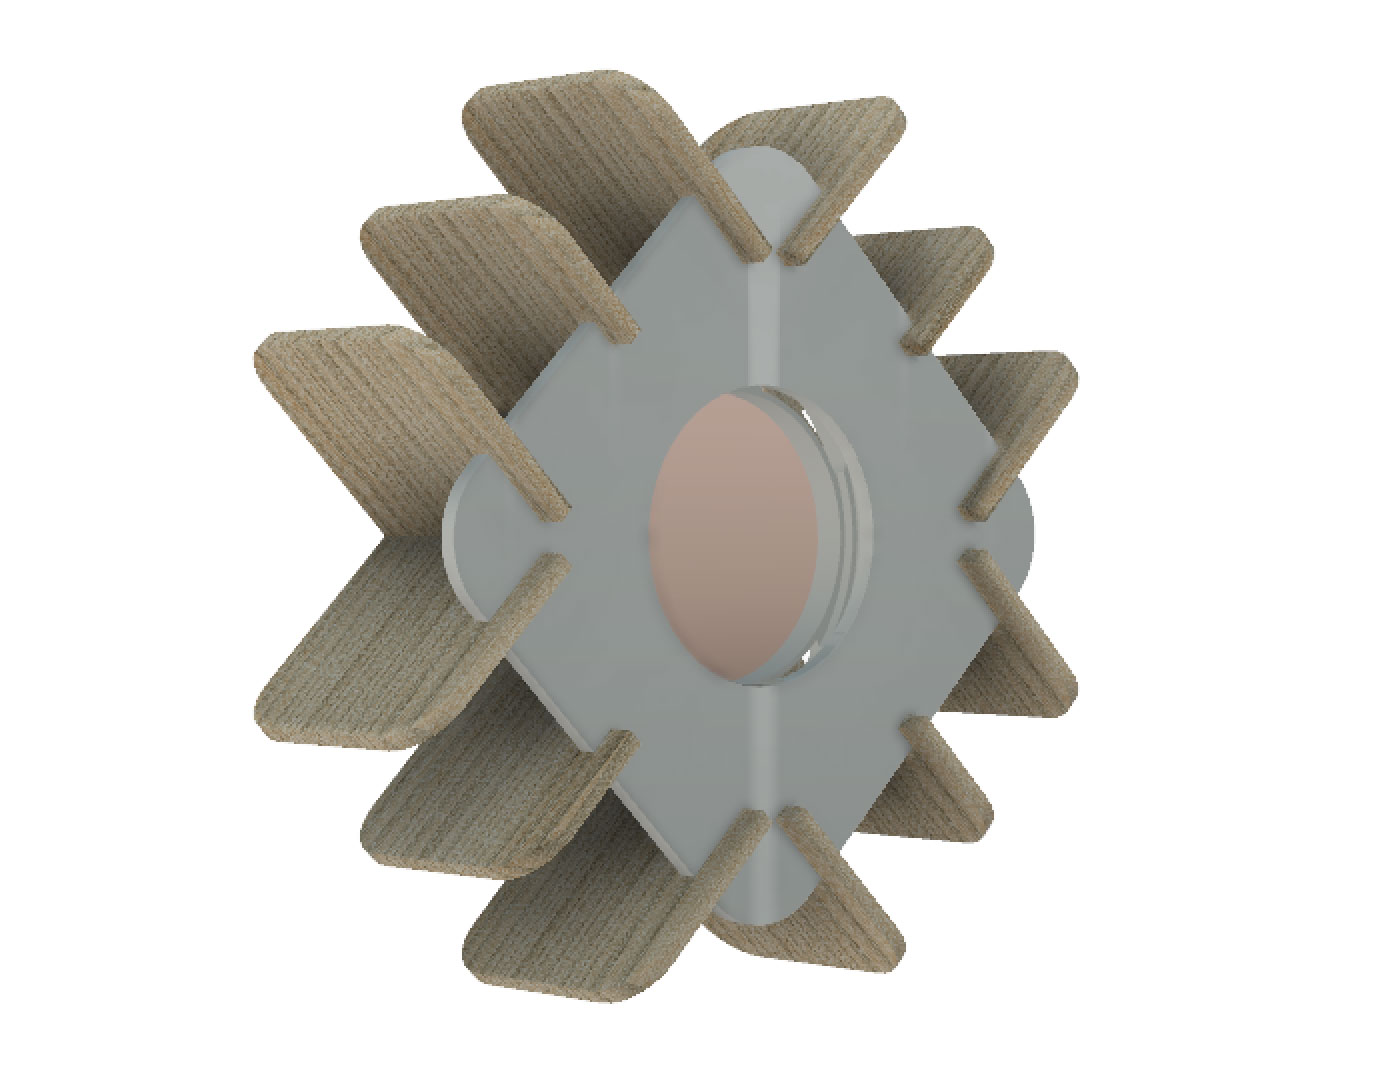
An initial render was made to evaluate one possible look.--->Conclusions: Not the look I am going for but its a start.
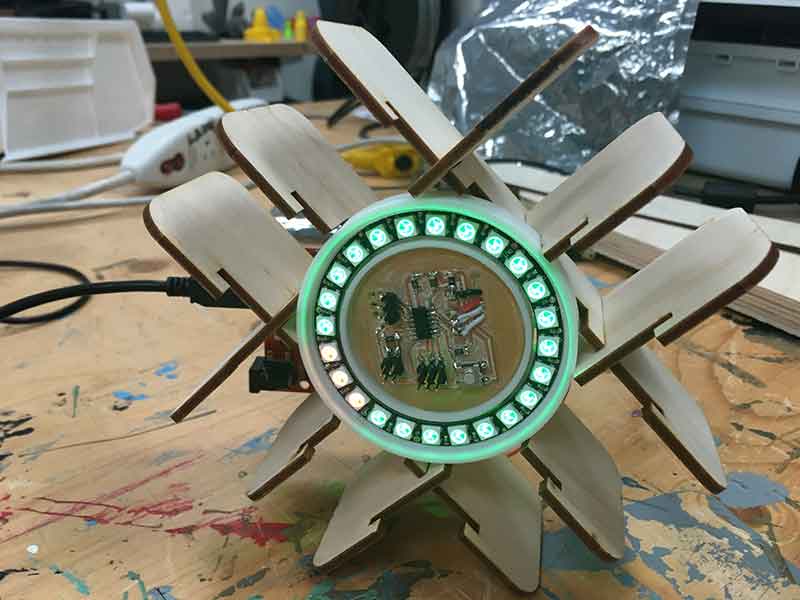
A looks-like prototype for the clock body was quickly done based on the previous 3d render to evaluate the press-fit idea.
---->Conclusions: More iterations required to improve functionality and refine look. Press-fit idea works but the pieces are too big. Need to work towards something more elegant. The clock is firmly in place.
The implementation of Logo with the circuiit running the ATTiny84 and RTC has been successfully completed. I installed Brian Silverman's code and was able to get time.
The implementation of Logo with the circuit running the ATTiny84 and RTC has been successfully completed. I installed Brian Silverman's code and was able to get time.
At the time of this web posting (06/10/18) the following tasks are in progress.
A new treatment is being explored to diffuse the pixels without loosing definition. New treatments are being explored to give a more classy look.
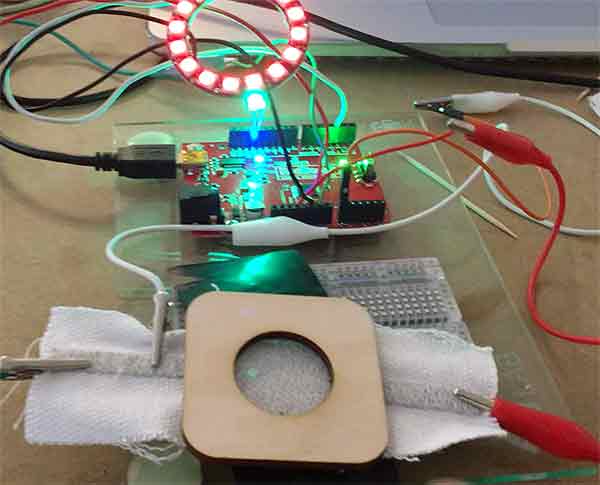
A soft circuit button is being explored. This button will let you switch between programs and preset modes. The initial tests were completed during Wildcard week and a new design is being looked at.
At the time of this web posting (06/10/18) the following tasks remain.
COMBINE COMPLETED ELEMENTS
---> Bring the completed elements together and make sure everything integrates.
---> Make final decisions before doing a final prototype design
COMPLETE BUTTON
---> Finish the button design and integration in the final design.
FINALIZE CODE
---> Program the clock for 2 modes: Silverman Mode and Fab Academy Mode.
FINALIZE DIFFUSION SCREEN
---> Do more tests with the diffusion and Acrylic covers.
FINAL DESIGN
---> Make a new rendering and assemble a final design
Logo DOCUMENTATION
---> lots of documentation is needed on how Logo works and how it can be implemented.
LogoTOOLS EVALUATION
---> Conduct tests and document performance of Logo based circuits
---> If time permits, demonstrate Logo with 8x8 Neopixel grid (similar to Interface and App. Programming week, as well as with a Nema17
8x8 Grid
---> Demonstrate Logo with 8x8 Neopixel grid (similar to Interface and App. Programming but enabled with networking ability
Nema17
---> Demonstrate Logo with a Nema17 motor
With the end of Fab Academy a few weeks away, a tight schedule needs to be folloed.
Work on initial ideas press-fit body for Color Clock.
- DONE
- Embroider the conductive elements for Color Clock preset button for the clock. Also, part of the wildcard week assignment.
- DONE
- Mill clock holder for NeoPixel Ring and circuit
- Redesign ProLogo circuit to include preset button / input node.
- Model 3D printable clock base to hold preset button.
- IN PROGRESS
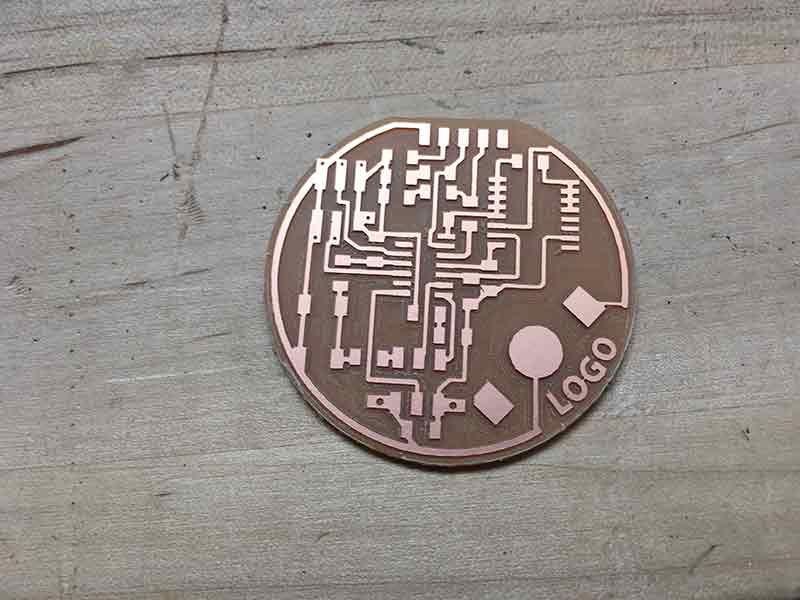
- Mill new Color Clock board.-DONE
- Review schedule, make adjustments and post to web.
- 3D print Color Clock base
- Compare NeoPixel coding on Arduino vs with Logo. - IN PROGRESS
- Make new Press-Fit body.
- Design & integrate soft button.
- Finish LED Filter ring.
- Assemble final clock.
- Do speed tests on oscilloscope.
- Attempt networking multiple Color Clock boards
- Prepare presentation and final elements.
Overall I am very happy with the progress of my final project. I have successfully integrated many assignments into the development of the Color Clock.
---> Molding & Casting - clock & circuit holder
---> Output Devices - first implementation of NeoPixel and ATTiny
---> Interfac & App. Programming - first real implementation of Logo
---> Wildcard Week - first test of a textile button
Also, during all the assignments that required a circuit, I played around with form and features that related to my final project. So far, implementation of Logo and circuitry has worked out well. It helped a lot that I was meeting with Brian Silverman once a week to learn more about how Logo works. Although our meetings were specifically about learning Logo and discussing possible applications, it has reinforced what I have been learning in Fab Academy. This is not my area of expertise but it has certainly become the greatest area of personal growth for me during Fab Academy. I am able able to design a basic board, install Logo, and program it.
My time management in general has been ok but I would do it differently. My initial final project idea was only formed in terms of my interest in implementing Logo. The Color Clock was initially supposed to be one phase in the evolution of my project. I only decided to make it the primary outcome because it was the best formed idea but I only committed to this later. I also should have been more proactive with my inclusion of this project in other weeks. I have been exploring Logo in a way that would have worked for Embedded Programming but I did not include it in that weeks assignment. A lot of this relates to the time I had to finish the assignment but I would be more advanced in my final project and have more examples of what Logo is capable of had been more strategic. I am now left with a lot more documentation and experimentation to do. This takes up much of the time that could have been more focused on development
I would have really liked to demonstrate Logo with motors and a variety of sensors. I feel I could have been further along in this regard. I would have prefered to have a variety of input and output boards and demonstrate how they can be integrated.
Here are some questions that need to be resolved.
---> How does programming in Logo compare to Arduino? What are the pros and cons?
---> How can I network logoTool boards?
---> What are the technical specs of Logo programming on an ATTiny board?
--->How can we take Logo and mke it more available to others? What kind of documentation or website needs to be set up?
--->If more people are exposed to it, is there room at the table for text-based Logo programming alongside more contemporary choices like Processing and Arduino?
---> How can I take what I have learned in Fab Academy and bring it into the classroom?
---> I need to do more work with Oscilloscopes
---> I should do more tolerance testing before jumping into fabricating.
---> More time experimenting with different milling techniques.
---> Become more familair with Python, C++, Java
I am honestly very pleased with the development of this project. It's just the beginning.
