Computer-Aided Design
01
Asigment
- model (raster, vector, 2D, 3D, render, animate, simulate, ...) a possible final project
- and post it on your class page
Software
Download File
Designing in 2D
02
I have decided to use Adobe Illustrator because I have heard good reference for design and I would like to learn by myself.
I had never before used the Adobe Illustrator program to design like in 2D only with other program, at first it cost me to understand the commands and the tools to draw faster.
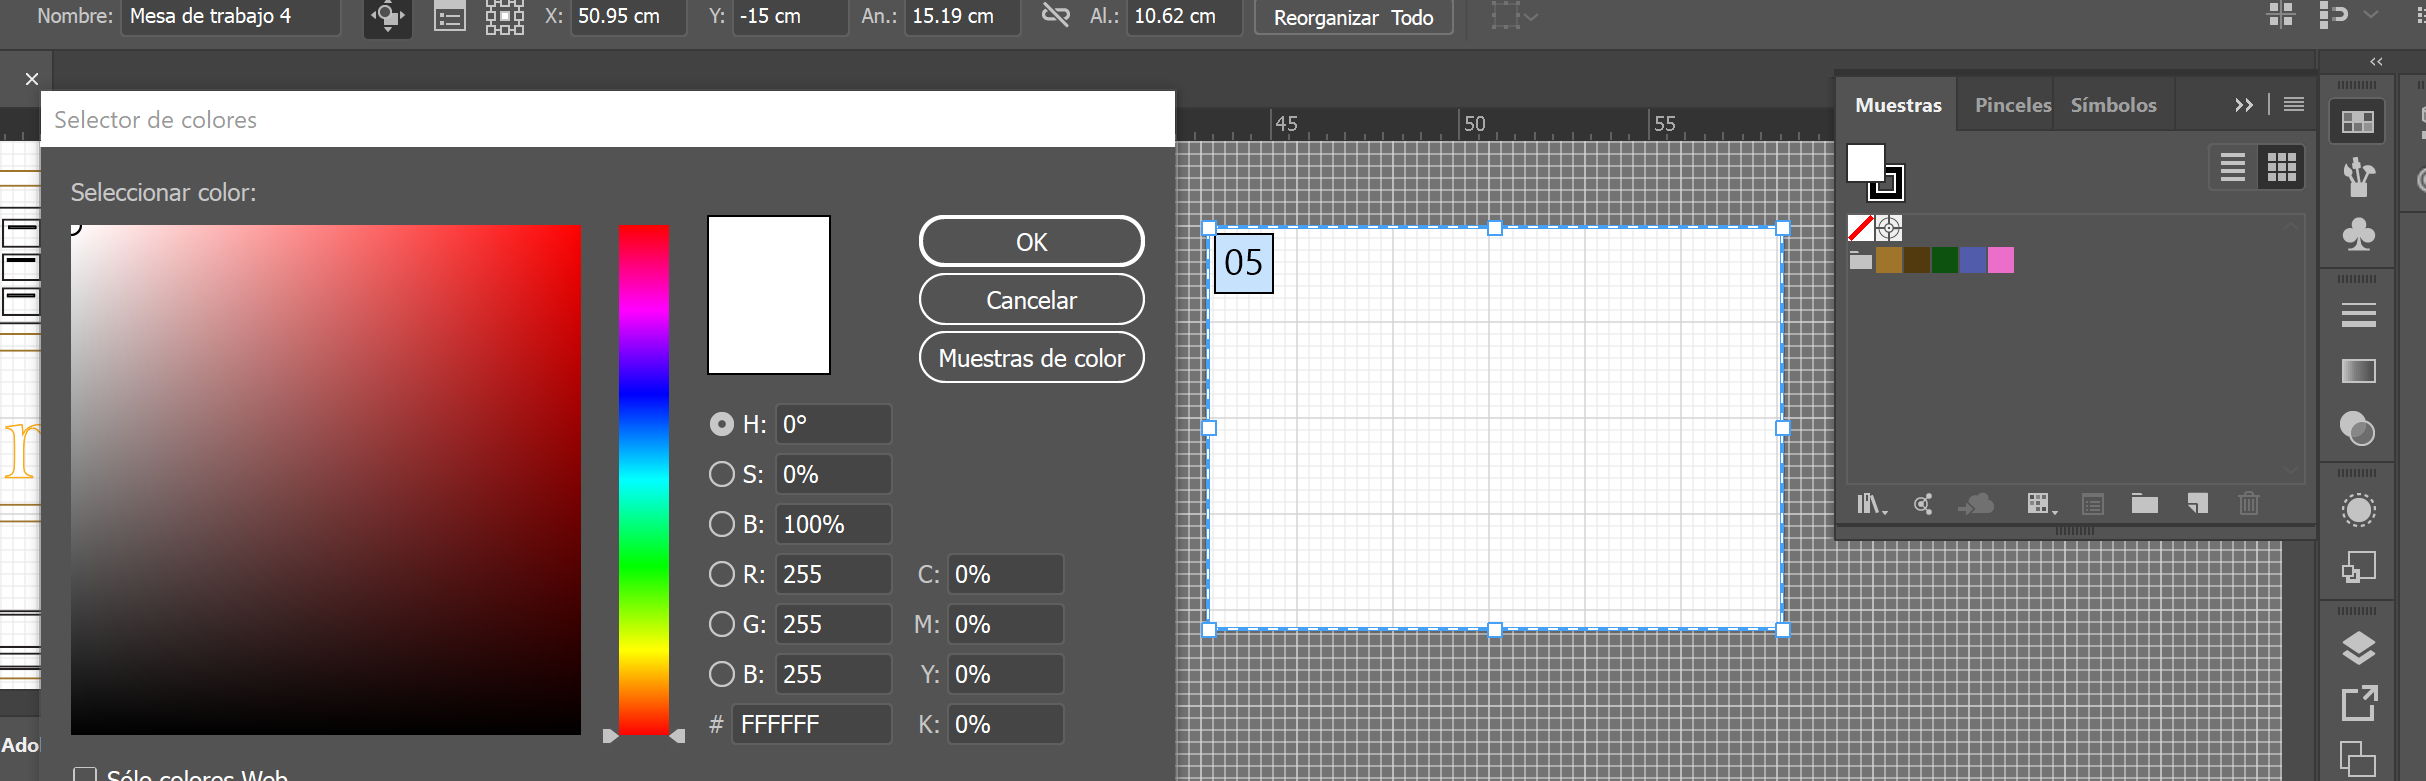
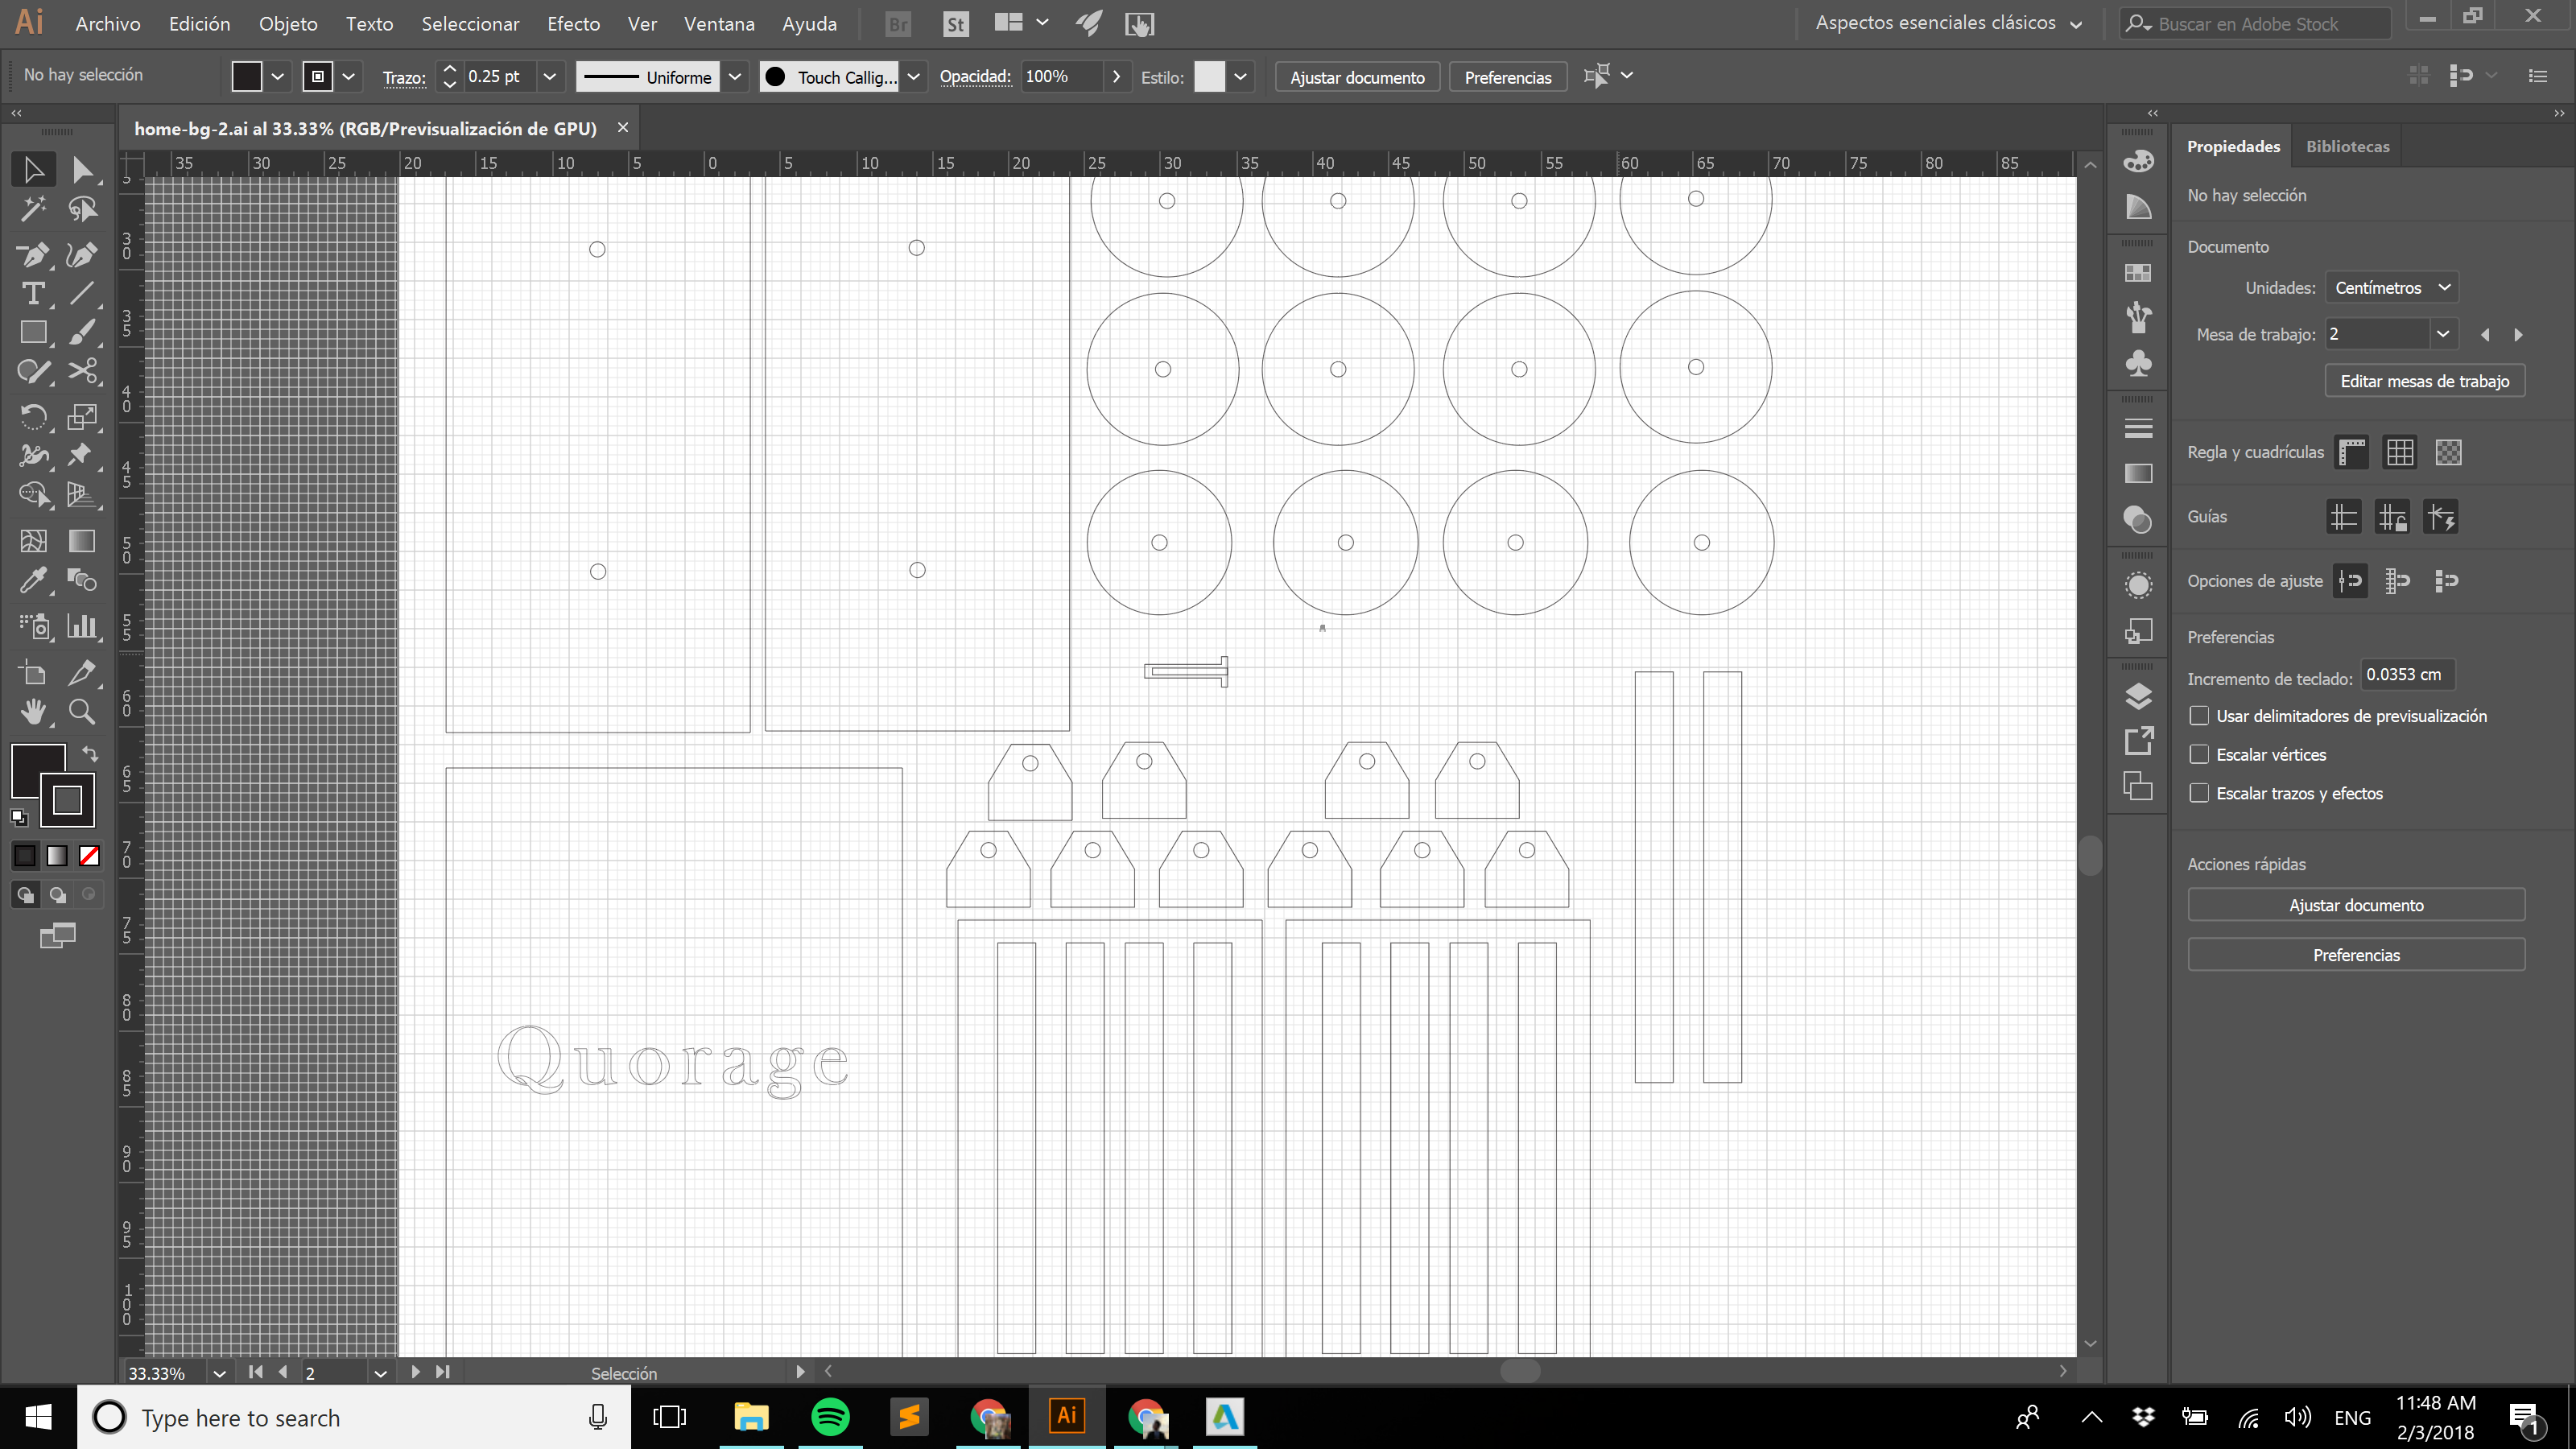
This is the tool to create the size of the image, the units measurements can be changed to cm to pixels or to inches.

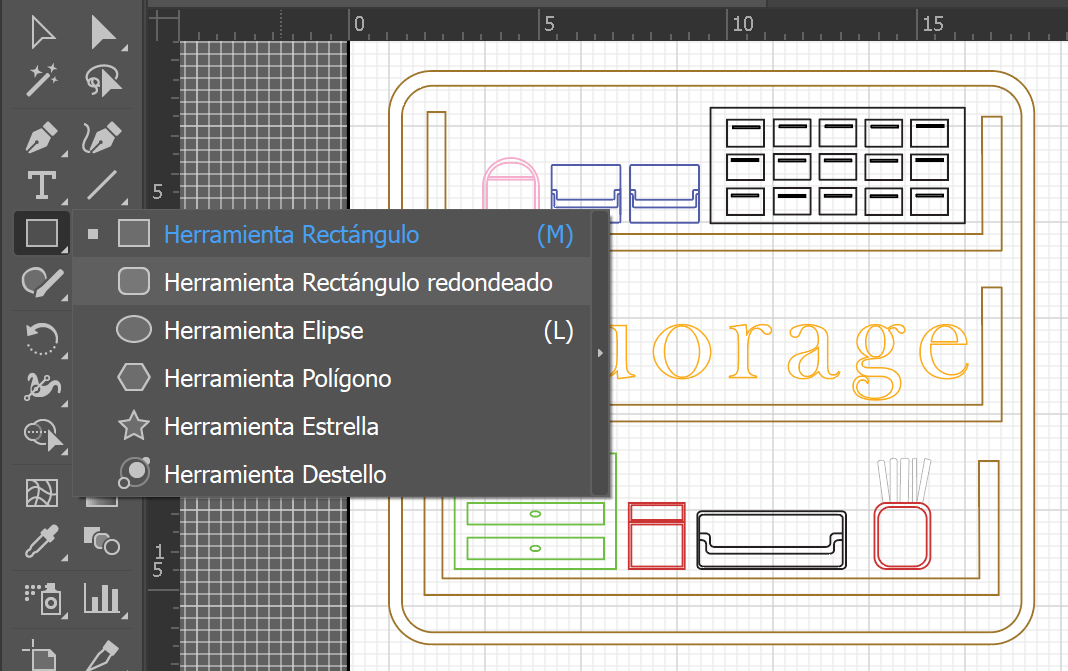
in the sidebar are the drawing tools, one of which most used is the tool of geometric shapes such as the square, circles, rounded square.
this is the color tool, here we define the colors for the backgrounds or contours.
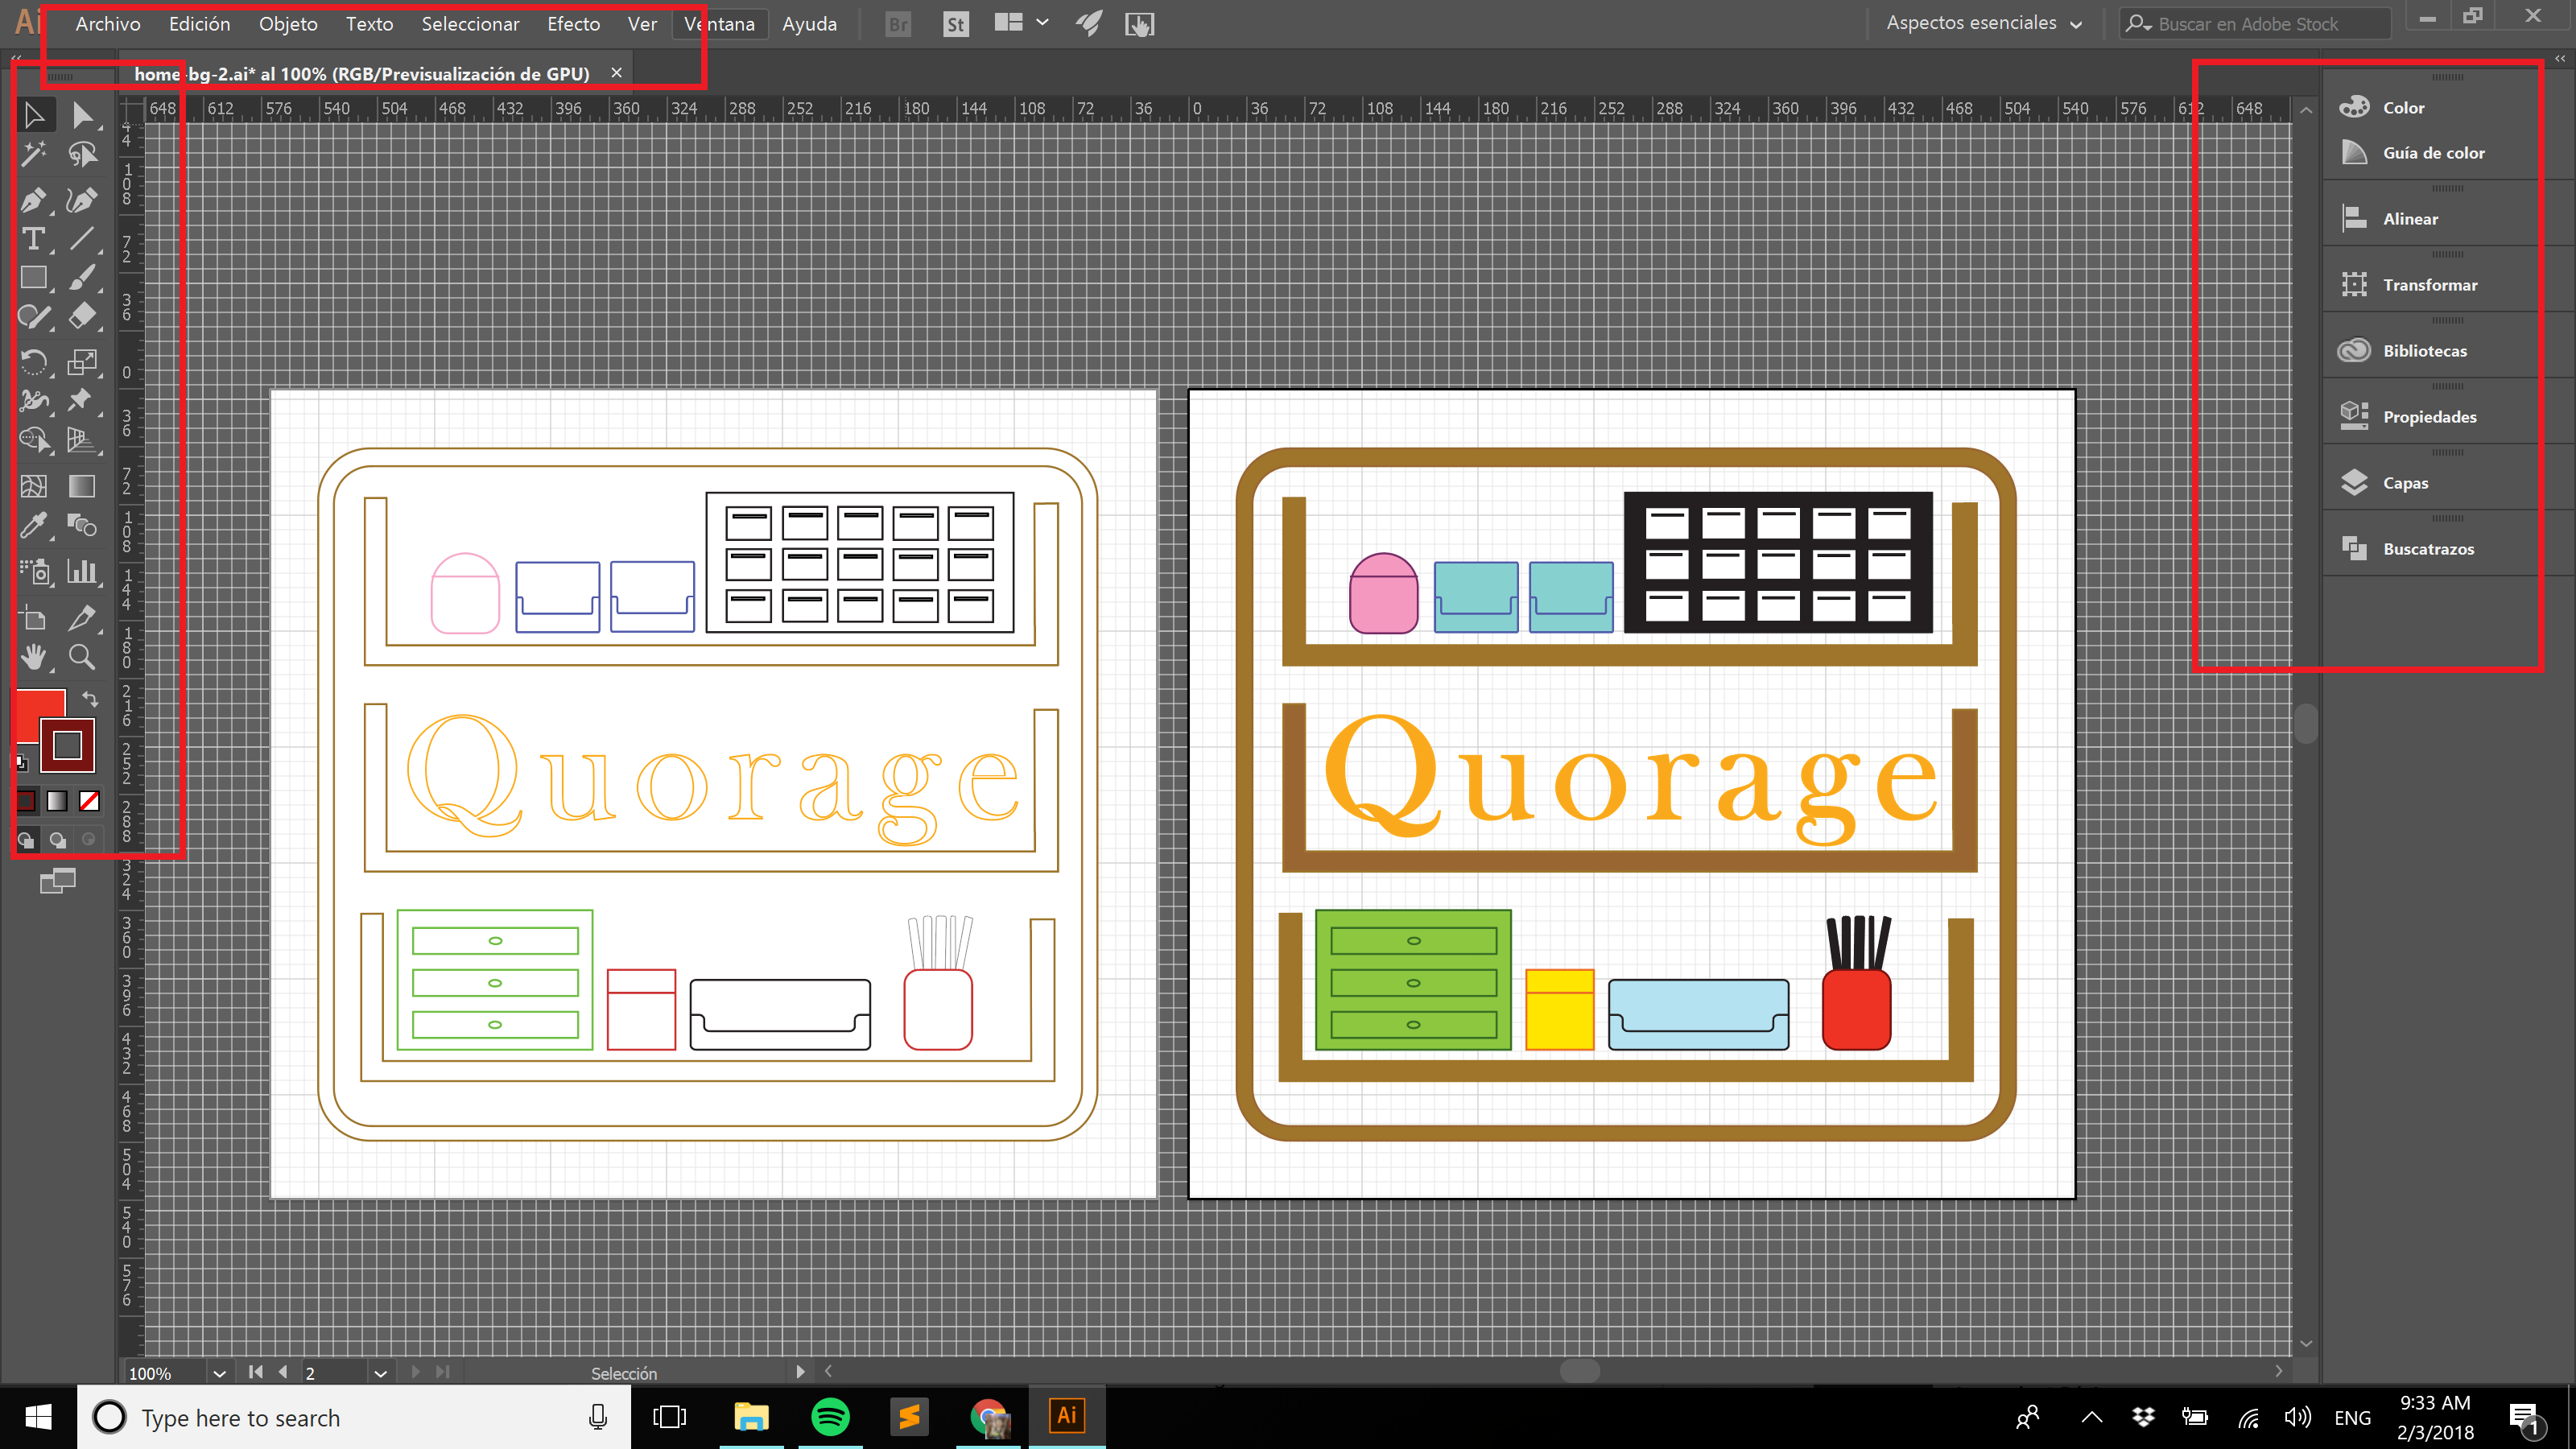
I have designed the logo of the project in vectorial, to be able to use in the cnc machine, one with a contour line to cut and engrave, instead the other design I have put color to make the total engraving of the logo.
I have also made a design where it will be cut in the laser cnc to then assemble the parts and make a mini replica of the project.(with a size of 40cm x 30cm x 20cm)
Designing 3D
03
After so much tutorials and practice, I managed to solve the problem that I had that consisted of making several pieces and joining together to assemble or pieces and make the animation ( in a future).
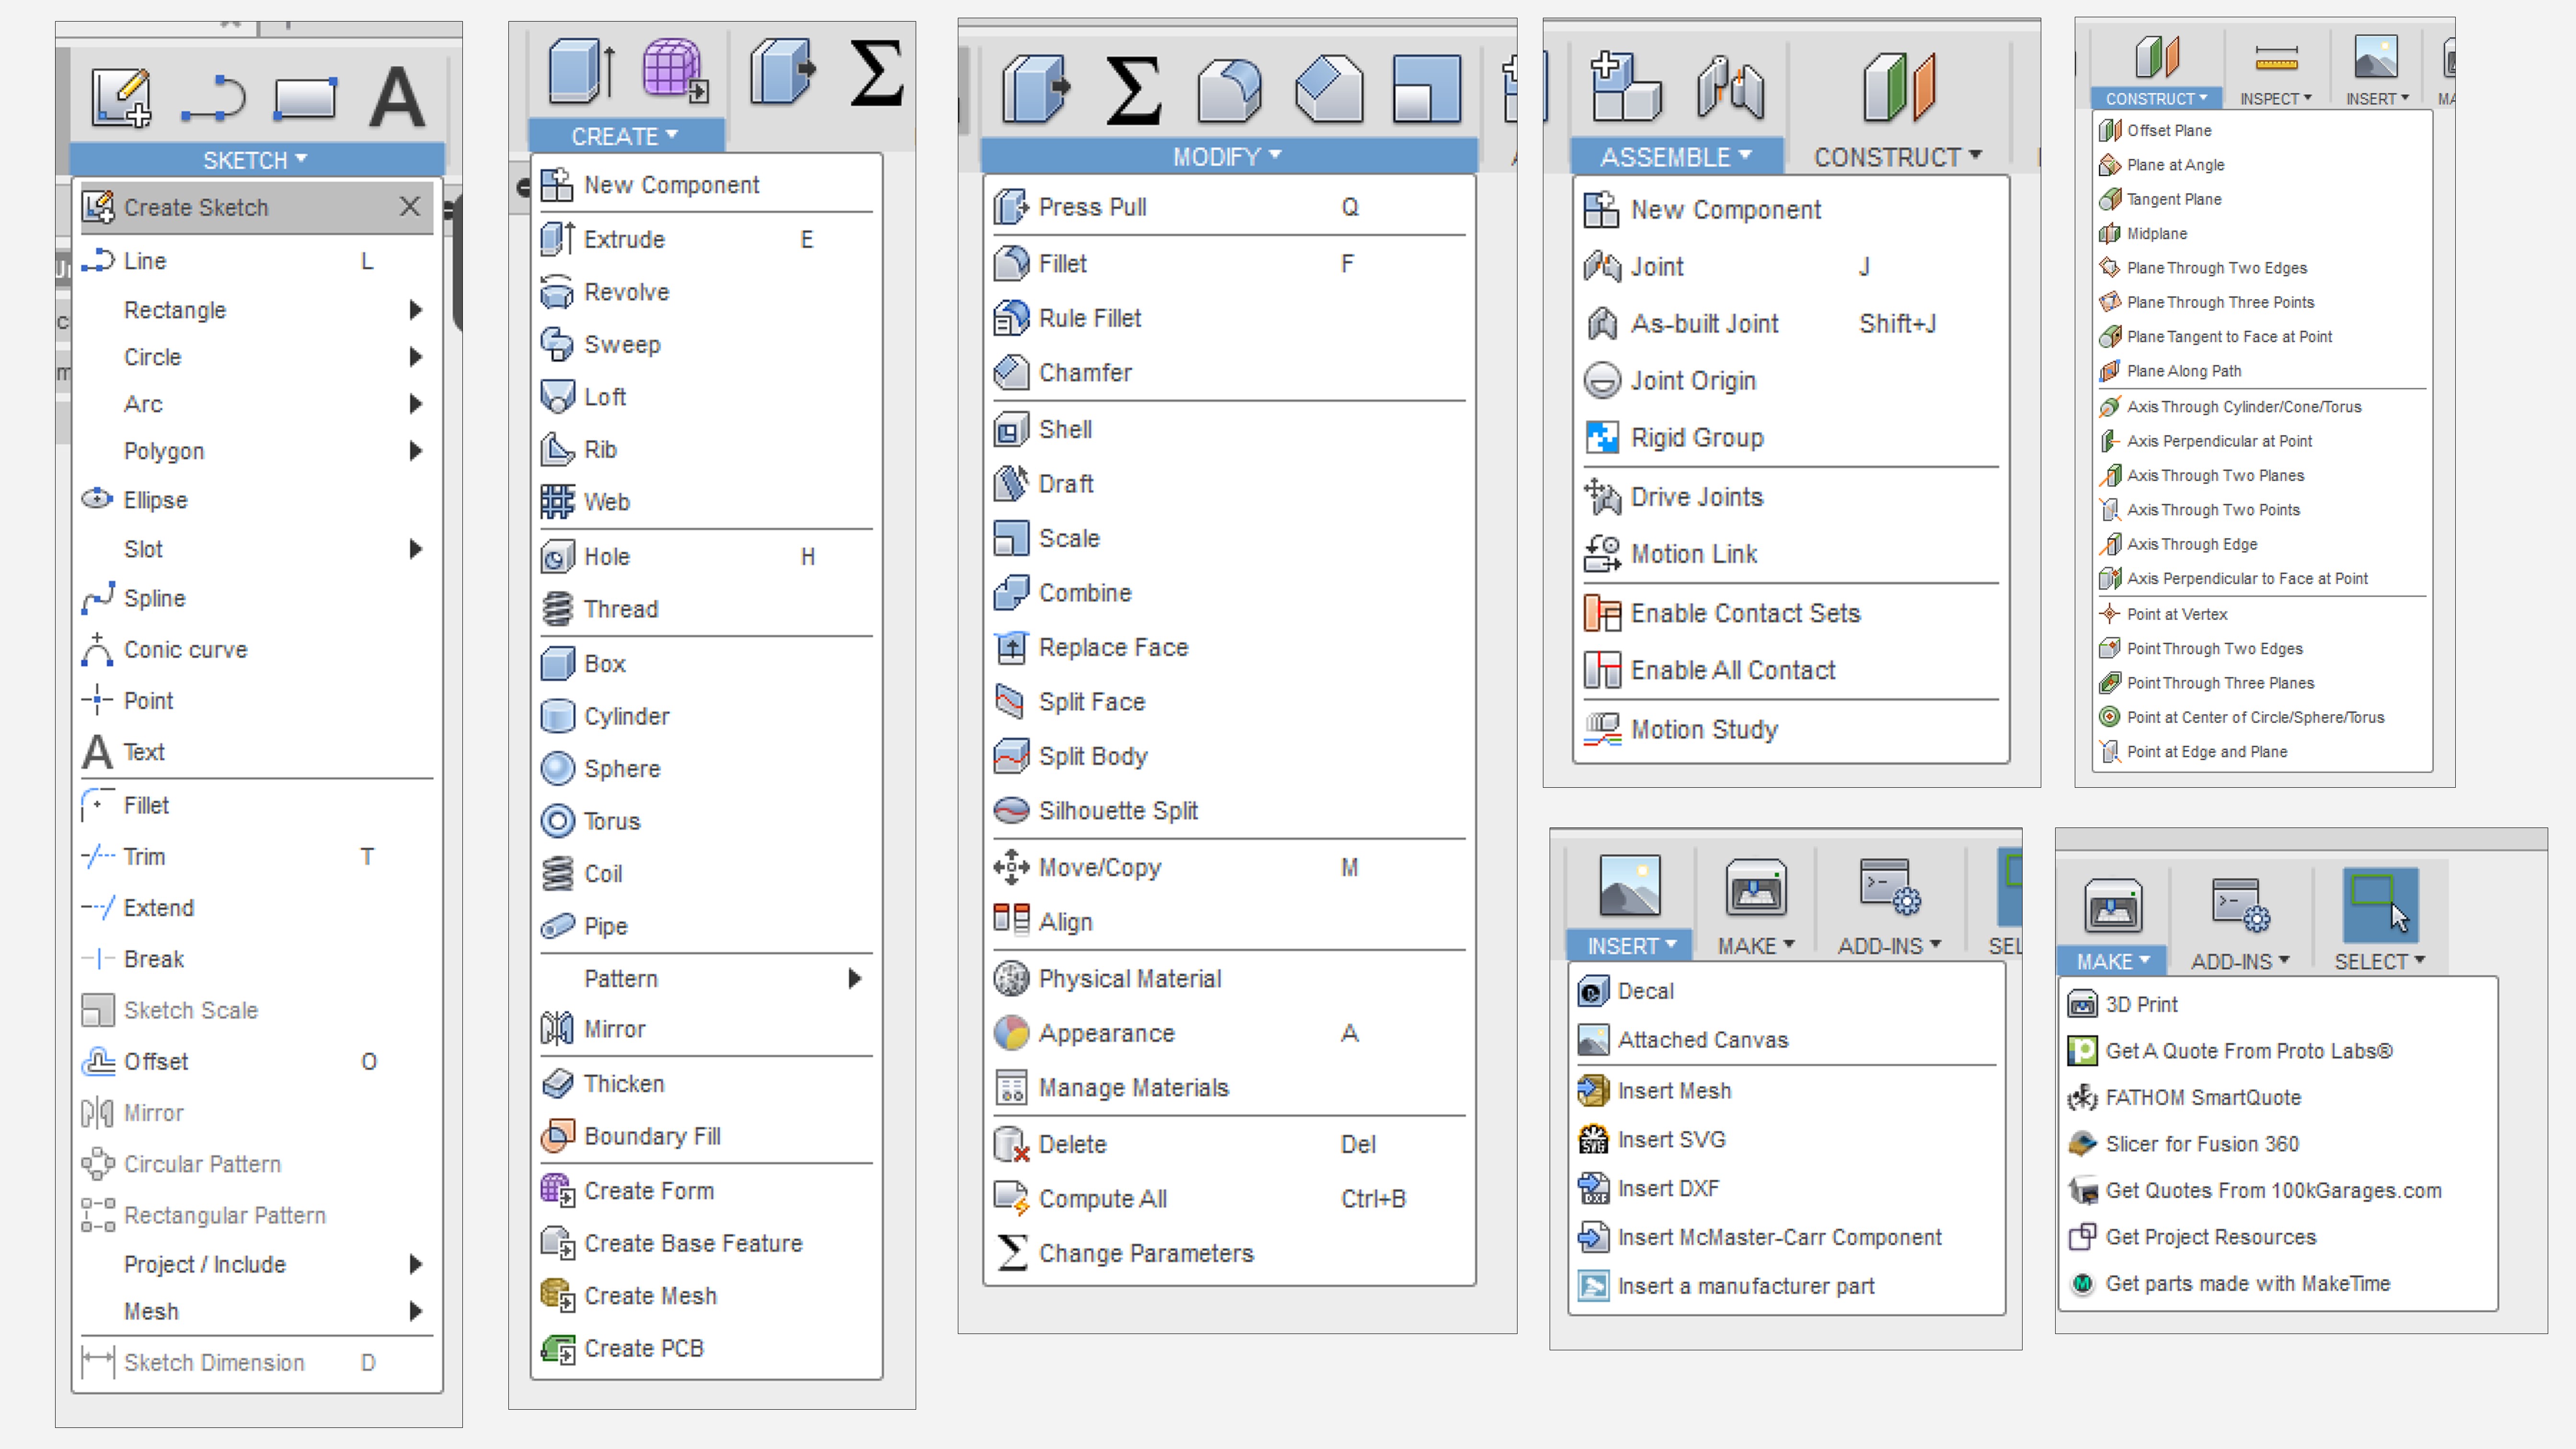
The toolbar are very similar to the autodesk program ¨123Design¨. It made it easier for me to understand the design environment which are very intuitive drawing commands when drawing.
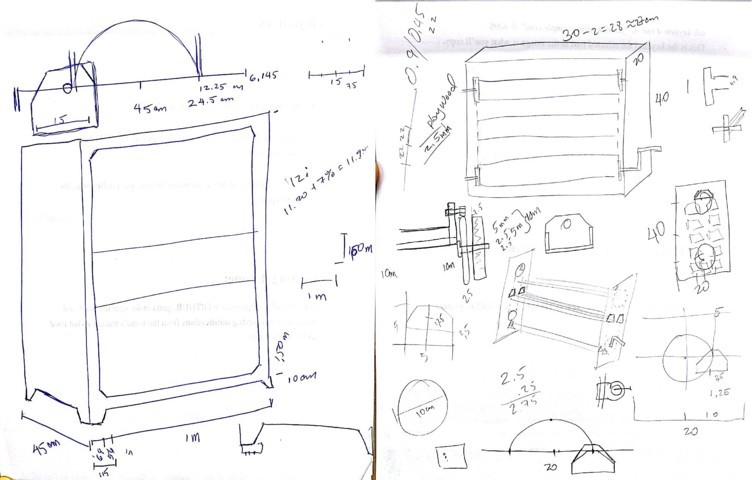
Another challenge I had was that I had to make a sketch to know the exact measurements that the locker should have.s
I had to formulate or draw an easy structure to assemble, make and do not use a lot of material.
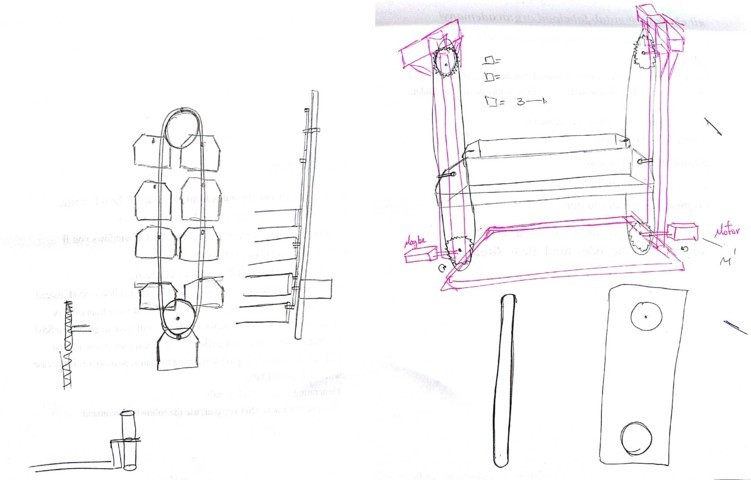
In the 360 merge program, I began to draw the locker rack since as I do not have the mechanical system in mind (physically to take the measurement) and thus start from the external structure but not and start designing the rack.
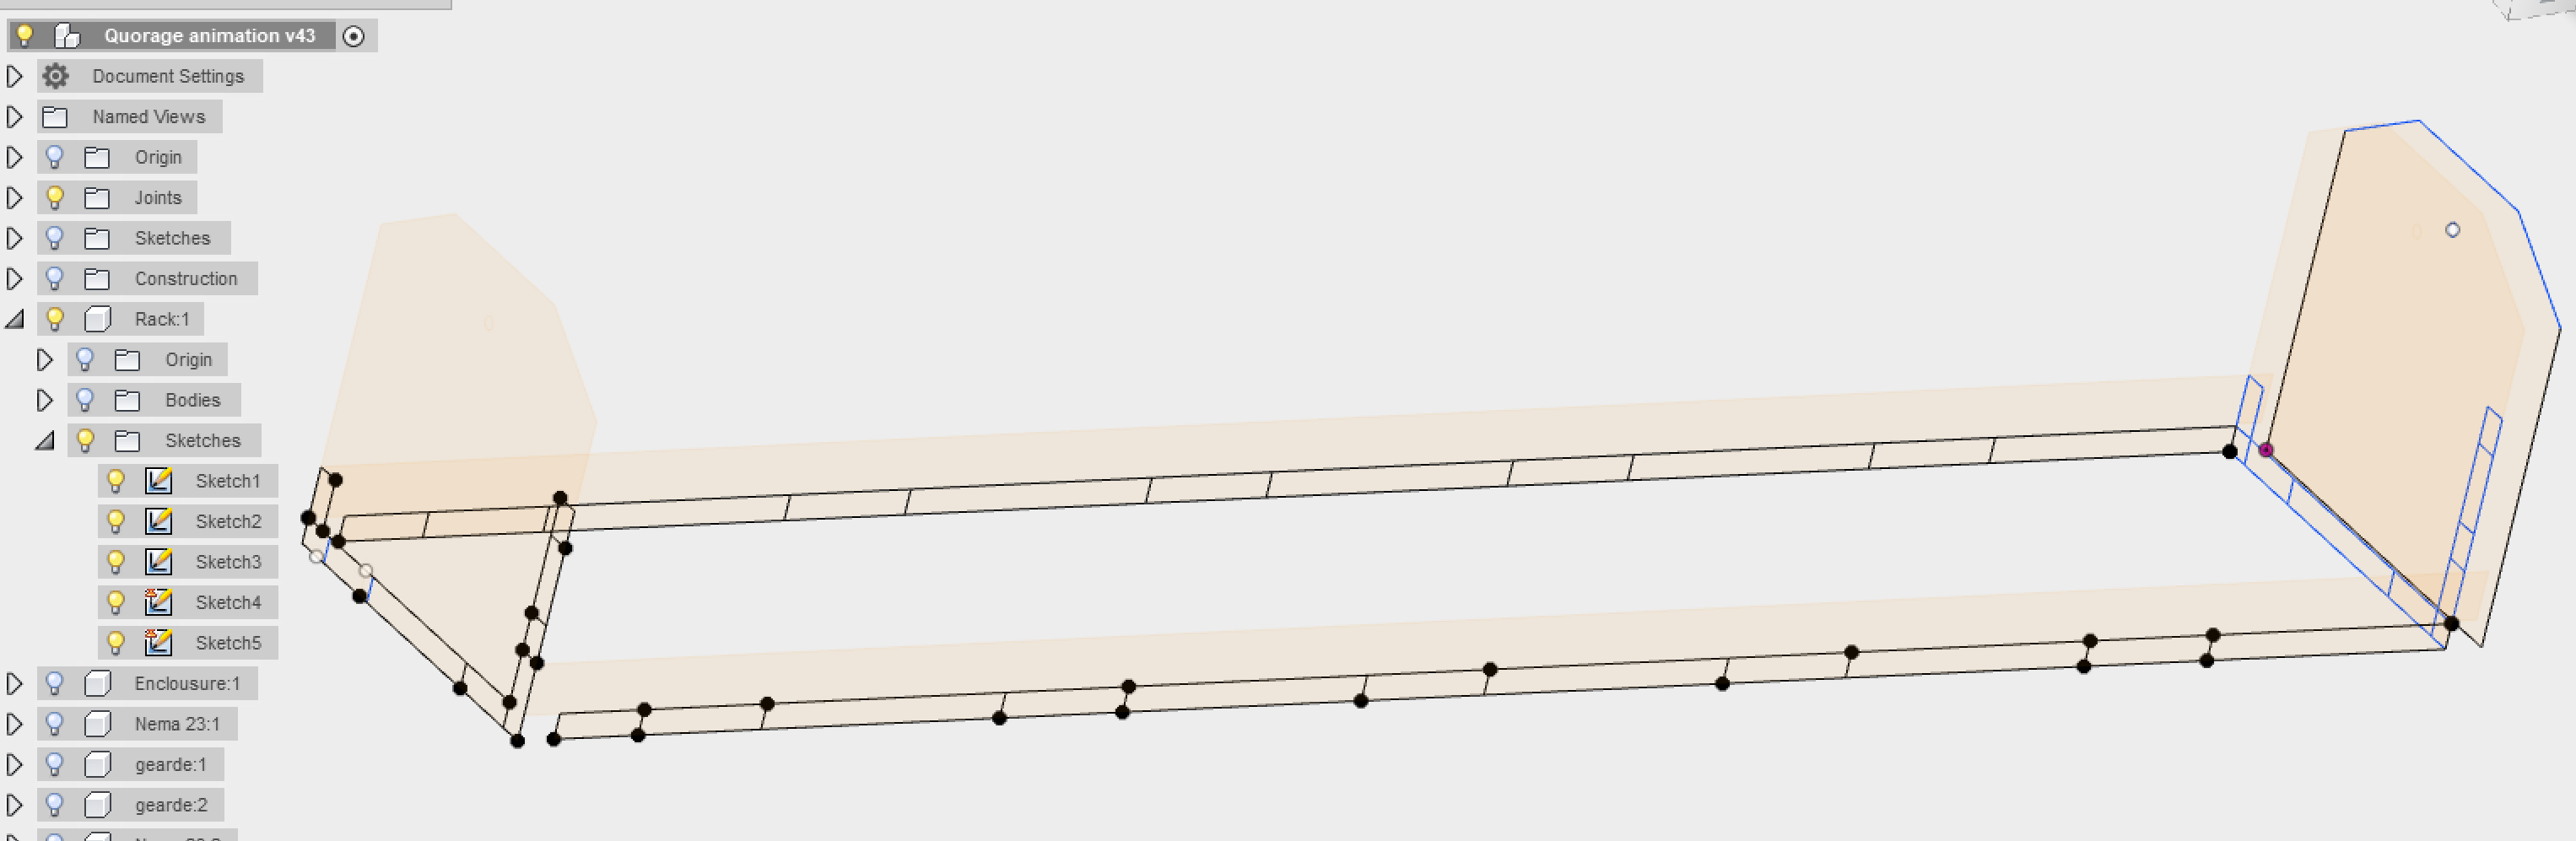
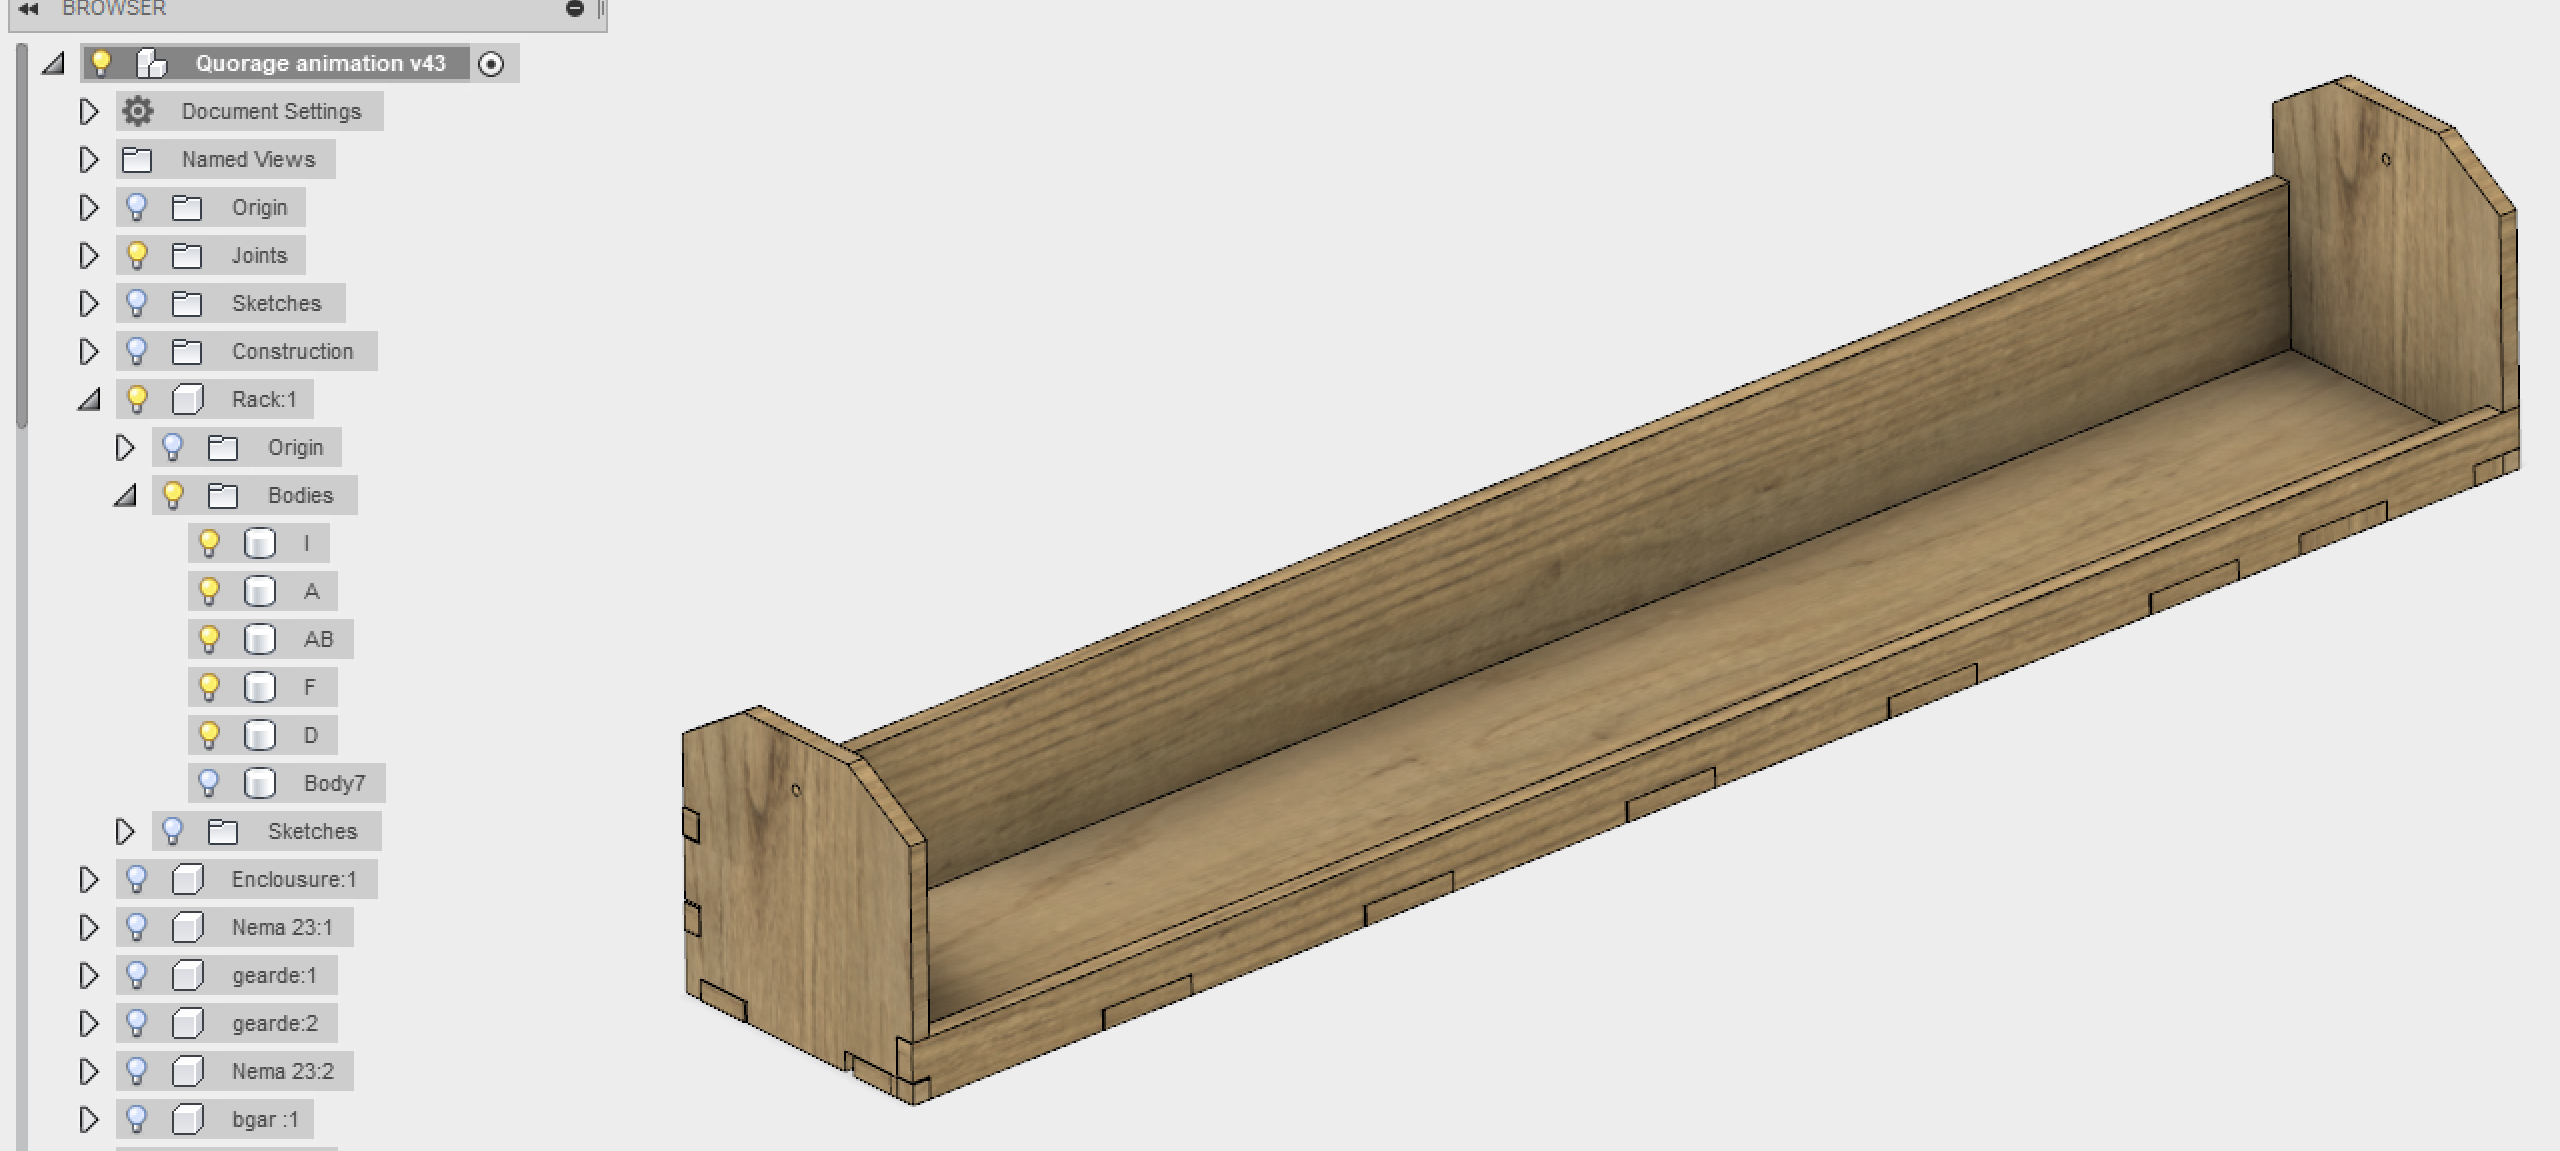
After drawing the 2D sketch, u use the extrude command to give it 3D shape.

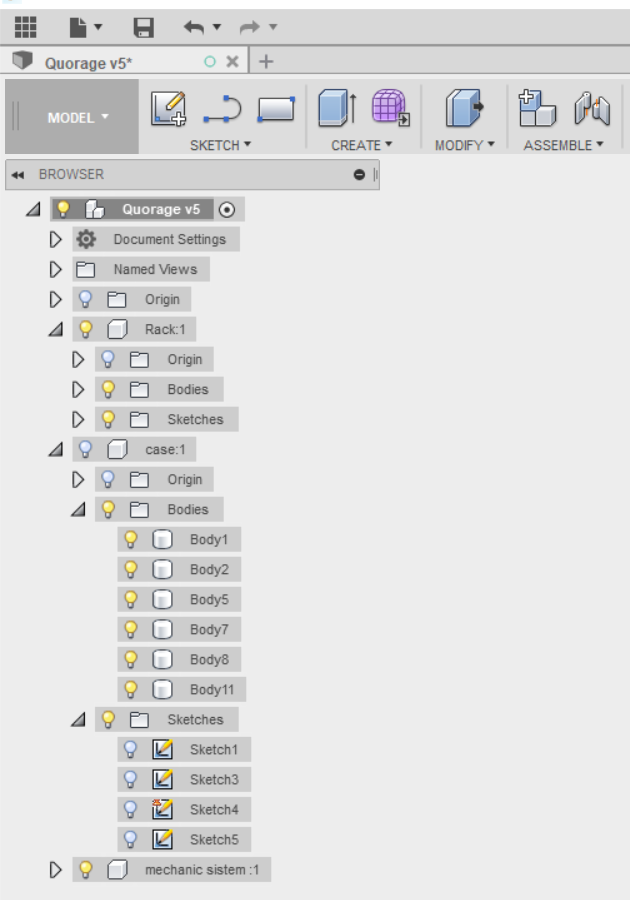
In the program you have a navigator where you can organize sketches, objects, components and so on.
Then draw a face of the external structure, to structure the entire face of the locker and then the mechanical system.
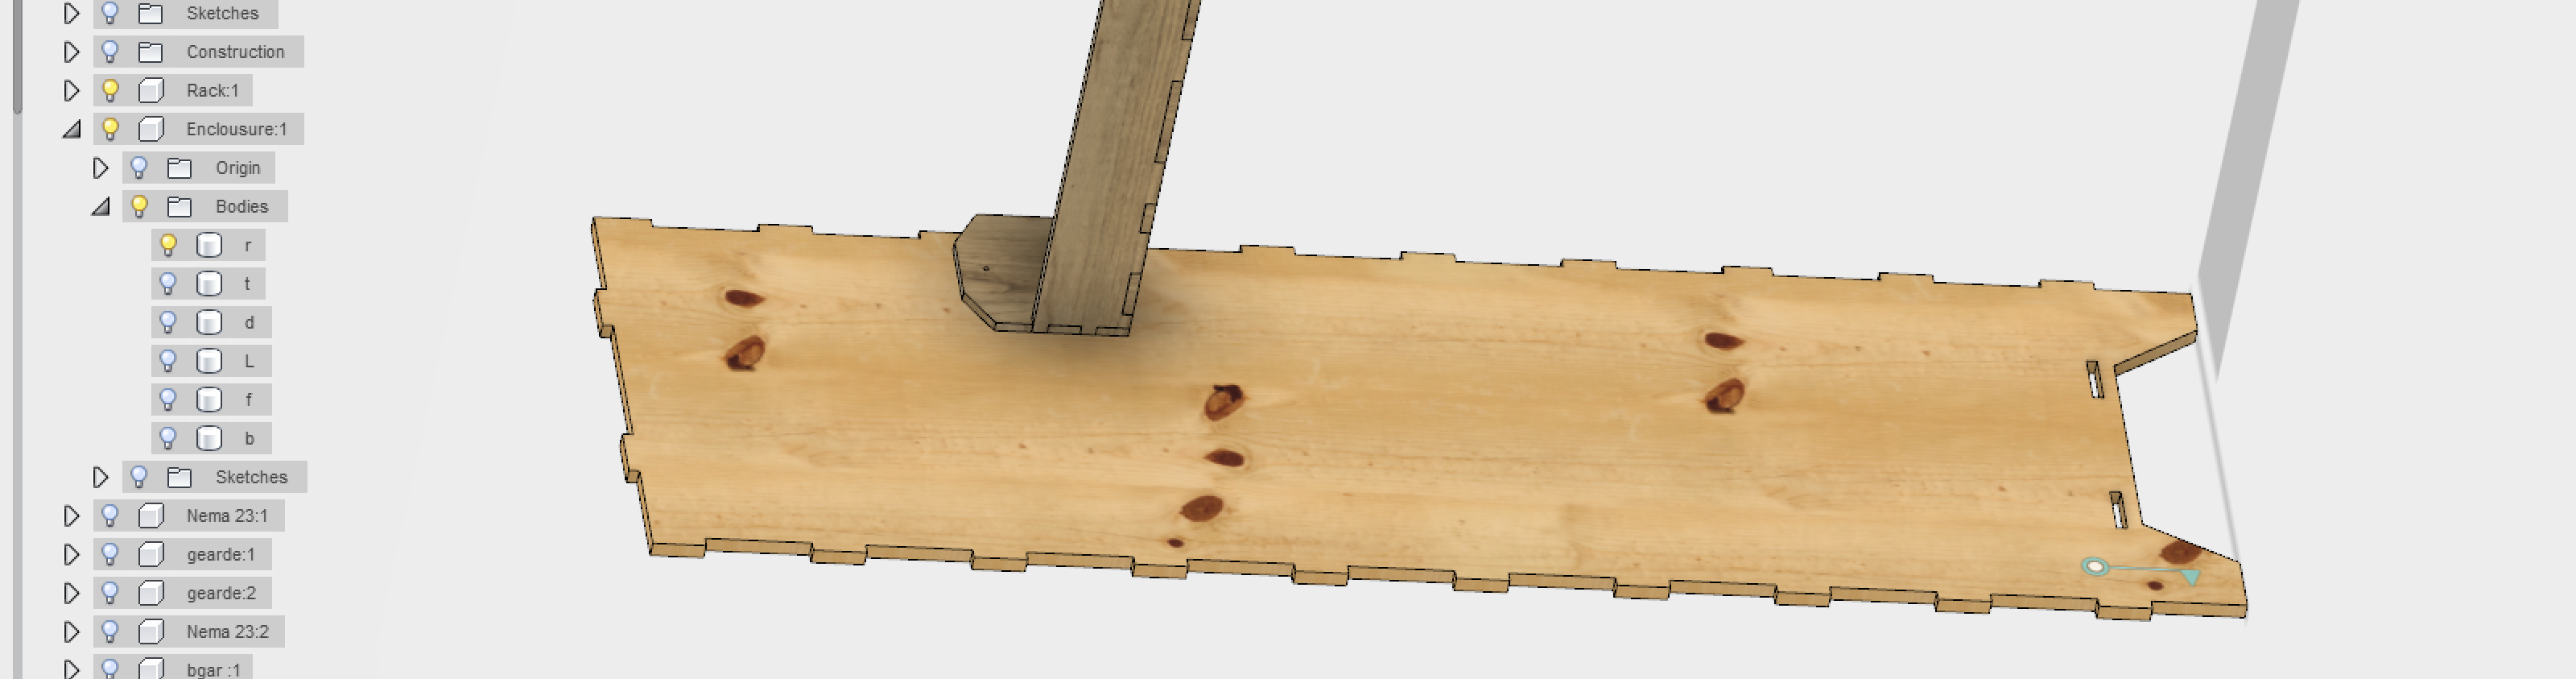
Fusion 360 has an option to insert 3D parts.
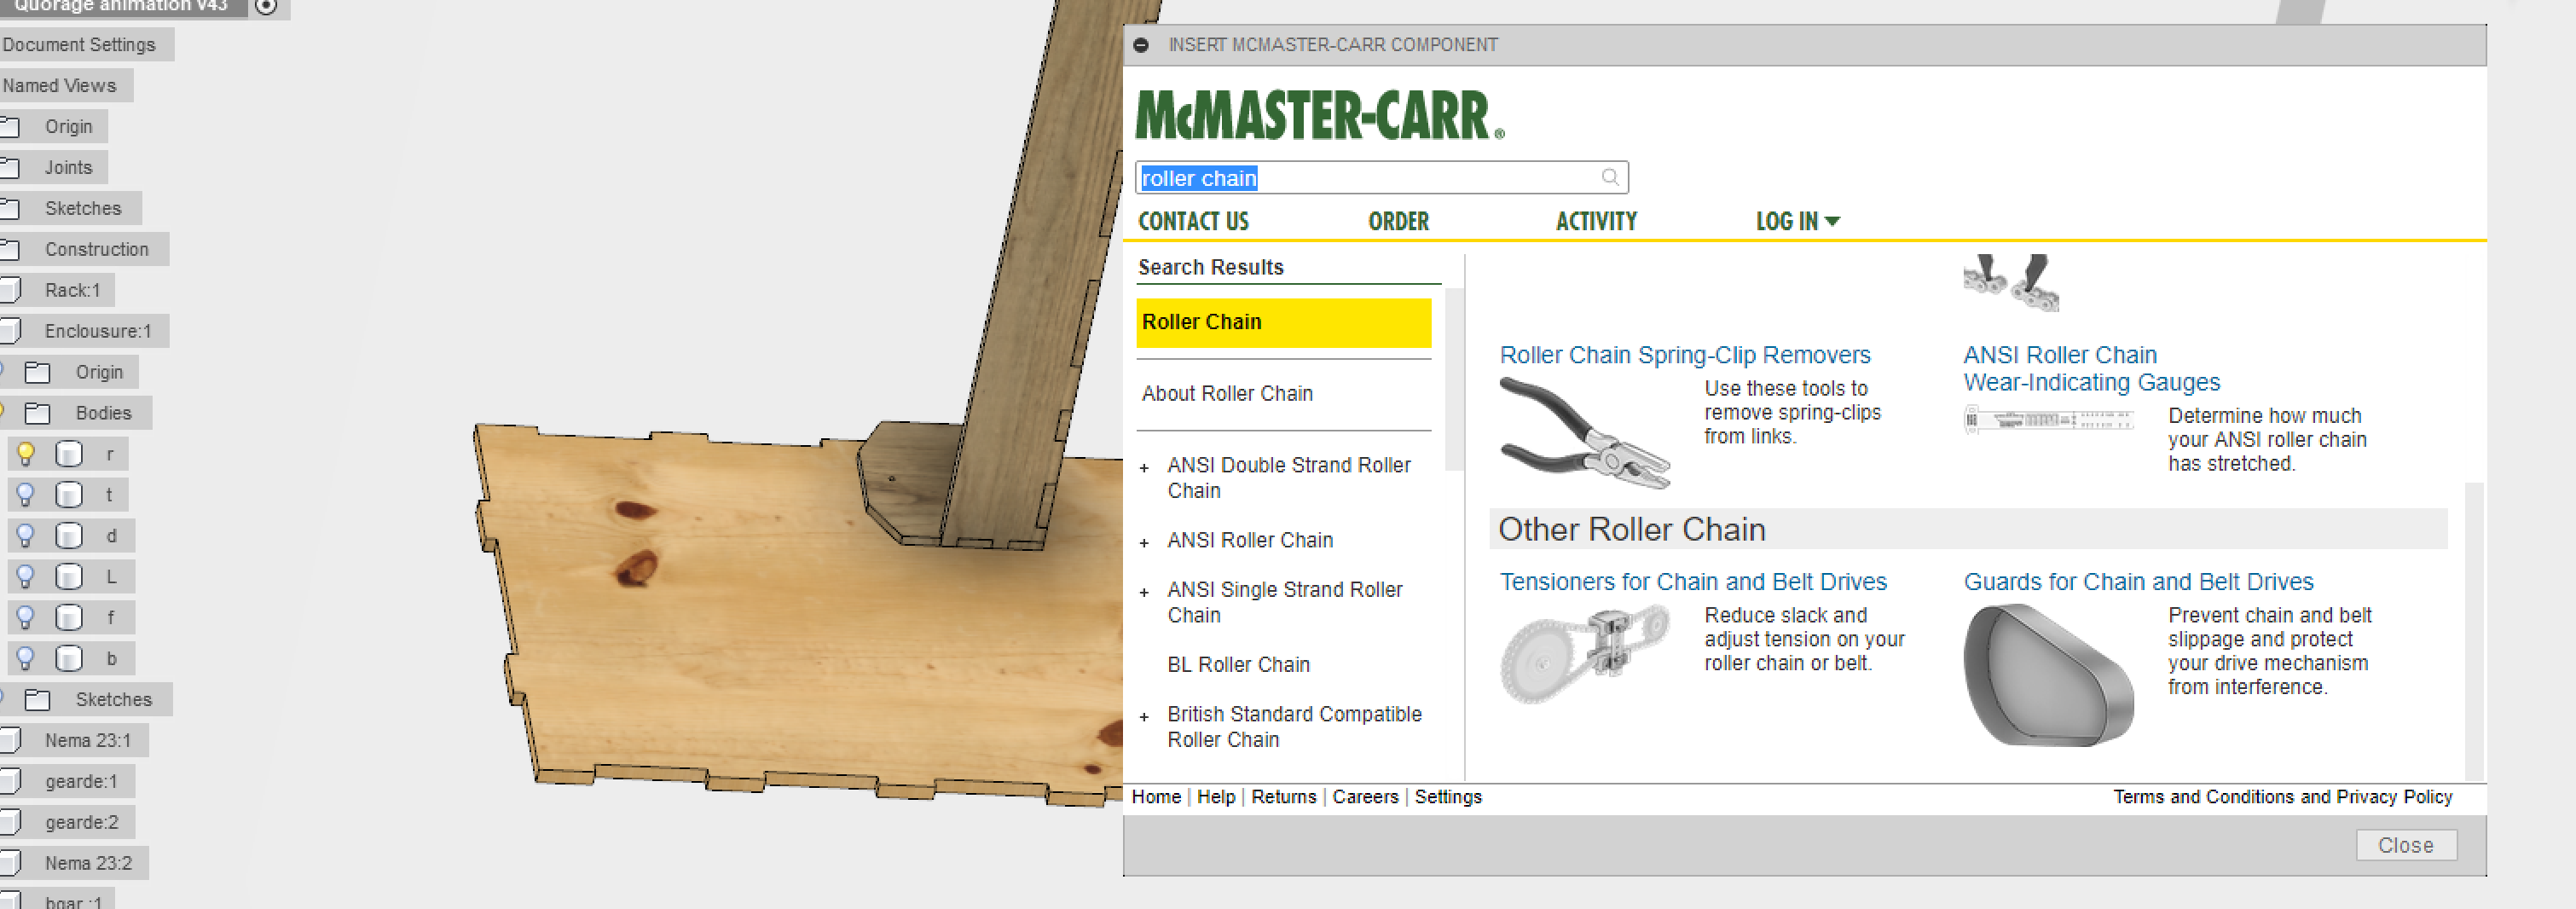
I have inserted a tooth plate for chains.

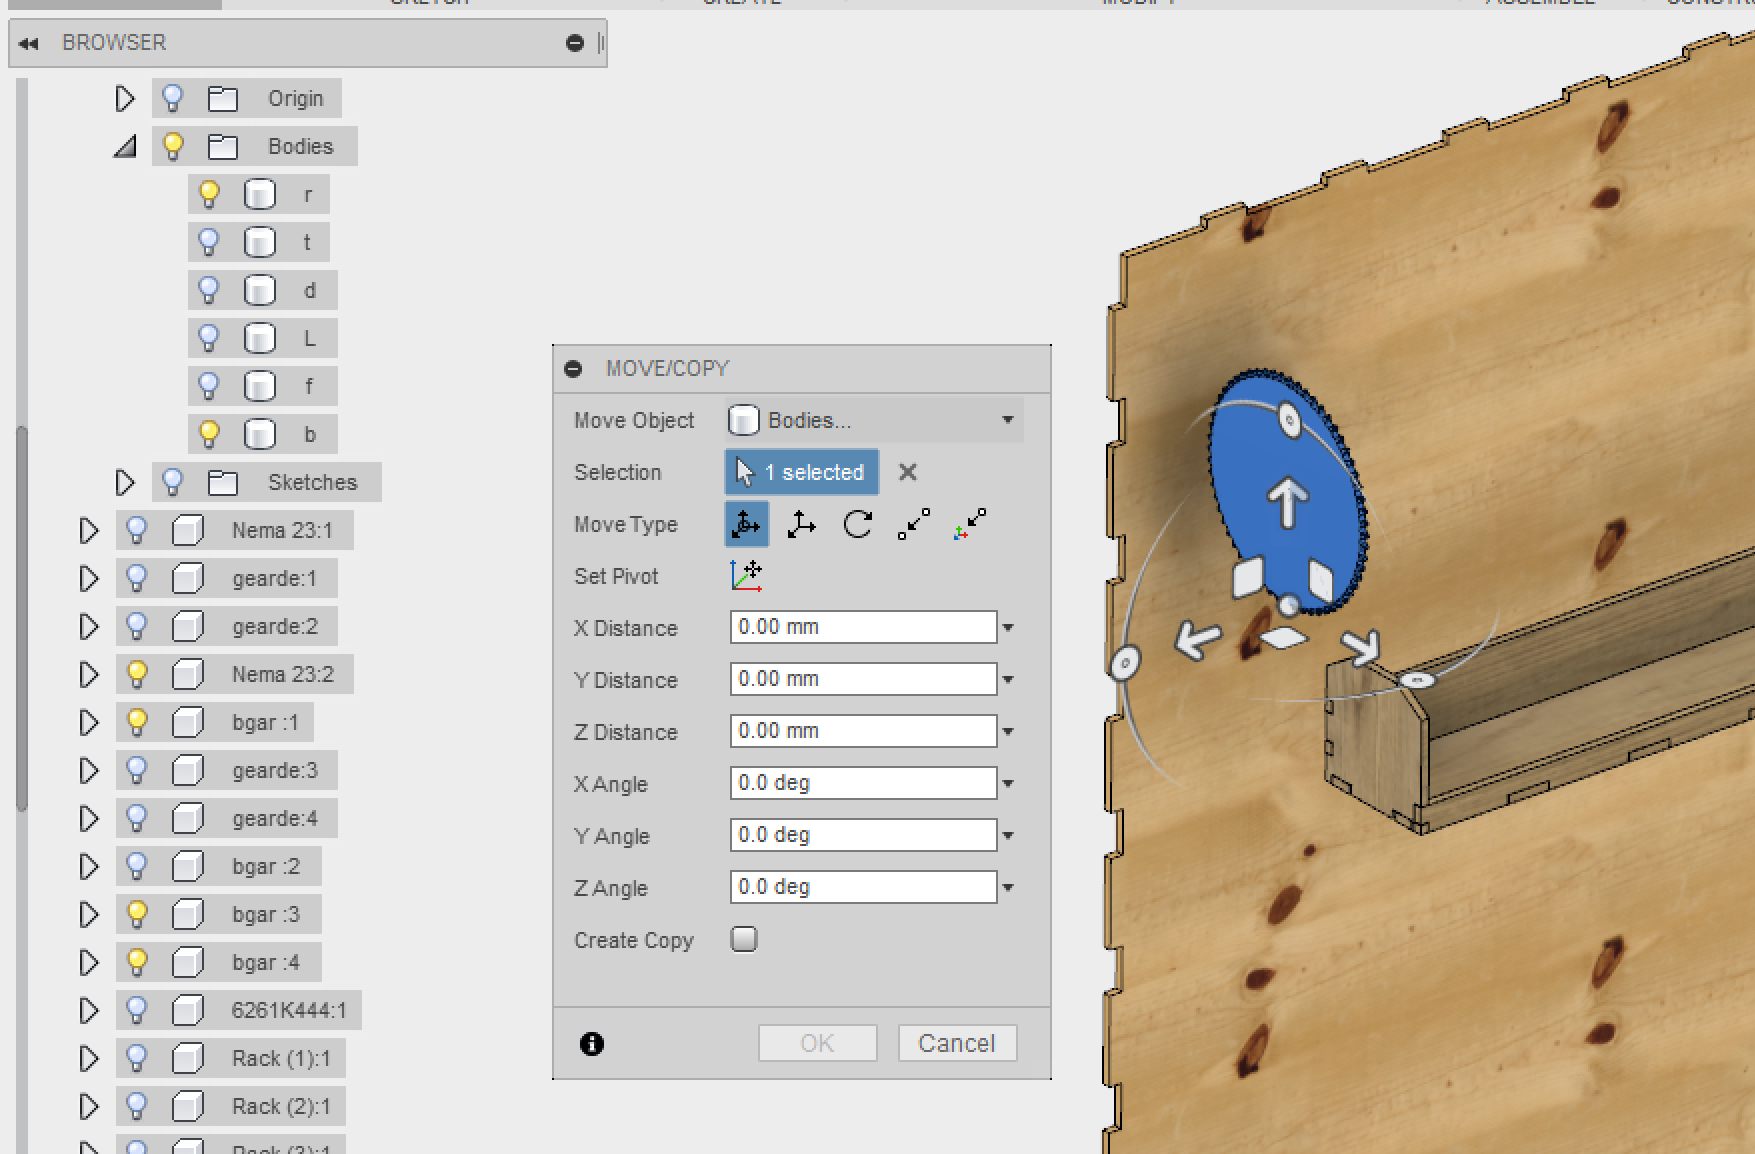
Using the move tool, I have inserted several pieces and I have placed it in the corresponding place.
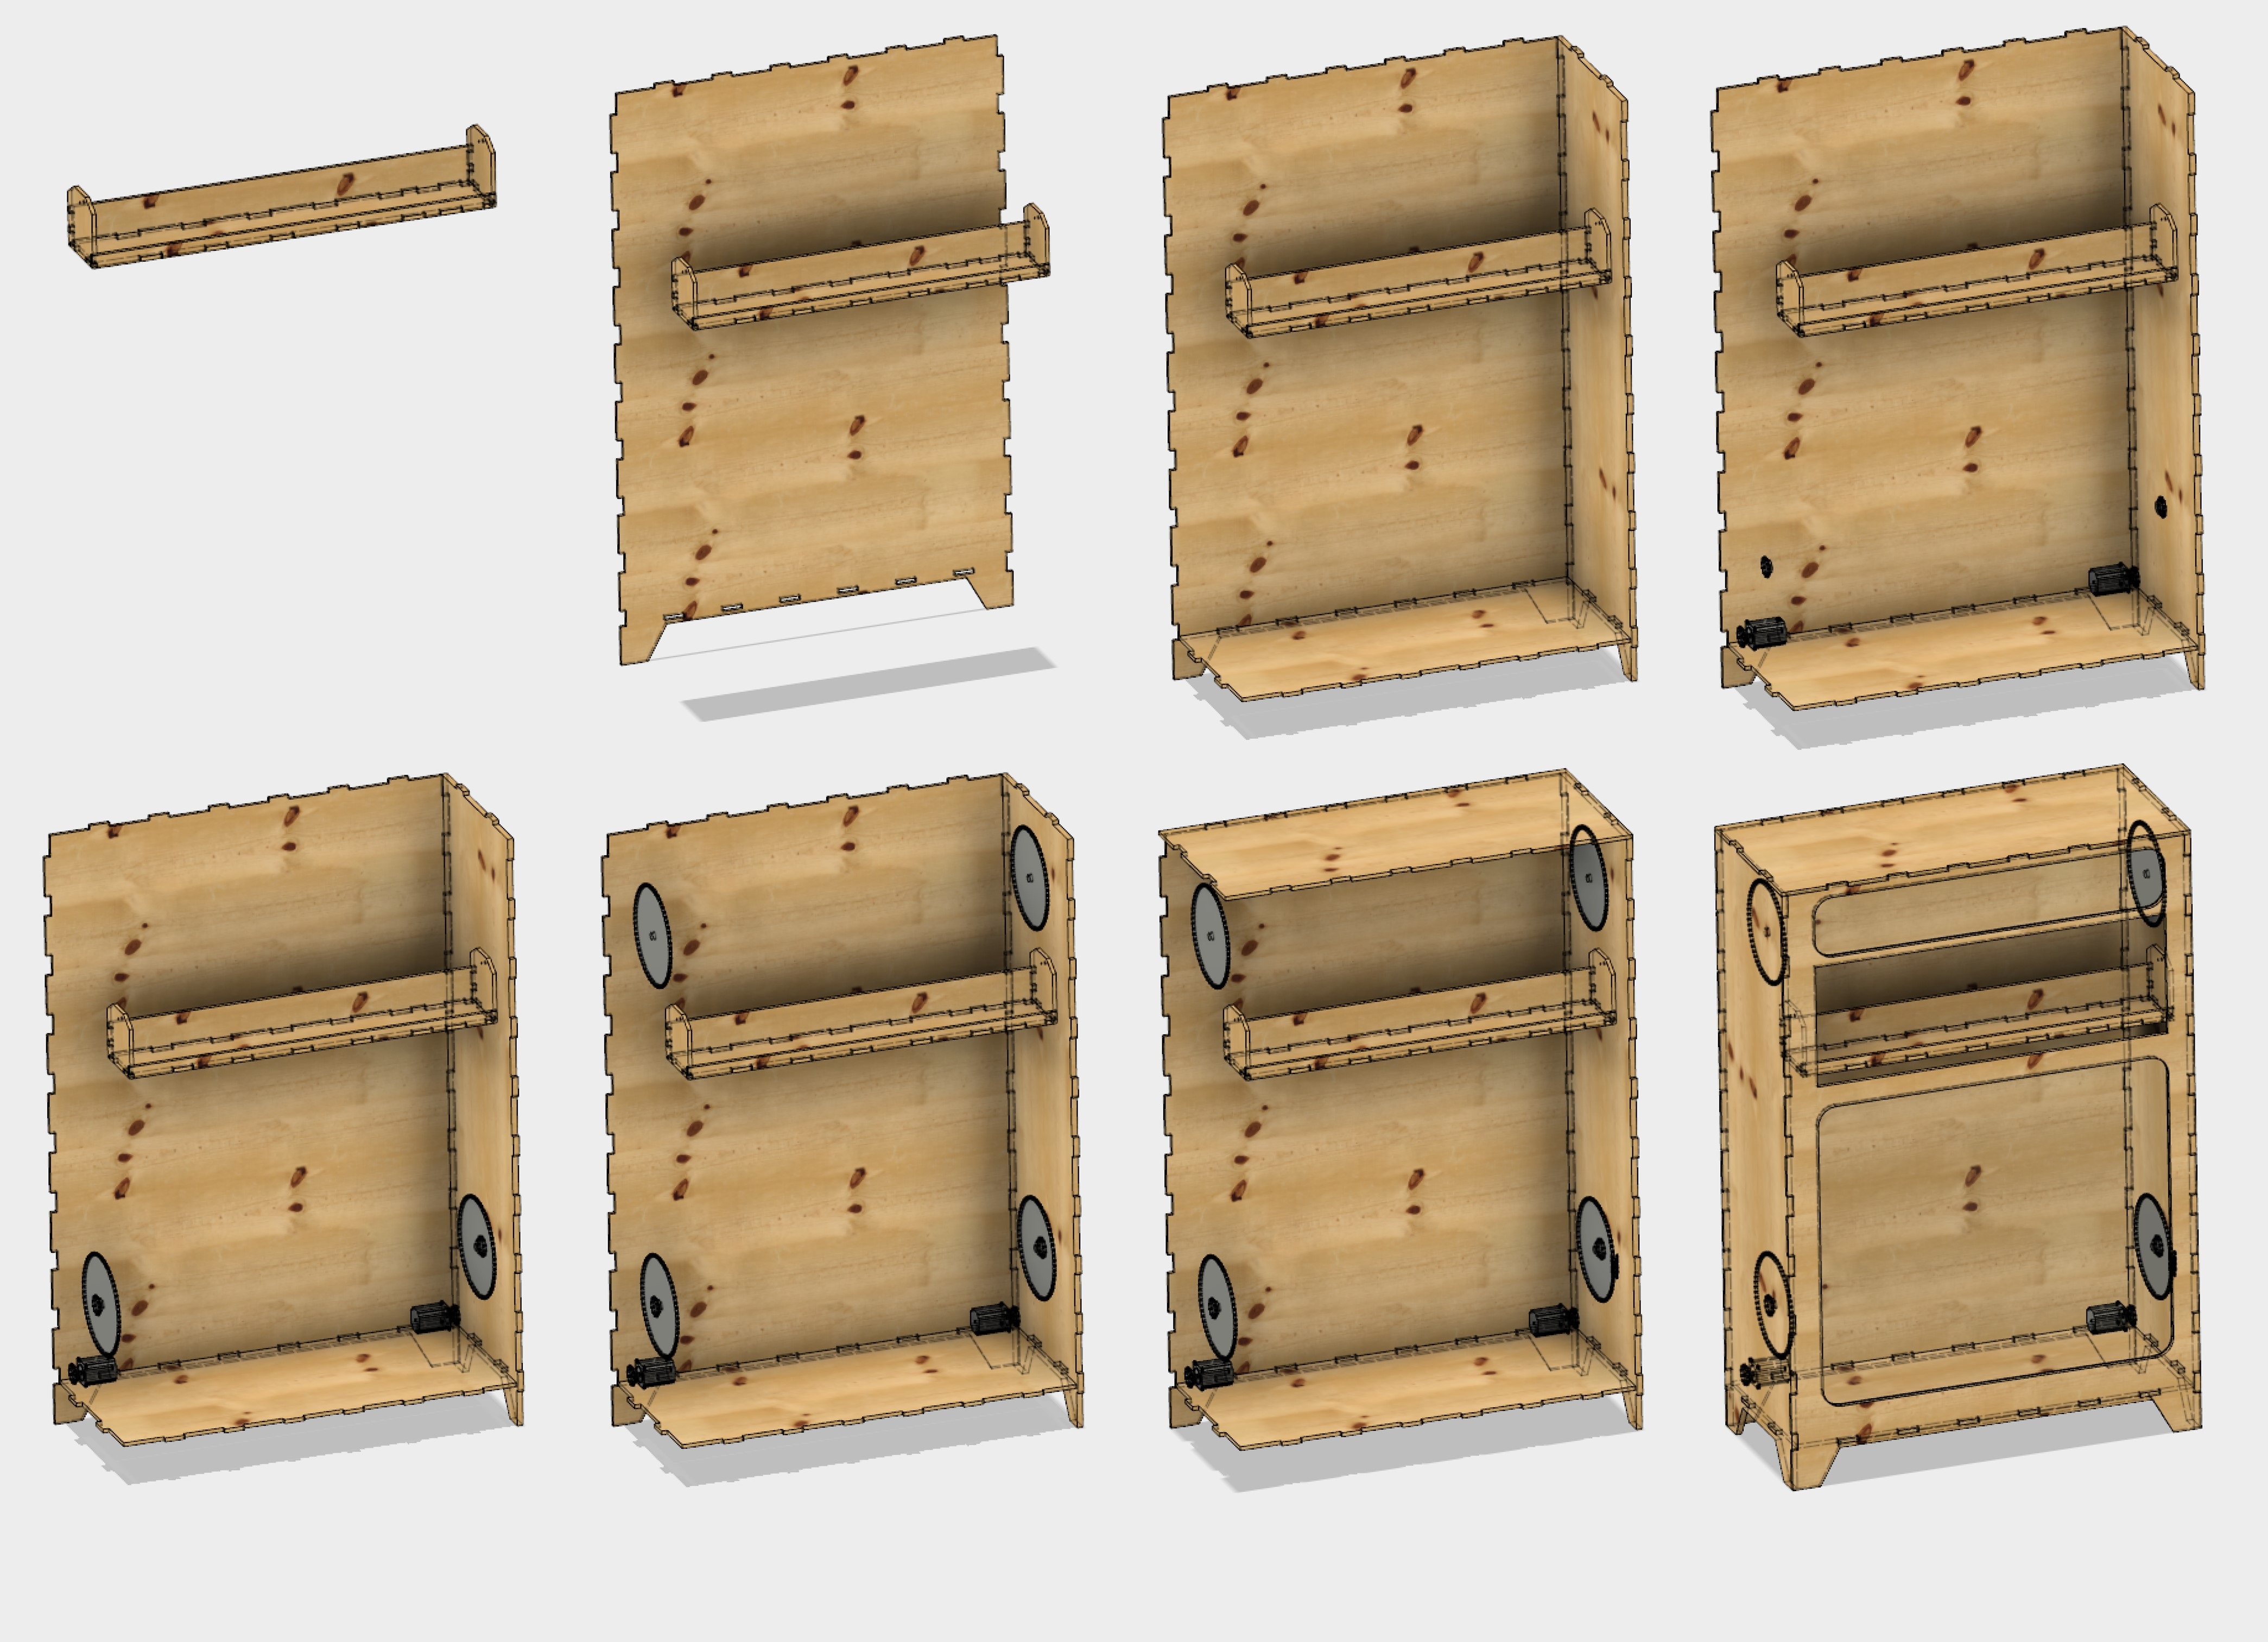
Here is a diagram-collage of assembled locker, visualizing the basic components.
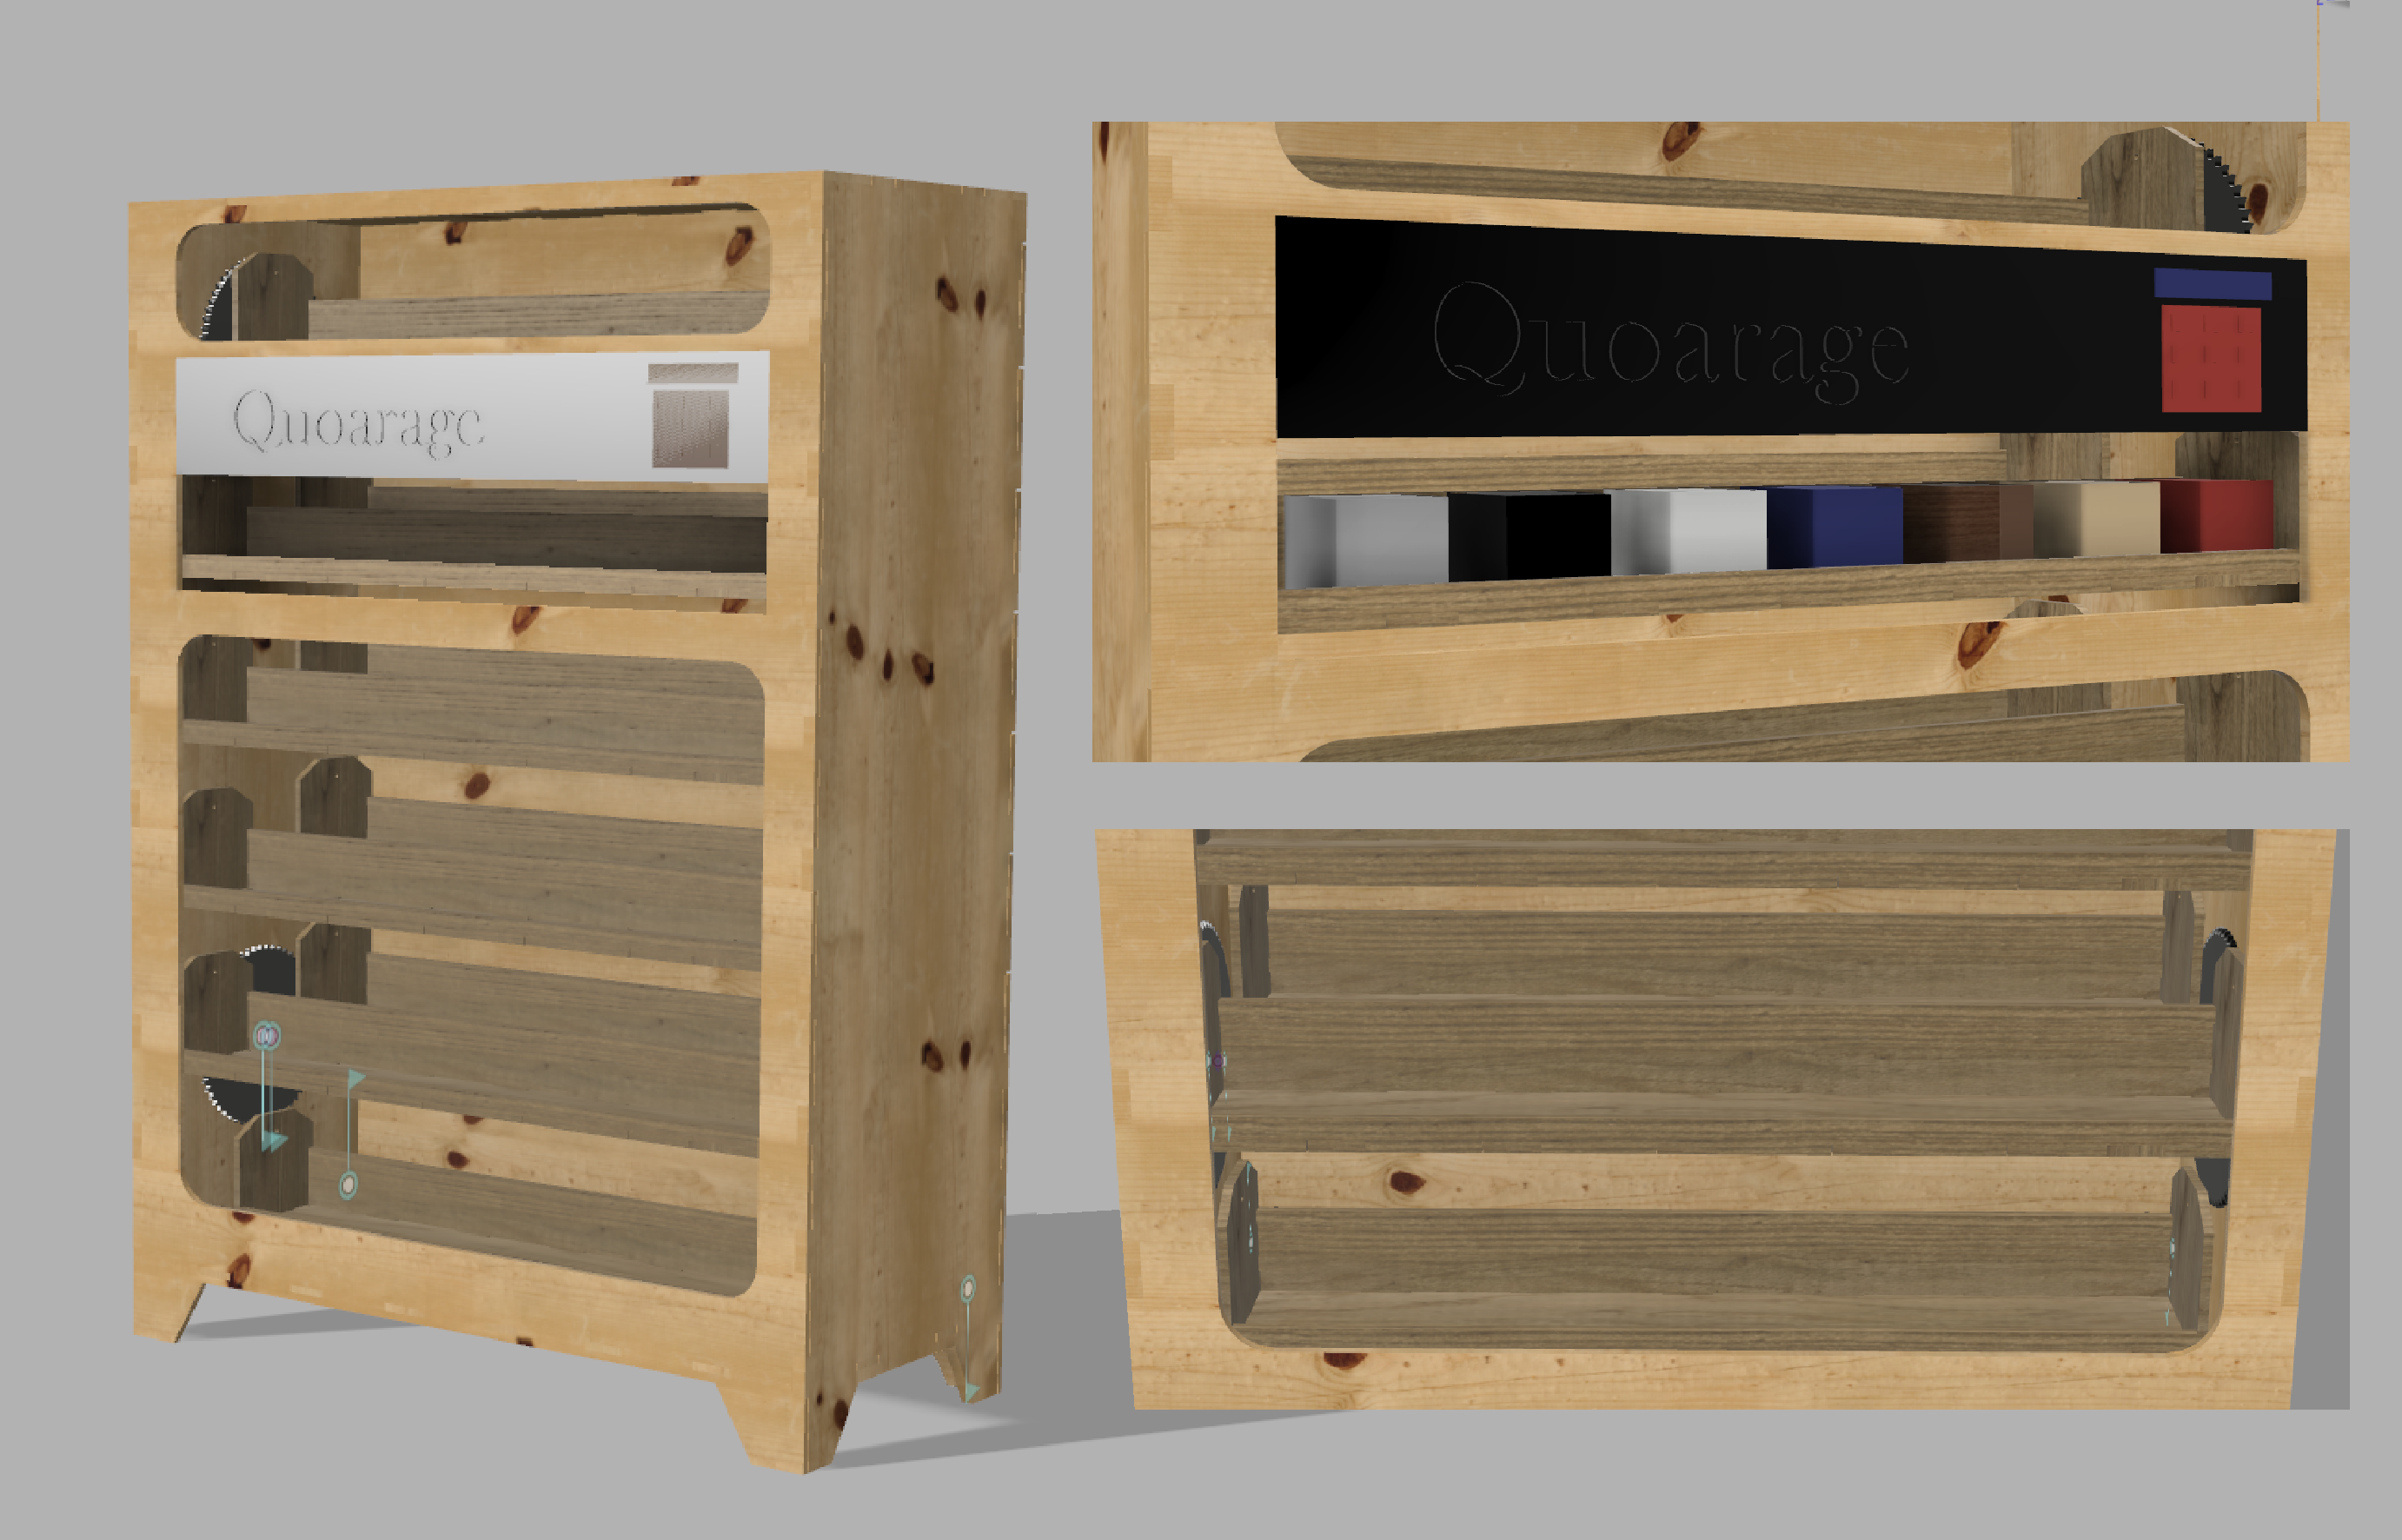
Them i remake the design the locker with real dimension cut eadge por cnc router.