Molding and Casting
01
Asigment
Group Asignments
Review the safety data sheets for each of your molding and casting materials then make and compare test casts with each of them.Individual Asignment
Design a 3D mold around the stock and tooling that you'll be using, machine it, and use it to cast parts
Resource
Software
Group Asignments
02
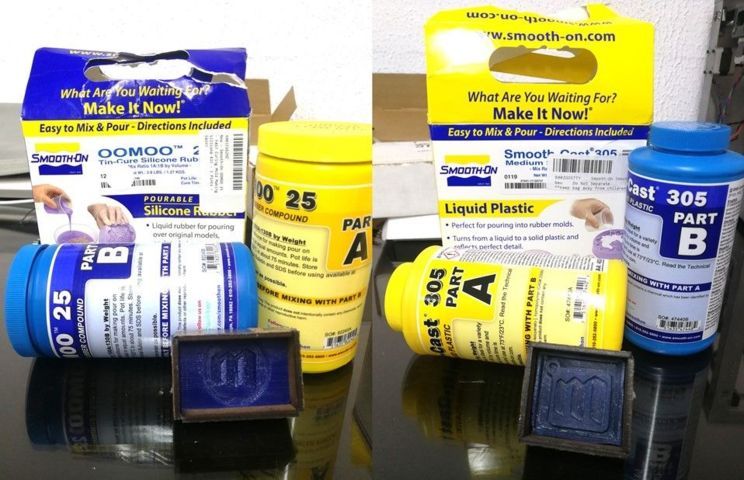
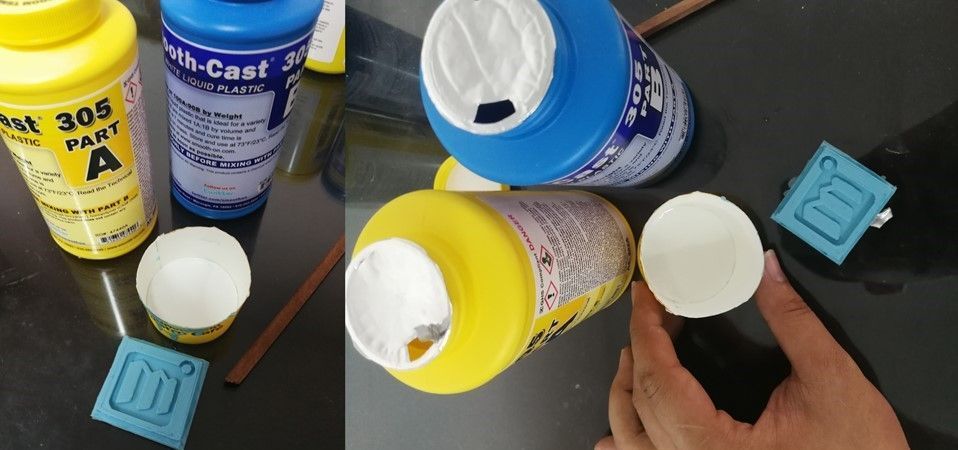
These are the products we use for this assignment where there are two parts that are mixed to rear a rigid or elastic caompuesto and for that, I must use some tool of use and I have security.
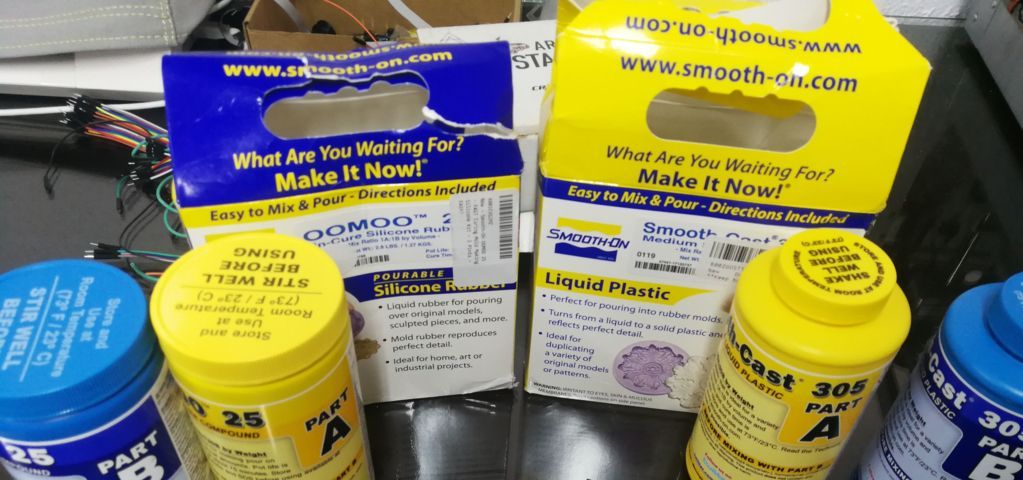
In the house of each non-sidic product some rules of use, even has a channel on youtube of the correct uses of it.

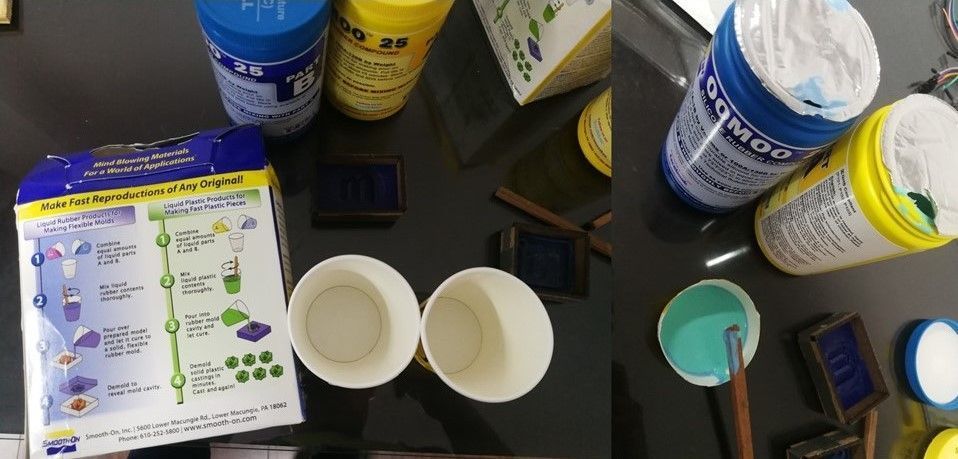
Then we used the papra product to carry out some tests, the test consisted in pouring the material into a sealing piece and see its material properties and the curing time of each one.
Individual Asignment
03
With the help of the local instructor and the fablab tutorials I have thought about how to design the mold methodology, in question of orientation if it is positive relief to the negative and from negative to positive. drawing a sketch of the size of the wax and the mecamaker logo.
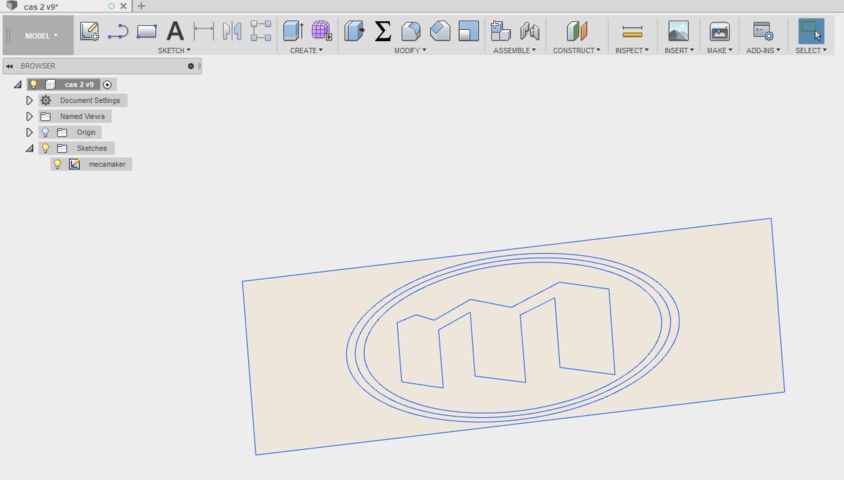
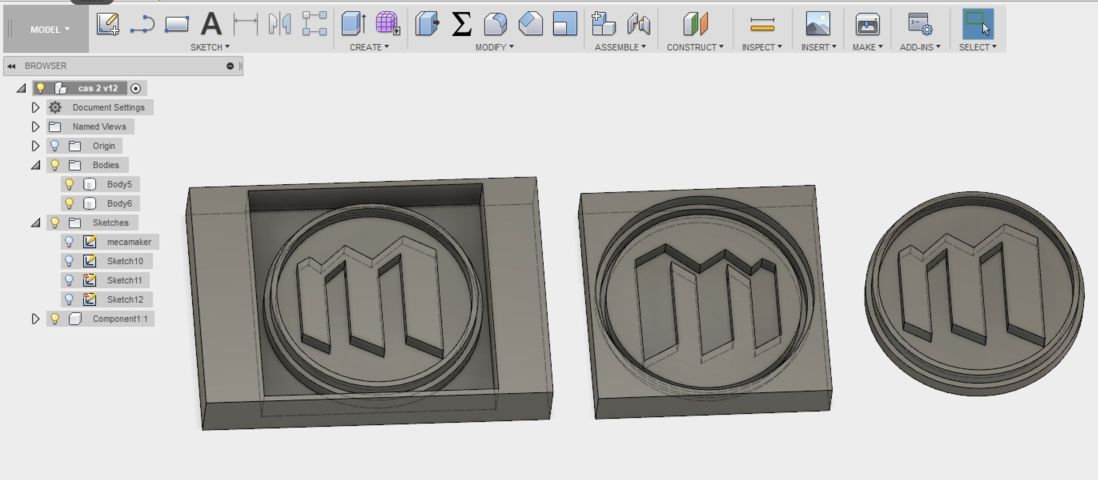
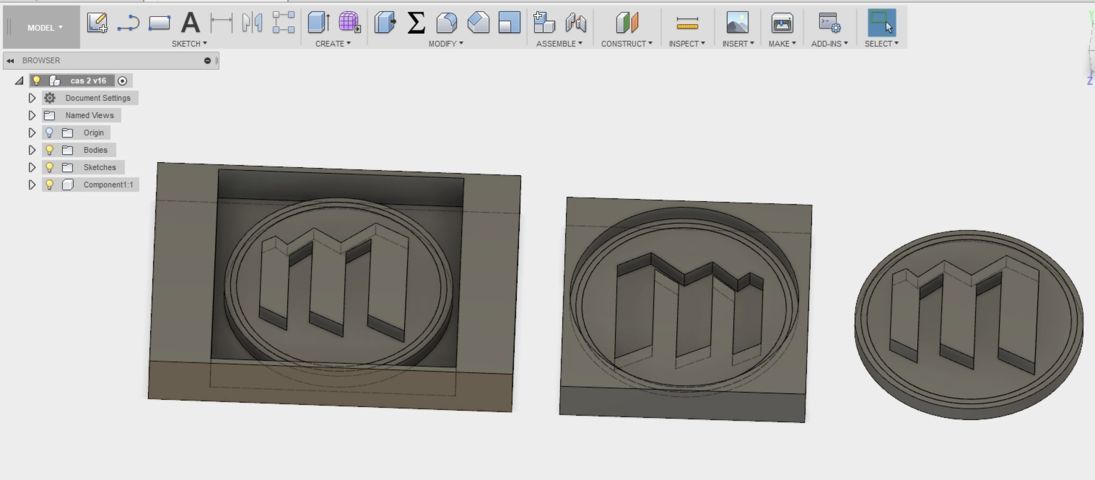
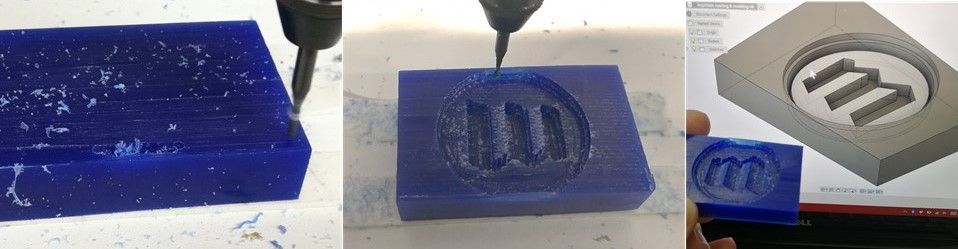
here we can see a 3D modeling of the mold that should be made or have. It consists of creating a seal.
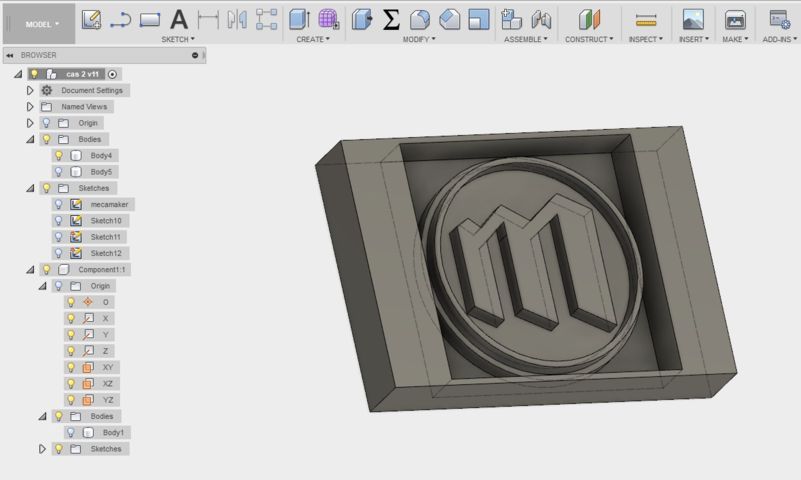
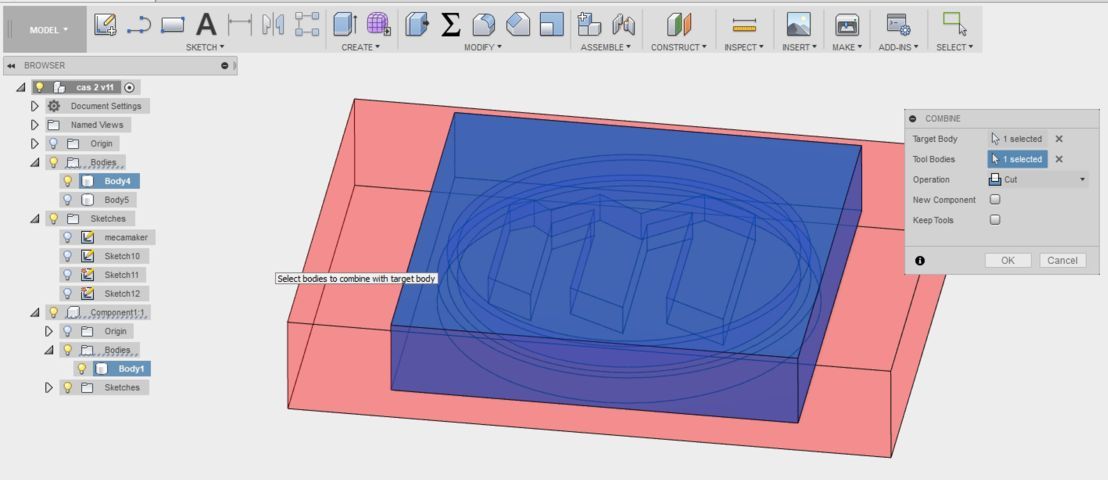
and to have the counterpart I have drawn a rectangular square in the same area of ??the previous model.
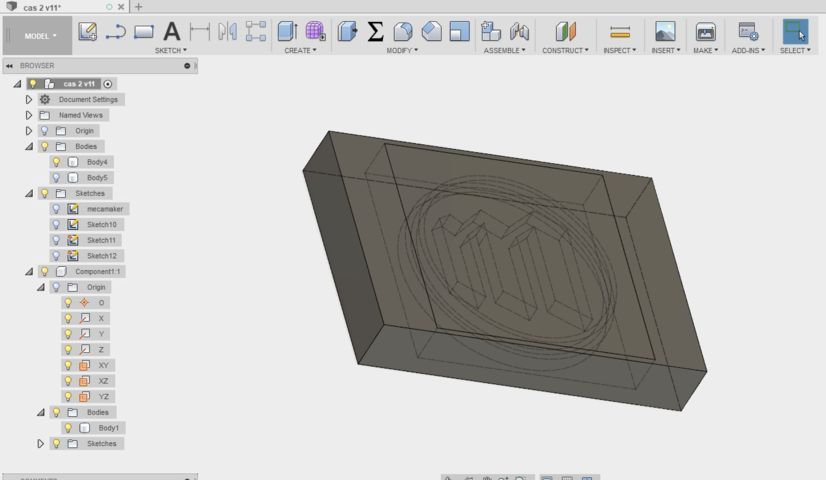
to then use one of the commands to compile that the program offers us.
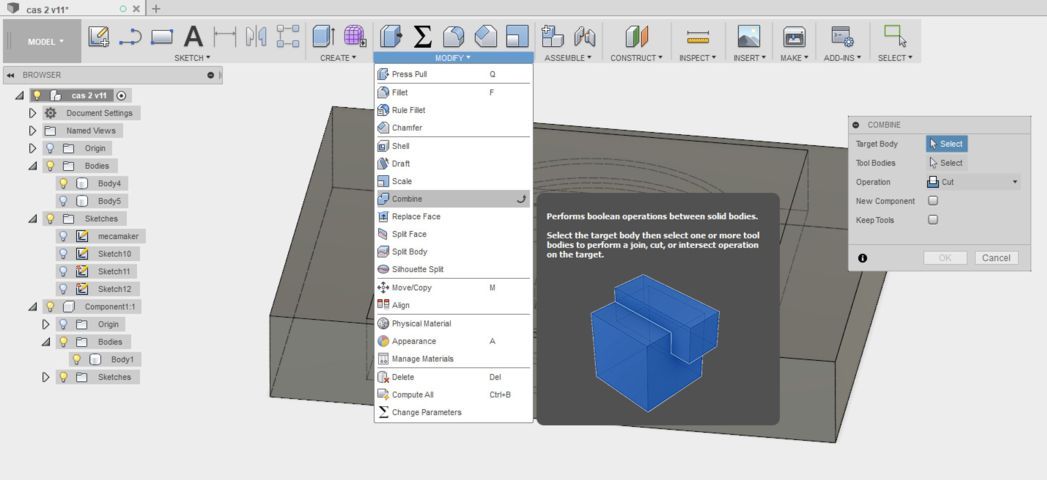
in this conbina command there are 3 forms of combination: 1 join, 2 cut, 3 intersection.
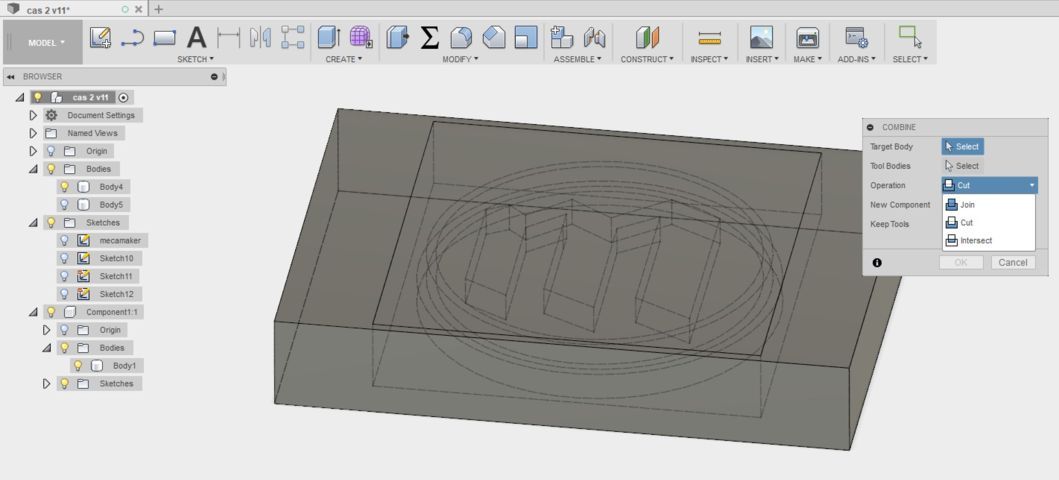
I used the intersection method of two model combination. So I can get a sketch of a model or the semi final product.
and so I keep the 3 model that should be done.
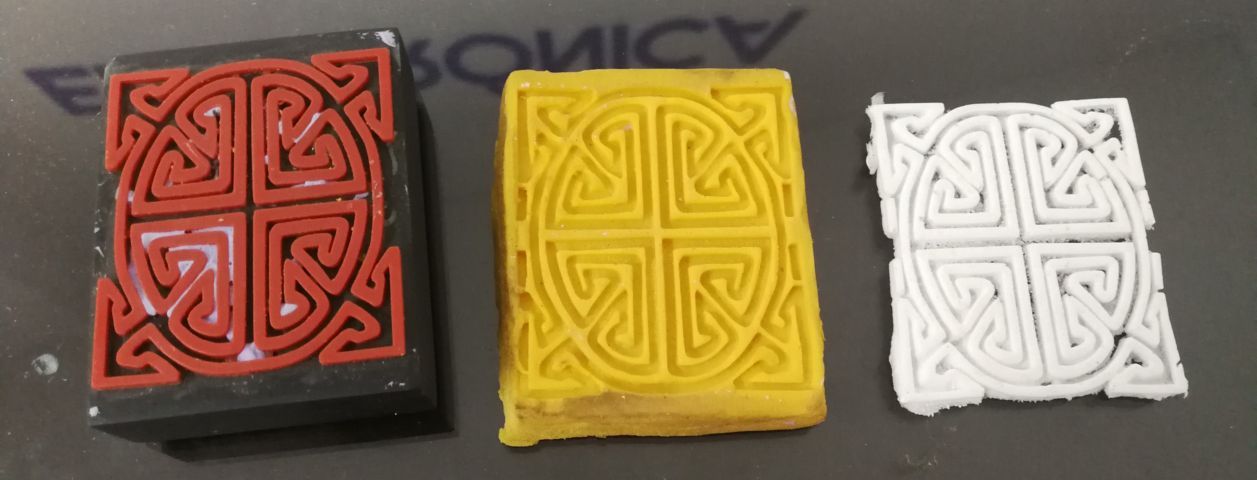
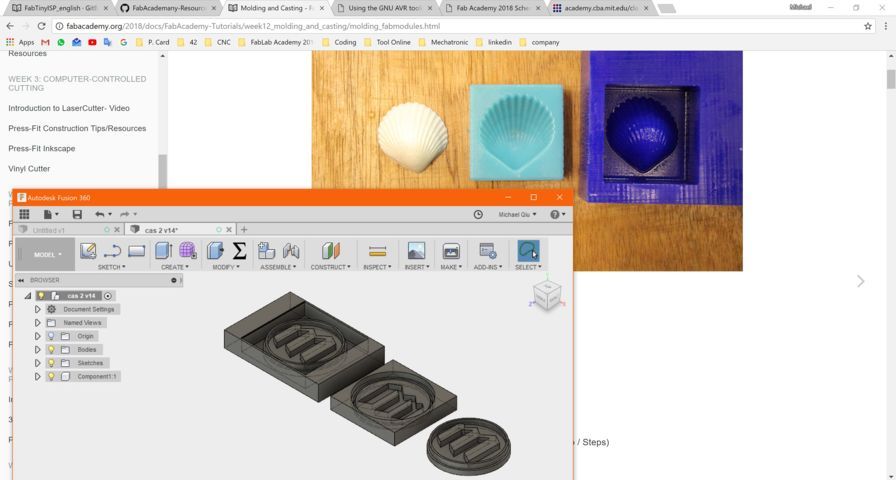
Here I have the comparison of my sketch and the real pieces of fab tutorial.
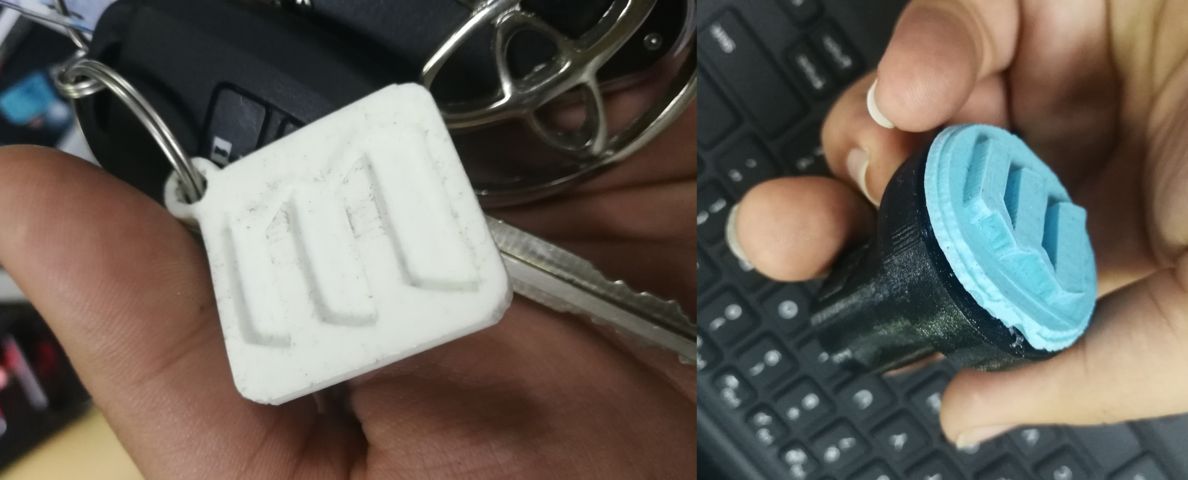
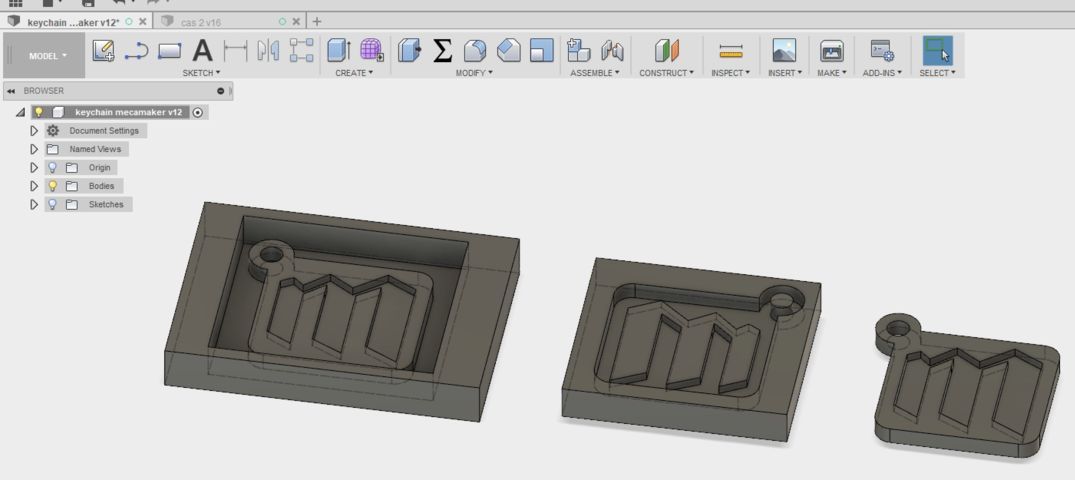
I have also done the same technique to make a keychain in the same way as the seal.
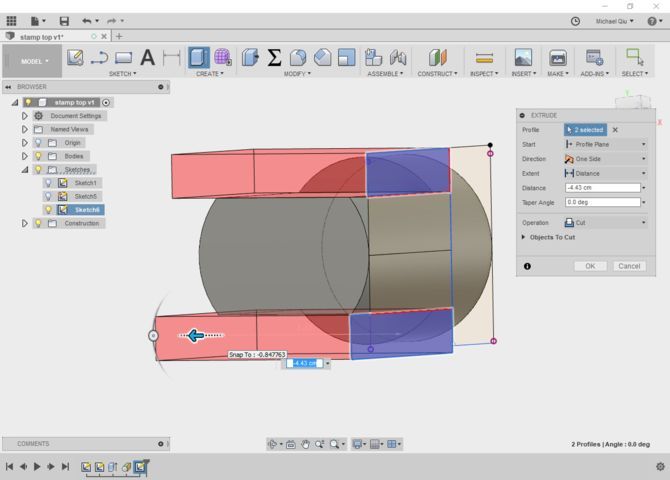
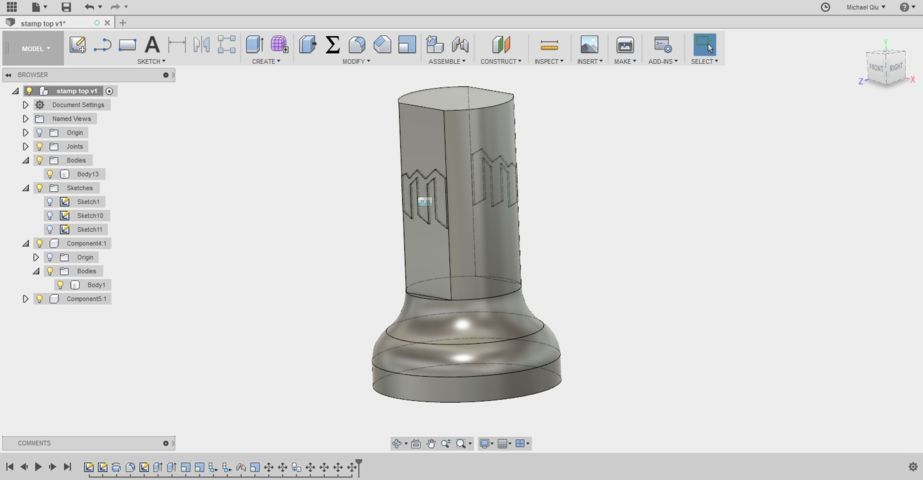
Then I designed the base or the handle for the seal.
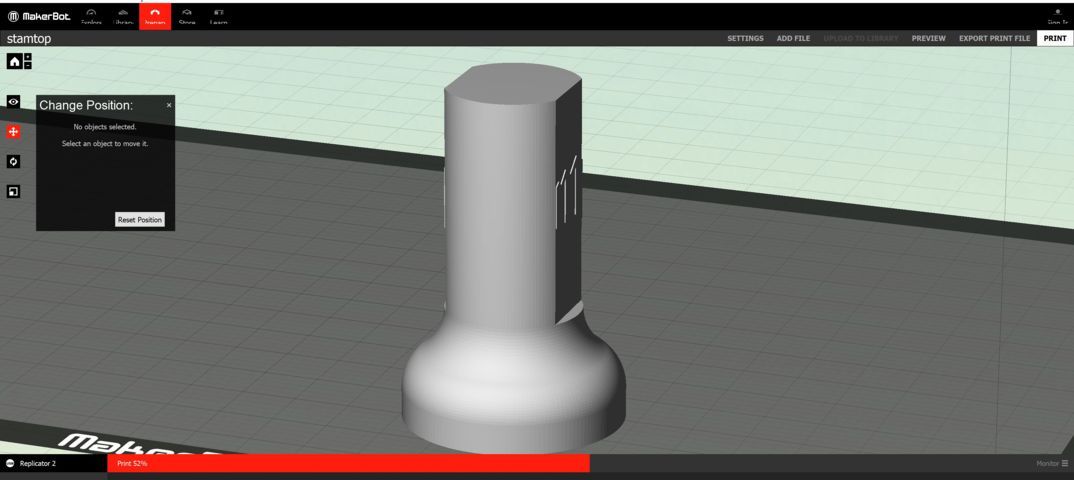
I have printed in 3d the models of the handle for the stamp.
Once the .nc file is obtained which is the code for the GRBL cnc driver program. Make the 3d cut in the milling with a soft wax material but the surface did not come out as expected. which was a question that to configure in the program the parameters of the blade.
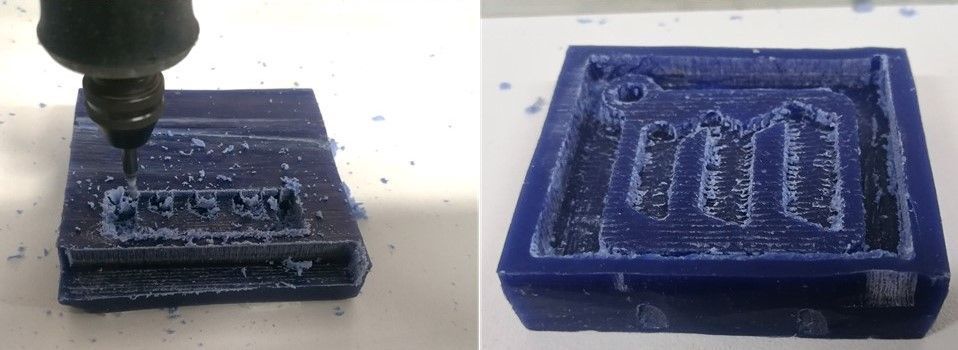
I also started to make the model of the stamp on the milling machine with a more directed material but they continue to be waxed.
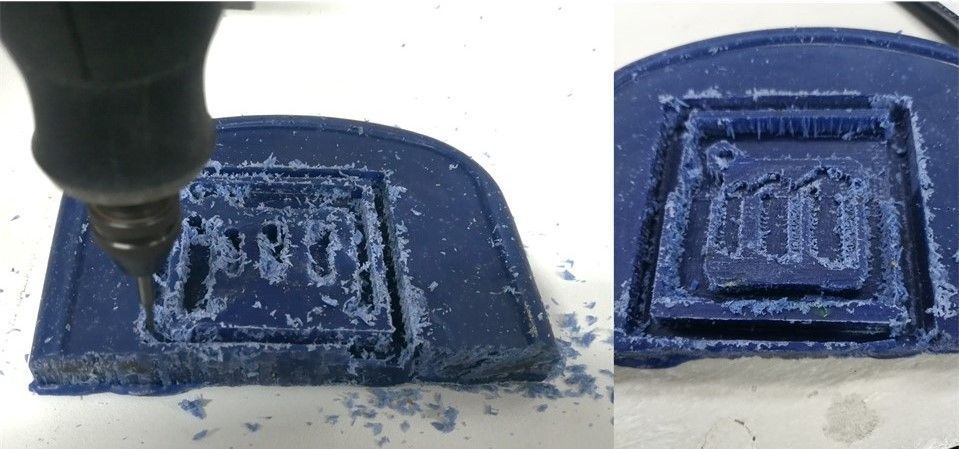
after reconfiguring the drill bit's prarameter for the .nc file, the wax remained well
Then classify the 2 part products with their mold made in the milling to be more organized.
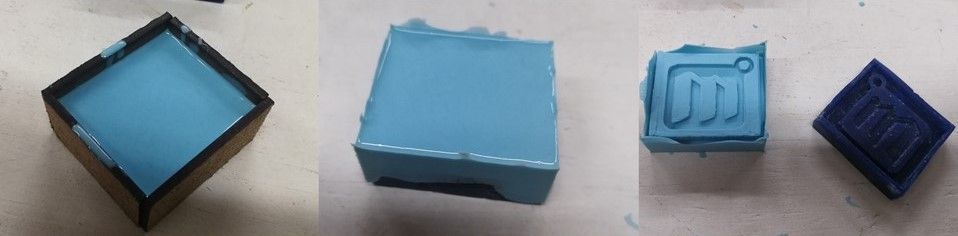
Then make some box in the laser machine cnc to support more material that is going to pour and not mess and stain all the surface of the table.
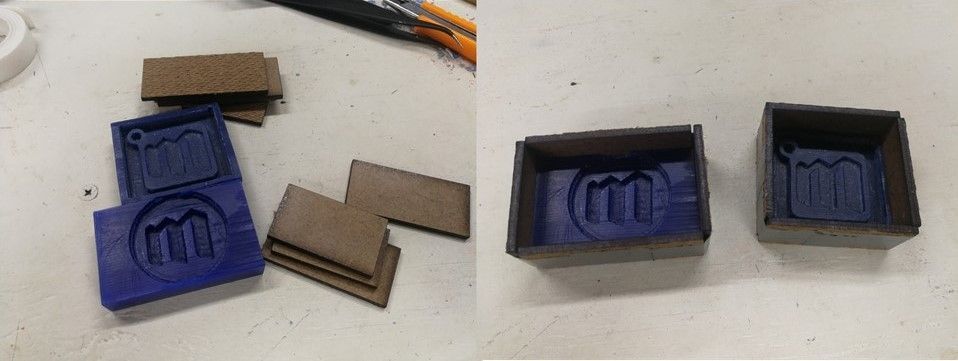
I organized the material to pour into the mold, the box with the flexible material for the stamp and the other with the rigid material for the keychain.
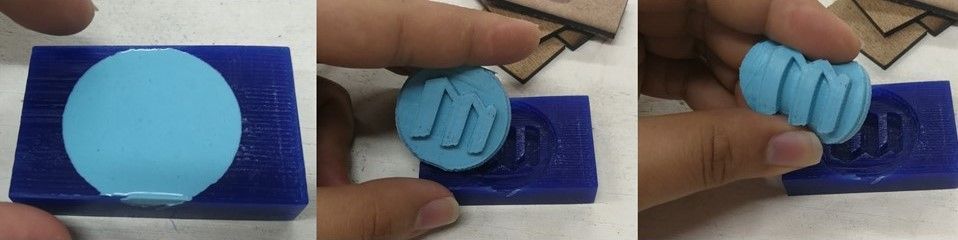
Following the steps shown in the box of the two-part raw material, the materials must be the same amount. in this case I used the flexible material.
I perform the same flexible mold processes. since I need to see the following material to have the rigid key ring.

The healing time for this flexible material is 12 hours.

The next day the mold is already curved and can be taken out of the wax mold and the detachment of the box made in laser.
It then performs the mixing of the rigid material to make the key ring. with a minimum part since not much material is required.
I've poured it slowly so as not to lose interest.

the curing time is 30min and I have taken it out of its mold.
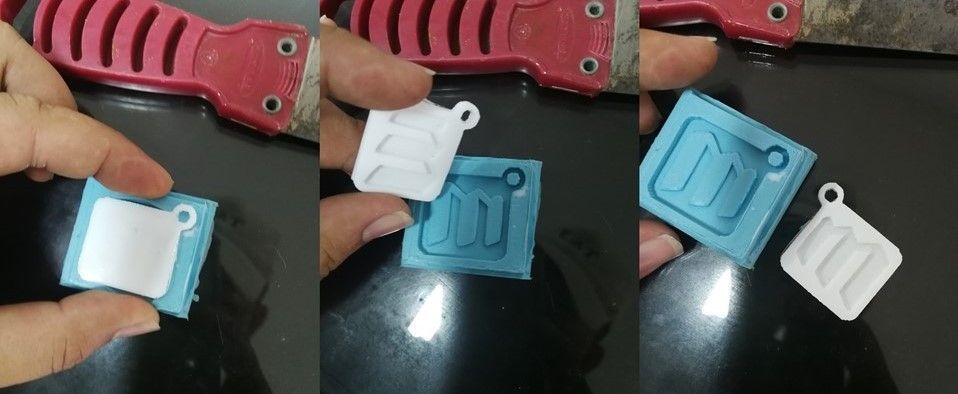
here we can see the part of each process that you perform for the key ring and the seal.
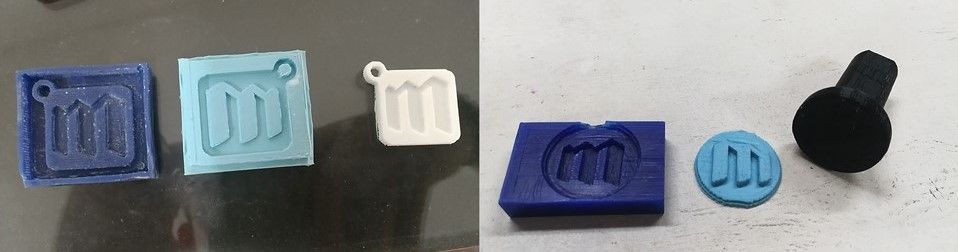
Final product.