ASGMT: group :
use the test equipment in your lab to observe the operation of a microcontroller circuit board
individual project:
redraw the echo hello-world board add (at least) a button and LED (with current-limiting resistor)
check the design rules, make it, and test it
Software:
Eagle- PCB design.The main objective this week was coming to terms with a new way of designing an electronic platform, again going from the digital to the physical.
I started by downloading the software for the Eagle design software and then proceeded to learn the commands via a Youtube tutorial, the product of which is detailed above.
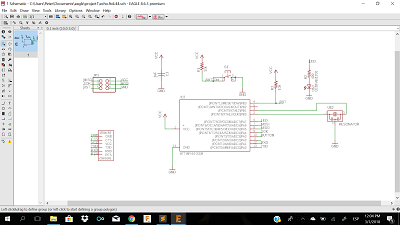
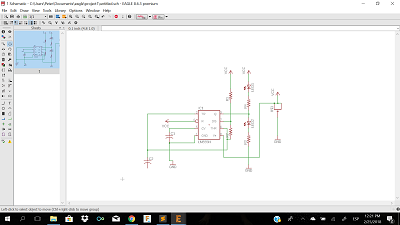
I then proceeded to the FabAcademy tutorial form the week on making the echo board. This part was farly straight forward and encompassed drag and drop for the varios components and then connecting them all together.
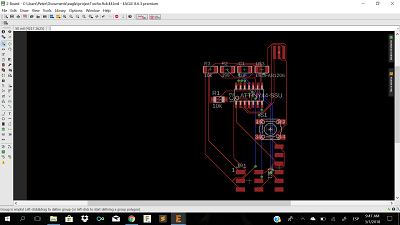
The schematic was then switched to the board layout, which was where the fun(frustration) began. Moving the components around the board in order to make viable circuits. That took a lot of time, even the autorouting function did not do this well.
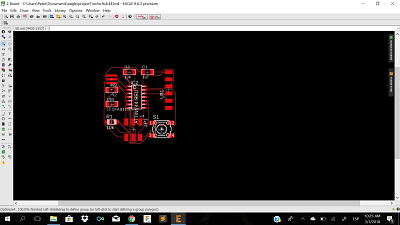
Finally got all the components in place with valid circuits and not too messy. DRC check was applied to ensure no evident mistakes.
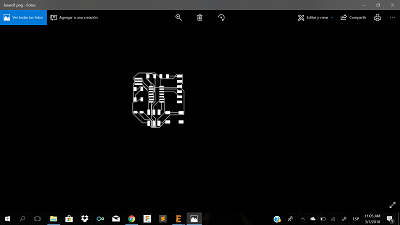
This layer was then printed as a png file. Need to check on milling bit on machine at EcoFabLab to see if the tolerances on the board are ok.
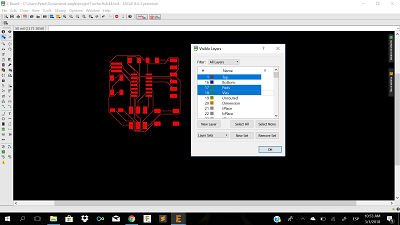
This is just a close up showing some of the mistakes inherent in the board structure.
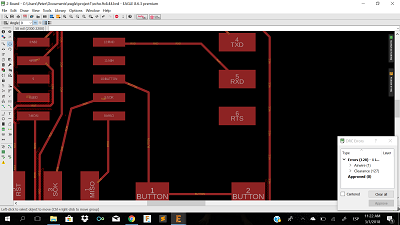
And the file board file ready to be printed,
.