Team Assignment
- Characterize Lasercutter
- Test parts
- Cutting settings
- Dimensions
.png)
First
Before starting the cutting process, we must always bear in mind some safety considerations.
- Do not open the protective cover during the cutting process.
- Do not open the protective cover of the cutter until the exhaust system stops.
- Adjust the distance of the laser lens to the surface of the material
.JPG)
.JPG)
.JPG)
Second
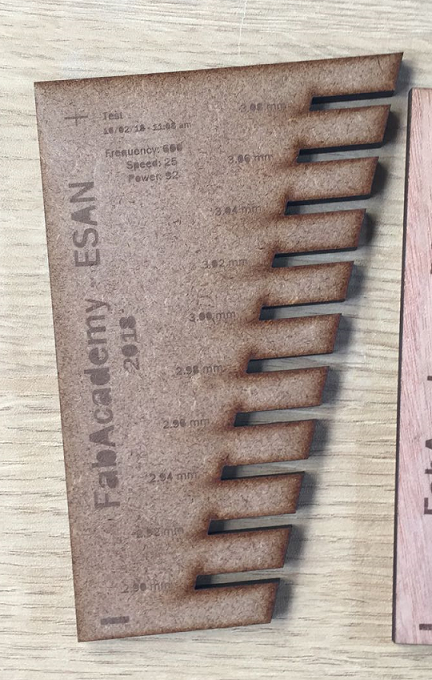
We receive the instruction to cut MDF, Acrylic, Cardboard and Plywood in diverse thickness as follows, acrylic: 3 mm, 4 mm and 6 mm; cardboard 4 mm; plywood 3 mm and 4 mm.
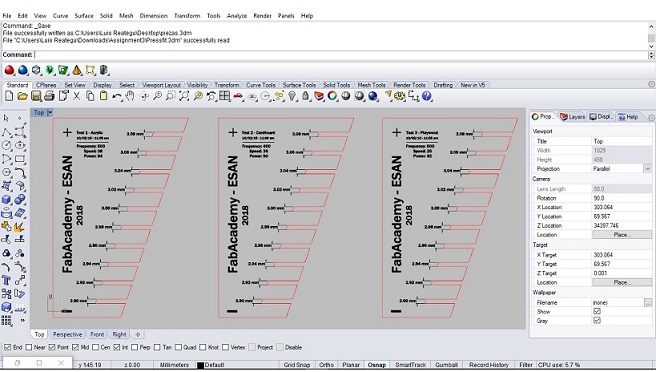
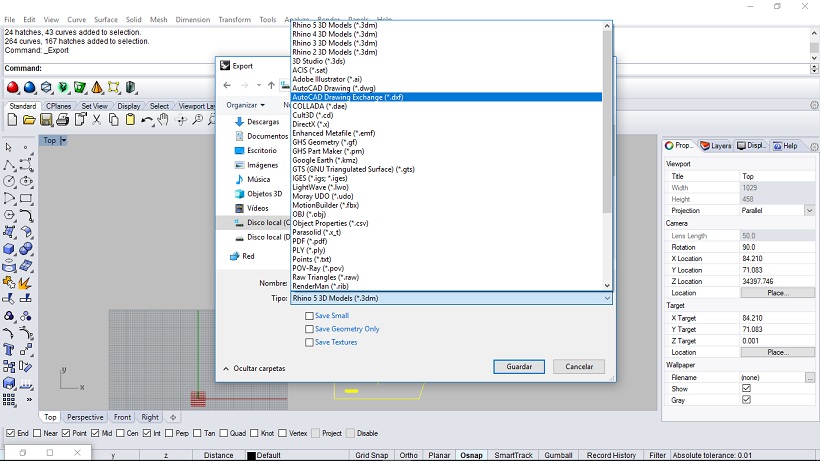
Then we start drawing in Rhino the figure we previously define with the team, then test diverse types of power, frequencies and speed as we try every different materials.
Laser cuts examples with diverse type of cuts, material density. We use observation to see how the materials react through the laser cutting process. Some of them are more resistant than others, for example acrylic is hard than cardboard or plywood.
.JPG)
.JPG)
.JPG)
.JPG)
Third
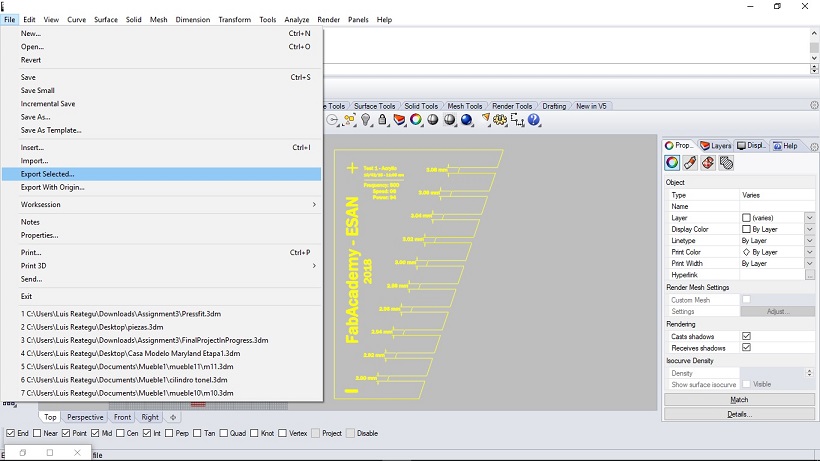
After several tries and failures like migrating the archive from Rhino to CorelDraw, (the first time we use the laser cut machine the result was our design in a short and tiny scale), understand that Trotec Laser Cutter machine that uses red color for cutting, black color for engraving, mirroring and other commands like calibrating when changing the material into the flat bed of the laser cutting machine, we finally did it!
.JPG)
.JPG)
.JPG)
.JPG)
.JPG)
.JPG)
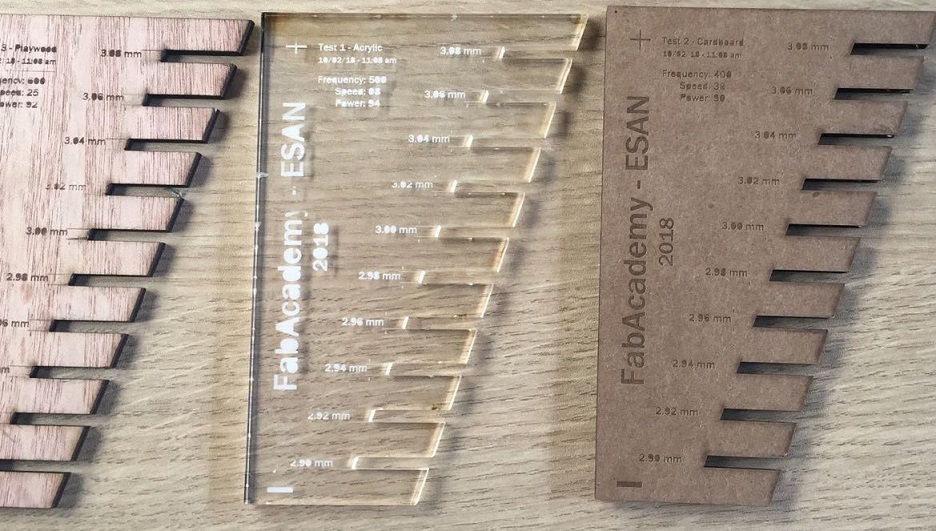
Finally, here we can see the results of testing on various materials.