Week 1
Project Management
This week's theme was "Project Management", here we saw the state of the art of everything related to web publishing,
videoconference communication, cloud storage, project tracking, version control,
very interesting and useful for what would come.
The objective of this week was:
- Build a personal site describing you and your final project.
- Upload it to the class archive. Work through a git tutorial.
Build my personal site
I work in software development, so the construction of websites, source code managers and integrated development environments (IDE) are not unknown for me.
We usually work with Visual Studio.Net and Visual basic.Net, c #, Java and as a source code administrator we use the Microsoft Team Foundation and GitLab. In the case of GitLab, all the exchange of information with the repository is done with an open source program called SourceTree. Due to this reason, in order to try new programs, I will take advantage of this project to use html and Git from the command line.
We usually work with Visual Studio.Net and Visual basic.Net, c #, Java and as a source code administrator we use the Microsoft Team Foundation and GitLab. In the case of GitLab, all the exchange of information with the repository is done with an open source program called SourceTree. Due to this reason, in order to try new programs, I will take advantage of this project to use html and Git from the command line.
To give a better appearance to the pages made with HTML I will use CSS styles and Bootstrap, which is a very good framework for designing web applications. On the Internet there are a lot of examples and templates with bootstrap.
The idea of Bootstrap is to define everything through styles that can be invoked within the HTML code, changing its behavior and simple appearance, making the page responsive, i.e. adaptable, all its elements change and are rearranged depending on the device.
The page https://www.w3schools.com/bootstrap4/ default.asp is a good reference guide for all the styles contained in Bootstrap.
I checked several pages looking for a template, but in the end I decided that the most practical thing was to have a simple menu bar at the top and that all the elements adapt to the width of the browser.


Editing HTML pages with Bootstrap can be done in any text editor, but there are also free editors that offer contextual help, color the syntax and show details of each of the many CSS attributes.
Among them we have Notepad ++, Sublime text, KompoZer, Visual Studio, etc. As I had said, I will not use the Visual Studio IDE, for this reason, I have chosen to use Sublime text V3, because I think it is accurate for what I need, fast, allows several pages to be edited simultaneously, colors, syntax, etc.
'
Making the page ...
The distribution of files in the project folder will be as follows:

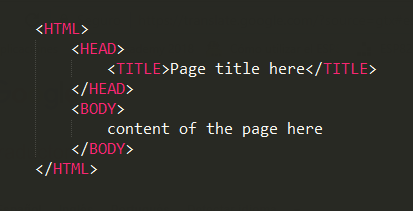
The basic structure of an HTML file is:
To be able to use Bootstrap in HTML you must include the following references in the head tag, after the title tag

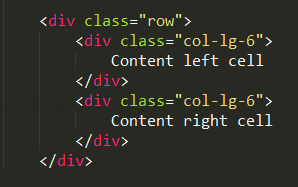
To show the contents for example: in two columns I use the following structure, then fill it with text or some image
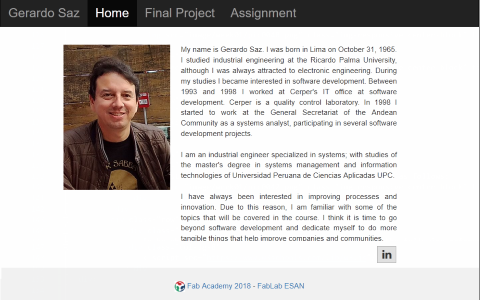
Here you can see my completed presentation page
Upload it to the class archive. Work through a git tutorial
Git
To put it simply, Git is a manager of versions of documents or files that are stored in a repository in the cloud that allow public or private collaborative work. There are several similar ones like GitHub, BitBuked although the most used is GtiLab.


Installing Git
The account manager has already created our accounts, from this moment we can start the connection process, for this it is necessary to install a program that is responsible for communication with the Git server.
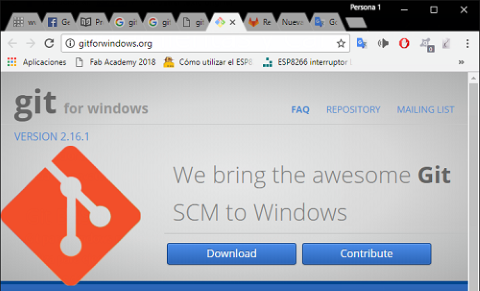
In my case I used Git for windows, I downloaded it from the page http://gitforwindows.org
In my case I used Git for windows, I downloaded it from the page http://gitforwindows.org
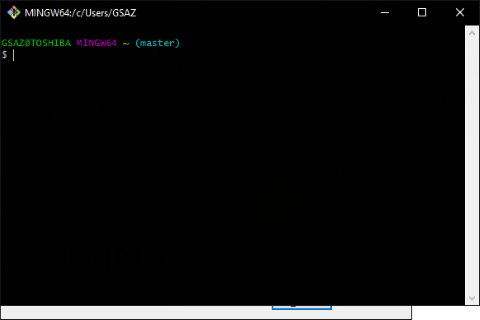
Once the installation is finished, we will find three components:
1. Git Bash, It is a command window that behaves similar to Unix Bash and Linux
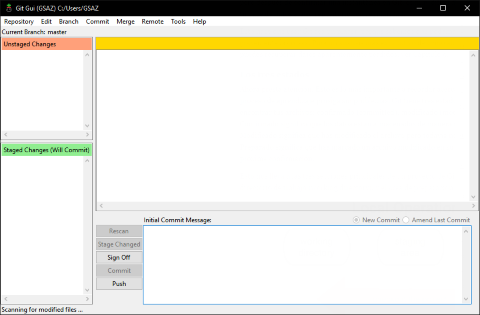
2. Git GUI, It is a Windows-style graphical interface, it has almost all the functions of the Git command line
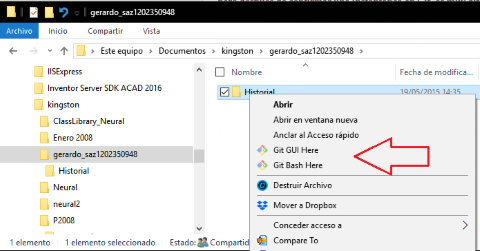
3. Integration Shell, offers an integration to the contextual menu of the file explorer
One of the main points of the use of Git is to understand the three main states for the files: committed, modified, and staged.
Commited: The data is stored securely locally.
Modified: The files have been modified but have not yet been committed
Staged: Files modified and selected for the next commit
Every Project has three main sections:
Commited: The data is stored securely locally.
Modified: The files have been modified but have not yet been committed
Staged: Files modified and selected for the next commit
Every Project has three main sections:
- Git directory: Here the metadata and the project database are stored, this is what is copied when a repository is cloned from another computer
- Working directory: These are the working directories of the project
- Staging area: In this place are the selected documents to send to the Git server
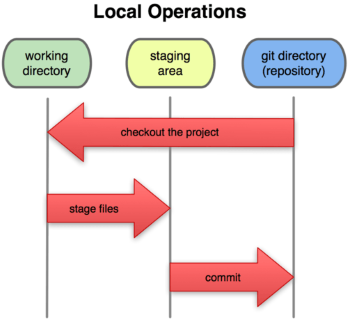
Image source: https://git-scm.com/book/en/v2
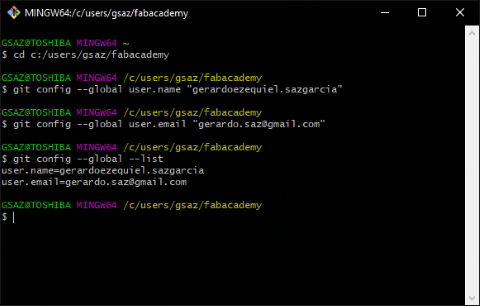
Configuring my user
Now that we have installed the Git, we must configure the user account. For this I will use GitBash.
We have two ways to do it:
We have two ways to do it:
- Open GitBash from the Windows start menu
- Open GitBash from the context menu
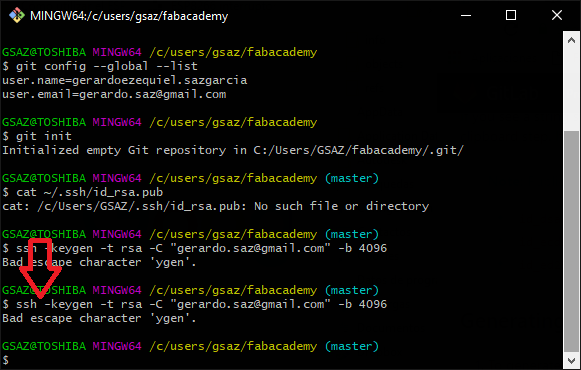
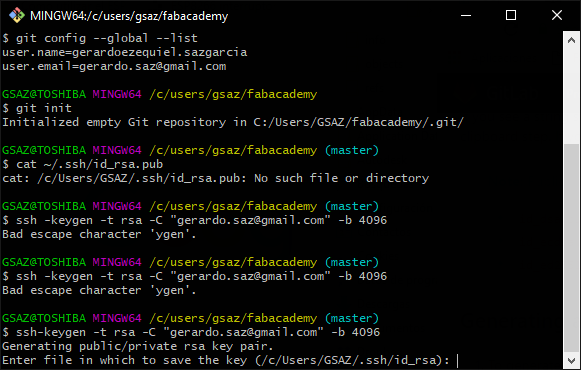
In order to connect to the Git server, we need to create the SSH Key
for that and depending on the operating system follow the instructions
of the link yellow shown at the top of the page of your project Git
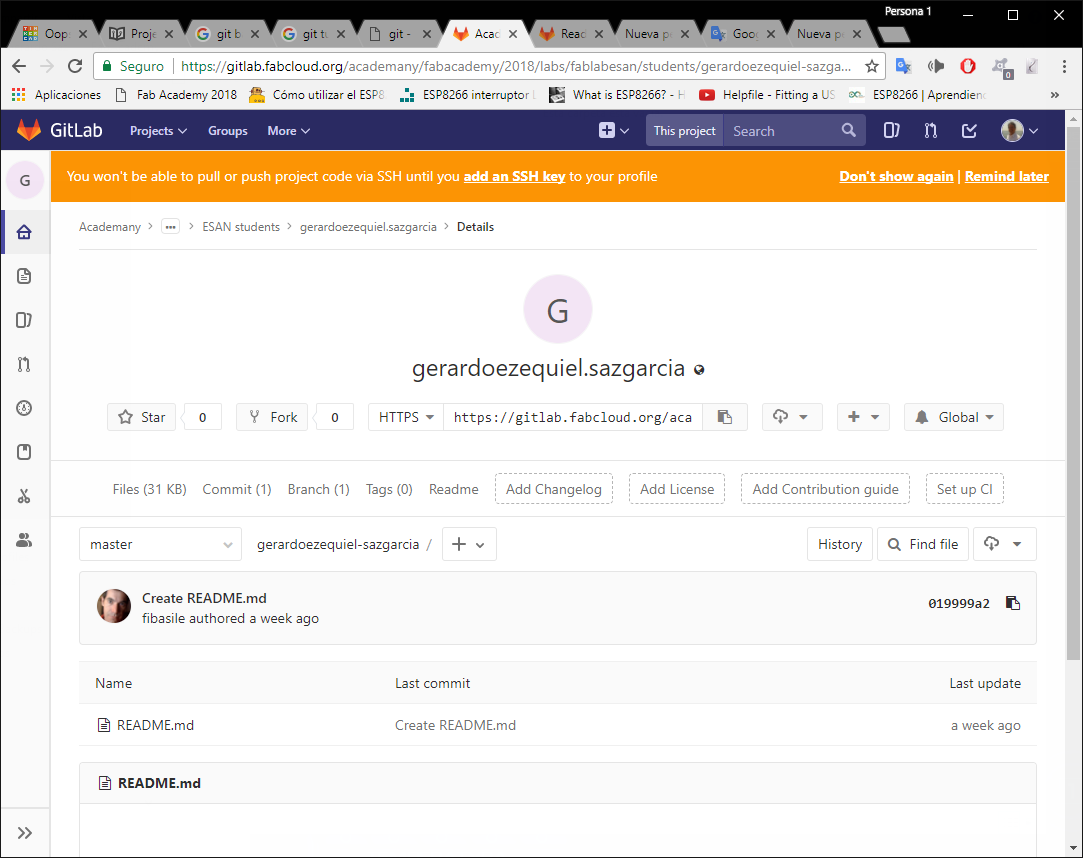
In addition, a local repository for the project must be created
Well, until then I thought that the connections to Git were ready, but not yet. we must indicate to the server Git that programming language we will use so that the server can show all our work, if we do not do this, we will only see a page of "error 404"
Well, until then I thought that the connections to Git were ready, but not yet. we must indicate to the server Git that programming language we will use so that the server can show all our work, if we do not do this, we will only see a page of "error 404"

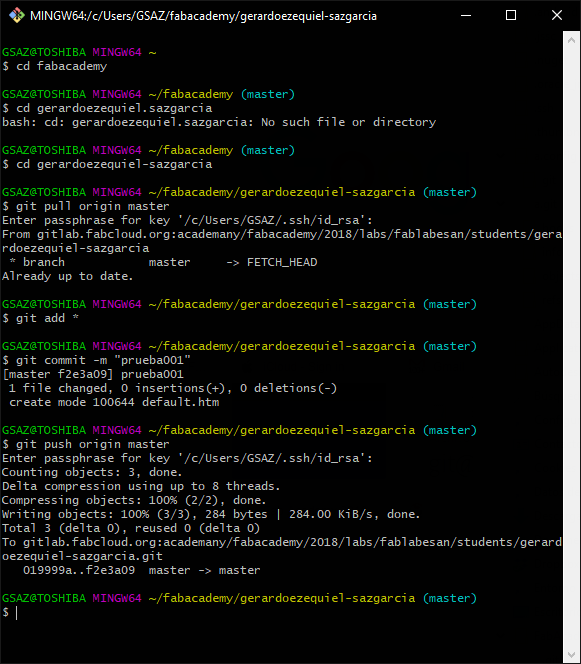
Basic commands
Git status: To see the status of the files
Git add *: To separate the files that will be sent to the server
Git commit -m "message": This command confirms all staged documents
Git push origin master: To send to the Git server