Week 14
Mechanical Design
This week's theme was "Mechanical Design", during this week our creative and teamwork skills were put to the test.
The objective of this assignment were:
The objective of this assignment were:
- Design a machine that includes mechanism +actuation +automation.
- Build the mechanical parts and operate it manually.
- Document the group project and your individual contribution.
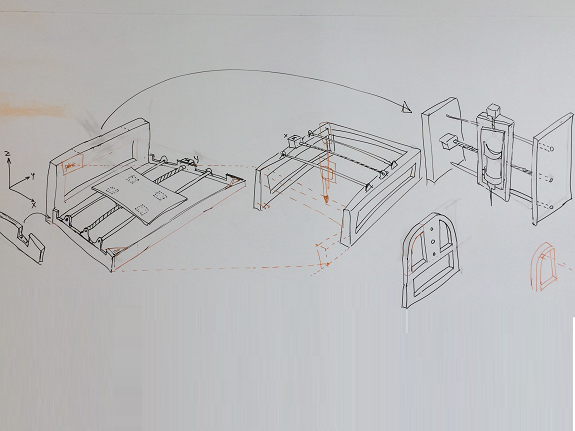
The first thing we agreed on was that our machine should have engines and perform some action on the three axes or at least two of them.
We took a down and began to draw sketches on a blackboard, combining the ideas of all, it was very interesting because at the idea of one of the members of the group, there was another that complemented it or made the error appear.
Our group page
Our group page
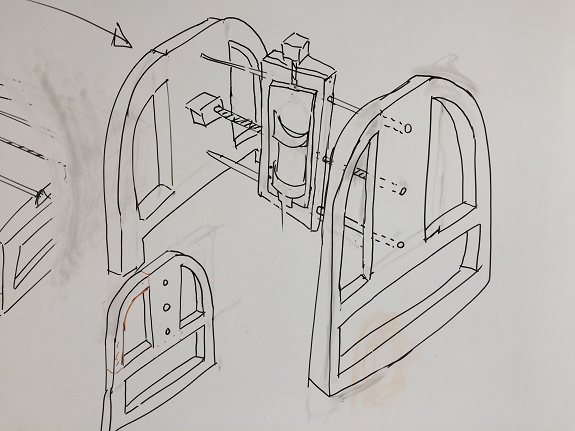
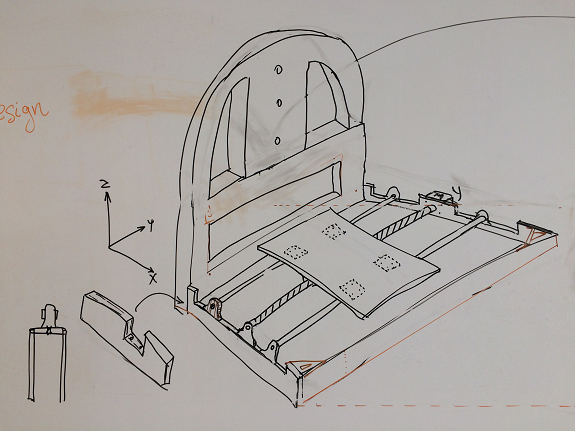
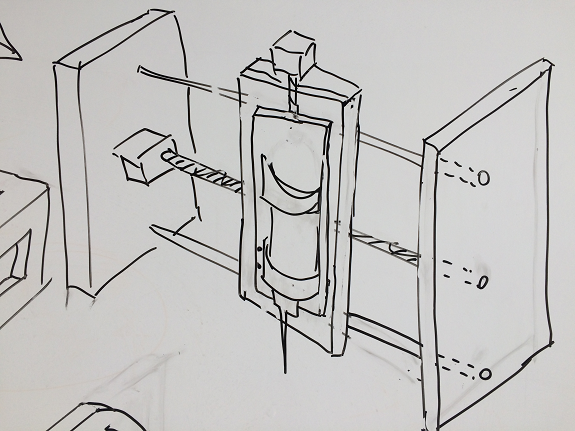
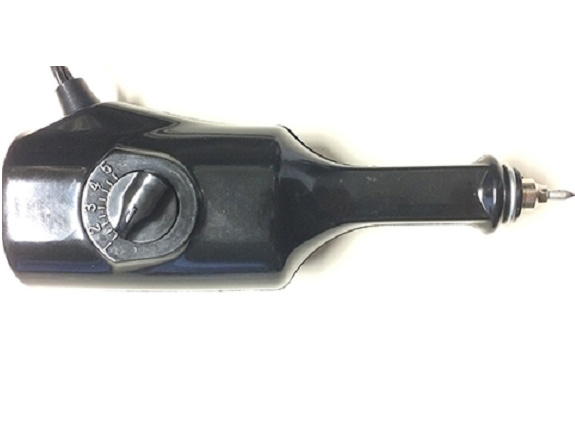
We decided to use a hand-held Engraver, which we would use to make it fit into the machine. The machine would be responsible for moving the Engraver on all 3 axes.
We divided the design work, I took care of the design of the supports for the Engraver and the carriage of the Z axis.
We divided the design work, I took care of the design of the supports for the Engraver and the carriage of the Z axis.
Design of supports for Engraver
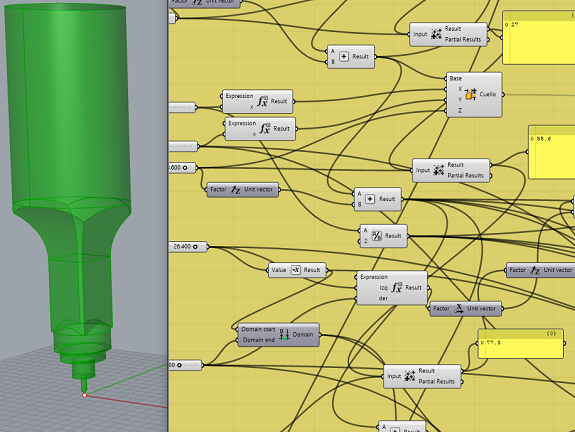
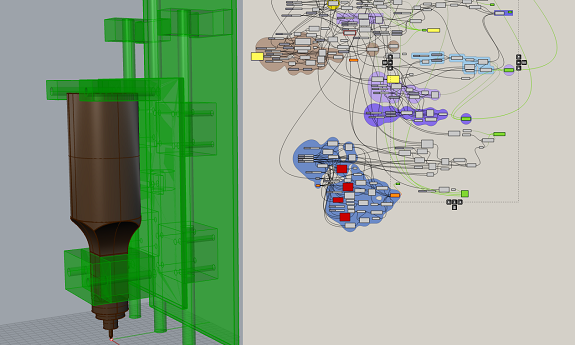
I made the design of the supports in Rhinoceros and the Grasshopper parametric tool.
For this, first I took the measurements of the Engraver and with them I designed a model in Grasshoper.
I made the design of the supports in Rhinoceros and the Grasshopper parametric tool.
For this, first I took the measurements of the Engraver and with them I designed a model in Grasshoper.
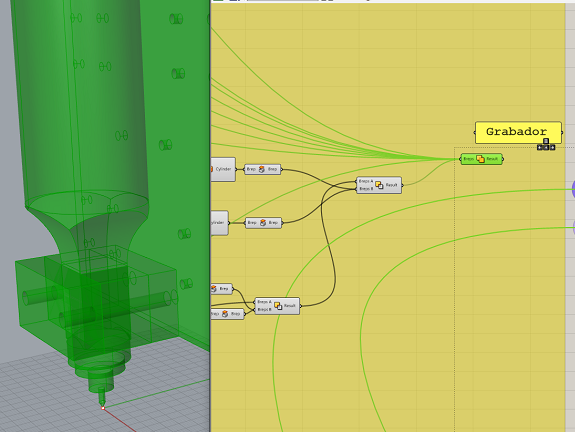
I made the vertical support board, and the lower support.
These are the upper supports
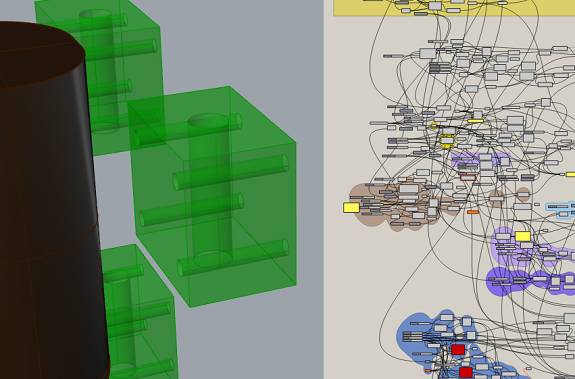
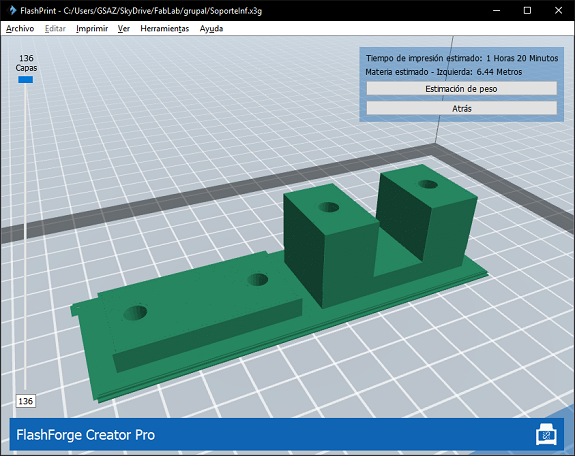
Then design the vertical rods, and their supports, these supports will also be printed in 3D.
These guides are screwed to the vertical plate and through them pass the vertical bars.
RodSupport STL
RodSupport STL

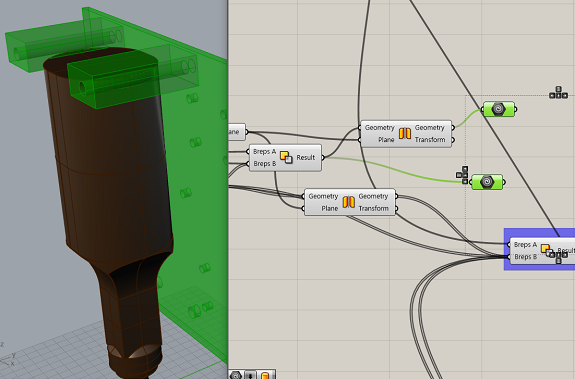
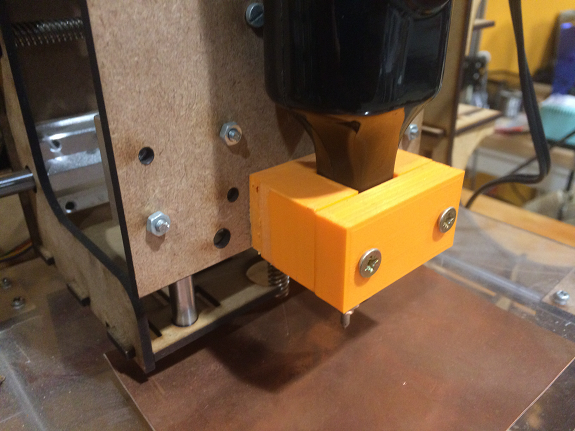
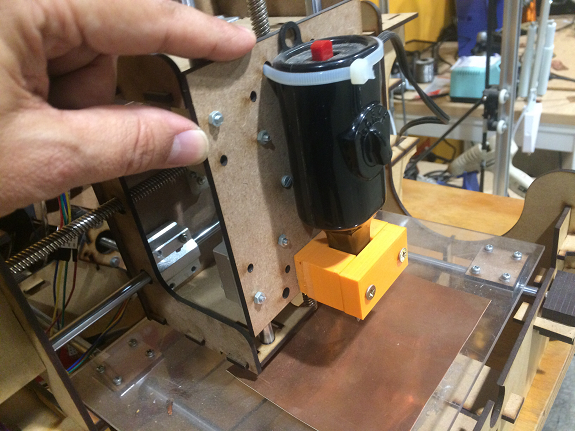
This is the support part of the Engraver, it is formed by two parts printed in orange PLA and fastened to the vertical platform by screws ..
In this image you can see the vertical support platform designed and cut by me in the Trotec Laser Cutter. The piece is totally parametrizable, I designed it in Grashopper of Rhinoceros.
Link to group page, "MECHANICAL DESIGN AND MACHINE DESIGN"
here you can see more information about how we design, assemble, program and run our Engraver 3D.
here you can see more information about how we design, assemble, program and run our Engraver 3D.