Week 1:
Assignment 1: Plan and sketch a potential final project
Assignment 2: Document a final project masterpiece that integrates the range of units covered
Assignment 3: Work through a git tutorial. Build a personal site in the class archive describing you and your final project
Assignment 1 (development): Plan and sketch a potential final project
Mi final project wants to take pictures without human intervention in different angles. The pictures are sending to train a machine learnig engine. After that the final project-device will able to do a recognition with computer vision
Mi final project is locate in another tab
Assignment 2: Document a final project masterpiece that integrates the range of units covered
Assignment 3: Work through a git tutorial. Build a personal site in the class archive describing you and your final project
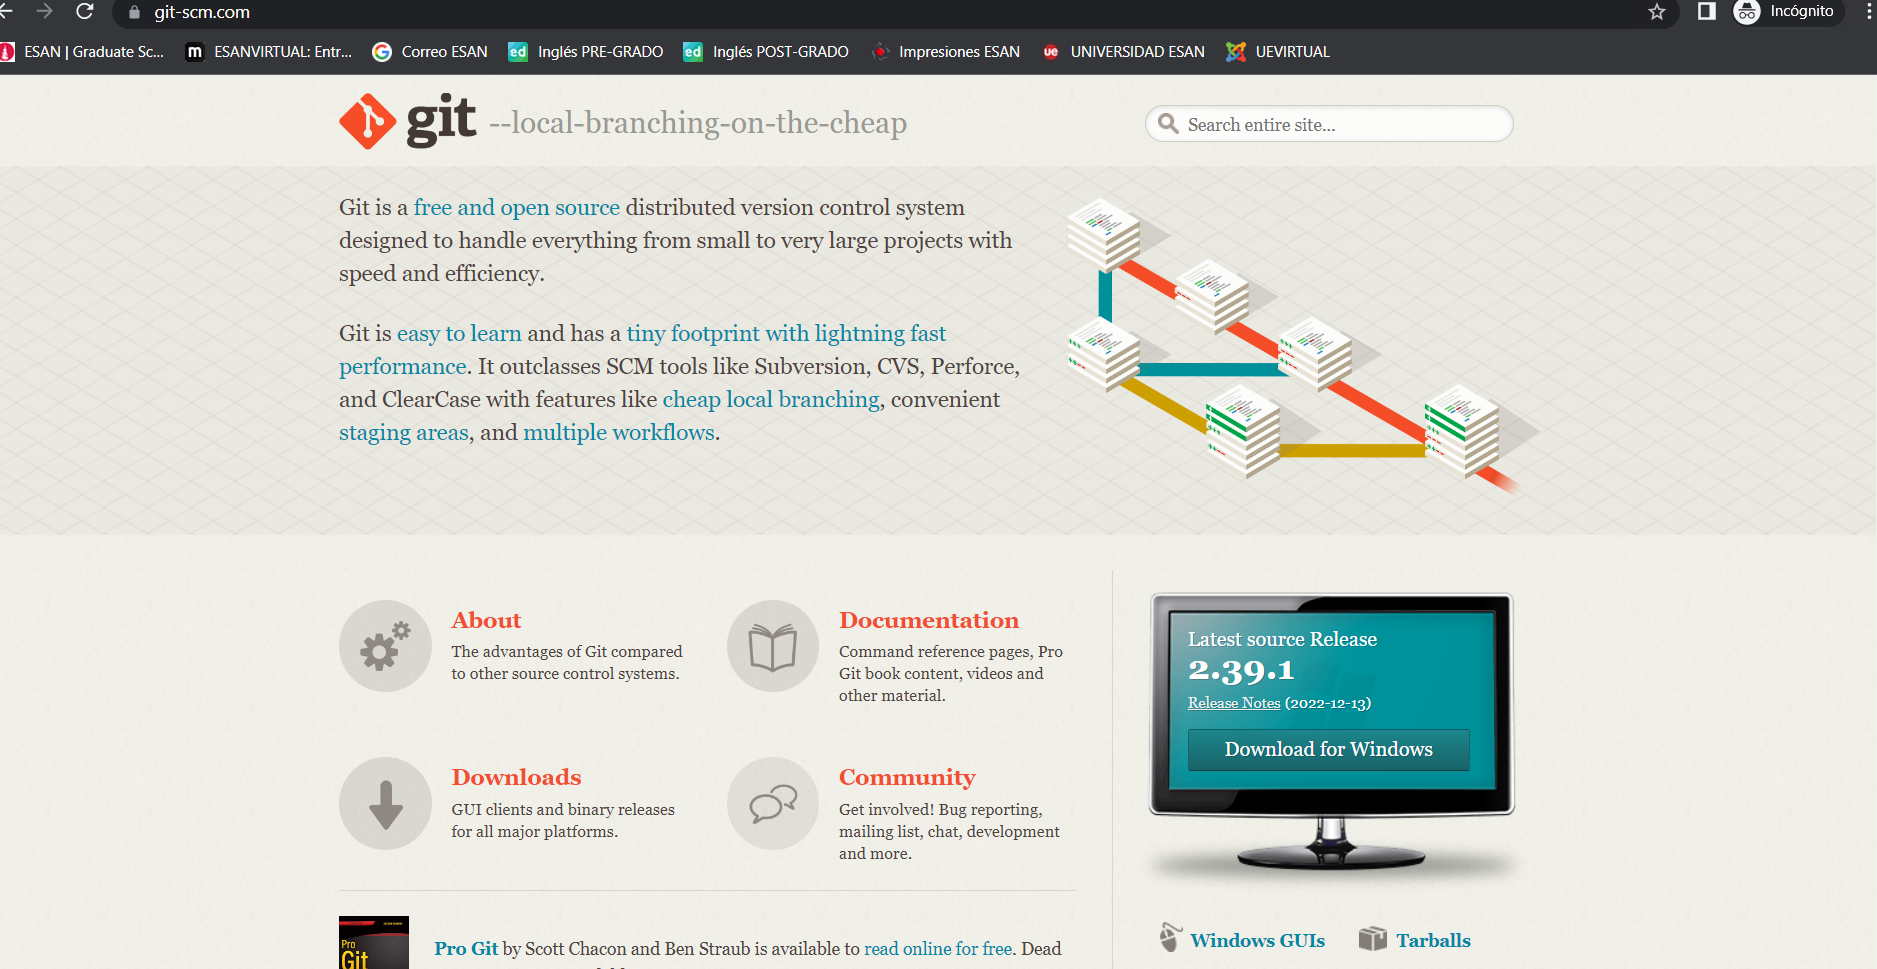
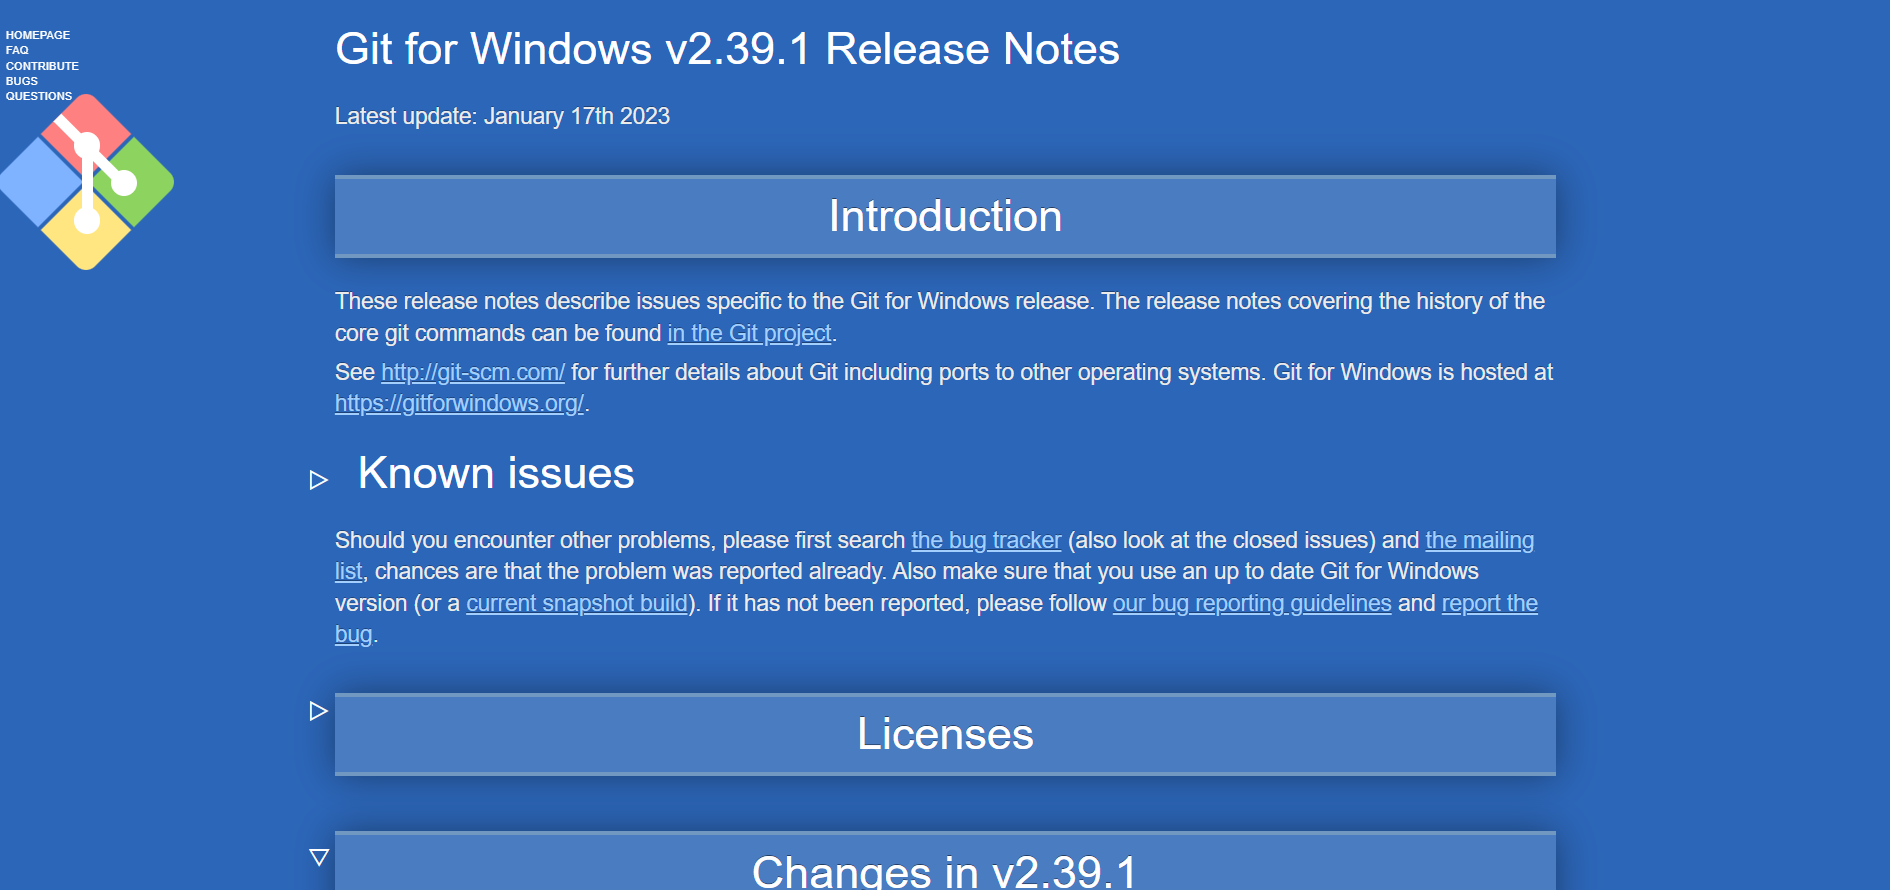
The first step, leave to git page, and click on the download button
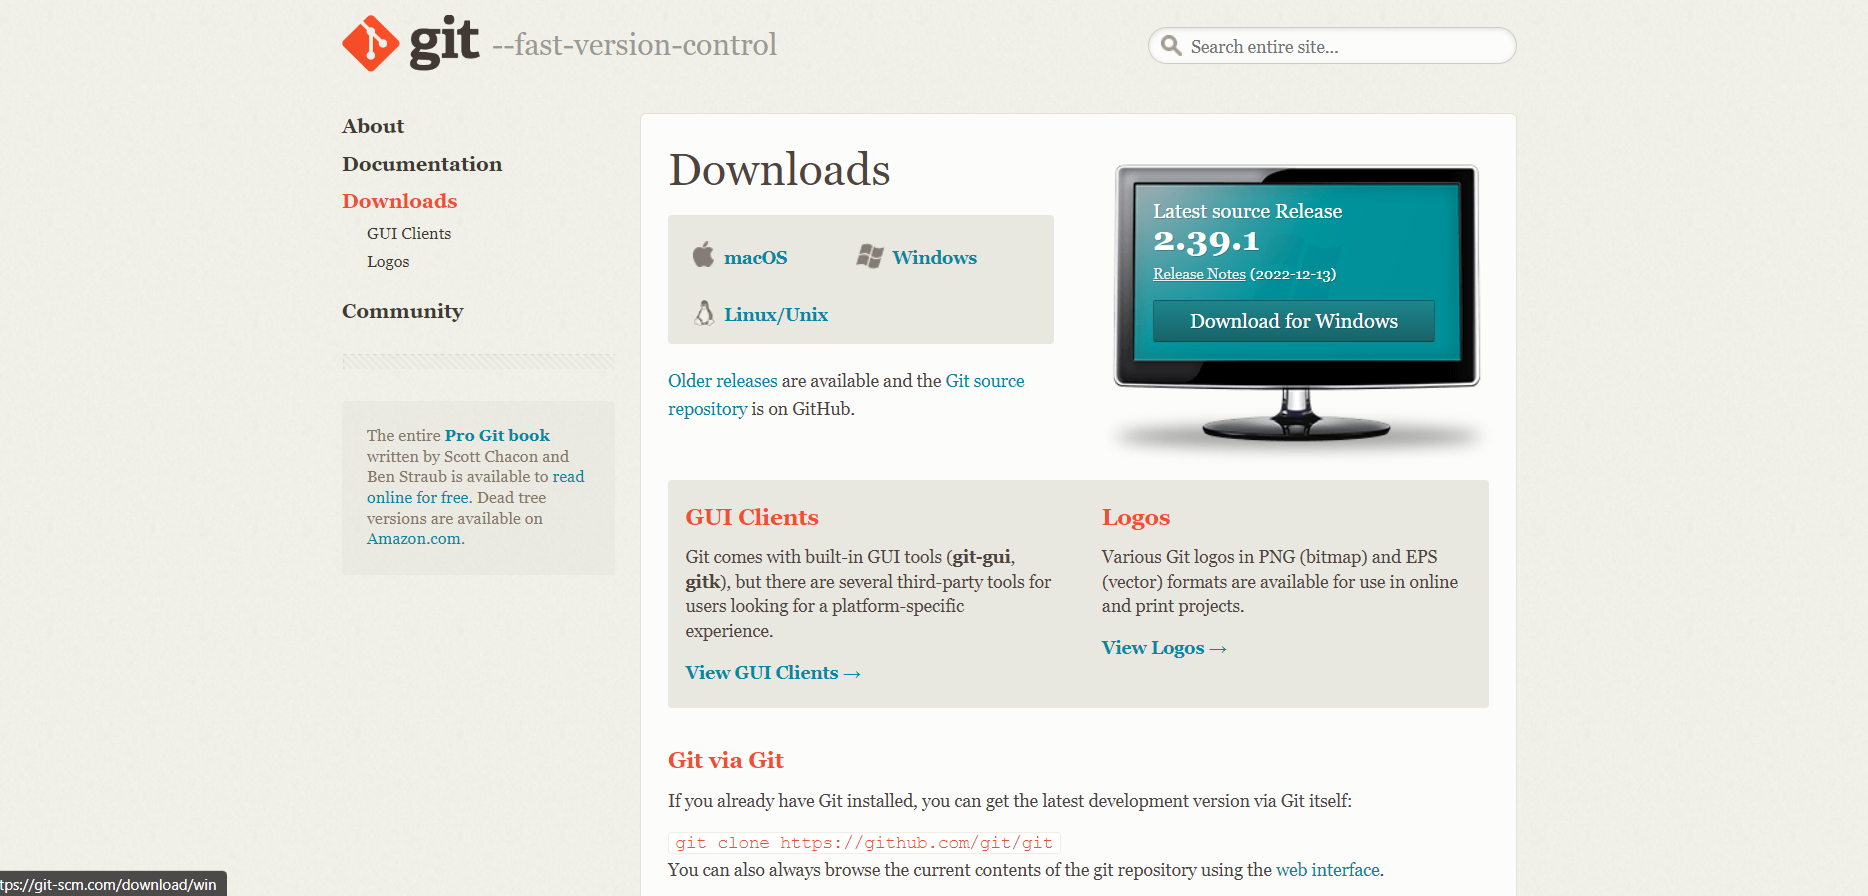
After that we have to download, and decide what system is better for us, in my case I choose Windows
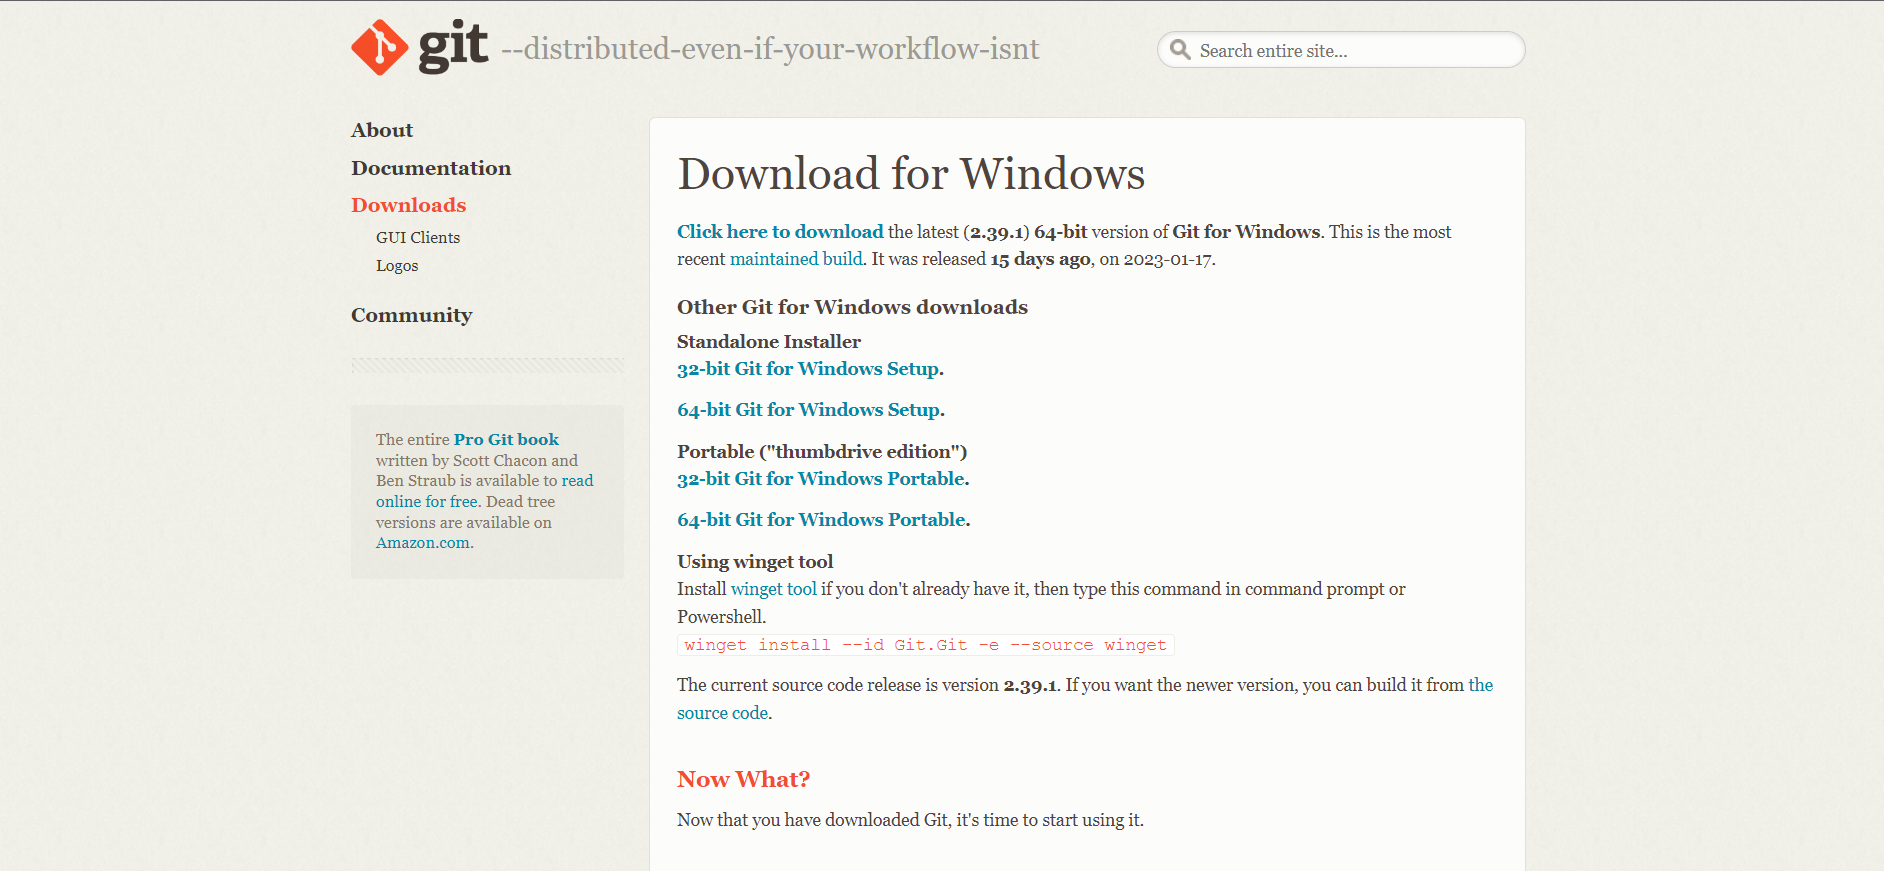
The option that I choose was: "64-bit Git for Windows Setup" (Standalone Installer)
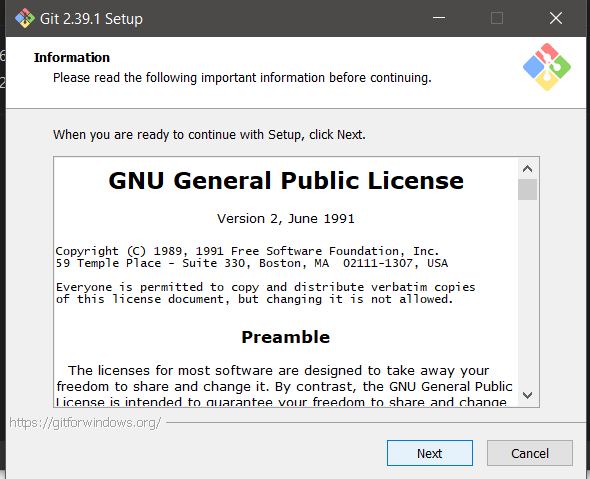
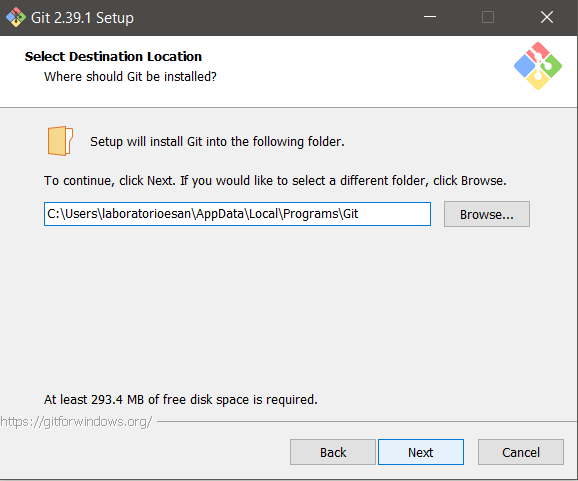
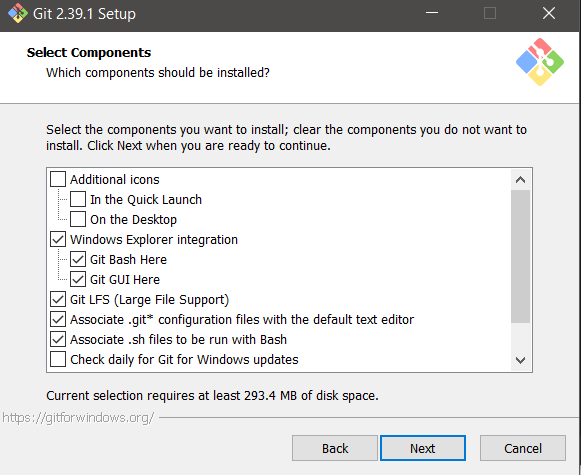
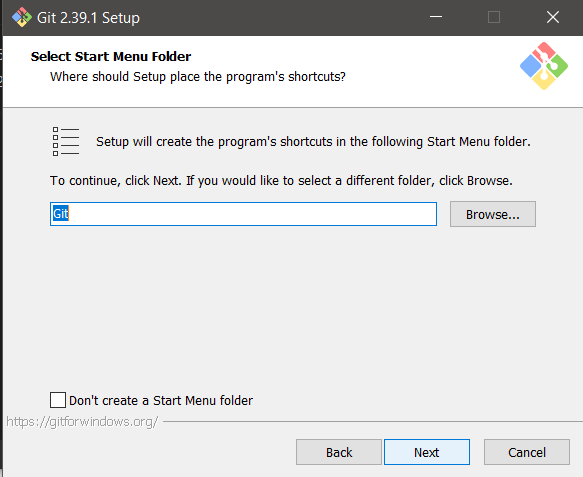
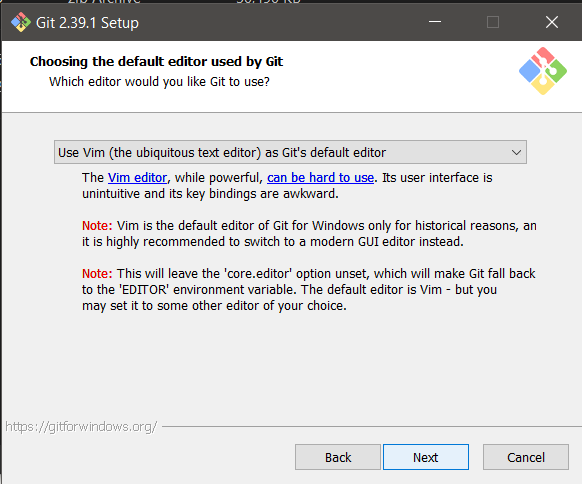
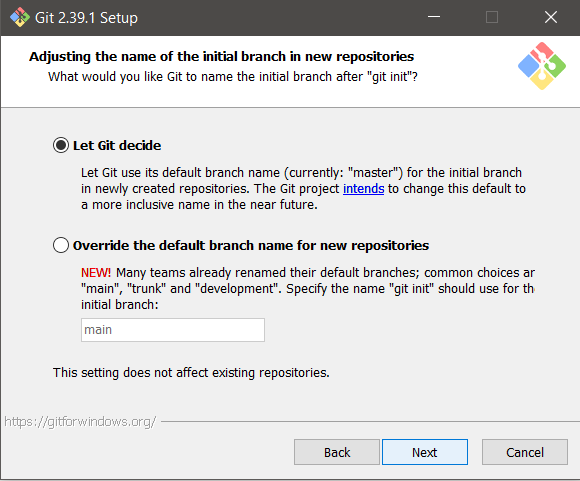
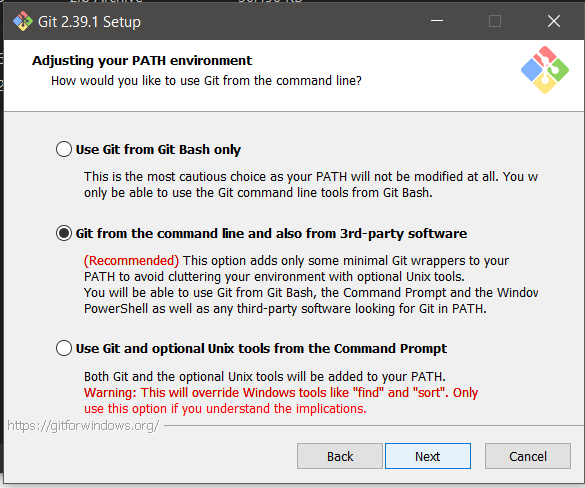
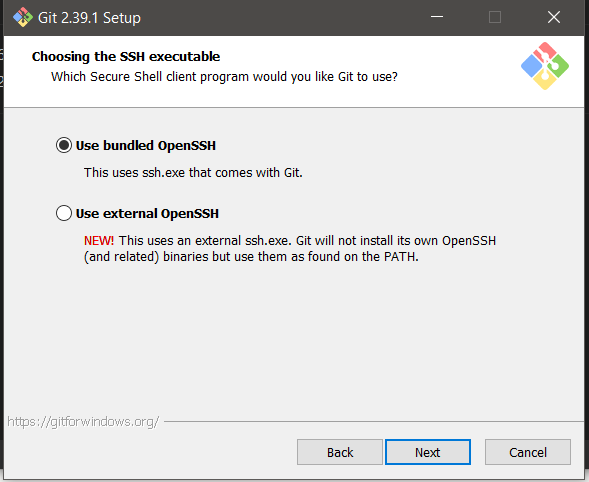
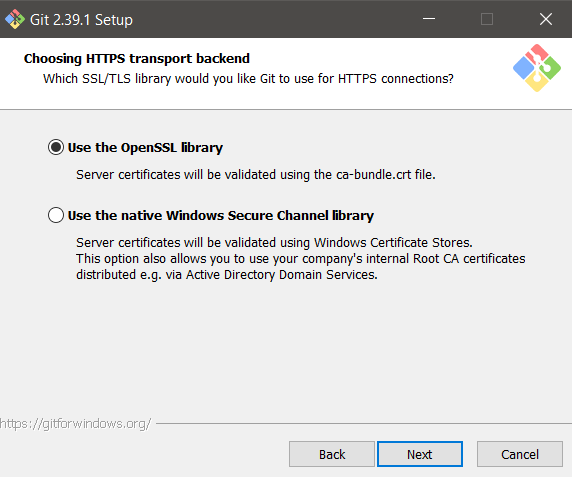
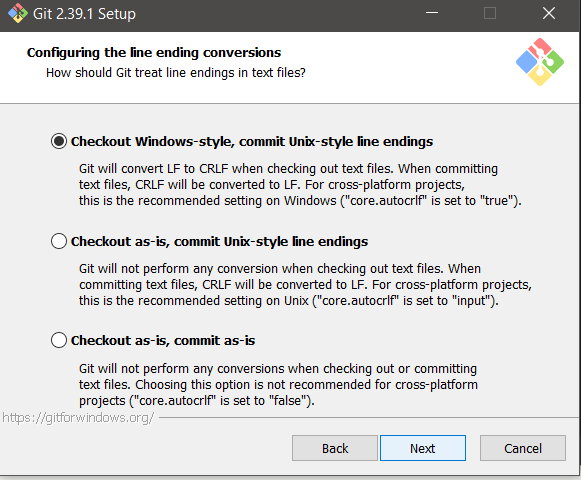
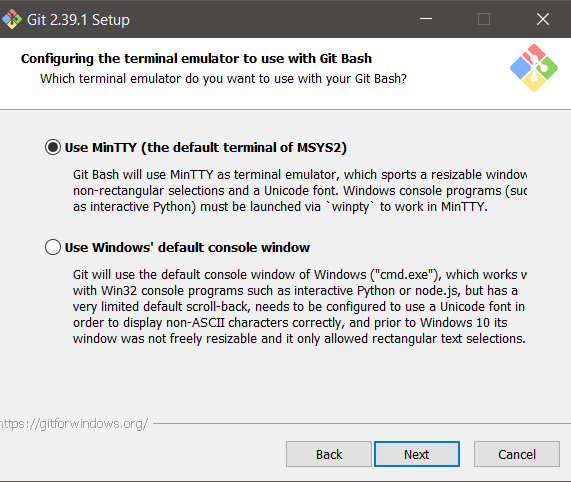
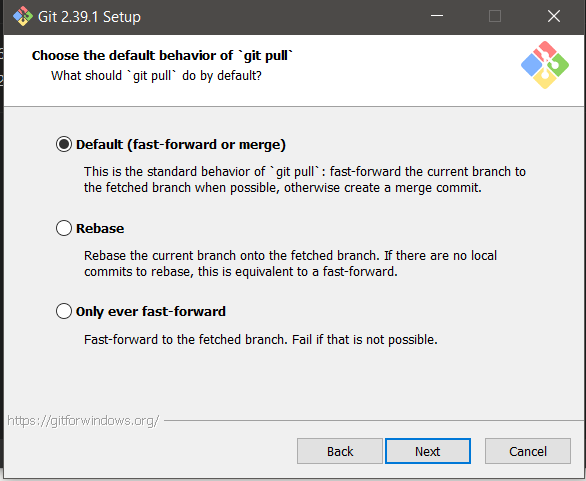
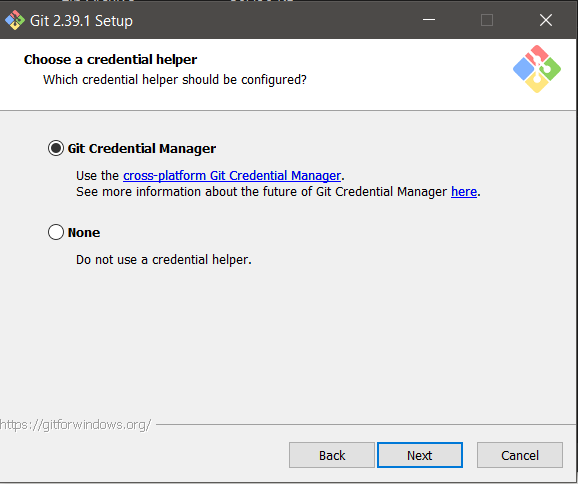
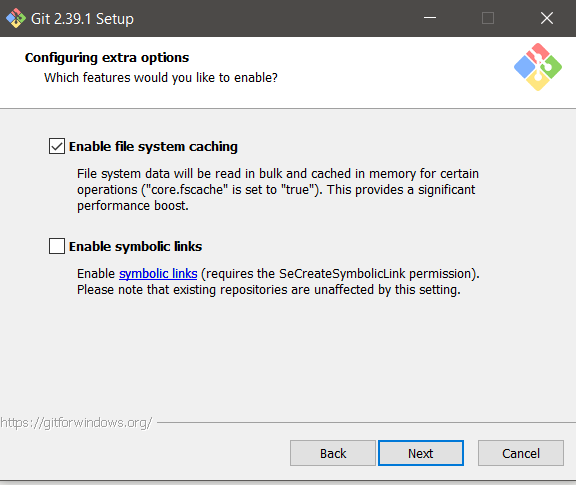
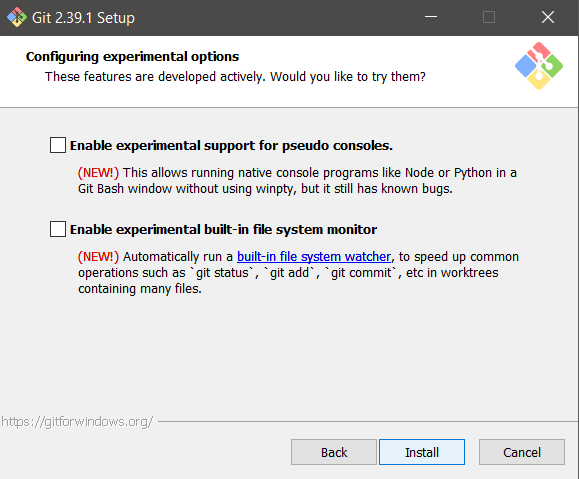
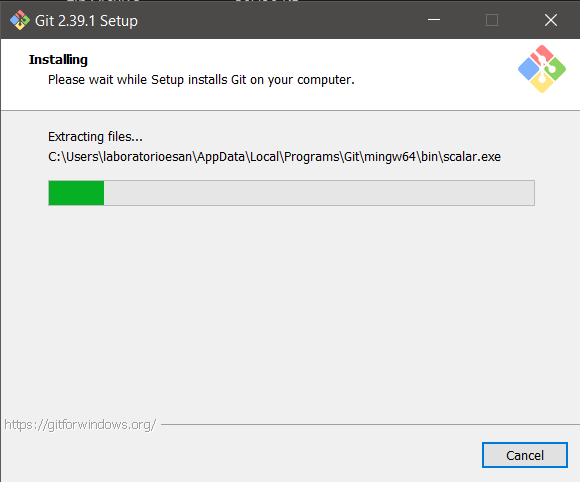
The following pictures show a installation process where we only push on the "next button"
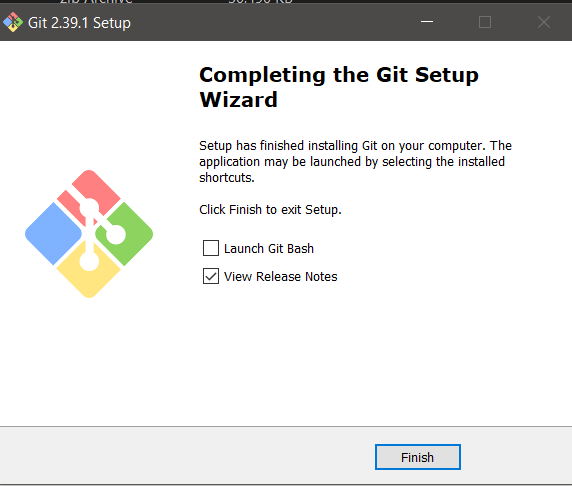
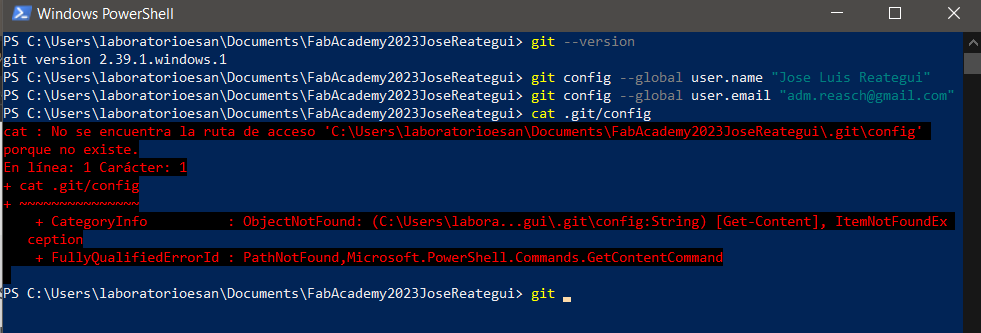
After the installation process finish, we have to test the installation, I used the command: "git --version", it's very important to see the git version, beacuse it demostrates that the git software is ready to use

the next very important steps is configure the user and email fields, for this goal I used the command: "git config --global user.name "Jose Luis Reategui" " and the command: "git config --global user.email adm.reasch@gmail.com", and after that I wanted to see the git configuration with the command: "cat .git/config", but it didn't work for me.
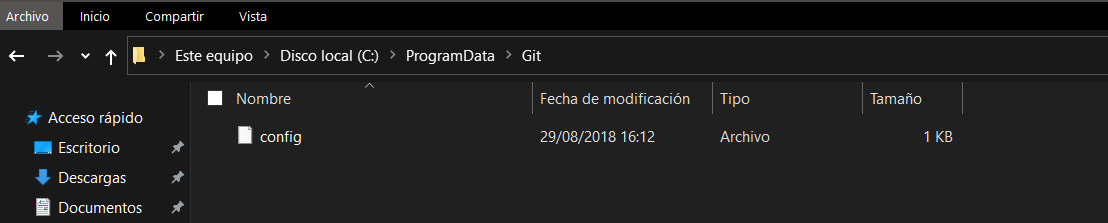
I looked for the config file, into the git file
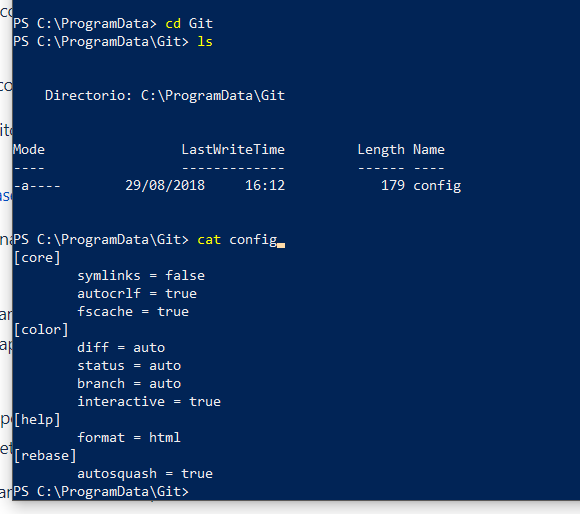
after that I stayed into the git folder with PowerSheell I could to execute the command "cat config"
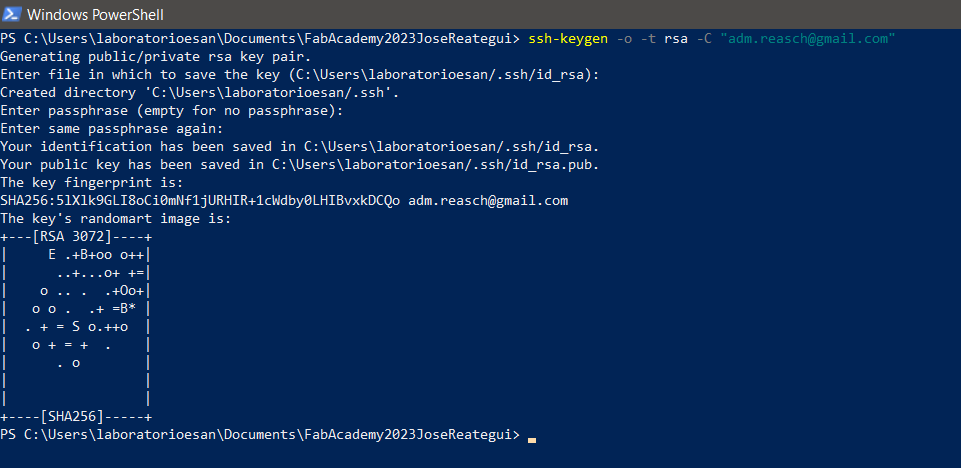
Next, we have to do a very important step: the key to put on into the gitlab In this way, I used the following command: ssh-keygen -o -t rsa -C "adm.reasch@gmail.com"
The command allows create a special key in a encrypted format (rsa).
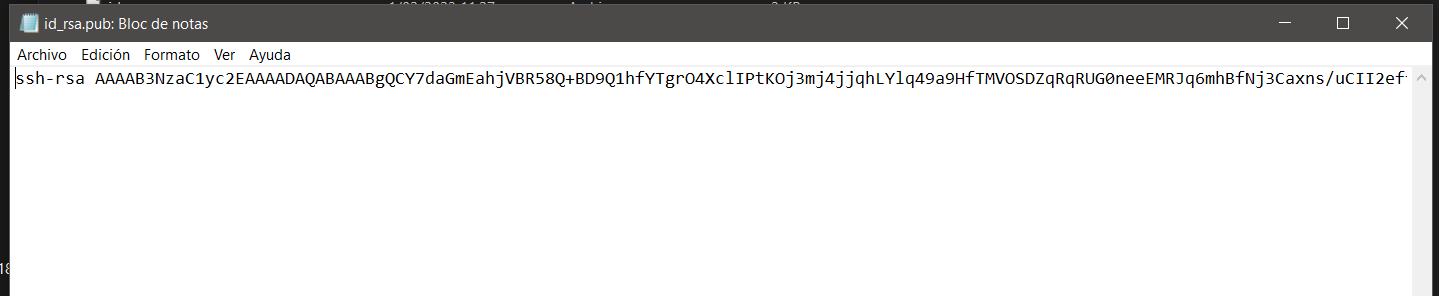
After that I looking for the "id_rsa.pub", into the .ssh folder

I used Note block to see the rsa key in a rawline, I get this key with Control+C
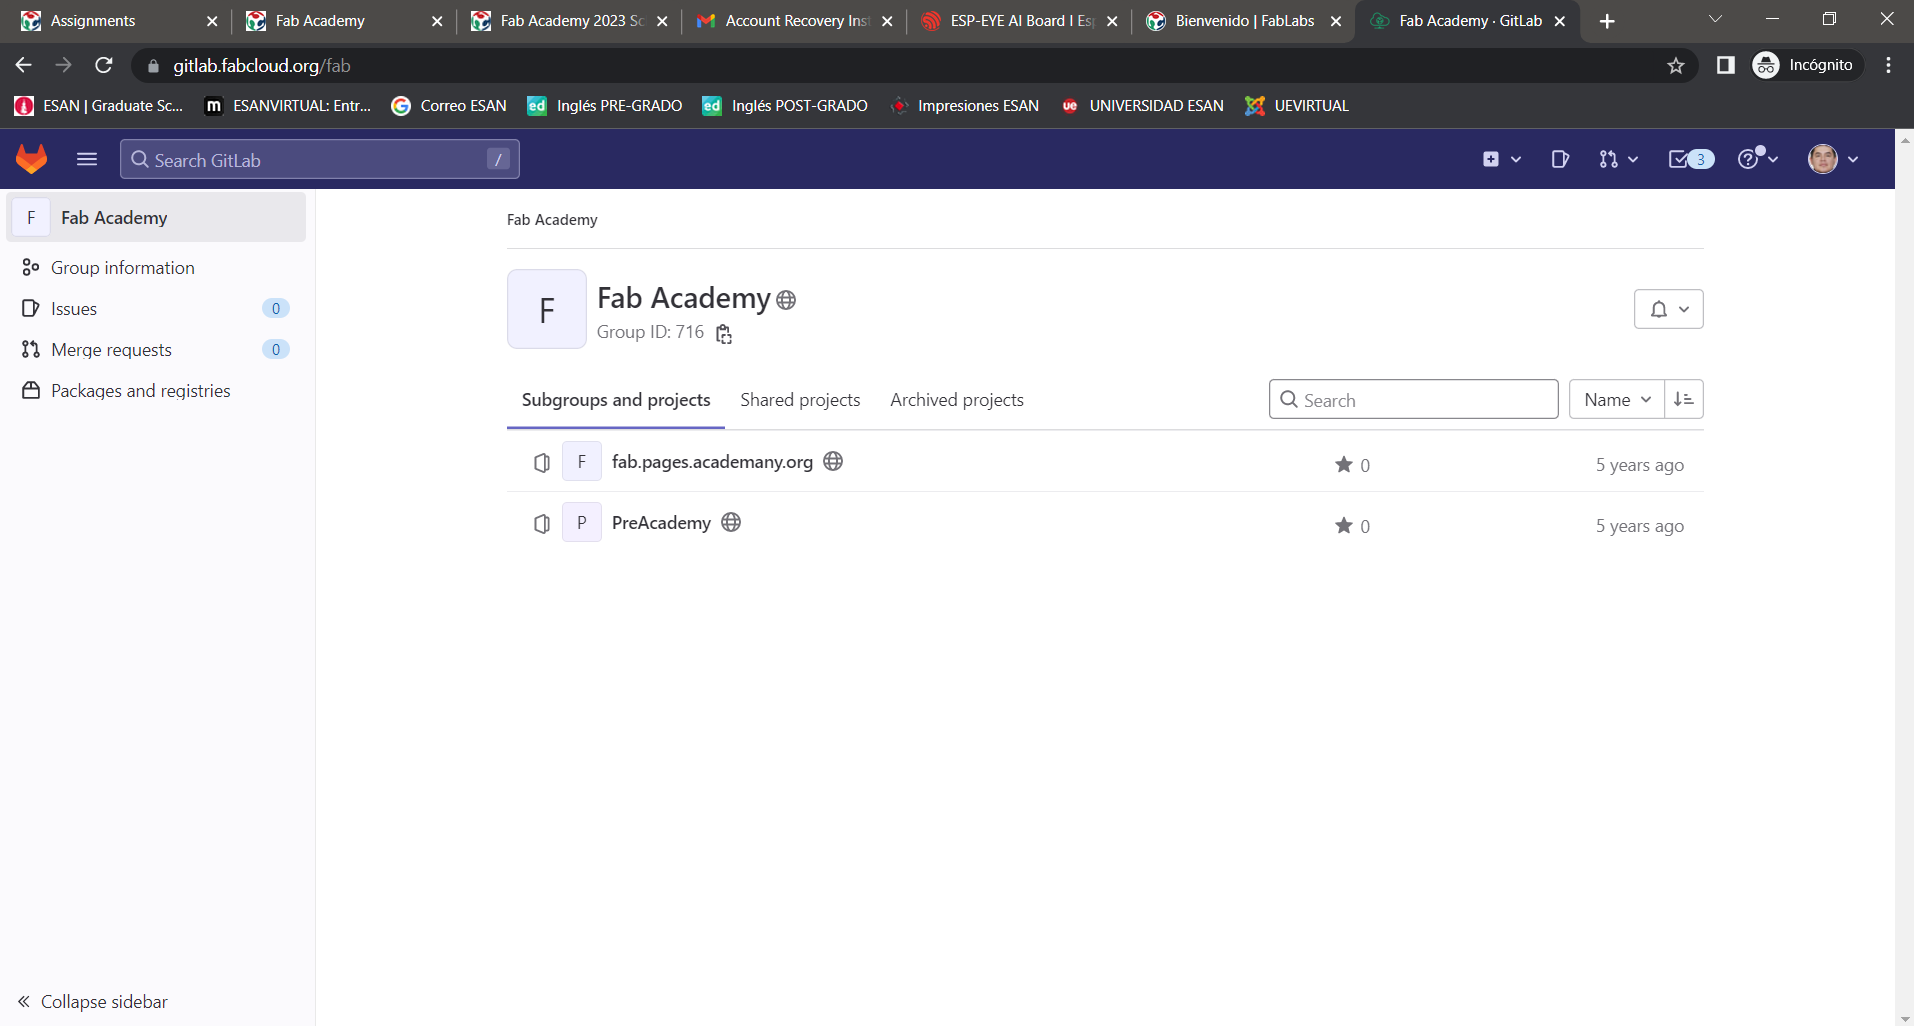
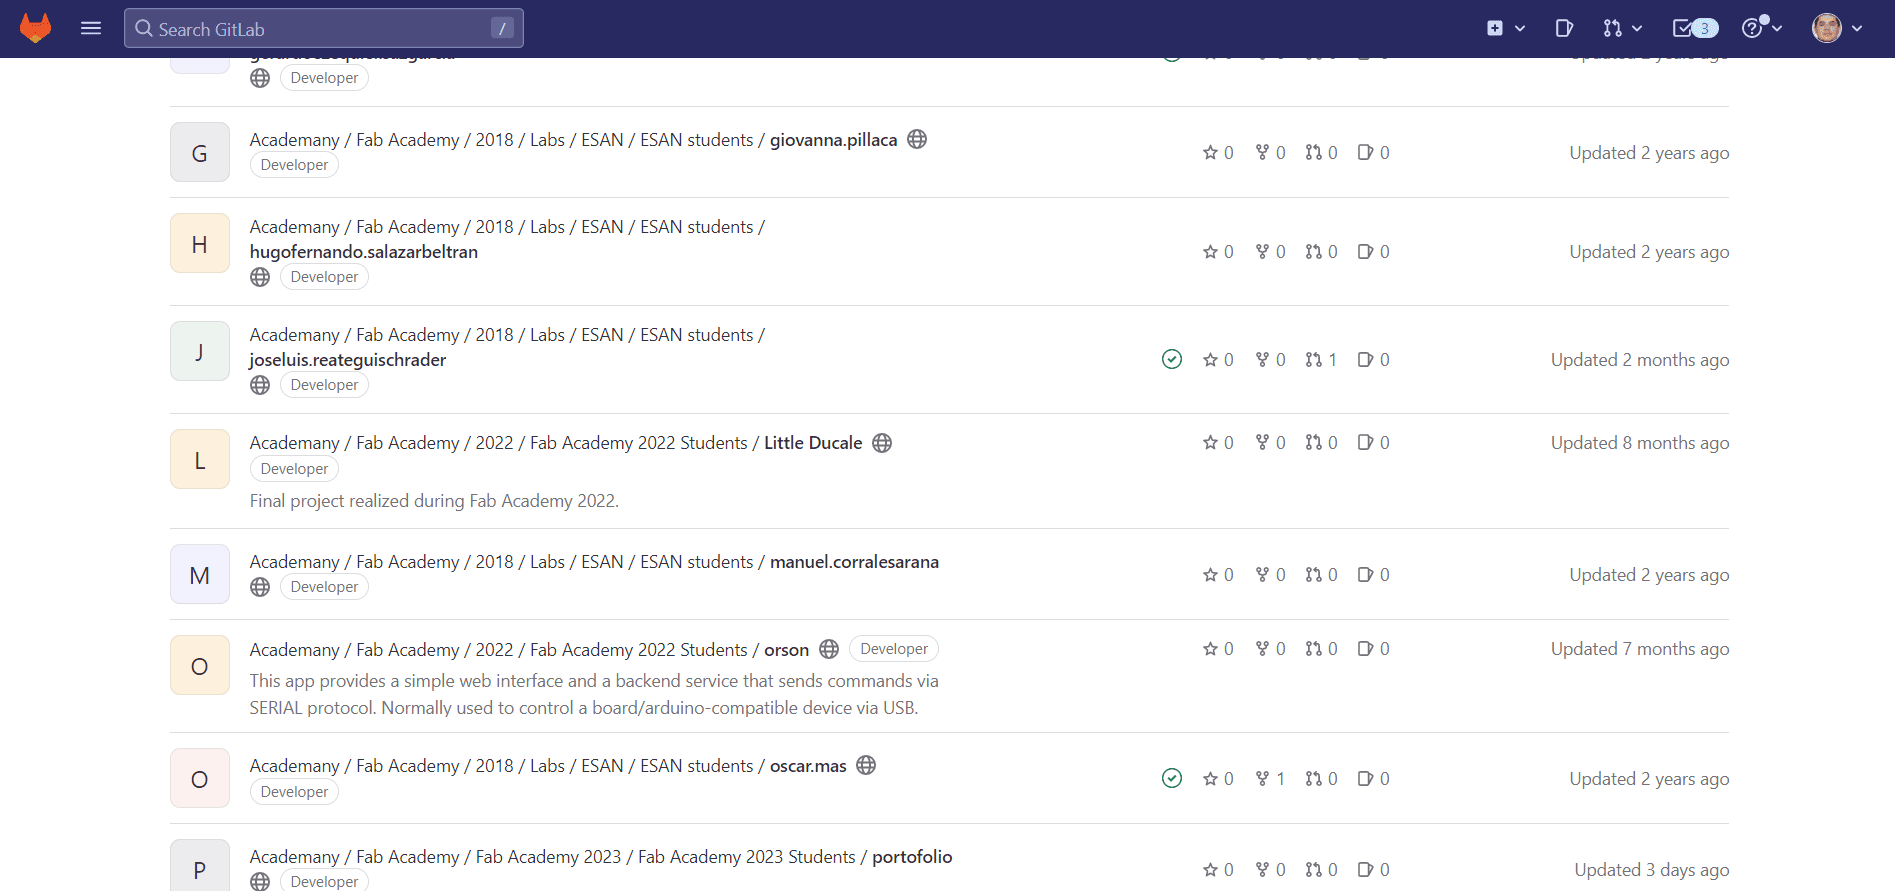
I get to my GitLab page
And I looked for the preferences section
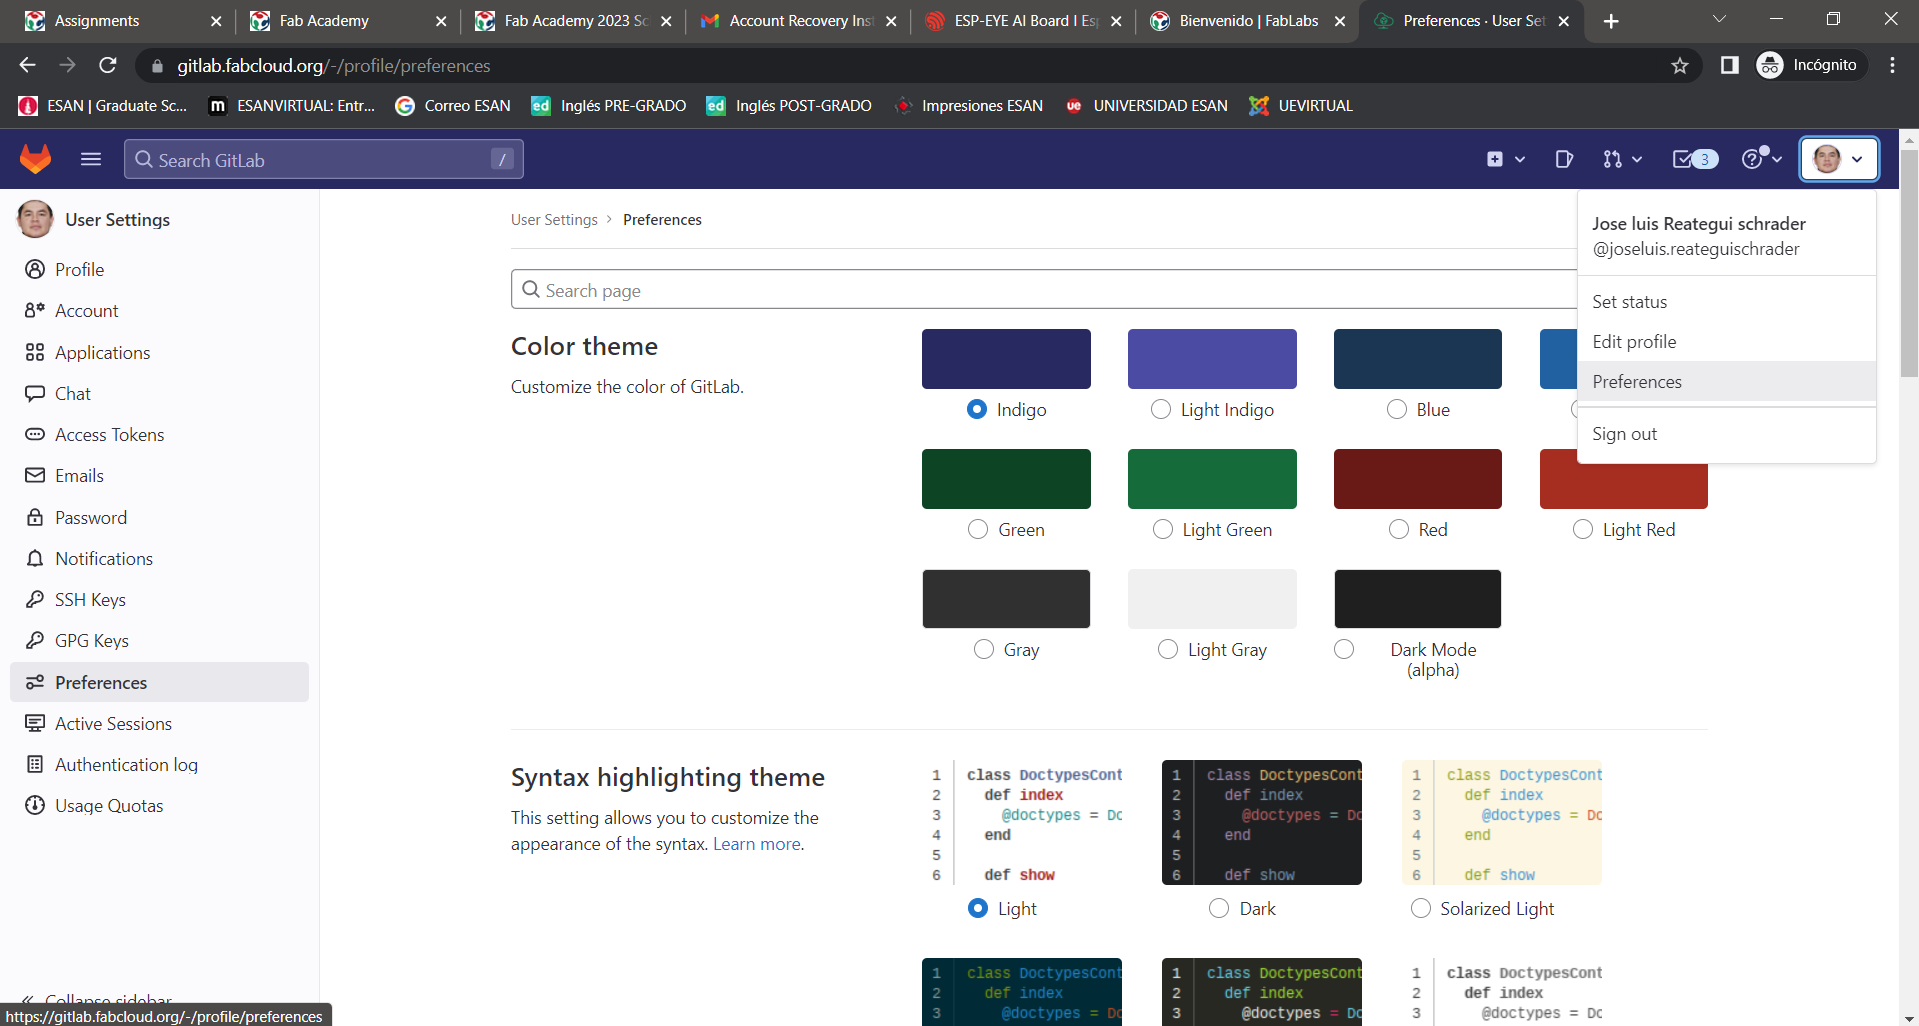
And Paste the key previously copied into the key gap, put on the title, and the expiration date. The last step is "Add key"
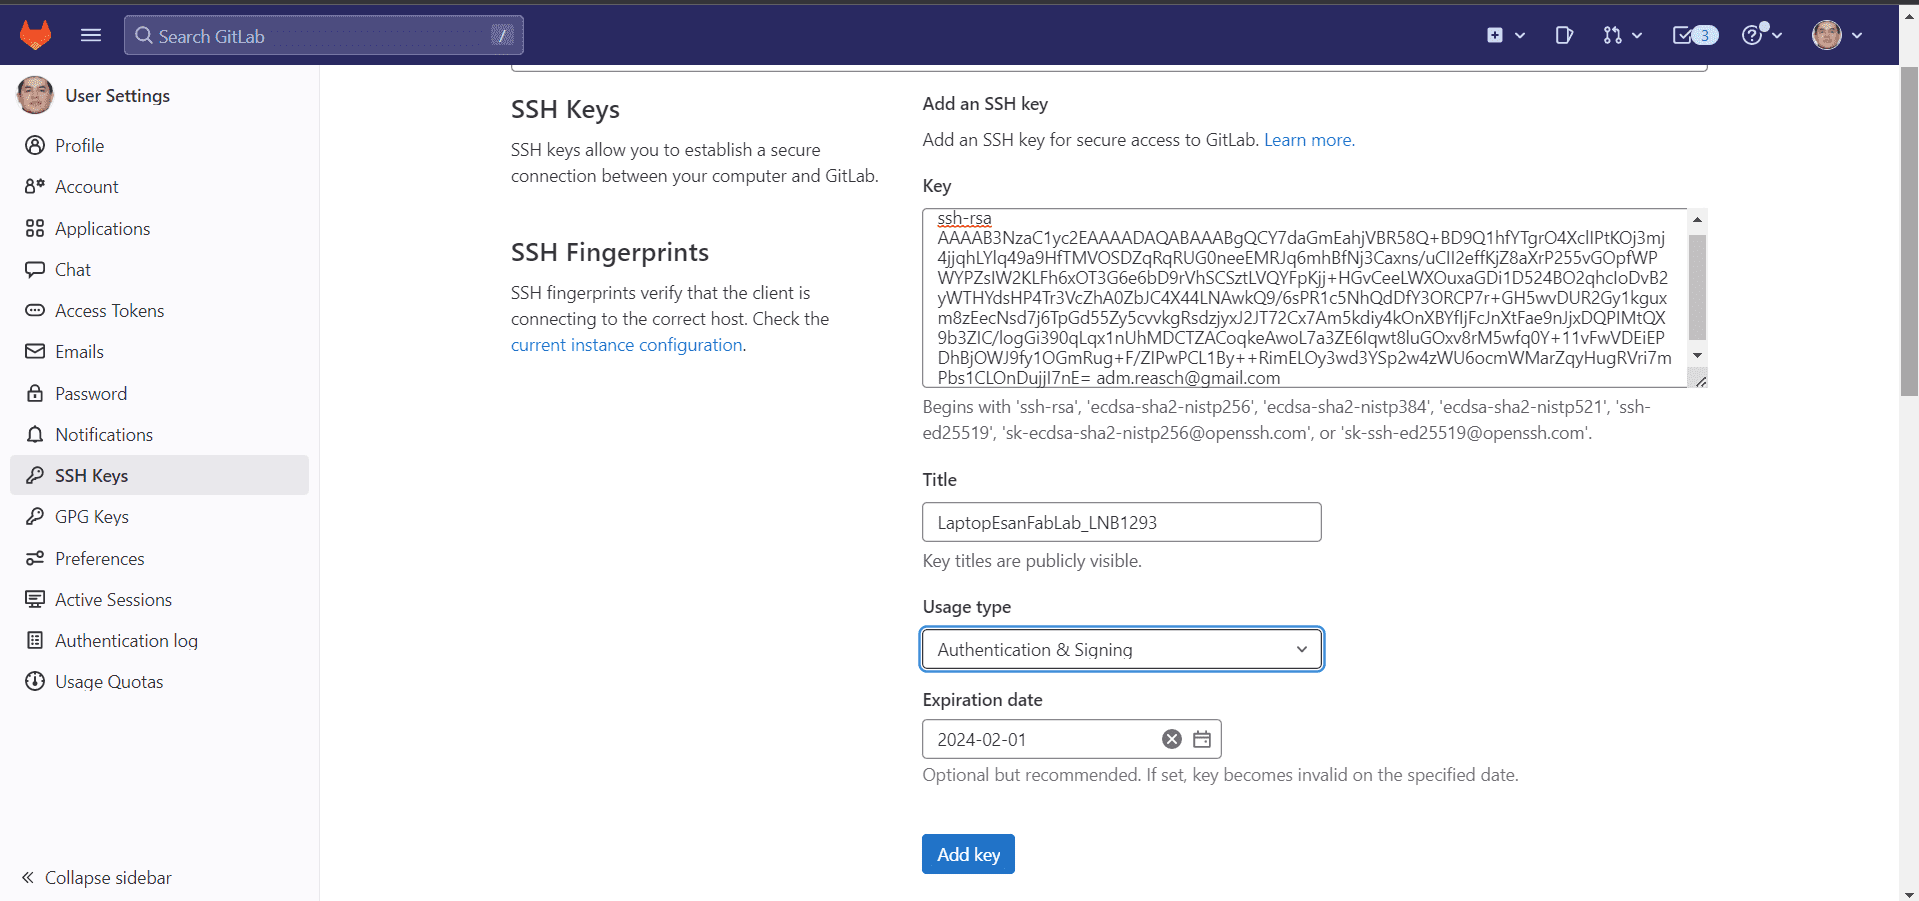
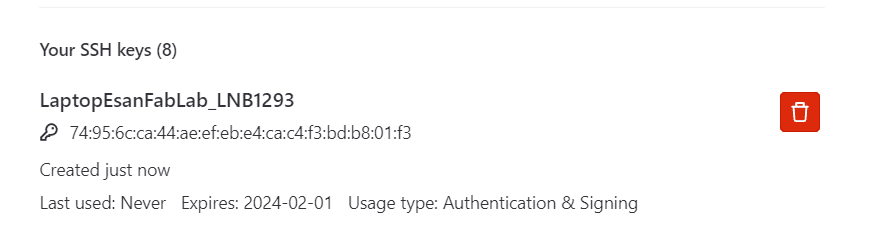
The key result is a SSH key
to connect Local computer with the repository, it's very important get the clone adress, in this way I used the Clone option in the right side and the option: "Clone with SSH"
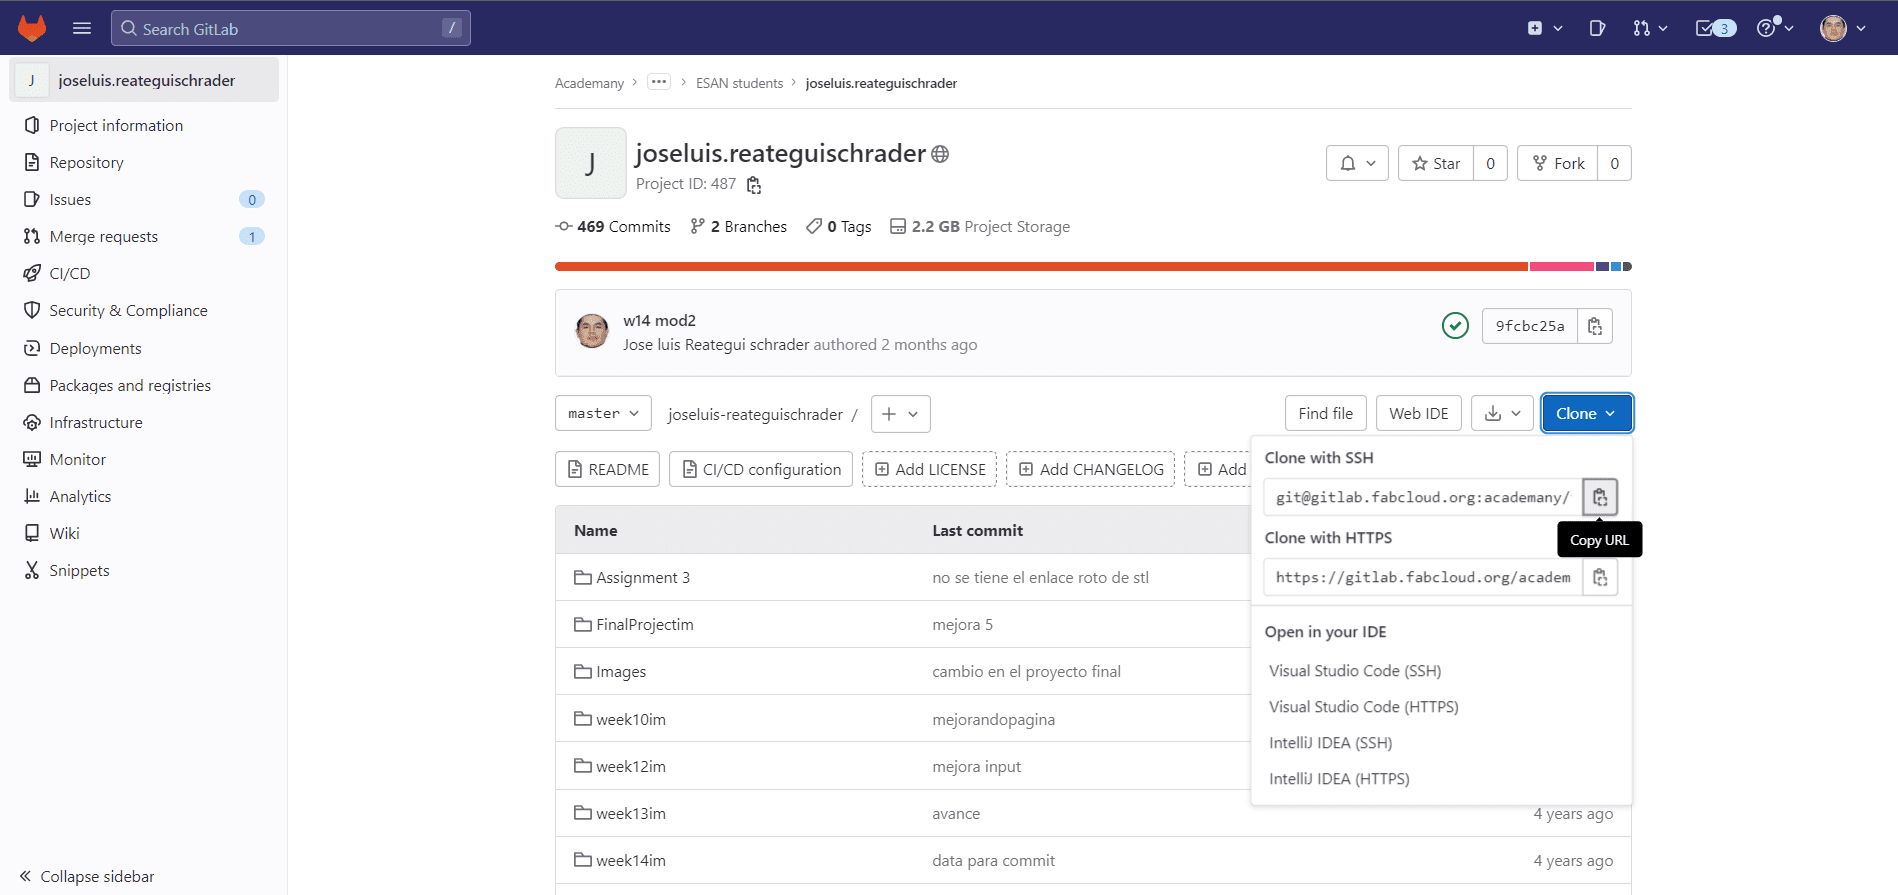
In the PowerShell command line we have to put on the command: "git clone git@gitlab.fabcloud.org:academany/fabacademy/2018/labs/fablabesan/student/joseluis-reateguischrader.git", this command gets information from repository to local machine, this operation is "clone".

After change or create a file into the folder we have to use the following commands: 1. git add * 2. git commit -m "instance commit" 3. git push origin master
"git add*" allows catch the changes and save into the temporal memory, "git commit -m", works to associate a message to changes and the "m" options allows write a message in string format, and "git push origin master" allows us to send the information to repository, it's very important to have the information gaps fullfilment (email, username).

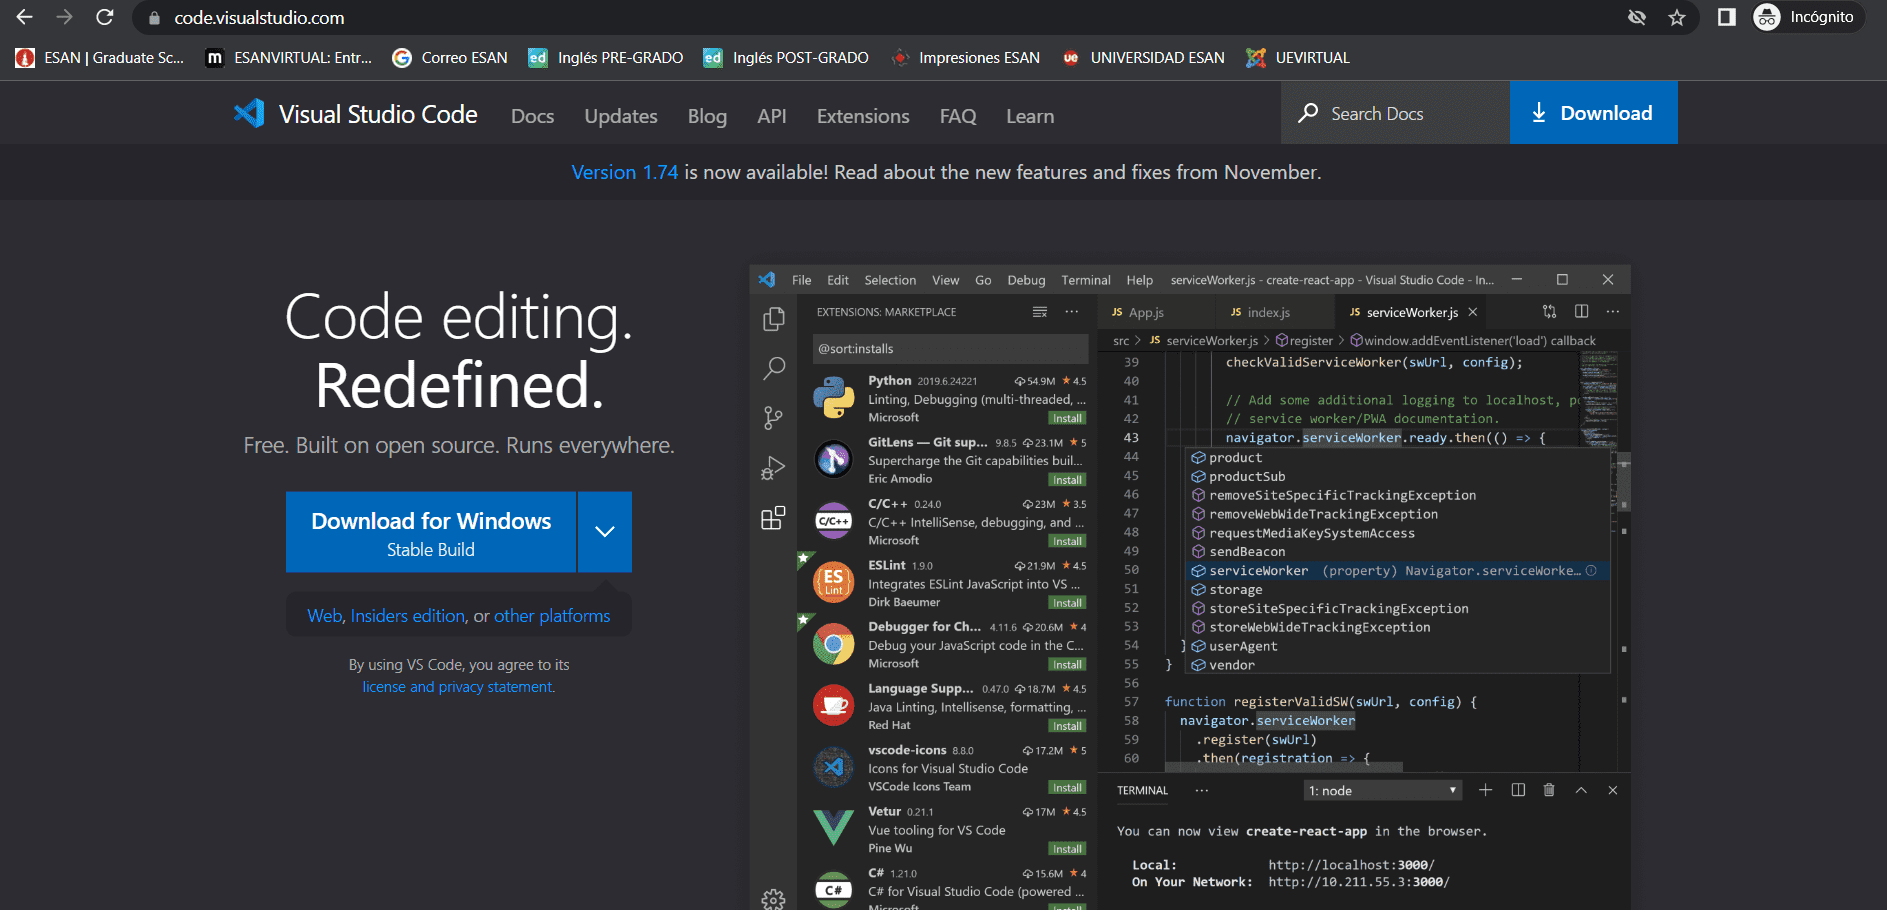
To make the webpage I used the visual studio code editor, in this way I wrote the webpage: code.visualstudio.com
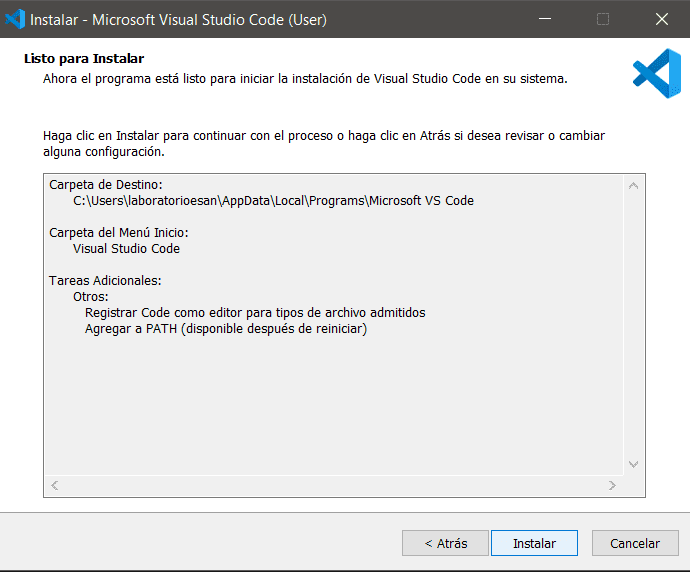
The first step is download with the VSCodeUserSetup....exe
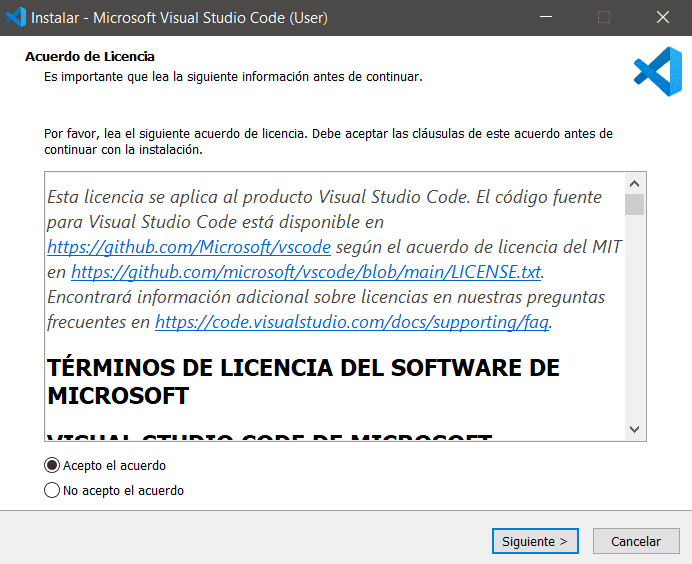
In the installation process only push on "I agree"

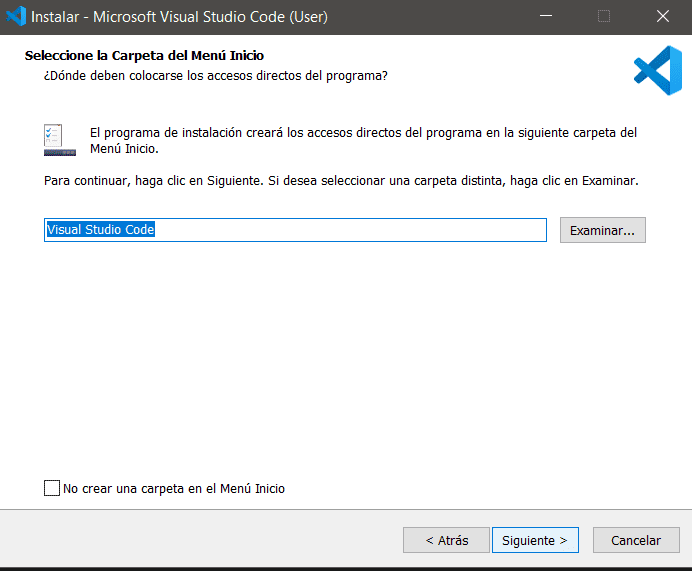
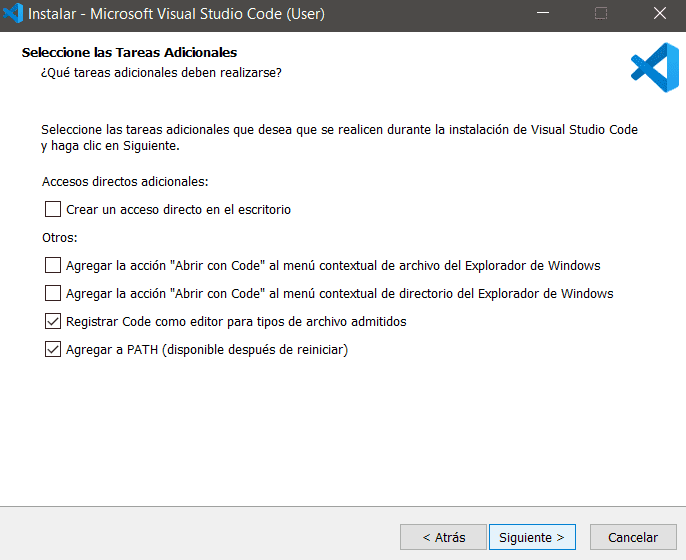
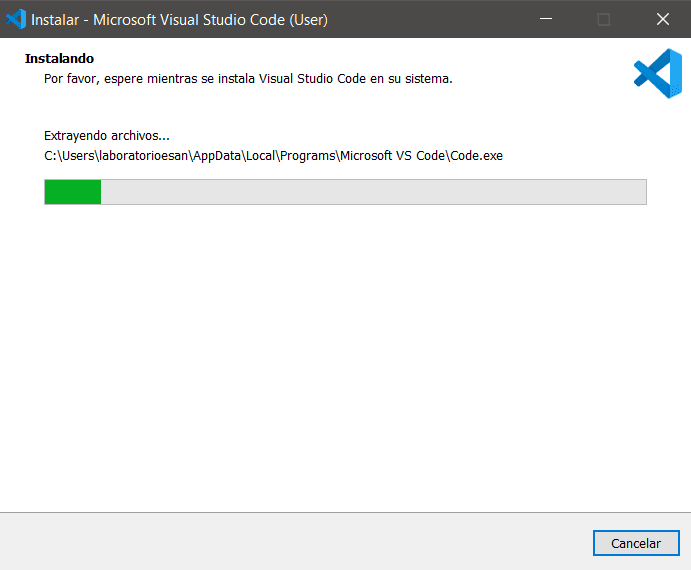
After the run the program we can decide the theme
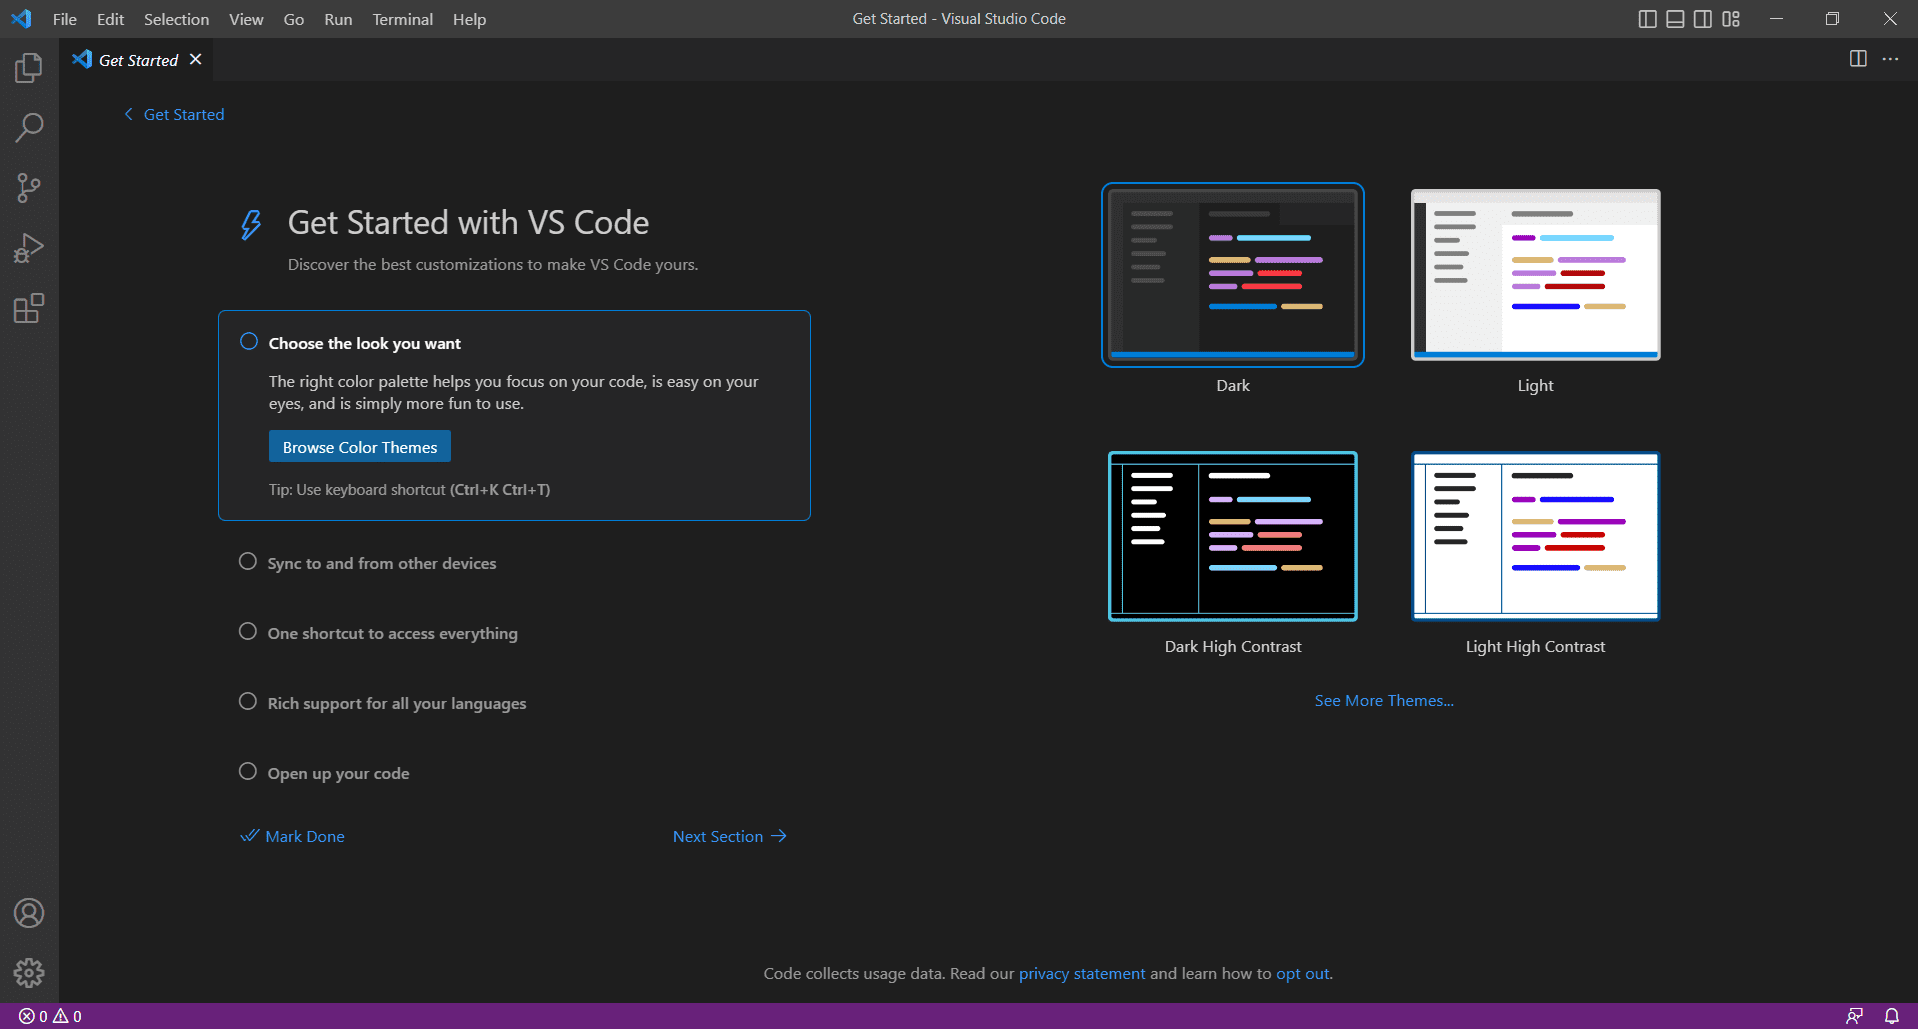
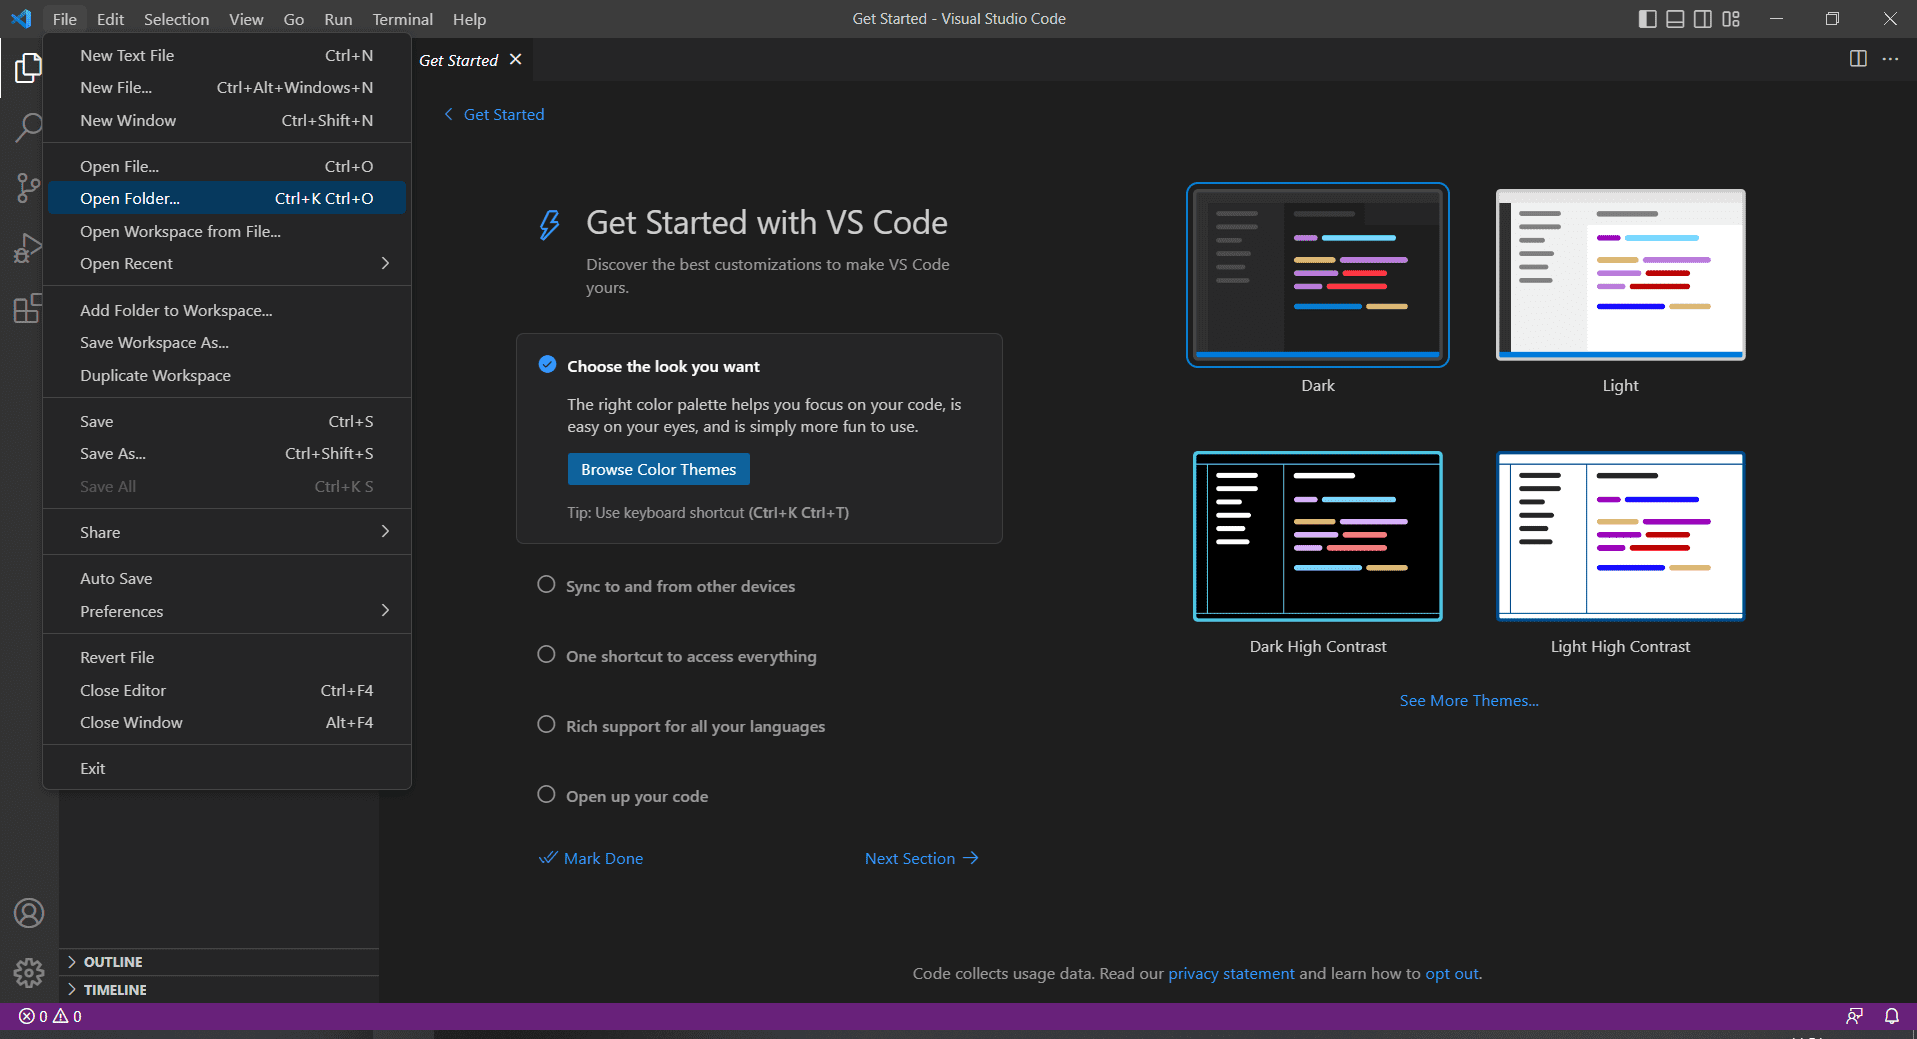
I choose open folder
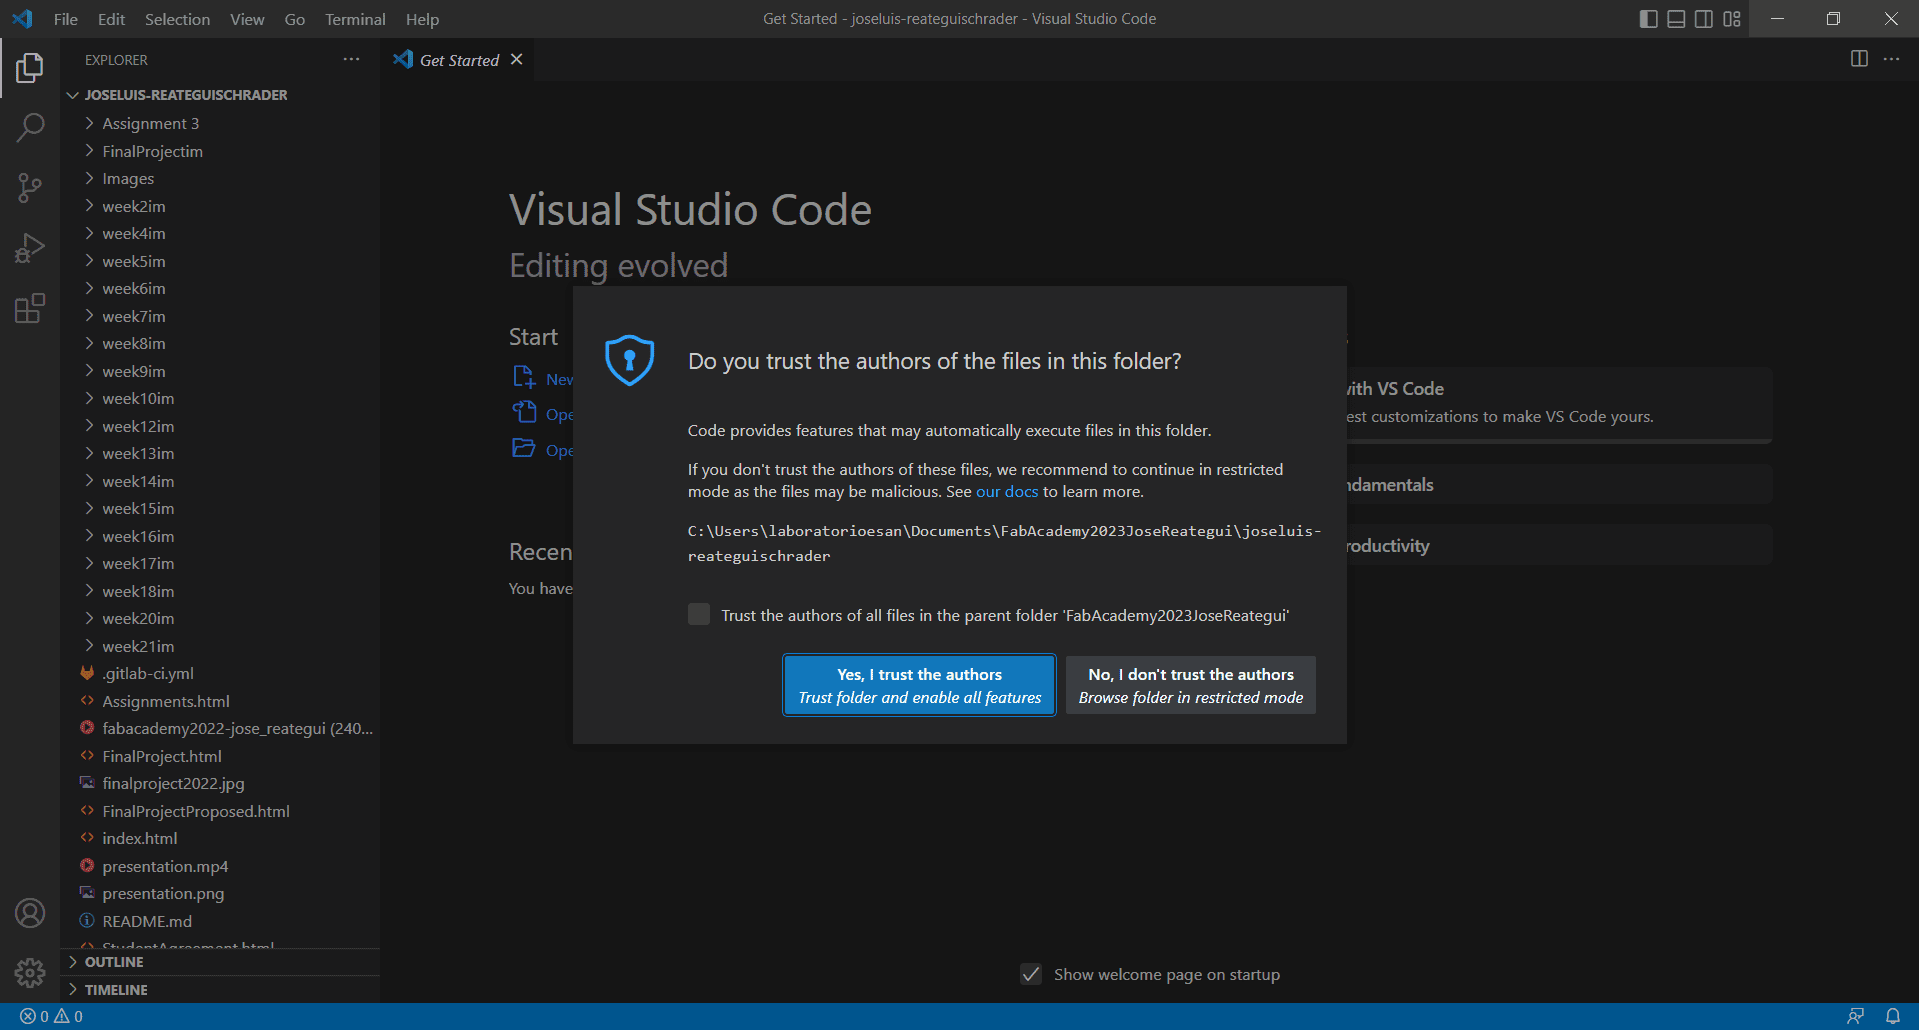
And choose I trust the authors
Another way to build the webpage I test the system: "Notepad-plus, after I define Visual Studio Code such as my main IDE"
First, We need a html text editor. For this porpoise I downloaded Notepad++, in the link below you can download too
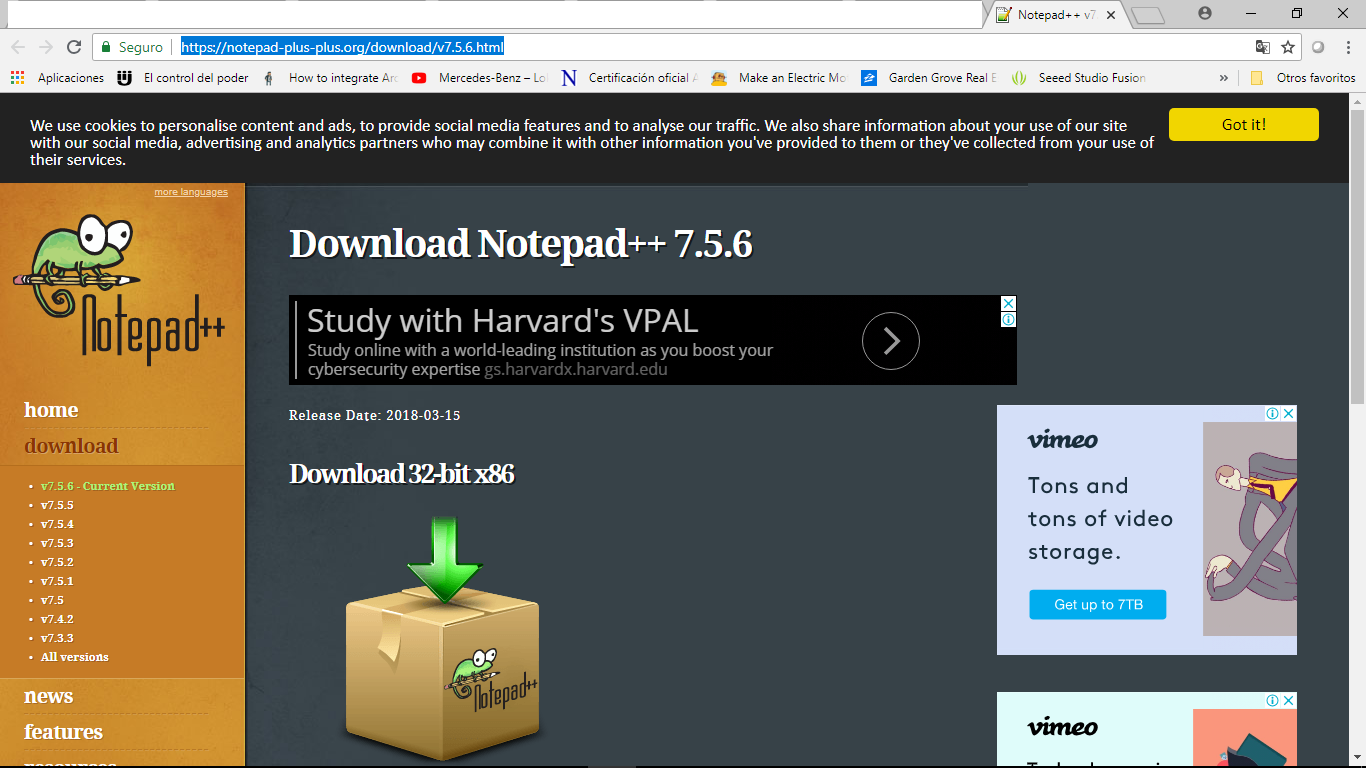
Notepad++, is a free software that enable create projects in a lot of languages like as html, C, C++. After that we proceed to install in the computer and click in next button.
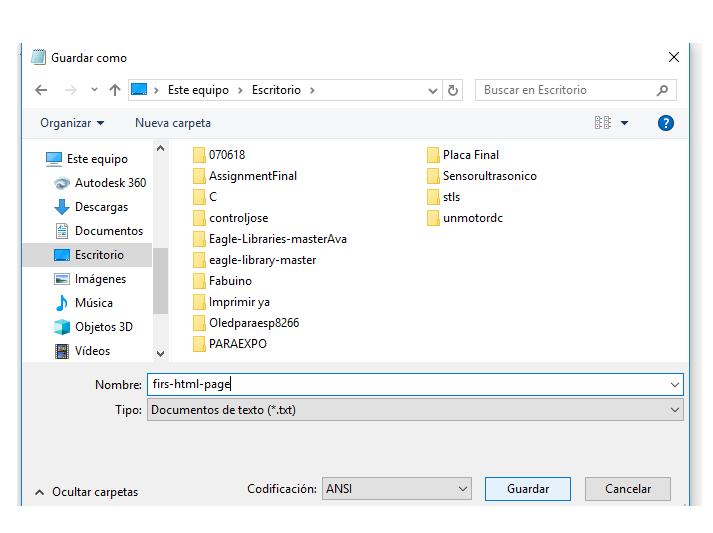
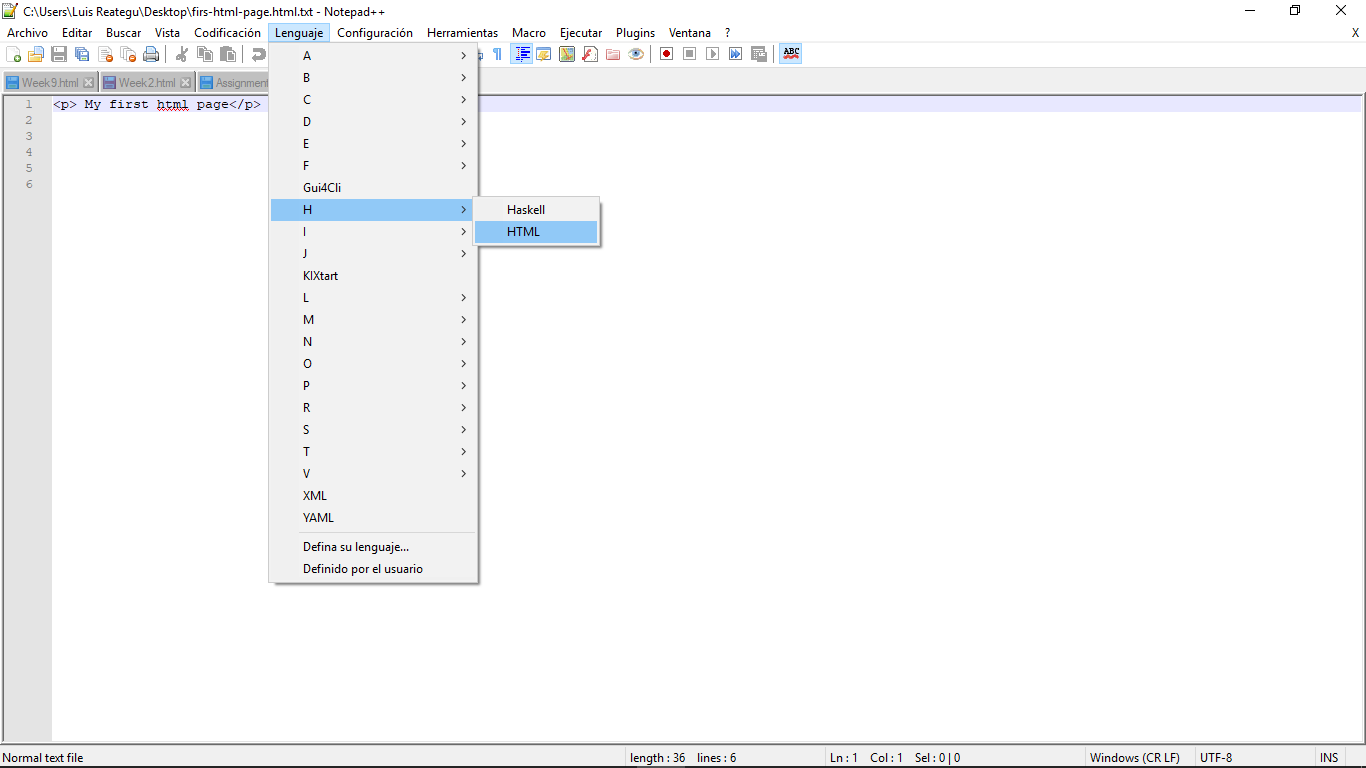
To create the first html file, I use a Text file from Notes pad, and save

Open the file with Notepad++ and choose html language to change the editor mode
To create a web page You need to know the html pseudo-language, here there is a guide
For instance We will to create a first "Hello World Page" :
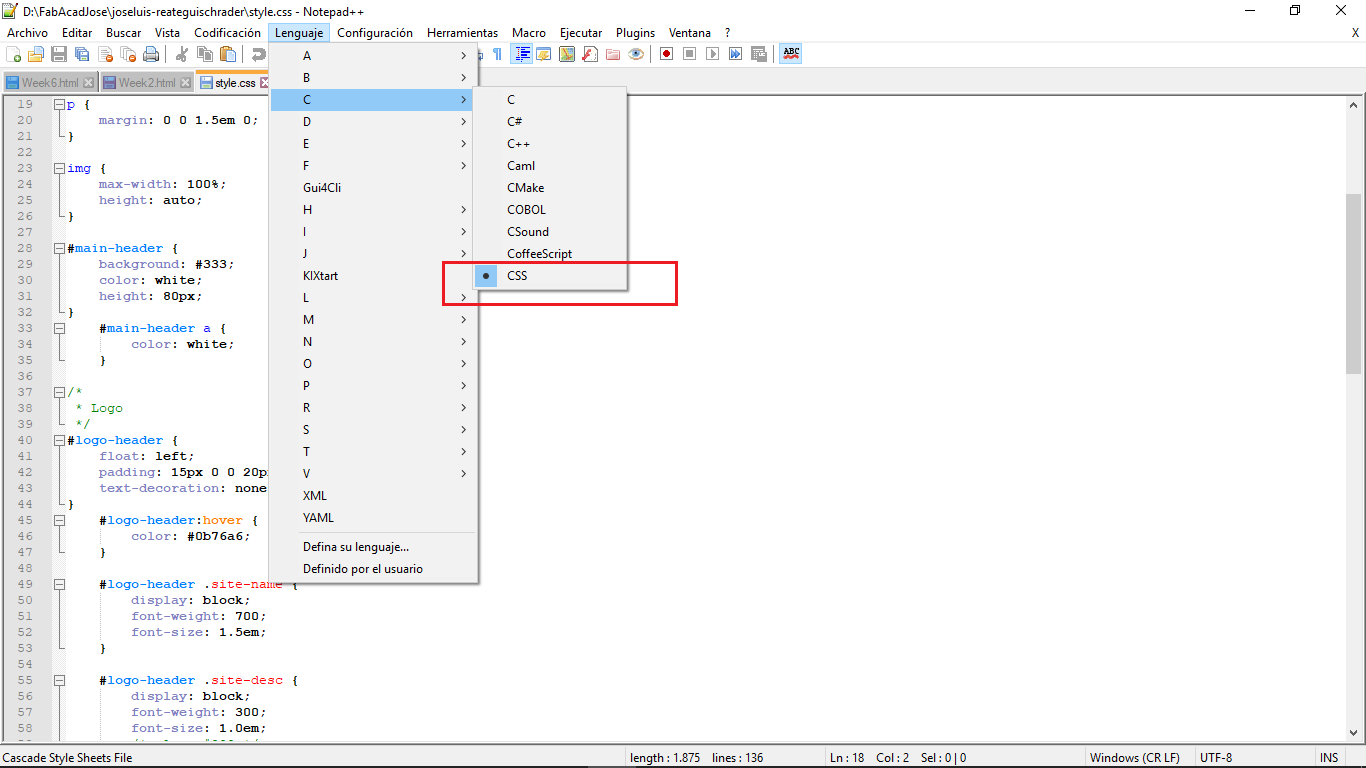
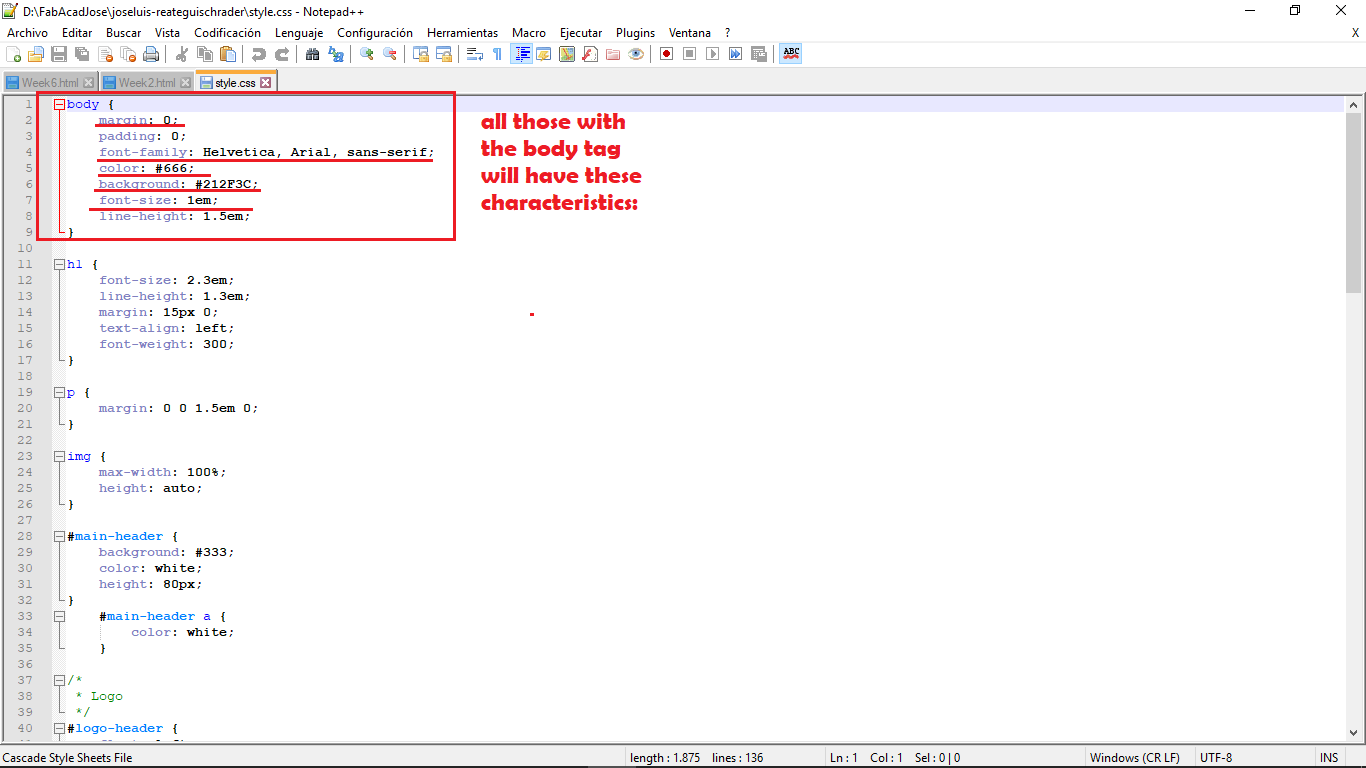
We need to create a font that contains the styles, the extraterrestrial words, the characteristics, the things, that you want to say margins, sizes, and other characteristics.
To program the style We need to activate CSS language
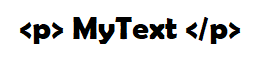
this style will allow us to save a lot of time working, now to write in html we must know the tags that are available for html 5. For example if we want to write a paragraph we use:
If we want this paragraph to be in Bold: "

to have an exact idea of each label, please visit the following link:
Conclusions: there are many diferent ways to work with code development, the most important thing is have a development environment that allow us to work with different Operation systems, like Windows, Mac OS, Linux. In this way I'll work with Visual Studio Code. Another thing to consider is work with version code system, like Git, it's a amazing tool to write code from different computers, and have a control about versions, if maybe a previously code version is more stable and the actual version isn't, Git can solve, because has a historic versions saved.
My personal information is in a separate label