Week 4
Embedded Programming
Embedded programing. Have you:
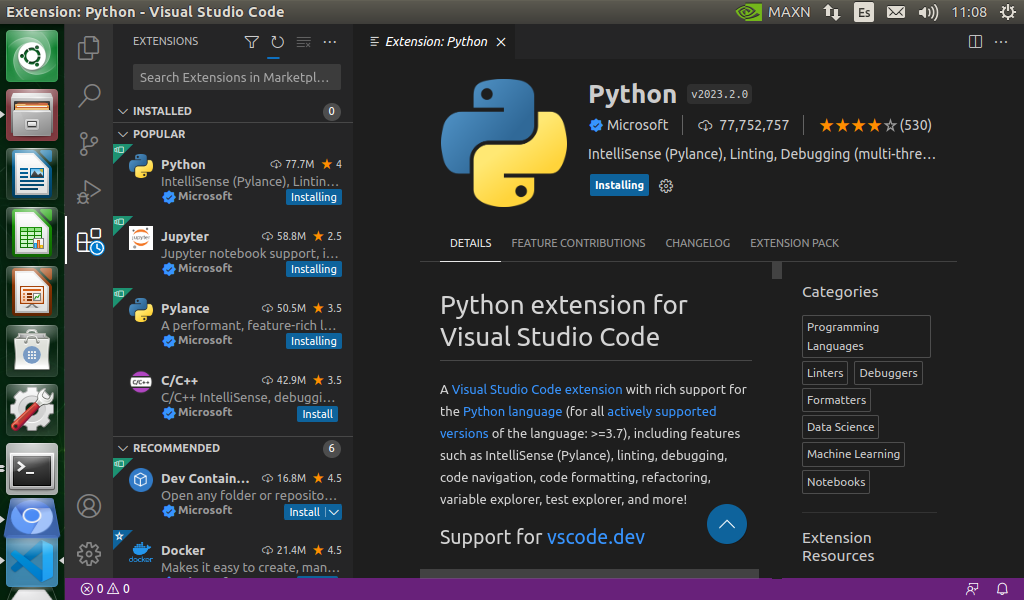
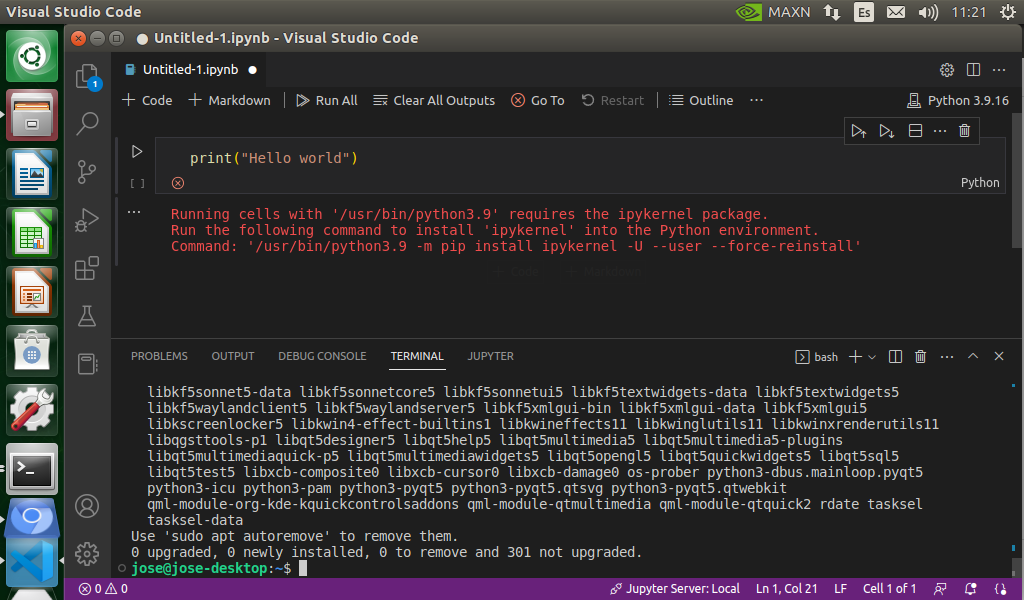
Individual assignment: browse through the data sheet for your microcontroller, write program for a microcontroller development board to interact (with local input &/or output) and communicate (remotely) extra credit: use different languages &/or development environments extra credit: connect external components to the board
Group assignment: compare the performance and development workflows for other architectures
============================= Group Assignment =======================================
This picture shows the boards. From left to right: Esp32, Arduino UNO, STM32, Nvidia Jetson Nano
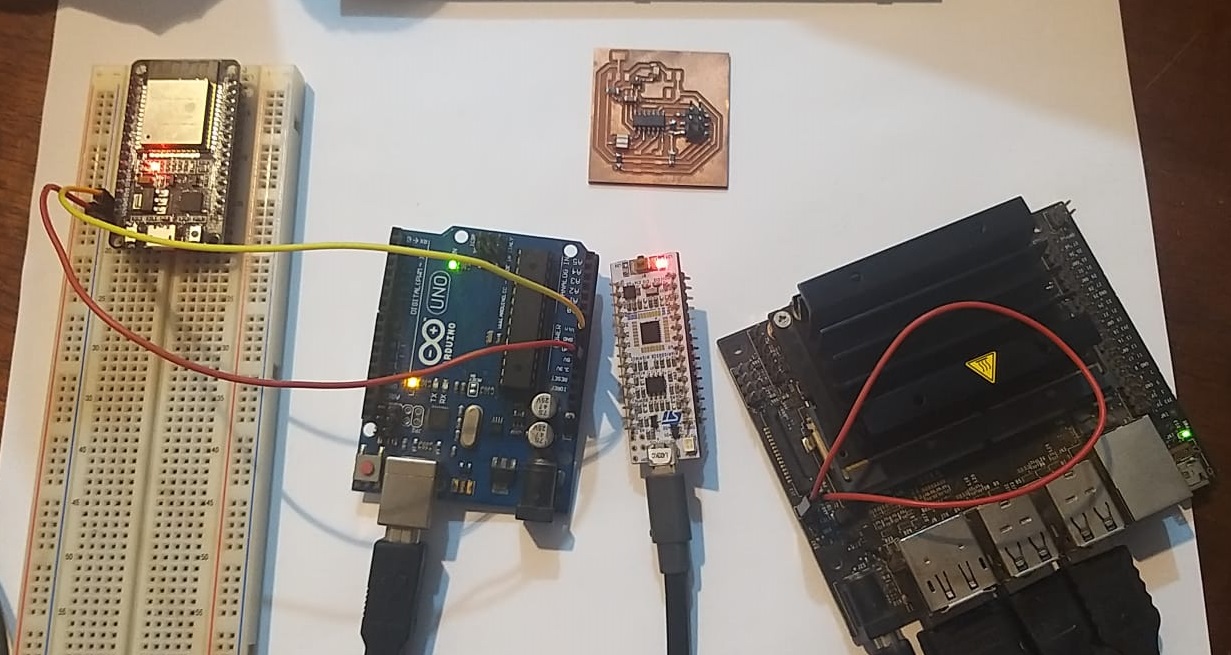
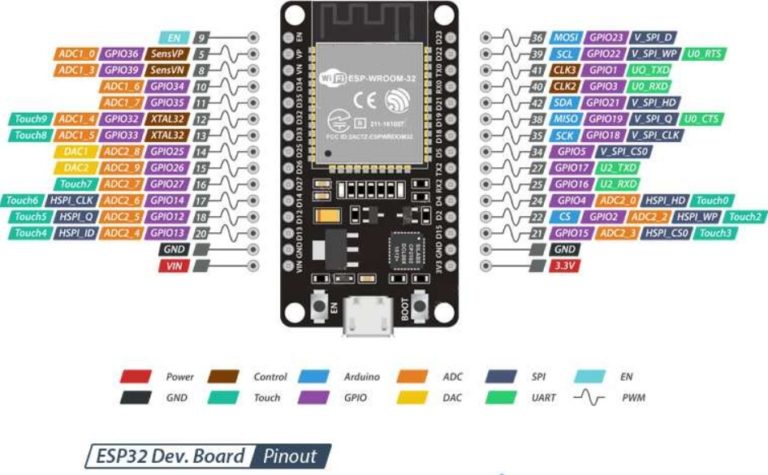
Esp32 it's a microcontroller to create embebded applications, usually works with wifi network and we have to connect to power source with 5V or 3.3V
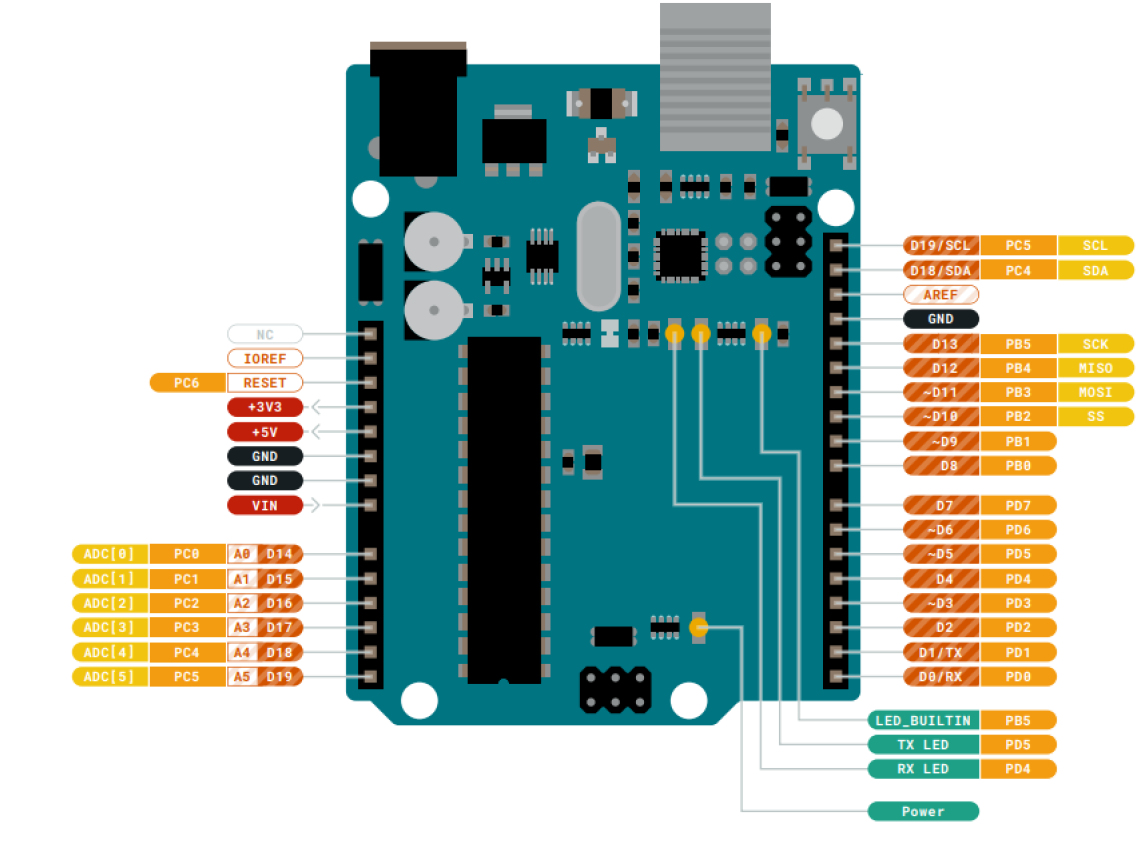
Arduino ist's a microcontroller too and works with atmel core to create a MCU. Usually works with 5V.
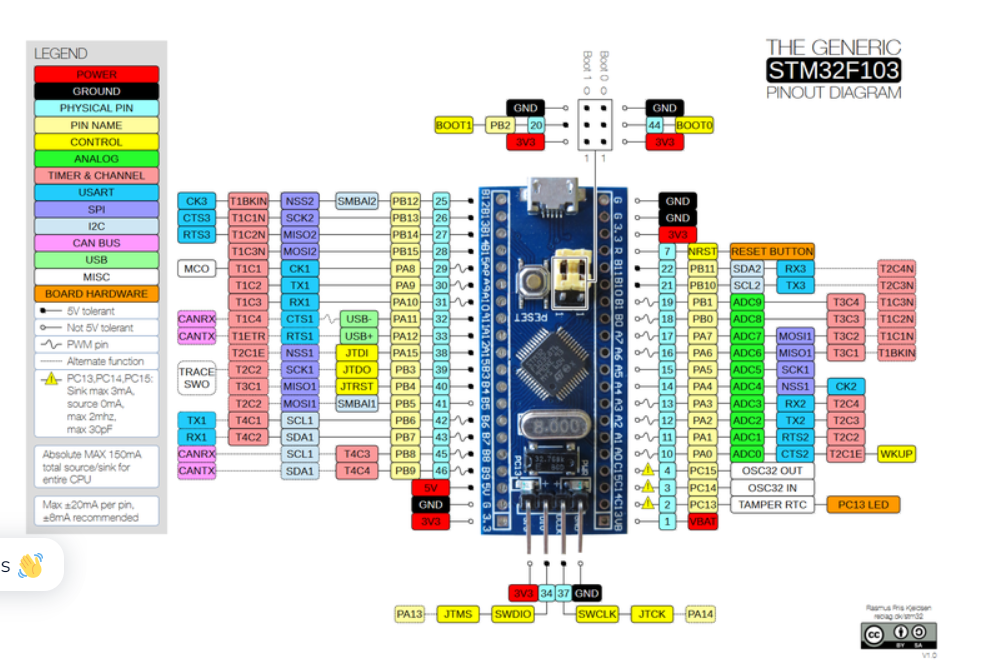
STM32 works with ARM processor, it's a microcontroller and very powerfull to Embedded aplications
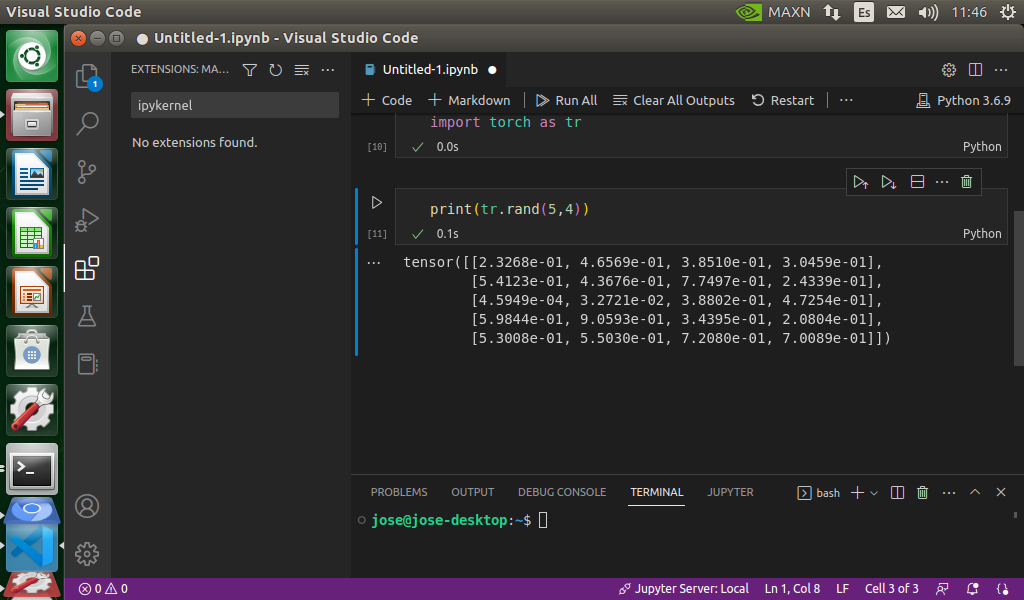
Nvidia Jetson Nano is a MCU works with a microprocessor, with a GPU focus in paralel processing, usually used to create artificial intelligence applications

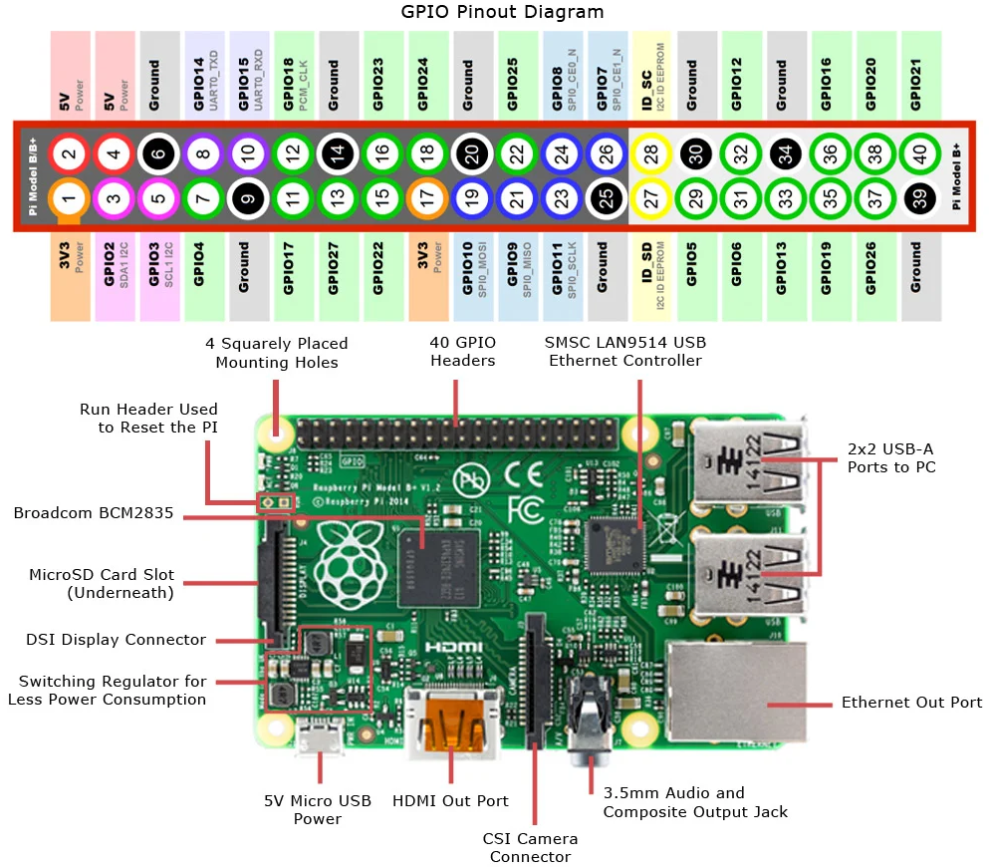
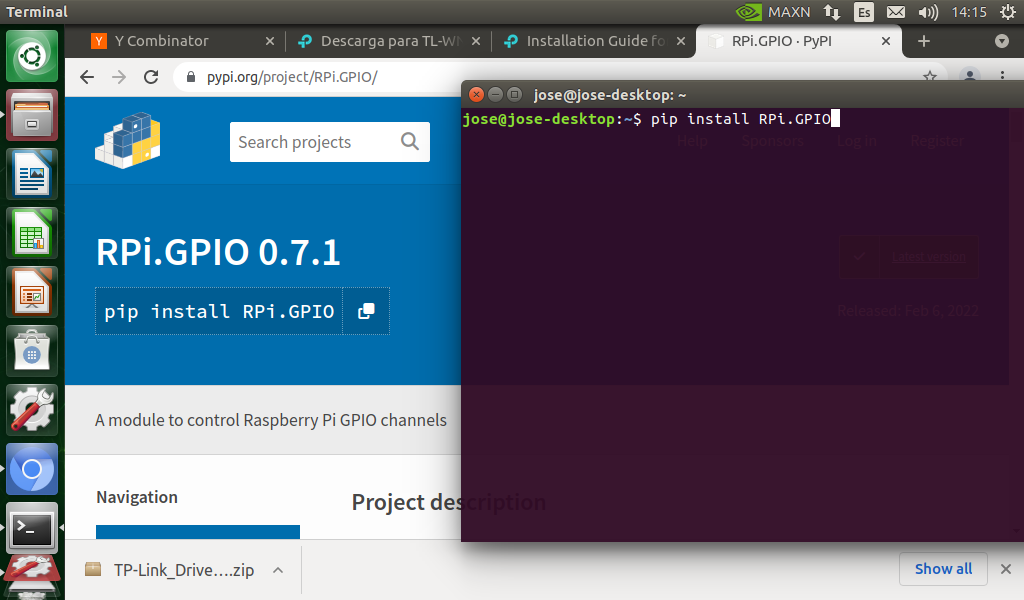
Raspberry Pi is a MCU that works with a ARM microprocessor, with a CPU focus in serial processing, usually used to create complex control systems more than arduino
If we want to use more powerful boards, the microprocessor board it's an interesting option because a lot of features are more powerful than microcontrollers. We test two boards, the first was Ndivia Jetson Nano and the last was Raspberry Pi board
============================ Individual Assignment ====================================
- Documented what you learned from reading a microcontroller datasheet.
- What questions do you have? What would you like to learn more about?
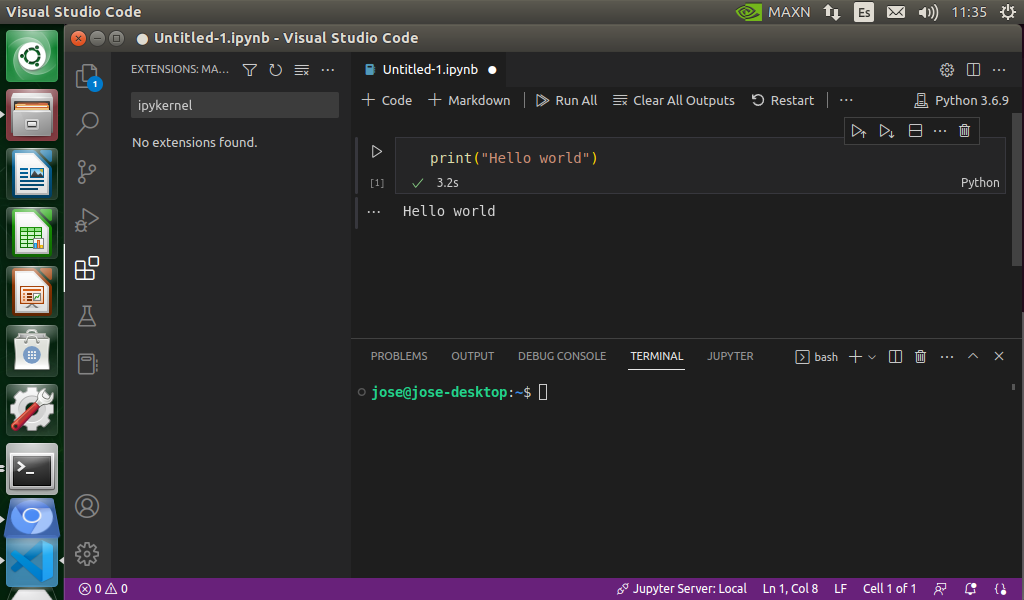
- Programmed your board
- Described the programming process/es you used
- Included your code
Documented what you learned from reading a microcontroller datasheet.
I found very interesting the pin classification, the ATTiny 44 have two groups, the first one is the A port and the second the B port, this is very important to have programs because We need to send the program to A pin Group or B pin Group
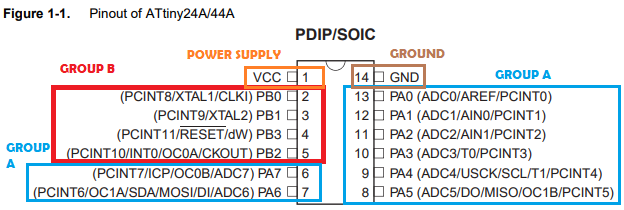
Also it's very interesting the minimal connections that We need, for instance:
- Pin 14 to Ground. Pin 1 to Energy. These Pins are reserved
- Also the PA4,PB3,PA5,PA6, pins are reserved
Important Information
- TWI(I2C): 1
- ADC Channels: 8
- ADC Resolution (bits): 10
- ADC Spped(ksps): 15
- ADC Gain Stage: yes
- Analog Comparators: 1
- Temp.Sensor: Yes
- SRAM (kBytes): 0.25
- EEPROM (Bytes): 256
- ASelf Program Memory: Yes
- Temp. Range (degC): -40to85
- I/O Supply Class: 1.8 to 5.5
- OPerating Voltage(Vcc): 1.8 to 5.5
- Flash(kBytes): 4 kBytes
- Pin Count: 14
- Max. OPerating Freq.(MHz): 20 MHz
- CPU: 8-bit AVR
- #of Touch Channels: 6
- Max I/O Pins: 12
- Ext Interrupts: 12
- SPI: 1
- Timers: 2
- PWM Channels: 1
- Calibrated RC Oscillator: Yes
- Debug Interface: debugWIRE
These means We only have 8 pins to create the board
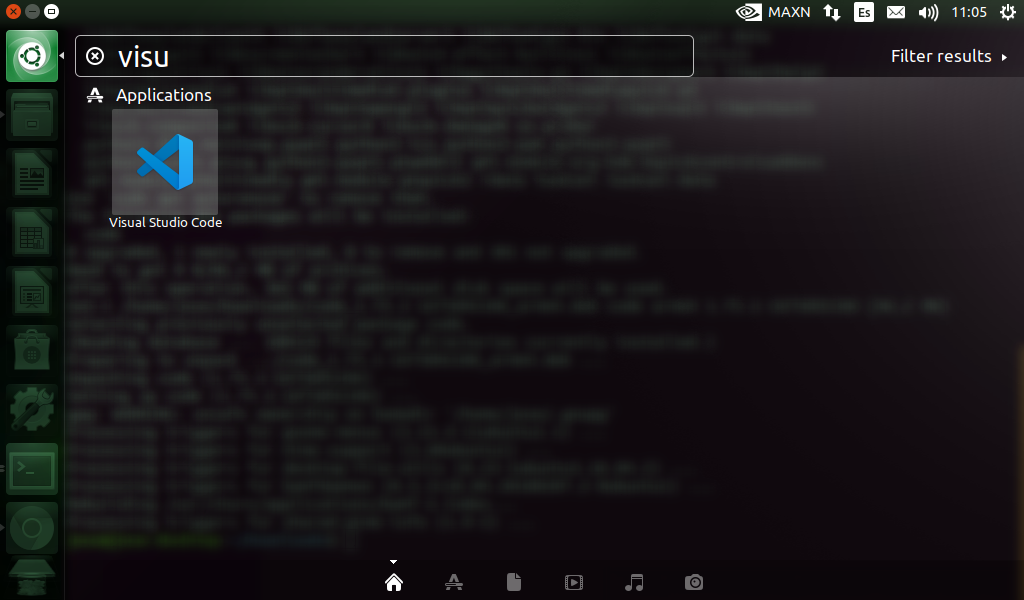
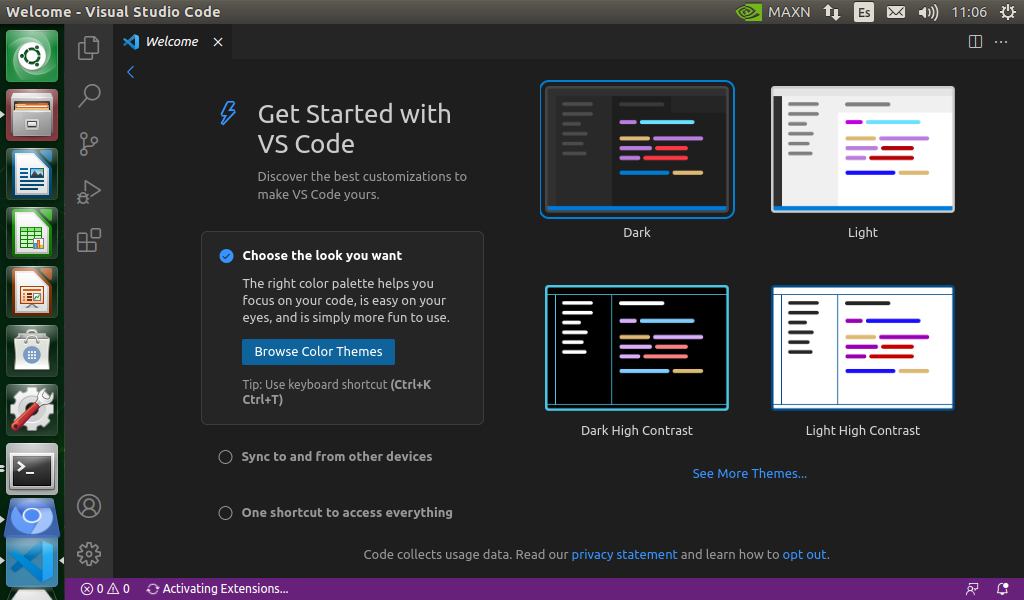
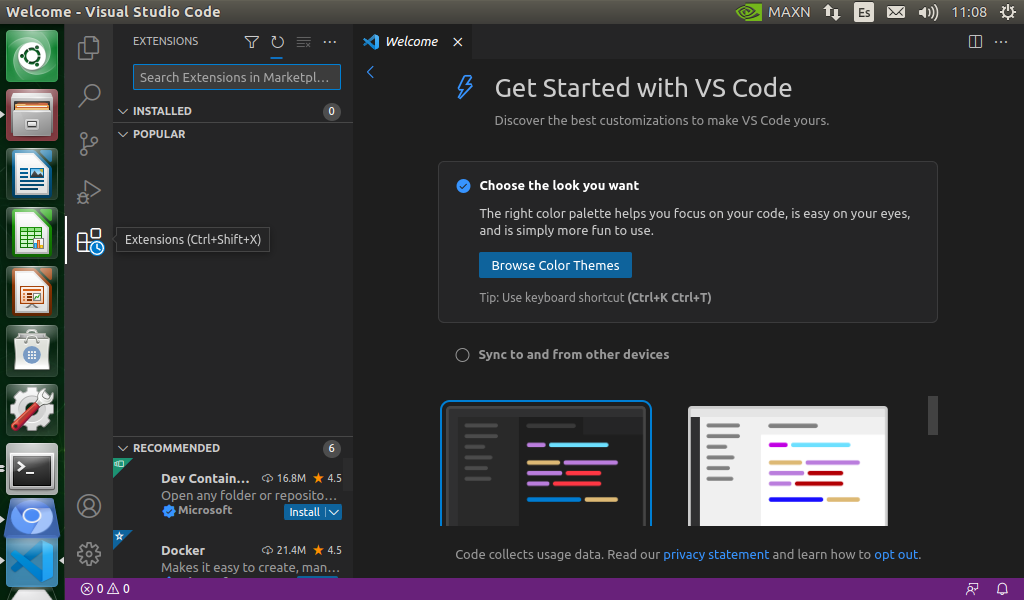
Programmed your board
Described the programming process/es you used
Atmel Studio IDE with C ---------------------------------------------------------------------------------------------------------
The first step is install Atmel Studio, click in the link below:
The Installation consists in the following steps:
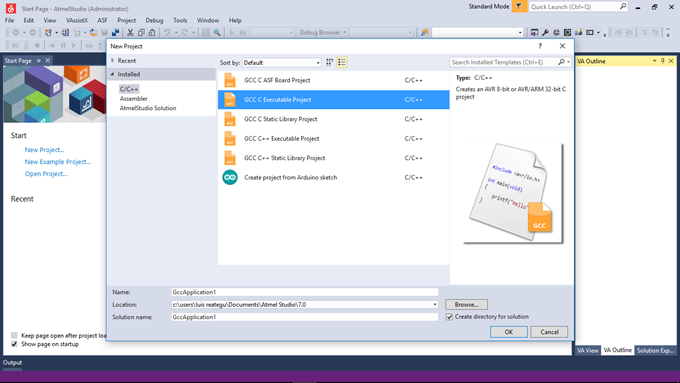
- Install AtmelStudio IDE.
- Choose the GCC Executable Project, and put a project name
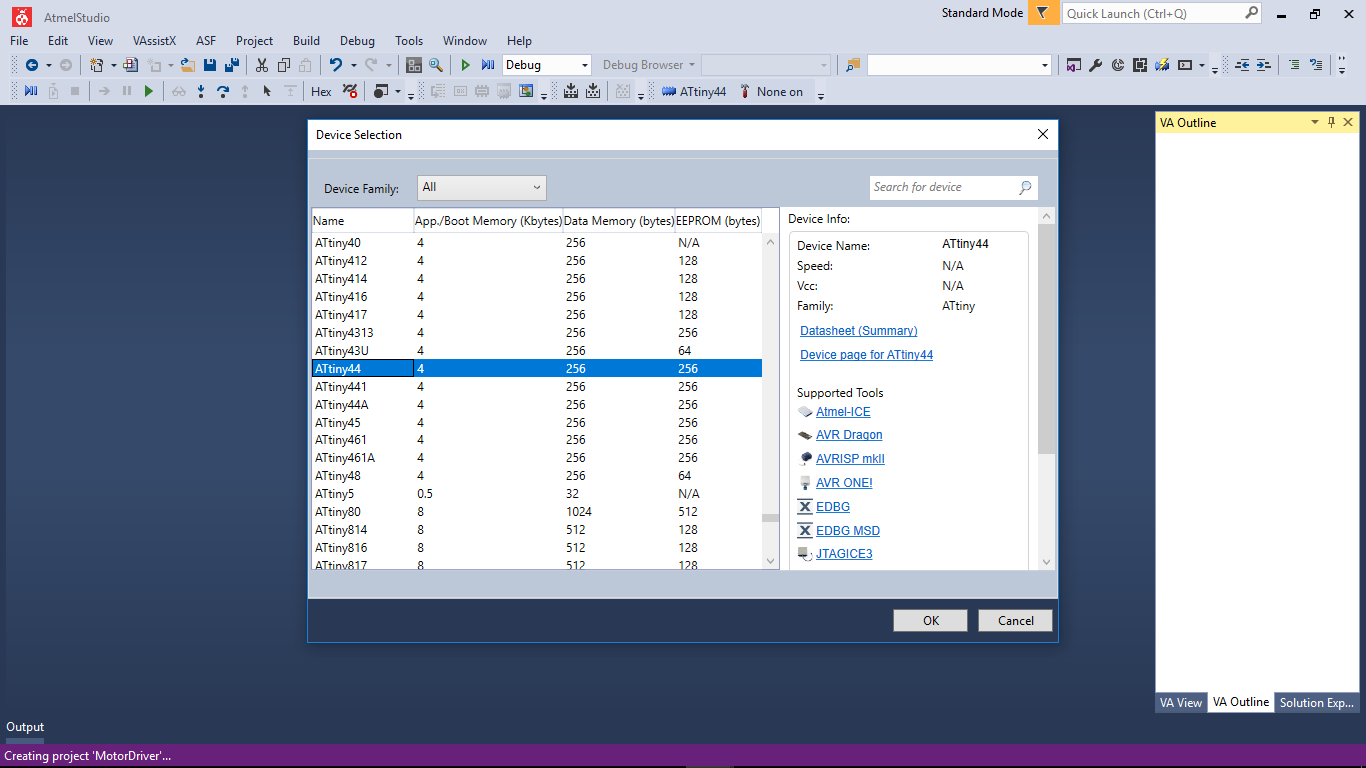
- Choose the Attiny 44 from the list, We can choose other options like AtMega328 or Attiny 45
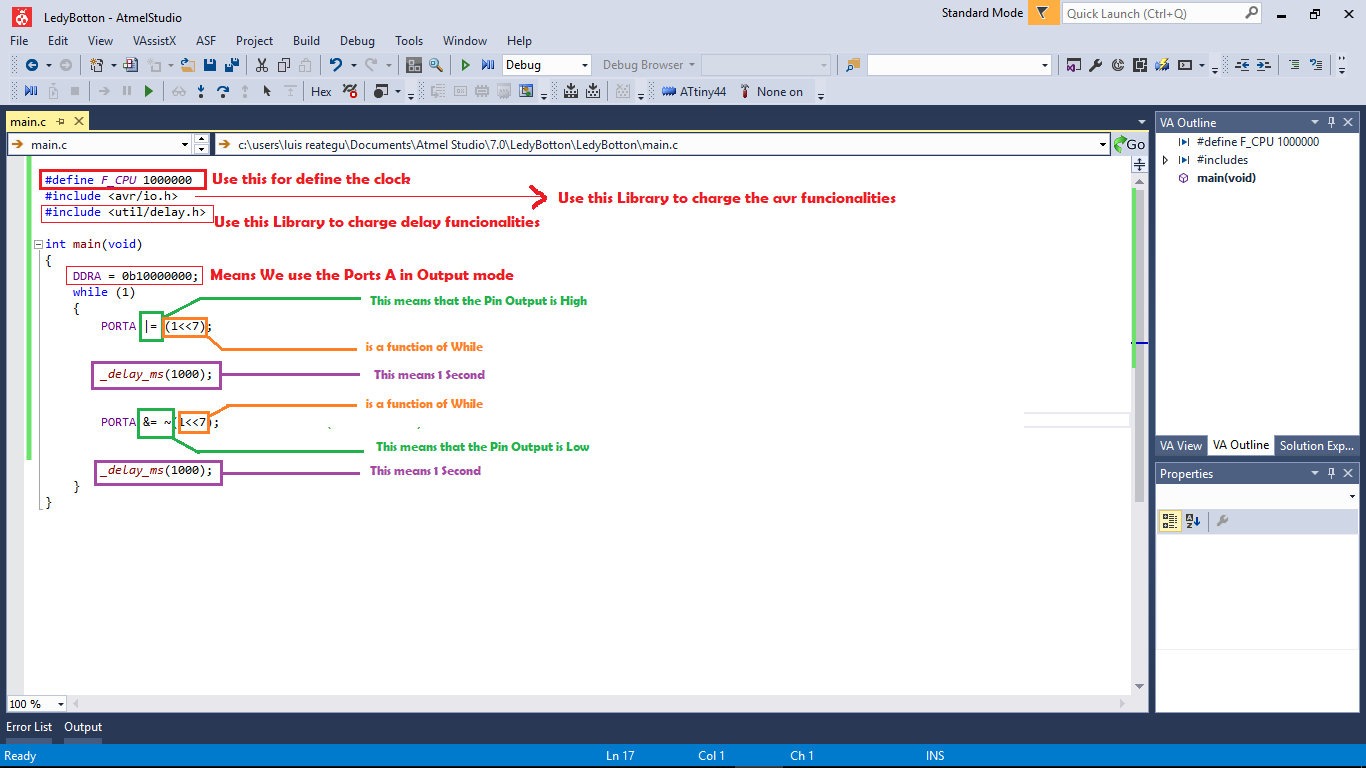
- We need to understand the code, here an example.
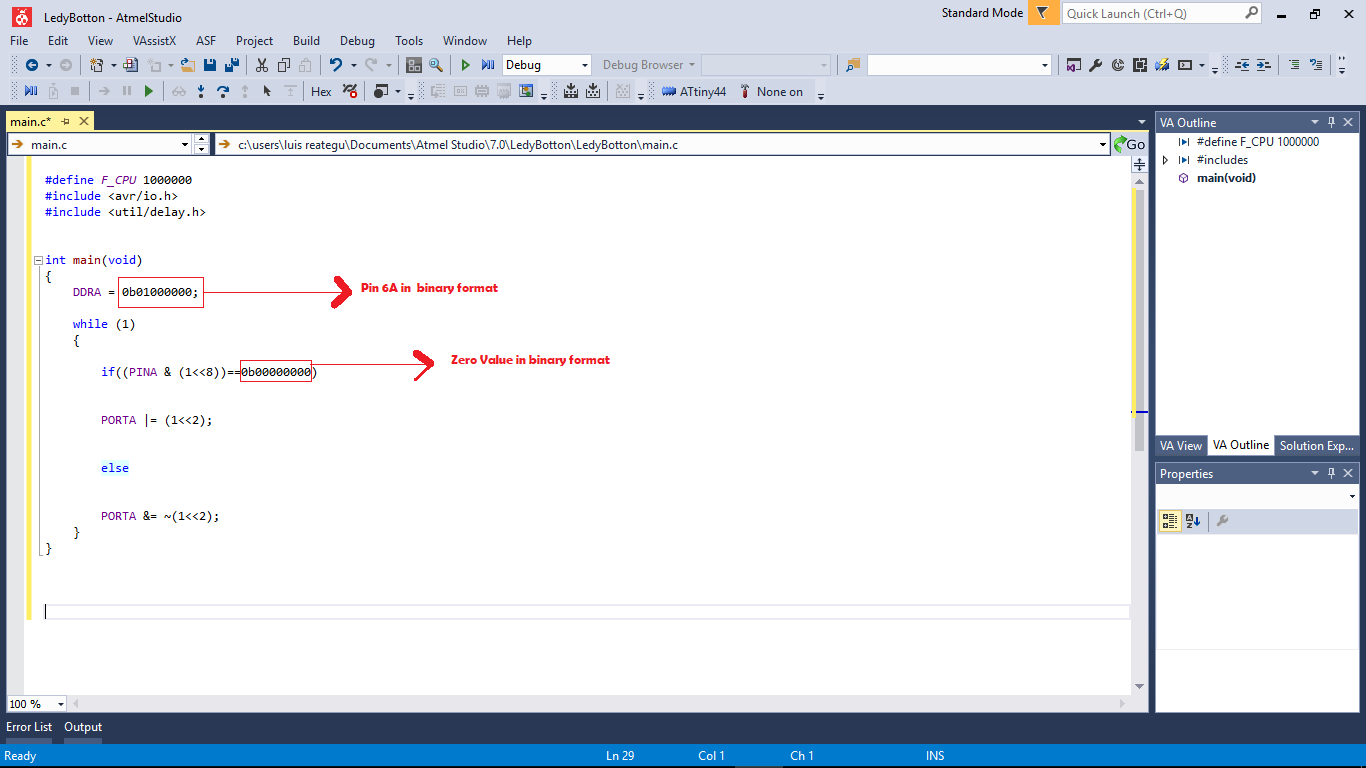
- The Final code have two pines, the first one for button and the second to destinate to LED
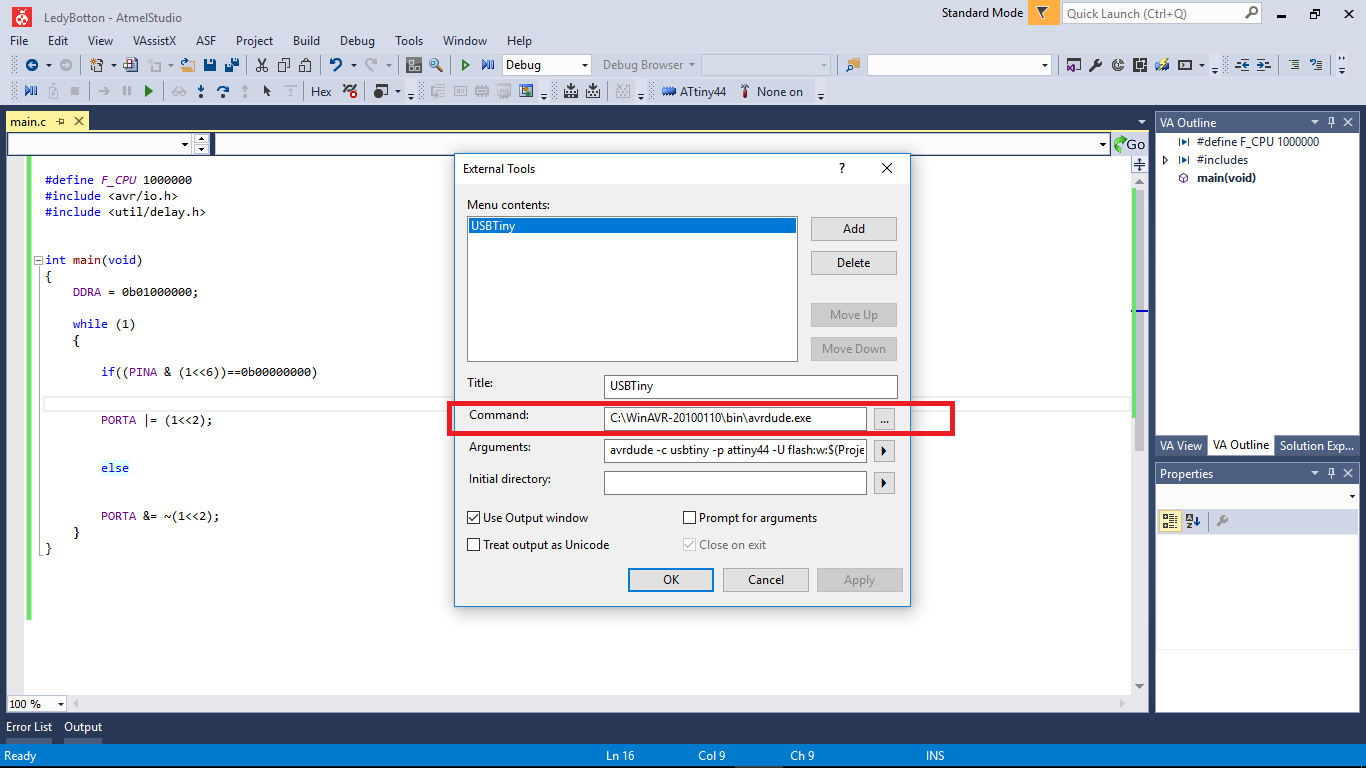
- To Upload the code we need to configured an External tool called USBTiny, We need to install avrdude.exe

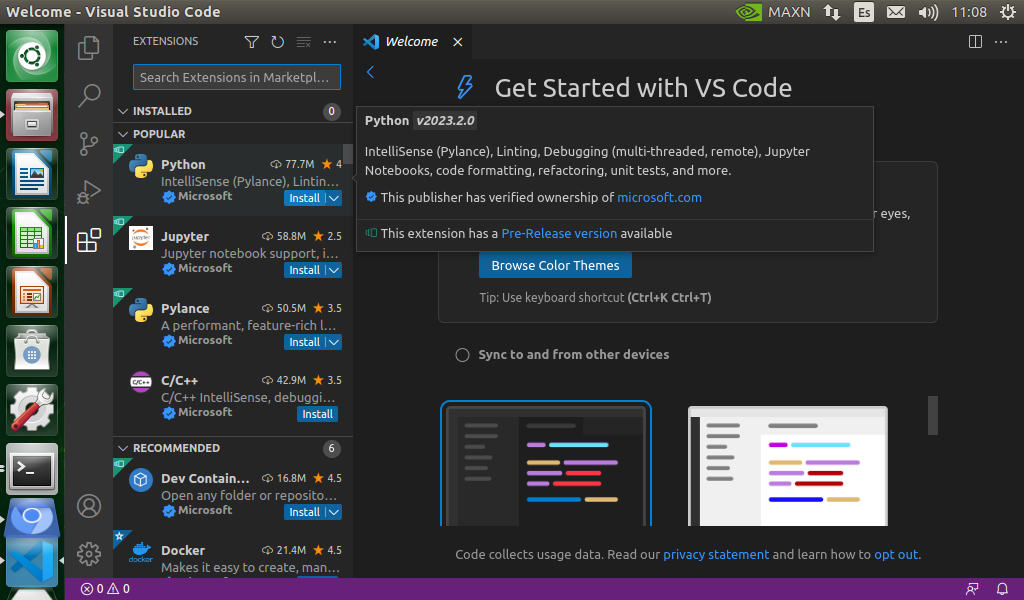
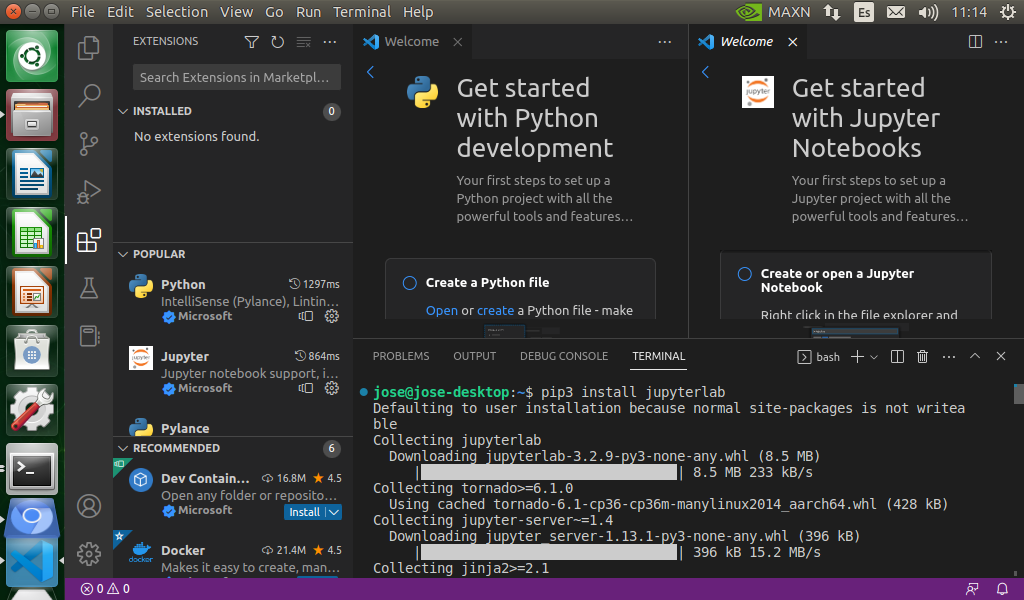
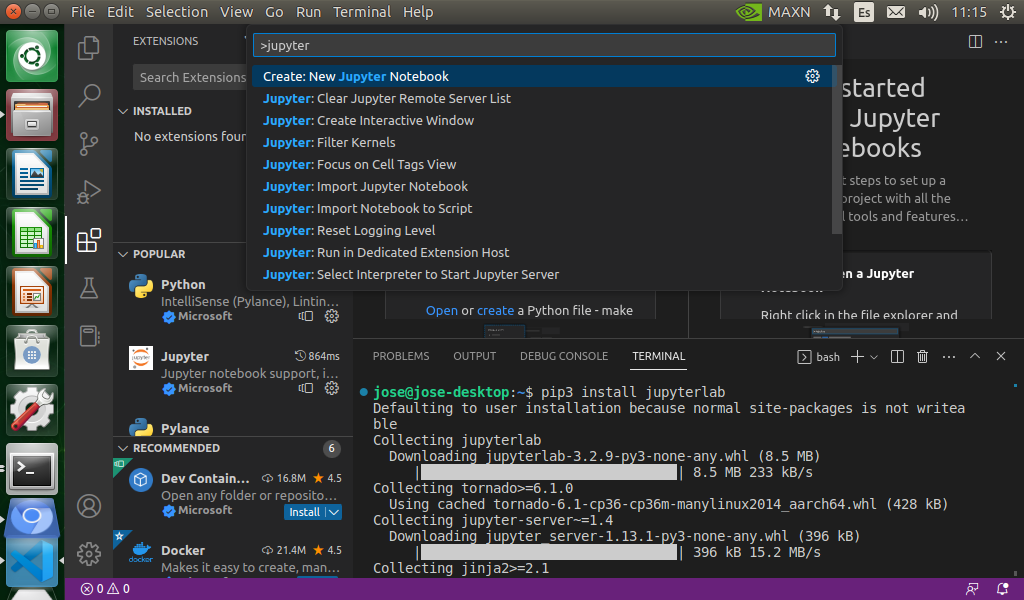
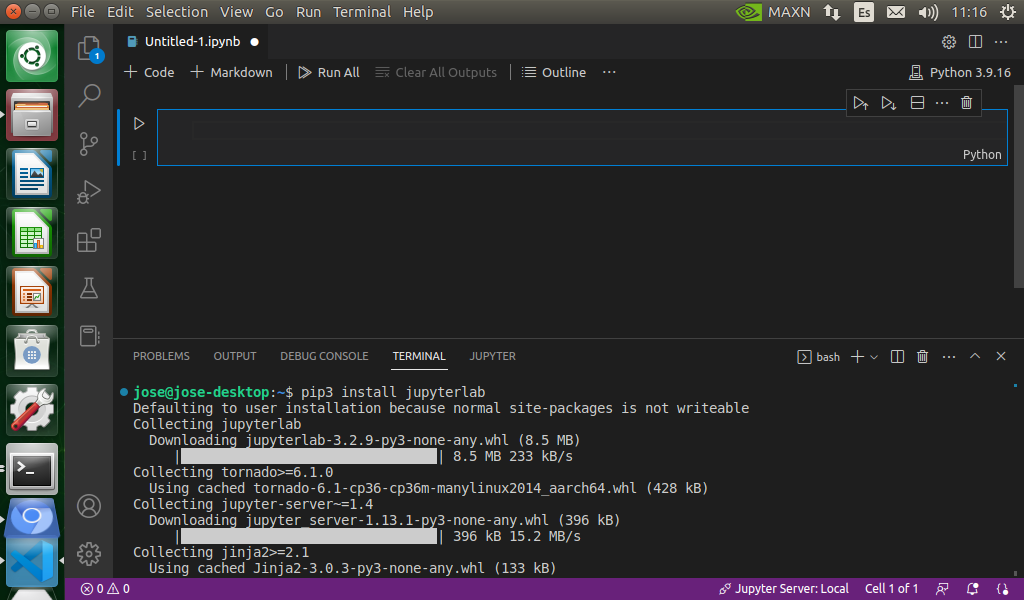
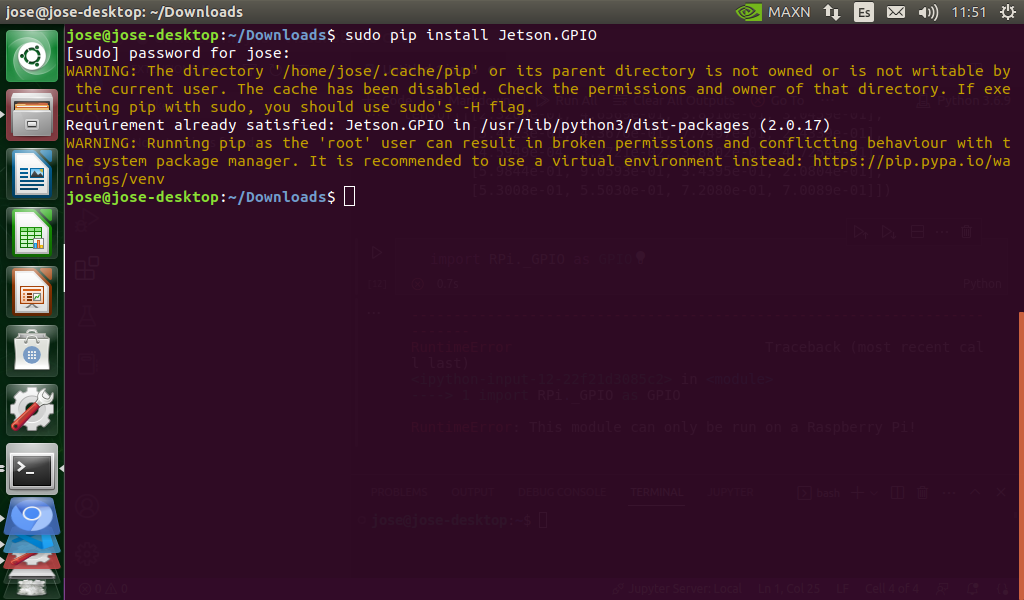
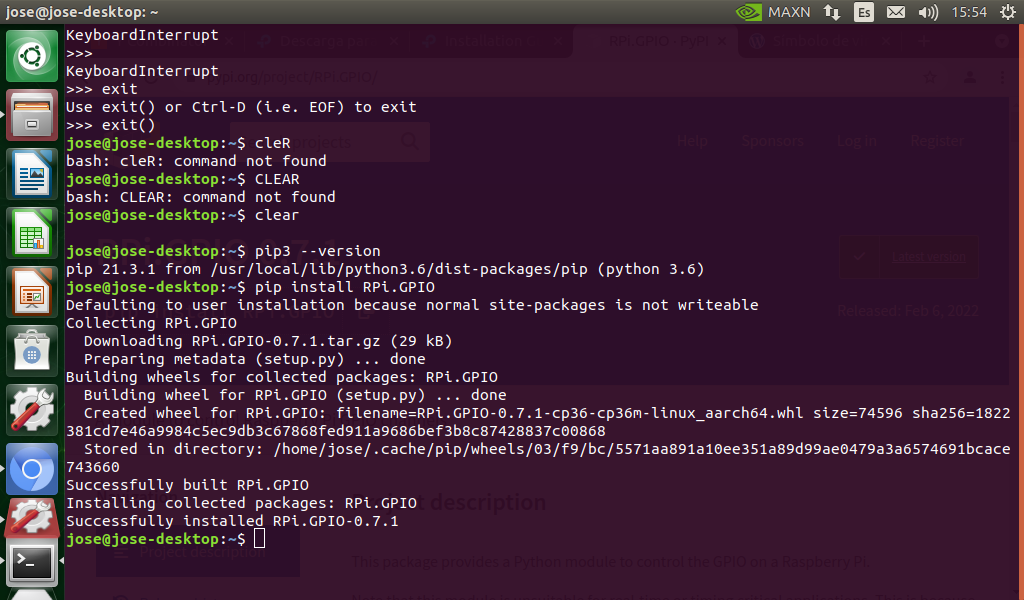
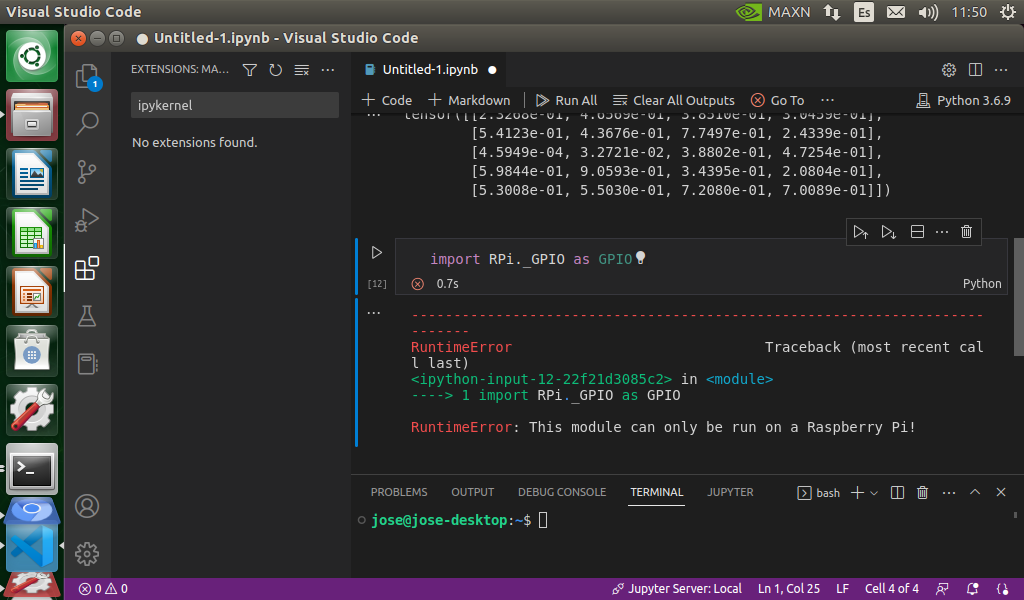
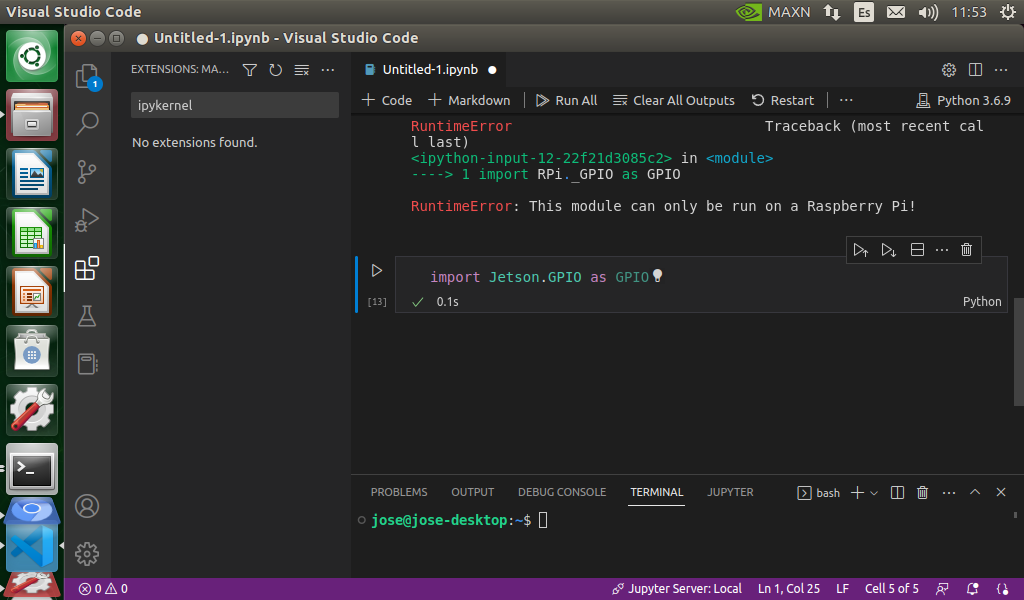
Nvidia Jetson Nano ---------------------------------------------------------------------------------------------------------
To work with Nvidia Jetson Nano we have to use a JestonGPIO library, this library is like Raspberry GPIO library

STM32 with STM32CubeIDE--------------------------------------------------------------------------------------------------
STM32 Cube IDE is a IDE to work with STM32 boards, has a several interactive tools such as windows to choose board features, pines
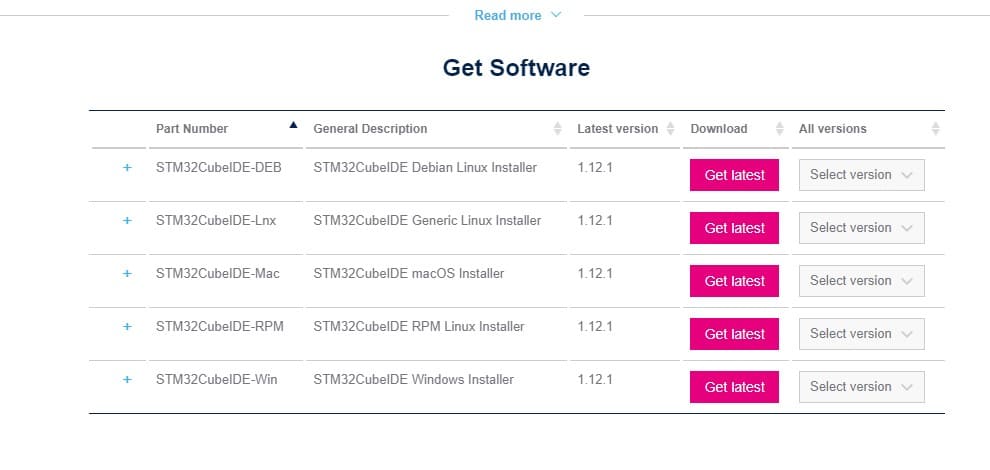
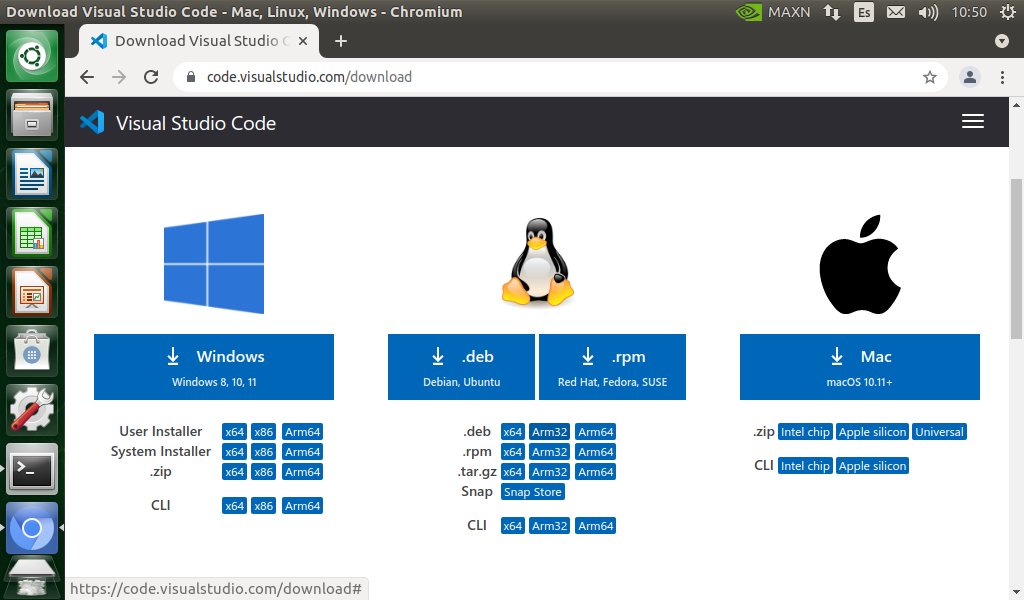
Go to OS compatibility driver to install the IDE
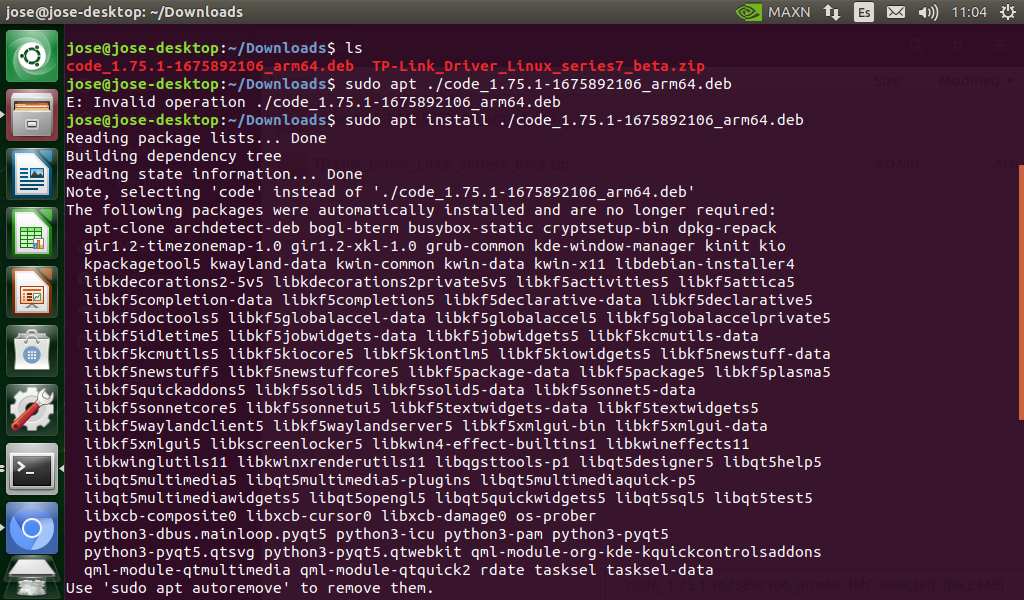
After following the installation process and open the IDE
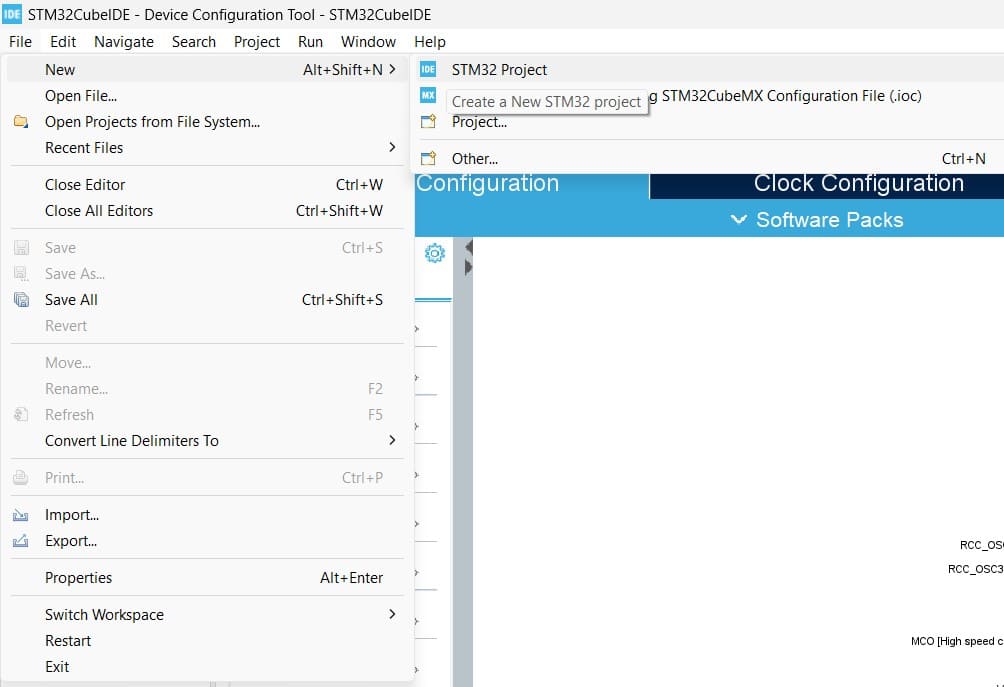
We have to choose a workspace and go to File menu, "new", "create a New STM32 project"
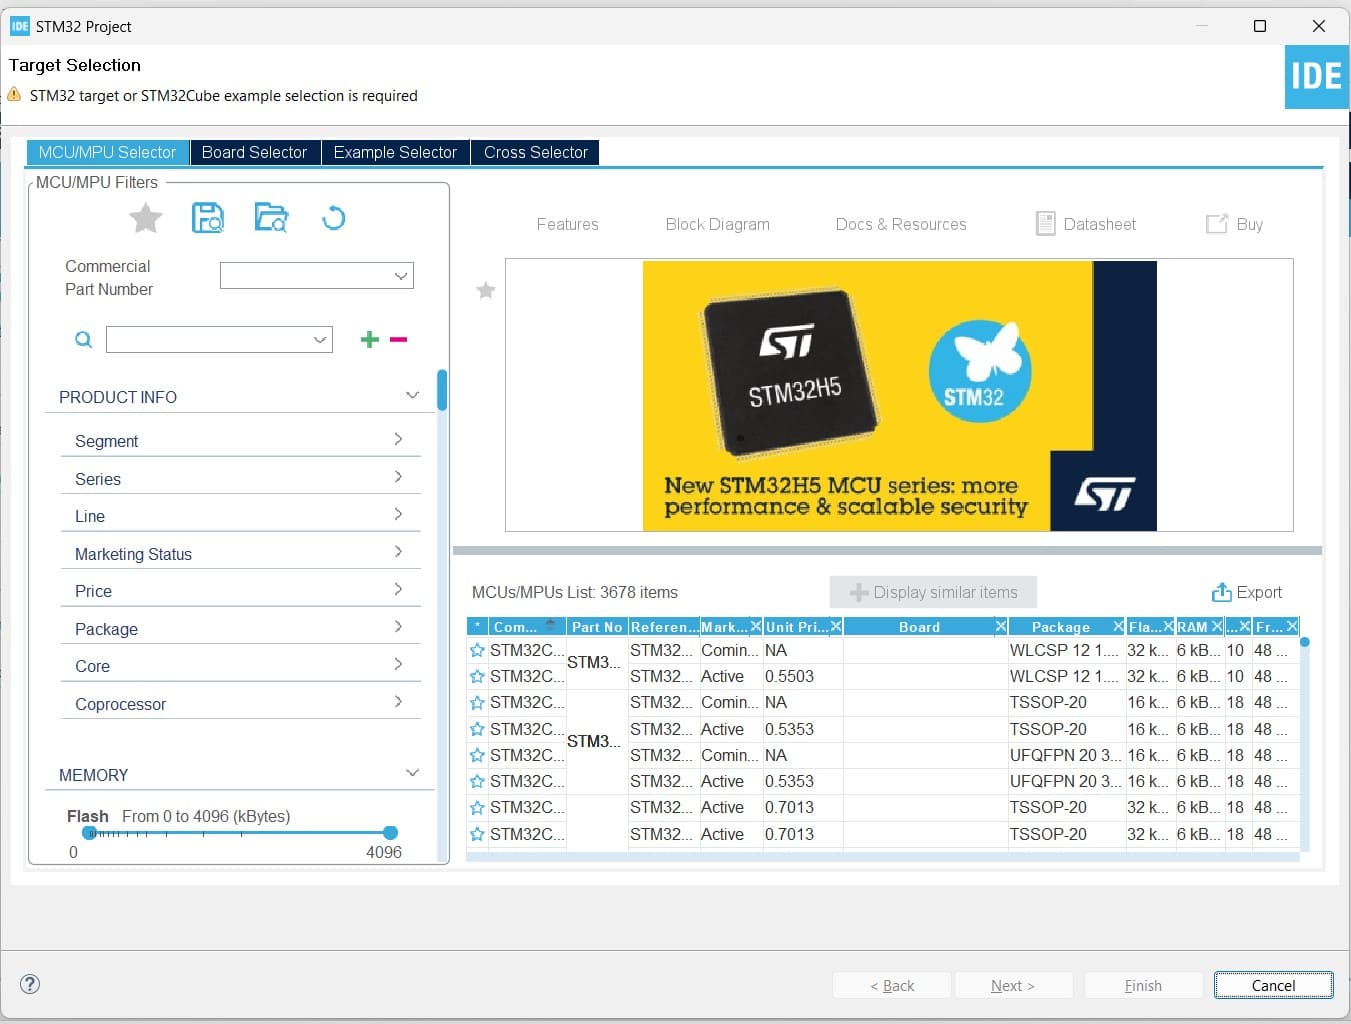
In the "target selection menu" we can start with MCU/MPU selector
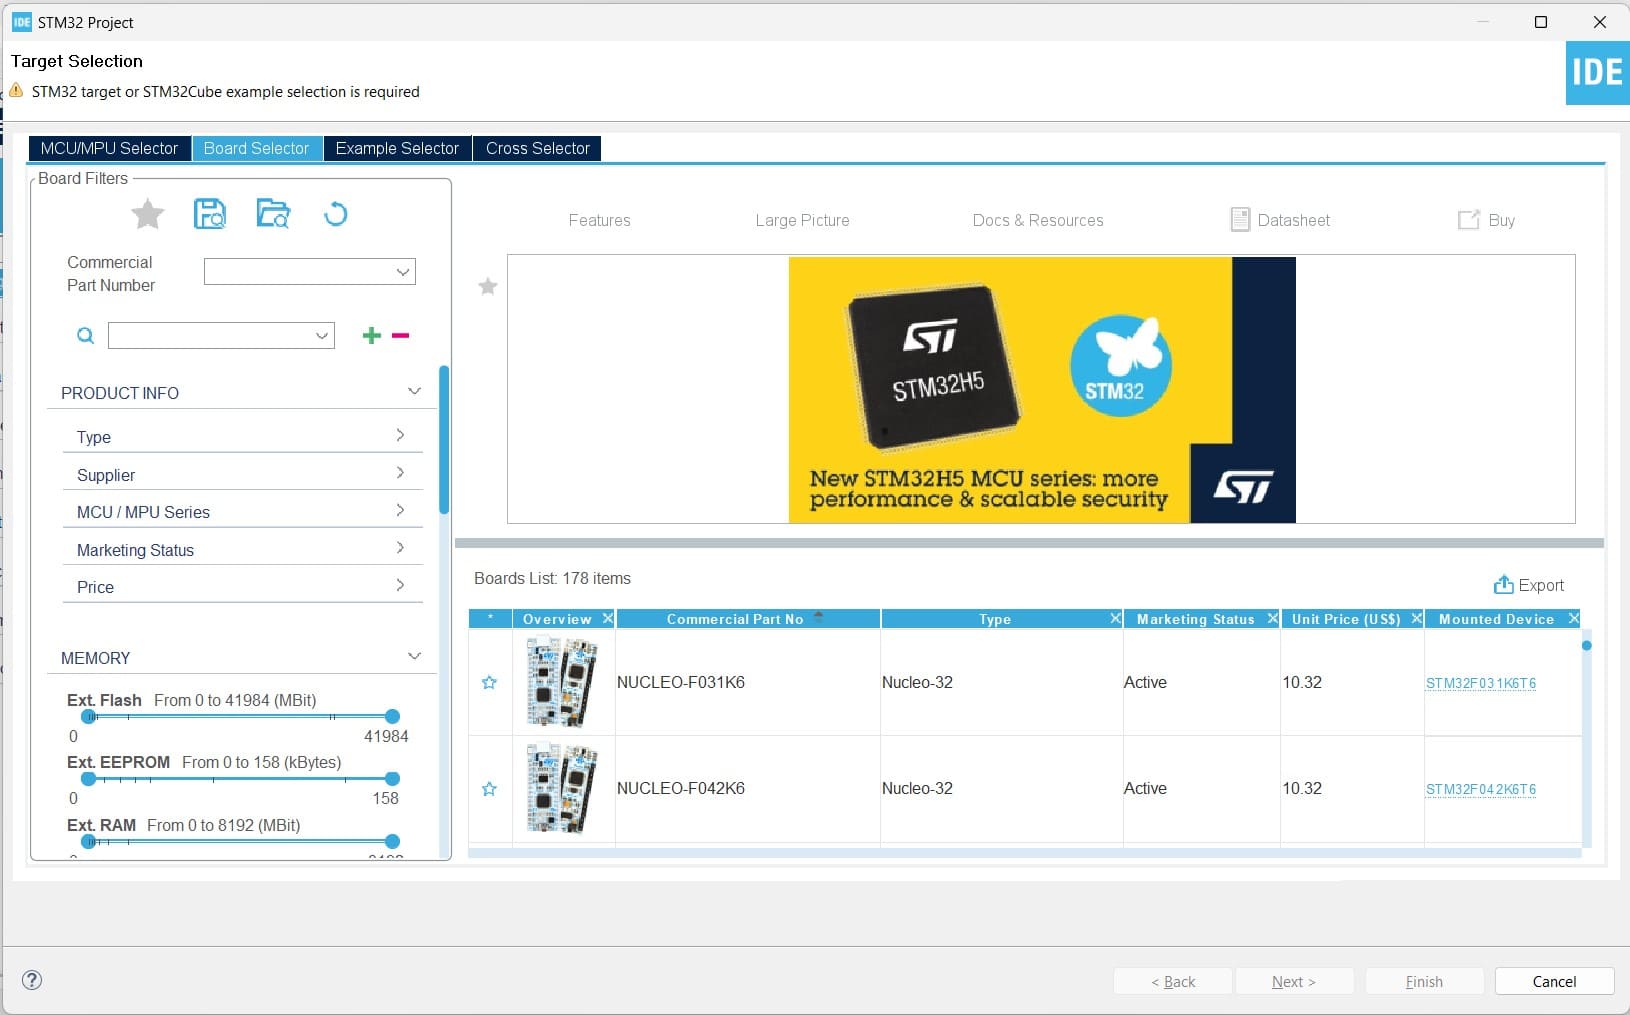
But is more confortable for me work with the "board selector" in the next label, because we can select specific board with the "commercial part" or "mounted device".
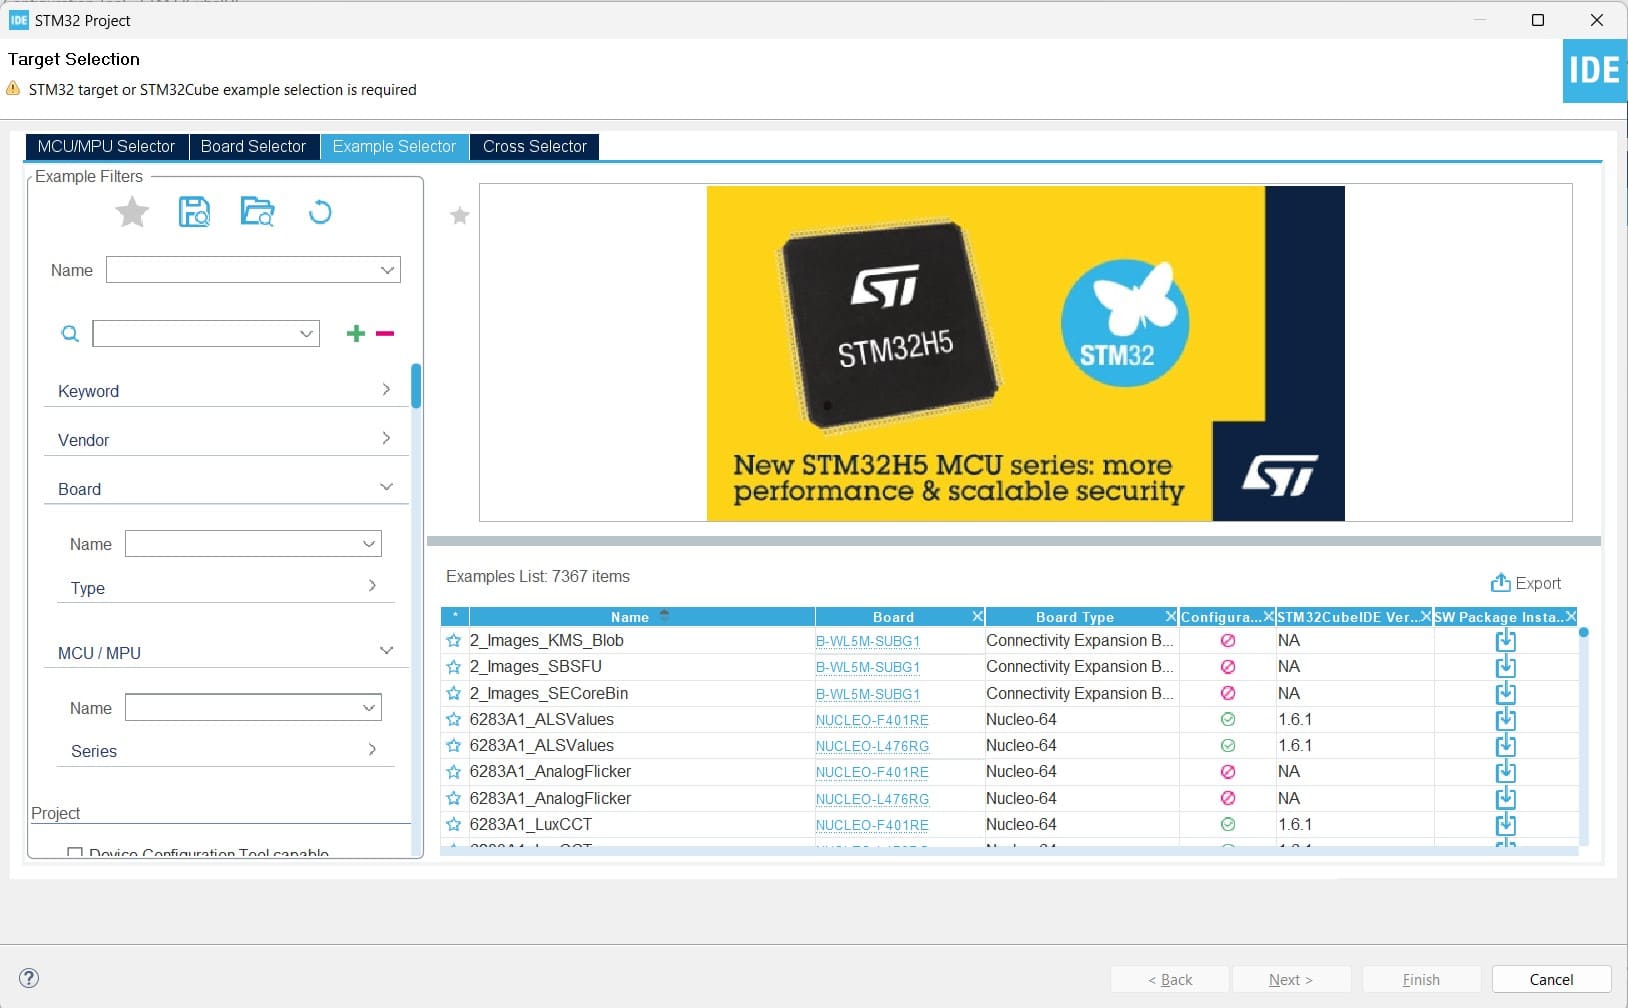
After the last step we have to select the "example selector"
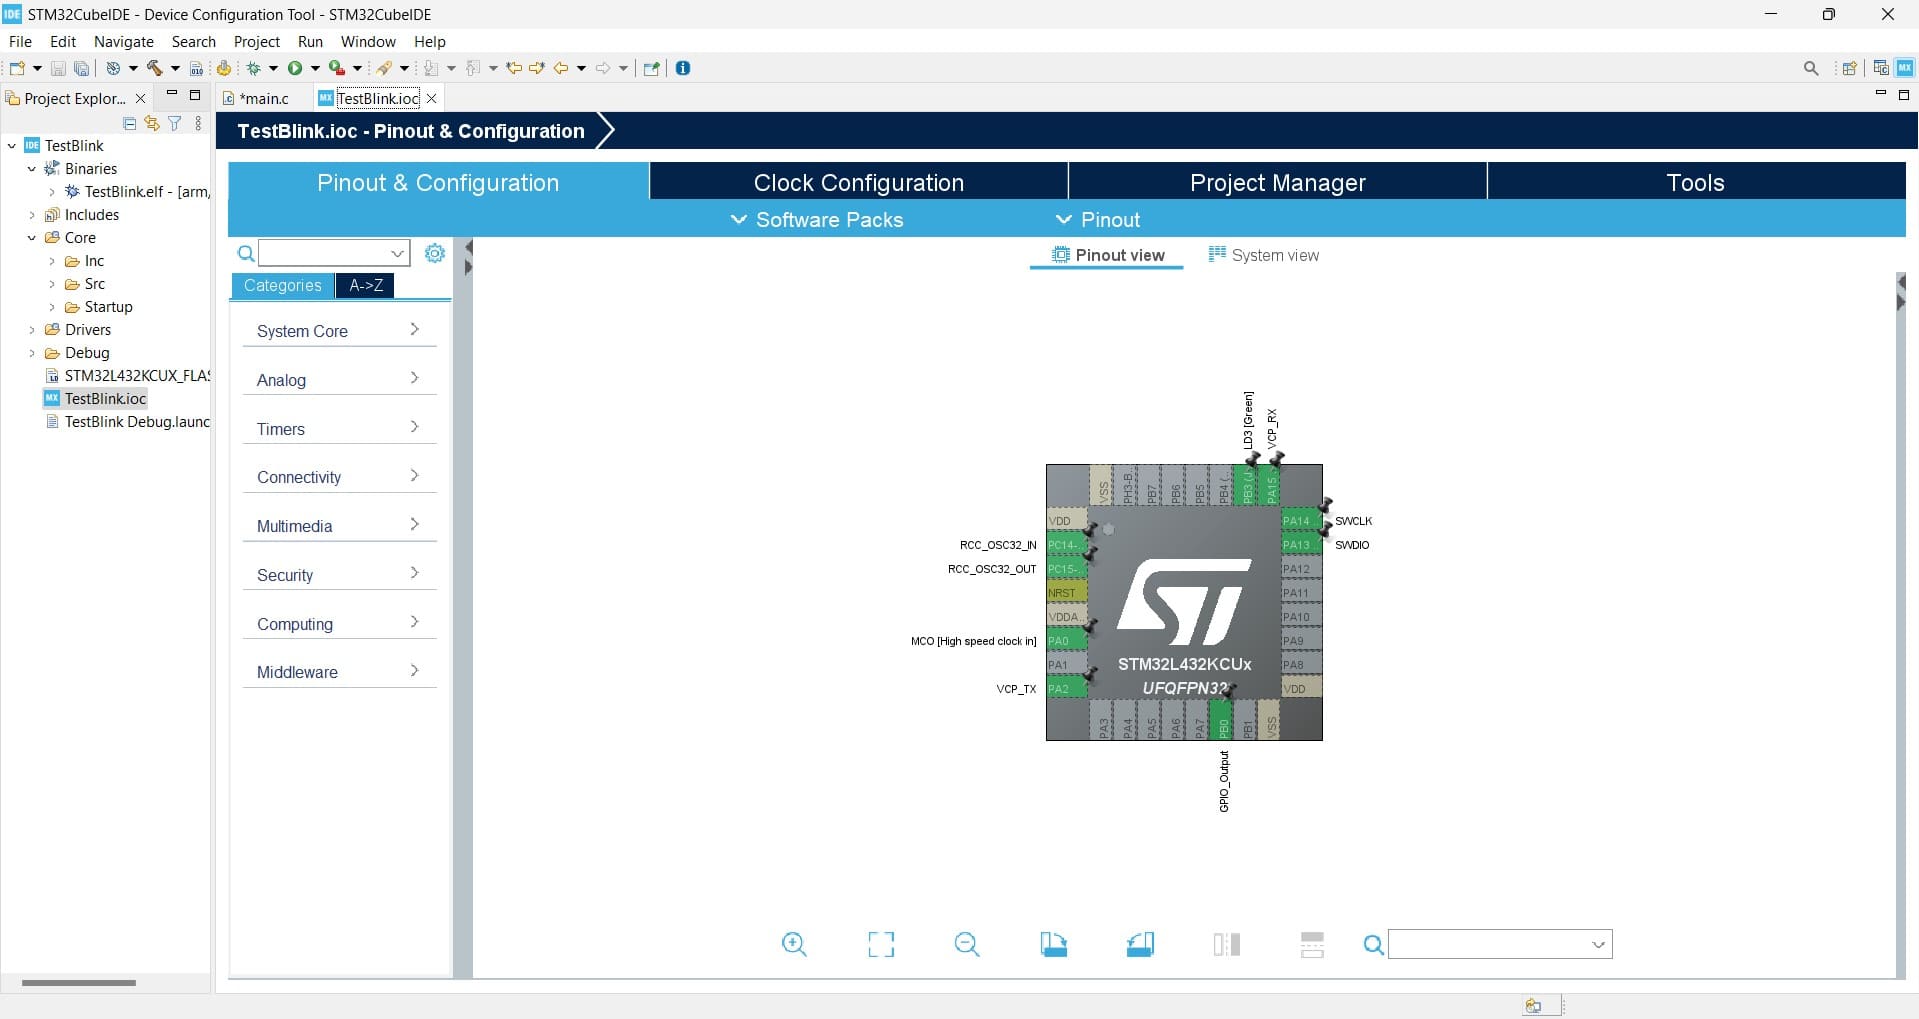
Now is time to select the available pinout funcionalities in order to reduce the programming time in the code
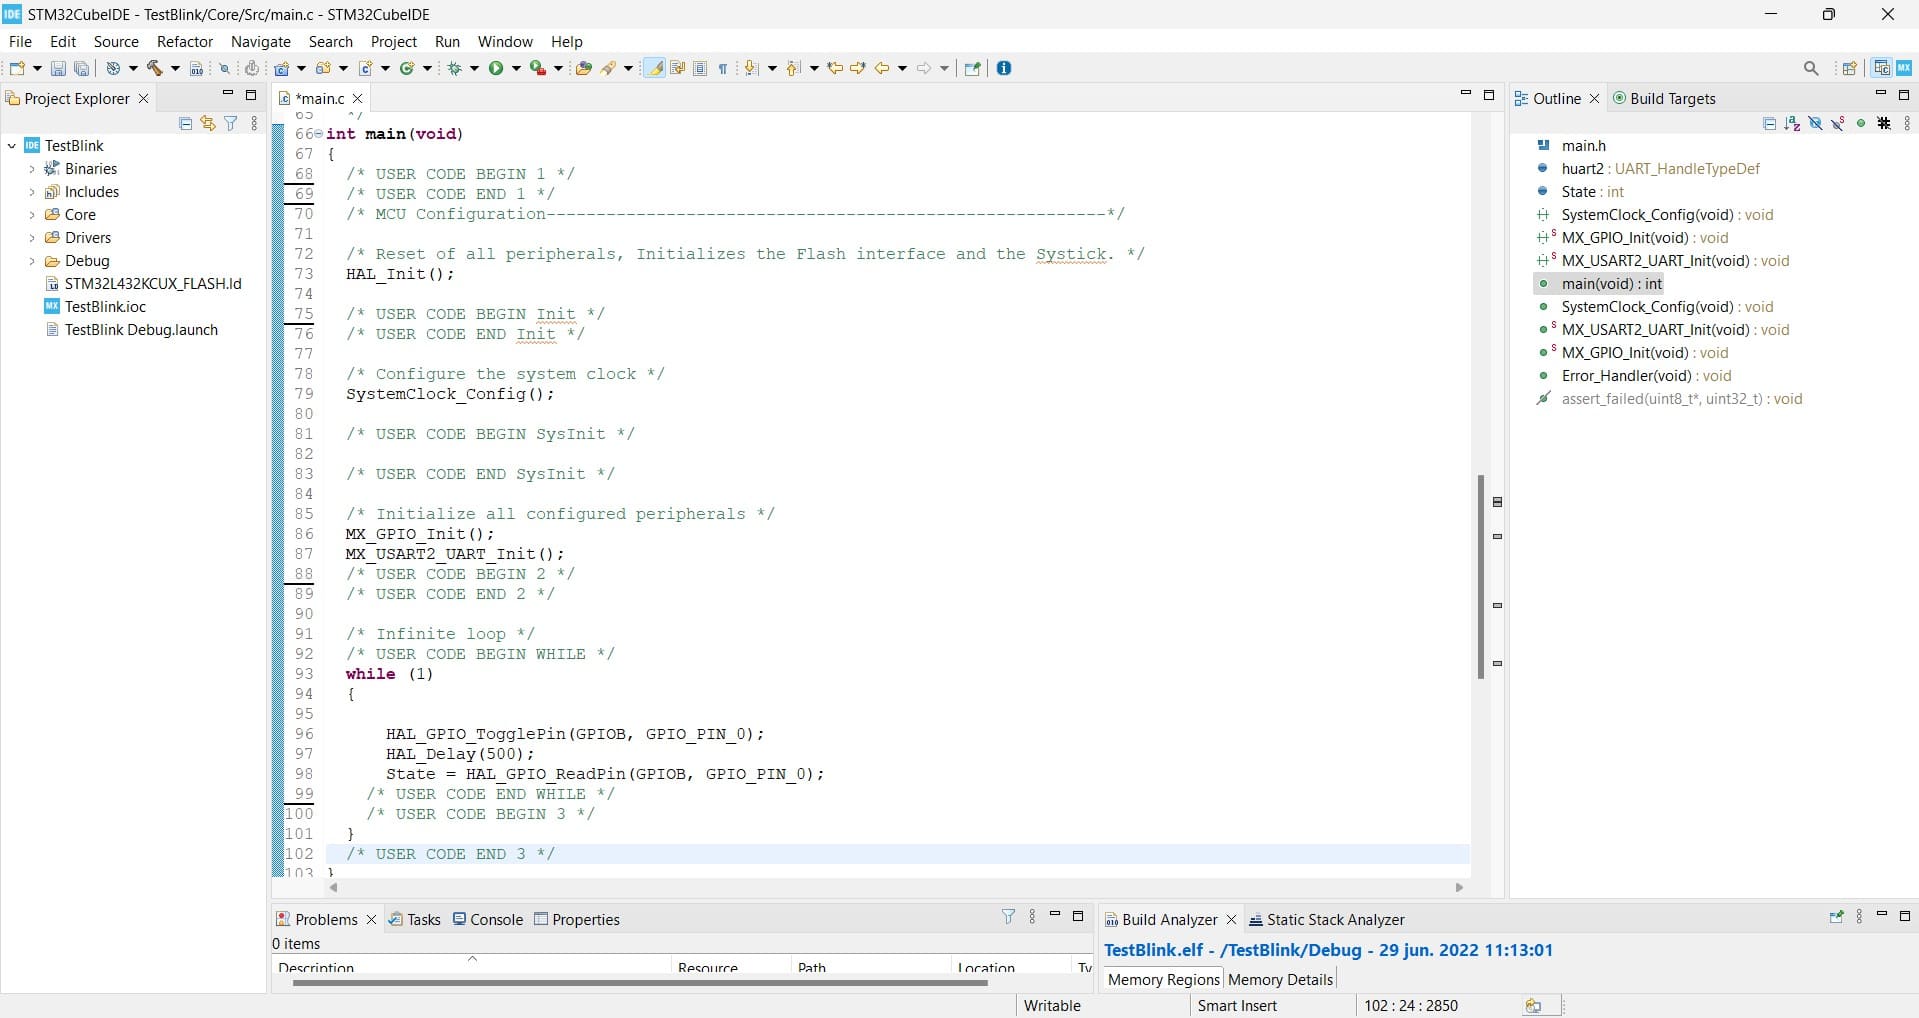
once the last step finished we have to configure the pinout behavior (lines 96,97,98)
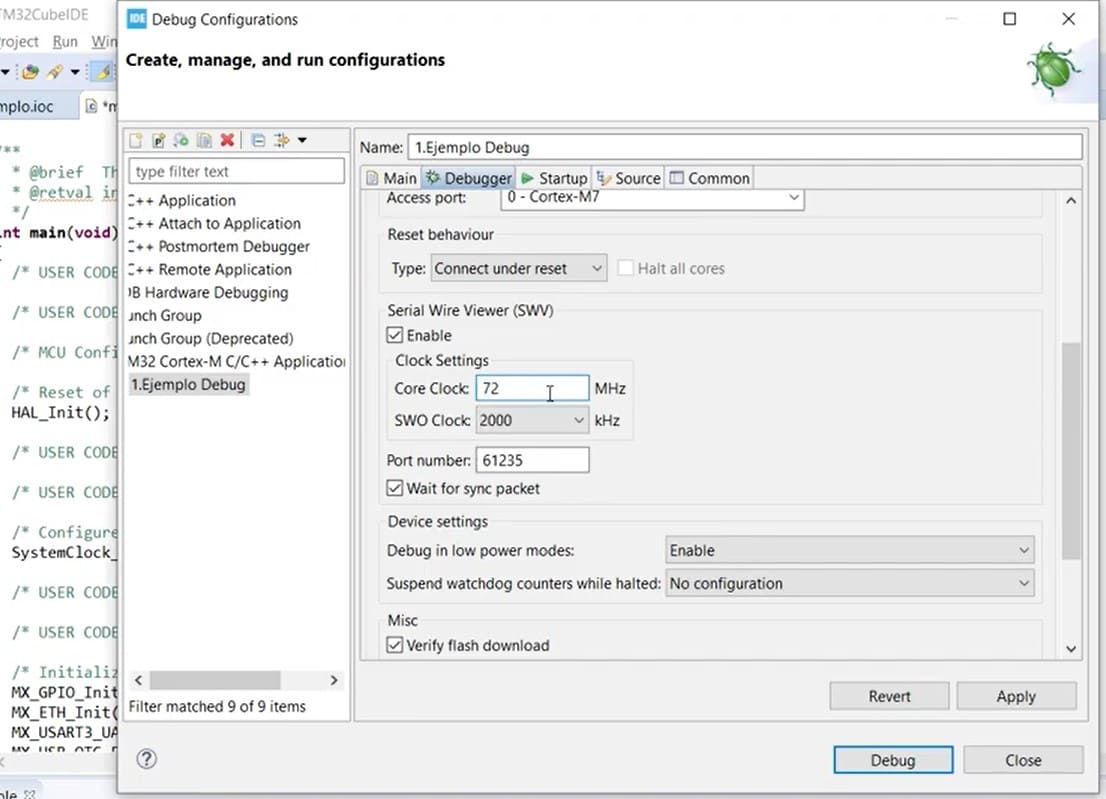
We have to custom the debug configuration before the run code process
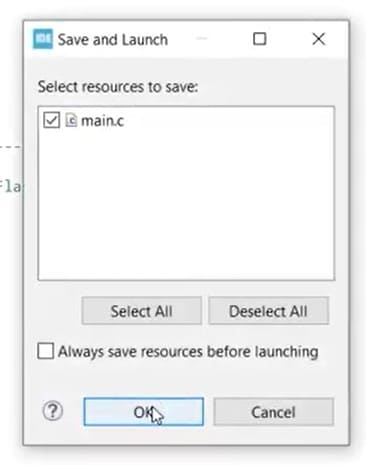
once finish the debug configuration we have to push on click button
This video shows the blink led program with a STM32 board based on ARM
Conclusions: Several microcontrollers can work with C or Arduino based on C, but in some cases like STM32 is better to use STM32CubeIDE because the IDE was designed to work very well with ARM architecture. If we have to work with a microprocessor like Nvidia Jetson Nano or Raspberry-pi-4 based on ARM we have to install an Operating systems , it usual to use Ubuntu-Linux. Another very important thing is to know the pin distribution showed in PinOut diagram, We can connect correctly when the pin is controlled from program. Also if we have to work with very specific applications, the embeded program can work into a microcontroller, but if we want to work with machine learning or complex control functions we have to use microprocessors.