Assignment 9: Embedded Programming
Read a microcontroller data sheet program your board to do something, with as many different programming languages and programming environments as possible.
Learning outcomes:
-
Identify relevant information in a microcontroller data sheet.
-
Implement programming protocols.
Group assignment:
-
Compare the performance and development workflows for other architectures.
-
Document your work to the group work page and reflect on your individual page what you learned.
Link to group assignment webpage: Link
Individual assignment:
-
Read the datasheet for your microcontroller.
-
Use your programmer to program your board to do something.
To work on this assignment I made the following actions:
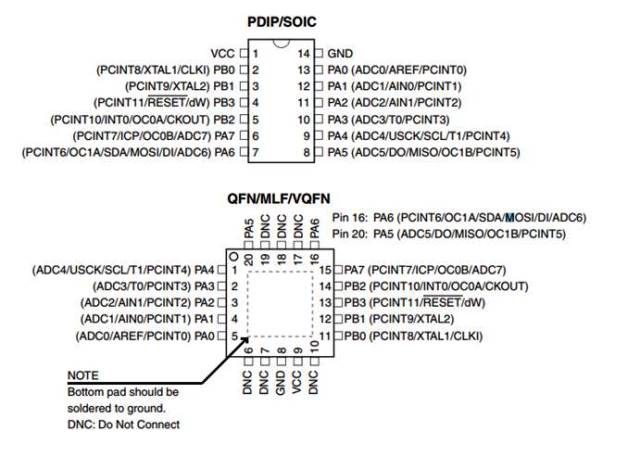
Step 1: I reviewed the Attiny 44 card's datasheet. Then I checked the equivalents of the Attiny 44 card pins. Link
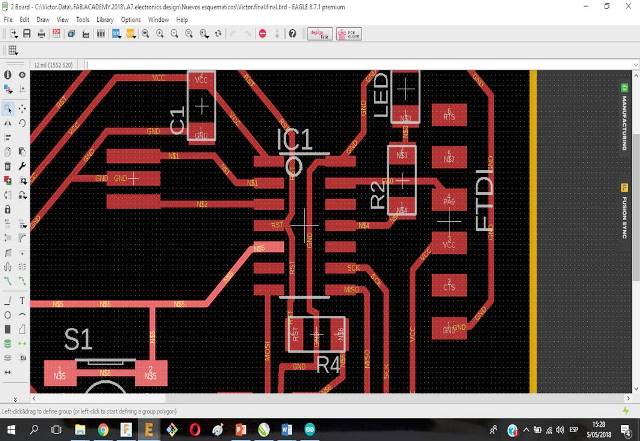
Step 2: I reviewed the schematic of the card designed in Assignmnent 7: Electronics Design. Then I identified in the schematic the on and off pins of the led. Link

Step 3: I checked the following tutorial for the programming of the ATtiny45 card: Link.
As indicated in the manual to program the ATtiny45 card it was necessary to use the Arduino program. Arduino is an open-source electronics platform based on easy-to-use hardware and software.
I downloaded the Arduino program from the following link. The version downloaded was 1.8.5. Then I installed the program on my computer.
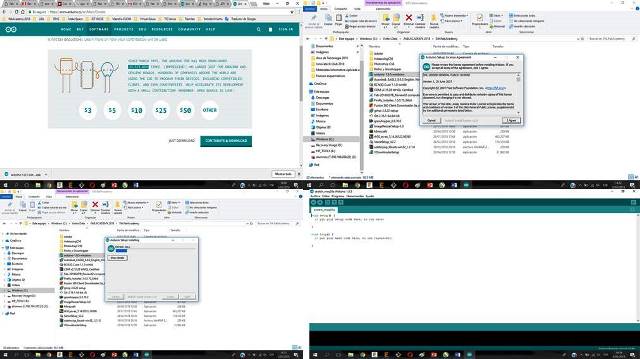
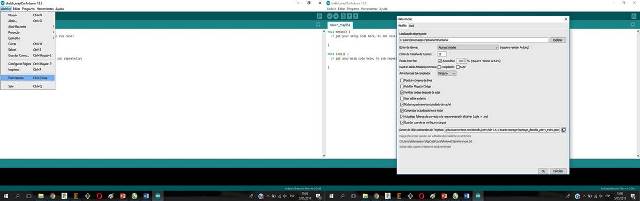
Step 4: The next step was to install the Attinny 44 library on Arduino. First I open the preferences dialog in the Arduino software, then I find the "Additional Boards Manager URLs" field near the bottom of the dialog.
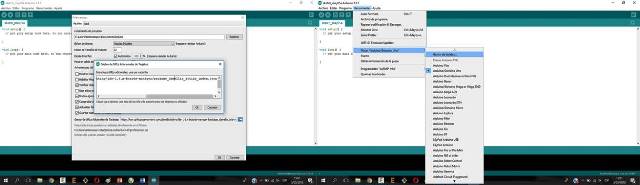
Step 5: In the box of the manager of additional cards copy the following link. Then in the message box press "OK" twice to save the preferences in Arduino. Then in the tools menu I chose the option "Cards" and then the option "Card Manager":
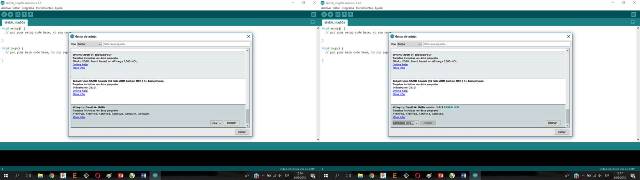
Step 6: Check the list shown in the window and locate the installer for the "Attiny" cards. The option to install the cards in version 1.0.2 is shown. Then I clicked on the "Install" button. Then press the "Close" option.
Step 7: Finally I checked that the card is shown in the list of cards of the Arduino program.
Step 8: Then check the pins in the schematic to connect the card with the FTDI cable.
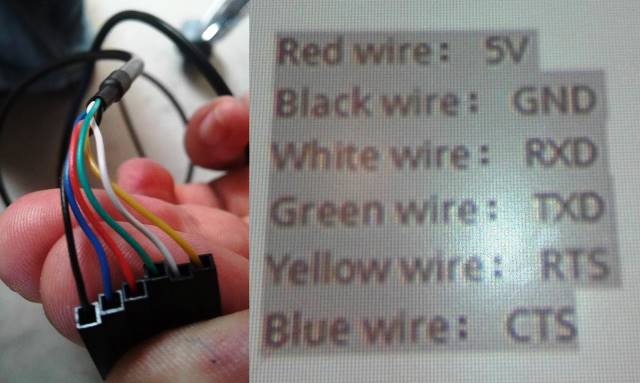
Step 9: Then check where each color of the FTDI cable should be connected.
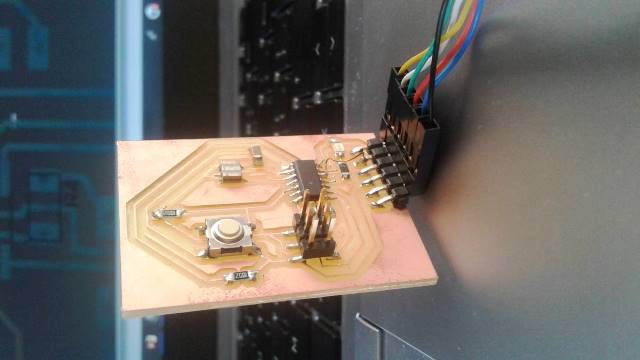
Step 10: Then I connected the card with the FTDI cable.
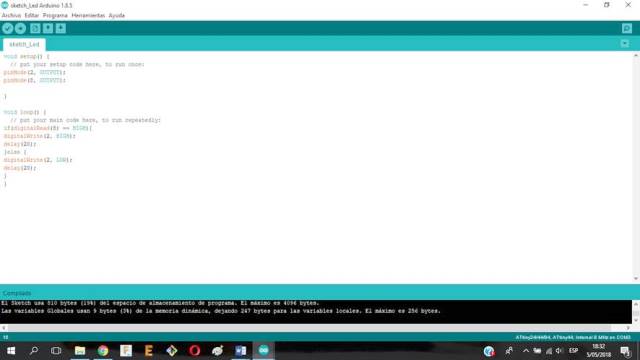
Step 11: Then I wrote the code to turn on the led with a button on Arduino and saved the file. Code

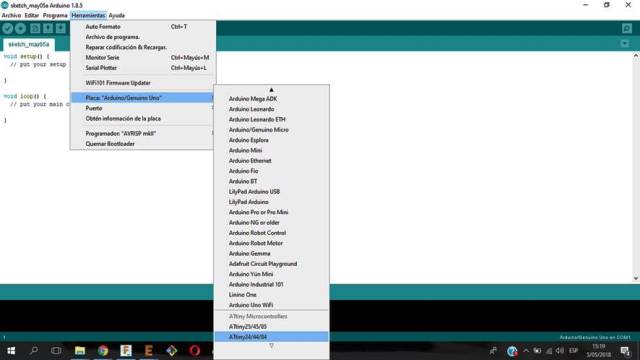
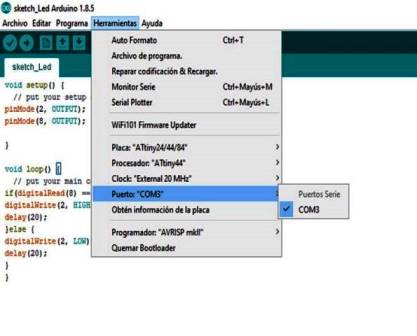
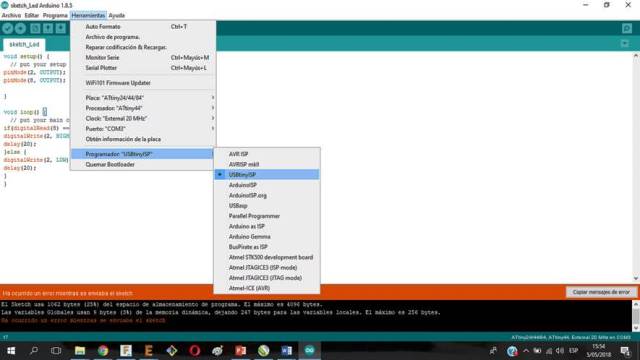
Step 12: Then from the tools menu I configured the board, the processor, the clock and the port:
Plate: ATtiny 44
Processor: ATtiny 44
Clock: External 20 MHZ
Port: COM3
Step 13: Then I checked the connection and programming with the check button. The program showed an error message.

Step 14: After doing several tests I found that the problem was that USBtinyISP programmer was not correctly chosen in the tool option. The error was corrected..
Step 15: After correcting the error the program compiles correctly.
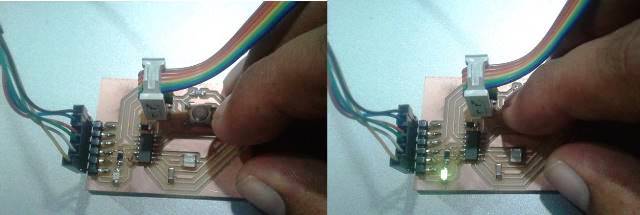
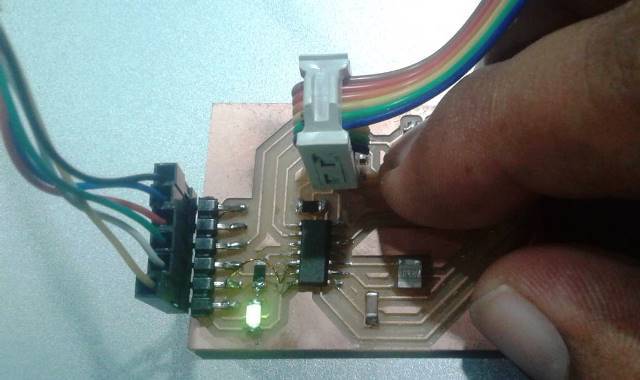
Step 16: Finally I proceeded to press the button and check the operation of the led according to the programming entered on the card.