Week 12
Interface and Application Programming
Assignment
Individual
• Write an application that interfaces with an input and/or output device, that you made, comparing as many tool options as possible.
Node Red
Reference: Node-Red com
Node-RED is a programming tool for wiring together hardware devices, APIs and online services in new and interesting ways.
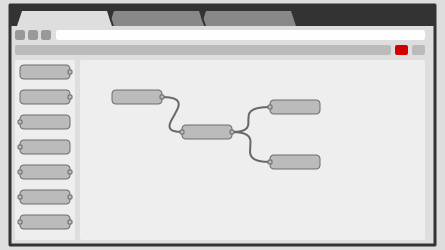
It provides a browser-based editor that makes it easy to wire together flows using the wide range of nodes in the palette that can be deployed to its runtime in a single-click.
Browser-based flow editing
Node-RED provides a browser-based flow editor that makes it easy to wire together flows using the wide range of nodes in the palette. Flows can be then deployed to the runtime in a single-click. JavaScript functions can be created within the editor using a rich text editor. A built-in library allows you to save useful functions, templates or flows for re-use.
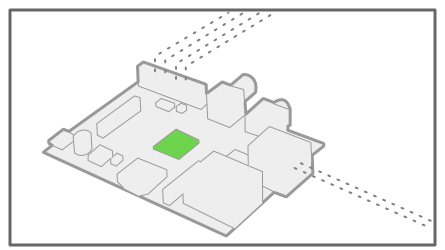
Built on Node.js
The light-weight runtime is built on Node.js, taking full advantage of its event-driven, non-blocking model. This makes it ideal to run at the edge of the network on low-cost hardware such as the Raspberry Pi as well as in the cloud. With over 225,000 modules in Node's package repository, it is easy to extend the range of palette nodes to add new capabilities.
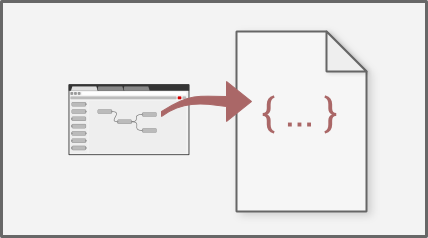
Social Development
The flows created in Node-RED are stored using JSON which can be easily imported and exported for sharing with others. An online flow library allows you to share your best flows with the world.
Setting up environment
Check if you have node js with the command node -v
Install node red globally with the command sudo npm install -g --unsafe-perm node-red
Running node red
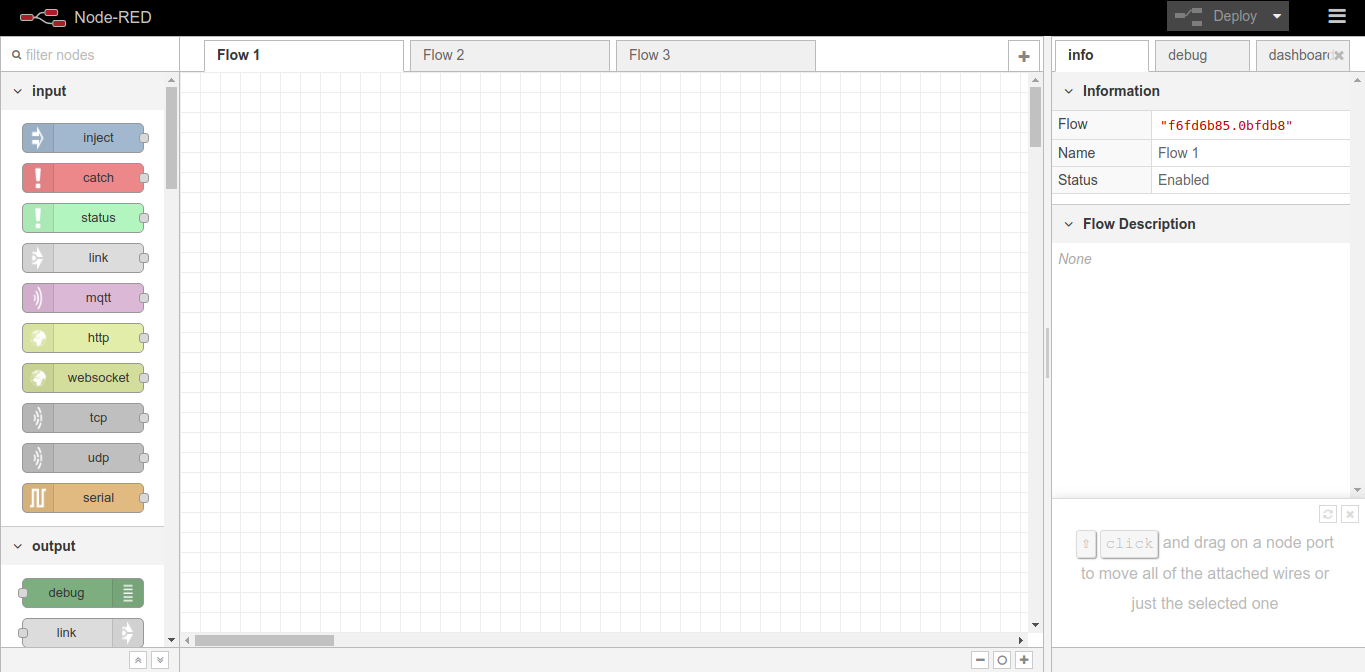
You can use the node-red command: you get the following feedback.
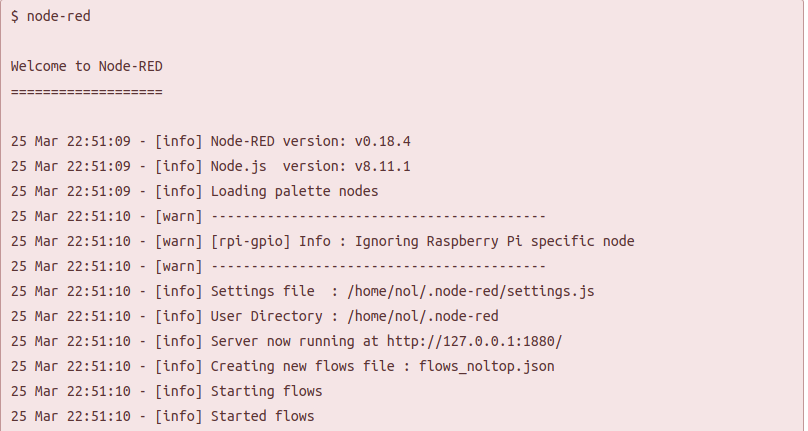
Copy the url to your browser; http://127.0.0.1:1880/. This will bring the window shown.
Install dashboard
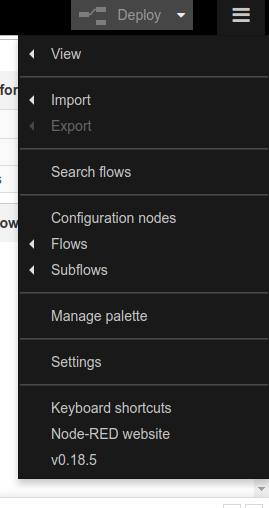
Navigate to the top right dropdown menu and select manage pallette.
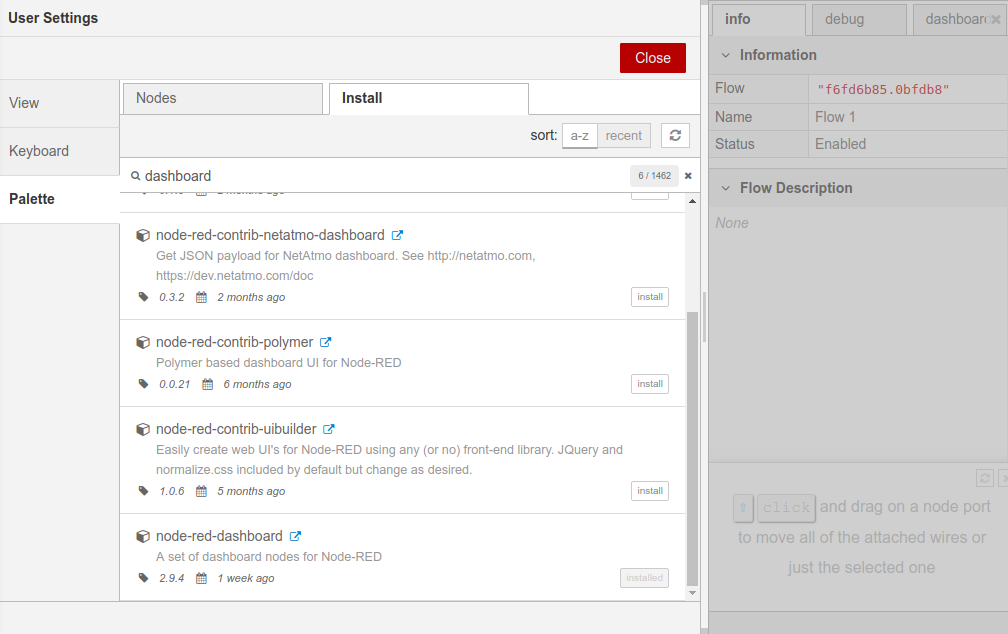
Under the manage palette go to the install tab and search for dashboard. Select node-red dashboard and click install.
Node- red with serial: In order to communicate serially with node red you have to install serial. Run the following command: in your Node-RED user directory (typically ~/.node-red):
npm i node-red-node-serialportAfter this restart your instance of node red.
Usage
Provides two nodes - one to receive messages, and one to send.
Input
Reads data from a local serial port. Clicking on the search icon will attempt to autodetect serial ports attached to the device, however you many need to manually specify it. COM1, /dev/ttyUSB0, etc. It can either:
• Wait for a "split" character (default \n). Also accepts hex notation (0x0a).
• wait for a timeout in milliseconds from the first character received
• wait to fill a fixed sized buffer
Node red with arduino
Installation
First you need to load the default Firmata sketch onto the Arduino using the standard Arduino software download tools. This is usually found in the Arduino IDE under the menu:
Files - Examples - Firmata - Standard Firmata
You then need to install the Node-RED Arduino nodes into the palette.
Please check that `npm -v` is at least version 2.x - if not - update it using sudo npm i -g npm@2.xhash -r
Change directory to your Node-RED user directory, this is normally ~/.node-red
cd ~/.node-redThen install the Arduino nodes
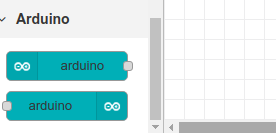
npm install node-red-node-arduinoFinally restart Node-RED, and reload the editor in the browser. There should now be two new Arduino nodes in the palette as shown.
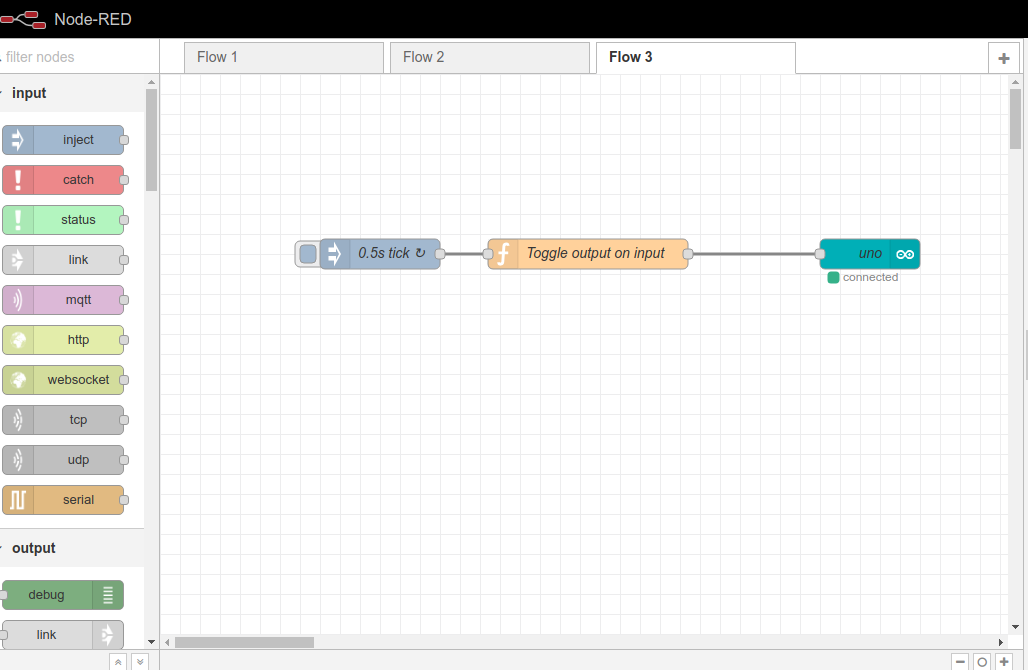
Blink an Led with arduino and Node red
To run a “blink” flow that uses LED 13, copy the following flow and paste it into the Import Nodes dialog (Import From - Clipboard in the dropdown menu, or Ctrl-i, Ctrl-v). After clicking okay, click in the workspace to place the new nodes.
[{"id":"d7663aaf.47194","type":"arduino-board","device":""},{"id":"dae8234f.2517e","type":"inject","name":"0.5s tick","topic":"","payload":"","payloadType":"date","repeat":"0.5","crontab":"","once":false,"x":150,"y":100,"z":"359a4b52.ca65b4","wires":[["56a6f8f2.a95908"]]},{"id":"2db61802.d249e8","type":"arduino out","name":"","pin":"13","state":"OUTPUT","arduino":"d7663aaf.47194","x":570.5,"y":100,"z":"359a4b52.ca65b4","wires":[]},{"id":"56a6f8f2.a95908","type":"function","name":"Toggle output on input","func":"\n// If it does exist make it the inverse of what it was or else initialise it to false\n// (context variables persist between calls to the function)\ncontext.level = !context.level || false;\n\n// set the payload to the level and return\nmsg.payload = context.level;\nreturn msg;","outputs":1,"noerr":0,"x":358,"y":100,"z":"359a4b52.ca65b4","wires":[["2db61802.d249e8"]]}]
This flow is set to automatically try to detect the board on a a serial port. If you need to change that, double click the node labelled Pin 13 - the Arduino node. Click the pencil icon and change the port definition as needed. Click the deploy button and the flow should start running. LED 13 should start toggling on and off once a second.
The ui will appear as follows;
The blinking led
A video of the button pressed and led blinking faster.
The final projeect incorporates an interface to display the temperature data from the DHT11 sensor for further information on this it is in the final project page.