Week 9
Molding and Casting
Assignment
Group
• review the safety data sheets for each of your molding and casting materials, then make and compare test casts with each of them.
Individual• design a 3D mold around the stock and tooling that you'll be using, machine it, and use it to cast parts.
Materials
The below information is from manufacturers website of the materials below.Reference: smooth on.com
The below are the materials that I will be using for molding and casting.
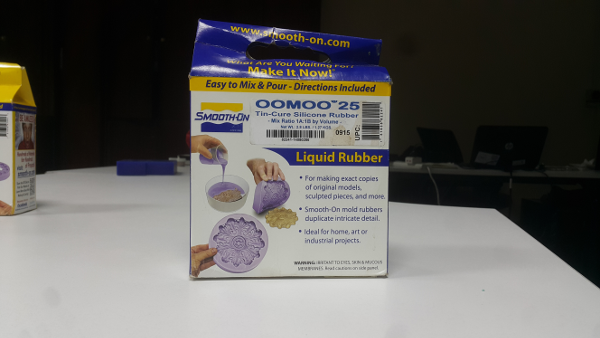
OOMOO® 25
It is easy to use silicone rubber compounds that feature convenient one-to-one by volume mix ratios (no scale necessary). Both have low viscosities for easy mixing and pouring, vacuum degassing is not necessary.It cures at room temperature with negligible shrinkage.
Silicones do not have great tear strength. They are good for making simple one- or two piece block molds. It is suitable for a variety of art-related and industrial applications including making one and two-piece block molds for sculpture and prototype reproduction, casting plaster, resins and wax.
Safety and Storage
Use in a properly ventilated area (“room size” ventilation). Wear safety glasses, long sleeves and rubber gloves to minimize contamination risk. Wear vinyl gloves only. Latex gloves will inhibit the cure of the rubber.
Store and use material at room temperature (73°F/23°C). Storing material at warmer temperatures will also reduce the usable shelf life of unused material. These products have a limited shelf life and should be used as soon as possible. Premix Parts A and B thoroughly before using.
Curing
Allow to cure as prescribed (75 minutes for OOMOO® 25 ) at room temperature (73°F/23°C) before demolding. Post curing the mold an additional 4 hours at 150°F (65°C) will eliminate any residual moisture and alcohol which is a by product of the condensation process and may inhibit some resins. Allow mold to cool to room temperature before using. Do not cure rubber where temperature is less than 65°F/18°C.
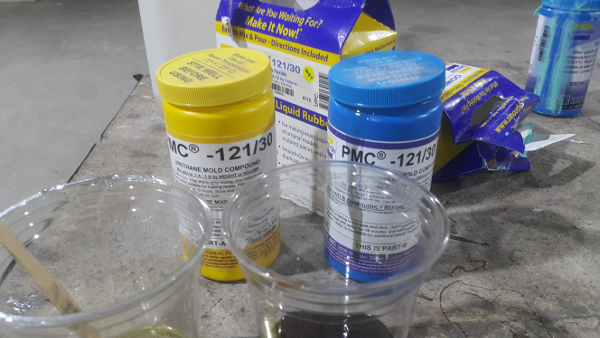
PMC®-121/30
The PMC®-121 Series urethane rubbers feature convenient one-to-one by volume mix ratios. PMC®-121/30 Dry and PMC®-121/30 Wet are exceptionally strong and abrasion resistant for soft urethane mold rubbers. The dry version does not exude oil and can be used for casting waxes, Smooth-On liquid plastics, gypsum plasters and other materials. The wet version exudes oil that aids in demolding hard plasters and concrete.
Preparation
Materials should be stored and used in at room (73°F/23°C). Humidity should be low. These products have a limited shelf life and should be used as soon as possible. Wear safety glasses, long sleeves and rubber gloves to minimize contamination risk. Good ventilation (room size) is necessary.
Applying A Release Agent
A release agent is necessary to facilitate demolding when casting into or over most surfaces. Use a release agent made specifically for mold making (Universal® Mold Release available from Smooth-On). A liberal coat of release agent should be applied onto all surfaces that will contact the rubber.
Pouring
For best results, pour your mixture in a single spot at the lowest point of the containment field. Let the rubber seek its level up and over the model. A uniform flow will help minimize entrapped air. The liquid rubber should level off at least 1/2” (1.3 cm) over the highest point of the model surface.
Curing
Allow rubber to cure overnight (at least 16 hours) at room temperature (73°F/23°C) before demolding. Cure time can be reduced with mild heat or by adding Smooth-On “Kick-It®” Cure Accelerator. Do not cure rubber where temperature is less than 65°F/18°C.
Post Curing
After rubber has cured at room temperature, heating the rubber to 150°F (65°C) for 4 to 8 hours will increase physical properties and performance.
Using The Mold
If using as a mold material, a release agent should be applied to the mold before each casting. The type of release agent to use depends on the material being cast. The proper release agent for wax, liquid rubber or thermosetting materials (i.e. Smooth-On liquid plastics) is a spray release made specifically for mold making (available from Smooth-On or your distributor. Prior to casting gypsum plaster materials, sponge the mold with a soap solution for better plaster flow and easy release.
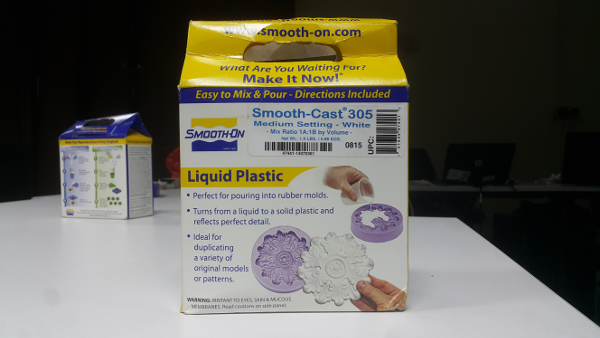
Smooth-Cast 305
The Smooth-Cast® 300 Series of liquid plastics are ultra-low viscosity casting resins that yield castings that are bright white and virtually bubble free. Vacuum degassing is not necessary. They offer the convenience of a 1A:1B by volume or 100A:90B by weight mix ratio. The differences between them are pot life and demold time.
Fully cured castings are tough, durable, machinable and paintable. They resist moisture and mild solvents. Applications for Smooth-Cast® 300 Series Liquid Plastics include reproducing small to medium size sculptures, making prototype models, special effect props and decorative jewelry.
Safety - Materials should be stored and used in a warm environment (73° F / 23° C). These products have a limited shelf life and should be used as soon as possible. All liquid urethanes are moisture sensitive and will absorb atmospheric moisture. Mixing tools and containers should be clean and made of metal, glass or plastic. Mixing should be done in a well-ventilated area. Wear safety glasses, long sleeves and rubber gloves to minimize contamination risk.
Applying A Release Agent - A release agent is necessary to facilitate demolding when casting into or over most surfaces. Use a release agent made specifically for mold making (Universal® Mold Release or Mann’s Ease Release® 200 available from Smooth-On or your Smooth-On distributor). A liberal coat of release agent should be applied onto all surfaces that will contact the plastic.
Measuring and Mixing - Liquid urethanes are moisture sensitive and will absorb atmospheric moisture. Mixing tools and containers should be clean and made of metal, glass or plastic. Materials should be stored and used in a warm environment (73°F/23°C)
Curing - Important: Use this product with at least room size ventilation or in proximity to a forced outlet air vent and do not inhale/breath fumes. Fumes, which may be visible with a significant mass concentration, will quickly dissipate with adequate ventilation. Castings with significant mass may be hot to the touch and irritate skin immediately following cure. Let casting cool to room temperature before handling.It will cure in 30 - 40 minutes (Smooth-Cast® 300 in 7 -10 minutes and Smooth-Cast® 310 in 2 - 4 hours) depending on mass and mold configuration.
Machinable Wax
The below information is from manufacturers website of the materials below.Reference:machinablewax.com
It is an extremely hard wax with a high melt point that has been formulated to deliver exceptional machining properties with high resolution detail.
Typical applications include:
-Prototyping
-Dental CAD/CAM
-Jewelry Manufacturing
-Precision Lost Wax Casting
-Used as a bolus/compensator for electron or proton therapy
-Mold making
-Manufacture of turbines and pump impellers
Colors
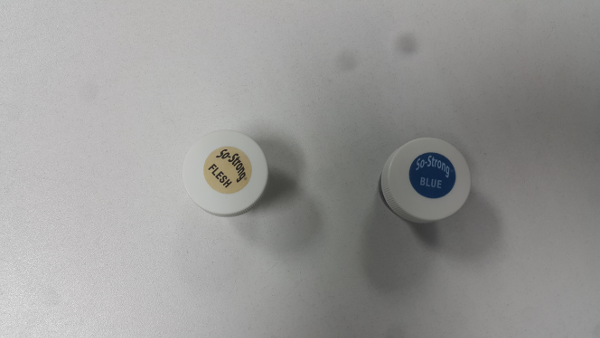
I will be usig two colors to color the plastic mix when am casting.
Design
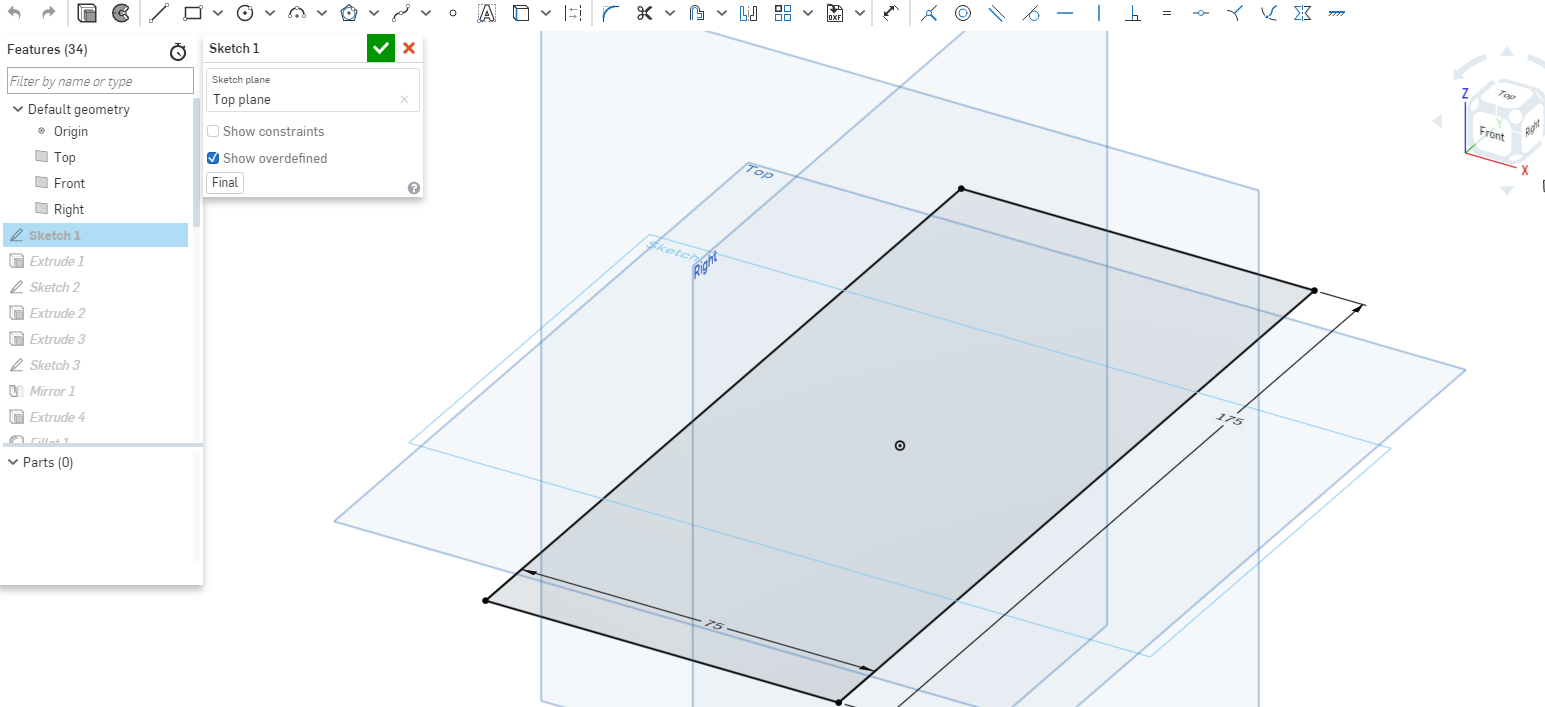
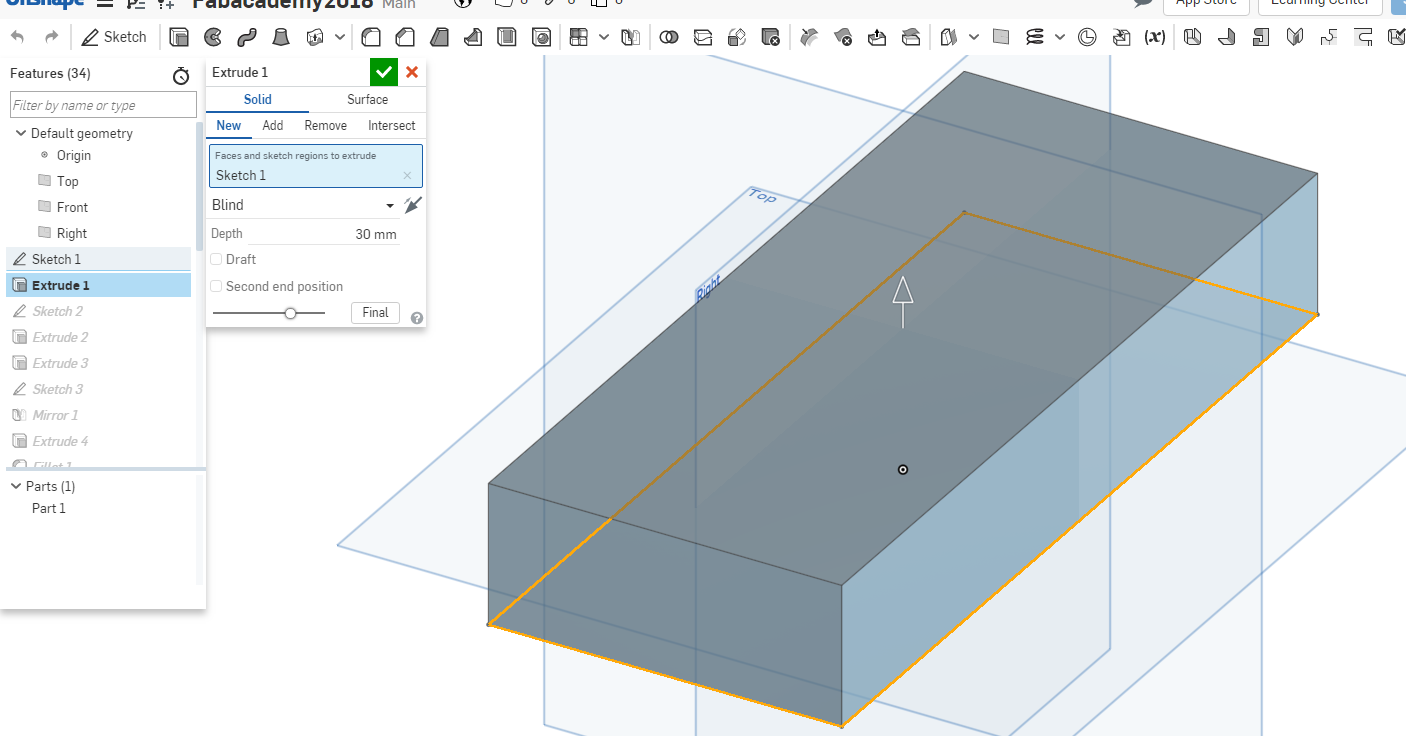
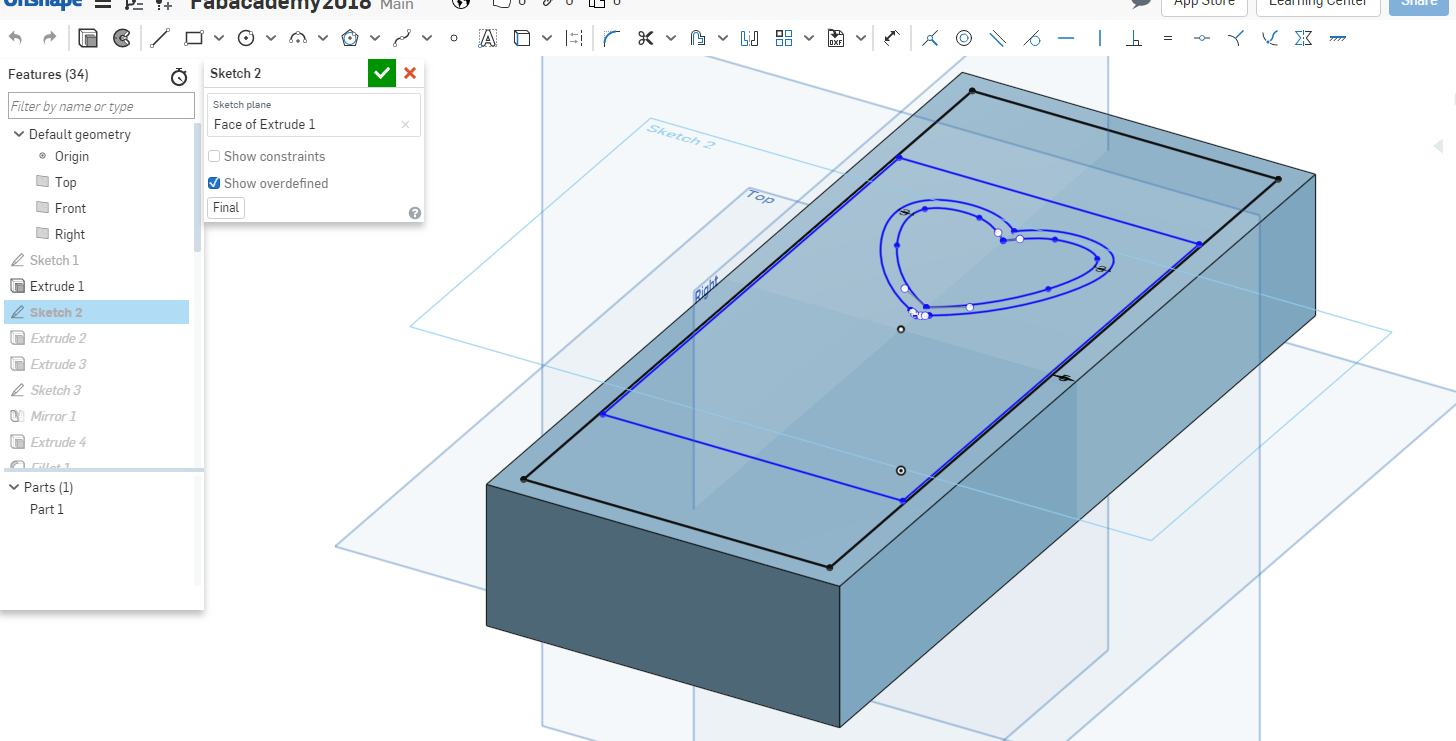
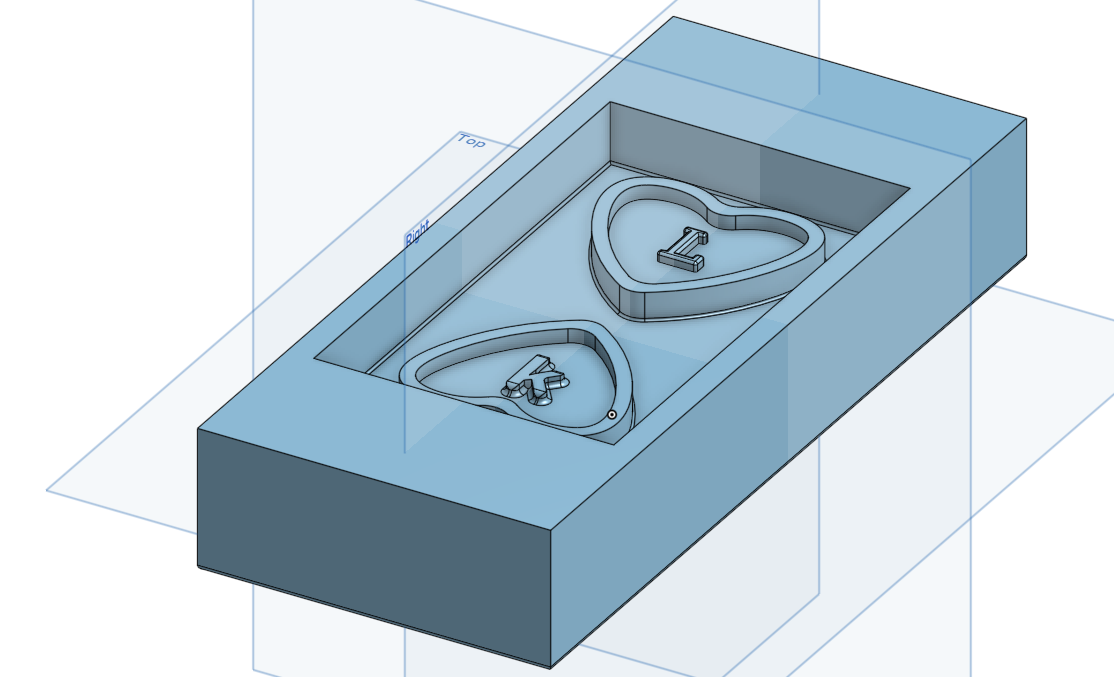
Used onshape to do the design. Since am using blocks of machinable wax as shown above. Starteed with the shape of the block wich is rectangle then extruded it.
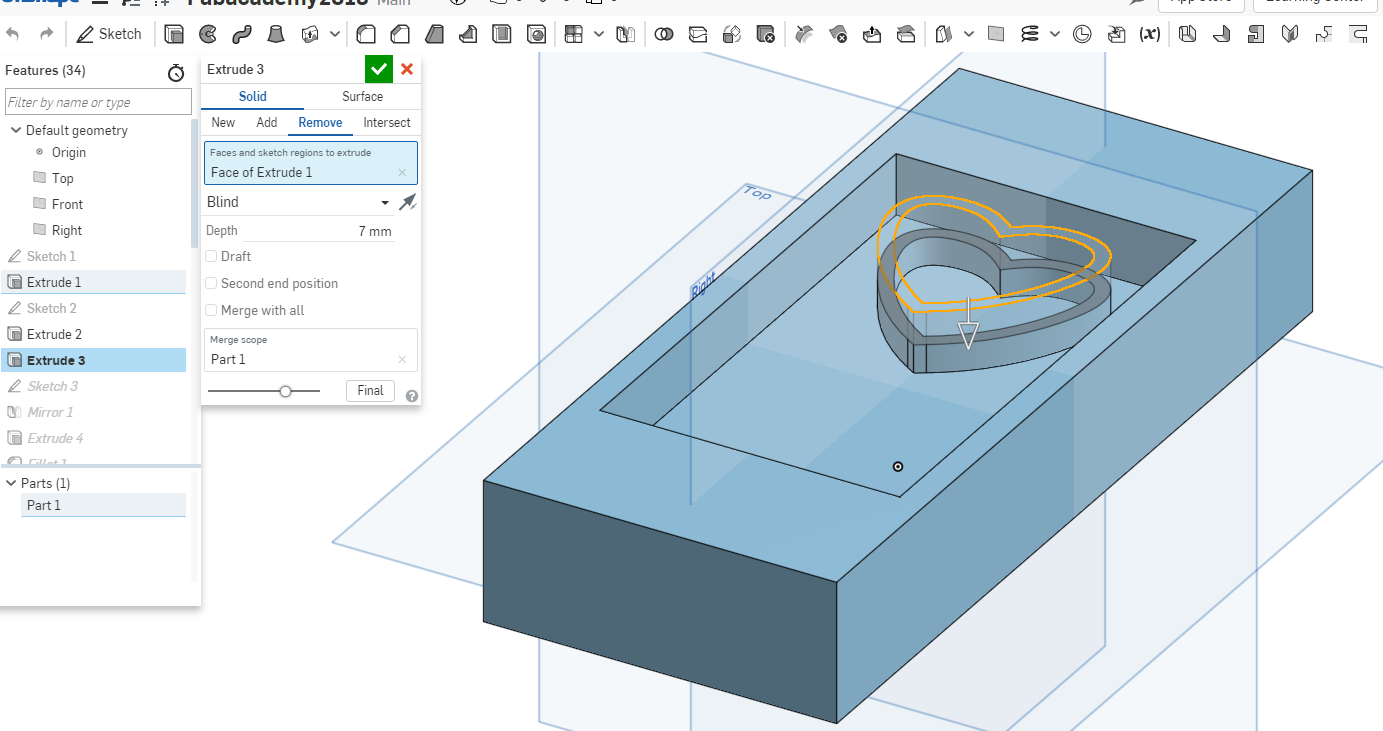
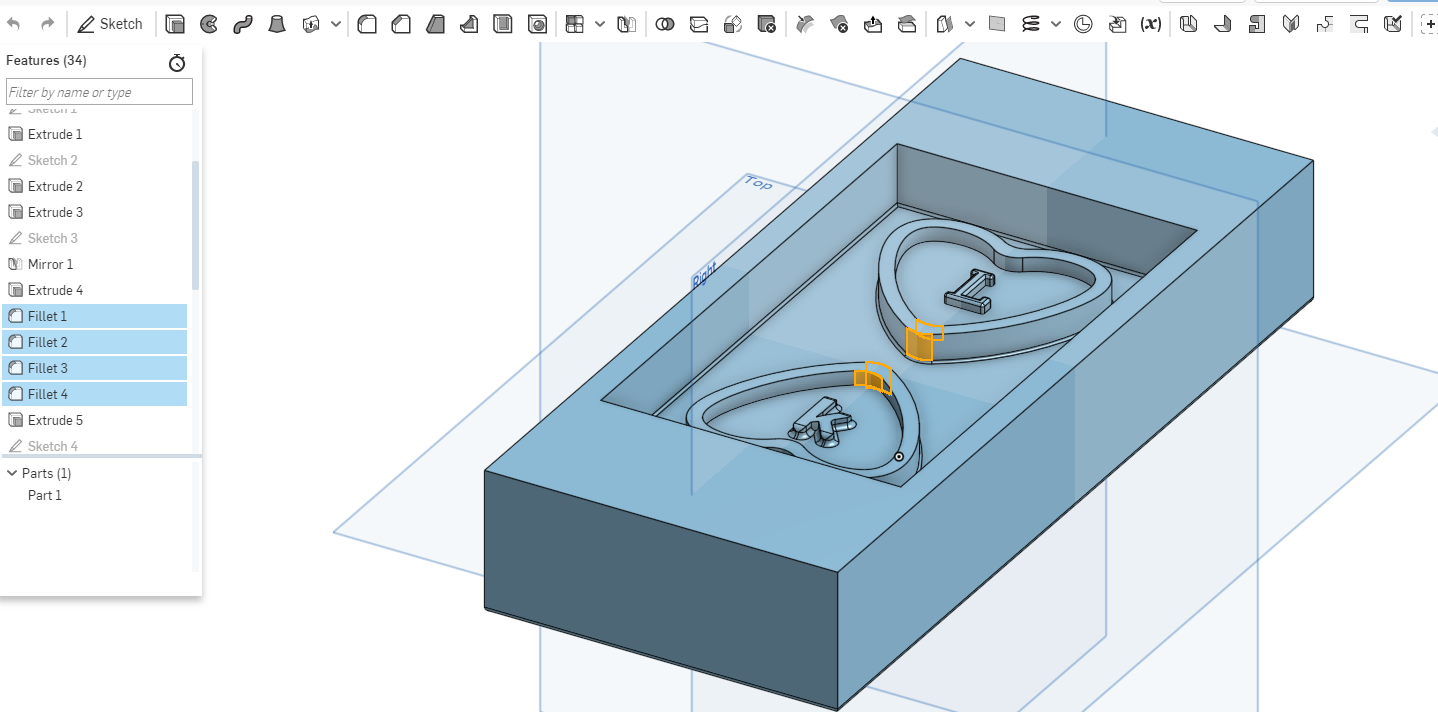
Then I did a sketch on the top surface of the block. This case made a heart shape using free line tool then I mirrored that side. Later extruded the shape by removing the surrounding area.

Then removed 7mm of the heart shape and mirrored the whole shape to be viewed to make the other shape as seen.

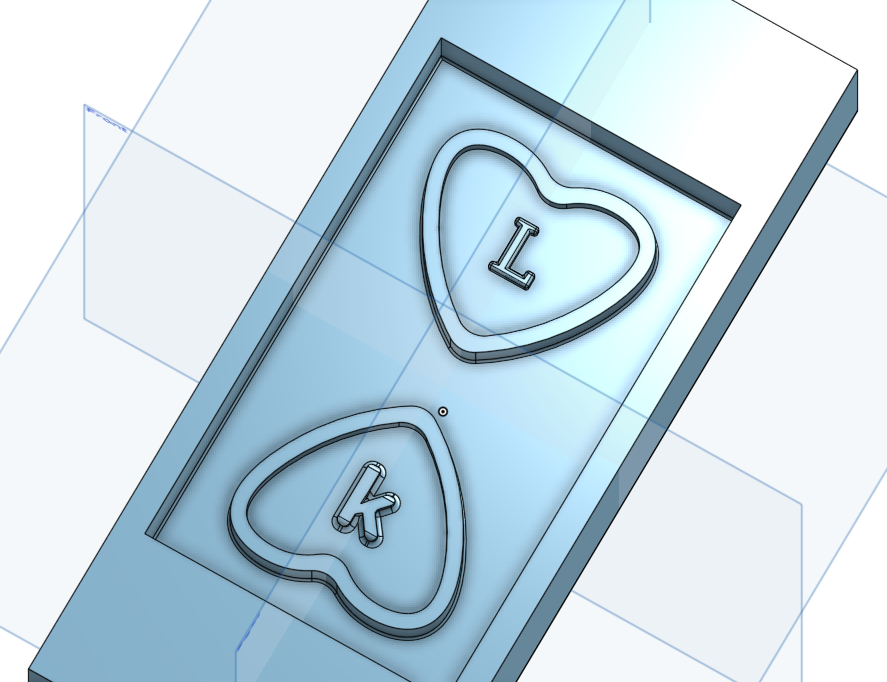
Inside the heart shape I made a sketch and extruded it a few millimeteres to make the first letters of my names.I did the same for the other side.
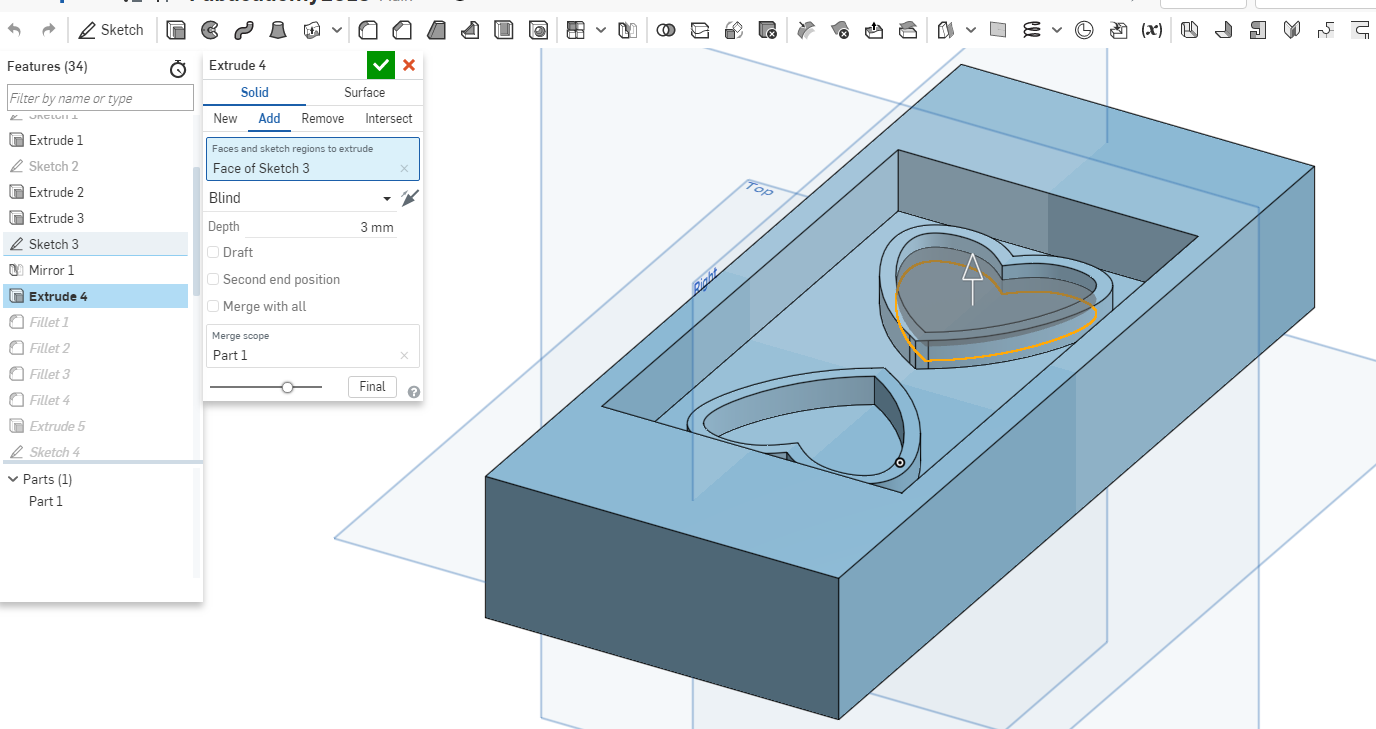
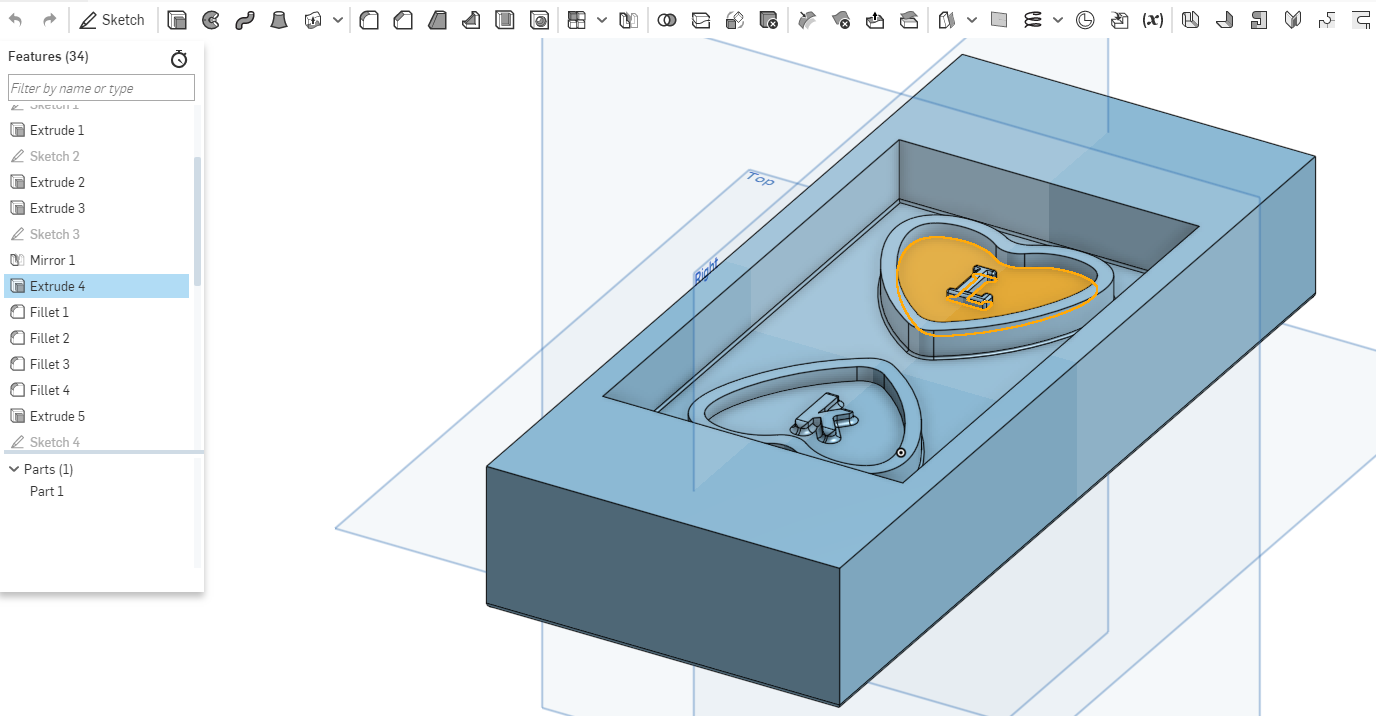
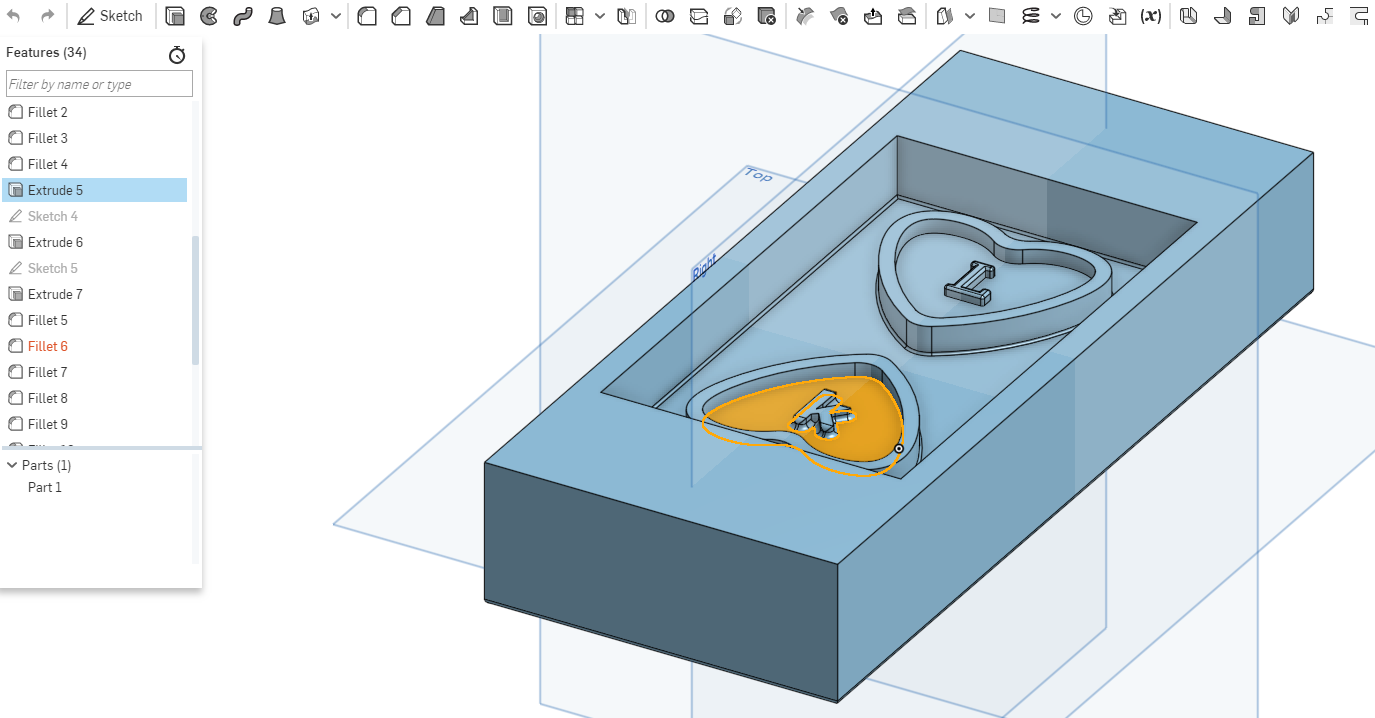
Then used the fillet tool to make the corners of the heart shape more smooth.
The final design.
CAM Process
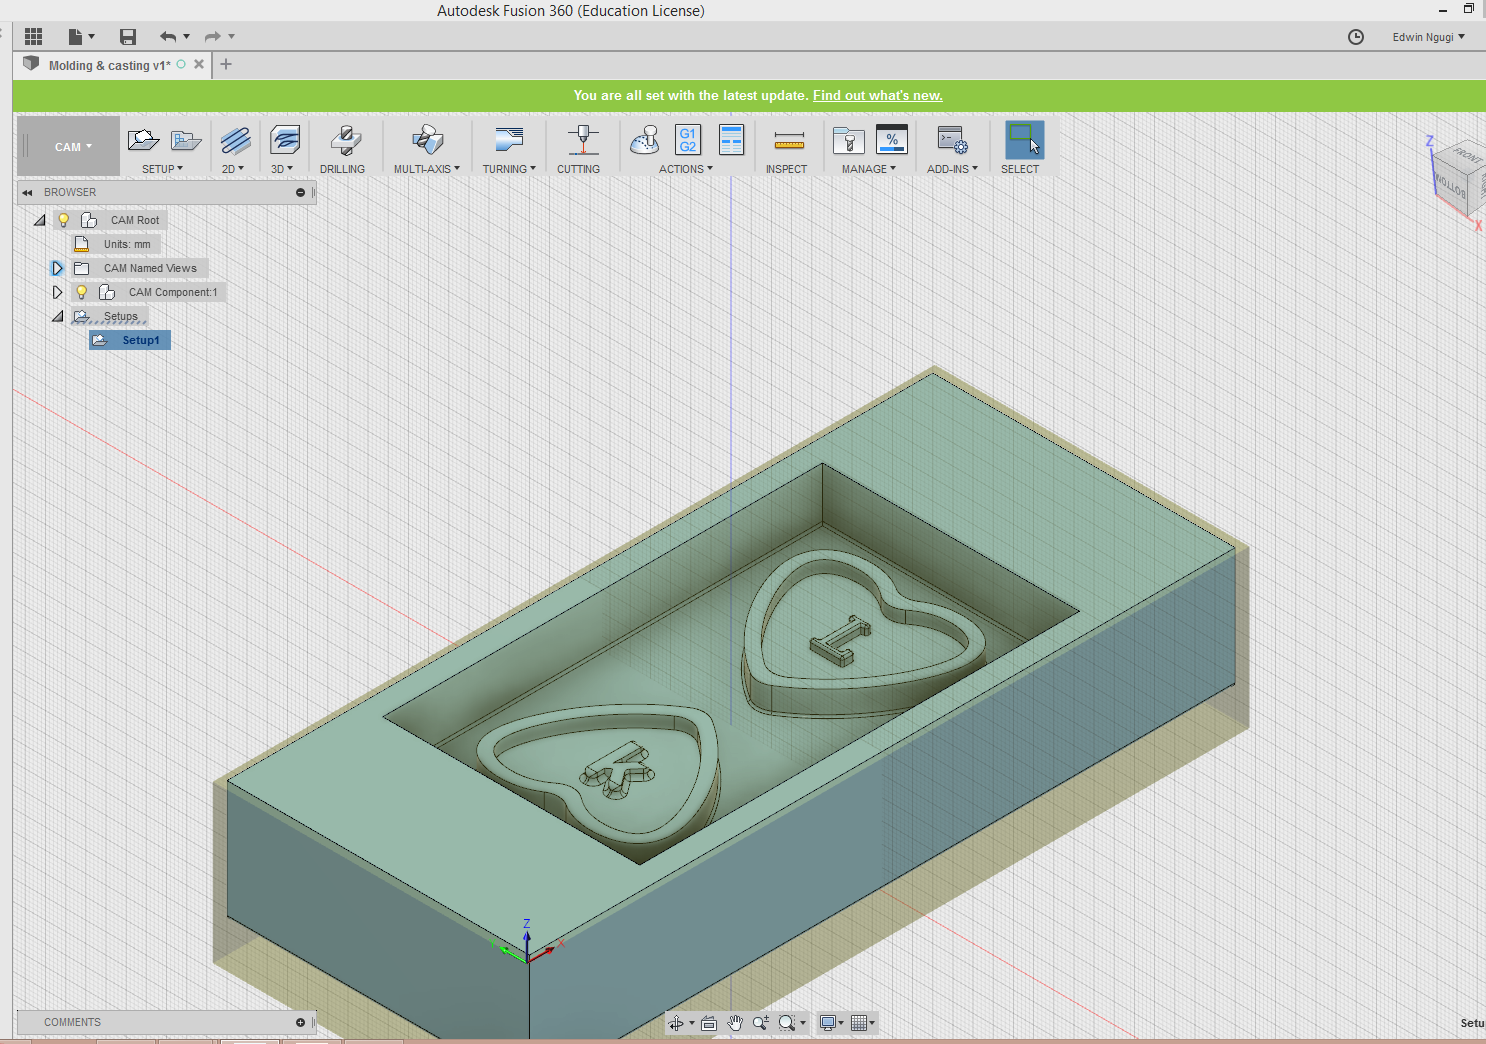
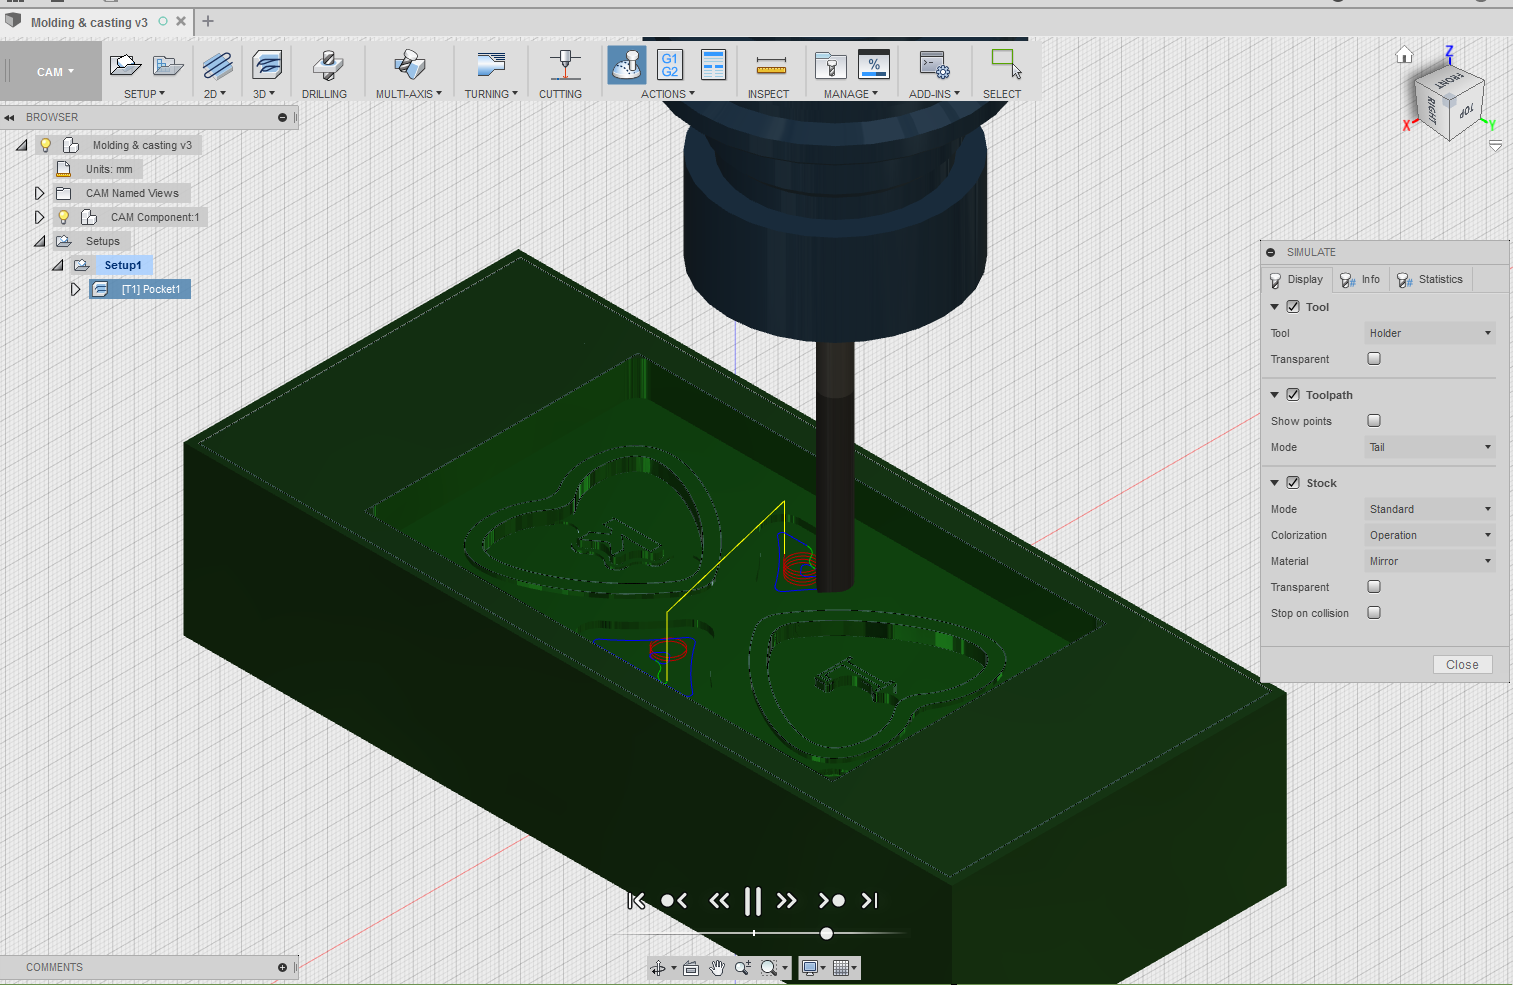
To generate cam data for the design I used fusion360.First I downloaded the design file from Onshape software as an IGES file then imported it to Fusion360. Then I selected a CAM process for the design, created a new setup for the using the setup option shown in the menu.You have to reference the cartesian plane for the x, y and z axis to a poitn where you want the machine to start from considering factors of the negative and positive points. I referenced it to the shown position, I used the 3D to select the option I was using for the design and since am only machining the inside part of the wax I chose the pocket the editted a few settting that is the tool to used, setting the speed rate and others. Finaly I did a simulation to see how the tool is going to machine

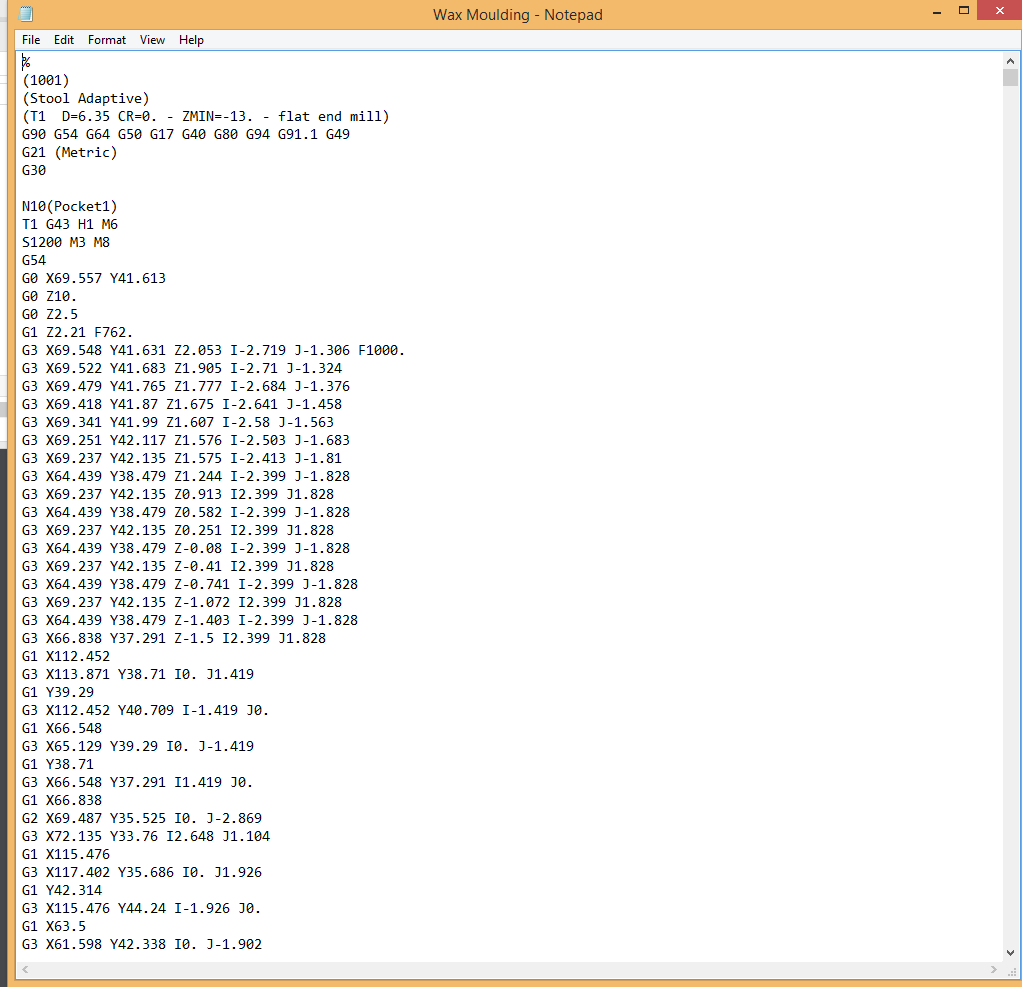
To generate the gcode you go to the post process in the menu and click, it requests you to save it to where you prefer to save it, for this case i saved it in the flashdisk and gave it a name.
Machining Process
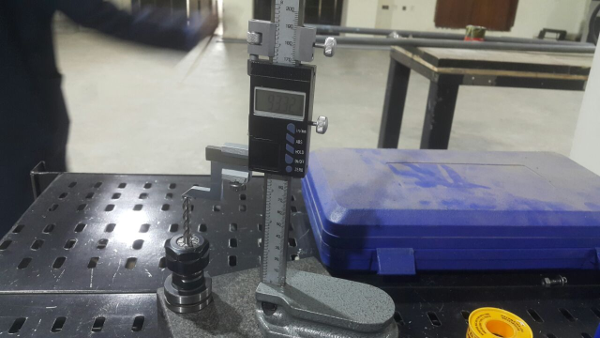
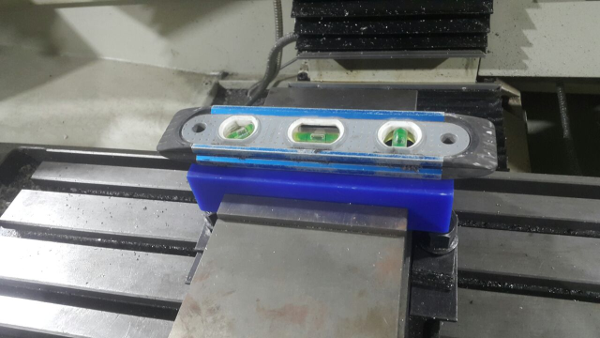
To machine the machinable wax we used the TORMACH machine with the help of lab technichian, we first identified the tool we wanted to use which was 1/4 inch tool that we had selected earlier while generating the CAM process. We measured the tool height as shown then held the wax in place and used a level tool to make sure it is leveled properly. After that we remove the existing tool and placed the one we where going to use.
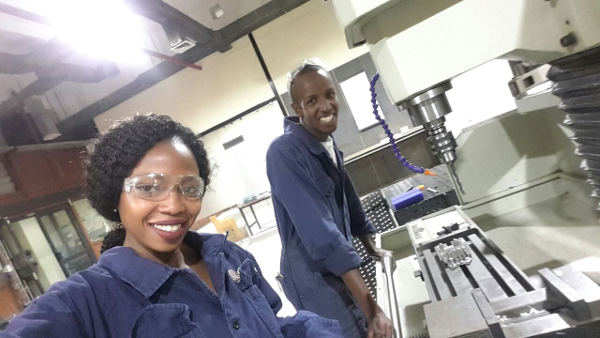
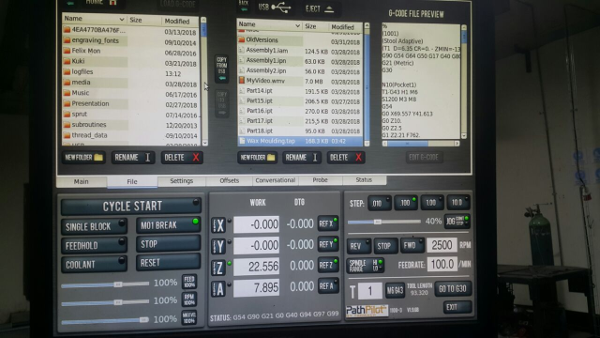
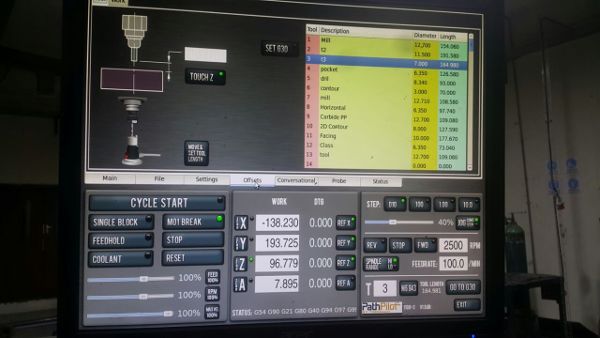
Once all that was done we used the gcode we had generated earlier in the CAM process to load in to the computer for Tormach machine by just plugging the usb. The fist step was to copy the gcode from the usb to the machine as shown that is the molding and casting. On the side you can see the gcode preview of the design. After loading we selected the tool we were using and entered the height for the tool in this case we using tool number one on the menu as shown. The x and y axis positioned them correctly with reference to the wax mounted on the table. Then started the cycle as shown
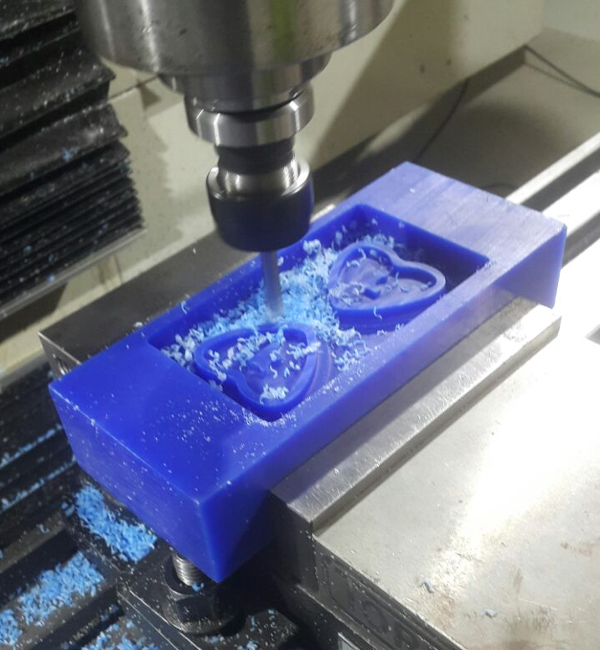
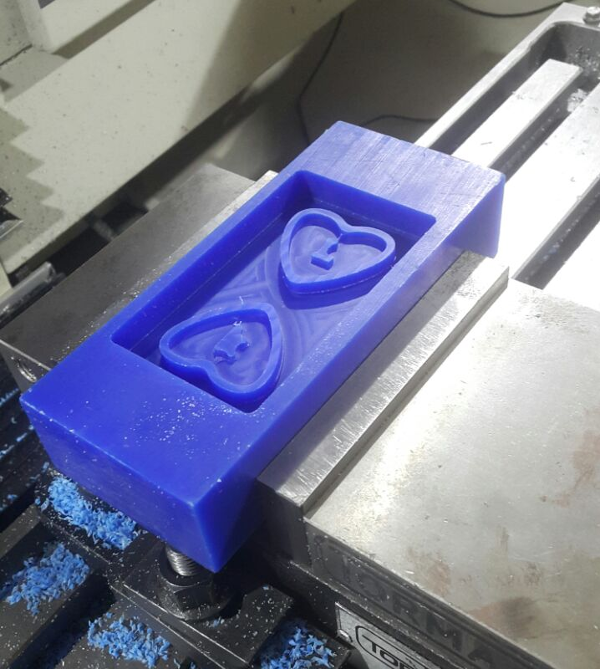
The wax machining as shown.
Molding Process
1st Process
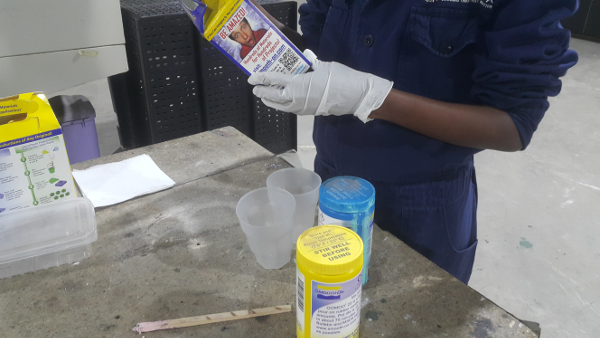
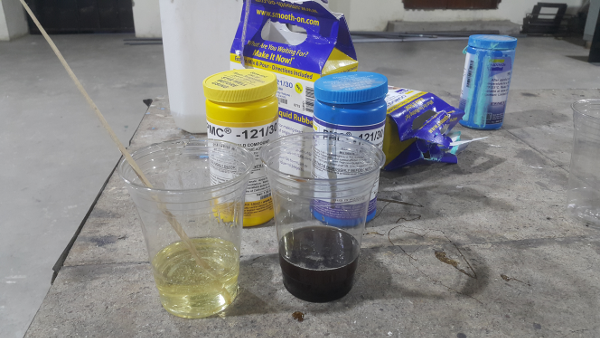
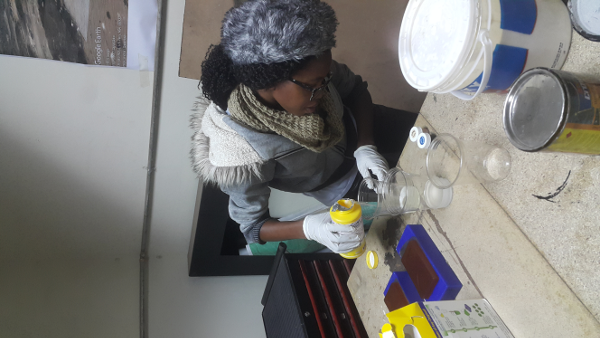
For this practical I took two cups to measure the two parts of the molding liquids and a mixing container. I set up in one of the tables in our labs as shown.
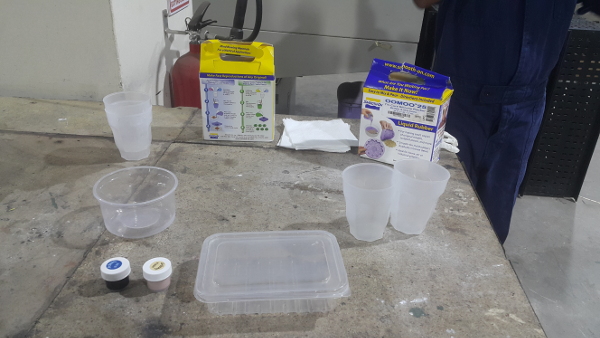
For safety meaasures I wore a lab coat and a mask, since I will be mixing the two ingredients I wore gloves. Before mixing I made sure I had everything I needed set up on the table.
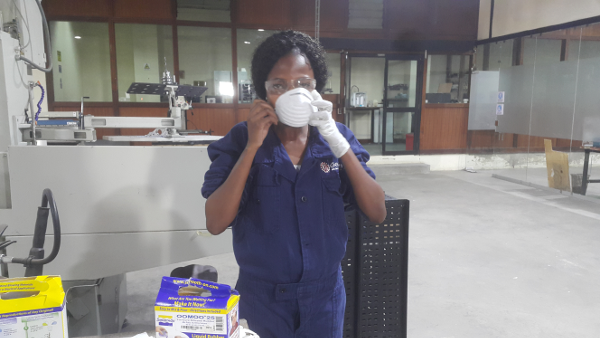
I read through the istructions before starting the process.
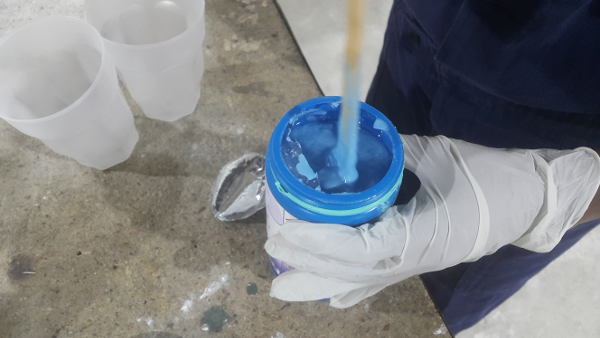
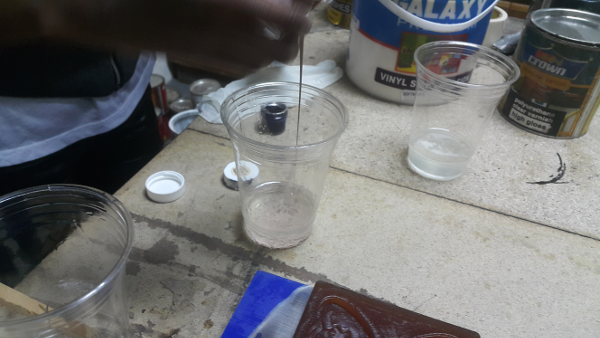
Stirring well one of the part.
The second part had already expired since it was nolonger a liquid.
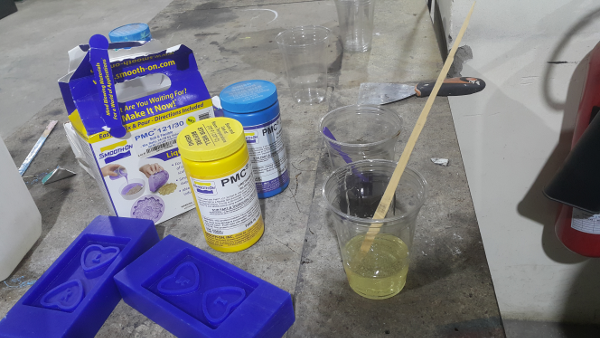
2nd Process
Since the Oomo 25 was expired I went for the PMC 121/30 for molding.First I shaked properly before opening. After that I opened the two parts and poured them in two diffrent cups in equal portions.
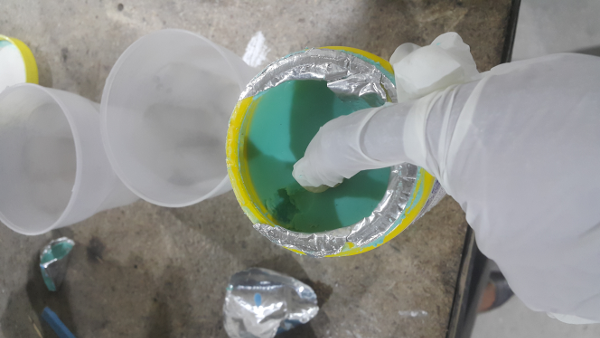
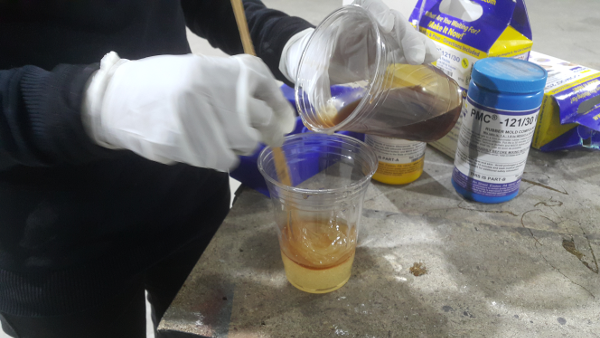
Using a stirrring stick I stirred the two liquids separately before mixing them together.
Poured one part to th eother the stirred it properly to form the mixture shown.
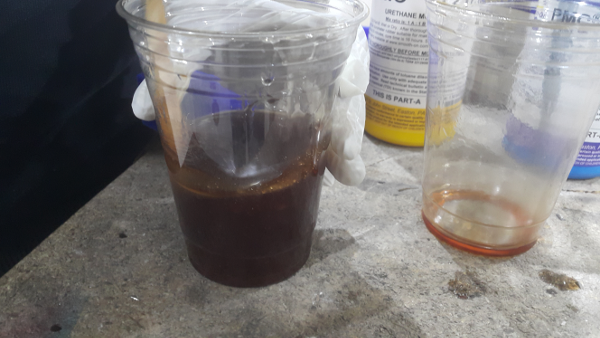
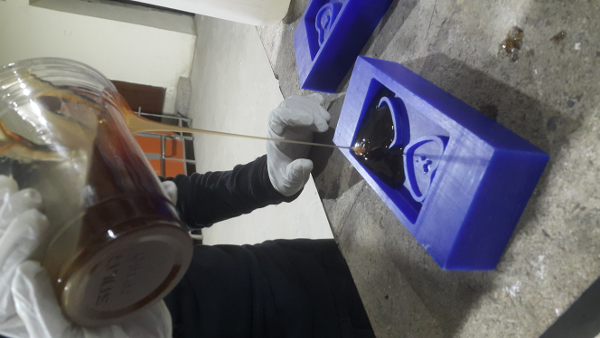
I poured in a thin strip of the mixture.
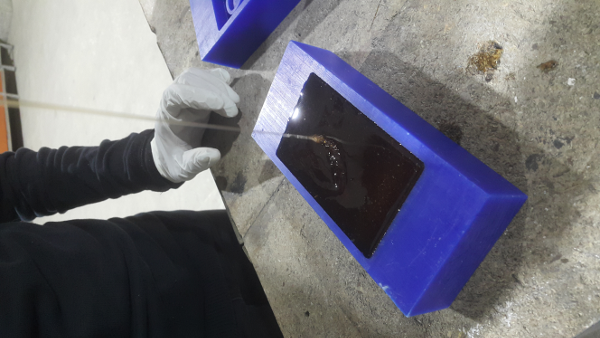
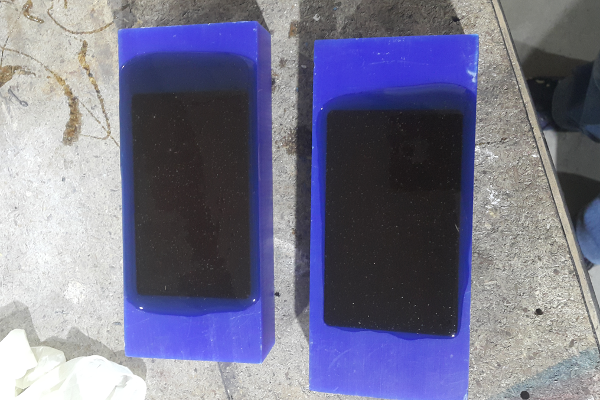
After the mold has settled I let it sit over night.
Casting Process
For casting I used two cups for the separate parts of liquid. This also required a equal measure of each part which I measured using the cups, after measuing I mixed them in one cup then divided in eaqual portions.

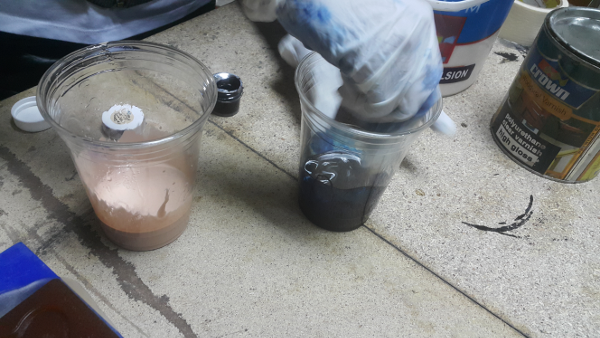
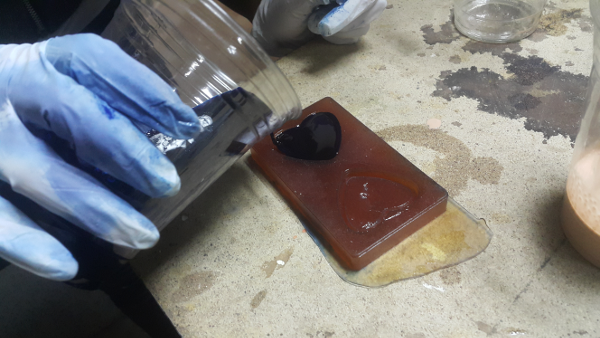
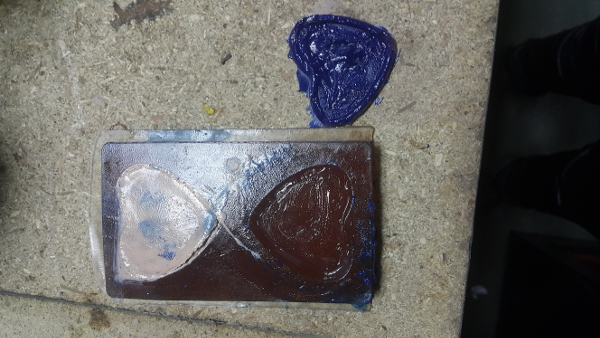
After dividing into equal portions. I added the colors one was blue the other was pink as shown.Using a stirring stick I stirred the liquid until th eolor was consistent.
I poured the mixture to the molds as shown. If you let the mixture sit for a while it gets a bit hot as it heals quickly, so i had to be pretty quick to pour the liquid to the mold. I started with the pink mixture then the blue.
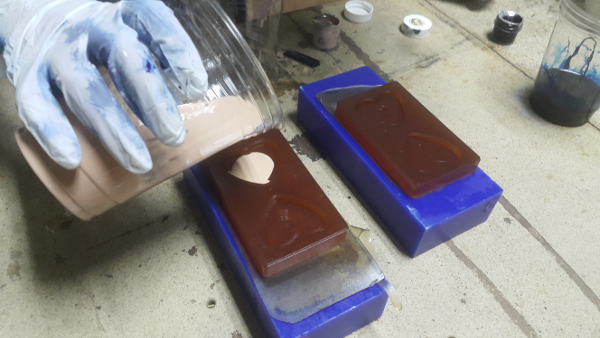
I used vaseline as my release agent that i applied on one of the molds before casting.
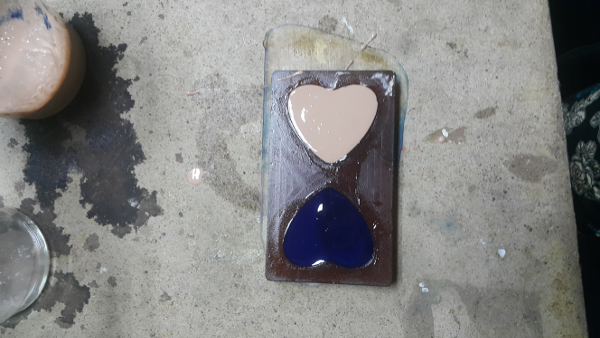
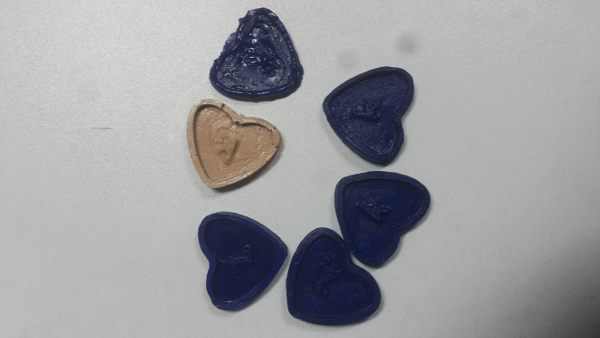
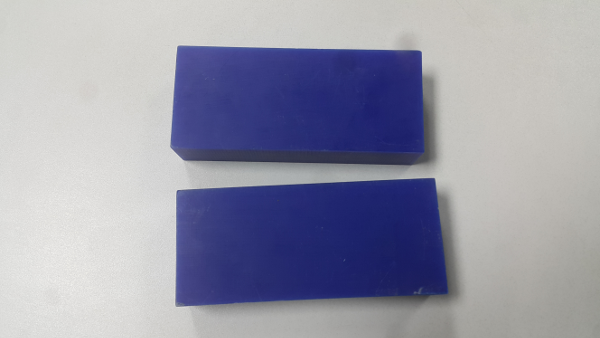
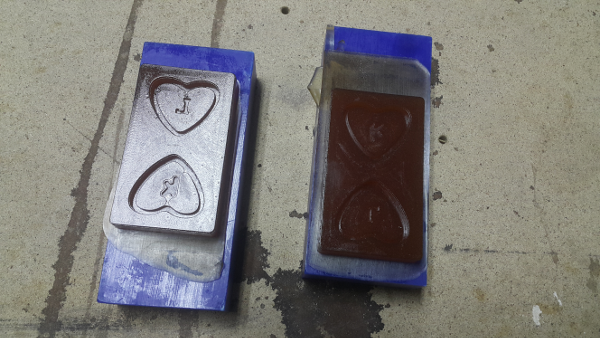
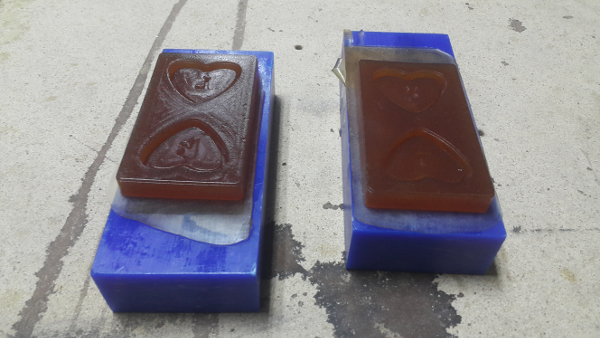
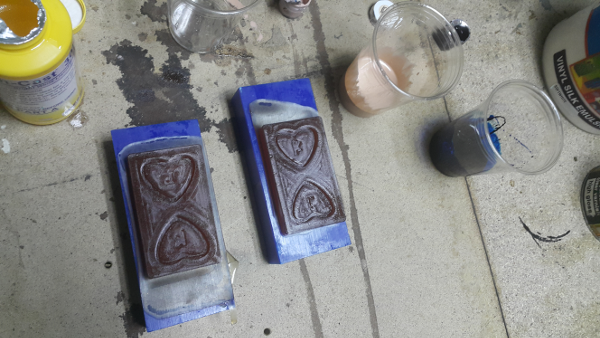
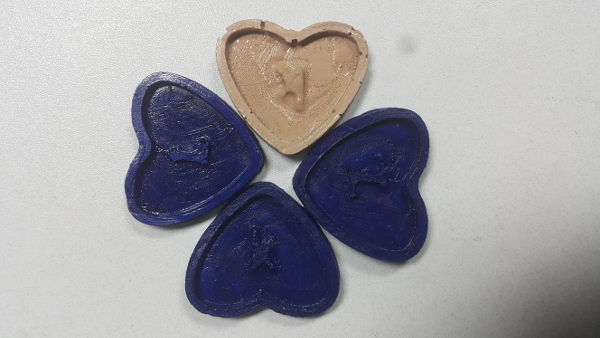
The final results after casting.

Challenges
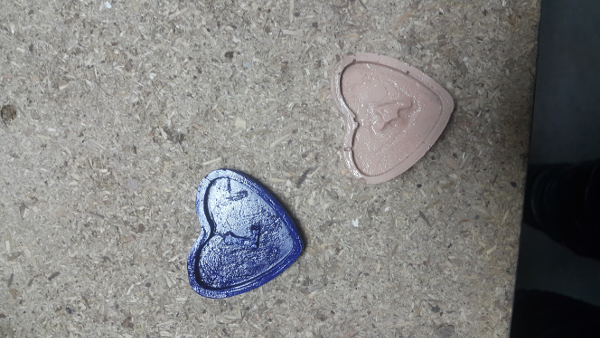
The first mold I casted without a release agent hence when I tried removing the pink cast it could not detach from the mold. The blue cast I poured it a little too let hence it was a bit thick thus the end result was a non-uniform cast as shown.
Before
After